

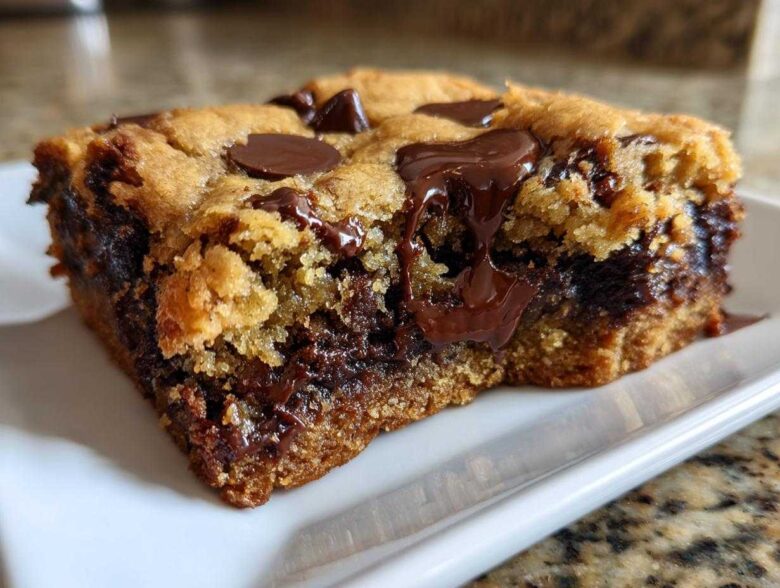
Oh, I know that feeling. You just need that perfect square of pure chocolate nostalgia, right? Not too cakey, definitely not crunchy like a cracker—we’re talking about something thick, gooey, and melt-in-your-mouth soft. Forget those sad, flat batches! I spent nearly a year tweaking my formula because I refuse to settle for anything less than the absolute best Chewy Chocolate Chip Cookie Bars. Seriously, once I figured out the magic ratio of brown sugar to melted butter, everything else fell into place. These are non-negotiable; once you try this batch, you are never going back to the drop cookie style again. They come together in one bowl, too, which is just the cherry on top!
Why This Chewy Chocolate Chip Cookie Bars Recipe Works (Expert Tips)
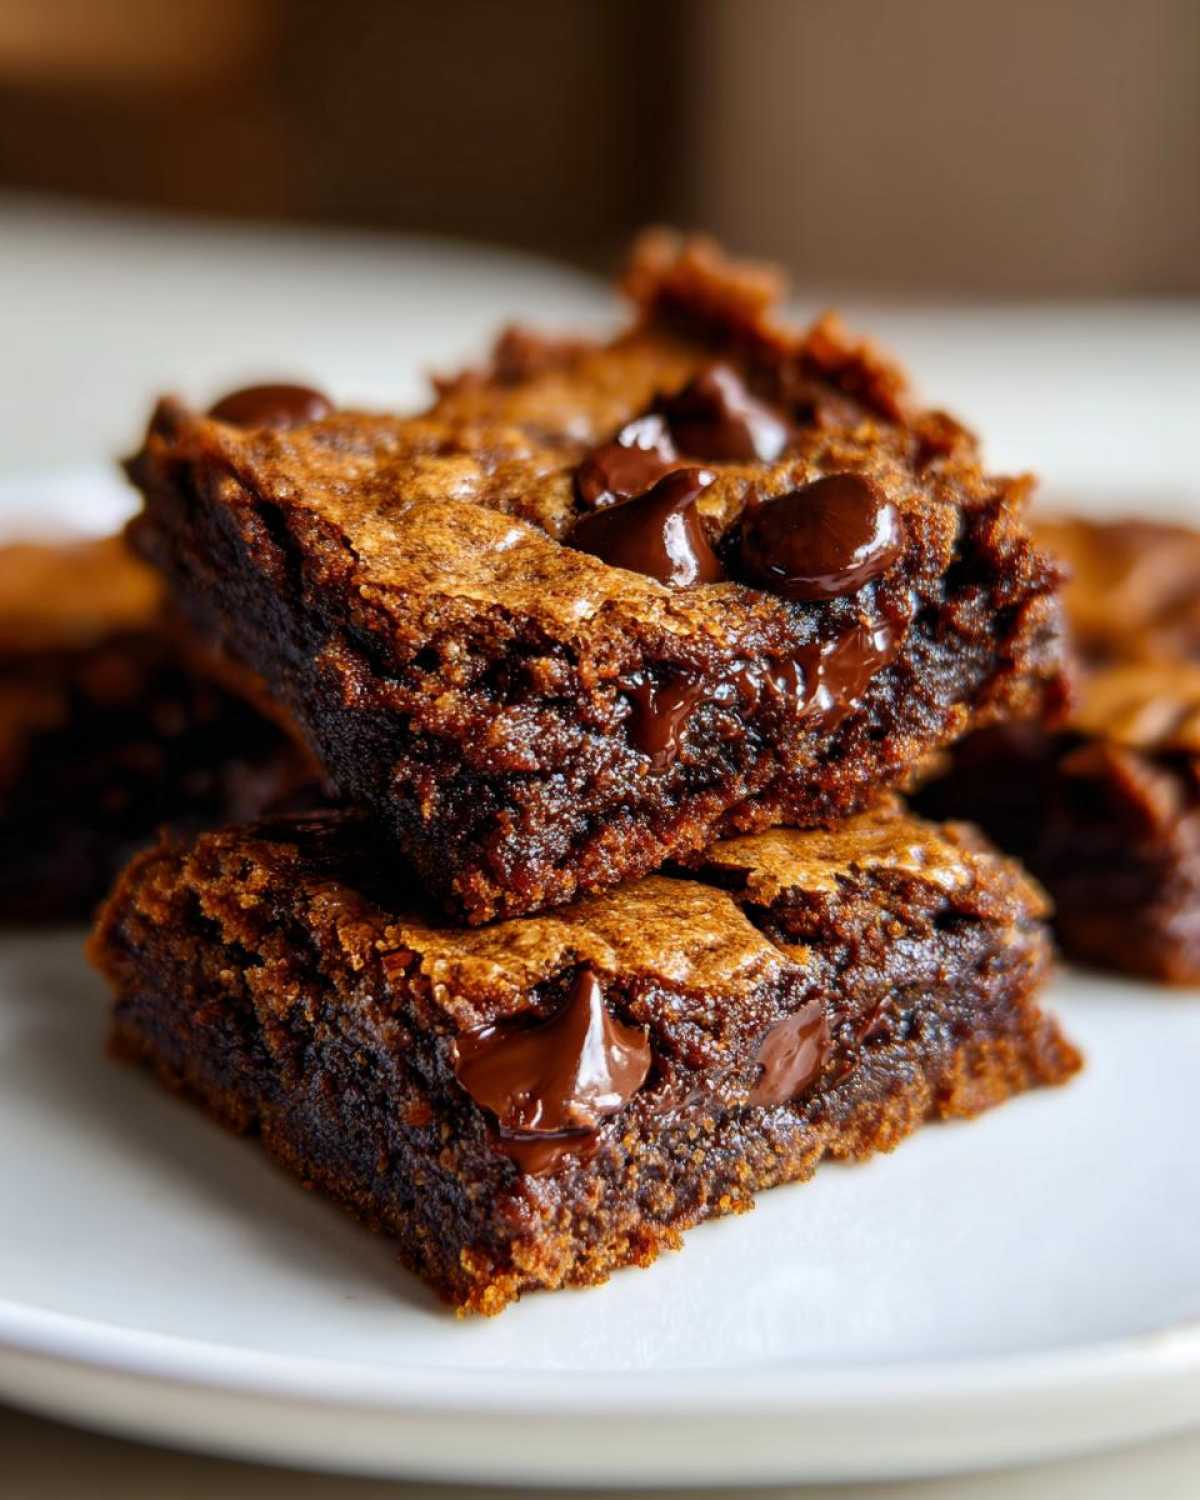
It’s all about chemistry, my friend, and trust me, I tested every combination under the sun until I cracked the code for truly homemade chewy bars. The secret weapon here is that we start with melted butter, not creamed softened butter. Melting the butter changes how the fat interacts with the sugars, giving us that dense, slightly fudgy base instead of an airy cake structure. Also, notice the sugar ratio: we use way more brown sugar than white sugar, right?
That light brown sugar is packed with molasses, and molasses is hygroscopic—that means it loves holding onto moisture. That’s the key to keeping them soft for days! If you use too much white granulated sugar, you get crispy edges fast. I even talk more deeply over on my classic cookie page about why that melted butter makes such a difference when you are trying to achieve chewiness in standard cookies, and it applies perfectly here for the bars, too.
Achieving the Perfect Thick and Chewy Cookie Bars
To guarantee you get those incredible Thick and Chewy Cookie Bars that slice up perfectly square, you have to be brave in the oven. Most people panic when they see the middle still looking a little jiggly, but that’s exactly what you want! The residual heat continues to cook the center once you pull them out.
My biggest tip, which I mentioned in the notes, is to pull them out a minute or two early—I aim for 28 minutes instead of 30. You need the edges to look just lightly toasted, but the very center should still look a bit underdone. This guarantees that gooey texture when they finally set up on the cooling rack. If you wait until the middle looks completely dry, you’ve lost the chewiness battle!
Ingredients for the Best Chewy Cookie Bars
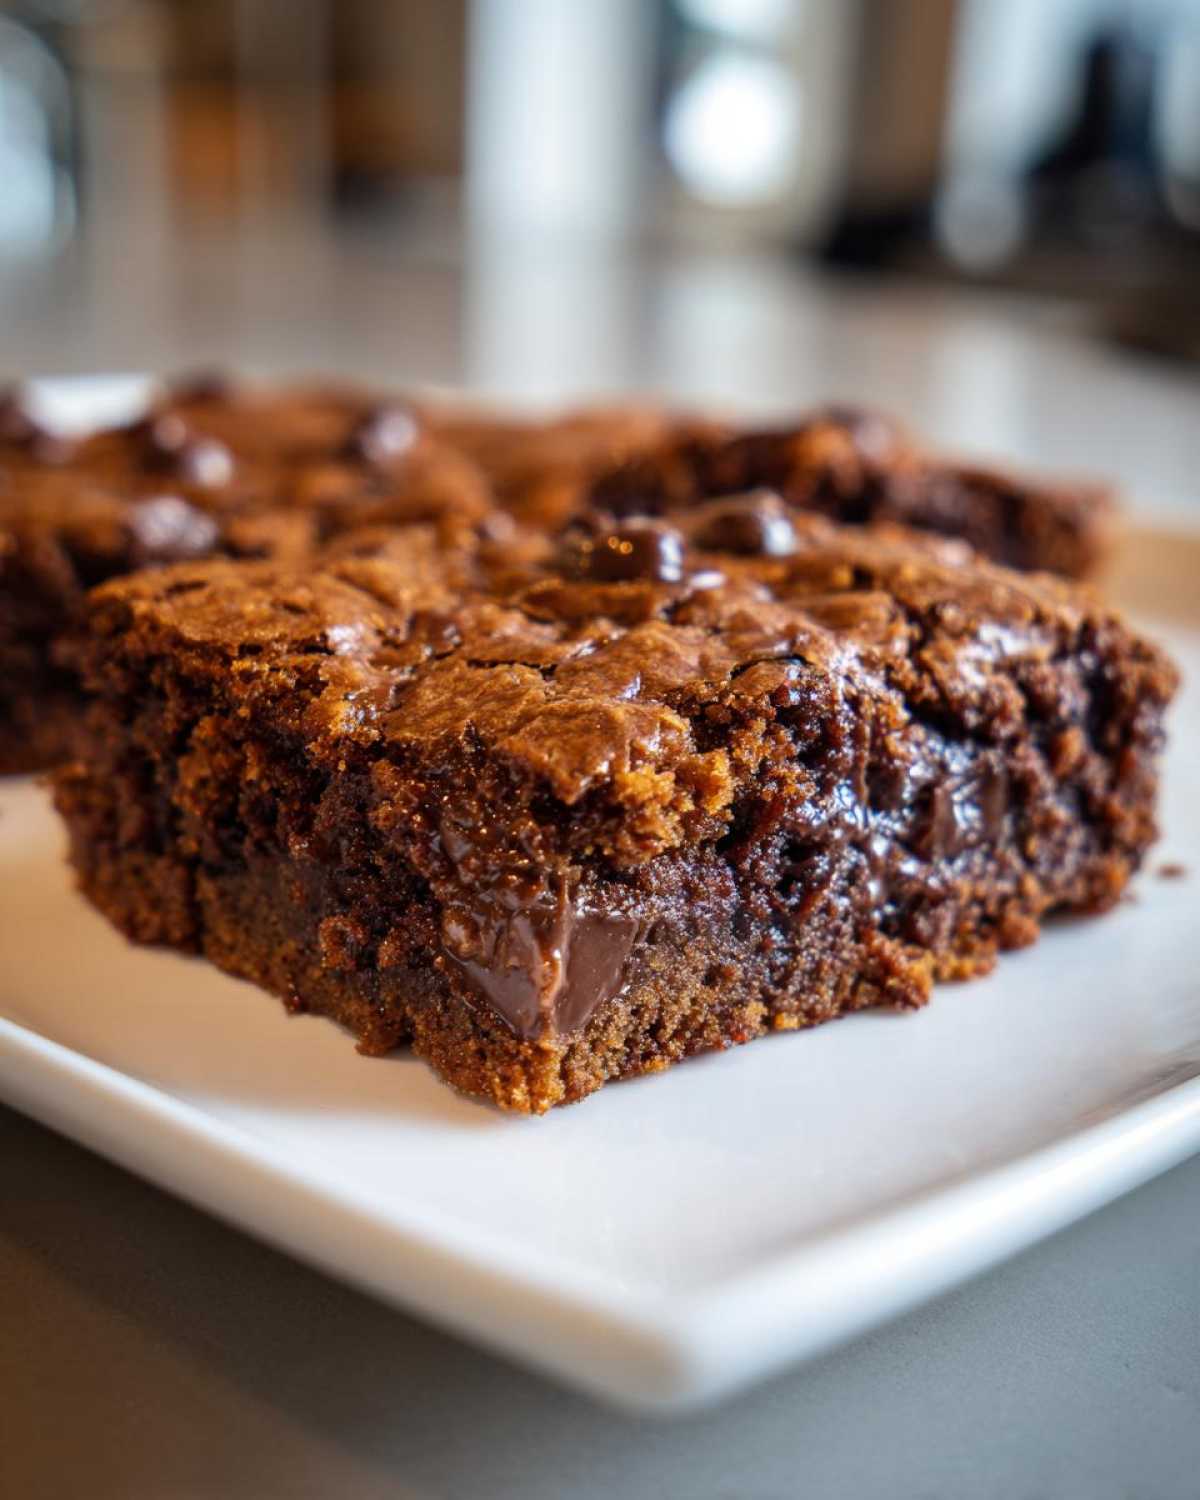
When we talk about the best batch of these bars, it all comes down to quality ingredients handled correctly. Remember, we aren’t dealing with delicate cake batter here; we are building structure that needs to hold up but still melt in your mouth. Having everything measured out beforehand—your mise en place, as the fancy chefs say—really helps keep the mixing process fast, which is key for avoiding gluten development.
To make a full 9×13 pan of these beauties, you’re going to need:
- 1 cup (that’s two sticks!) of unsalted butter, and yes, it needs to be melted before we start.
- 1 cup packed light brown sugar—pack it in there!
- 1/2 cup of regular granulated sugar—just enough to help with structure and crisp edges.
- 2 large eggs, room temperature is usually best, but for bars, it’s okay if they are straight from the fridge.
- A big, generous tablespoon of vanilla extract. Don’t skimp on the vanilla!
- 2 1/4 cups of all-purpose flour—we weigh this or use the light scoop-and-level method, no scooping straight from the bag!
- 1 teaspoon of baking soda—our lift agent.
- 1/2 teaspoon of salt—it balances all that sweetness.
- And the best part: 2 cups of semi-sweet chocolate chips.
I always use semi-sweet because they melt nicely without being too sugary, but feel free to mix in some milk chocolate or even dark chocolate chunks if you want that intense flavor. If you want to add something crunchy, like the walnuts I sometimes sneak in, throw about a cup in right here with the chocolate. If you want more tips on other flavors, I wrote a whole guide on achieving depth in savory cooking, though it’s not exactly the same, the principles of layering flavor are useful when building flavor profiles. But seriously, stick to the recipe the first time!
Ingredient Notes and Substitutions for Chewy Chocolate Chip Cookie Bars
Let’s talk about that brown sugar again, because this is where most people go wrong trying to adapt this recipe. If you swap out too much of that packed light brown sugar for white sugar, you’re going to end up with something closer to a shortbread texture—crispy, maybe a little sandy. We want chew, so the molasses in the brown sugar is non-negotiable for this batch of Chewy Chocolate Chip Cookie Bars.
And what about butter? You must use real butter here. Margarine or oil simply doesn’t have the fat percentage or flavor profile to give you that rich, satisfying chew we are after. If someone asks if they can use oat flour or almond flour, the answer is: not for this recipe, sweetie! We need the gluten development from the all-purpose flour to hold up against all that melted butter and chocolate. This is a classic, non-fancy recipe designed for pure, reliable results.
How to Prepare Your Easy Chocolate Chip Bars
Okay, mixing this up is fast, which is why I call these my Easy Chocolate Chip Bars—it’s one bowl and we only dirty one main mixing vessel! It’s important that you don’t get too aggressive once the flour comes into play. We want these to be soft and chewy, and nothing kills that texture faster than overmixing and developing too much gluten, which turns your bars tough or cakey.
First, get that oven preheated to 350 degrees Fahrenheit. Now, for the pan—this is key for easy serving! Grab your 9×13 inch pan and line it completely with parchment paper, but make sure you leave a good overhang on the long sides, like little handles. This lets you just lift the whole slab out later, saving you from trying to chisel out stuck corners. That parchment paper is your best friend if you want clean squares! I often use a technique similar to my homemade pan release for sticky things, though the parchment handles most of the heavy lifting here, like the one I describe in my post on making quick garlic butter.
Prepping the Pan and Oven for Perfect Chewy Chocolate Chip Cookie Bars
The temperature is 350°F, no more, no less. This temperature is perfect for setting the edges of the bar without overcooking the center where all that beautiful chewiness lives. Also, make sure your parchment paper hangs over the edges! I usually leave about two inches on either side. When they come out piping hot, those overhangs become your handles so you can safely lift the entire baked block onto a cooling rack. Trust me, trying to scrape one of these thick bars out of the pan without that parchment sling ends in disaster and broken edges.
Baking and Cooling for Gooey Chocolate Chip Bars
When you mix the dry ingredients into the wet stuff, that’s when you slow way down. Mix until you just barely see the last streaks of flour disappearing. Fold in those chocolate chips lovingly, press the dough evenly into your prepared pan—and I mean press it! Use the bottom of a measuring cup to get a nice, flat surface. Then, into the oven they go for about 25 to 30 minutes.
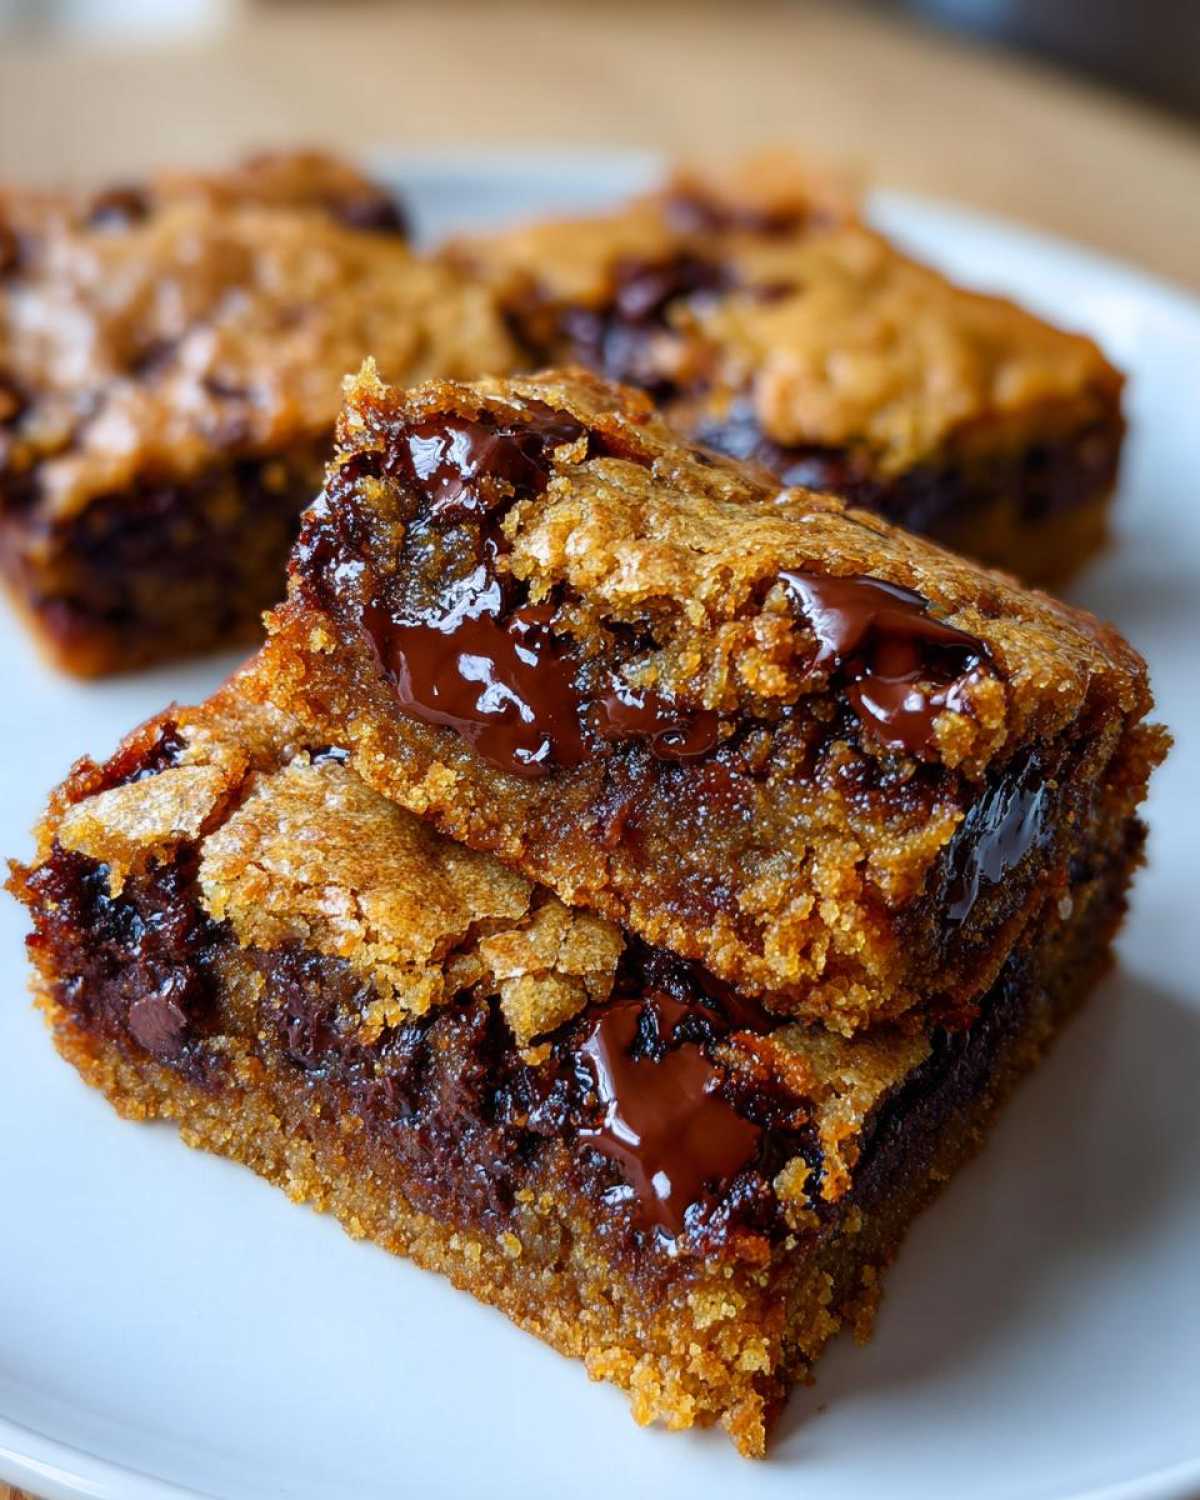
The visual cue is everything here for those Gooey Chocolate Chip Bars. You’re looking for the edges to look set and maybe just kissed with gold, but the middle absolutely has to look a little soft and unset. If you bake until the center looks like the edges, you’ve baked them too long! Once they are out, resist the urge to touch them! They need to cool completely—and I mean completely, maybe an hour or two—before you try lifting them out and cutting them. That cooling time locks in the moisture and sets that perfect, thick, chewy texture.
Tips for Success Making Homemade Chewy Bars
Listen, getting these bars perfect every single time isn’t just luck; it’s about paying attention to the small details that make a huge difference when you want that ultimate chew. The absolute most critical thing you must remember is resisting the urge to bake them until they are golden brown all the way through. If you think they look done, pull them out! Seriously, that slightly soft center is what guarantees gooeyness later on.
Also, before you even touch the measuring cup, make sure you are packing that light brown sugar properly. You want to squeeze down hard when you scoop it into the cup so there are no air gaps—that molasses moisture is everything for preventing dryness. If you’re looking for other secrets to baking truly soft treats, you might want to check out how I use pudding mix in my cookie recipes; it’s a game-changer for texture retention, which you can read about here: pudding cookie secrets. Following these guidelines ensures you nail that thick, satisfying bite every time you decide to whip up these Simple Bar Cookies.
Storage and Reheating Instructions for Chewy Chocolate Chip Cookie Bars
You’ve baked the perfect batch—now, how do we keep them soft so they still taste like they just came out of the oven tomorrow? This is crucial if you want to keep these beauties fresh. The good news is that because of all that brown sugar and fat, these Simple Bar Cookies hold up wonderfully!
The number one rule for maintaining texture is airtight containment. Once the bars are completely cool—and I mean totally cooled down, don’t try to sneak one warm or you’ll regret it when it crumbles—you need to seal them up tight. I use a large, rigid container with a snap-on lid, but even a quality zip-top bag that you press all the air out of works in a pinch.
They are best left right on your counter at room temperature. Don’t even think about the fridge unless you absolutely have to, because cold temperatures are the sworn enemy of chewiness, making them firm up way too fast. Stored correctly in an airtight container, these bars will stay delightfully soft and chewy for up to four days. If you happen to make a massive batch and need them longer, you can freeze portions, but for day-to-day snacking, room temperature is the way to go.
If you do pull one out and it feels just a *touch* firmer than you remember, don’t panic! A quick 10-second zap in the microwave—seriously, only 10 seconds—will bring that chocolate right back to that glorious, melty state. It’s like magic! For more tips on keeping baked goods perfectly soft, especially when dealing with items intended for long-term storage, you might find my guide on making chewy granola bars helpful, as chewiness retention is our main goal there, too.
Serving Suggestions for Your Chocolate Chip Squares recipe
Now that you’ve successfully navigated the baking process and your perfect bars are cooled and sitting there looking all thick and decadent, it’s time for the best part: eating them! Honestly, standing over the cooling rack and cutting the first few squares is a reward in itself, but why stop there?
These Chocolate Chip Squares recipe cuts are amazing all by themselves, obviously. They are sturdy enough to hold up perfectly at any gathering, making them ideal Dessert Bars for Parties, potlucks, or, let’s be real, the perfect bake sale offering that sells out first. Because they aren’t overly delicate, you can stack them up nicely in containers.
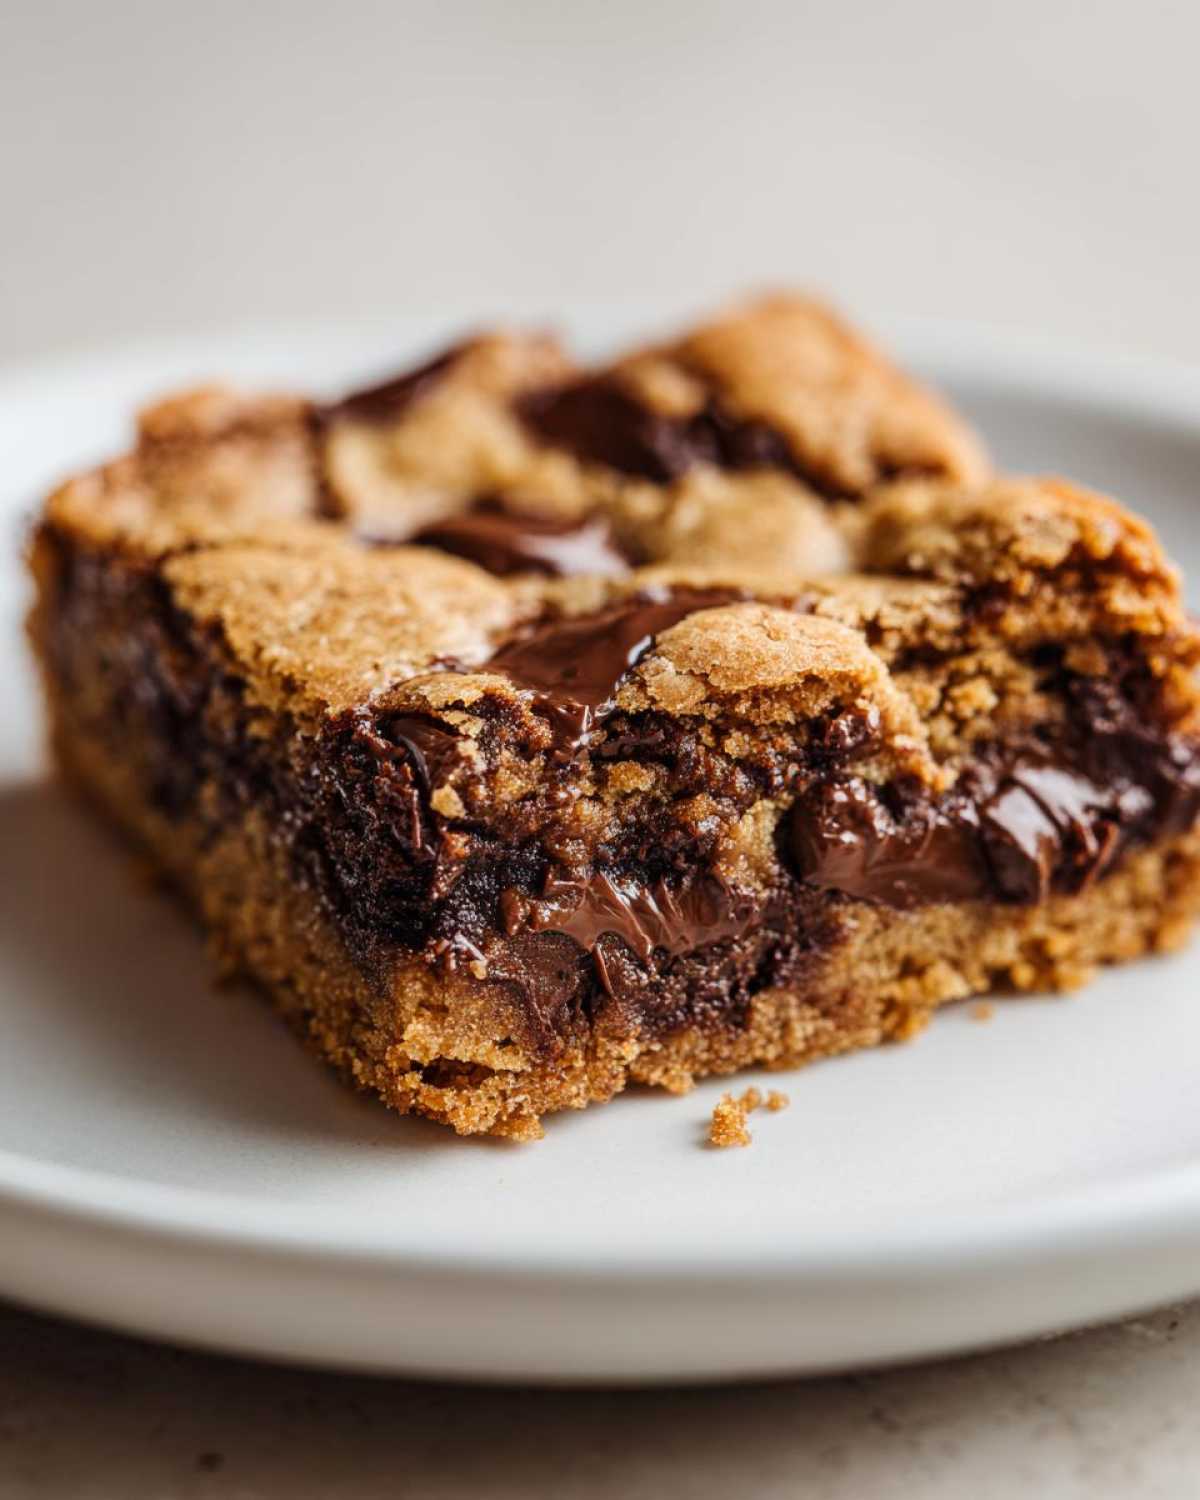
But if you’re serving them at home, you have to try them warm—just slightly warm, not hot—with a scoop of vanilla bean ice cream melting right over the top. When that cold cream hits the slightly gooey chocolate chips in the warm bar? Heaven. It’s just pure comfort in a dish. A mug of strong, hot coffee cuts right through the richness beautifully, too. If you want to get really fancy, and you’re looking for that next-level decadent feel, you can even drizzle these with a little homemade salted caramel sauce, much like the richness I aim for when making my gooey chocolate fudge pie. But honestly, serve them plain straight from the pan with a tall glass of cold milk, and you’ve achieved dessert perfection.
Frequently Asked questions About Chewy Chocolate Chip Cookie Bars
Okay, I get so many great questions about these bars, and honestly, if you’re wondering about the texture or timing, you’re probably already on the right track to baking success! People always want to know how to avoid that dreaded cakey texture or if they can cheat on the mixing time. Let’s sort out some of those burning topics so you can bake confidently!
Here are my go-to answers for the most common baking concerns when aiming for that melt-in-your-mouth result:
Why are my cookie bars coming out cakey instead of chewy?
If your bars popped up too high and feel dry when you bite into them, you likely did one of two things! Firstly, you might have overmixed the batter once the flour went in—that develops gluten and makes it sturdy, like bread, not soft like a cookie. Stop mixing the second you don’t see dry flour streaks anymore. Secondly, you probably baked them too long! Remember what I said? They should look slightly soft in the middle when you pull them out. If you bake them until a toothpick comes out perfectly clean, they’ll be cakey once they cool down. For more texture control tips, check out how I handle texture in my pumpkin cheesecake bars, because keeping things soft is always the goal!
Can I use all brown sugar instead of mixing white and brown?
You certainly can, and it will amp up the chewiness even more! If you eliminate the white granulated sugar entirely and use 1 1/2 cups of packed light brown sugar instead, you are leaning heavily into that molasses flavor and moisture retention. This will give you a slightly deeper color and an even denser, more fudgy result. It makes for great Fudgy Chocolate Chip Bars, but just know that the edges won’t brown quite as nicely since the white sugar aids in that crisp edge formation. For most people, the 1 cup brown and 1/2 cup white ratio offers the best balance of chewiness and structure.
I need these fast! Can I chill the dough first?
That’s a fantastic question, especially if you’re trying to get ahead of the game! The beauty of this recipe is that it is designed as a No Chill Cookie Bar Dough. Since we use melted butter, the dough is going to be very loose and pourable—it’s not supposed to be stiff like regular drop cookie dough once the flour is added. If you chill it, the melted butter will solidify, and it becomes incredibly hard to spread evenly into the pan. You really want to mix it and press it right into the pan immediately for the best, most even bake. Freshly made equals the best chew for these bars!
Can I make this Chewy Chocolate Chip Cookie Bars recipe ahead of time?
Since this dough is made with melted butter, chilling it isn’t recommended because you’ll have to soften that hard butter again before spreading, which defeats the purpose of the quick, easy mix! For the absolute best results—for that ultimate, fresh-from-the-oven chew—you should bake them the same day you mix the dough. That slight underbake combined with immediate cooling is what locks in that soft texture. While you can store the baked bars for several days (as covered in the storage section), baking fresh yields the absolute best chew texture.
How do I get those perfect, gooey pockets of melted chocolate?
Ah, the chocolate pockets! Everyone loves those moments where you bite in and get a burst of molten, glorious chocolate. For this, you need good quality chips, and you need patience during the fold-in process. Don’t stir them in vigorously! Gently fold them in until they are just distributed. For an extra surprise, I sometimes reserve about 1/2 cup of the chips and gently press them onto the top surface of the dough right before it goes into the oven. They melt beautifully on top and sink just a little bit, creating those amazing, visible, gooey spots!
Estimated Nutritional Data for Perfectly Chewy Dessert recipe
Okay, so these bars are truly the ultimate comfort food, and let’s be honest—they aren’t exactly health food, but knowing what you’re enjoying is always important! We treat these as an occasional indulgence, and they are absolutely worth every single scrumptious calorie when that chocolate craving hits. Please remember that this data is just an estimate based on the standard ingredients listed, and if you start adding walnuts or using dark chocolate chunks, those numbers might shift a little bit.
But, for a standard serving size, which yields about 24 squares from the pan, here is the general breakdown for your Perfectly Chewy Dessert recipe. This information really helps when you’re planning your treats!
- Serving Size: 1 bar
- Calories: 240
- Fat: 13g (with about 8g of that being saturated fat from the butter and chocolate—yum!)
- Carbohydrates: 30g
- Sugar: 20g (See? That brown sugar is working hard!)
- Protein: 3g
- Sodium: 110mg
- Cholesterol: 45mg
As you can see, they are rich and satisfying, which is exactly what you want from a fantastic bar cookie. If you are looking for lighter recipes, I have a great one for sugar-free banana bread that keeps things moist without all the sugar, which you can check out for a different kind of treat right here. But for pure, unadulterated chocolate chip cookie bar bliss, these numbers are what you can expect!
Share Your Homemade Chewy Bars
Okay, you’ve made it! You’ve mastered the melted butter, you’ve pulled them just early enough from the oven, and now you have a pan full of the most incredible Chewy Chocolate Chip Cookie Bars imaginable. I absolutely live to hear from you when you try this recipe!
Don’t be shy! Seriously, I want to know how they turned out. Did you go crazy with the chocolate chips? Did they pass the bend test? Please head down to the comments section below and let me know what you thought. Rating the recipe out of five stars helps other bakers gain confidence in trying this technique for the first time, so don’t forget that little step!
While you’re at it, if you snap a picture of your perfectly square, gooey bars—especially if you’re serving them for a party or a bake sale—tag me on social media! There’s nothing better than seeing my recipes come to life in home kitchens. If you want to learn more about my baking philosophy and why I share all these detailed tips, you can always read a little about me on my ‘About Us’ page. Happy baking, and enjoy every single chewy bite!
PrintChewy Chocolate Chip Cookie Bars
A straightforward recipe for thick, chewy chocolate chip cookie bars that stay soft after cooling.
- Prep Time: 15 min
- Cook Time: 30 min
- Total Time: 45 min
- Yield: 24 bars
- Category: Dessert
- Method: Baking
- Cuisine: American
- Diet: Vegetarian
Ingredients
- 1 cup (2 sticks) unsalted butter, melted
- 1 cup packed light brown sugar
- 1/2 cup granulated sugar
- 2 large eggs
- 1 tablespoon vanilla extract
- 2 1/4 cups all-purpose flour
- 1 teaspoon baking soda
- 1/2 teaspoon salt
- 2 cups semi-sweet chocolate chips
Instructions
- Preheat your oven to 350 degrees Fahrenheit. Line a 9×13 inch baking pan with parchment paper, leaving an overhang on the sides for easy removal.
- In a large bowl, whisk the melted butter, brown sugar, and granulated sugar together until smooth.
- Beat in the eggs one at a time, then stir in the vanilla extract.
- In a separate bowl, whisk together the flour, baking soda, and salt.
- Gradually add the dry ingredients to the wet ingredients, mixing until just combined. Do not overmix.
- Fold in the chocolate chips.
- Press the dough evenly into the prepared baking pan.
- Bake for 25 to 30 minutes, or until the edges are set and lightly golden brown. The center should still look slightly soft.
- Let the bars cool completely in the pan on a wire rack before lifting them out using the parchment paper overhang.
- Cut into squares and serve.
Notes
- For extra chewiness, slightly underbake the bars by about 2 minutes. The residual heat will finish cooking them as they cool.
- If you prefer a nut variation, add 1 cup of chopped walnuts or pecans with the chocolate chips.
- Store cooled bars in an airtight container at room temperature for up to 4 days to maintain their soft texture.
Nutrition
- Serving Size: 1 bar
- Calories: 240
- Sugar: 20
- Sodium: 110
- Fat: 13
- Saturated Fat: 8
- Unsaturated Fat: 5
- Trans Fat: 0
- Carbohydrates: 30
- Fiber: 1
- Protein: 3
- Cholesterol: 45