

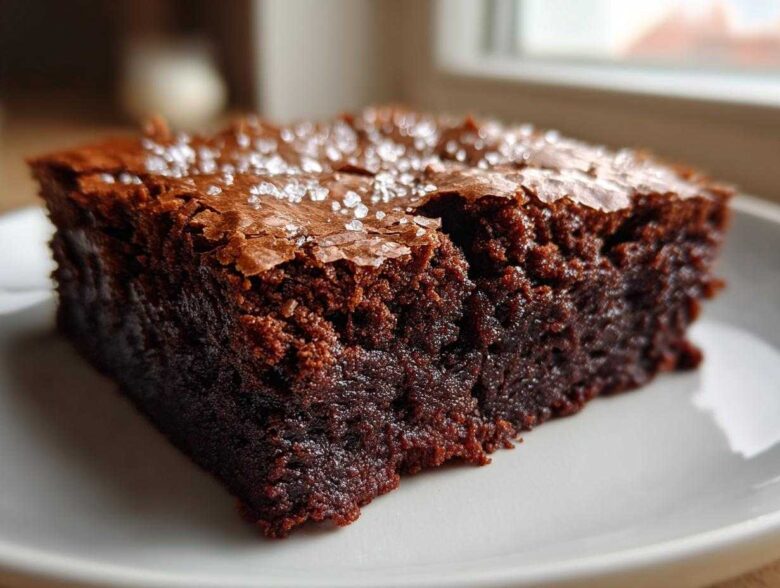
Oh my goodness, you are in for such a treat today! Forget everything you thought you knew about basic chocolate squares. We’re taking the humble brownie and giving it the gourmet treatment it deserves. I swear, the secret ingredient isn’t more chocolate—it’s the process of browning the butter! When you take the time to cook that butter until it smells nutty and deepens to a beautiful amber color, you unlock a complexity that plain butter just can’t touch. Trust me, mastering this technique is how you level up from homemade to bakery style.
These Brown Butter Brownies are my absolute favorite dessert, period. They are intensely fudgy, wonderfully dense, and I’m going to show you exactly how to get that shatteringly crisp, crinkly top we all dream about. Seriously, if you can handle a saucepan for about five minutes, you can make the best rich chocolate brownies of your life!
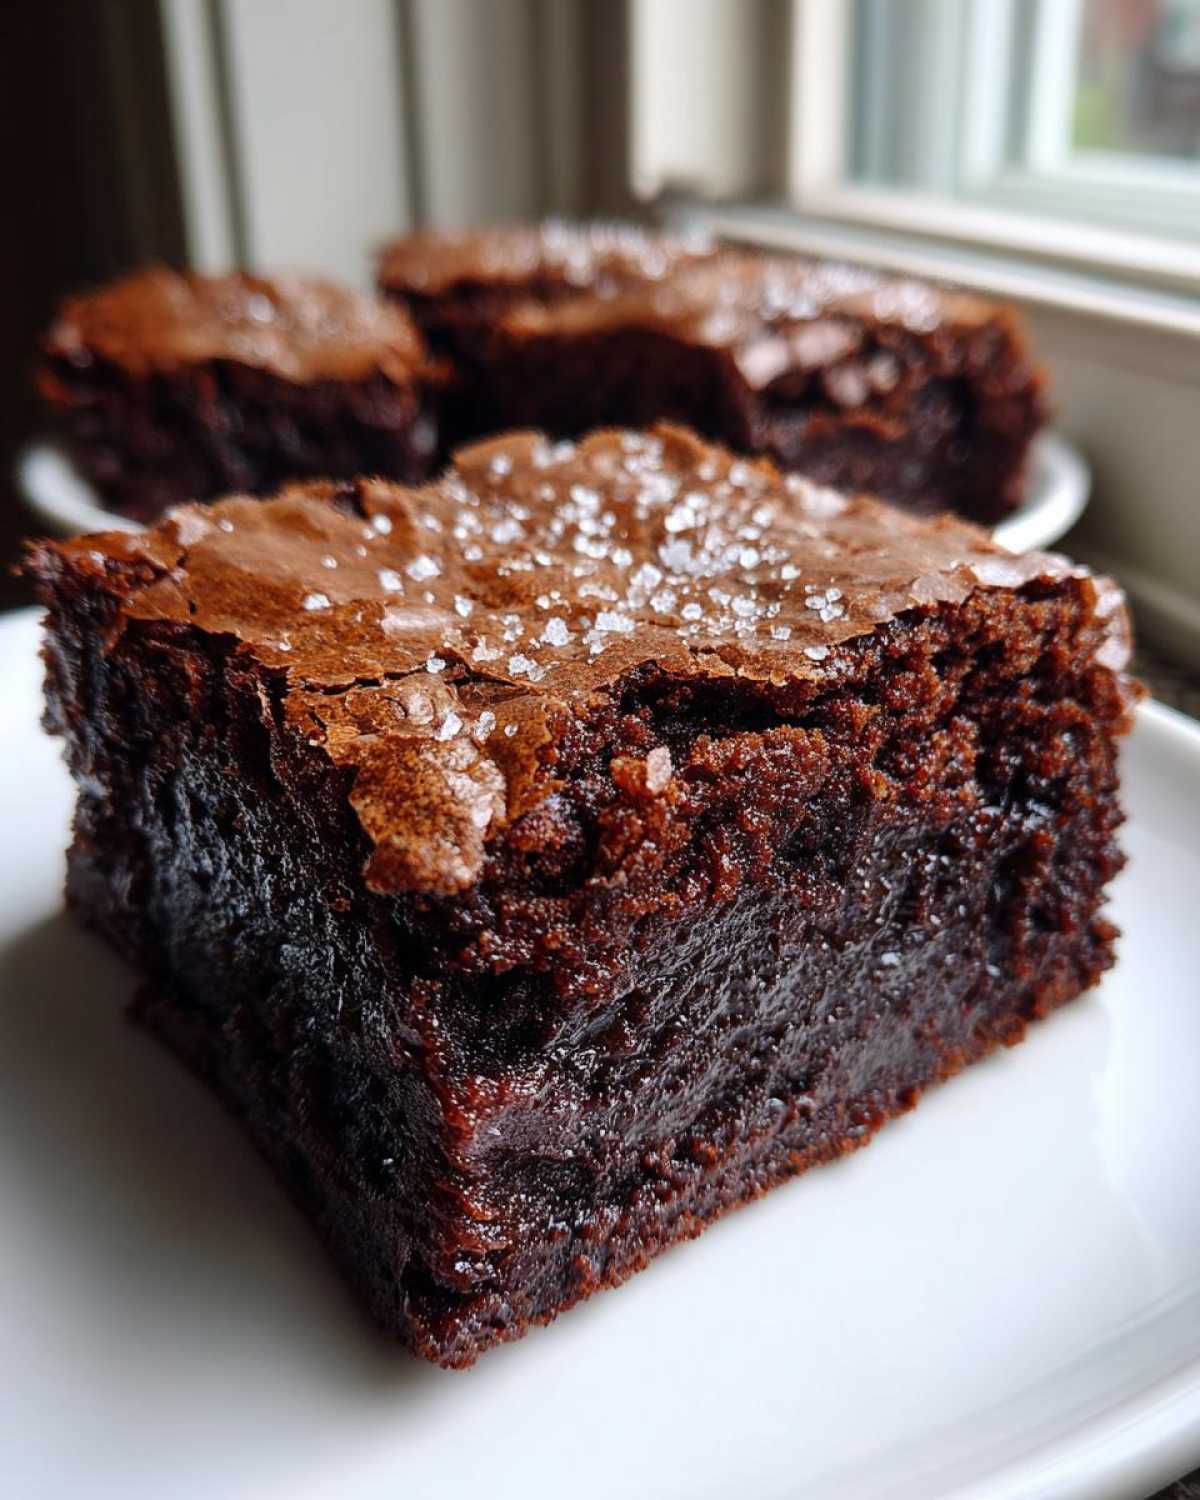
Why This is the Best Brown Butter Brownie Recipe (Fudgy Brown Butter Brownies)
Listen, I’ve tried every brownie recipe out there, but nothing compares once you introduce the nutty depth of brown butter. That little bit of extra effort makes all the difference! This Best Brown Butter Brownie Recipe isn’t just about a deep chocolate taste; it’s about the texture. I aim for that perfect balance: rich, gooey chocolate that melts in your mouth, matched only by that gorgeous, crackly surface.
When you use browned butter, you get these incredible Fudgy Brown Butter Brownies that taste like they came straight from a fancy city bakery. They are dense, never cakey, and the flavor lingers beautifully. This recipe ensures they stay moist for days, which is rare for homemade goodies!
Essential Ingredients for Perfect Brown Butter Brownies
The magic of these Brown Butter Brownies relies so much on setting up those core ingredients correctly. You can’t skimp here if you want that deep flavor and perfect fudgy texture!
First up is the butter—it has to be unsalted, simply because we are controlling the salt level ourselves later. You’ll need a full cup, 226 grams, to start the browning process. For the sugars, I insist on using both granulated and light brown sugar. The brown sugar adds that wonderful chewiness and molasses undertone that complements the toasted nuts of the melted butter. Don’t skip the brown sugar!
Next, you need three eggs, and this is important: they absolutely must be room temperature. Cold eggs shock the cooled brown butter and ruin that glossy texture we’re aiming for, which means a dull top instead of those beautiful cracks. A splash of vanilla extract is essential too.
For the dry elements, we use unsweetened cocoa powder—and please, use a good quality one! The cocoa powder is doing most of the heavy lifting flavor-wise after the butter does its job. You only need a half-cup of all-purpose flour, which keeps them nice and dense. Finally, don’t forget that cup of semi-sweet chocolate chips. They create those amazing pockets of melted chocolate inside your finished squares.
Mastering the Brown Butter Brownie Tutorial: Step-by-Step Instructions
Okay, this is where the magic truly happens. If you follow these steps exactly, you’ll nail this Chewy Brown Butter Brownie Tutorial every single time. Don’t rush the butter part—that’s the biggest rookie mistake!
Preparing the Pan and Browning the Butter for Brown Butter Brownies
First thing, preheat that oven to 350°F (175°C). I always line my 8×8 inch metal pan with parchment paper, making sure I leave big overhangs. Trust me, you want those flaps so you can lift the whole cooled slab out later! Don’t forget to lightly grease that parchment paper.
Now, for the star: the butter. Put your cup of butter in a light-colored saucepan over medium heat. You need to watch this like a hawk! It will melt, then it will foam up. Once it settles down, you’ll start seeing little brown bits forming at the bottom, and the smell changes completely—it goes from creamy to deeply nutty. That nutty aroma tells you it’s perfect. As soon as it’s golden brown (don’t let it burn!), pour every bit of it—including those toasty brown bits—into your large mixing bowl. Those bits are pure flavor gold for your Brown Butter Brownies! Let that glorious butter cool for about 10 minutes before moving on.
Mixing the Wet Ingredients to Achieve Glossy Tops
This next part is the secret weapon for getting those gorgeous, shiny, crinkly tops that make people think you bought these! Once the brown butter is just slightly warm—not hot, or you’ll scramble the eggs—whisk in both the granulated and brown sugars. You want to whisk this mixture until it gets thick and glossy. It should look almost like wet sand or very pale mousse.
This vigorous whisking is crucial because it dissolves the sugar slightly, which then creates steam during baking, leading directly to that signature cracking on top. After that, whisk in the three room-temperature eggs, one at a time, making sure each one is fully incorporated before adding the next. Follow that up with the vanilla extract. See how glossy it is getting? This is exactly what we want for perfect Perfect Crinkle Top Brownies!
Folding and Baking Your Rich Chocolate Brownies Recipe
In a separate bowl, whisk together your dry ingredients: the cocoa powder, flour, and salt. We want to keep these brownies fudgy, so we absolutely must not overmix them once the flour goes in. Gently fold this dry mix into your wet ingredients using your spatula. Only fold until you see just a few streaks of flour left—seriously, stop mixing then!
Next, gently fold in those chocolate chips. Spread that dense batter evenly into your waiting pan. They bake for 30 to 35 minutes at 350°F. How do you know they are done? If you test them too early, the center will be raw goo. If you test them too late, they turn cakey! Look for this: the edges should seem set, and when you stick a toothpick in near the center, it should come out with moist, fudgy crumbs attached—not wet, liquid batter. That’s the perfect indicator for a stunning Rich Chocolate Brownies Recipe.
Once they come out, sprinkle the top with a tiny bit of flaky sea salt—it really makes the chocolate pop! Then, you have to let them cool completely on a wire rack before you even think about cutting them. I know, it’s hard, but patience is the final step in this Brown Butter Brownie Tutorial.
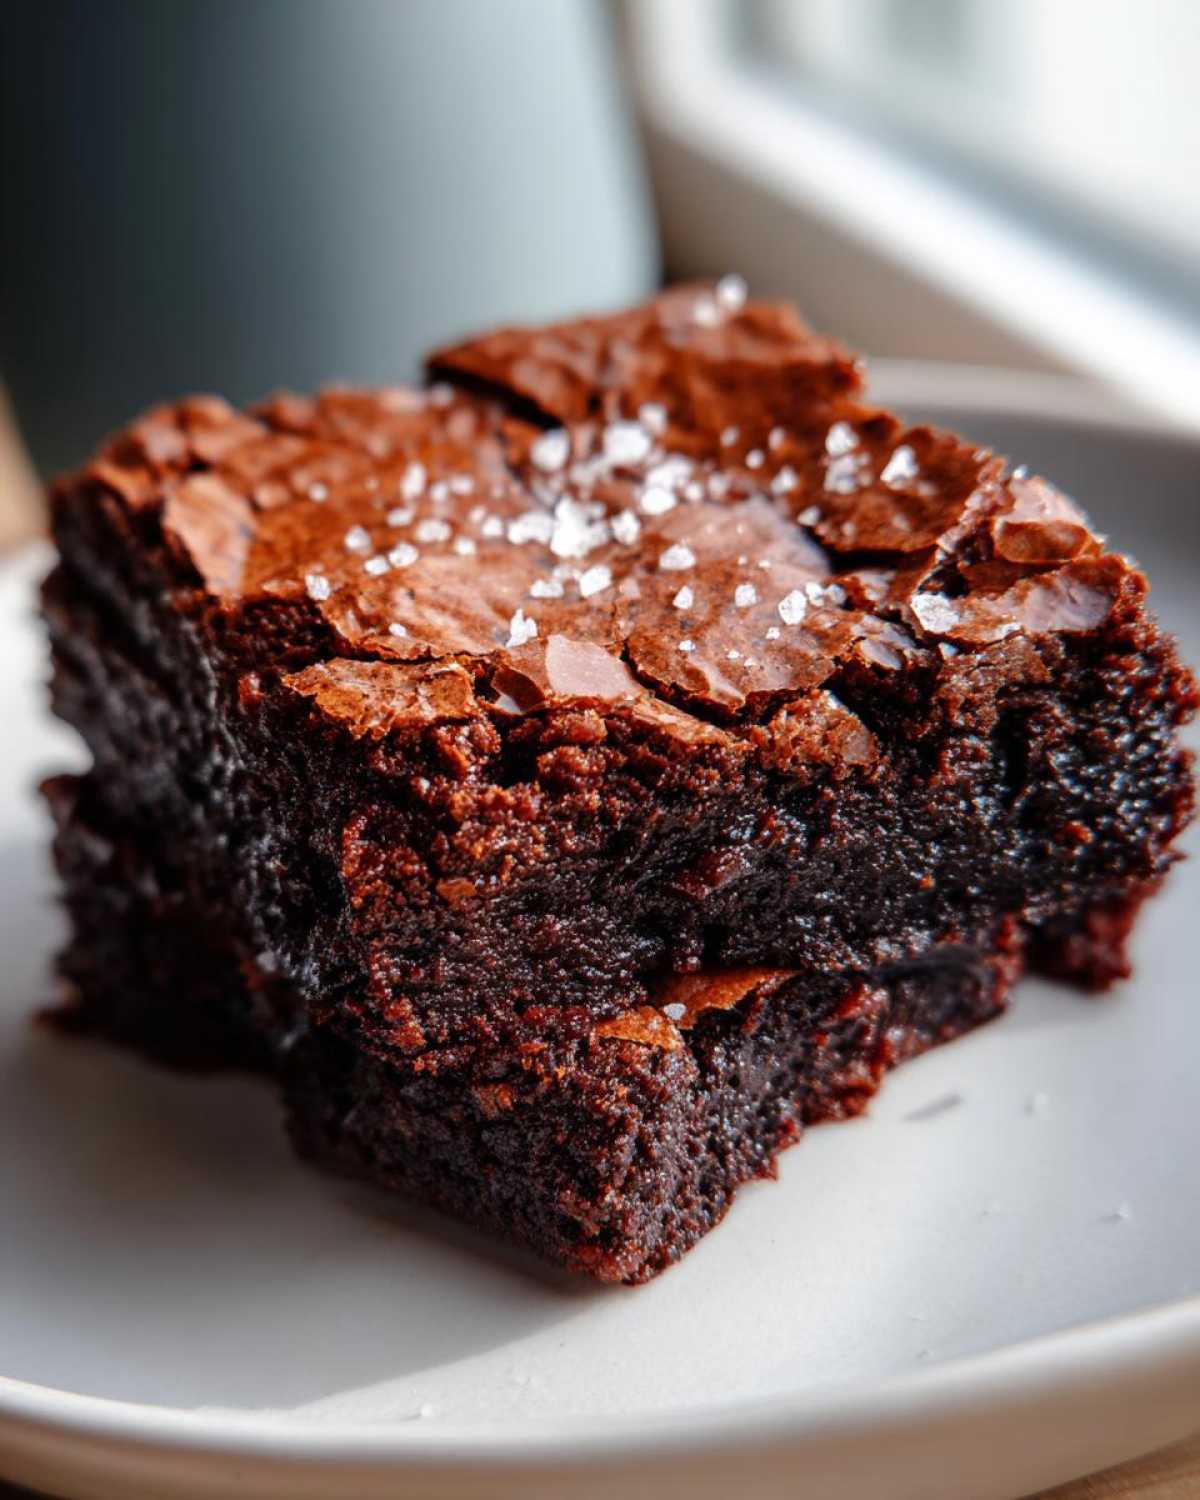
Tips for Success: Achieving Deep Flavor Brownies and Gooey Chocolate Brownies with Brown Butter
If you want these to graduate from good to absolutely show-stopping, you have to pay attention to a few key moments during the process. Remember, the goal here is those *amazing* Deep Flavor Brownies that taste complex, not just sweet.
The single most important tip, which I mentioned before, is watching the butter. Don’t walk away! You need those nutty brown milk solids in the bottom of the pan, but if you burn them, you get bitterness instead of flavor. Pull that pan off the heat the second you smell that deep, toasted aroma.
Another little trick for extra gooeyness comes right at the end. I like to chop my chocolate instead of using chips sometimes because the larger surface area melts more evenly, creating those beautiful molten spots we are looking for in our Gooey Chocolate Brownies with Brown Butter. But hey, if you use chips, that works too!
And finally, my must-do step, that little touch that makes people ask for the recipe: flaky sea salt. Sprinkle just a pinch over the top immediately after they come out of the oven. It provides the perfect counterpoint to the intense chocolate and elevates them instantly. Seriously, try it—it’s a game-changer!
Ingredient Notes and Substitutions for Your Brown Butter Brownies
I know everyone’s pantry looks a little different, so let’s talk substitutions because I want you to succeed with these Brown Butter Brownies even if you’re missing an exact item.
Chocolate is a big one, right? The recipe calls for semi-sweet chips, which I use because they melt beautifully without making things too sweet. If you prefer a darker, more intense flavor—maybe you’re aiming for those seriously rich chocolate squares—feel free to swap in bittersweet chocolate (around 60-70% cacao). If you use dark chocolate that’s 75% or higher, you might want to add an extra tablespoon of brown sugar, just so the final bar isn’t too bitter for your taste!
Now, about that flour—this is crucial for the fudgy texture. Please do not just scoop your measuring cup directly into the bag of flour! That packs it down way too tight, and you end up with a denser, heavier brownie that can turn out dry. My go-to method is always spooning the flour lightly into the measuring cup and then leveling the top off with a straight knife. It seems fussy, but that tiny bit of extra air makes a difference in keeping these Brown Butter Brownies perfectly chewy!
I usually stick to light brown sugar, but if you only have dark brown sugar on hand, go for it! It will just make the final product a shade darker and bring out even more of that molasses chewiness. It really won’t mess up the texture, just the final look a little bit!
Storage and Reheating Instructions for Homemade Chocolate Squares
Okay, you just spent all that time making the world’s best Brown Butter Brownies, so naturally, you want them to stay perfect. These are so rich, they actually improve overnight, which is the best news ever, right?
When it comes to keeping these babies fresh, airtight storage is your new best friend. If you plan on eating them within three or four days (which is ambitious, I know!), just keep them tightly sealed in an airtight container at room temperature. I find putting a slice of white bread in the container with them helps keep them soft, much like how people used to store cookies back in the day! Never put them in the fridge right away, though—the cold tends to dry out any baked good, and we lose that fudgy factor.
If you must store them longer, say up to a week, the fridge is fine, but you need a reheat strategy. Cold brownies are hard brownies, and we don’t want that! When you pull them out of the fridge, let them sit on the counter for about 30 minutes to come back toward room temperature.
For that magical, fresh-out-of-the-oven experience, microwave them for just 10 to 15 seconds. This melts those gorgeous chocolate chips and brings back the soft, gooey texture of your Homemade Chocolate Squares perfectly. If you want to feel extra fancy, a quick reheat in a low oven (around 300°F) for maybe 5 minutes works wonders too, especially if you’re warming up a whole batch!
Frequently Asked Questions About Brown Butter Baking Secrets
I get so many questions about these babies, which makes total sense because learning Brown Butter Baking Secrets can feel tricky at first! Honestly, these questions pop up because people want their homemade treats to taste that professional-level good.
Can I skip browning the butter in this Brown Butter Brownies recipe?
You *can*, technically, if you are in a huge rush, but please don’t! If you skip it, you end up with just a good, plain chocolate brownie. Browning the butter is what gives these their signature nutty, deep, complex flavor profile. It’s the whole point! If you skip it, you lose that unique complexity we worked so hard to build with the sugars and the cocoa. It just won’t be the same!
How do I know if my Brown Butter Brownies are underbaked?
This is classic brownie anxiety! Remember what I said in the main instructions? You want moist crumbs, not wet batter. If you insert a toothpick and it comes out totally clean, like it’s been washed, you’ve probably gone too far and they are going to be cakey. If it’s completely coated in wet, runny batter, pull them out right now—they need more time! The sweet spot for these Brown Butter Brownies is when the toothpick is gone maybe halfway down, and the crumbs sticking to it look damp and rich.
What is the best way to make Bakery Style Brown Butter Brownies?
For true Bakery Style Brown Butter Brownies, the secret really lies in two things: that sugar ratio we used (lots of brown sugar for chewiness!) and the cooling time. You have to whisk those eggs with the sugar until they are super glossy—that helps trigger the crinkle top. But the real final step for that dense, chewy texture is patience. After they come out of the oven, you must let them cool completely, ideally for several hours, before cutting. That cooling time lets the starches set up perfectly, giving you those clean-cut, dense squares instead of a sloppy mess.
Variations for Nutty Brown Butter Desserts
Once you have mastered the base recipe for our rich Brown Butter Brownies, the real fun begins! This batter is such a great foundation for playing around. I love experimenting when I have extra guests because everyone always wants to know what the extra little something is in my chocolate squares.
If you’re looking to lean into that wonderful toasted flavor the brown butter provides, you have to try nuts. These are my go-to Nutty Brown Butter Desserts. Toasting about a cup of chopped pecans or walnuts before folding them in brings out an amazing earthy crunch that competes perfectly with the cocoa. Just make sure you toast them lightly in a dry pan first to really wake up their flavor!
Another super easy upgrade involves changing up your chocolate choice. While I love semi-sweet, try swapping half of those chips for white chocolate chunks flavored with peppermint extract around the holidays. Or, for a deep, sophisticated twist, use dark chocolate (70% or higher) and add just a quarter teaspoon of instant espresso powder along with your dry ingredients. It won’t taste like coffee, but wow, does it deepen the chocolate notes!
Finally, if you don’t want to mess with texture, just play with flavor extracts! Instead of just vanilla, try swapping in 1/2 teaspoon of almond extract for that classic bakery flavor, or maybe a tiny drop of good quality orange extract. It’s shocking how much an extract change can transform your perfectly fudgy Brown Butter Brownies without any extra mixing steps!
Estimated Nutritional Data for Brown Butter Brownies
I know some of you bakers are real tracking pros, and others just want to know what kind of goodness you are getting into! Here is the ballpark estimate for my Brown Butter Brownies, based on a yield of 16 squares.
Remember, these numbers are just guidelines—they are educated guesses based on brand-name ingredients. If you use fancy imported chocolate or organic butter, those numbers will shift just a little bit, so take these as a starting point.
- Serving Size: 1 square
- Calories: 285
- Sugar: 28g (Yes, a treat!)
- Fat: 17g
- Saturated Fat: 10g
- Carbohydrates: 32g
- Protein: 4g
- Sodium: 110mg
Because we are starting with a whole cup of butter and melting it down, the fat content is definitely there, but that’s what makes them so rich and fudgy! If you’re counting, the fiber and protein come mostly from the cocoa powder and flour, balancing out that sweetness just a touch. Enjoy them, and don’t sweat the small stuff—it’s worth every single buttery bite!
Share Your Step by Step Brownie Baking Results
Now it’s your turn! I’ve poured all my best advice, all my secrets for that perfect, glossy top and deep, nutty flavor, into this recipe. The final test is always seeing your beautiful creations in the wild!
I really, really want you to try these Brown Butter Brownies. When you do, please come back here and let me know how they turned out. Don’t just tell me they were good; tell me about that texture! Did you get the fudgy center you were hoping for? Was your top perfectly crinkly? Those little details help me know I’ve done my job right!
If you snap a picture of your perfect squares, tag me on social media! Seeing your gorgeous Step by Step Brownie Baking successes is honestly the best part of running this little corner of the internet. If you loved this recipe, be sure to give it a glowing 5-star rating right down below. Happy baking, everyone! I can’t wait to see your nutty, chocolatey masterpieces!
PrintBest Brown Butter Brownies with Crinkly Tops
Make rich, fudgy brownies using browned butter for a deep, nutty chocolate flavor and a perfect crinkly top.
- Prep Time: 15 min
- Cook Time: 35 min
- Total Time: 50 min
- Yield: 16 squares
- Category: Dessert
- Method: Baking
- Cuisine: American
- Diet: Vegetarian
Ingredients
- 1 cup (226g) unsalted butter
- 1 1/4 cups (250g) granulated sugar
- 3/4 cup (150g) packed light brown sugar
- 3 large eggs, room temperature
- 1 tablespoon vanilla extract
- 3/4 cup (75g) unsweetened cocoa powder
- 1/2 cup (60g) all-purpose flour
- 1/2 teaspoon salt
- 1 cup (170g) semi-sweet chocolate chips or chopped chocolate
Instructions
- Preheat your oven to 350°F (175°C). Line an 8×8 inch metal baking pan with parchment paper, leaving an overhang on two sides for easy removal. Lightly grease the paper.
- Place the butter in a light-colored saucepan over medium heat. Cook, swirling often, until the butter melts, foams, and then brown bits form at the bottom, releasing a nutty aroma. This takes about 5 to 8 minutes. Immediately pour the brown butter into a large, heatproof bowl, scraping in the brown bits. Let it cool for 10 minutes.
- Whisk the granulated sugar and brown sugar into the slightly cooled brown butter until fully combined.
- Add the eggs one at a time, whisking well after each addition until the mixture is thick and glossy. Whisk in the vanilla extract.
- In a separate bowl, whisk together the cocoa powder, flour, and salt.
- Gently fold the dry ingredients into the wet ingredients using a rubber spatula until just combined. Do not overmix.
- Fold in the chocolate chips.
- Spread the batter evenly into the prepared pan.
- Bake for 30 to 35 minutes. The edges should look set, and a toothpick inserted near the center should come out with moist, fudgy crumbs attached, not wet batter.
- Let the brownies cool completely in the pan on a wire rack before lifting them out using the parchment overhang and cutting them into squares.
Notes
- Browning the butter is key; watch closely to prevent burning. The milk solids must turn golden brown.
- For extra fudginess, use high-quality chocolate instead of chips.
- Sprinkle a pinch of flaky sea salt over the top immediately after removing the pan from the oven for a gourmet finish.
Nutrition
- Serving Size: 1 square
- Calories: 285
- Sugar: 28
- Sodium: 110
- Fat: 17
- Saturated Fat: 10
- Unsaturated Fat: 7
- Trans Fat: 0.1
- Carbohydrates: 32
- Fiber: 1.5
- Protein: 4
- Cholesterol: 65