

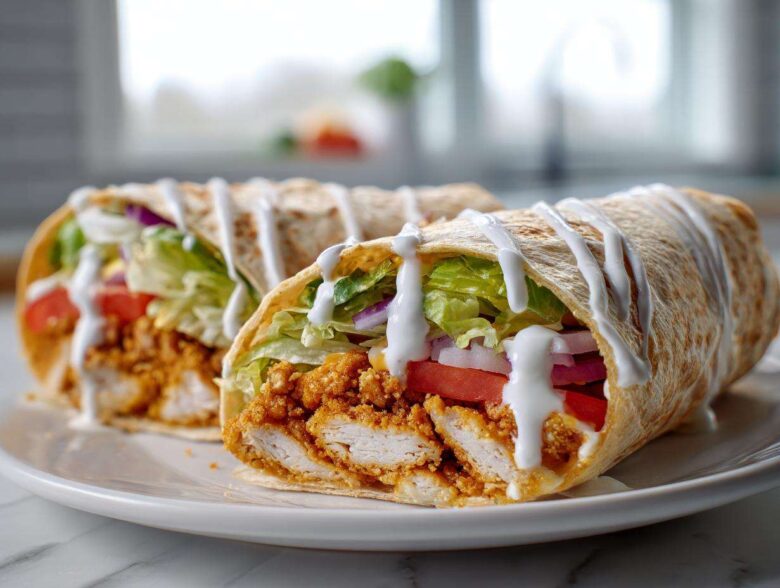
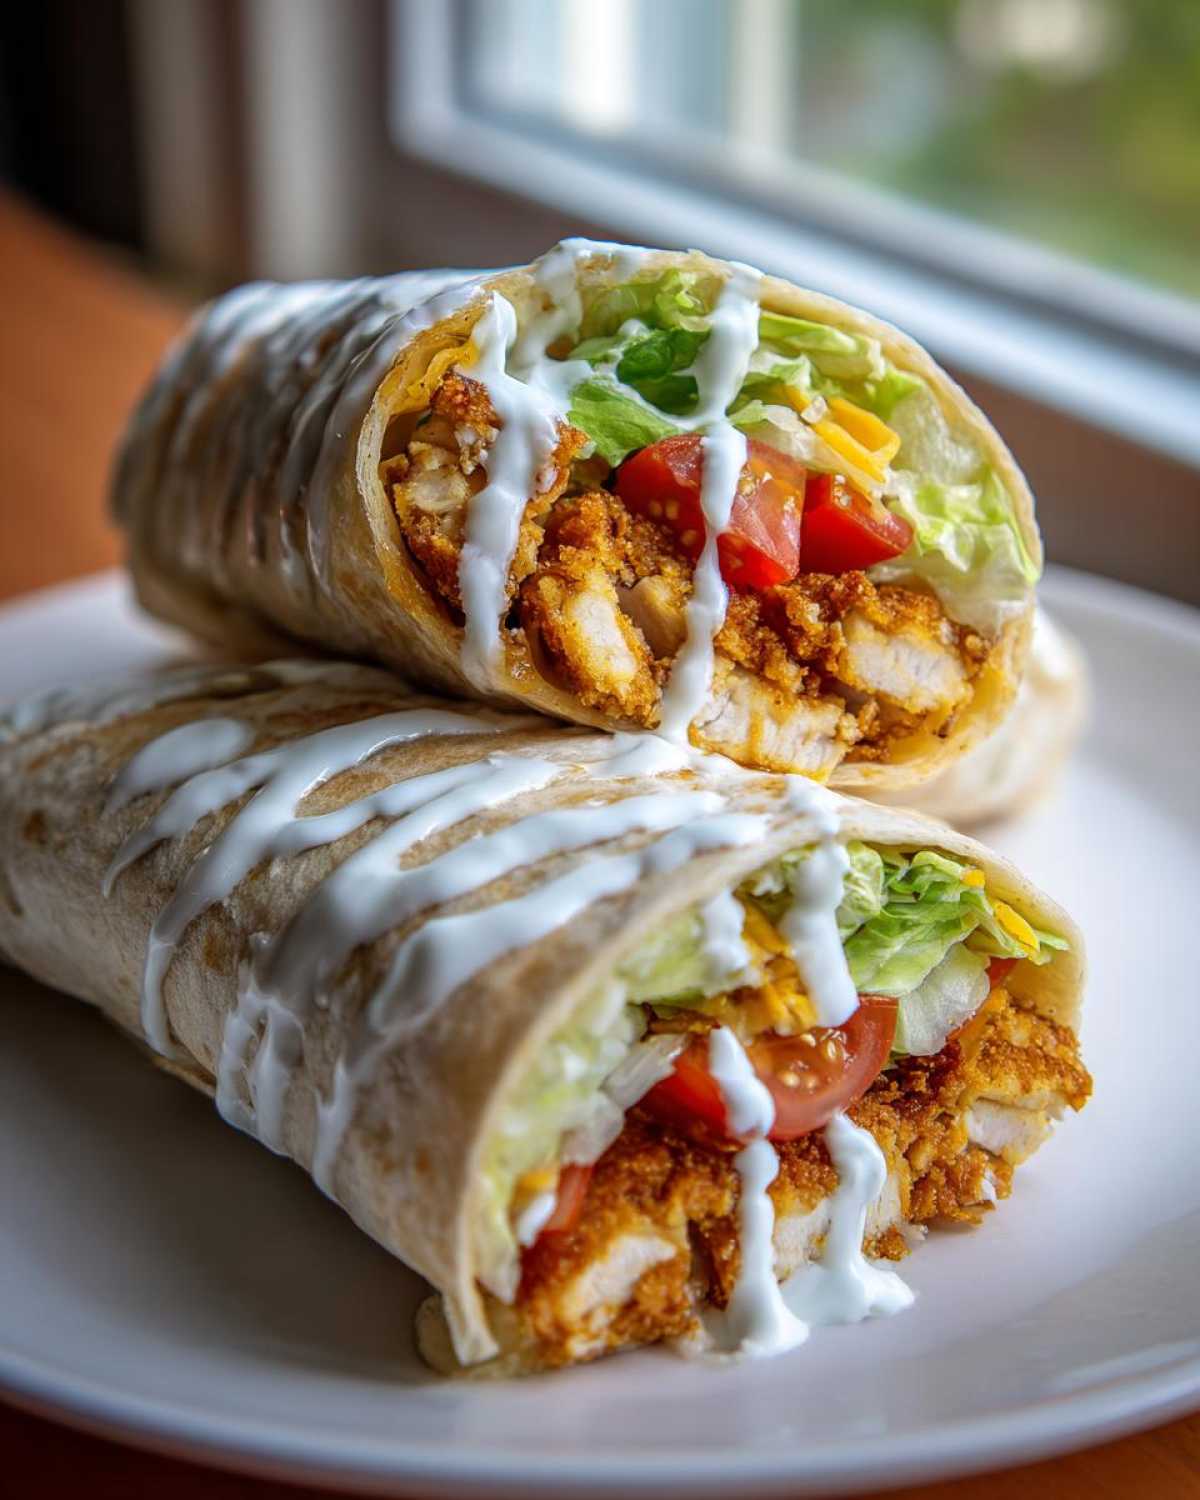
Are you tired of those sad, soggy wraps that promise crunch but deliver disappointment? I know I was! There’s nothing quite like biting into something perfectly crunchy only to have it immediately dissolve into mush. Well, stop everything, because I cracked the code. This recipe for Crispy Chicken Wrap with Creamy Garlic Sauce is the absolute game-changer you’ve been waiting for. We’re not just talking about decent chicken; we’re aiming for that fast-food style crunch that lasts! Trust me, after years of testing different breading techniques—and wasting way too many chicken strips in the process—I found the exact method to keep that coating locked on and shatteringly crisp, every single time.
Why This Crispy Chicken Wrap with Creamy Garlic Sauce is the Best Chicken Wrap Ever
I’m telling you, this isn’t just another lunch idea; this is the pinnacle of wrap perfection. If you love texture as much as I do, you absolutely need this recipe in your rotation. We nail both the crunch and the cool, savory element without any fuss. It’s truly the Best Chicken Wrap Ever!
Here’s what makes this recipe stand out when you’re craving that authentic, satisfying bite:
- The Unshakeable Crunch Factor: We use Panko breadcrumbs, and we use them correctly. My dredge method ensures that even if the wrap sits for an hour, the chicken stays beautifully rigid and crunchy—no sad, floppy chicken here!
- The Magic Sauce Balance: The Creamy Garlic Sauce is rich, brightened with lemon juice, and deeply garlicky. It cuts through the richness of the fried chicken perfectly. It’s much better than plain mayo, trust me.
- Speedy Weeknight Victory: Even though we’re making homemade crispy tenders, the whole process—chicken coating, frying, and sauce whipping—comes together in under 40 minutes. It’s incredibly fast for leftovers this good.
- Layered Goodness: I’ve perfected the layering so that you get a blend of sharp onion, cool lettuce, and savory melted cheese in every single bite. It’s a full meal wrapped neatly, not just chicken swimming in sauce.
Ingredients for Your Crispy Chicken Wrap with Creamy Garlic Sauce
Okay, gather your supplies! Getting the ingredient list right is half the battle, especially when you’re aiming for that perfect crunch coupled with a super smooth sauce. Don’t skimp here—freshness really matters for maximum flavor impact. Remember, we need three main groups of items: the chicken coating, the star sauce, and everything else that goes into the actual wrap. I’ve listed exactly what you need below so you can pull it all out before you even start heating the oil!
For the Perfectly Crispy Chicken Coating
This is where the crunch magic happens! Panko is absolutely non-negotiable here, folks; regular breadcrumbs just don’t give you that airy, shatteringly crisp texture we’re after. We’re layering up the flavor right in the dry dredge.
- 2 large boneless, skinless chicken breasts, cut into strips
- 1 cup all-purpose flour
- 1 teaspoon salt
- 1/2 teaspoon black pepper
- 1 teaspoon paprika
- 1/2 teaspoon garlic powder
- 2 large eggs, beaten
- 1 cup panko breadcrumbs
- Vegetable oil, for frying (or cooking spray for air frying)
For the Creamy Garlic Sauce for Wraps
This homemade sauce is what elevates this from a snack to a serious meal. It’s rich, zingy, and has that deep, slow-cooked garlic flavor without any of the work. This is our secret weapon for the Creamy Garlic Sauce for Wraps!
For the sauce, you will need:
- 1/2 cup mayonnaise (use a good quality one!)
- 2 cloves garlic minced (really mince it small!)
- 1 tablespoon lemon juice (fresh is best!)
- 1 teaspoon Dijon mustard
- 1/4 teaspoon salt
Wrap Assembly Ingredients
These components add freshness, color, and that final creamy texture right before you roll it up tightly. Simple, classic additions work best so the chicken and sauce can still shine.
- 4 large flour tortillas
- 1 cup shredded iceberg lettuce
- 1/2 cup sliced tomato
- 1/4 cup thinly sliced red onion
- 1/2 cup shredded Monterey Jack cheese
How to Make Crispy Chicken Tenders Wrap: Step-by-Step Instructions
Alright, this is where the magic happens! We are building the perfect Crunchy Chicken Tutorial right here. The key is organized chaos—get all your dredging stations set up before you even look at the chicken. Once that chicken is coated, it needs speed! We’re going through the three major phases: perfect coating, fast cooking, and quick sauce assembly.
Preparing the Chicken for Maximum Crispiness
This dredging process is classic, but the order is everything! First, grab your flour mixture (that’s flour, salt, paprika, and garlic powder). Give the chicken strips a really good shake after this step—we only want a thin layer sticking on. Next, the eggs, just a quick dip to get it wet. Finally, press it firmly into the panko breadcrumbs. Make sure that panko sticks all over! Now, here’s my game-changer tip: Resist the urge to cook it immediately. Pop those breaded strips into the fridge for about 15 minutes. Chilling the coating lets it hydrate slightly and adhere so much better when it hits the hot oil. It stops that breading from falling off mid-fry!
Cooking the Chicken: Frying or Air Frying
If you’re frying, aim for oil that’s resting right at 350°F (175°C). Seriously, don’t guess; an oil thermometer is your best friend here for that restaurant-style result! Drop the chicken in batches—don’t crowd the pan, or the oil temp drops and you get soggy chicken. Fry for about 3 to 4 minutes on each side until they are gloriously golden brown. If you’re going the air fryer route (and I love that option for easier cleanup!), set your machine to 400°F (200°C) and cook for about 10 to 12 minutes, flipping them halfway through. Either way, drain them immediately on paper towels because we want all that excess oil gone!
You can check out my tips on using an air fryer for other things too, like air fryer gnocchi, by the way!
Whipping Up the Creamy Garlic Sauce for Wraps
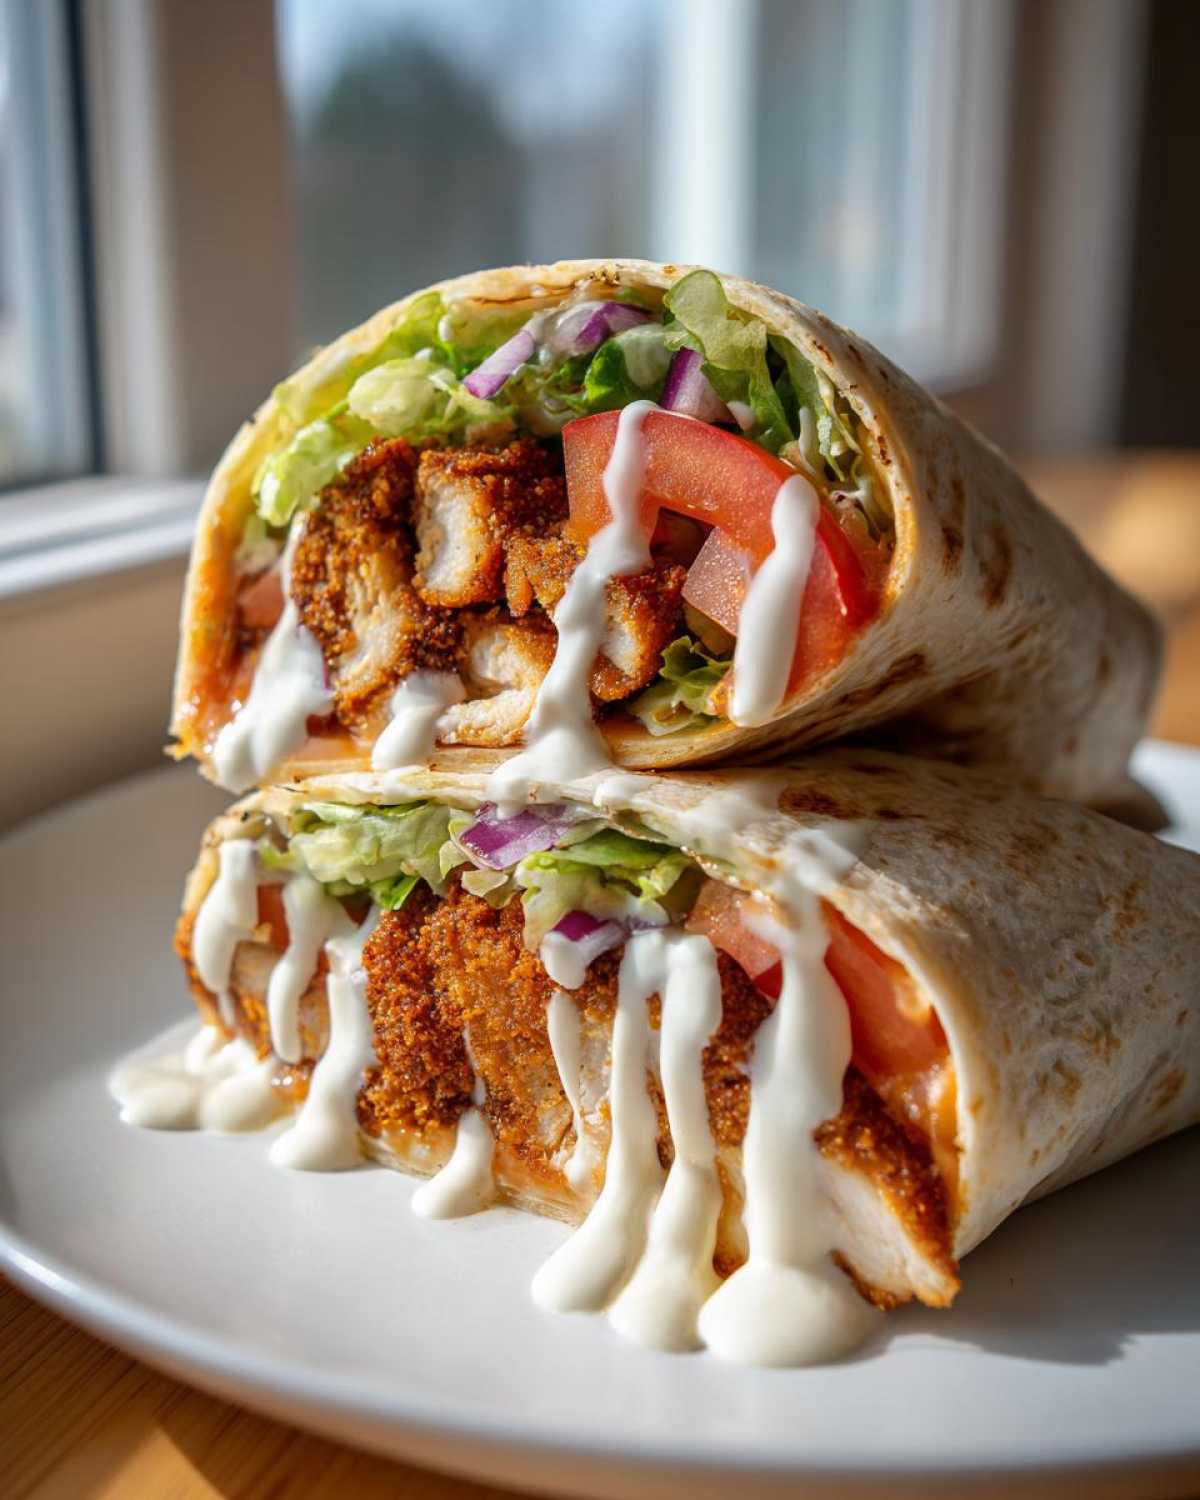
While the chicken is cooking or cooling slightly, we whip up the sauce. This part is embarrassingly fast. Seriously, you just mix everything: mayonnaise, that perfectly minced garlic, lemon juice for brightness, Dijon for a little tang, and that final sprinkle of salt. Whisk it until it’s totally smooth and creamy. This is your signature Creamy Garlic Sauce for Wraps. And yes, you can make this tomorrow and keep it ready in the fridge for when the next craving strikes!
Tips for Success with Your Crispy Chicken Wrap with Creamy Garlic Sauce
I’ve made this recipe dozens of times now, and I’ve learned a few little tricks that turn a good wrap into an absolutely *legendary* one. It all comes down to texture control. If you manage to keep that chicken crunchy and the sauce cool until the very last second, you win! These are the little steps that separate the great home cooks from the ones who just follow the recipe blindly.
My number one piece of advice for achieving that Perfectly Crispy Chicken Coating involves temperature control, but not just with the oil. You need to stop the heat transfer as soon as that chicken comes out of the fryer or air fryer. Don’t put those piping hot strips directly onto the tortilla! You’ll steam the tortilla and melt the cheese too early.
Instead, keep them warm but not steaming hot. I use a cooling rack placed over a baking sheet. This allows air to circulate all around the chicken pieces. This simple act prevents condensation from forming underneath them, which is the main culprit for soggy bottoms in any fried food!
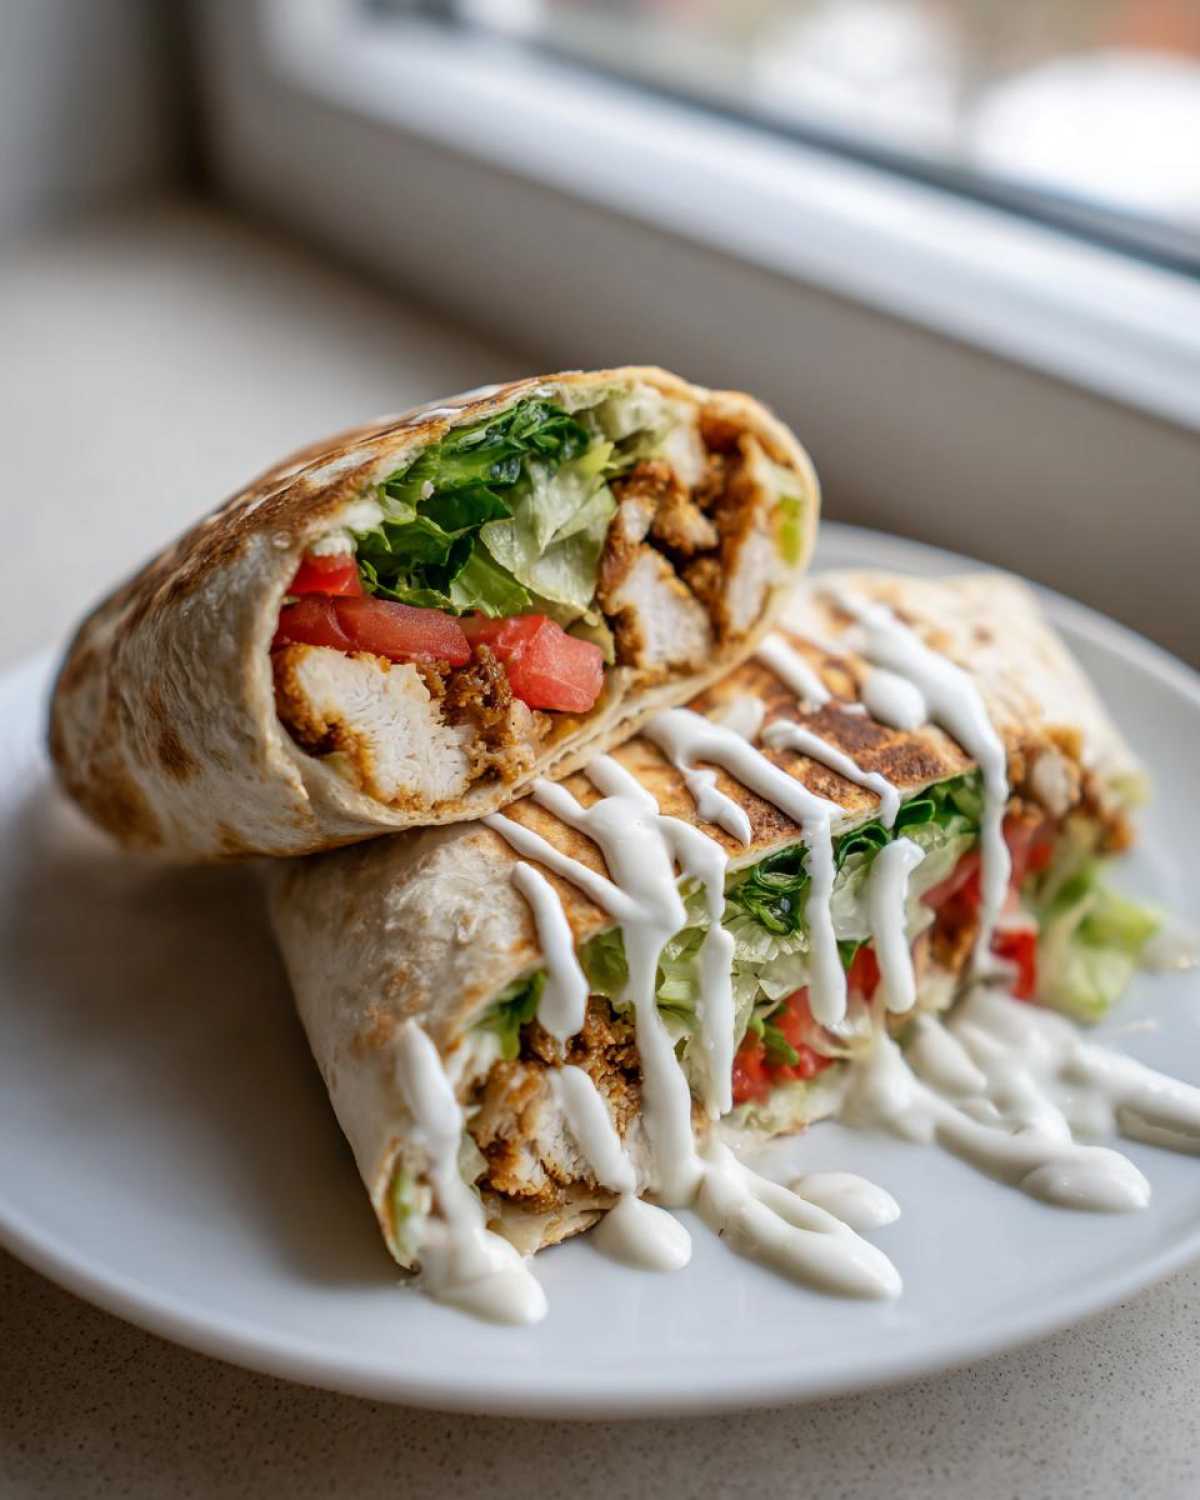
Also, don’t mix up your breading station while you’re oil is heating up. Keep your dry station (flour mix) and your wet station (egg) far away from your panko station. If any moisture wanders over to your flour or panko, you start getting clumps, and clumps mean uneven coating, which means some spots burn and others stay pale. Keep them separate and organized!
For the juiciest results—although we aren’t marinating here—I always trim my chicken strips so they are roughly the same size. Uniformity means they cook at the exact same rate, guaranteeing every piece is cooked perfectly through without any one piece getting overdone waiting for its neighbor to catch up. If you want to try making the chicken even juicier next time, I have a fantastic quick marinade trick over here on my juicy chicken marinade post!
Finally, when building your wrap, think like an engineer! The sauce goes down first, directly onto the tortilla. Then, put the lettuce down. The lettuce acts as the first barrier between that hot, crispy chicken and the flour wrap. This buys you precious minutes before any potential sogginess sets in. It’s all about strategic layering!
Assembling the Ultimate Crispy Chicken Wrap with Creamy Garlic Sauce
Okay, the chicken is golden and crisp, the sauce is ready to go—it’s time for the grand finale! If you rush this part, you could ruin all our hard work keeping that chicken crunchy. This assembly process is what separates a quick snack from a true Restaurant Style Chicken Wrap Recipe. You need technique, especially when dealing with heat and moisture!
First things first: warm those tortillas! A cold, stiff wrap tears when you try to fold it. I just toss them one at a time into a dry, hot skillet for about 20 seconds per side until they get soft and pliable. This literally takes 40 seconds, but it makes the wrapping process so much easier.
Now, let’s talk layering order. This is super critical for keeping the integrity of the wrap before you eat it, especially if you’re making these for lunch boxes. You want to protect the tortilla from the hot chicken!
- Sauce First: Spread a good, generous layer of that homemade Creamy Garlic Sauce right down the center strip of your warmed tortilla. Don’t spread it all the way to the edges, or it’ll squeeze out when you roll it.
- The Moisture Barrier: Next, lay down your shredded lettuce. This acts like a little shield between the damp sauce and the crispy coating.
- Veggies and Cheese: Top the lettuce with your tomato slices, the thinly sliced red onion for that nice bite, and then sprinkle the Monterey Jack cheese over the top.
- The Star Attraction: Place your crispy chicken strips right down the middle of all those cool veggies and cheese. Don’t overlap them too much; try to keep them centered so everything gets rolled evenly.
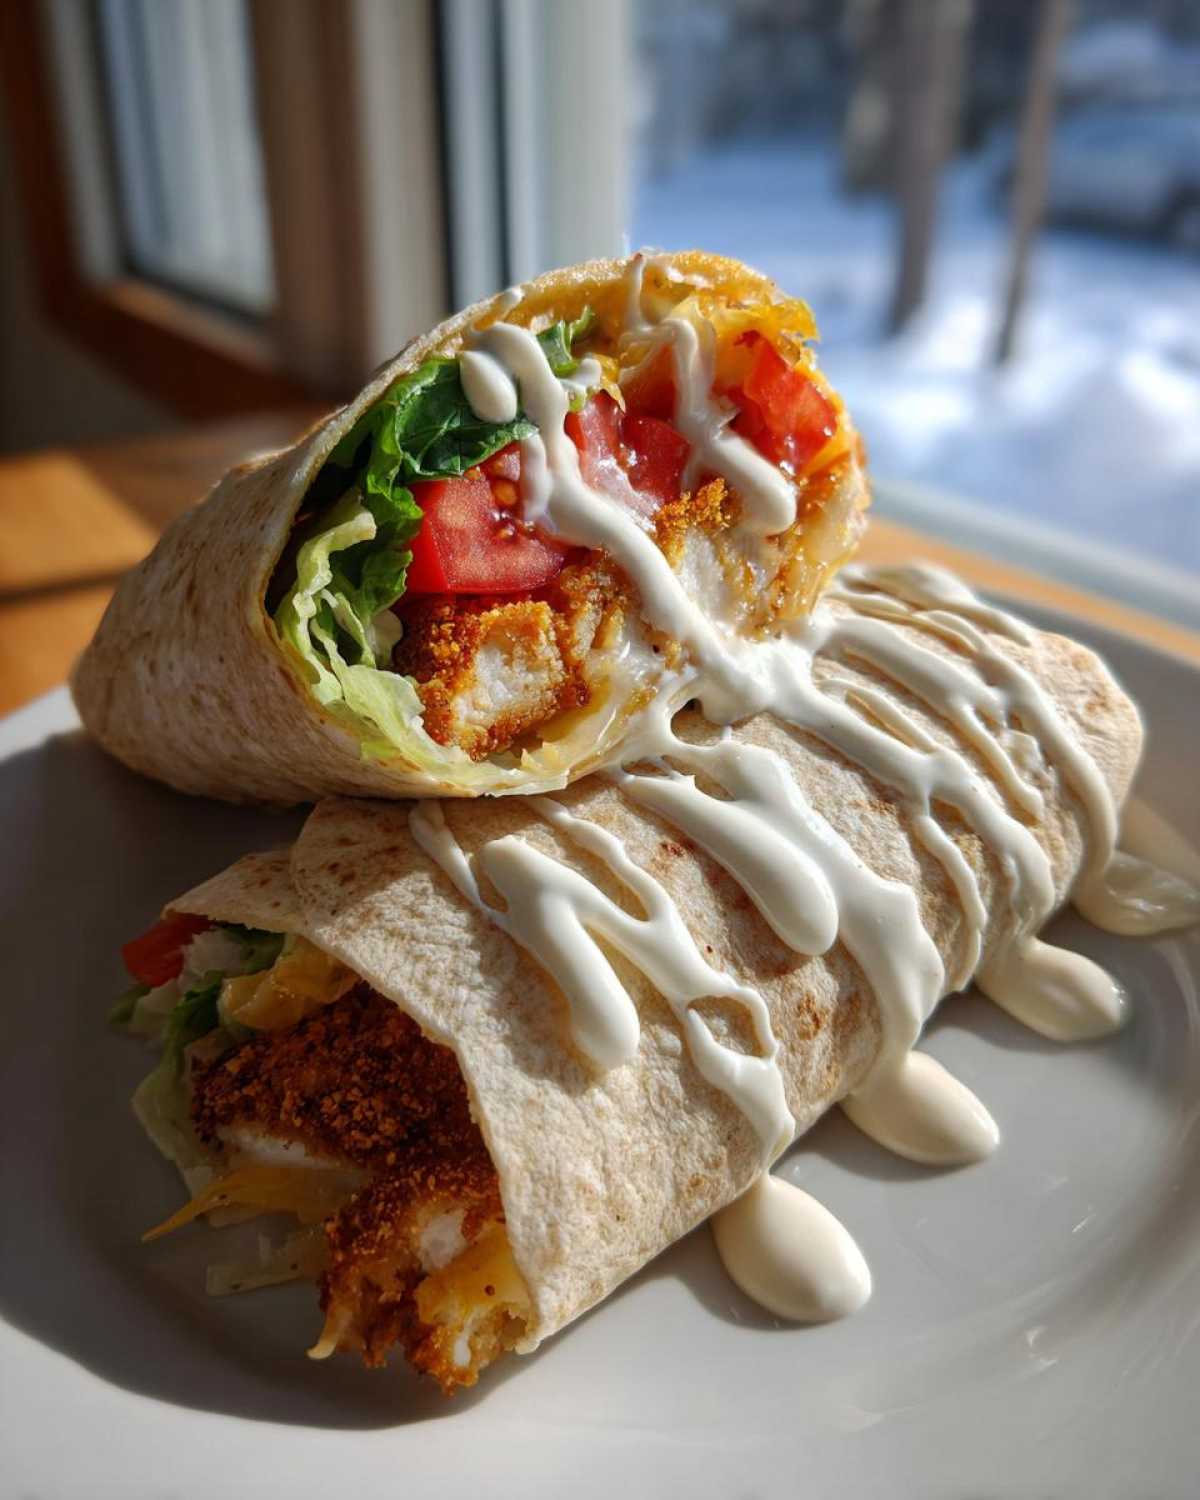
Finally, the roll! You want to do this snugly but gently. Fold both sides in first, overlapping just a little bit over the filling. Then, pull the edge nearest you up and over tightly, rolling it away from you. If you roll it tight enough, you can slice it in half diagonally, making it look super professional. Serve it right away while that chicken is still warm and audibly crispy!
Tips for Success with Your Crispy Chicken Wrap with Creamy Garlic Sauce
I’ve made this recipe dozens of times now, and I’ve learned a few little tricks that turn a good wrap into an absolutely *legendary* one. It all comes down to texture control. If you manage to keep that chicken crunchy and the sauce cool until the very last second, you win! These are the little steps that separate the great home cooks from the ones who just follow the recipe blindly.
My number one piece of advice for achieving that Perfectly Crispy Chicken Coating involves temperature control, but not just with the oil. You need to stop the heat transfer as soon as that chicken comes out of the fryer or air fryer. Don’t put those piping hot strips directly onto the tortilla! You’ll steam the tortilla and melt the cheese too early.
Instead, keep them warm but not steaming hot. I use a cooling rack placed over a baking sheet. This allows air to circulate all around the chicken pieces. This simple act prevents condensation from forming underneath them, which is the main culprit for soggy bottoms in any fried food!
Also, don’t mix up your breading station while you’re oil is heating up. Keep your dry station (flour mix) and your wet station (egg) far away from your panko station. If any moisture wanders over to your flour or panko, you start getting clumps, and clumps mean uneven coating, which means some spots burn and others stay pale. Keep them separate and organized!
For the juiciest results—although we aren’t marinating here—I always trim my chicken strips so they are roughly the same size. Uniformity means they cook at the exact same rate, guaranteeing every piece is cooked perfectly through without any one piece getting overdone waiting for its neighbor to catch up. If you want to try making the chicken even juicier next time, I have a fantastic quick marinade trick over here on my juicy chicken marinade post!
Finally, when building your wrap, think like an engineer! The sauce goes down first, directly onto the tortilla. Then, put the lettuce down. The lettuce acts as the first barrier between that hot, crispy chicken and the flour wrap. This buys you precious minutes before any potential sogginess sets in. It’s all about strategic layering!
Assembling the Ultimate Crispy Chicken Wrap with Creamy Garlic Sauce
Okay, the chicken is golden and crisp, the sauce is ready to go—it’s time for the grand finale! If you rush this part, you could ruin all our hard work keeping that chicken crunchy. This assembly process is what separates a quick snack from a true Restaurant Style Chicken Wrap Recipe. You need technique, especially when dealing with heat and moisture!
First things first: warm those tortillas! A cold, stiff wrap tears when you try to fold it. I just toss them one at a time into a dry, hot skillet for about 20 seconds per side until they get soft and pliable. This literally takes 40 seconds, but it makes the wrapping process so much easier.
Now, let’s talk layering order. This is super critical for keeping the integrity of the wrap before you eat it, especially if you’re making these for lunch boxes. You want to protect the tortilla from the hot chicken!
- Sauce First: Spread a good, generous layer of that homemade Creamy Garlic Sauce right down the center strip of your warmed tortilla. Don’t spread it all the way to the edges, or it’ll squeeze out when you roll it.
- The Moisture Barrier: Next, lay down your shredded lettuce. This acts like a little shield between the damp sauce and the crispy coating.
- Veggies and Cheese: Top the lettuce with your tomato slices, the thinly sliced red onion for that nice bite, and then sprinkle the Monterey Jack cheese over the top.
- The Star Attraction: Place your crispy chicken strips right down the middle of all those cool veggies and cheese. Don’t overlap them too much; try to keep them centered so everything gets rolled evenly.
Finally, the roll! You want to do this snugly but gently. Fold both sides in first, overlapping just a little bit over the filling. Then, pull the edge nearest you up and over tightly, rolling it away from you. If you roll it tight enough, you can slice it in half diagonally, making it look super professional. Serve it right away while that chicken is still warm and audibly crispy!
Ingredient Notes and Substitutions for Your Chicken Wrap
I get it—sometimes you’re short on time, or maybe you just don’t have that exact item in the fridge. Luckily, this recipe is pretty forgiving, but I always feel strongly about keeping the heart of the recipe intact! If you’re looking for an Easy Garlic Aioli Chicken Wrap in a pinch, you can absolutely skip making the sauce totally from scratch. If that happens, just skip steps 3 and 4 under the sauce ingredients and use a jarred garlic aioli, or even just really good quality mayonnaise mixed with a heavy dose of fresh, minced raw garlic.
But if you want to make substitutions on the structure, let’s chat about the main components. The golden standard here is boneless, skinless chicken breast cut into strips, but if you have chicken tenders already, go for it! They are usually just a bit thinner, so you might need to shave a minute or two off the cooking time. Keep an eye on them!
For the cheese, Monterey Jack is great because it melts beautifully without turning oily, but you can easily swap it out for pepper jack if you want a little kick you can feel, or even sharp cheddar if you love that stronger flavor profile overpowering the sauce just slightly. Just avoid anything too soft or crumbly, as it tends to escape the wrap during rolling.
Also, don’t stress about using iceberg lettuce. If you want something a little heartier, shredded romaine works wonderfully and gives a good, satisfying crunch. Just make sure whatever green you choose is really dry before adding it near the other components!
Make Ahead & Storage for Your Crispy Chicken Wrap Filling
This is the million-dollar question when you’re planning for the week, right? Can I tackle this amazing Make Ahead Chicken Wrap Filling on Sunday so I can have it for lunch all week? Well, yes and no! I have major opinions on making fried things ahead of time, and here it is: you can prep *everything* except the chicken’s final coating and cooking. If you want that snap, you have to build it fresh.
When I plan for leftovers, I treat this recipe in three different containers. This keeps everything perfect until assembly time. Anything less, and you’re inviting sogginess!
First, make a big batch of that brilliant Creamy Garlic Sauce. It tastes even better the next day anyway! Store it in an airtight container in the fridge. It holds beautifully for up to three days. This covers half the work for your future Air Fryer Crispy Chicken Wrap cravings!
Second, prep all your cold components. Wash, dry, and chop your lettuce, slice your onions, and grate your cheese. Keep them in separate sealed containers. It’s crucial that the lettuce is bone dry; toss it in a paper towel before sealing it up. Dry veggies mean zero steam, and zero steam means happy wraps!
Now, for the chicken—the tricky part if you’re aiming for Lunch Box Chicken Wrap Ideas. You have two options, and honestly, frying it fresh is always the best way to go. But if you absolutely must prep ahead:
- Pre-Bread Only: Coat your raw chicken strips completely in the flour, egg, and panko mixture, just like we did in the main steps. Then, place them on a baking sheet lined with parchment paper. Don’t overlap them! Wrap the whole tray tightly in plastic wrap and chill for up to 24 hours.
- The Reheat Crisp: When you’re ready to eat, you must re-crisp them. Do *not* use the microwave! Set your air fryer to 380°F (195°C) and cook the chilled pieces for about 6-8 minutes. They will crisp up beautifully again, just like they came out of the fryer moments ago.
Once the chicken is hot and crispy, assemble the wrap immediately using your pre-prepped veggies and sauce. This method ensures that even if you’re eating this for lunch the next day, you still get that satisfying crunch that makes this recipe so amazing!
Frequently Asked Questions About the Crispy Chicken Wrap with Creamy Garlic Sauce
I see you’ve got questions! That’s fantastic. Whenever I post a recipe that hinges on texture, like this amazing creamy roasted garlic cheddar soup I made last week, people always want to make sure they nail the technique. Here are the things I hear most often about making sure this Garlic Mayonnaise Chicken Wrap is a total success!
Can I use chicken breast instead of strips?
Absolutely, you can! Chicken breast is what I used in the recipe because it’s so versatile. The key thing is consistency. When you cut your breast, try to keep the strips uniform in thickness, maybe about 1/2 inch thick. Cooking time relies heavily on thickness, so if your strips are very thin, they might cook faster than the 3-4 minutes I noted. If you use bigger chunks, check the internal temperature sooner to make sure it hits that safe mark!
How do I keep the chicken crispy if I bake it instead of frying?
If you’re avoiding oil and opting to bake, you need a little extra help to get that beautiful crunch. First, make sure you are using the Panko breadcrumbs—they are essential! Second, arrange your breaded chicken strips on a wire rack set over a baking sheet. Don’t let them touch each other so air can circulate underneath. Bake them at 400°F (200°C). While they won’t be *exactly* as shatteringly crisp as deep-fried, they get delightfully crunchy this way. If you have an Air Fryer Crispy Chicken Wrap recipe in mind, that’s honestly the best non-frying method!
What is the best alternative to panko breadcrumbs?
If you are out of Panko, or trying to avoid it for some reason, your next best alternative for that great texture is crushed cornflakes. Yes, really! Crush them up finely—though still slightly coarser than standard breadcrumbs. They hold up extremely well to heat and provide a nice, sturdy crunch for your Fast Food Style Crispy Wrap. Just make sure you press them firmly onto the chicken with the egg wash!
What other vegetables work well in this wrap?
The version I shared is classic—lettuce, tomato, onion—but you can jazz it up! If you want more flavor contrast, I love slicing in some crisp, crunchy pickles or maybe some thinly sliced avocado for extra creaminess. If you want a little sharp bite, finely shredded carrots (not the cooked kind, the raw ones!) work beautifully alongside the lettuce. Just remember the rule: keep everything very, very dry before it goes into the wrap!
Estimated Nutritional Data for This Chicken Wrap
I always like to give you all a rough idea of what you’re diving into when you make this wrap! Since we are dealing with fried chicken and mayonnaise, it leans toward being a satisfying, decadent meal, not exactly a light salad replacement. Remember, these numbers are rough estimates based on the recipes listed; exact nutrition always depends on specific brands and how much sauce you, well, *generously* apply!
For one serving (one wrap) made exactly according to the recipes above:
- Calories: Approximately 550
- Fat: Around 30g
- Protein: A hearty 30g!
- Carbohydrates: About 45g
- Sugar: Very low, around 5g
When you compare that to grabbing something similar from a takeout spot, I think you’ll agree that making your own, controlling the salt and the quality of the oil, is the way to go. It’s comfort food that doesn’t compromise on flavor!
Share Your Perfect Crispy Chicken Wrap with Creamy Garlic Sauce Experience
Now it’s your turn! Once you make this incredible Crispy Chicken Wrap with Creamy Garlic Sauce, please don’t keep the victory to yourself! I absolutely love seeing your cooks, and hearing what you thought is the best part of sharing these recipes.
When you leave a review or comment below, please tell me two specific things: First, how crunchy did your chicken turn out? Did the panko stick like glue? Second, did you stick with my simple creamy garlic sauce, or did you add your own special zest? I’m always looking for ways to tweak things, even though I think this version is pretty hard to beat! Rate your experience below and let’s celebrate that perfect crunch and amazing creamy flavor together!
Estimated Nutritional Data for This Chicken Wrap
I always like to give you all a rough idea of what you’re diving into when you make this wrap! Since we are dealing with fried chicken and mayonnaise, it leans toward being a satisfying, decadent meal, not exactly a light salad replacement. Remember, these numbers are rough estimates based on the recipes listed; exact nutrition always depends on specific brands and how much sauce you, well, *generously* apply!
For one serving (one wrap) made exactly according to the recipes above:
- Calories: Approximately 550
- Fat: Around 30g
- Protein: A hearty 30g!
- Carbohydrates: About 45g
- Sugar: Very low, around 5g
When you compare that to grabbing something similar from a takeout spot, I think you’ll agree that making your own, controlling the salt and the quality of the oil, is the way to go. It’s comfort food that doesn’t compromise on flavor!
Share Your Perfect Crispy Chicken Wrap with Creamy Garlic Sauce Experience
Now it’s your turn! Once you make this incredible Crispy Chicken Wrap with Creamy Garlic Sauce, please don’t keep the victory to yourself! I absolutely love seeing your cooks, and hearing what you thought is the best part of sharing these recipes.
When you leave a review or comment below, please tell me two specific things: First, how crunchy did your chicken turn out? Did the panko stick like glue under pressure? Second, did you stick with my simple creamy garlic sauce, or did you add your own special zest, maybe some extra pepper or a dash of hot sauce? I’m always looking for ways to tweak things, even though I think this version is pretty hard to beat!
Rate your experience below, and let’s celebrate that perfect crunch and amazing creamy flavor together! Knowing you’re enjoying this at your dinner table makes all my recipe testing worthwhile.
PrintCrispy Chicken Wrap with Creamy Garlic Sauce

Follow this recipe to make wraps featuring crunchy breaded chicken and a rich, homemade creamy garlic sauce.
- Prep Time: 20 min
- Cook Time: 15 min
- Total Time: 35 min
- Yield: 4 servings
- Category: Lunch
- Method: Frying/Air Frying
- Cuisine: American
- Diet: Low Fat
Ingredients
- 2 large boneless, skinless chicken breasts, cut into strips
- 1 cup all-purpose flour
- 1 teaspoon salt
- 1/2 teaspoon black pepper
- 1 teaspoon paprika
- 1/2 teaspoon garlic powder
- 2 large eggs, beaten
- 1 cup panko breadcrumbs
- Vegetable oil, for frying (or cooking spray for air frying)
- 4 large flour tortillas
- 1 cup shredded iceberg lettuce
- 1/2 cup sliced tomato
- 1/4 cup thinly sliced red onion
- 1/2 cup shredded Monterey Jack cheese
- For the Creamy Garlic Sauce: 1/2 cup mayonnaise, 2 cloves garlic minced, 1 tablespoon lemon juice, 1 teaspoon Dijon mustard, 1/4 teaspoon salt
Instructions
- Prepare the chicken coating: Mix flour, salt, pepper, paprika, and garlic powder in a shallow dish. Place beaten eggs in a second dish, and panko breadcrumbs in a third dish.
- Dredge each chicken strip first in the flour mixture, shaking off excess. Dip into the egg, letting excess drip off. Coat thoroughly in the panko breadcrumbs, pressing lightly to adhere.
- Cook the chicken: Heat about 1 inch of vegetable oil in a skillet over medium-high heat to 350°F (175°C). Fry chicken strips in batches for 3-4 minutes per side until golden brown and cooked through. Alternatively, air fry at 400°F (200°C) for 10-12 minutes, flipping halfway. Drain cooked chicken on a paper towel-lined plate.
- Make the sauce: In a small bowl, combine mayonnaise, minced garlic, lemon juice, Dijon mustard, and salt. Mix well until smooth.
- Warm the tortillas: Heat the flour tortillas briefly in a dry skillet or microwave until soft and pliable.
- Assemble the wraps: Lay a warm tortilla flat. Spread a generous amount of the creamy garlic sauce down the center. Layer with lettuce, tomato slices, red onion, shredded cheese, and several pieces of crispy chicken.
- Fold the wrap tightly by folding in the sides first, then rolling from the bottom up. Slice in half if desired and serve immediately.
Notes
- For extra crispiness, chill the breaded chicken strips for 15 minutes before frying.
- You can prepare the creamy garlic sauce up to two days ahead and store it in the refrigerator.
- Use pre-cooked rotisserie chicken and toss it in a light coating of flour and spices before briefly frying or baking to save time.
Nutrition
- Serving Size: 1 wrap
- Calories: 550
- Sugar: 5
- Sodium: 850
- Fat: 30
- Saturated Fat: 6
- Unsaturated Fat: 24
- Trans Fat: 0
- Carbohydrates: 45
- Fiber: 3
- Protein: 30
- Cholesterol: 90