

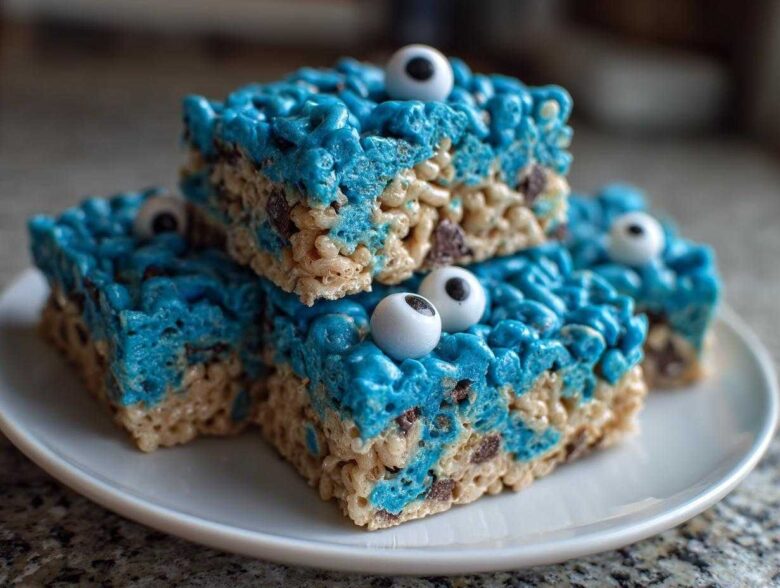
Oh my gosh, if you need a dose of pure, unadulterated nostalgia that also happens to taste amazing, you’ve found the right spot! Sometimes you just need a treat that doesn’t involve the oven—something bright, crunchy, and maybe a little messy. Speaking of messy nostalgia, I finally perfected the recipe for the ultimate Cookie Monster Rice Krispie Treat Bars, and trust me, they are everything you dreamed of when you were five.
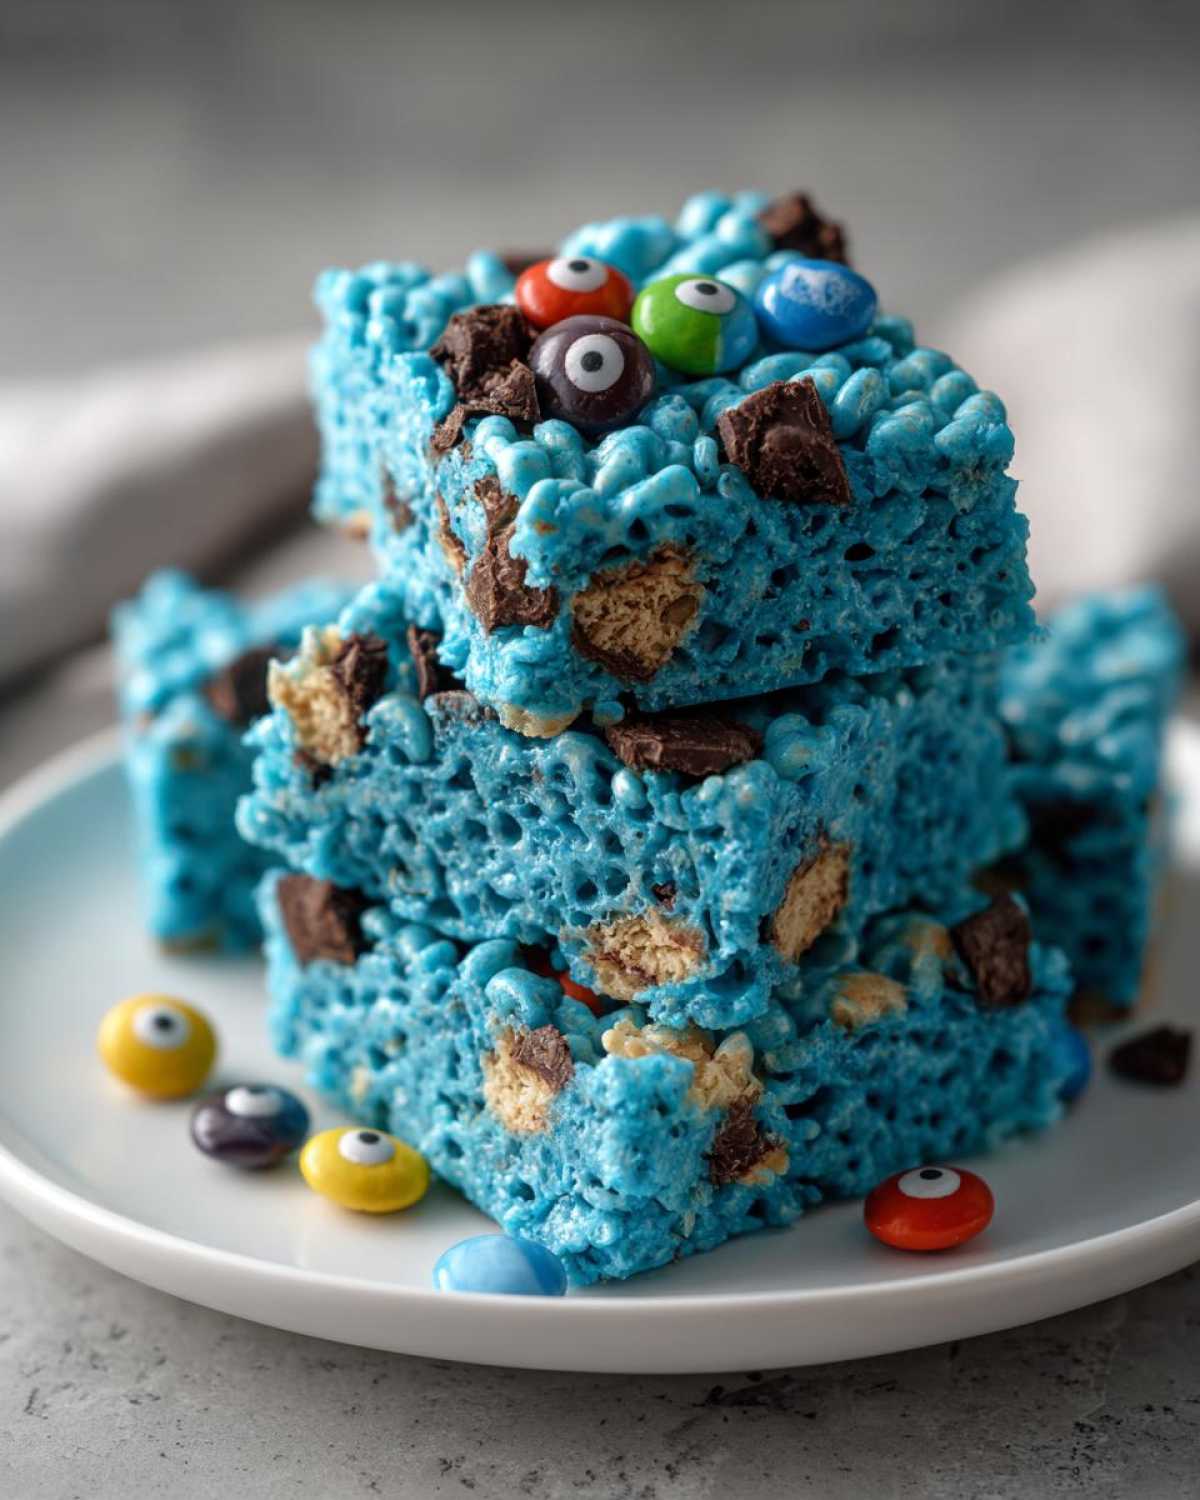
I just love whipping up these kinds of no-bake, themed desserts for parties because they come together so fast, but they deliver such a huge ‘wow’ factor. These electric blue bars, bursting with actual chocolate chip cookie chunks and those hilarious googly eyes, are guaranteed to be the hit of any gathering. If you want to know more about my philosophy on quick, fun family recipes, check out our About Us page! Now, grab your biggest pot; we’re making magic!
Why You Will Love These Cookie Monster Rice Krispie Treat Bars
Honestly, these bars check every single fun dessert box. You don’t even have to turn the oven on, which is a huge win in my book during the summer! Here’s why you need to make a batch right now:
- Instant Nostalgia Hit: They bring back seriously happy childhood memories, looking exactly like our favorite fuzzy blue friend.
- Super Quick Assembly: We’re talking about maybe 15 minutes of active work before they start setting up. No waiting around for cake to bake!
- Incredible Texture Mix: You get the soft, chewy marshmallow base, but then you bite into crunchy cereal AND chunks of real chocolate chip cookies. It’s textural heaven!
- Perfectly Bright Blue: We use gel coloring, so you get that intense, vibrant Cookie Monster look without making your treats runny.
- Great for Big Crowds: This recipe makes a full 9×13 pan, which means easy cutting and plenty of snacks for a party or school event.
- Customizable Eyes: You can use candy eyes, M&Ms, or even just melted chocolate dots—it’s easy to decorate based on what you have in the pantry.
Essential Ingredients for Your Cookie Monster Rice Krispie Treat Bars
The ingredient list here is super straightforward because we are keeping this a no-bake situation, thank goodness! The base is pretty standard—cereal, butter, and marshmallows—but we tweak it slightly for that monster mash-up flavor. You absolutely need 6 cups of crispy rice cereal. Don’t use the stale stuff; it needs that crunch!
For the gooey factor, we use a whole 10-ounce bag of marshmallows and 3 tablespoons of butter, melted low and slow. I always add a quick splash of vanilla extract because it rounds out the sweetness so nicely, even in a snack bar like this. Now for the fun stuff!
We are going for GO-GO-GO Blue, right? To get that amazing, vibrant color that screams Cookie Monster, you MUST use gel food coloring, not the liquid drops. Gel gives you intensity without making your marshmallow goo thin. Finally, the *cookie* part of the equation: chop up about a cup of those mini chocolate chip cookies—the store-bought ones work perfectly here. If you want to get fancy with your dessert decorating later, check out my foolproof cookie icing guide, but for this, just focus on the chopped cookies!
Expert Tips for Perfect Blue Rice Krispie Treats
Listen, everyone can melt marshmallows, but making sure your bars are soft and chewy instead of getting rock-hard the next day requires hitting a few key checkpoints. The biggest mistake folks make is overheating the marshmallows. If you cook them too long, the sugar crystallizes weirdly as it cools, and suddenly you have hockey pucks instead of squishy treats.
Keep that heat on medium-low—seriously! You want smooth melting, not boiling. Another thing: marshmallow freshness matters a ton here. If your bag has been open since last Halloween, toss it! Stale marshmallows don’t melt properly and they result in a crumbly texture. Trust me, a fresh bag is worth the couple of dollars.
When we talk color for these Blue Rice Krispie Treats, remember what I said about gel versus liquid food coloring. Liquid food coloring is mostly water, and adding too much water dilutes that sweet marshmallow glue, making your bars fall apart later. Gel is concentrated color, so you use tiny amounts for super intense color payoff. If you are looking for more ideas on making other chewy snacks stay soft, I wrote a whole piece on chewy no-bake granola bars that shares some great texture secrets!
Step-by-Step: How to Make Cookie Monster Rice Krispie Treat Bars
Okay, assembly time! This process is fast, so have everything measured out and ready to go before you turn on the heat. We need to move quickly once the marshmallows melt so things don’t get hard on us! Getting this timing right is the difference between chewy perfection and a tough square you can use as a doorstop. Don’t panic, though; I’ll walk you through my exact rhythm.
Preparing the Pan and Melting the Base for Cookie Monster Rice Krispie Treat Bars
Step one is just getting your 9×13 pan ready. I always use a little non-stick spray and then line it with parchment paper, making sure I leave little overhangs on two sides—these act as handles later! Next, grab your biggest saucepan and put it over low heat. Melt the 3 tablespoons of butter slowly. I mean *slowly*. If you scorch the butter, your whole batch tastes a little funky, and nobody wants that, right? Once the butter is liquid, toss in the entire bag of marshmallows and stir constantly until it’s totally smooth and glossy.
Coloring and Mixing the Cereal for Your Blue Marshmallow Treats
Take the pot OFF the heat, okay? Now we color! Stir in your vanilla, and then start adding that amazing blue gel coloring drop by drop, stirring until you see that perfect, electric shade for your Blue Rice Krispie Treats. Once it looks right, dump in the 6 cups of cereal all at once. Stir it fast to coat everything evenly. This is where you gently fold in those chopped mini chocolate chip cookies. We fold, we don’t aggressively stir; we want big cookie chunks, not cookie dust!
Setting and Cutting Your Final Cookie Monster Rice Krispie Treat Bars
Scrape the whole mixture into your prepared pan. Now, this is crucial: use a piece of wax paper (or lightly buttered hands!) to gently press it down into an even layer. Do *not* smash it into the corners like you’re packing cement. We want them light and chewy! Immediately press your candy eyeballs right onto the top surface—they stick best when it’s warm. Let them sit on the counter for a full hour to set completely. Once totally cool, use a large, sharp knife that you’ve lightly greased—this helps slice clean through the cookies inside without tearing up your bars. If you want some more easy easy blue dessert recipe ideas, check out that link!
Variations for Your Themed Dessert Bars for Parties
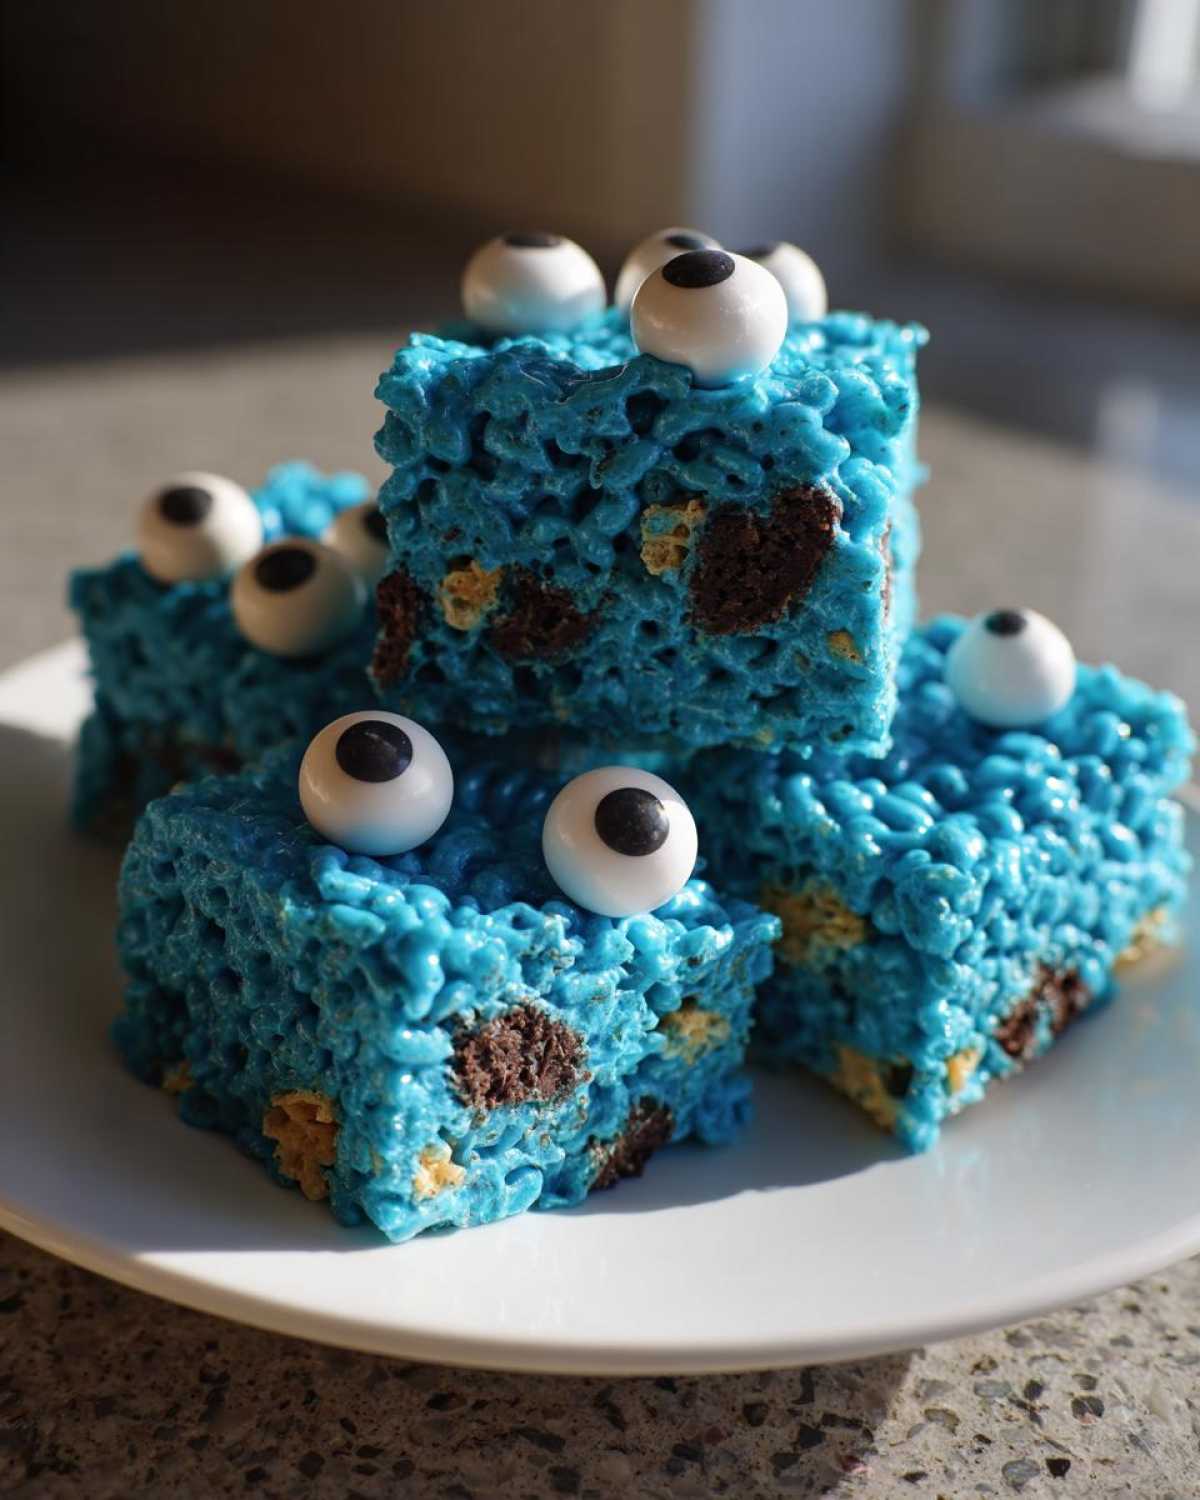
While the classic blue and chocolate chip combo is fantastic for hitting that Cookie Monster look, these bars are just begging to be customized, especially if you’re making them for a party theme! Think outside the box with what you fold into that gorgeous blue goo.
If you want a slightly different texture or color contrast, swap out those mini chocolate chip cookies for something else fun. Have you ever considered using Oreo halves, but maybe leaving the cream filling in? They add a nice dark contrast! For a bit of extra sparkle, which kids absolutely go wild for, grab some edible silver or gold glitter. A light dusting right before the eyes go on makes these look truly show-stopping.
Another great twist is changing up the cereal slightly. If you want something a little more grown-up (or just texture-obsessed), swap out about half the crispy rice cereal for Cheerios or even crushed pretzels. The pretzels add a salty kick that balances the sugar wonderfully. If you’re planning a big holiday bash, I have a few amazing swap-outs for my candy cane brownies recipe that could inspire you here, too. The main thing is just have fun with the mix-ins!
Storage and Reheating Instructions for Cookie Monster Dessert Bars
Since these are no-bake treats, they actually keep really well, which is perfect when you’re planning snacks ahead of time for a big party! The biggest enemy here is air, so you need to make sure you store them correctly.
Once your Cookie Monster Dessert Bars are completely set—and I mean totally cool; otherwise, they get sticky—you need to transfer them immediately to an airtight container. I usually line the container with a sheet of parchment paper first, then layer the bars neatly, maybe with another piece of parchment between the layers if you’re stacking them high. This stops them from sticking to each other or to the lid of the container.
Keep the container on the counter at room temperature. Don’t put them in the fridge! Seriously, the cold air tends to dry out marshmallow treats super fast and makes them hard, which defeats the whole purpose of trying to keep them chewy. If you stored them right like this, they should stay soft and perfectly edible for about three to four days. If you’re worried about them lasting longer, you *can* freeze them, but you’ll want to wrap each bar individually in plastic wrap first before placing them in a freezer-safe bag. Thaw them overnight on the counter before serving!
Frequently Asked Questions about Making Blue Crunchy Bars
I get so many questions about getting the color and texture just right when people try making these fun snacks! It’s usually the unique elements of making Blue Rice Krispie Treats that trip people up, but once you know the tricks, it’s a breeze. Here are a few things I hear all the time when readers try this recipe.
Can I use food coloring other than gel dye?
You really shouldn’t if you want that intense blue! Liquid food coloring is mostly water, and if you add enough drops to get a deep color payoff, you’ll end up adding too much liquid to the marshmallow mix. This is why we use gel coloring for these Blue Crunchy Bars—it’s super concentrated. If you *only* have liquid drops, use way less than you think you need, but know your final color might be a pale sky blue instead of that deep Cookie Monster hue.
My treats ended up too hard! How do I keep them chewy?
Oh, that’s the worst! This usually happens for two reasons. First, overheating the marshmallows—remember to keep the heat low! Second, packing them down too hard in the pan. When you press the mixture down, be gentle! You want a smooth surface, but don’t compact the air out of them, or they will set rock-hard. It’s why layering them lightly is so important for any Easy Blue Dessert Recipe.
What can I use if I don’t have candy eyeballs?
Don’t worry if you can’t find the candy eyeballs in the store; they can be tricky to track down! As a perfect substitute for Fun Kids Party Food, grab a bag of mini chocolate chips. You can simply press two chips side-by-side into the warm bars where the eyes should go. Or, for a slightly bigger look, melt a few regular chocolate chips and pipe two small dots onto the surface before adding two slightly larger chocolate chips on top of the dots. They look just as silly and expressive!
Are there any good non-cereal alternatives for this snack?
You bet. Since this is a versatile snack, you can swap that crispy rice cereal out if you want. About half of the cereal can be swapped for something like pretzels, or even certain types of oat cereal. If you’re looking for more easy no-bake ideas, I cover a bunch of good swaps in my main Snacks section! Just make sure whatever you add isn’t too powdery or it might absorb too much of the marshmallow goodness.
Estimated Nutritional Data for Cookie Monster Rice Krispie Treat Bars
Listen, I’m not a nutritionist—I’m just here to make sure we have fun, delicious snacks! But I know some of you are curious about what exactly we are putting into our bodies when we sneak a few of these Cookie Monster bars.
Since these treats use standard ingredients like marshmallows and white rice cereal, they are definitely on the sweeter side, which is fine for a party treat, but keep that in mind!
Here is the estimated breakdown. Remember, this is based on the yield of 18 bars and uses typical brand averages, so your results might vary slightly, especially if you go wild with extra cookie chunks! For all my disclaimers about numbers found online, feel free to peek at my official site disclaimer.
- Serving Size: 1 bar
- Calories: 180
- Sugar: 18g (Yep, that marshmallow is working hard!)
- Sodium: 110mg
- Total Fat: 5g
- Saturated Fat: 3g
- Carbohydrates: 33g
- Protein: 2g
So while these aren’t exactly health food, they deliver a huge burst of fun for only 180 calories per bar. Not bad for something this blue and monstrously delicious!
Share Your Cookie Monster Party Inspiration
Alright, you’ve made the treats! Now, the best part is seeing how they turn out when you bring them to life. These Cookie Monster Rice Krispie Treat Bars are seriously photogenic, so I absolutely want to see your creations!
Did you nail that vibrant blue? Did your little monster eyes look perfectly chaotic? Head down to the comments below and give this recipe a star rating so other readers know how much fun you had! I especially love hearing about your decorating successes—did you use mini M&Ms instead of eyes? Tell me everything!
If you snapped a great picture of your batch, please tag me on social media! Seeing how you use these Simple Themed Rice Krispies for your events truly makes my day. If you have any final questions that popped up while you were mixing, don’t hesitate to reach out through the contact form. Happy baking, or should I say, happy no-baking!
PrintCookie Monster Rice Krispie Treat Bars
Make fun, no-bake bars inspired by the Cookie Monster, featuring a bright blue color and chunks of chocolate chip cookies.
- Prep Time: 15 min
- Cook Time: 5 min
- Total Time: 65 min
- Yield: 18 bars
- Category: Dessert
- Method: No Bake
- Cuisine: American
- Diet: Vegetarian
Ingredients
- 6 cups crispy rice cereal
- 1 package (10 ounces) marshmallows
- 3 tablespoons unsalted butter
- 1 teaspoon vanilla extract
- Blue gel food coloring (enough to reach electric blue)
- 1 cup mini chocolate chip cookies, roughly chopped
- 1/2 cup candy eyeballs or small chocolate chips for decoration
Instructions
- Lightly grease a 9×13 inch baking pan. Set aside.
- In a large saucepan over low heat, melt the butter.
- Add the marshmallows to the melted butter. Stir constantly until the marshmallows are completely melted and smooth. Remove the pan from the heat.
- Stir in the vanilla extract and several drops of blue gel food coloring until you achieve a vibrant blue color.
- Add the crispy rice cereal to the marshmallow mixture. Stir quickly until the cereal is evenly coated with the blue mixture.
- Fold in the chopped mini chocolate chip cookies.
- Transfer the mixture to the prepared baking pan. Lightly press the mixture into an even layer using a piece of wax paper or lightly buttered spatula. Do not pack too tightly.
- Immediately press the candy eyeballs onto the top surface of the bars.
- Let the bars cool and set completely at room temperature for about 1 hour.
- Once set, cut the mixture into squares or rectangular bars.
Notes
- Use gel food coloring for the most intense color without thinning the marshmallow mixture.
- If you do not have candy eyeballs, you can use small chocolate chips to represent eyes or pipe small dots of melted chocolate.
- For cleaner cuts, lightly grease your knife before slicing the cooled bars.
Nutrition
- Serving Size: 1 bar
- Calories: 180
- Sugar: 18
- Sodium: 110
- Fat: 5
- Saturated Fat: 3
- Unsaturated Fat: 2
- Trans Fat: 0
- Carbohydrates: 33
- Fiber: 0
- Protein: 2
- Cholesterol: 5