

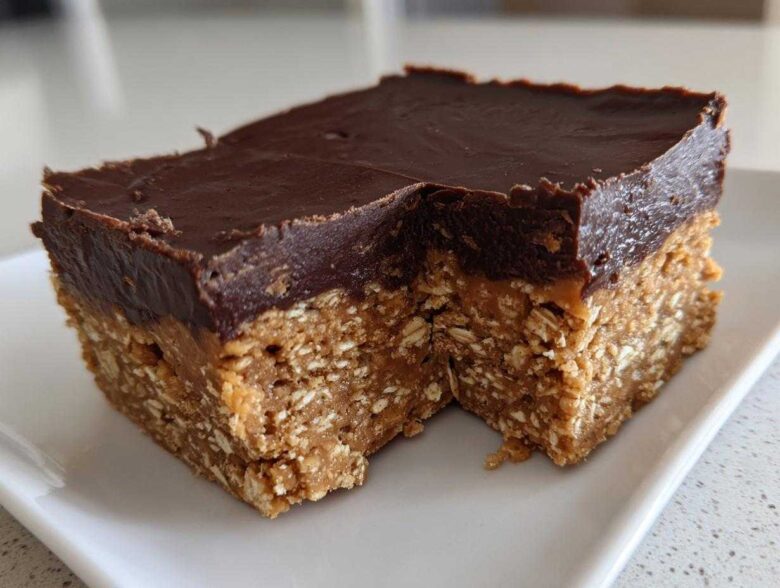
You know those days, right? You desperately need something sweet, maybe for a surprise potluck or because the kids are staring at the pantry like hawks, but the idea of turning on the oven feels like climbing a mountain? Seriously, sometimes I just can’t deal with the heat! That’s exactly why I perfected these No-Bake Chocolate Peanut Butter Oat Bars. They are my go-to lifeline when a craving hits fast. This recipe is pure gold—rich, chewy, and requires zero baking whatsoever. I whipped up the first batch last month because I had peanut butter staring me down and needed a good, quick energy snack. Trust me, once you try these, they’re going to be your new favorite quick fix!
Why You Need These No-Bake Chocolate Peanut Butter Oat Bars Today
Listen, if speed and zero oven time are what you’re after, look no further! These bars are built for busy people who still want something satisfyingly sweet. They come together faster than you can decide what to watch on TV tonight. We’re talking maximum reward for minimum effort here.
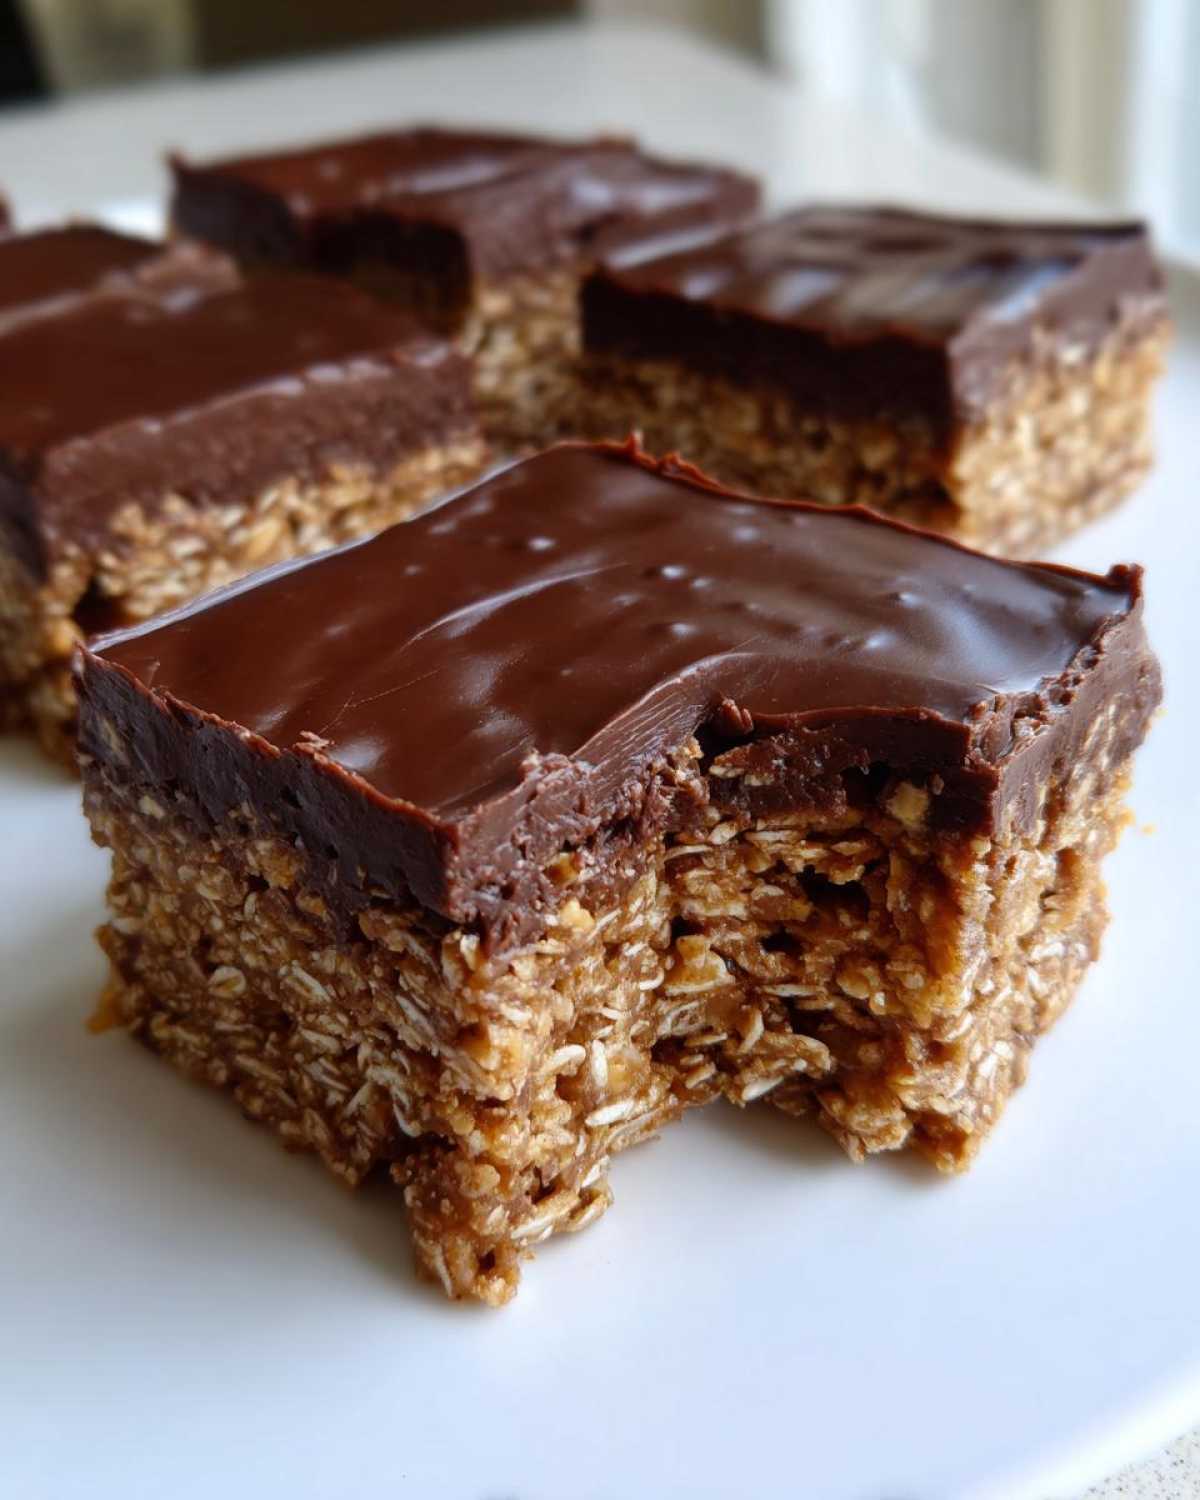
- They deliver that perfect chocolate and peanut butter punch every single time.
- You don’t even need a mixer—just one bowl!
- We have a great trick for keeping these stable, which you can read about over in my guide on chewy, no-bake granola bars if you want the deep dive!
Speed and Simplicity: The Ultimate No Bake Dessert
Seriously, 15 minutes of work, tops. You mix the base, press it down, pour the topping, and stick it in the fridge. That’s it! Anyone, and I mean *anyone*, can look like a baking genius with this recipe. It’s the easiest thing you’ll make all week, I guarantee it.
Perfectly Portable Peanut Butter Oat Squares
The texture is what gets me every time. They are so sturdy that they cut up into beautiful, clean squares that travel without falling apart. These peanut butter oat squares are fantastic for packing in lunches or taking to those neighborhood gatherings where you need reliable, delicious sweets.
Gathering Ingredients for Your No-Bake Chocolate Peanut Butter Oat Bars
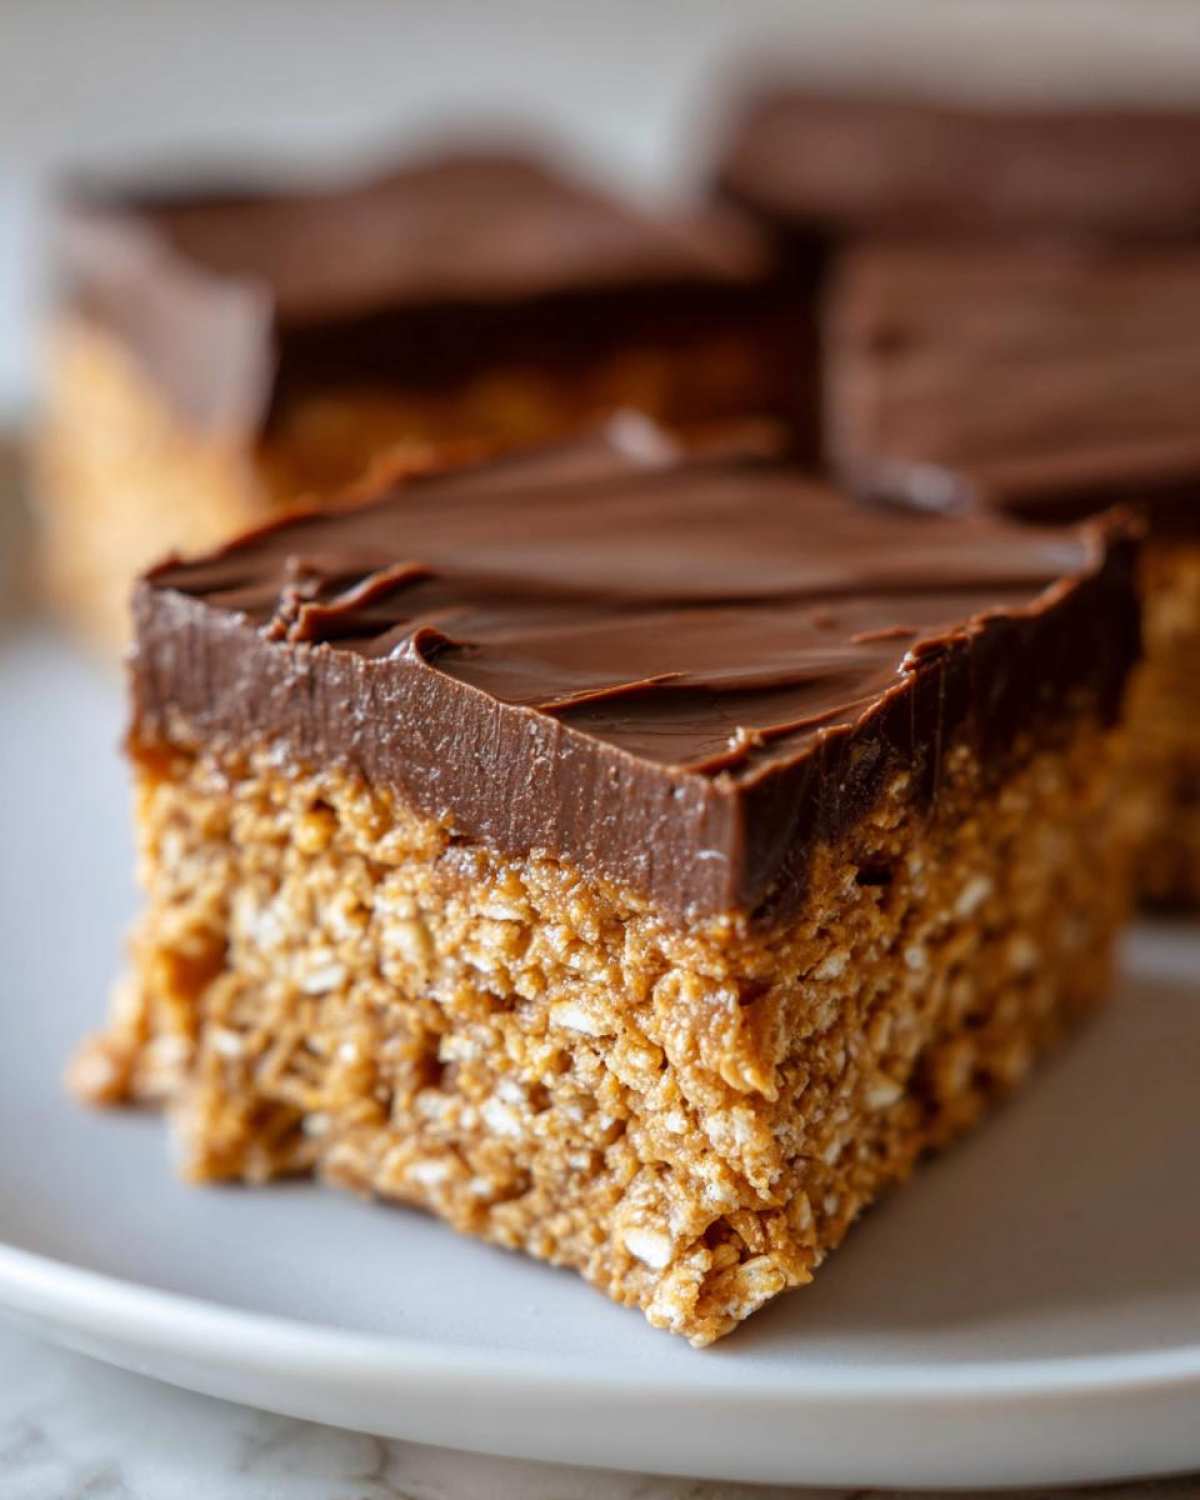
Okay, for this recipe, we keep the ingredient list short and sweet. That’s part of the magic, honestly. When you don’t need an oven, you don’t need 30 different things! You’ll need your oats, your peanut butter, some powdered sugar, butter for richness, vanilla for that background warmth, and then the chocolate chips and coconut oil for the top layer. We’re using an 8×8 inch pan as the standard size here, which gives us those perfect, chunky bars. Make sure you grab those exact amounts, and we’ll talk about tweaking them in a minute!
Ingredient Notes and Smart Substitutions
Let’s talk choices because substitutions happen! You absolutely must use creamy peanut butter if you want that smooth, uniform base layer. Crunchy oats are fine, but the peanut butter needs to be smooth so it binds everything tightly. Now, the chocolate chips? They need that little bit of coconut oil. That oil isn’t for flavor; it helps the chocolate melt beautifully smooth and, more importantly, it helps it set up really firm in the fridge, so no gooey mess!
If you’re out of peanut butter or just want a change, almond butter works like a charm here. The flavor profile shifts slightly, but the texture stays spot-on. Remember, you’re aiming for a binder, so whatever creamy nut butter you use, make sure it’s easy to stir!
Step-by-Step Instructions for No-Bake Chocolate Peanut Butter Oat Bars
Alright, this is where we assemble the magic! Don’t panic about the steps; they are super straightforward, and we’re only dealing with mixing and chilling time. The way you handle the base layer is everything here. You want these to hold together perfectly when you slice them later, so pay close attention to how you press everything down. I’ve linked my guide on other easy no-bake desserts if you get hooked on this method!
Preparing the Oat Base Layer
First things first: grab your 8×8 pan and line it completely with parchment paper. I mean it—leave big flaps hanging over the sides. These are your handles later when you want to lift the whole thing out in one piece, which is a lifesaver! Now, combine the oats, peanut butter, powdered sugar, melted butter, and vanilla in a bowl. Mix it until it finally stops looking like separate ingredients and starts looking like thick, slightly sticky dough. This has to be packed down hard into the pan. Use the flat bottom of a measuring cup or sturdy glass and press, press, press until it’s rock solid and perfectly level. Don’t skip on packing it!
Creating the Smooth Chocolate Topping
Next up is the chocolate crown! Put your chocolate chips and that tiny bit of coconut oil into a microwave-safe bowl. The key to melting chocolate perfectly without burning it is short bursts. Microwave it for 30 seconds, stir it well—even if it doesn’t look melted yet—and then go for another 30 seconds. Keep stirring and zapping until it’s completely silken and glossy. You want an easy pour, not chunky, seized chocolate. Once it’s smooth, pour that glorious chocolate right over your packed oat base and use a spatula to spread it evenly to the edges.
Setting and Slicing Your No Bake Chocolate Peanut Butter Oat Bars
Now comes the hardest part: waiting! Once the chocolate is spread, place the whole pan into the refrigerator. You absolutely must let these chill for at least two full hours until that top layer feels totally firm to the touch—no wobbles allowed. I often cheat and pop mine in the freezer for 30 minutes because I’m impatient, and that works great too! When it’s time to cut, use the parchment overhang to lift the entire block onto a cutting board. Use a big, sharp knife—you can secretly dip the knife in hot water and wipe it dry between cuts—that will give you the cleanest slices for your No-Bake Chocolate Peanut Butter Oat Bars.
Tips for Perfect No-Bake Chocolate Peanut Butter Oat Bars Every Time
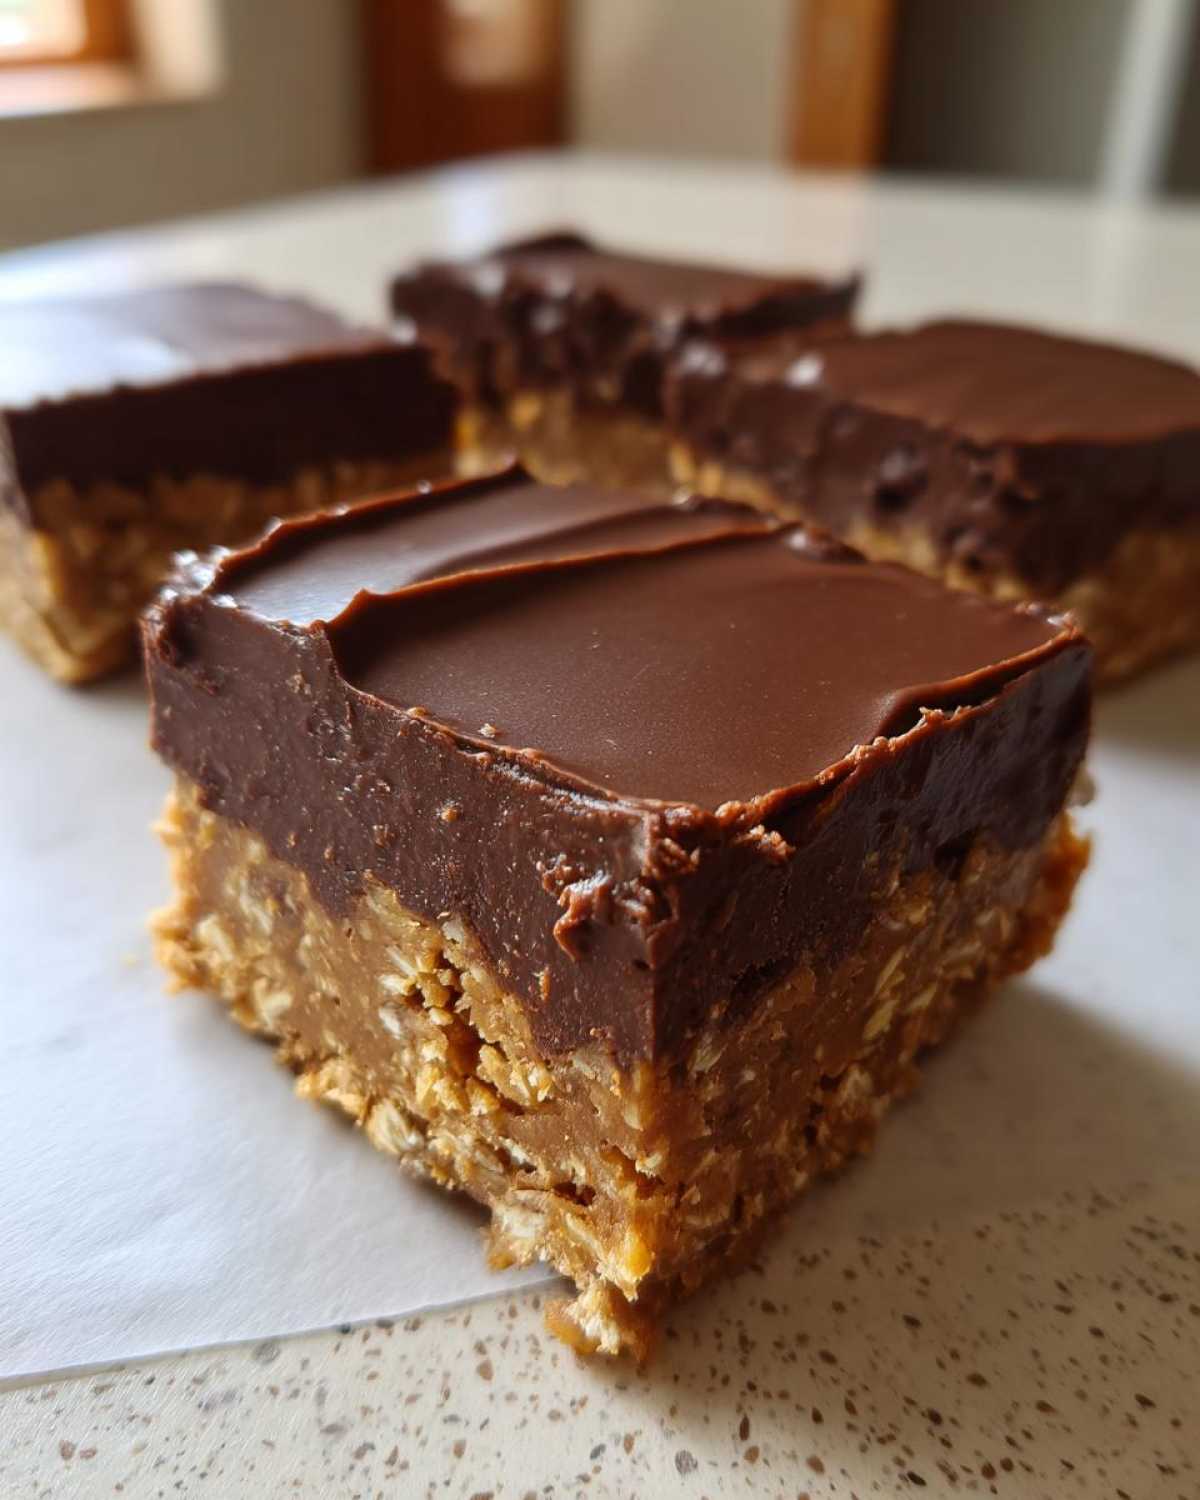
I’ve made these bars so many times that I’ve figured out the little tricks that stop them from ever falling apart on me. The main thing is temperature, weirdly enough! Don’t use peanut butter straight from the coldest part of your fridge; let it sit out on the counter for about 20 minutes first.
When the peanut butter is just barely soft, it mixes so much better with the melted butter and sugar, creating a smoother, more cohesive base. If it’s too stiff, you end up over-mixing just trying to combine it, which actually makes the oat layer denser than you want it to be.
Also, for those of you looking for the best no bake chocolate treats out there, try sprinkling a tiny pinch of flaky sea salt right on top of the melted chocolate right before it goes into the fridge. It cuts through the sweetness perfectly and just elevates the whole chocolate peanut butter experience. It’s my little secret touch that I learned from making those famous truffle balls—you can check out my recipe for those chocolate peanut butter balls for how I handle fancy chocolate finishes!
Making Ahead and Storing Your No-Bake Chocolate Peanut Butter Oat Bars
If you’re like me, you love making desserts ahead of time, especially for busy weeks or when you know company is coming over. The absolute best news about these No-Bake Chocolate Peanut Butter Oat Bars is that they are designed to be made ahead! In fact, they taste even better the next day once everything has had a chance to really marry together in the cold.
For simple storage, keep them in the same 8×8 pan as long as you cover it tightly with plastic wrap or foil. Just pop the whole thing back into the refrigerator. They should stay completely fresh and delicious for about four or five days this way. The base stays nice and chewy, and the chocolate top stays firm—it’s the perfect make-ahead dessert!
But what if you need them to last longer? That’s where the freezer comes in handy! You can wrap the entire pan tightly, or if you’ve already sliced them, stack the cut bars between layers of parchment paper or wax paper. This layering is essential so the chocolate tops don’t stick together—trust me, melted chocolate glues like crazy!
You can freeze these for up to three months. When you get the urge for a sweet treat later, just pull out as many squares as you need and let them thaw on the counter for about 15 minutes. They come out tasting practically homemade! If you’re struggling with keeping things from sticking in the freezer generally, you might want to check out some of my tips on easy freezer desserts, because freezer management is an art form!
Variations for Your Oatmeal No Bake Treats
Okay, so maybe you made the first batch, and you see the potential for greatness here! These oatmeal no bake treats are so adaptable. You don’t have to stick to just chocolate and peanut butter if you don’t want to. Since the base recipe is so simple, it’s the perfect canvas for whatever you have lurking in the pantry.
My first suggestion is always protein powder if you want to turn these into more of an energy bar. Just fold about a quarter cup of vanilla or unflavored protein powder right in with your dry ingredients when you mix the base. You might notice the base gets a little stiffer, so you may need to add an extra tablespoon of melted butter just to keep things mixing nicely. It’s a great swap if you’re trying to bulk these up for post-workout snacks!
You can also change up the chocolate top layer significantly. Instead of semi-sweet chips, try using milk chocolate for a sweeter taste, or go dark if you like that deep, bitter note to fight the peanut butter sweetness. Another fun thing I do is make half chocolate and half peanut butter topping. You just split the chocolate mixture you made, stir a tablespoon of peanut butter into one half, and swirl them on top before chilling! It looks fancy, but it takes zero extra effort.
If you’re looking for texture variations, try adding mini M&Ms or chopped pretzels into the base layer along with the oats—seriously, pretzels add the best salty crunch! I’ve got a whole section on making high-protein versions of bars like these over on my no-baking energy bars guide, which might give you even more ideas on upgrades for these squares!
Serving Suggestions for Chocolate Peanut Butter Bars Recipe
So, your beautiful, firm bars are finally out of the fridge—now what? Well, that’s the easy part! While these are amazing straight out of the pan as a quick midnight snack, they really shine when you pair them up with the right drink or small side.
Forget fancy plating; these are comfort food bars. Honestly, my favorite way to enjoy one is alongside a really hot, strong cup of coffee. The slight bitterness of the coffee just balances out the richness of the chocolate and the salty sweetness of the peanut butter perfectly. It makes for a fantastic mid-morning break!
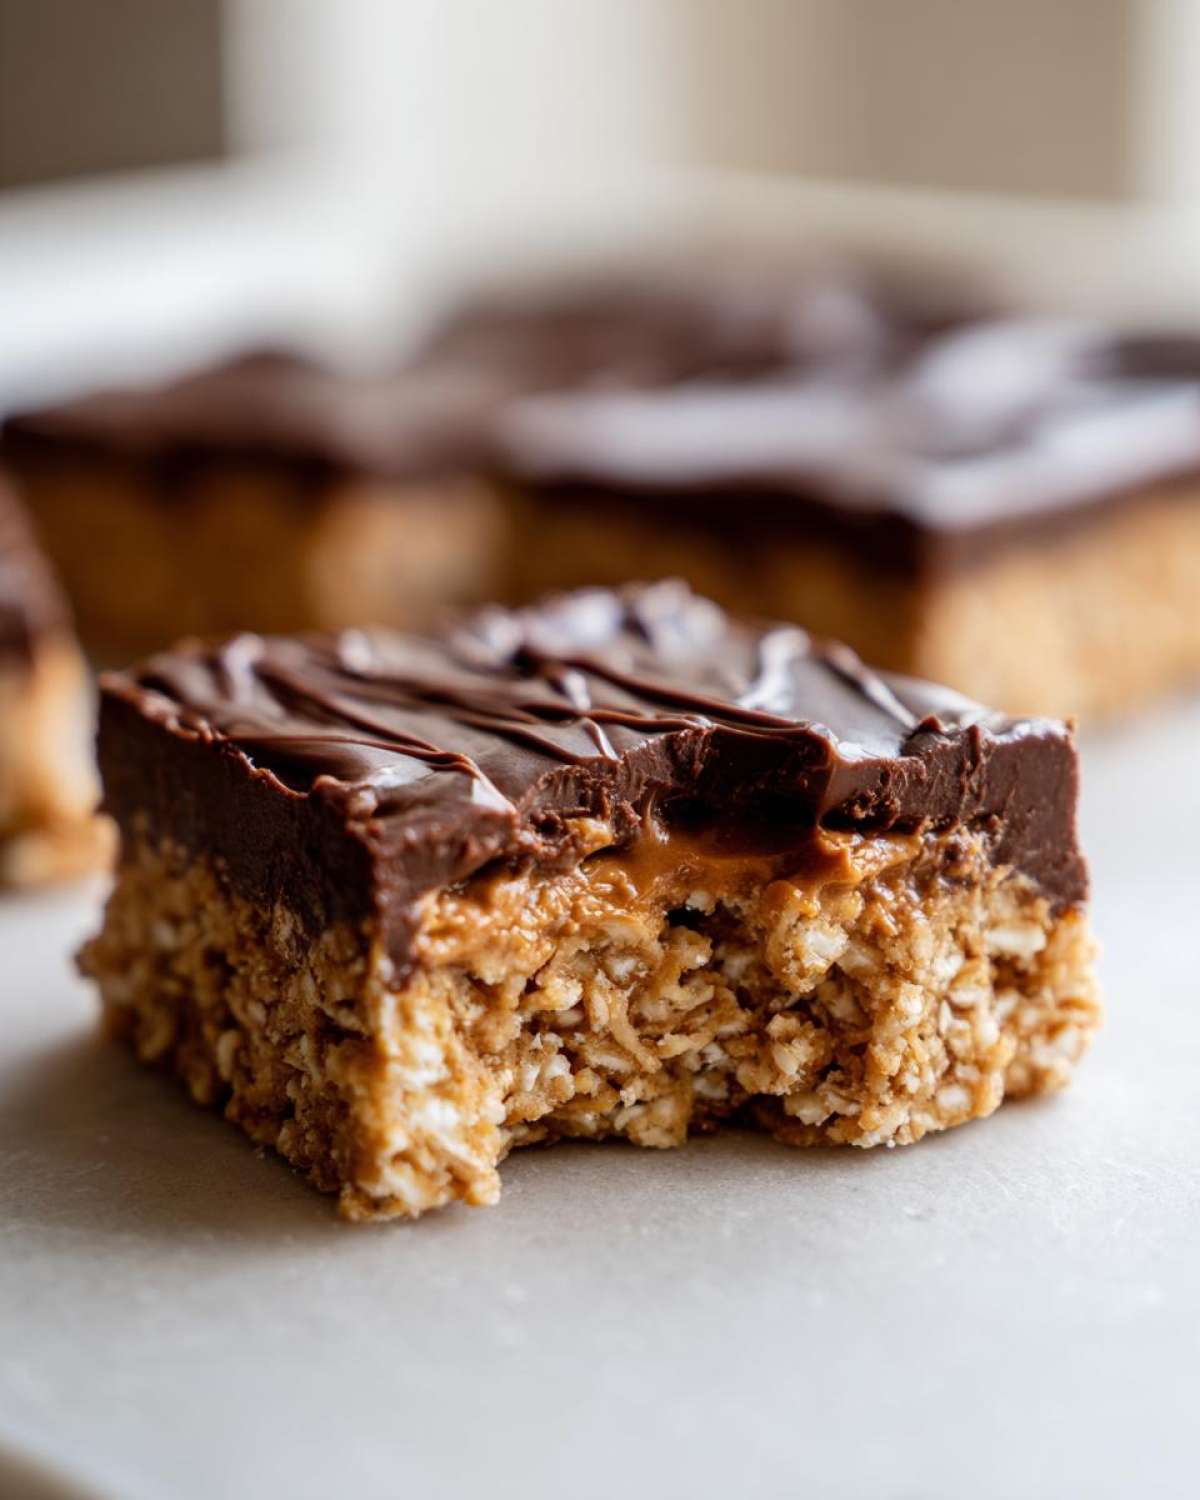
If you’re making these for kids, regular cold milk is the classic answer, and you can’t beat it. But if you want to feel a little healthier, which I know we all try to do, try serving a small square alongside a handful of fresh raspberries or sliced strawberries. Fruit adds a nice bright, slightly tart contrast that cuts through the richness of the peanut butter base.
They are also sturdy enough to be crumbled up slightly over vanilla ice cream if you’re feeling decadent! If you’re looking for morning inspiration, I have a whole post on breakfast cookie recipes that shares some similar flavor profiles you might enjoy pairing these with!
Frequently Asked Questions About No-Bake Chocolate Peanut Butter Oat Bars
It happens! When you’re working with a recipe this simple, people often have quick questions about swaps or setting the dessert just right. I’ve gathered the most common ones right here so you can get these bars from the bowl to your mouth as quickly as possible! If you are looking for more ideas on keeping the oven off for good, check out my big list of no oven required recipes.
Can I use quick oats instead of rolled oats in these No-Bake Chocolate Peanut Butter Oat Bars?
You totally can, yes! Since these are no-bake chocolate peanut butter oat bars, the oats don’t have a chance to toast up at all. If you use quick oats instead of the standard rolled oats, your base is going to be much softer and less chewy. Rolled oats give you that satisfying, substantial bite. Quick oats work, but the final texture will be softer, almost like a scoopable treat rather than a really firm bar. Just something to keep in mind!
How long do these Simple Peanut Butter Squares stay fresh?
That’s the beauty of the chocolate sealing them up! If you store them tightly covered in the refrigerator, these simple peanut butter squares will stay perfectly good for about five full days. If you manage to have leftovers (which is rare in my house!), you can store them in an airtight container right in the freezer for up to three months. They thaw beautifully, too!
I actually prefer how chewy they are after they’ve been chilled overnight. If you’re making these as a make-ahead dessert party platter, definitely get them done the day before!
Nutritional Snapshot of Your No-Bake Chocolate Peanut Butter Oat Bars
Now that we’ve had our fun tasting the goodness, let’s take a quick peek at what’s inside that delicious treat. Since these are packed with oats and peanut butter, they give you a nice little boost of energy to get you through the afternoon slump! Remember how I always say home baking nutrition is just an estimate? Well, exactly the same goes for these no-bake bars.
These numbers are based on cutting the final product into 16 squares using the standard ingredients I laid out. If you use different peanut butter or add extra mix-ins, the counts will definitely change, so take this as a friendly guideline! I’m not a nutritionist, after all—I just follow Grandma’s rules about butter!
Here’s the snapshot:
- Serving Size: 1 bar (of 16 total)
- Calories: About 210 per bar
- Fat: Around 14g (That’s where all that wonderful peanut butter and butter hang out!)
- Carbohydrates: Roughly 20g
- Sugar: About 15g (Mostly from the chocolate chips and powdered sugar, naturally!)
- Protein: A solid 6g, thanks to the oats and peanut butter!
It’s a pretty great profile for an easy no bake dessert that satisfies a massive sugar craving without needing any oven preheating time. Everything in moderation, especially when it tastes this good!
Share Your Experience Making These Easy No Bake Dessert Bars
Whew! That’s it—you’ve officially made the best easy no bake dessert around without breaking a sweat near a hot stove! Now you have a whole pan of chocolate peanut butter perfection ready to go. But seriously, I want to hear all about it!
Did you stick exactly to the recipe, or did you sneak in those chopped pretzels I mentioned? Maybe you tried the almond butter swap? Every batch of these bars tells a different little story.
Drop a rating down below—five stars if they completely solved your sudden sweet tooth crisis! More importantly, leave a comment telling me how they turned out. Pictures are always welcome if you bake often! If you just want to send positive vibes or ask a quick question, head over to my main recipe blog page; I check in there all the time and love hearing from everyone who tried my favorites!
PrintUltimate No-Bake Chocolate Peanut Butter Oat Bars
Make these simple, rich chocolate peanut butter oat bars without turning on your oven. They set quickly and are perfect for a fast dessert or snack.
- Prep Time: 15 min
- Cook Time: 0 min
- Total Time: 2 hr 15 min
- Yield: 16 bars
- Category: Dessert
- Method: Chilling
- Cuisine: American
- Diet: Vegetarian
Ingredients
- 1 cup rolled oats
- 1 cup creamy peanut butter
- 1/2 cup powdered sugar
- 1/4 cup unsalted butter, melted
- 1 teaspoon vanilla extract
- 1 cup semi-sweet chocolate chips
- 1 tablespoon coconut oil
Instructions
- Line an 8×8 inch baking pan with parchment paper, leaving an overhang on the sides for easy removal.
- In a medium bowl, combine the rolled oats, peanut butter, powdered sugar, melted butter, and vanilla extract. Mix well until everything is evenly incorporated and the mixture holds together when pressed.
- Press the oat mixture firmly and evenly into the prepared pan. Use the bottom of a glass or measuring cup to pack it down tightly.
- In a separate microwave-safe bowl, combine the chocolate chips and coconut oil. Microwave in 30-second intervals, stirring after each interval, until the chocolate is smooth and fully melted.
- Pour the melted chocolate mixture over the oat base. Spread it evenly across the top layer.
- Refrigerate the bars for at least 2 hours, or until the chocolate topping is completely firm.
- Use the parchment paper overhang to lift the bars from the pan. Cut into 16 squares before serving.
Notes
- For firmer bars, place the pan in the freezer for 30 minutes instead of the refrigerator.
- You can substitute almond butter for peanut butter if you prefer a different nut flavor.
- To make these bars gluten-free, use certified gluten-free rolled oats.
Nutrition
- Serving Size: 1 bar
- Calories: 210
- Sugar: 15
- Sodium: 110
- Fat: 14
- Saturated Fat: 5
- Unsaturated Fat: 9
- Trans Fat: 0
- Carbohydrates: 20
- Fiber: 2
- Protein: 6
- Cholesterol: 5