

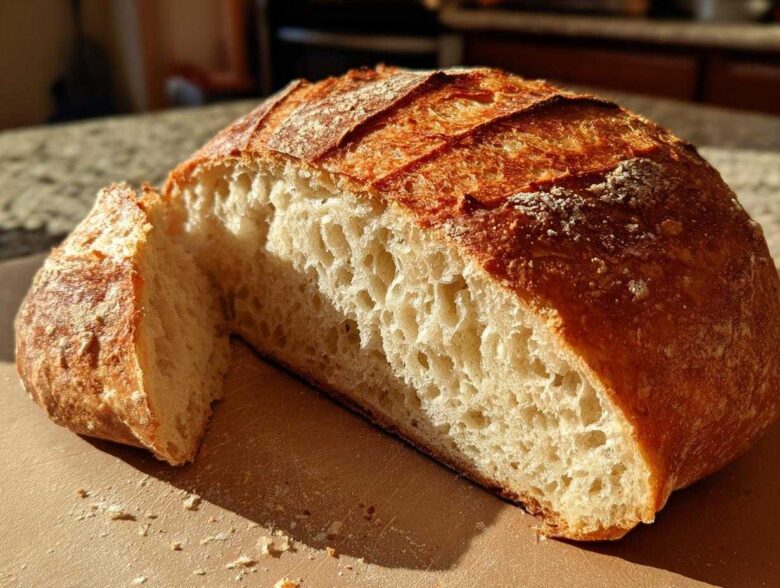
Oh, the smell! Seriously, nothing beats walking into your own kitchen and smelling warm, yeasty homemade french bread baking. When Chloe and I first started out, the thought of tackling true artisan bread baking felt so far away—all that folding, rising, and hoping for that perfect crackle. But I promise you, getting that incredible, bakery-style, crusty homemade french bread result without needing a six-hour nap for the yeast? It’s totally achievable, even for beginners. We cracked the code on beautiful, simple loaves, and now you get to share in the magic!
Why This Homemade French Bread Recipe Delivers Bakery Style Bread at Home
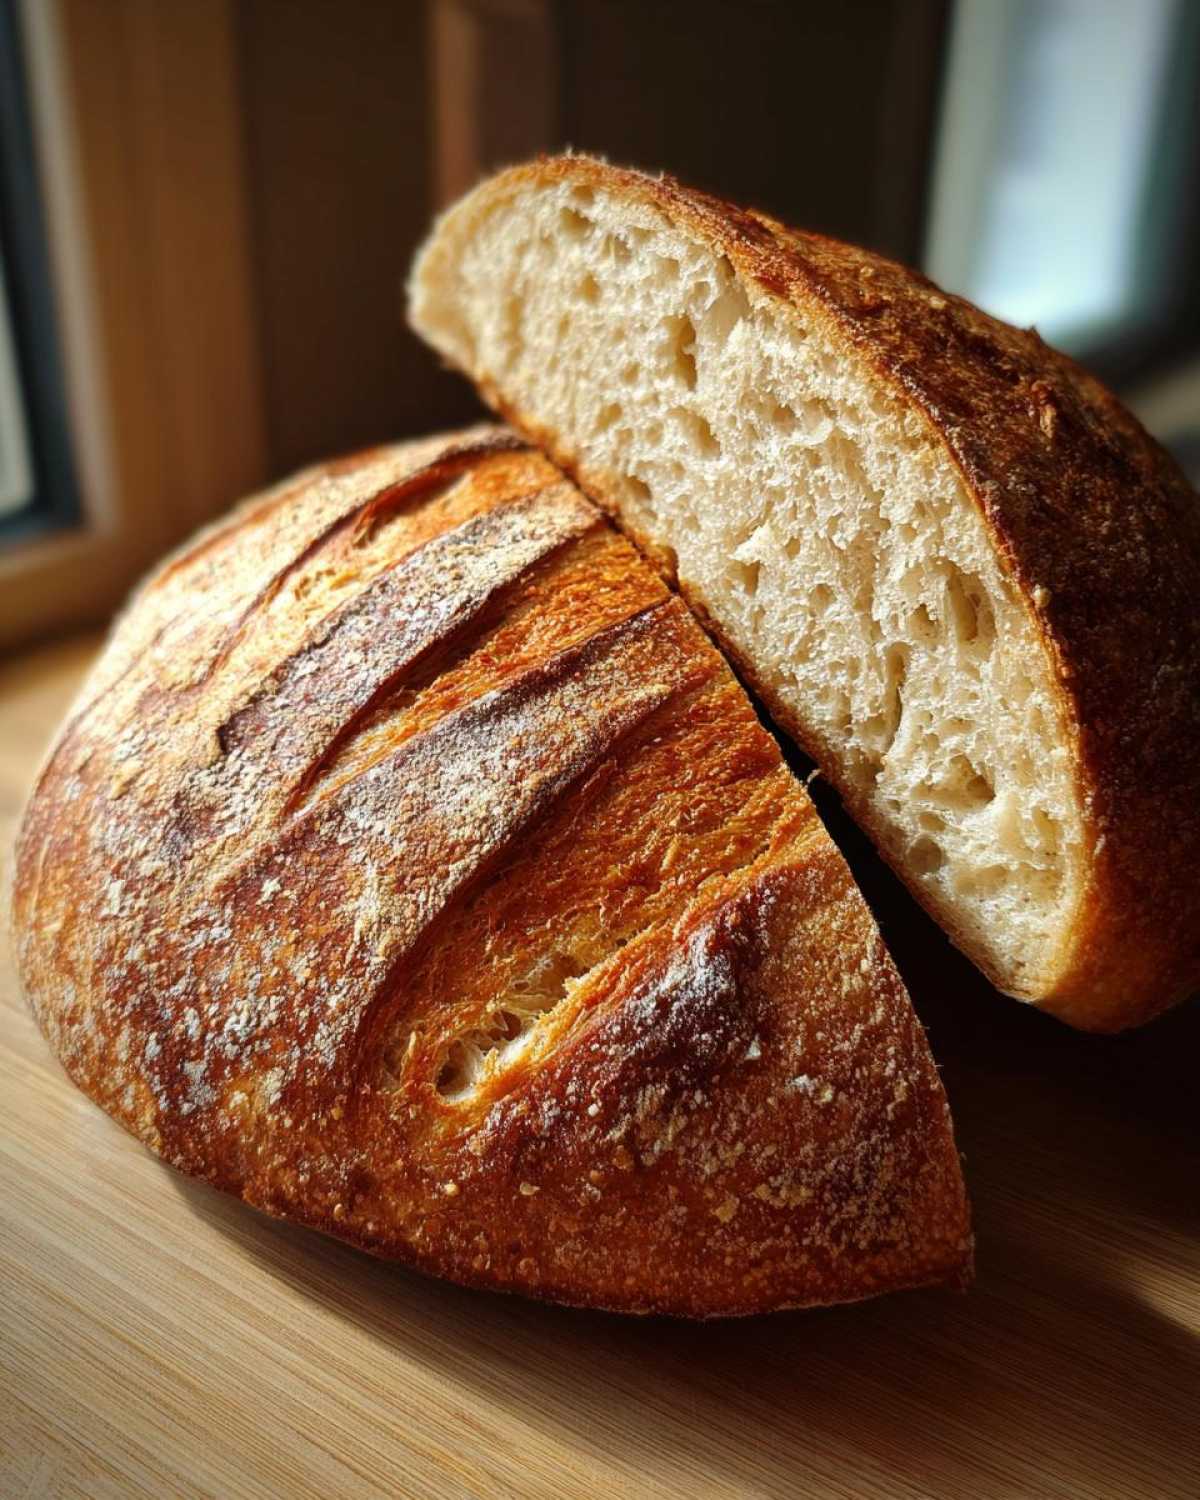
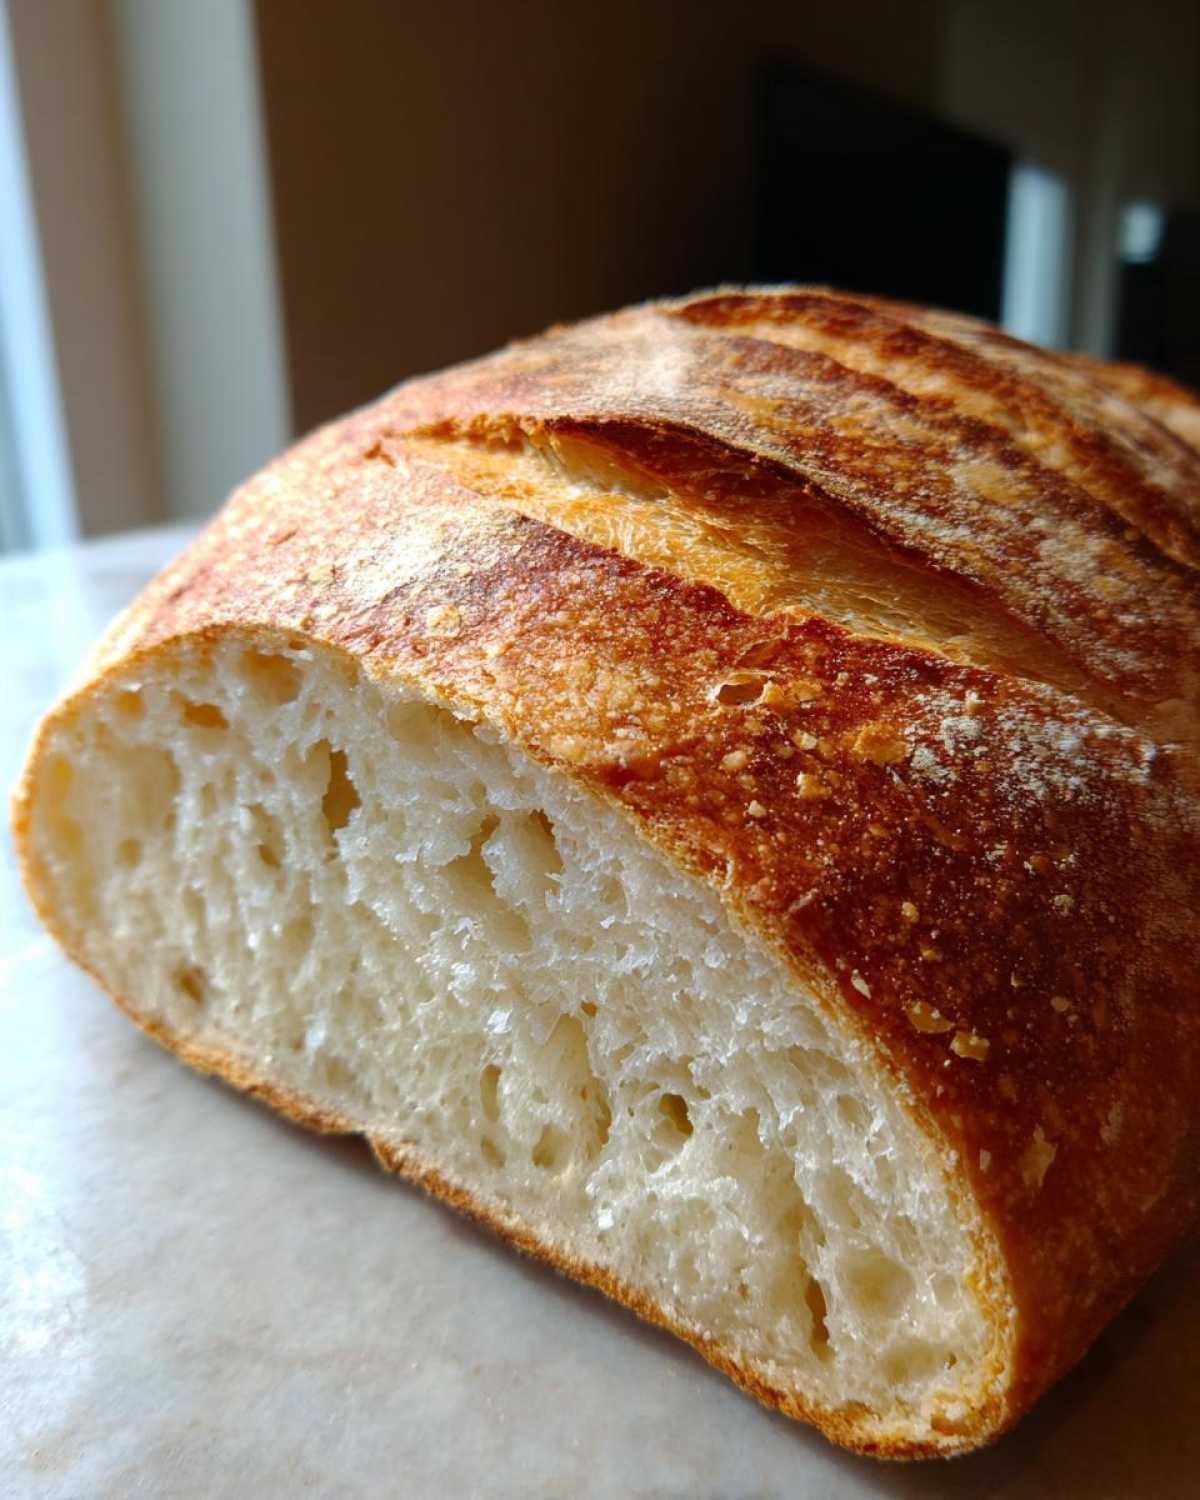
I know, I know—”bakery style bread at home” sounds like something that needs fancy equipment or overnight fermentation. But that’s where this recipe shines! We focused on maximizing that beautiful contrast: a deeply textured, French bread with crispy crust that cracks satisfyingly when you slice it, paired with an incredibly soft and airy interior. This isn’t some dense, chewy brick; this is proper French goodness made reliably. If you’ve been intimidated by true artisan bread baking, this preparation is exactly what you need to build confidence.
We honed this recipe to give you that authentic experience without the fuss. Trust me, watching your first loaf come out golden brown is going to feel revolutionary!
Key Benefits of Our Easy French Bread for Beginners
- It’s built around just four core ingredients, keeping your shopping list super short.
- The total active time is low, meaning you can realistically conquer this amazing loaf in under two hours, satisfying that urge for quick french bread recipe under 2 hours!
- We skip complicated folding techniques in favor of a basic knead, which is more than enough for a fantastic final structure for your loaf.
- The steam method we use is foolproof for getting that signature crisp exterior every single time, making this reliably the best homemade bread you’ve tried yet.
Gathering Ingredients for Classic Crusty Homemade French Bread
Okay, let’s talk supplies! This whole glorious loaf comes down to just four very simple players in the field: flour, salt, yeast, and water. That’s it! When you’re aiming for that perfect, classic french bread experience, keeping the core components minimal means the quality really shines through. We listed the exact amounts needed for two perfect loaves, but honestly, the magic is in how these humble things combine. You don’t need a closet full of specialty flours to achieve this kind of incredible result.
Ingredient Notes and Substitutions for Your French Bread
Since we are using instant yeast, you can mix it right into the dry ingredients, which is awesome for saving time. If you only have active dry yeast, you’ll just want to wake it up in the warm water first for about five minutes until it looks foamy. Speaking of water, make sure it’s warm—aim for that sweet spot between 105°F and 115°F. If it’s too cold, the yeast just naps; too hot, and you kill it, and then you end up with a sad, flat loaf! We stick to all-purpose flour here to keep things easy, though you could play around when you get more confident. For now, follow these measurements exactly. If you’re looking for dipping ideas later, check out my guide to caramelized onions—yum!
Step-by-Step Instructions: The Ultimate Crusty Bread Tutorial
Alright, this is where the real fun begins! Making truly spectacular french bread involves a few non-negotiable steps, but I promise you, none of them are complicated. We’re going for that classic structure that makes a baguette so satisfying to hold, and that starts with working the dough just right. Don’t worry if your first attempt isn’t Pinterest-ready; the taste will still blow you away. For deeper tips on achieving that look, you can always peek at this great walkthrough here.
Mixing and Developing the Dough for Perfect French Bread
First things first, whisk your flour, salt, and instant yeast together in a big bowl—just a quick blend to get things acquainted. Then, pour in that warm water and mix it with a spoon until you get a messy, shaggy bundle. Stop stirring when you can’t stir anymore! Turn that mess out onto your counter—no heavy flouring needed—and start kneading. You need to work it for about 5 to 7 minutes until it feels smooth and elastic. That’s our structure forming! Pop it into an oiled bowl, cover it up, and let it chill out in a warm spot for an hour to an hour and a half until it’s literally doubled in size. That’s your visual clue; don’t measure the time too closely.
Shaping and Second Rise for Artisan Bread Baking
Once it’s puffy, gently punch that gorgeous dough down to release the air. Divide it right in half. Now, stretch and roll each piece into the long, rustic loaf shape you love. Don’t overwork it here; we want to keep some air pockets inside for that light interior. Place these shaped loaves onto your parchment-lined sheet (remember to leave space between them!) then cover them loosely again. They need a little second rest for about 30 minutes. This resting time is essential for great artisan bread baking results.
Creating the Signature Steam for French Bread with Crispy Crust
While they rest, get your oven screaming hot—we’re preheating to 450°F (232°C) and pop a shallow pan on the very bottom rack. Just before you slide the loaves in, take a sharp knife and slash the tops three times diagonally, maybe just a half-inch deep. This lets the bread expand nicely. Okay, moment of truth! Quickly pour about a cup of hot water into that bottom pan and slam the door shut. That steam is the secret weapon for that amazing french bread with crispy crust! Bake them for 20 to 25 minutes until they look deep gold and sound hollow when you tap them. Perfection!
Tips for Success When Making Your French Bread
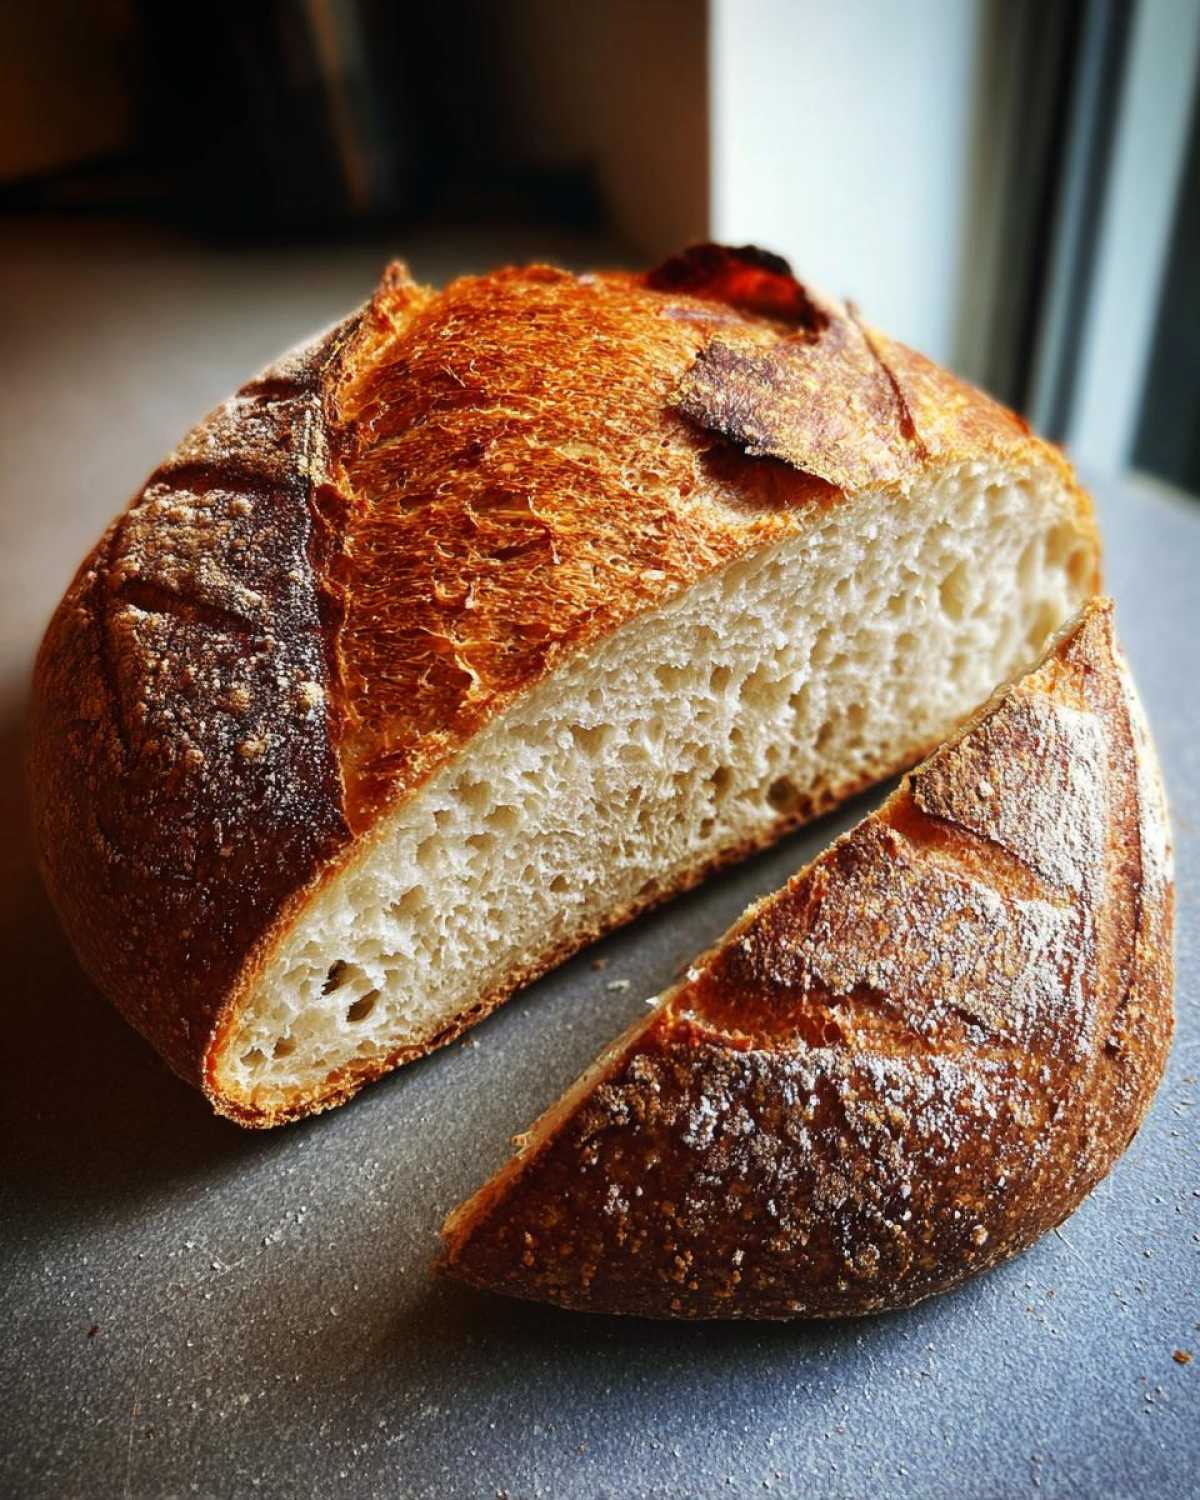
You’ve got your golden loaves out, which is amazing! Now, I want to make sure you know how flexible this recipe is. While I love that sharp crackle, sometimes you want something a little friendlier for sandwiches or just want fresh bread right out of the oven. Achieving that perfect texture is all about how you treat the bread in those last few minutes of baking. Don’t be afraid to experiment a little bit once you master the basic technique!
Adjusting Texture: From Crusty to Soft and Fluffy French Bread
The steam pan? That’s what locks in that super high-crust texture we’ve been talking about. If you want a soft and fluffy French bread instead—maybe softer sides for dipping into soup—just skip the part where you pour water into that hot pan. Seriously, that’s the whole difference! If you want them extra soft right when they come out, you can immediately brush the tops lightly with some melted butter. I do this when I’m planning on freezing one loaf for later. Then, cool them completely on a rack before storing them. For ideas on using up leftover soft loaves, check out my guide to the best French toast!
If you’re in a genuine rush next time and want a faster turnaround, look into the 90-minute version, but know you might sacrifice just a touch of the deeper flavor we get from the longer primary rise!
Storing Your Homemade French Bread Recipe Loaves
You did it! You pulled out those gorgeous, crusty loaves, and the smell is pure heaven. Now, the absolute, most important rule for keeping that crust amazing is this: You must let them cool completely before you wrap them up. I know it’s agony. It’s like letting a puppy nap when you just want to play, but hear me out!
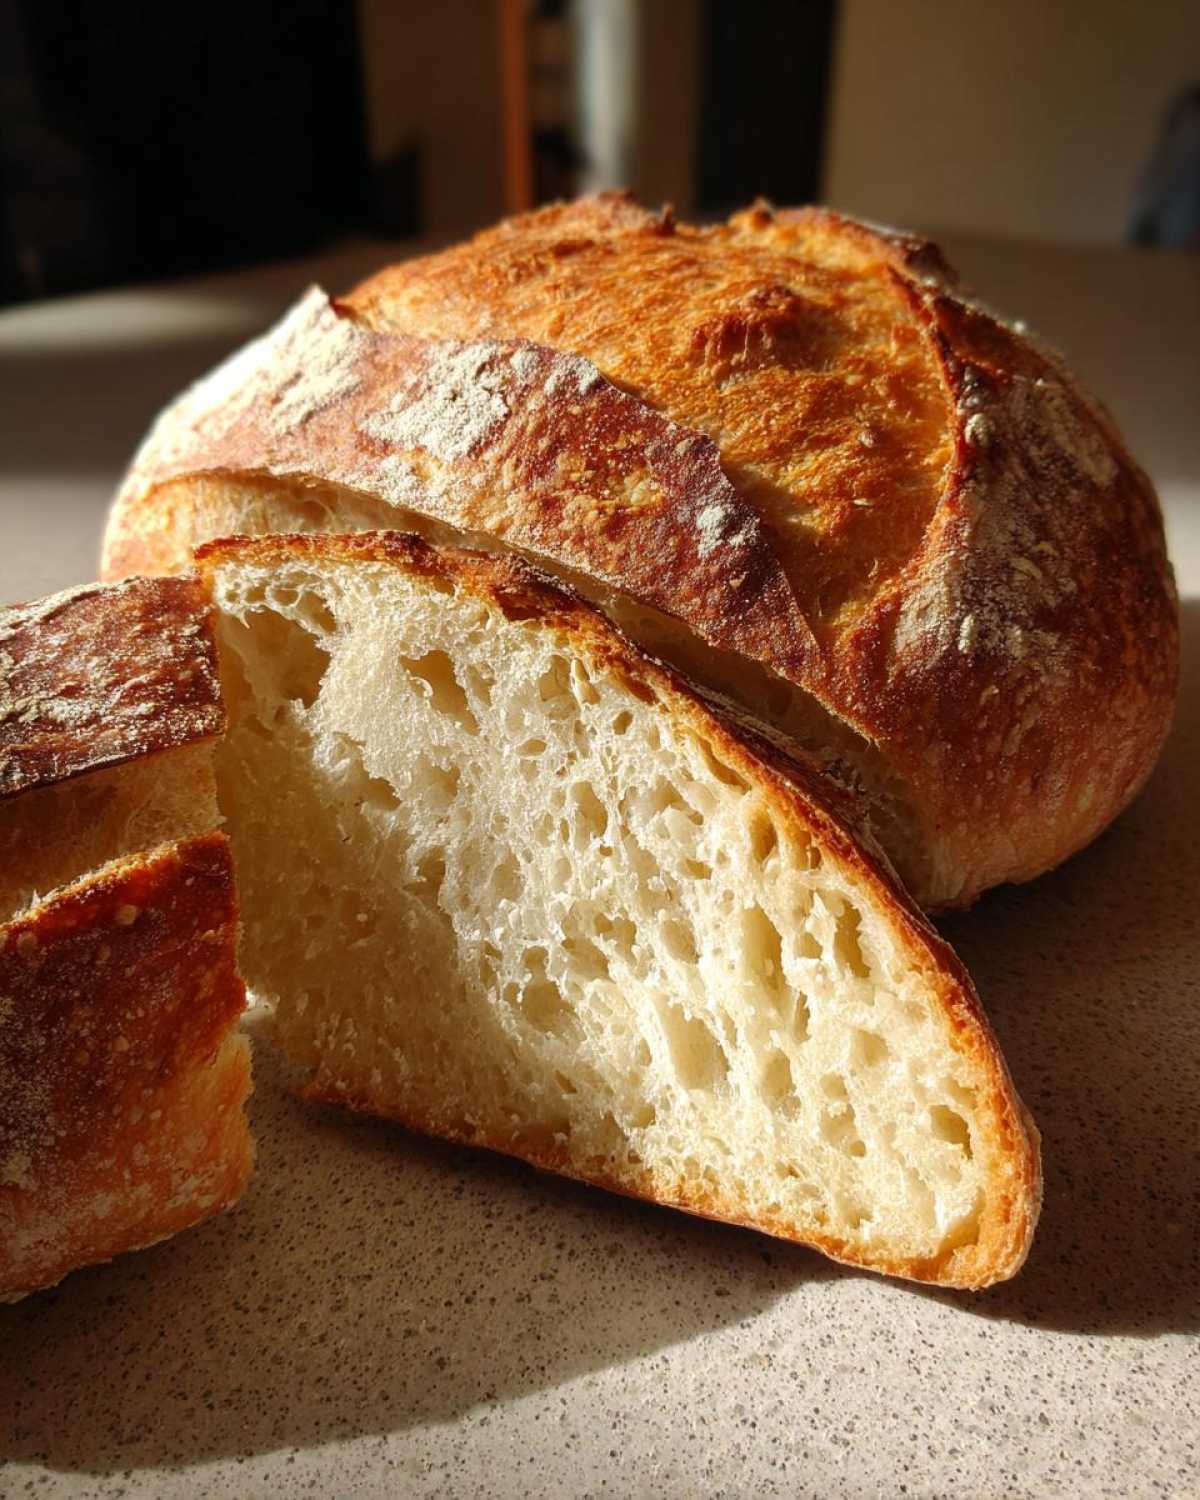
If you wrap that hot bread, the steam gets trapped inside. That beautiful, crispy shell instantly turns soft and chewy—the complete opposite of what we worked so hard for! Let them sit on a wire rack for at least an hour, or until they are room temperature all the way through. Once cool, you want to limit their exposure to air to keep the crumb happy.
For eating the same day or the next morning, just wrap them loosely in a paper bag. That lets a little air circulate while keeping them from drying out too fast. If you know you won’t devour them in 24 hours, put the remaining bread in an airtight container or freezer bag after they are fully cool. They usually stay fantastic for two to three days stored this way—perfect for slicing up for quick snacks or later use in recipes like my chewy granola bars.
Serving Suggestions for Your Simple Yeasted Bread
Now that you’ve mastered the technique and have two glorious loaves of homemade french bread cooling on the rack, the real fun—eating it—begins! Because this recipe yields two full loaves, it’s perfect for making ahead for parties or freezing one for later. Don’t just save this bread for fancy dinners, either; it deserves a role at every meal!
If you decided to shape these into smaller rolls instead, you’ve got some fantastic dinner rolls ideas homemade! They are perfect to serve alongside hearty soups or salads, letting everyone soak up every last bit of broth. Chloe and I absolutely love tearing off chunks while an Italian meal is simmering on the stove—way better than store-bought.
But my favorite way, still, is the simplest. Once the crust is cooled enough that you won’t burn your fingers, slice up a long piece, drizzle heavily with good quality olive oil, sprinkle with a little sea salt, and maybe some freshly cracked black pepper. Sometimes we even mix a touch of garlic powder into that oil. Honestly, that crusty texture combined with savory oil is unmatched. You don’t even need a recipe for that one; you just need your amazing bread!
Frequently Asked Questions About Making French Bread
It’s natural to have a few questions when you dive into homemade bread recipes, especially when you’re chasing that perfect bakery texture. Baking is a mix of science and gut feeling, so let me clear up some of the most common worries people have about achieving their dream loaf!
Can I make this French bread recipe faster than the listed time?
That’s a great question, especially when you see those tempting ‘One Hour French Bread’ titles floating around! This recipe is definitely quick—we are looking at under two hours total, which is speedy for real bread. However, the flavor in true, rich french bread comes from the yeast doing its job slowly. If you try to rush that rise time by putting the dough in a super hot spot or just cutting the time short, you’ll end up with a bread that tastes… yeasty and a little flat. We keep the rise times reasonable so you get amazing flavor without needing a whole day!
What is the secret to the ‘Authentic French Baguette Recipe’ crust?
If you want that beautiful, crackly, authentic crust, the secret isn’t in the dough itself—it’s 100% in the oven environment. Remember when we talked about how to create steam? That’s the golden ticket! When you pour hot water into that pan on the bottom rack right before baking, that steam keeps the surface of your loaf soft for the first few critical minutes. This allows the bread to expand fully before the crust sets. Once the steam escapes, the super-high heat bakes that exterior into a gorgeous, shiny, crisp shell. High heat plus wet steam equals bakery victory!
Nutritional Estimates for Homemade French Bread
Whew! We made it through all the mixing, shaping, and steaming. Now that you have this lovely bread cooling, you might be wondering about the facts behind this simple, delicious bake. Like any fresh-baked item, these numbers can shift a little depending on how heavy-handed you are with the flour during shaping or how much steam you actually managed to trap in the oven, so take these figures as a helpful guideline rather than an ironclad law.
We calculated these estimates by basing it on the recipe using all-purpose flour and dividing the total yield (two loaves) into 16 standard slices each, totaling 32 servings overall. If you are tracking things for a specific diet, please remember they are just starting points! This list is meant to show you that even a beautiful, crusty bread tutorial result can fit wonderfully into most meal plans when made simply.
If you’re looking for something creamy to pair with this lovely loaf, you absolutely have to try my recipe for creamy roasted garlic cheddar soup. It is the ultimate dunking experience!
Here is the estimated breakdown per slice:
- Serving Size: 1 slice
- Calories: 150
- Sugar: 0.5g
- Sodium: 300mg
- Fat: 0.5g
- Saturated Fat: 0.1g
- Unsaturated Fat: 0.4g
- Trans Fat: 0g
- Carbohydrates: 31g
- Fiber: 1g
- Protein: 4g
- Cholesterol: 0mg
Share Your Classic French Baking Experience
Honestly, seeing your creations brings me as much joy as eating the bread itself! You’ve just used simple flour and water to create something truly magical—that beautiful, crisp french bread experience at home. I really want to know how it turned out for you!
Did you nail that incredible, crackly crust we aimed for? Were you able to keep it soft and fluffy? Please jump down into the comments below and give this recipe a rating out of five stars—it helps other beginner bakers see that they can conquer this, too! We read every single comment, and we absolutely love seeing the photos you share of your loaves cooling on your counters. If you’ve found a pairing that’s just unbeatable (maybe dipping it in butter or olive oil!), let us know that secret pairing, too!
We are all about conquering the kitchen together, and sharing your triumphs is the best part of this whole adventure. If you’re looking for something different, check out this wonderful soft fluffy French bread recipe for a textural change next time!
PrintClassic Crusty Homemade French Bread: Bakery Style Loaves at Home
Learn how to make truly crusty and delicious homemade French bread. This easy recipe delivers bakery-style results with a crisp exterior and soft interior, perfect for any meal.
- Prep Time: 20 min
- Cook Time: 25 min
- Total Time: 1 hour 40 min
- Yield: 2 loaves
- Category: Bread
- Method: Baking
- Cuisine: French
- Diet: Vegetarian
Ingredients
- 3 cups all-purpose flour
- 1 1/2 teaspoons salt
- 1 teaspoon instant yeast
- 1 1/4 cups warm water (about 105-115°F)
Instructions
- In a large bowl, whisk together the flour, salt, and instant yeast.
- Gradually add the warm water to the dry ingredients. Mix with a wooden spoon until a shaggy dough forms. Do not overmix.
- Turn the dough out onto a lightly floured surface. Knead for about 5 to 7 minutes until the dough is smooth and elastic. This is key for a good structure.
- Place the dough in a lightly oiled bowl, turning to coat. Cover the bowl with plastic wrap or a clean kitchen towel. Let the dough rise in a warm spot for 1 to 1.5 hours, or until doubled in size.
- Gently punch down the risen dough. Divide it into two equal pieces. Shape each piece into a long, rustic loaf or baguette shape.
- Place the shaped loaves on a baking sheet lined with parchment paper, leaving space between them. Cover loosely and let them rest for a second rise for 30 minutes.
- Preheat your oven to 450°F (232°C) about 20 minutes before baking. Place a shallow pan on the bottom rack to create steam later.
- Just before baking, use a sharp knife or razor blade to make three diagonal slashes (about 1/2 inch deep) across the top of each loaf.
- Carefully pour about 1 cup of hot water into the preheated shallow pan on the bottom rack to create steam. Quickly close the oven door.
- Bake the French bread for 20 to 25 minutes, or until the crust is deep golden brown and sounds hollow when tapped.
- Remove the loaves from the oven and let them cool completely on a wire rack before slicing. Enjoy your artisan bread baking success!
Notes
- For an extra crispy crust, spray the inside of the oven walls with water a couple of times during the first 10 minutes of baking.
- If you want a softer crust loaf, skip the steam pan and brush the tops lightly with melted butter immediately after removing them from the oven.
- This recipe makes two loaves, perfect for dinner rolls ideas homemade or sandwiches.
Nutrition
- Serving Size: 1 slice
- Calories: 150
- Sugar: 0.5
- Sodium: 300
- Fat: 0.5
- Saturated Fat: 0.1
- Unsaturated Fat: 0.4
- Trans Fat: 0
- Carbohydrates: 31
- Fiber: 1
- Protein: 4
- Cholesterol: 0