

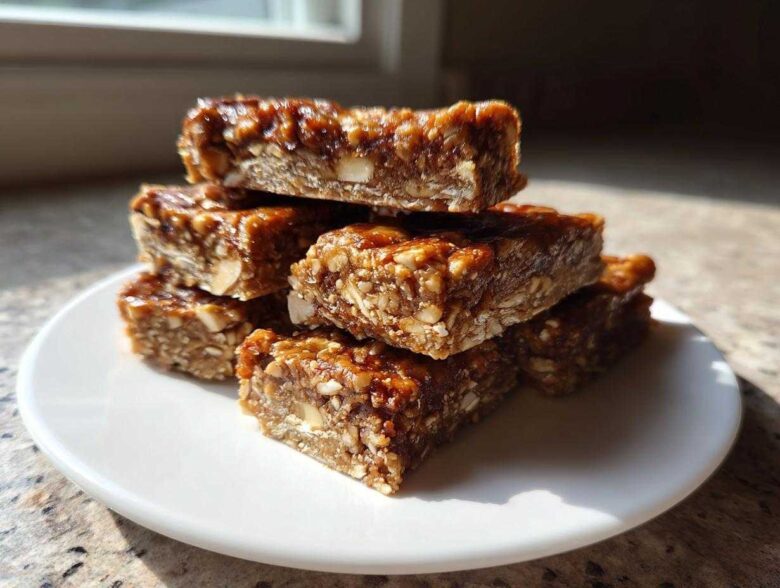
Oh my gosh, you guys, if you know me, you know my snack game has to be bulletproof. Store-bought protein bars? Don’t even get me started! They’re either chalky messes that taste like sweet sawdust or they’re loaded with so much weird stuff I need a chemistry degree to pronounce the ingredients. Seriously, finding something that actually tastes good, keeps me full, and doesn’t require turning on the oven has been a mission.
Well, Chloe and I finally nailed it. Say hello to my absolute new favorite thing: Easy 5-Ingredient, No-Bake Peanut Butter & Chocolate Protein Bars! These things are lifesavers for my chaotic schedule. They come together faster than I can choose a streaming show, and believe me when I say they satisfy every single snack craving you could possibly have. Forget those dry bricks; these are delightfully chewy and so packed with goodness, they fly out of the fridge!
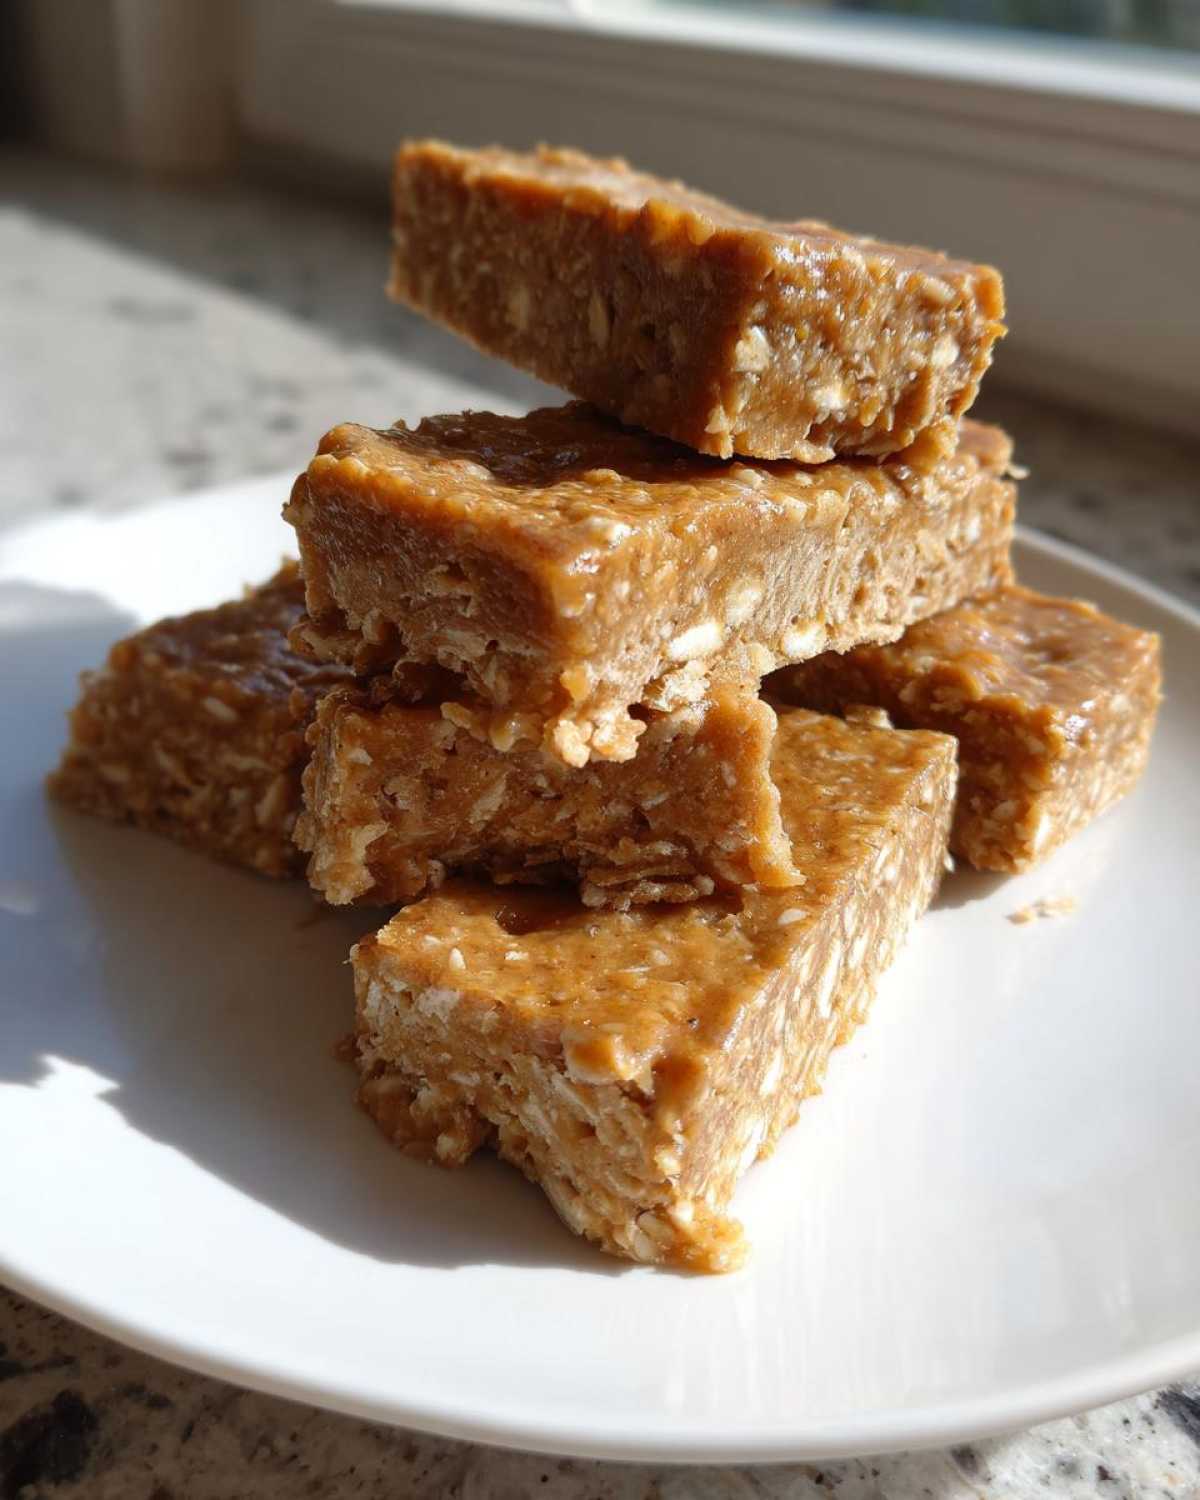
Why You Will Love These Easy Protein Bars
Honestly, these are top-tier when it comes to quick fuel. I made a huge batch last Sunday for meal prep, and they’re already almost gone! If you’re tired of spending money on disappointing store brands, these protein bars are definitely your answer.
- They take seriously under 10 minutes of active time. Seriously!
- Zero cooking required, which means less cleanup—thank goodness.
- Incredibly chewy texture; they never crumble into a mess on the go.
- They taste rich and satisfying, not like you’re eating chalky cardboard.
If you enjoy making things ahead, you should check out our tips for chewy homemade granola bars too! It’s all about that make-ahead convenience.
Essential Ingredients for Perfect No Bake Protein Bars
This recipe is magical because it only calls for five core things, plus a little optional chocolate goodness on top. When you’re making protein bars at home, the quality of those few ingredients really matters, because there’s nowhere for poor ingredients to hide! You want the best mix of binders, bulk, and flavor, and I think we got the ratio spot on here.
Here’s what you need hanging around your pantry for this quick snack:
- 1 cup rolled oats
- 1/2 cup natural peanut butter
- 1/2 cup vanilla or unflavored protein powder (whey or plant-based)
- 1/4 cup honey or maple syrup
- 1/4 cup dark chocolate chips (optional, for topping)
If you’re looking for more ideas on making different things ahead of time, check out my thoughts on chewy homemade granola bars for extra inspiration!
Ingredient Notes and Substitutions for Your Protein Bars
Now for the fun part—making sure you pick the right version of these ingredients! When it comes to the protein powder, you can totally use whey, which tends to absorb liquids a bit faster, or you can use a plant-based blend if you prefer. Just watch the consistency—we’ll talk about adding water later if needed.
For the sweetener, honey gives a really classic, rich flavor, but maple syrup works just as beautifully if you’re aiming for a vegan option (make sure your protein powder is also plant-based then!). If you’re looking to cut the sugar way down, you can swap the honey for a liquid keto sweetener, but you’ll need less of it since those sweeteners are much more concentrated.
Pro tip: Make sure that peanut butter is natural—the oily kind! If you use the super processed, shelf-stable kind, it won’t bind nearly as well and you’ll end up with crumbling bars.
Step-by-Step Guide to Making Homemade Protein Bars
Okay, this is where the action happens! Since these are no-bake, it’s all about technique, not oven time. The goal here is to get everything perfectly incorporated so your final bars don’t fall apart when you try to grab them for a snack. We are aiming for that perfect sliceable, chewy texture common in the protein bars you love.
Preparing the Pan and Mixing the High Protein Snacks
First things first: Get your pan ready! I use an 8×8 inch pan, but honestly, I never trust the naked bottom. Line it with parchment paper, making sure you leave a good overhang on the sides.
That overhang is your secret handle later—trust me, trying to dig a set bar out of a pan is a nightmare. Once lined, grab your big bowl. Toss in the oats, the protein powder, and that creamy peanut butter. Don’t worry about mixing too much yet; just get the solids acquainted.
Forming and Chilling Your Quick Protein Snacks
Next, pour in the honey or maple syrup. Now you have to mix it! I end up using my hands here because a spoon never quite cuts it when you’re trying to bring everything together. You want a thick dough that holds its shape when you squeeze it. If it looks a little dry (this happens sometimes if your protein powder is thirsty), just add water one tiny teaspoon at a time until it sticks!
Press this beautiful mixture firmly into your prepared pan. I mean firmly! Use the back of a measuring cup to really pack it down; this is what guarantees those chewy protein bars we adore. If you’re using those chocolate chips, sprinkle them now and give them a gentle press. Then, pop it in the fridge for at least a full hour until it’s rock solid. Patience pays off here!
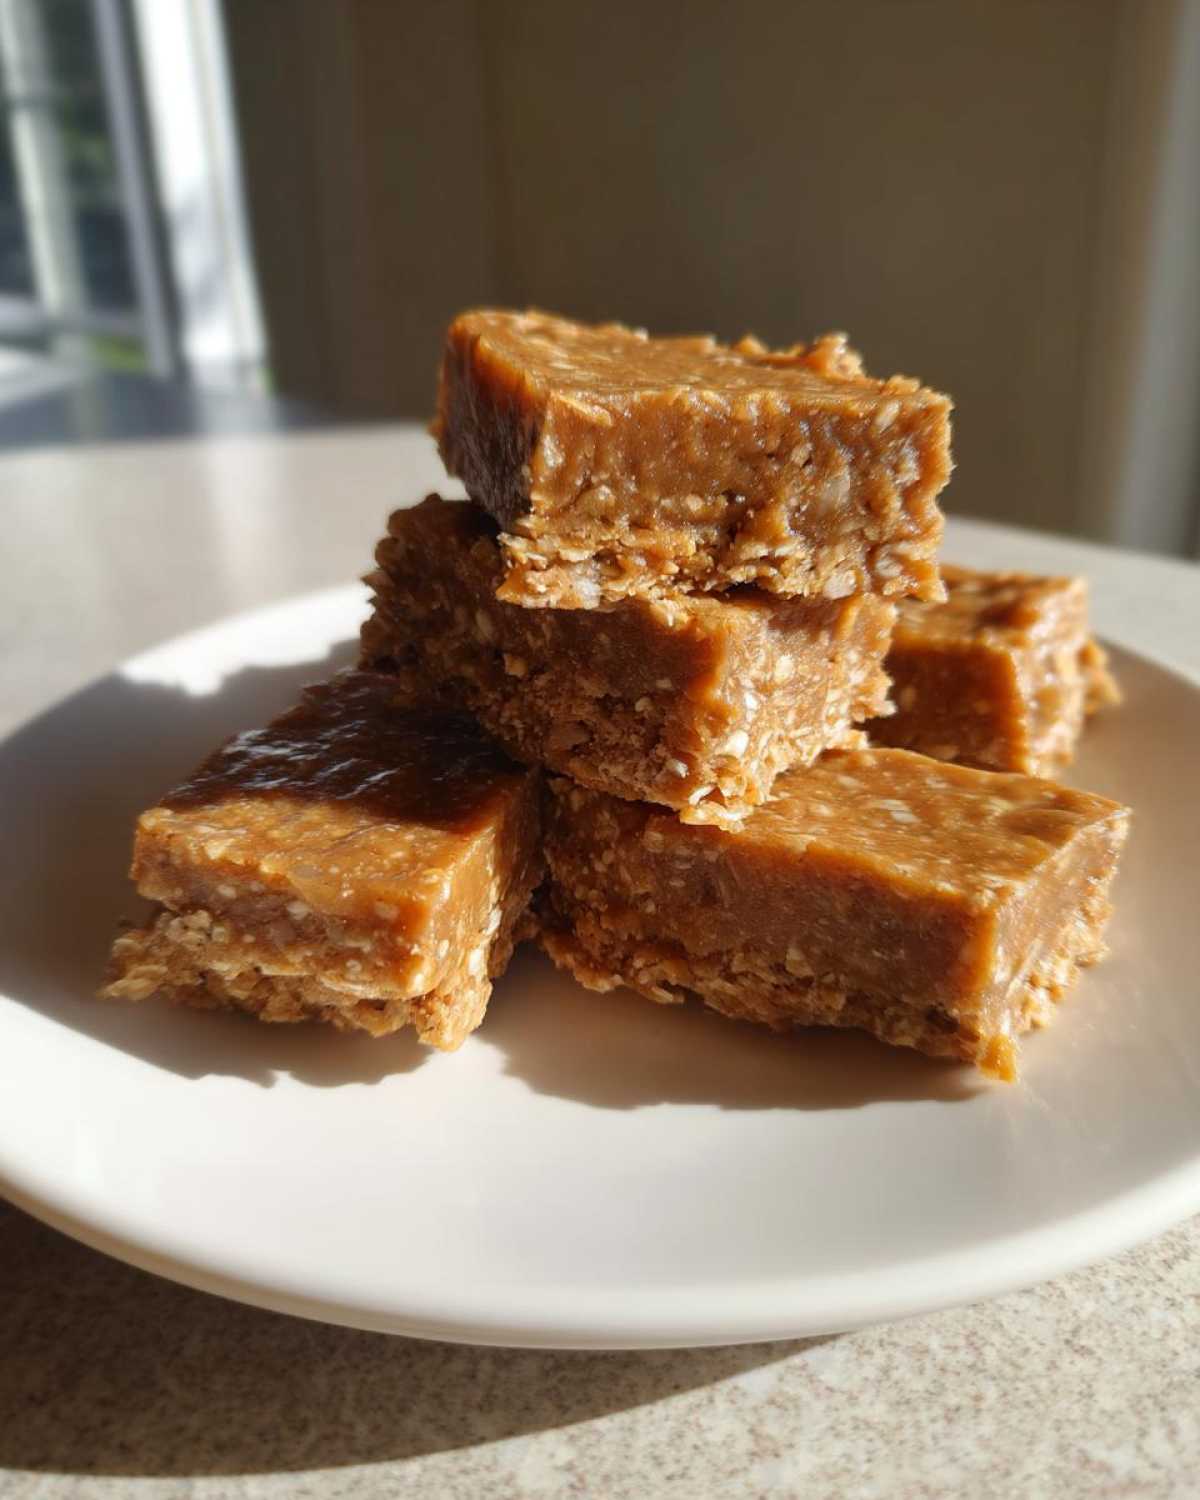
Tips for Success When Making Chewy Protein Bars
Even though these are protein bars with no actual cooking involved, there are definitely places you can trip up! The biggest hurdle I used to face, back when I first started trying to make these, was getting that perfect cohesive, chewy texture. They would just crumble the second I tried to slice them. Ugh.
I remember one batch vividly—it was right before Chloe’s big marathon, and I was stressed. I measured the honey slightly short because I was in a rush. The resulting mix looked like very chunky sand. I almost tossed the whole thing, but Chloe reminded me of the great burnt-chicken disaster of college (when we decided to just order pizza instead of salvaging it). Instead of quitting, I added just a splash of milk, mixed by hand until it finally came together, and pressed it down like my life depended on the chill time!
So, here are my hard-earned golden nuggets to ensure your homemade protein bars are perfect every time and don’t end up as loose crumble:
- Don’t Skimp on the Binder: That peanut butter and honey are your glue! If your dough feels dry, always, always add liquid (water or milk) one teaspoon at a time until it truly clumps when you squeeze a fistful.
- Pack it Like You Mean It: This is non-negotiable. Use the bottom of a glass or a flat measuring cup to press the mixture into the pan. Squish it down until the surface is tight and almost glossy. That compression is what stops the oats from separating during chilling.
- Know Your Protein Powder: Different brands absorb moisture differently. If your dough seems stiffer than expected after mixing, that’s fine—it means your protein powder is working hard! Just use the parchment paper overhang to help you lift the whole block out of the pan before cutting.
We talk a lot about logging our kitchen wins and fails over on the main Cookery Kings blog. You’ve got this! Making great protein bars at home is about practice, not perfection.
How to Store Your Make Ahead Protein Bars
Since these are such amazing protein bars for meal prep, knowing how to keep them fresh is key! The best place for bars you plan to eat within the week is definitely the fridge. Keep them in a truly airtight container—I love glass ones for this because they seal so tight.
They usually last well for about a week refrigerated, and they stay firmer that way, which I personally prefer for those grab-and-go moments. If you make a giant batch like I usually do (because who stops at one?), you can totally freeze them! Just wrap each one individually in wax paper or cling film first. They freeze beautifully for up to two months. When you need one, just pull it out a few minutes before you walk out the door!
Customizing Your Peanut Butter Protein Bars
While these peanut butter protein bars are perfection in my book, I know not everyone wants the exact same flavor profile every single time! That’s what I love about homemade snacks—you’re in total control! It’s super easy to switch things up depending on what you have in the pantry or what craving hits you that week.
The basic structure of five ingredients works perfectly as a base for almost any flavor combination you can think of. It’s all about swapping out that nut butter or adding in some fun mix-ins!
For example, if you’re totally bored of peanut butter (gasp!), swap it out 1:1 with almond butter or even sunflower seed butter if you have a nut allergy concern. Almond butter tends to be slightly runnier, so you might need just one extra teaspoon of protein powder to keep the dough firm, but it’s usually fine!
If you’re a huge chocolate lover and want less of the peanut flavor, you can use a chocolate protein powder instead of vanilla or unflavored. You might want to add a little less honey because chocolate protein powders are often sweeter. And while we’re talking chocolate, if you love those layered treats, you should definitely check out our recipe for no-bake chocolate peanut butter balls—they scratch that same itch!
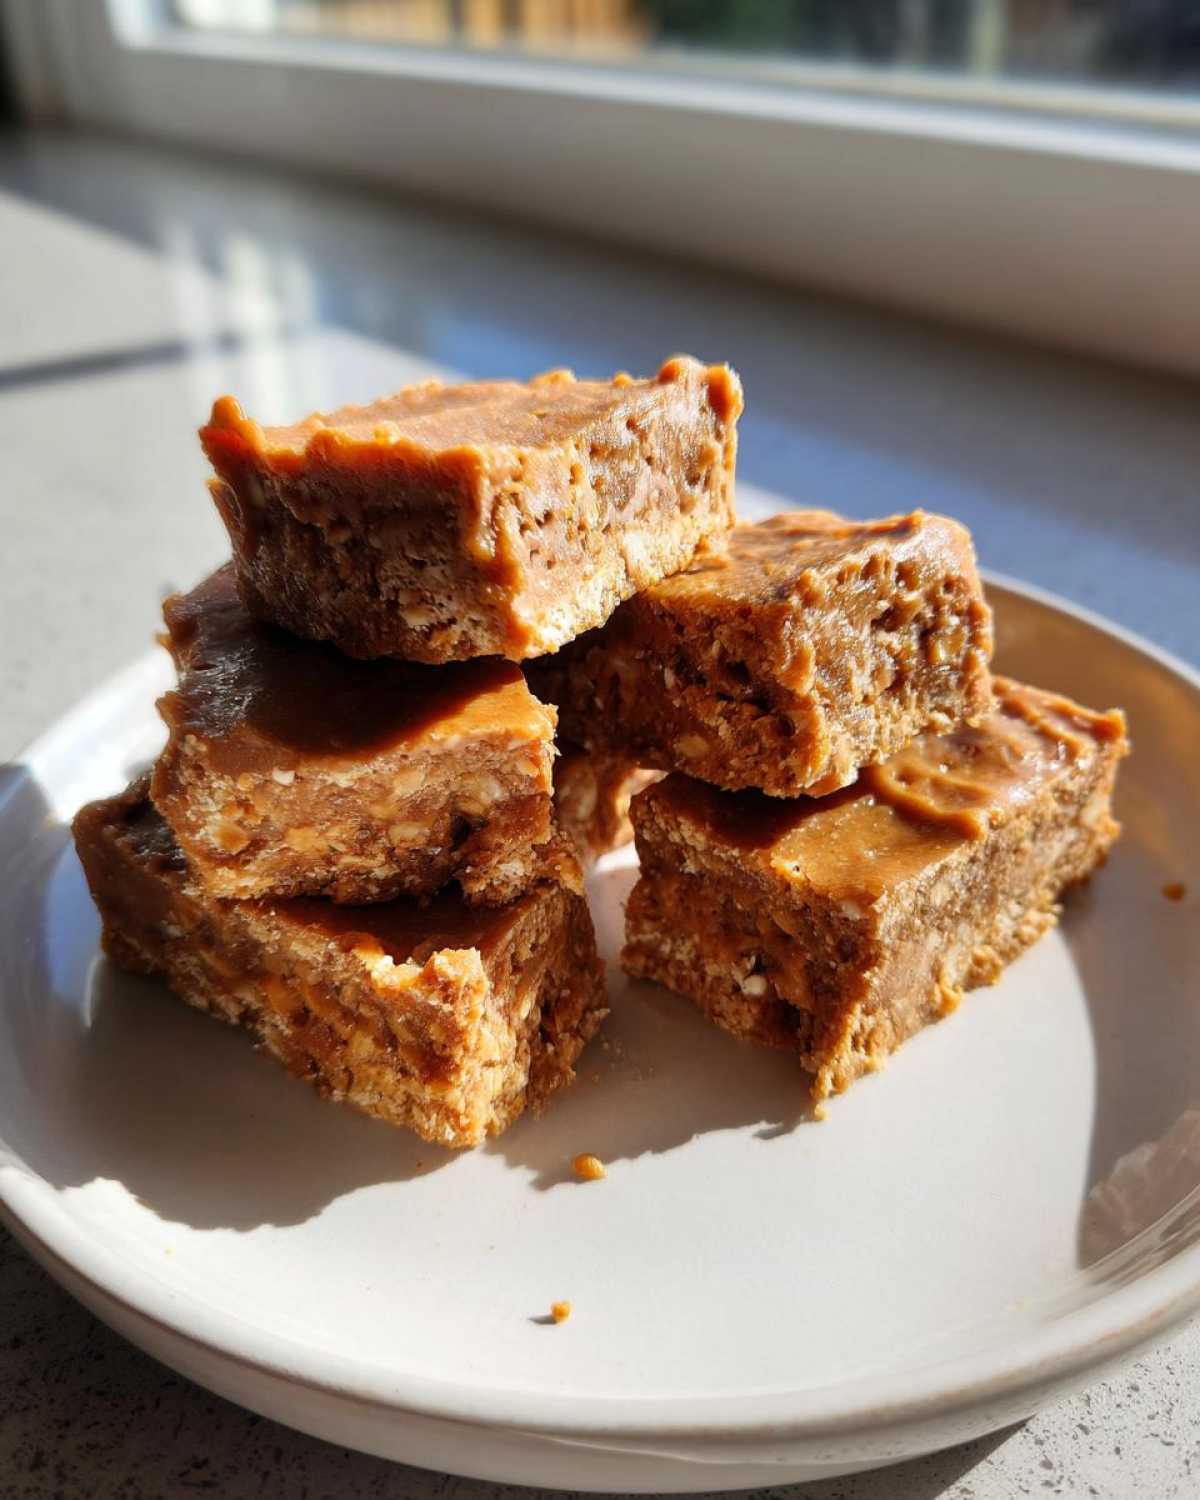
You can also play with the mix-ins a lot! Instead of just sprinkling chocolate chips on top, try adding some dried cranberries or finely chopped dried apricots before chilling. Just remember, mix-ins change the texture slightly, so stick to about 1/4 cup total for this five-ingredient base so you don’t accidentally end up with loose crumbs instead of proper bars.
Frequently Asked Questions About These Protein Bars
You know, when I first started experimenting with these quick protein snacks, I had a million questions swirling around, too! It’s always tricky when you’re trying to swap things out, but that’s how we learn to make the very best protein bars, right? Here are a few things people ask me all the time about getting these right.
Can I make these low sugar protein bars?
Oh, absolutely! That’s one of the biggest upsides of making your own protein bars. If you look back at the ingredient notes, I mentioned this, but I want to stress it: you can swap that honey or maple syrup out for a liquid keto-friendly sweetener. You’ll need way less of it, though, so start small! Also, make sure you grab a sugar-free or very low-sugar protein powder. I find that when you go low-sugar, you sometimes need an extra tiny splash of water just to get the dough to hold together perfectly.
Why are my homemade protein bars too soft?
This usually comes down to two things, and don’t worry, it happens to me occasionally too, especially if I’m rushing! The number one culprit is usually not pressing them down hard enough in the pan. Remember, we want *chewy protein bars*, not oat crumble! You have to use a spoon or the base of a flat glass and really smoosh that mixture down into the corners of the pan—make it tight!
The second reason is often related to the protein powder absorbing liquid differently throughout the year (sounds silly, but different humidity levels affect powders!). If they are too soft post-chilling, it just means they needed more time to firm up. Don’t try to cut them warm! Give them an extra 30 minutes in the fridge. If they are still a little messy after a full hour chill, just pop them in the freezer for 15 minutes—that totally saves the batch!
Estimated Nutritional Information for Protein Bars
I know some of you are tracking macros, and I totally get it! Being able to make your own high protein snacks means you know exactly what you’re putting in your body, which is way better than those mystery labels at the grocery store.
Keep in mind that these numbers are estimates, okay? What I use for peanut butter or which protein powder brand you choose can swing these values around a little bit! But based on the standard ingredients listed for these five-ingredient bars, here’s the general picture for one serving size, which we cut into 10 bars:
- Serving Size: 1 bar
- Calories: 210
- Protein: 15g (Look at that boost!)
- Fat: 11g
- Carbohydrates: 20g
- Sugar: 7g
Since we’re using natural honey and oats, the sugar content is naturally low, especially compared to candy bars masquerading as health food. Enjoy them knowing you’re fueling smartly!
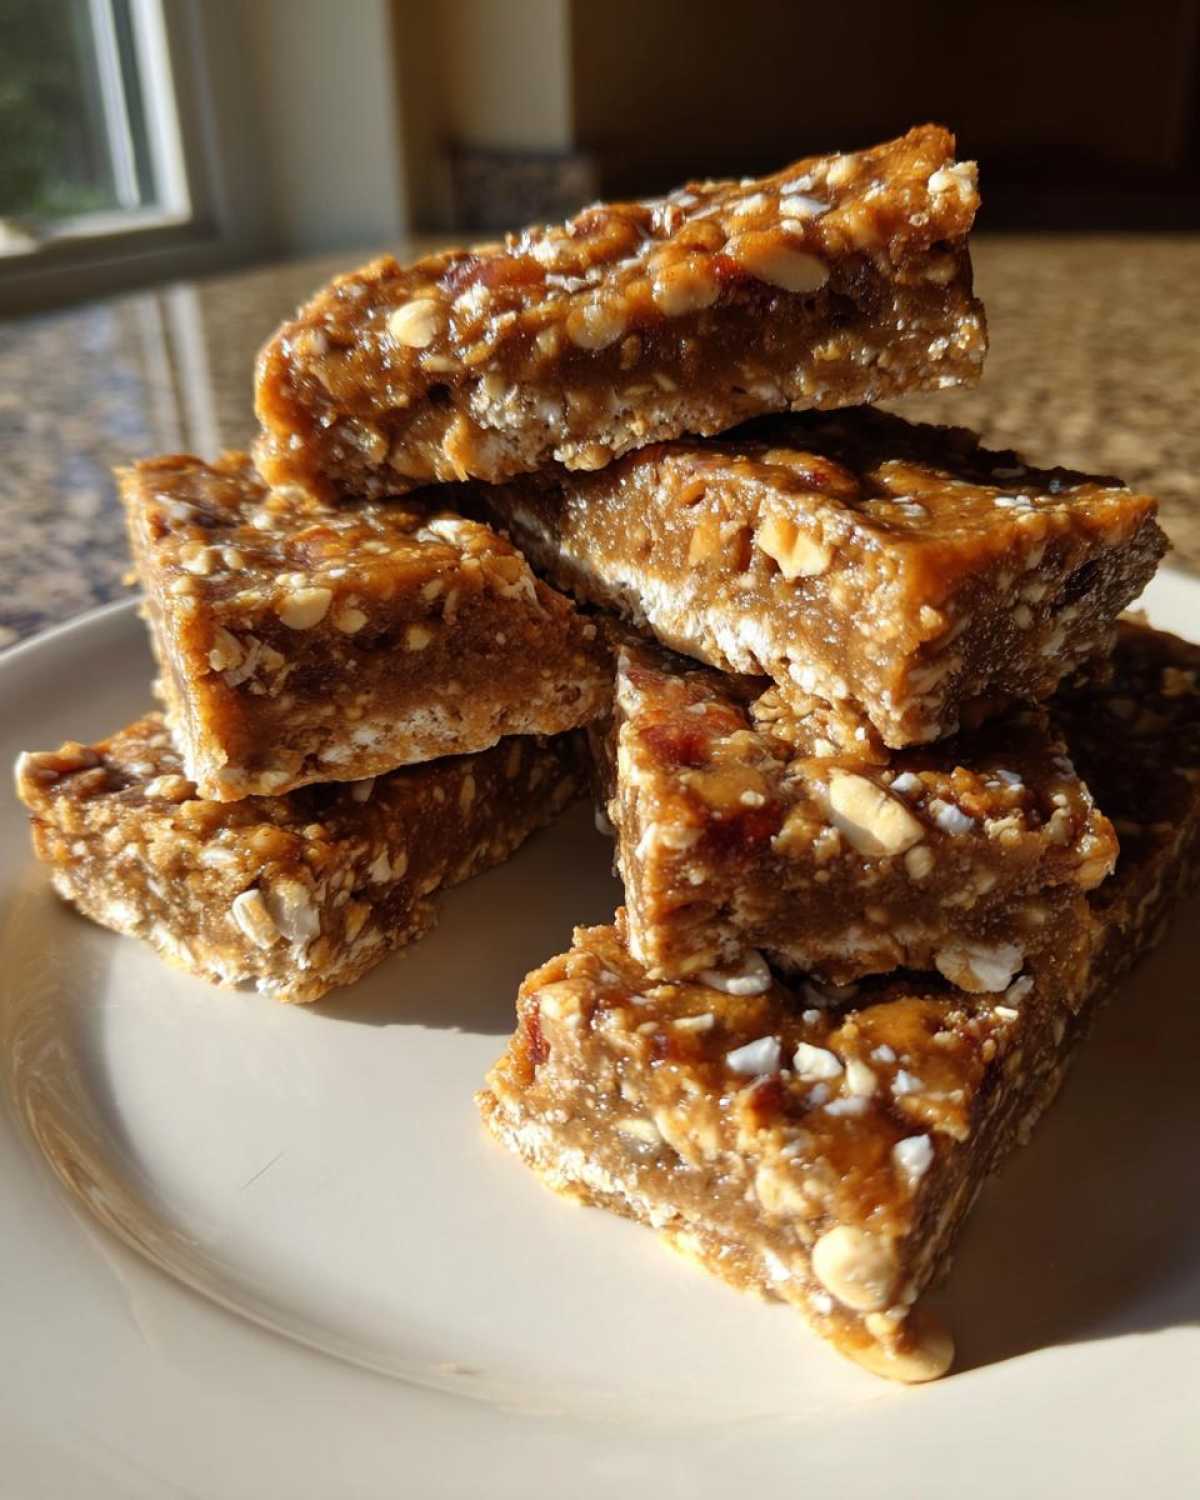
Share Your Homemade Protein Bars Creations
That’s it! You’ve made the best protein bars around, and now I’m dying to see them! When you whip up a batch, please let us know how they turned out. Seriously, tag us in your photos or drop a comment below with your favorite way to eat them. If you tried one of the variations we chatted about, I want to hear all about it!
And if you’re ever stuck or need to shout about a kitchen mishap, Chloe and I are always here to listen—just head over to our contact page! For everyone who loved keeping it simple with just four ingredients (great idea from this recipe idea!), let us know your secret binding tricks, too!
PrintEasy 5-Ingredient No-Bake Peanut Butter Protein Bars
You need quick, high-protein snacks for meal prep or on-the-go fuel. These homemade protein bars require zero baking, use only five simple ingredients, and taste much better than store-bought versions. They are chewy, satisfying, and perfect for busy days.
- Prep Time: 10 min
- Cook Time: 0 min
- Total Time: 70 min
- Yield: 10 servings
- Category: Snack
- Method: No Bake
- Cuisine: American
- Diet: Vegetarian
Ingredients
- 1 cup rolled oats
- 1/2 cup natural peanut butter
- 1/2 cup vanilla or unflavored protein powder (whey or plant-based)
- 1/4 cup honey or maple syrup
- 1/4 cup dark chocolate chips (optional, for topping)
Instructions
- Line an 8×8 inch baking pan with parchment paper, leaving an overhang on the sides for easy removal.
- In a large bowl, combine the rolled oats, protein powder, and peanut butter.
- Pour in the honey or maple syrup.
- Mix all ingredients thoroughly using a sturdy spoon or your hands until a thick, uniform dough forms. If the mixture seems too dry, add one teaspoon of water or milk at a time until it holds together.
- Press the mixture firmly and evenly into the prepared pan. Use the back of a measuring cup to pack it down tightly for chewy protein bars.
- If using chocolate chips, sprinkle them over the top and gently press them into the surface.
- Place the pan in the refrigerator and chill for at least 1 hour, or until the bars are firm enough to cut.
- Use the parchment paper overhang to lift the block out of the pan. Cut into 10 to 12 equal bars.
- Store your homemade protein bars in an airtight container in the refrigerator for up to one week, or freeze them for longer storage.
Notes
- For a lower sugar option, use sugar-free protein powder and a keto-friendly sweetener instead of honey.
- If you want a richer chocolate flavor, melt the chocolate chips and drizzle them over the top before chilling, rather than mixing them in.
- These are excellent for meal prep; wrap individual bars in plastic wrap or wax paper for grab-and-go convenience.
- If you prefer a different flavor, swap peanut butter for almond butter or sunflower seed butter.
Nutrition
- Serving Size: 1 bar
- Calories: 210
- Sugar: 7
- Sodium: 120
- Fat: 11
- Saturated Fat: 2
- Unsaturated Fat: 9
- Trans Fat: 0
- Carbohydrates: 20
- Fiber: 2
- Protein: 15
- Cholesterol: 5