

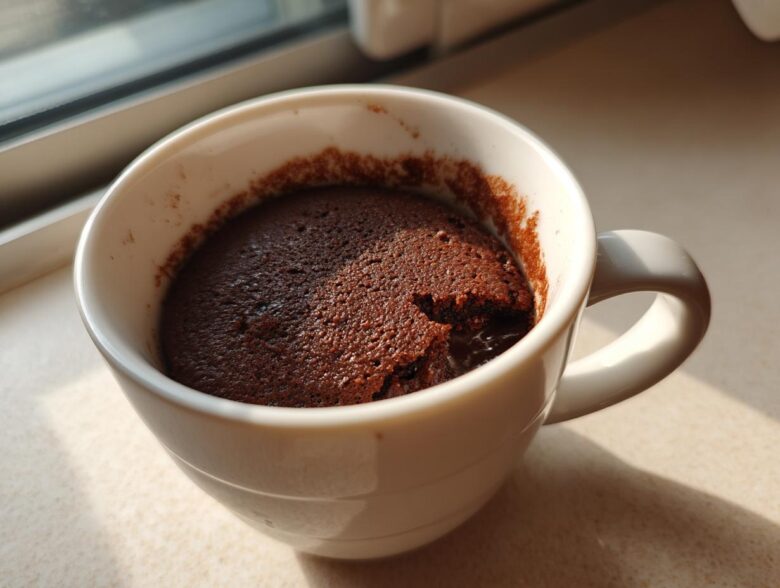
Listen, sometimes you just need chocolate. Like, *right now*. Forget waiting for preheating or setting up a whole baking scene; I’ve been there, staring into the pantry at 10 PM, dreaming of something warm and rich. That’s how I stumbled upon the perfect way to make a **Chocolate Lava Mug Cake** that actually delivers that gooey, molten center you see in fancy restaurants, except it happens in your mug in under five minutes! Trust me, perfecting the microwave timing took a few tragically overcooked, dry attempts, but now? Now I nail that sweet spot every time. This isn’t just any microwave cake; this is your secret weapon for a ridiculously fast, single-serving chocolate indulgence.
If you’re curious about who’s guiding your hand in this kitchen adventure, you can check out my story over at our little baking hub. But right now, let’s focus on getting that lava flowing for you!
Why This Chocolate Lava Mug Cake Is Your New Favorite 5 Minute Dessert
Honestly, what’s not to love? This recipe ticks every single box when you need a sweet hit ASAP. It’s genuinely the pinnacle of *quick molten chocolate cake* invention.
- It’s done faster than you can decide which movie to watch.
- You mix it, cook it, and eat it right out of the same cup—cleanup is a breeze!
- The texture? It’s warm, deeply cocoa-y, and, crucially, it oozes.
Speed and Convenience: The Ultimate Fast Chocolate Fix
We’re talking maybe three minutes of actual work, tops. The microwave does all the heavy lifting so you don’t have to wait around for your oven to warm up. When that craving hits at 11 PM, this little single-serving creation saves the day. No extra bowls means less mess than brushing your teeth!
Achieving the Perfect Molten Center in a Microwave Chocolate Cake
People think microwaved desserts are all spongy and sad, but not this one! The secret isn’t some fancy ingredient; it’s knowing exactly how to place that chocolate chunk so it melts but doesn’t fully bake into the batter. It creates that true lava effect that makes you feel like you’ve just made a proper *lava cake from scratch*, even though you did zero baking.
Gathering Ingredients for Your Single Serving Chocolate Cake
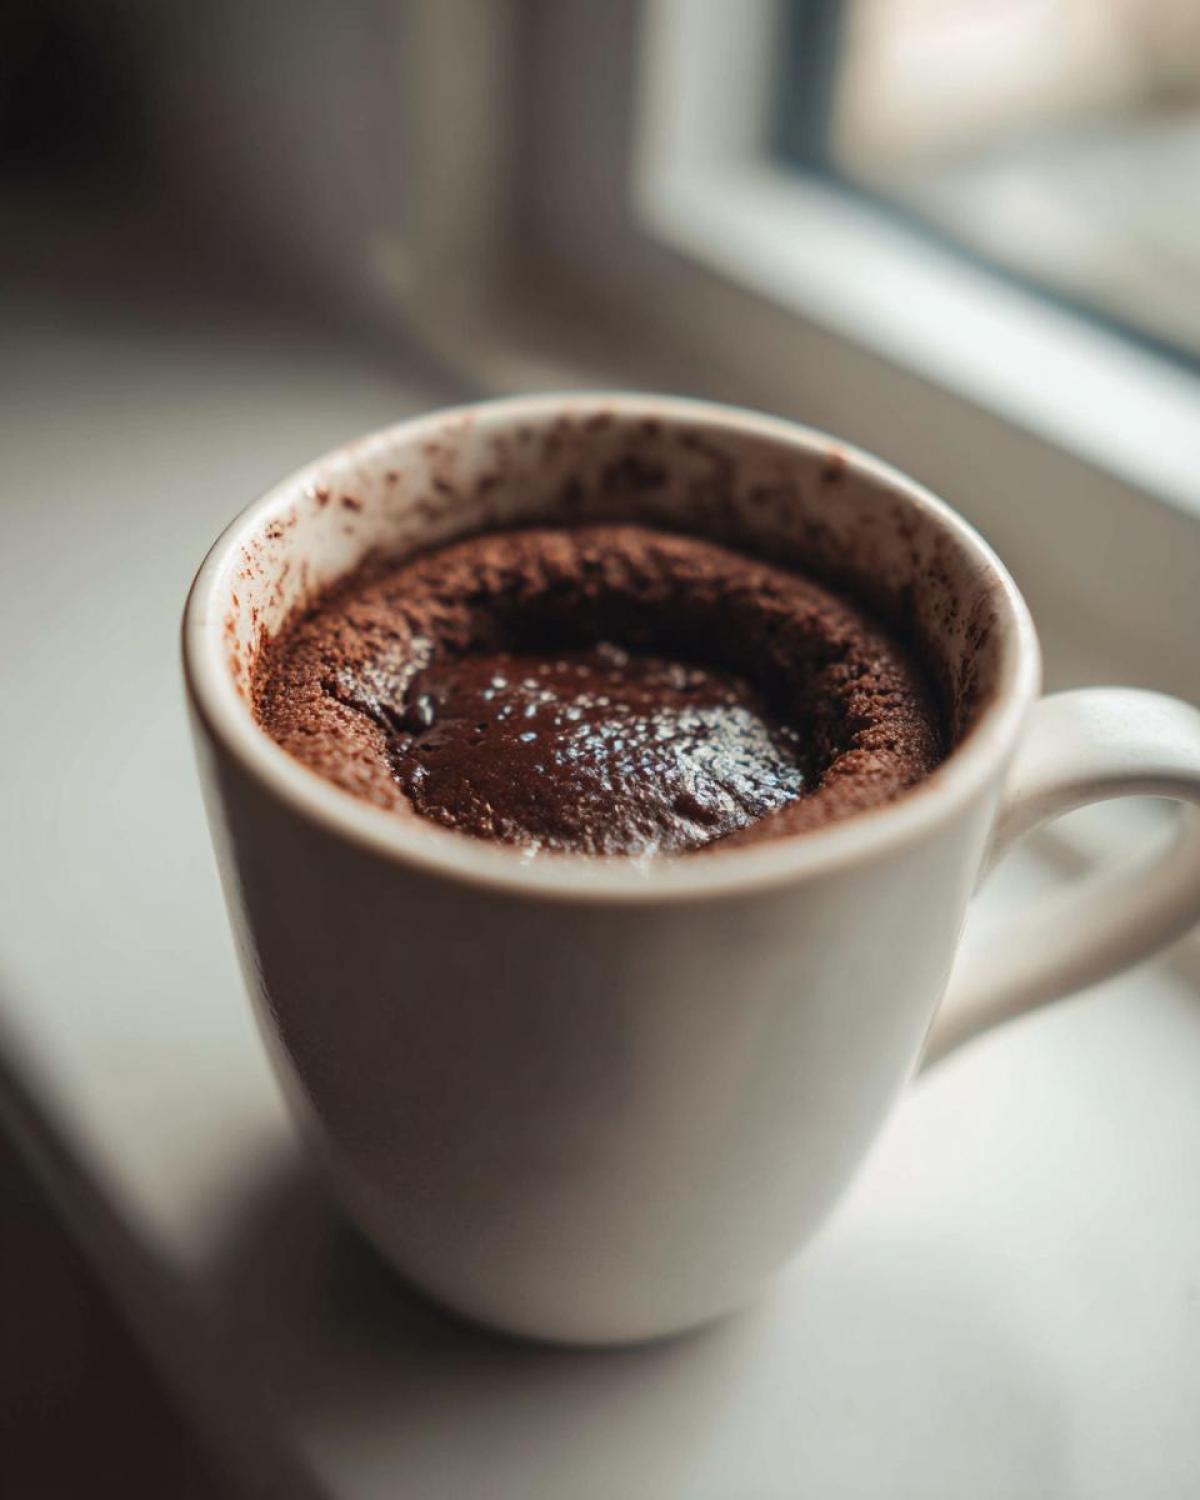
Okay, the beauty of this *rich chocolate mug recipe* is that you probably have everything you need lurking in your pantry right now. We are keeping things super simple here for our dessert cup needs. If you walk into the kitchen prepared, this whole thing is done before the kettle even boils, seriously.
Here is exactly what you need for one perfect serving:
- 4 tablespoons all-purpose flour – makes up the body of the cake.
- 4 tablespoons granulated sugar – standard sweetness, nothing fancy needed.
- 2 tablespoons unsweetened cocoa powder – this is where the deep chocolate flavor comes from, so use a decent one!
- 1/4 teaspoon baking powder – don’t mess with this measurement, it gives the lift.
- A tiny pinch of salt – just a whisper to make the chocolate really shout.
- 3 tablespoons milk – any kind you have works fine.
- 1 tablespoon vegetable oil – keeps things smooth and moist.
- 1/4 teaspoon vanilla extract – just a dash for warmth.
- The big secret: 1 square (about 1/2 ounce) of dark chocolate, or if you’re feeling decadent, 1 teaspoon of Nutella or peanut butter for the very center.
Ingredient Notes and Substitutions for Your Easy Mug Dessert Ideas
When it comes to the dry stuff, whisk it really well right in the mug. If you’re out of milk accidentally? Don’t panic! You can substitute it with an equal amount of water, or even brewed coffee if you want to deepen that chocolate flavor even more. That’s one of my favorite tricks for an *instant dessert recipe*.
For the lava filling, I prefer the snap of good dark chocolate, but if you use Nutella, you get this amazingly sticky, almost caramel-like flow, and peanut butter gives it a great salty counterpoint. Push that filling right to the middle—don’t swirl it around, or you’ll lose the lava effect. If you ever need a little frosting inspiration for later, I have a killer cookie icing recipe that also works great drizzled on top of this cake when it cools slightly!
Step-by-Step Guide to Making the Chocolate Lava Mug Cake
Alright, the moment of truth! Making this *warm gooey chocolate recipe* is so straightforward, but the order you do things in really matters. Before you even touch your fork, make sure you’ve grabbed a mug that’s at least 10 ounces. If it’s too small, you’ll have a chocolate explosion all over your microwave, and nobody wants that cleanup. I learned that the hard way, believe me. Give the inside walls a quick tiny swipe with oil—just a light grease so it slides out easily when we’re done.
Next, we build the base. We’re keeping everything contained in this one cup, which is why I love this *no oven dessert* so much, but we have to be careful not to overwork the batter. Overmixing is the enemy of a fluffy mug cake!
Mixing the Dry and Wet Components
Go ahead and dump all your dry stuff in first—flour, sugar, cocoa, baking powder, and that little pinch of salt. Take a dry fork and really whisk this mixture around right there in the mug. You are trying to break up any clumps of cocoa powder or baking powder so they distribute evenly. Once you’re satisfied, you add the wet things: milk, oil, vanilla. Mix only until everything is *just* combined. Seriously, stop mixing the second you don’t see streaks of dry flour anymore. If you keep churning it, you’ll get a tough, chewy cake, and we want soft and tender here!
The Secret to the Molten Center in This Quick Molten Chocolate Cake
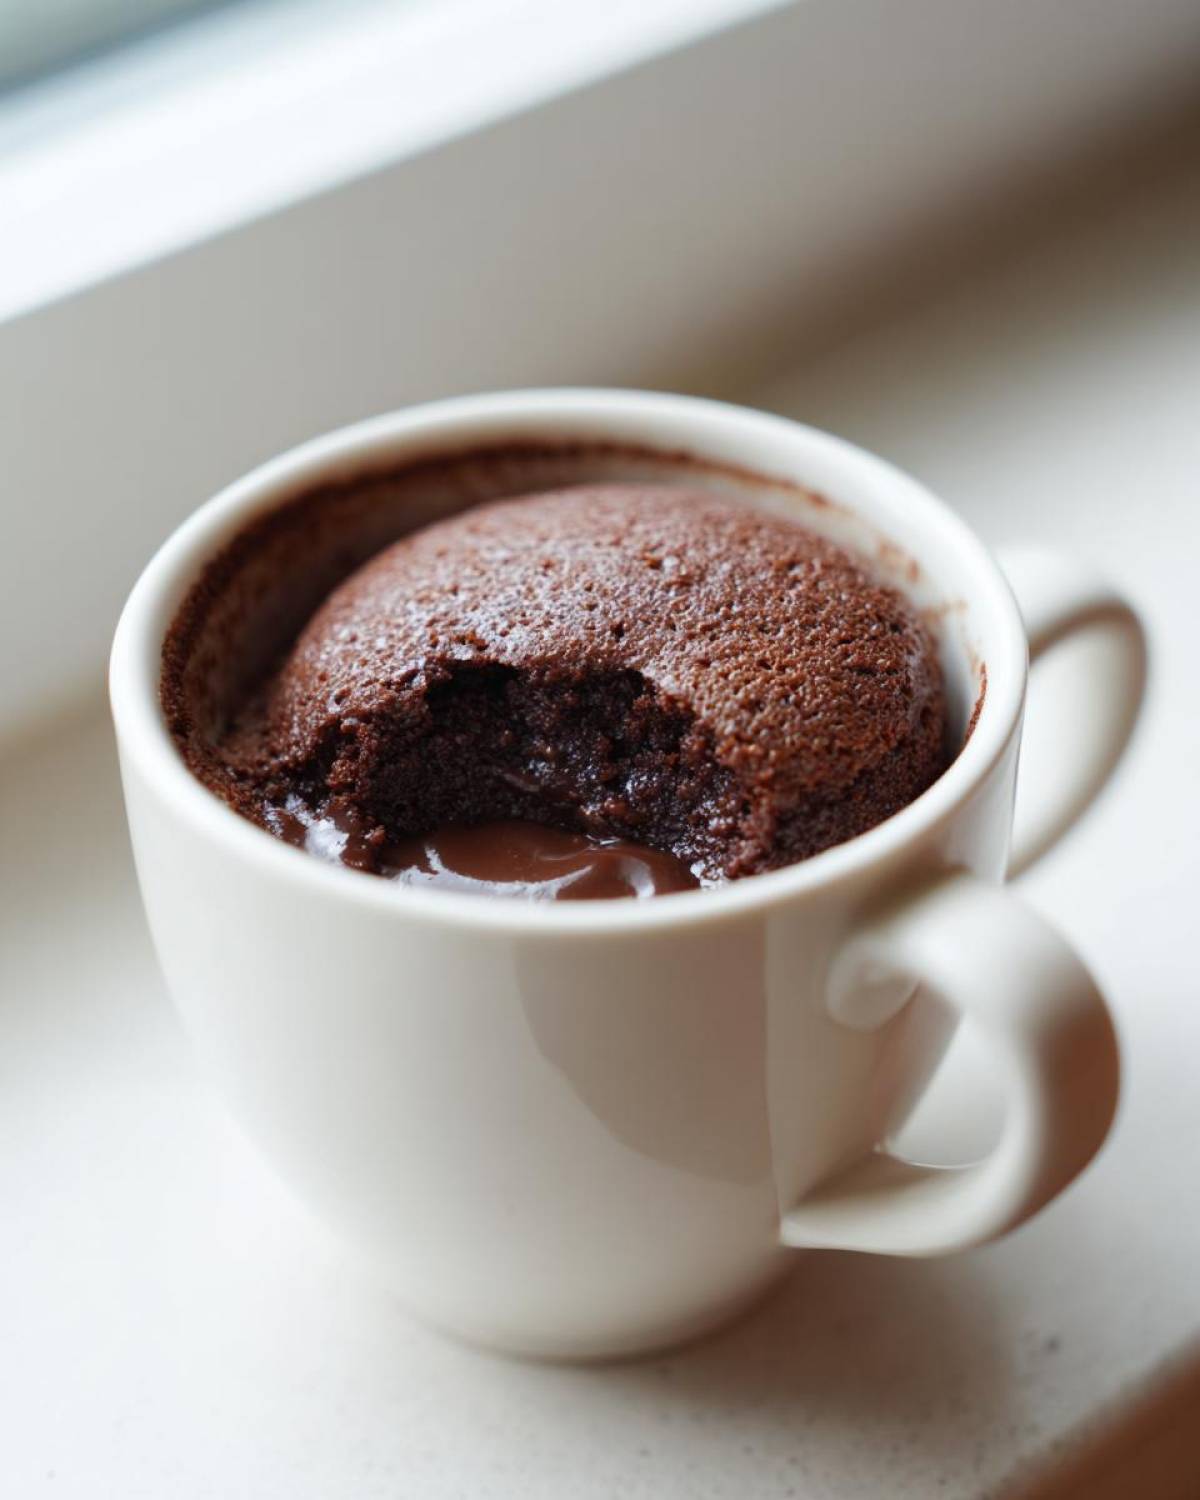
This is where the *lava* happens! Take your square of dark chocolate—or that dollop of Nutella—and gently nestle it right into the center of your smooth batter. You can push it down slightly so it’s just touching the bottom, but whatever you do, **do not stir it in**! If it’s mixed, it bakes like regular cake. Leaving it centralized gives it time to liquefy and create that gorgeous molten pool.
Now, you’re ready for the microwave, but hold on; the timing is critical. Don’t forget, if you want to check out how I make something slightly less instant but equally amazing, my guide on caramelized onions is all about patience, which is the opposite of what we are doing here, but both need precision!
Microwave Timing: Mastering Your Best Microwave Mug Cake Recipe
Oh, the microwave timing! This is where everyone gets nervous, and honestly, I don’t blame them. Watts are like tiny ninjas—every microwave is different! You might have a blazing 1200-watt monster, or maybe you have a sweet little 700-watt companion. That’s why recipes calling for exactly 85 seconds sometimes fail one kitchen and explode in another!
For this recipe to become your go-to *best microwave mug cake recipe*, you need to treat that first minute like a delicate experiment. I always start mine at 60 seconds on HIGH power. Set the timer and hold your breath! When the timer goes off, get close and look at it carefully. You aren’t looking for a fully baked, dry top, which is what people usually aim for in regular mug cakes.
Here’s the visual cue for a perfect lava cake: the edges should look set—meaning they are firm and slightly pulled away from the mug walls. But the very center, right where that chocolate square is hiding, has to look a little damp, maybe even slightly shiny or puffy. If it looks completely firm and dry across the top, you’ve probably overcooked it and the lava has solidified into solid cake joy (which is still good, but not the *lava* we want).
If after 60 seconds it still looks very liquidy and runny across the whole surface, add another 10 seconds. Watch it closely now! You might only need one more 10-second burst. If you accidentally go too far, don’t worry! It just means you made a fantastic, very rich, single-serving chocolate cake instead of a molten one. It’s still fantastic, but for next time, knock that cooking time down by 10 seconds. This gentle testing is how you learn your microwave’s personality and ensure every single *dessert in a cup* is perfect.
Tips for Success When Preparing Your Rich Chocolate Mug Recipe
Okay, so you’ve nailed the timing, but a couple of tiny technical details can seriously upgrade your *rich chocolate mug recipe* experience. First, let’s talk about mugs again because mug size is everything here!
You absolutely need a larger mug—think 10 to 12 ounces minimum. If you try to cram this batter into a tiny coffee cup, you’re guaranteeing a massive chocolate overflow mess that will bake onto the inside of your microwave walls. My first time making this treat, I was impatient and used a small, cute ceramic mug. It looked fine when I put it in, but three seconds later, I heard a bubbling sound and had to stop it early. The resulting cake was technically a lava cake, but it only filled half the mug! Such a waste!
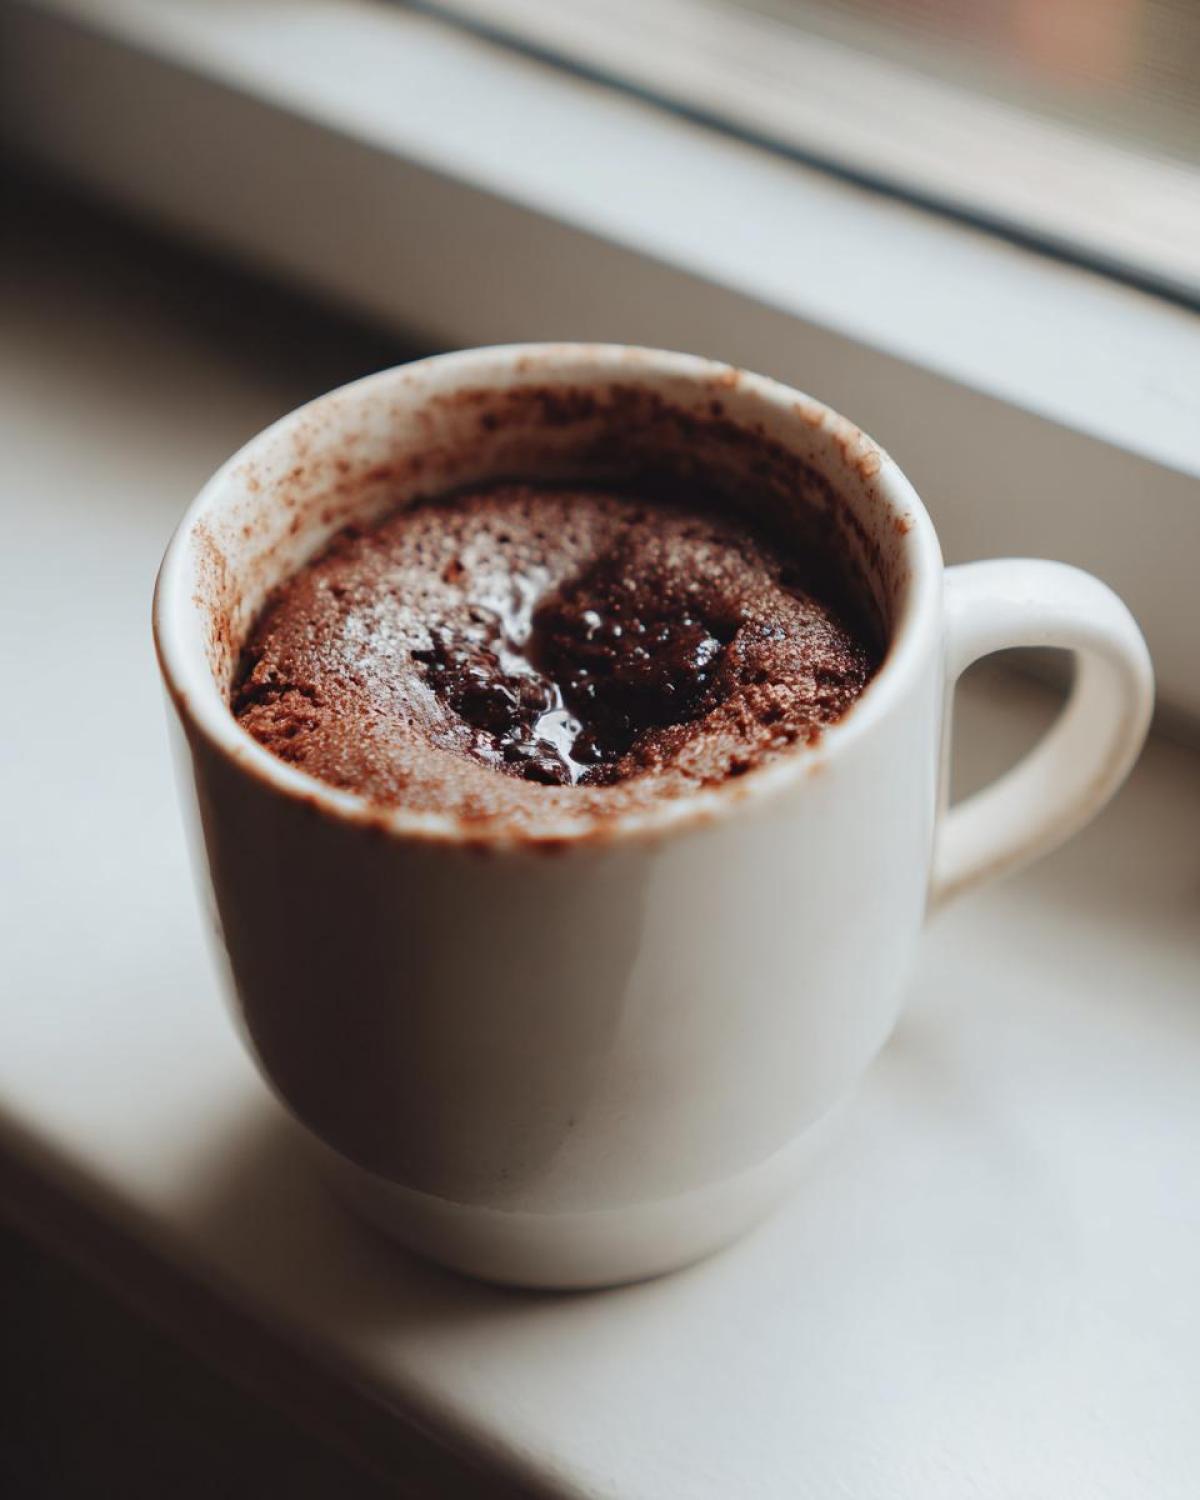
Also, and this is important, let it rest for a full minute after the microwave stops. Just walk away. That retained heat continues to set the edges and keeps that center beautifully melted without burning your tongue. If you dig in immediately, you risk melting the whole thing into sauce immediately. If you ever want to compare this quick fix to something that requires a little more dedication, check out my recipe for a spectacular gooey fudge pie—it’s worth the wait, but not for tonight!
Serving Suggestions for Your Dessert in a Cup
So, you pulled it out, and the center is perfectly molten! Congratulations! Now, you could honestly just grab a spoon and dive in—it’s incredible all on its own. But since this is a *dessert in a cup* we’re making, we should give it just a tiny bit of presentation flair before we demolish it. Remember, we kept the prep time under five minutes, so our topping suggestions need to be just as fast.
My absolute favorite topping for this *quick molten chocolate cake* is a light dusting of powdered sugar right over the top. It looks fancy, it gives you a little visual contrast, and it takes about two seconds. Seriously, grab a fine-mesh sieve and just give it a swift tap.
If you’re feeling a little extra—maybe it was a tough day and you deserve it—a tiny scoop of vanilla bean ice cream right on top is heaven. The contrast between the steaming hot cake and the ice cream is what makes this treat absolutely next-level. The whole mug gets this wonderful hot-cold dynamic going on.
For some freshness, a few raspberries or sliced strawberries on the side of the mug are brilliant; the slight tartness cuts through the richness of the dark chocolate so nicely. Now, I know I mentioned making vanilla buttercream for cakes, but for this mug cake, using that much frosting would be overkill! Keep the toppings light to let that gooey center shine through. You want the focus to remain on that warm, flowing chocolate! Enjoy your instant sweet treat!
Storage and Reheating Instructions for Individual Chocolate Molten Cake
Now, let’s be real here. This **Chocolate Lava Mug Cake** is designed for instant gratification. It is absolutely, 100% best eaten the very second it comes out of the microwave—warm cake, molten center, pure bliss. If you wait even five minutes, that lava starts to firm up, going from liquid gold to just a very, very fudgy center.
That said, life happens, right? Maybe you made two because you couldn’t resist, or perhaps you saved half for later (brave soul!). If you have any leftovers, the best way to store them is just to cover the mug tightly with plastic wrap and pop it right into the fridge. It won’t stay molten, of course; it’ll feel more like a dense, moist brownie by morning.
The Best Way to Reheat Your Leftover Mug Cake
If you are trying to bring that gooey texture back to life in a leftover **individual chocolate molten cake**, the microwave setting is the key, but you have to be careful. You are trying to melt that chocolate core without turning the cake part into rubber. Don’t just blast it on high power like you did the first time. That will just make it explode or seize up!
Instead, take your leftover mug cake and microwave it on 50% power for about 15 to 20 seconds. You might even need slightly less time depending on how cold it is. The goal is to gently heat the chocolate without cooking the cake further. Watch it like a hawk! If you see steam rising, you’re probably close to perfection.
If you are using a whole loaf or batch of cakes instead of just one, you’d use an oven, but for this *dessert in a cup*, the microwave is our only friend for reheating. Trust me, making a fresh one later is always better than trying to revive a day-old lava cake, but beggars can’t be choosers when a *fast chocolate fix* is needed!
Frequently Asked Questions About the Chocolate Lava Mug Cake
I know you’re going to love this recipe, but sometimes when you’re rushing for a *last minute sweet treat*, one or two little questions pop up. I’ve gathered the ones I get asked the most about making this cake in a cup. Don’t worry if you mess up the first time—that just means you’re learning the secrets of microwave baking!
Can I make this No Oven Dessert recipe vegan?
Yes, absolutely! This is an easy adjustment for our *no oven dessert*. You just need to make a few swaps. Swap the standard milk for any plant-based milk you prefer—oat milk or almond milk work perfectly well in this small quantity. For the dark chocolate square, make sure you use vegan-certified dark chocolate chips or use a spoonful of vegan hazelnut spread or peanut butter for the center filling. That’s all there is to it—you still get that amazing molten result without any dairy!
Why is my Warm Gooey Chocolate Recipe dry instead of lava?
Oh, friend, I’ve been there! If your cake came out dry, it means you overcooked it. That’s the only reason! Remember what I said about microwaves varying? When you cook something in the microwave for too long, that beautiful, wet center starts cooking through, and poof! You have a perfectly fine, dense little chocolate cake, but you lost the flow. Next time—and I mean this—reduce the time by 10 to 15 seconds. You want the top to look just barely set so that beautiful, *warm gooey chocolate recipe* center is still liquid underneath. It keeps cooking for a moment after you pull it out, so let it sit for that one minute before digging in!
If you found this guide helpful and want to see more of my trial-and-error adventures in the kitchen, you can always follow along on my main blog page!
Nutritional Snapshot for This Instant Dessert Recipe
So you’ve enjoyed your incredibly fast and rich **Chocolate Lava Mug Cake**! Even though this is such a treat, sometimes we still wonder what exactly went into that delicious five-minute indulgence. Keep in mind, these numbers are just estimates based on the standard ingredients I listed—if you swap the oil for applesauce or use high-fat Belgian chocolate, things will shift!
But generally, here’s a rough idea of what you’re consuming when you whip up this amazing *instant dessert recipe*:
- Serving Size: 1 mug
- Calories: 250 (It’s rich, but it’s worth every one!)
- Sugar: 20g (Mostly from the granulated sugar and cocoa.)
- Sodium: 150mg
- Fat: 12g (The oil and the chocolate square contribute here.)
- Saturated Fat: 5g
- Unsaturated Fat: 7g
- Trans Fat: 0g
- Carbohydrates: 35g
- Fiber: 3g
- Protein: 5g
- Cholesterol: 10mg
See? Not bad for something that fixes a massive craving in seconds! Remember, since this recipe is made completely from scratch right in your mug, you have total control over quality. If you want to lower the sugar, use a sugar substitute—it usually works fine in mug cakes!
As with all my recipes, these nutritional facts are estimates, and I always stress that you should review the packaging of your own ingredients. For more information on how I approach recipe testing and safety standards, please check out my official disclaimer page. Happy baking—or, well, happy microwaving!
PrintQuick Chocolate Lava Mug Cake

Make a rich, single-serving chocolate cake with a molten center in minutes using only your microwave.
- Prep Time: 3 min
- Cook Time: 1.5 min
- Total Time: 4.5 min
- Yield: 1 serving
- Category: Dessert
- Method: Microwave
- Cuisine: American
- Diet: Vegetarian
Ingredients
- 4 tbsp all-purpose flour
- 4 tbsp granulated sugar
- 2 tbsp unsweetened cocoa powder
- 1/4 tsp baking powder
- Pinch of salt
- 3 tbsp milk
- 1 tbsp vegetable oil
- 1/4 tsp vanilla extract
- 1 square (about 1/2 oz) dark chocolate, or 1 tsp Nutella/peanut butter for the center
Instructions
- Lightly grease the inside of a standard microwave-safe mug.
- In the mug, whisk together the flour, sugar, cocoa powder, baking powder, and salt until combined.
- Add the milk, vegetable oil, and vanilla extract to the dry ingredients. Mix well with a fork until the batter is smooth and no dry pockets remain. Do not overmix.
- Place the square of dark chocolate (or spoonful of filling) directly into the center of the batter. Do not stir it in; let it sit on top or push it slightly below the surface.
- Microwave on high power for 60 to 90 seconds. Cooking time varies based on microwave wattage. Start with 60 seconds.
- The cake is done when the edges look set but the center still looks slightly wet. If it is completely firm, it will not have a lava center.
- Let the cake cool for one minute before eating directly from the mug.
Notes
- For a gooier center, slightly undercook the cake. The center will continue to cook slightly after removal from the microwave.
- If your cake seems dry, reduce the cooking time by 10 seconds next time.
- Use a 10 to 12-ounce mug to prevent overflow.
Nutrition
- Serving Size: 1 mug
- Calories: 250
- Sugar: 20
- Sodium: 150
- Fat: 12
- Saturated Fat: 5
- Unsaturated Fat: 7
- Trans Fat: 0
- Carbohydrates: 35
- Fiber: 3
- Protein: 5
- Cholesterol: 10