

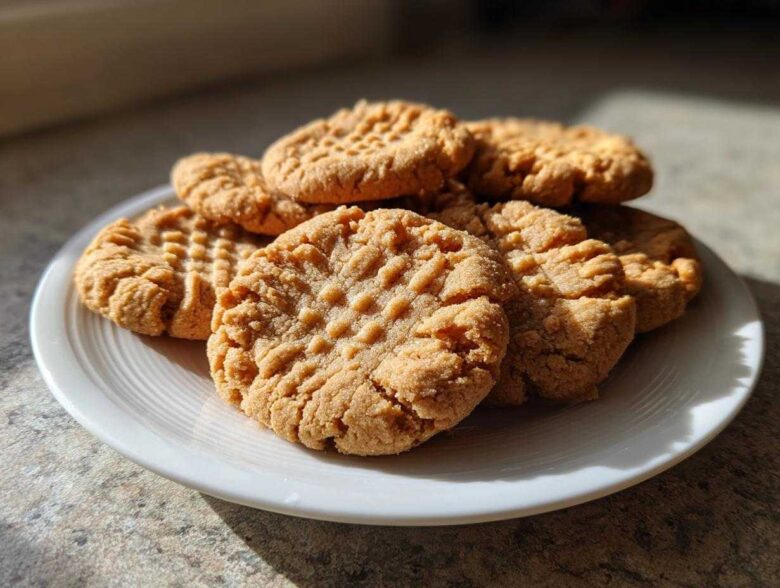
Oh my goodness, let’s talk about the undisputed king of the bakery case: the humble, perfect peanut butter cookie. Seriously, nothing beats that unmistakable salty-sweet aroma mixing up in the oven, right? Mia and I have tried dozens of versions over the years—some too cakey, some just straight-up flat dust puddles. But we cracked the code on this one! This recipe is our go-to because it delivers the holy grail: edges that snap just right, but a center that stays gloriously soft and chewy. It’s absolutely a staple in our kitchen now. If you’re looking for the best peanut butter cookies that truly honor the tradition, stick with me. You won’t need anything else!
Why You Will Love These Classic Peanut Butter Cookies
Honestly, I keep this recipe saved right on my phone because I make it so often. Why mess with perfection when it comes to something this classic? These aren’t some fussy, newfangled dessert; they are pure nostalgia in a cookie shape!
- Perfect Texture Every Time: Forget having to choose—you get that lovely slight crispness on the outer edge, but the middle stays wonderfully, satisfyingly chewy. We nailed the balance, trust me!
- Simple Ingredients for Perfect Peanut Butter Cookies: You don’t need to run to a specialty store for this one. Everything here lives right in your pantry, making these the easiest homemade peanut butter cookies you’ll ever whip up.
Essential Ingredients for the Best Peanut Butter Cookies
Okay, listen up. While these turn out amazing, it’s all about respecting the core components. We aren’t messing around with substitutes here if you want that true bakery flavor! When I first started, I thought any sugar would do, but Mia made me go back and hunt down the right kind of brown sugar. That little bit of molasses makes all the difference in the depth of flavor when we make these homemade peanut butter cookies.
What You Need for Homemade Peanut Butter Cookies
- 1 cup (2 sticks) unsalted butter, softened
- 1 cup creamy peanut butter
- 1 cup granulated sugar
- 1 cup packed light brown sugar
- 2 large eggs
- 1 teaspoon vanilla extract
- 2 1/2 cups all-purpose flour
- 1 teaspoon baking soda
- 1/2 teaspoon baking powder
- 1/2 teaspoon salt
Make sure your butter is truly softened—not melted, just soft enough to press your finger into easily. That’s the start of getting those crispy tender cookies we adore!
Step-by-Step Instructions for Crispy Tender Cookies
Alright, let’s get baking! These instructions are what turn simple ingredients into the best peanut butter cookies. Don’t rush the creaming step; that’s where the air gets trapped, which is essential for that crisp edge!
Mixing the Wet Ingredients for Your Peanut Butter Cookies
First thing, 350°F (175°C) is the magic temperature, so get that oven warming up and line those sheets with parchment paper—trust me on the parchment, it saves cleanup time! Now, grab your butter, your peanut butter, and both sugars. Beat them together until it looks fluffy and pale. This shouldn’t take forever because the peanut butter helps things move faster. Then, you add your eggs one by one, making sure the first one is fully mixed in before adding the second. Finish the wet stuff with a dash of vanilla extract.
Combining Dry and Wet for Classic Peanut Butter Cookies
In another bowl, whisk your flour, baking soda, baking powder, and salt. This is important so the leavening agents are spread out perfectly! Now, add those dry ingredients to the wet mixture very gradually. I mean it—low speed, just until you don’t see any more white streaks. If you mix too long here, you develop too much gluten, and you end up with tough cookies instead of our lovely crispy tender cookies. Stop mixing the second they come together!
Shaping and Creating the Crisscross Pattern
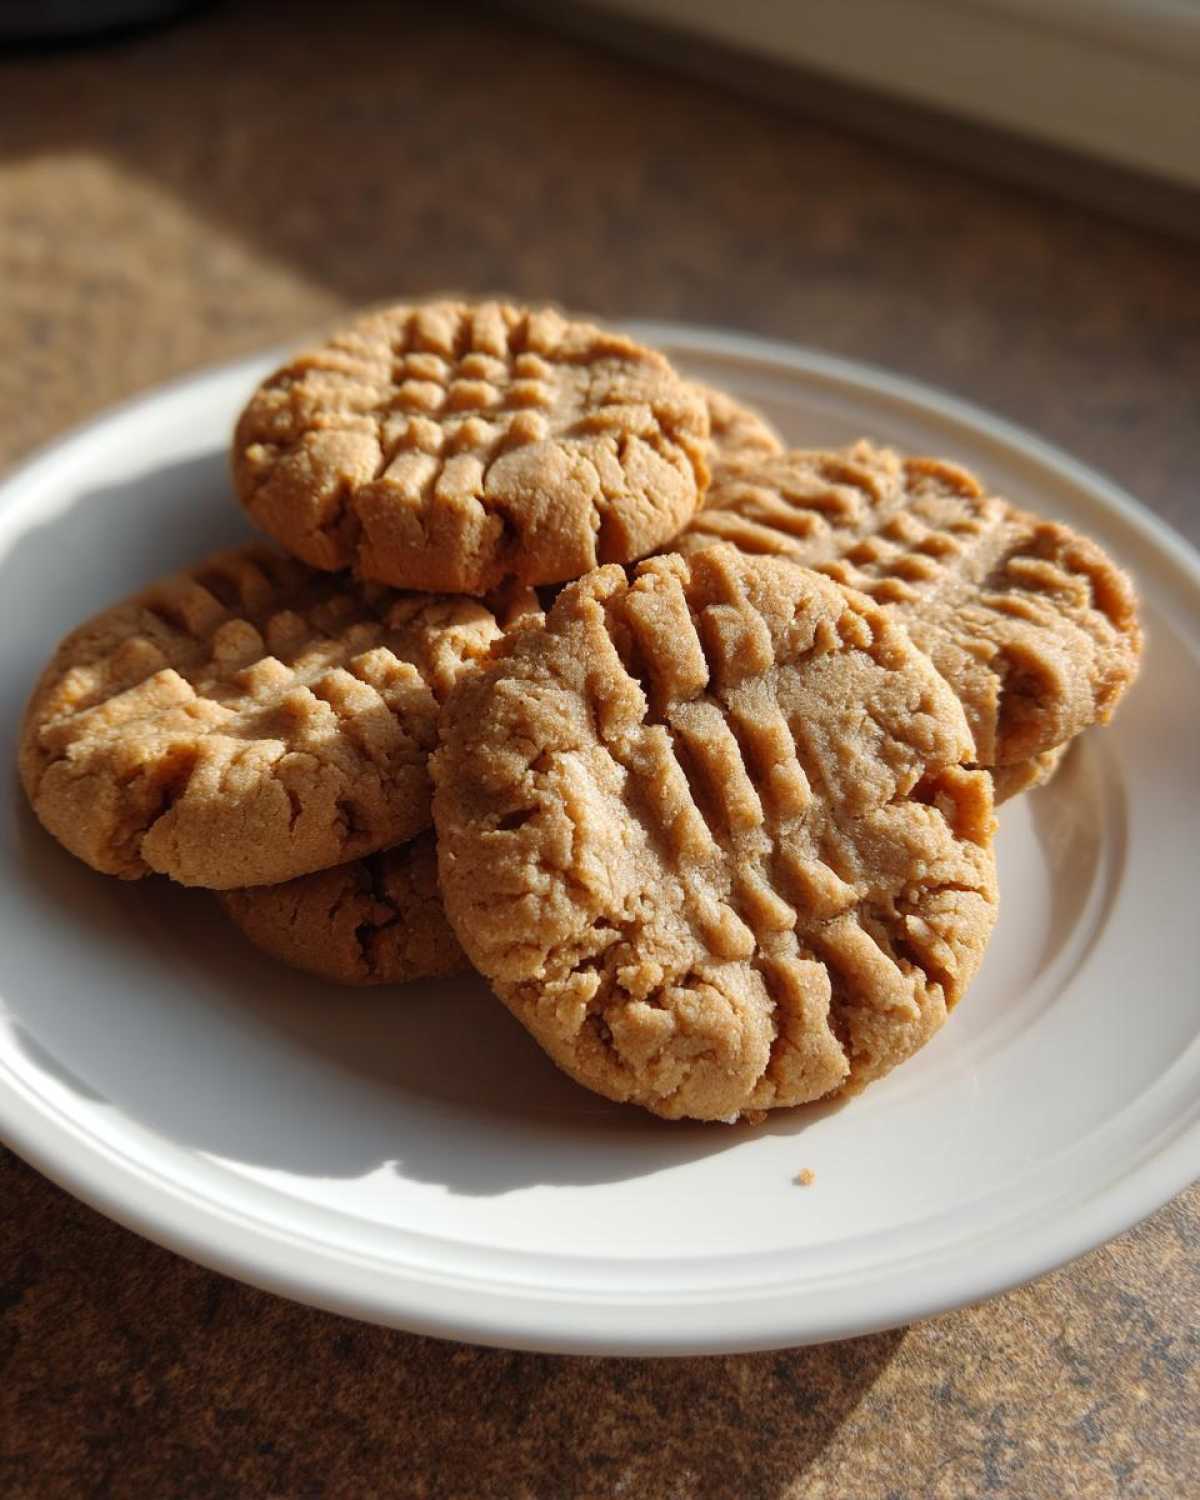
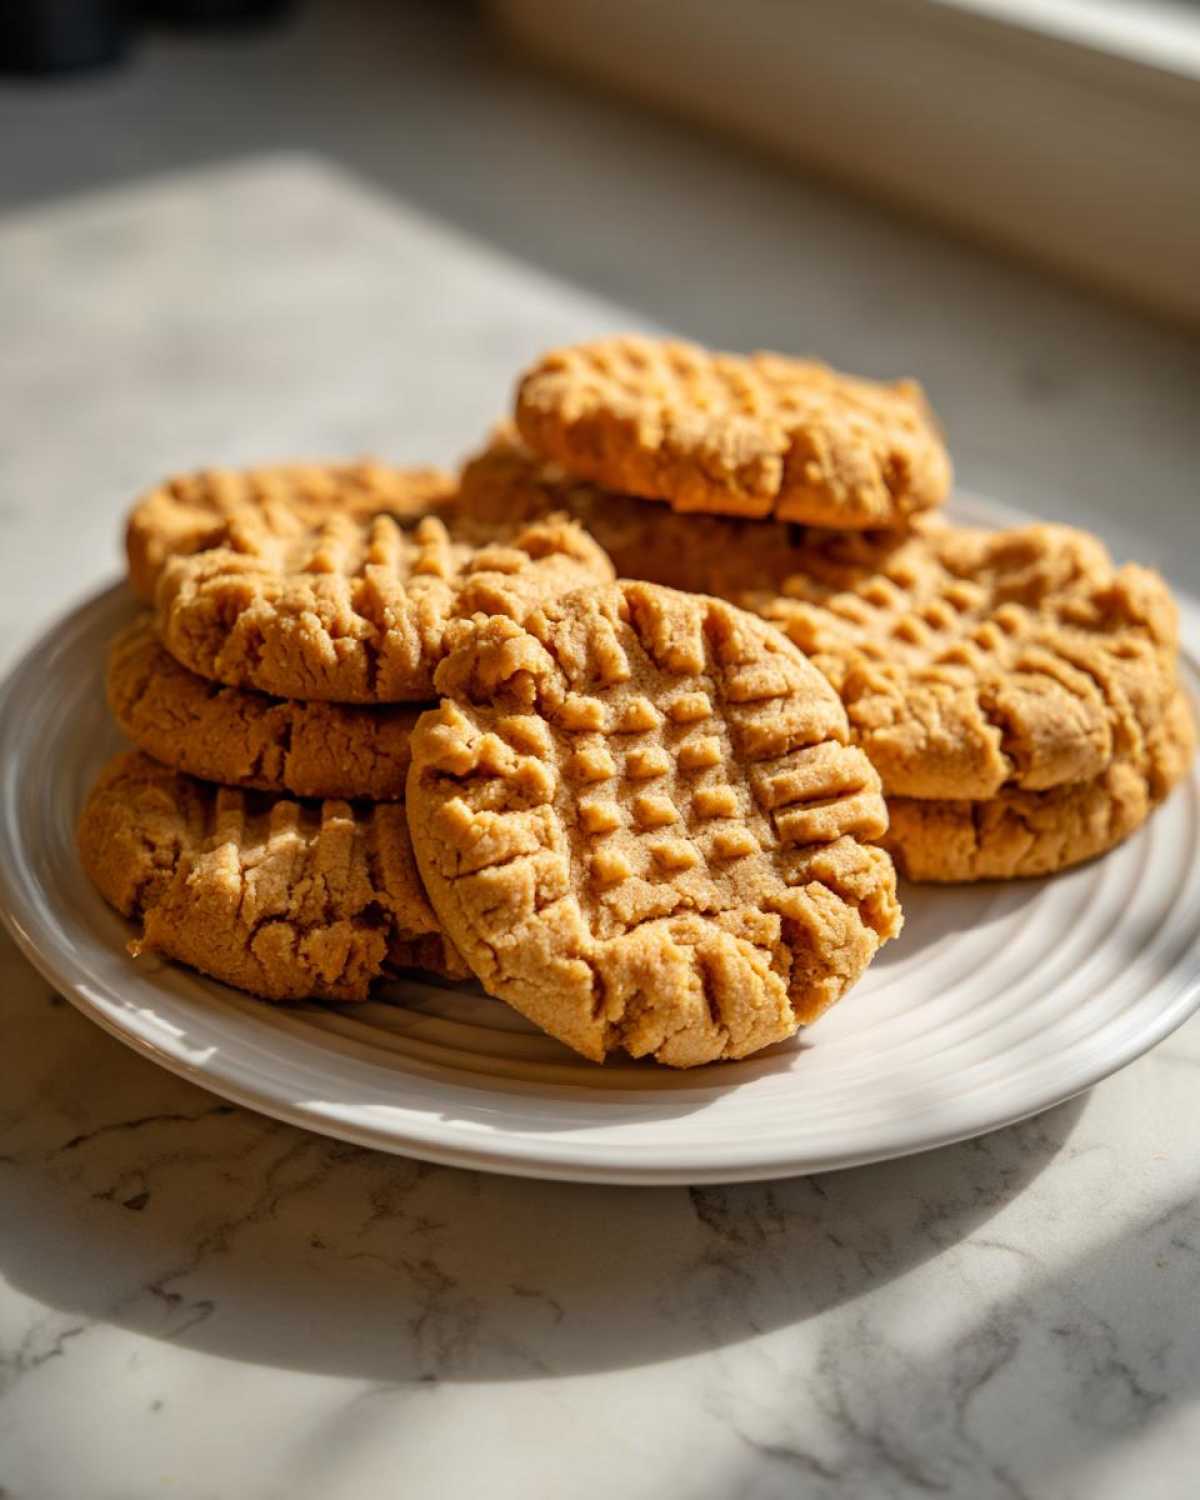
Scoop out 1-inch dough balls and space them about two inches apart on your prepared sheets. This dough seems firm, but it settles nicely! Here’s the iconic part: grab a fork. Press down firmly once in one direction, then press again perpendicular to the first lines to make that classic crosshatch. It looks so good on Pinterest! Pop them in the oven for just 10 to 12 minutes. They look slightly undone in the middle when you pull them out, but don’t panic. They firm up during the 5 minutes they sit on that hot baking sheet before moving to the rack. That resting time is crucial for the final texture!
If you want an extra treat while you wait for those onions to caramelize, check out my guide on caramelized onions—savory baking is fun too!
Expert Tips for Perfect Peanut Butter Baking
We’ve perfected the steps, but sometimes those little extra touches turn a good cookie into an absolute showstopper. When Mia and I first tried baking these peanut butter cookies constantly, we ran into a few hiccups—mostly because I always tried to skip the chilling step when I was impatient! Trust me, paying attention to temperatures and ingredients makes the difference between a standard cookie and one of our classic cookie recipes.
I remember one time I baked them immediately after mixing, and they spread so thin they were nearly see-through. Disaster! We learned quickly that a little patience goes a long way when you are deep into peanut butter baking.
Ingredient Choices for the Best Peanut Butter Cookies
The recipe calls for creamy peanut butter, but I want to chat about trying out a natural, unsweetened kind. When you use the natural stuff—the kind where the oil sometimes separates on top?—it really amps up that deep, roasted peanut flavor. It’s less sweet overall, which lets the brown sugar and vanilla really shine through. If you prefer something sweeter and more stable in the dough, the regular processed kind works great too, but my vote goes to the natural kind for that intense flavor punch!
Achieving Crispy Tender Cookie Texture
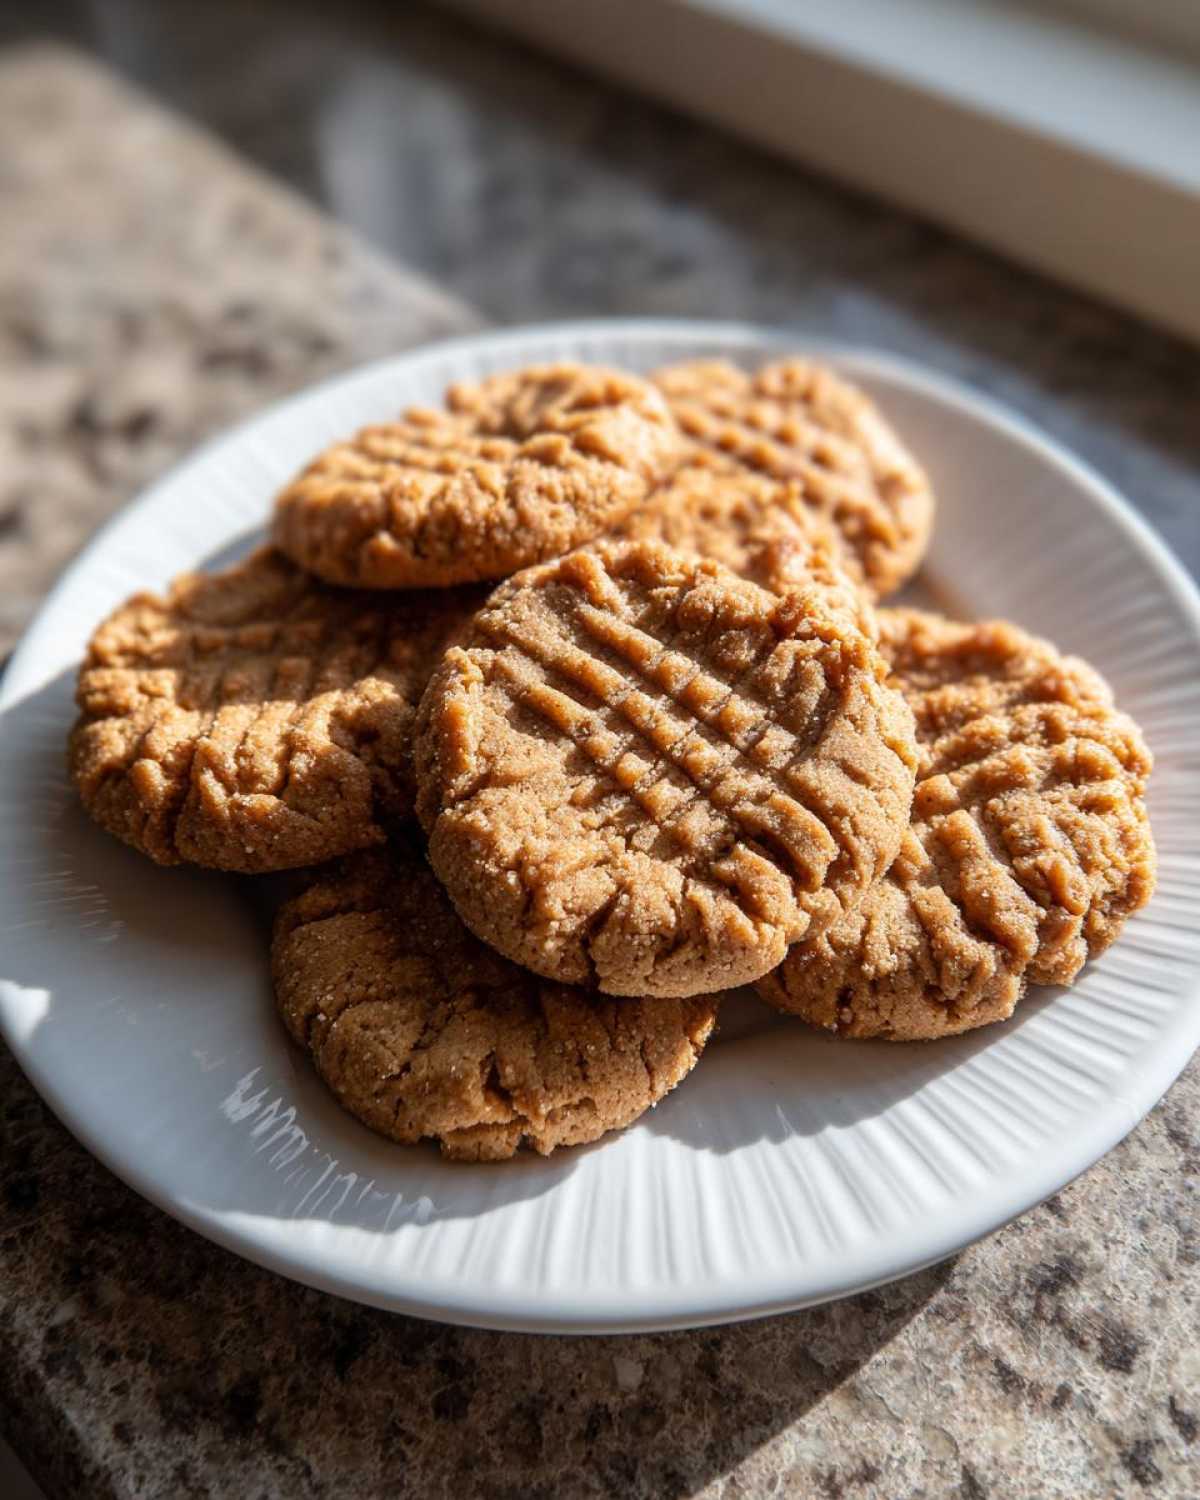
Okay, this is my biggest non-negotiable trick for securing that perfect crispy tender cookie texture. When you pull these out of the oven after 10 to 12 minutes—and remember, they look a little soft—you absolutely must leave them on the baking sheet for a full five minutes. I know you want that cooling rack space open, but those five minutes are critical. The residual heat on the parchment paper continues to set the edges and cooks the center just enough so that when you finally move them, they are firm enough to hold their shape without crumbling. If you move them too soon, they just deflate and turn cakey. Patience! If your dough feels too soft right when you’re about to bake, just pop the whole tray in the fridge for 15 minutes—that’s what the ‘Notes’ taught us!
If you want more of my chaos-driven baking notes and lessons learned, check out the rest of the fun over on the Cookery Kings blog!
Storage and Keeping Your Peanut Butter Cookies Fresh
You’ve done the hard part—baked the perfect batch of classic peanut butter cookies! Now, how do we keep them tasting that amazing and maintaining that delicate balance? Honestly, these are so good they rarely last more than two days at my house, but I always try to save a few for later. That crispy edge is usually the first thing to go soft if you just leave them sitting out willy-nilly.
The best approach is totally airtight. You want to seal away all that wonderful crispness you worked so hard for! After they are 100% cooled down (and I mean completely cool, or the steam will make them gummy), stack them in a good quality, sturdy container. I use those plastic ones with the good locking lids. If you layer them, place a little square of parchment paper between the layers. This stops any residual moisture from making the bottoms soggy.
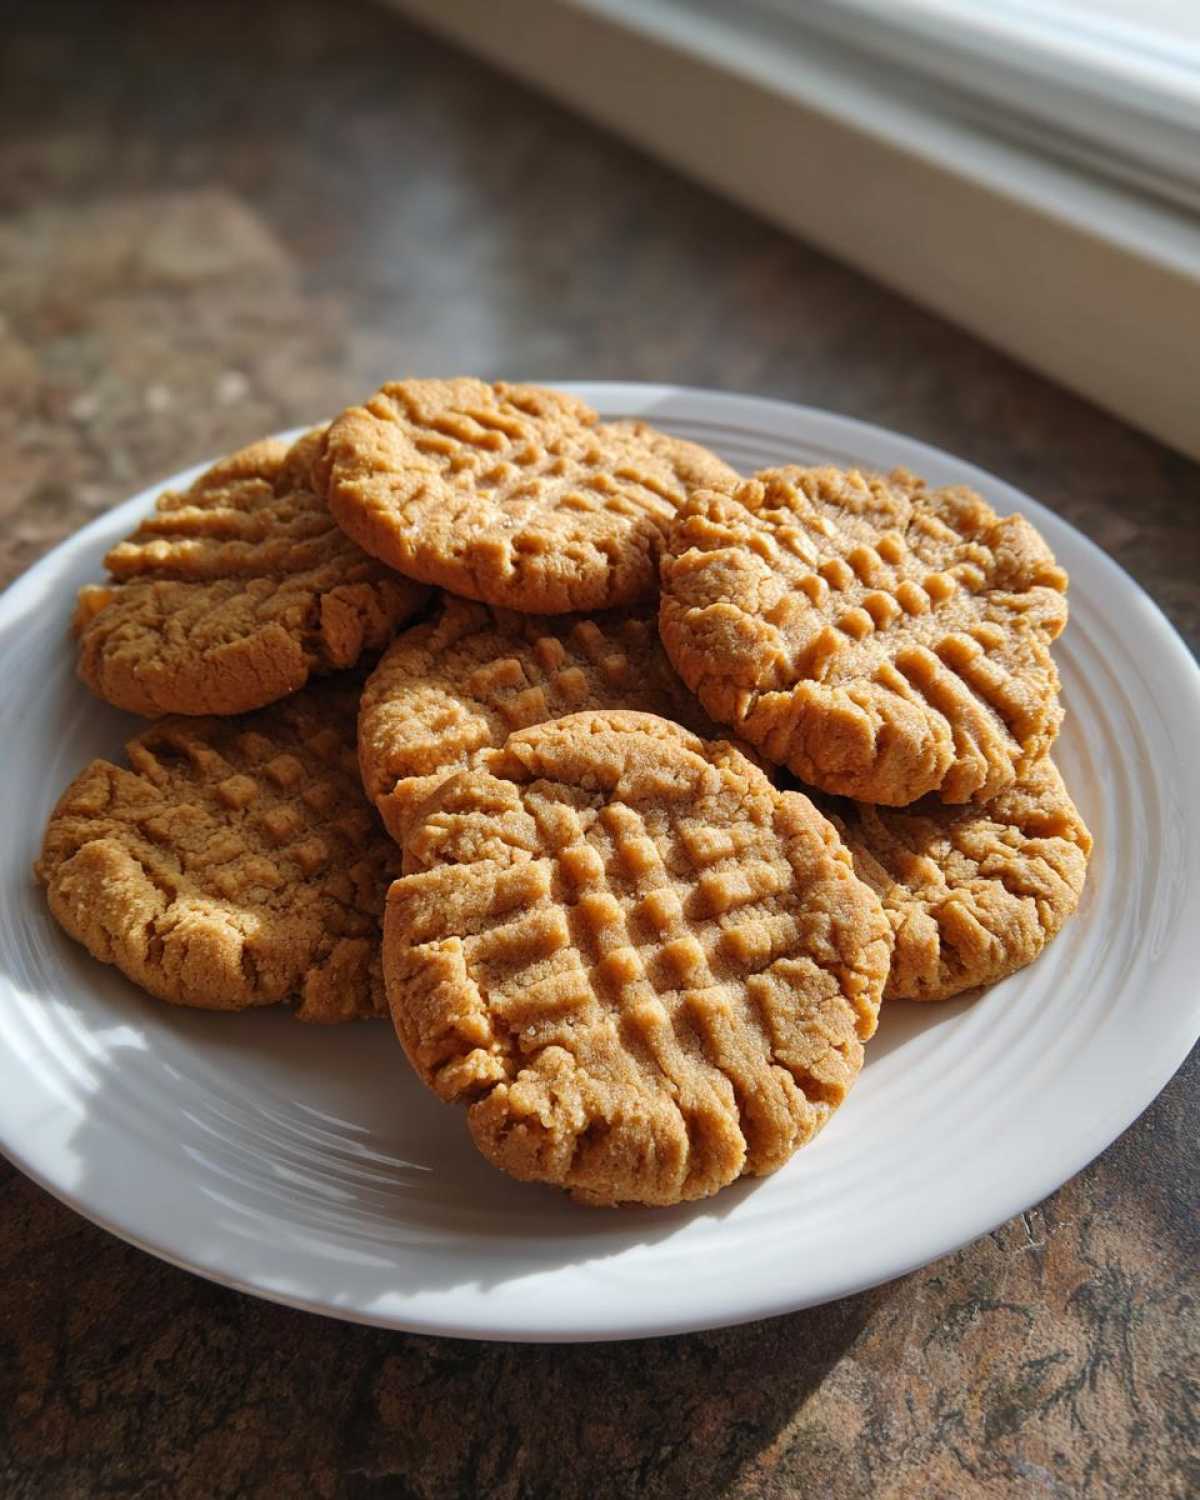
At room temperature, sealed tightly, they stay genuinely great for about four or five days. We’re talking really good here—still delightfully chewy in the middle. If you try to push it to a week, you might notice they stop snapping quite as nicely, but they are still perfectly edible!
Variations on Classic Cookie Recipes
While these peanut butter cookies are perfection just as they are, sometimes I just *have* to change things up a little bit! Baking should be fun, right? Mia usually rolls her eyes when I start talking about adding random things, but a couple of these simple adjustments are actually amazing. They still bake up beautifully, keeping that beloved texture.
If you want to take a little detour from tradition, I highly recommend stirring in about a cup of your favorite chocolate chips right at the very end when you add the flour. The salty peanut butter and the melted chocolate are an unbeatable combination! For a slightly warmer spice note, try whisking half a teaspoon of cinnamon in with your dry ingredients. It complements the peanut butter so nicely without taking over the flavor profile. If you’re feeling extra fancy and want the classic look, try making these into Peanut Butter Blossoms by pressing a chocolate candy on top right when they come out of the oven!
Frequently Asked Questions About Peanut Butter Cookies
I totally get it! Anytime I try a classic cookie recipe for the first time, I always have a few things I need to double-check before I start mixing. Troubleshooting is half the fun, right? Don’t worry if you have questions; that just means you care about getting these traditional cookies just right!
Can I substitute creamy peanut butter for crunchy in these peanut butter cookies?
You absolutely can! If you love finding those little crunchy peanut bits in your cookie, then crunchy peanut butter works perfectly fine here. The texture will be slightly less uniform overall, but you get a nice surprise crunch in every bite. The way the recipe is written emphasizes creamy because it mixes in smoother with the butter and sugars, making the creaming process faster, but using crunchy definitely won’t mess up the bake or the flavor. It’s just a texture preference!
Why did my cookies spread too much?
This is frustrating, especially when you are aiming for that coveted thick, crispy tender cookie look. Usually, if cookies spread too much, it boils down to two things, both related to temperature. First, your butter might have been too warm or even slightly melted when you creamed it. Remember, we need that butter soft, but still cool enough to hold air when beaten. Second, and this happens all the time, your oven might be running cold! If your temperature is too low, the edges can’t set fast enough before the butter completely melts, causing the cookie to slump. You might want to check your oven temp with a separate thermometer if you suspect it’s under-calibrating.
Are these the best peanut butter cookies for freezing?
Yes, these are amazing for freezing, but I have a huge recommendation here: freeze the dough, not the baked cookies! I always make a double batch because they freeze so well. Roll the dough into those 1-inch balls, place them on a cookie sheet, and freeze them solid uncovered for about an hour. Once they are rock solid, transfer those frozen balls into a freezer bag. When you want fresh cookies, just pull out as many as you need, put them on the baking sheet, and add about 3 to 4 extra minutes onto the baking time. Keeping them frozen means you always have those homemade peanut butter cookies ready to go!
Estimated Nutrition for These Homemade Peanut Butter Cookies
Okay, confession time: Mia is the one who actually pulls up the data for this part, because numbers give me a headache! But since we know you love to bake these traditional cookies often, we wanted to share the breakdown. Remember, this is just a guideline, especially since how much butter you spread on your knife for greasing the pan can change everything!
We always run our recipes through a checker, but due to slight variations in brand ingredients or how much sugar sticks to the sides of your bowl, treat these figures as an educated guess—a very tasty guess, though!
- Serving Size: 1 cookie
- Calories: 180
- Sugar: 12g
- Sodium: 110mg
- Fat: 10g
- Saturated Fat: 4g
- Unsaturated Fat: 6g
- Trans Fat: 0g
- Carbohydrates: 21g
- Fiber: 1g
- Protein: 4g
- Cholesterol: 25mg
See? Not bad for a totally satisfying, classic treat! We always feel better knowing what we’re enjoying since we make these so often!
Share Your Peanut Butter Cookies Creations
Now it’s your turn to bring these classic peanut butter cookies into your kitchen! Seriously, seeing your results brightens my whole week. Mia and I love watching our community grow, and nothing makes us happier than seeing your photos pop up, especially when you get that perfect fork crisscross pattern.
If you made these and they are already making your house smell amazing, please take a second to come back and leave a rating. Five stars makes my day! It helps other folks who might be intimidated by baking step out of their comfort zone, just like we did when we first started.
If you snap a picture—whether it’s a tower of cookies or just one perfect snack—tag us on social media! We always check the tags. And if you have any burning questions that didn’t make it into the FAQ, or you just want to share a baking story (especially one involving smoke alarms), don’t hesitate to shoot us a message through the contact page. We’re always here to cheer you on!
Go rule your kitchen! We can’t wait to see what you create.
PrintClassic Crispy-Tender Peanut Butter Cookies
Follow this simple recipe for the best peanut butter cookies, achieving perfect crispy edges and soft, chewy centers every time. These are the homemade peanut butter cookies you need for your baking rotation.
- Prep Time: 15 min
- Cook Time: 12 min
- Total Time: 27 min
- Yield: 3 dozen
- Category: Dessert
- Method: Baking
- Cuisine: American
- Diet: Vegetarian
Ingredients
- 1 cup (2 sticks) unsalted butter, softened
- 1 cup creamy peanut butter
- 1 cup granulated sugar
- 1 cup packed light brown sugar
- 2 large eggs
- 1 teaspoon vanilla extract
- 2 1/2 cups all-purpose flour
- 1 teaspoon baking soda
- 1/2 teaspoon baking powder
- 1/2 teaspoon salt
Instructions
- Preheat your oven to 350°F (175°C). Line baking sheets with parchment paper.
- In a large bowl, cream together the softened butter, peanut butter, granulated sugar, and brown sugar until the mixture is light and fluffy.
- Beat in the eggs one at a time, then mix in the vanilla extract.
- In a separate medium bowl, whisk together the flour, baking soda, baking powder, and salt.
- Gradually add the dry ingredients to the wet ingredients, mixing on low speed until just combined. Do not overmix.
- Roll the dough into 1-inch balls and place them 2 inches apart on the prepared baking sheets.
- Use a fork to press down on each ball, creating the classic crisscross pattern. Press once in one direction, then press again perpendicular to the first lines.
- Bake for 10 to 12 minutes, or until the edges are set and lightly golden. The centers may look slightly underdone.
- Let the cookies cool on the baking sheet for 5 minutes before transferring them to a wire rack to cool completely.
Notes
- For extra peanut flavor, use a natural, unsweetened peanut butter.
- If your dough feels too soft, chill it for 15 minutes before rolling and pressing.
- The cookies firm up as they cool, giving you that perfect crispy tender cookie texture.
Nutrition
- Serving Size: 1 cookie
- Calories: 180
- Sugar: 12
- Sodium: 110
- Fat: 10
- Saturated Fat: 4
- Unsaturated Fat: 6
- Trans Fat: 0
- Carbohydrates: 21
- Fiber: 1
- Protein: 4
- Cholesterol: 25