

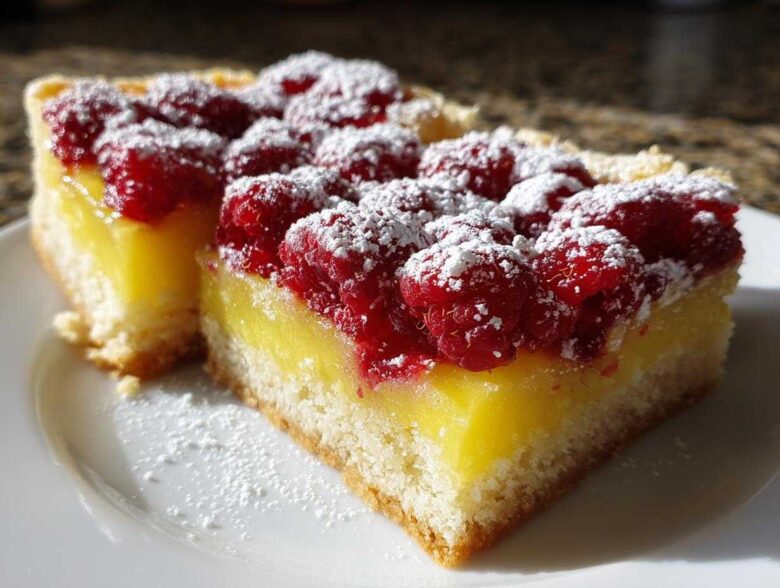
When the weather warms up, you just crave something bright, right? Forget the heavy chocolate things for a minute; we need sunshine in dessert form! That’s exactly why I’m sharing what might be my favorite baking achievement: the Lemon Raspberry Bars. These bars dance perfectly between sour and sweet. You get that incredible, shocking tang from the lemon, which is just softened by the sweetness of the shortbread, and then BAM, a burst of fresh raspberry!
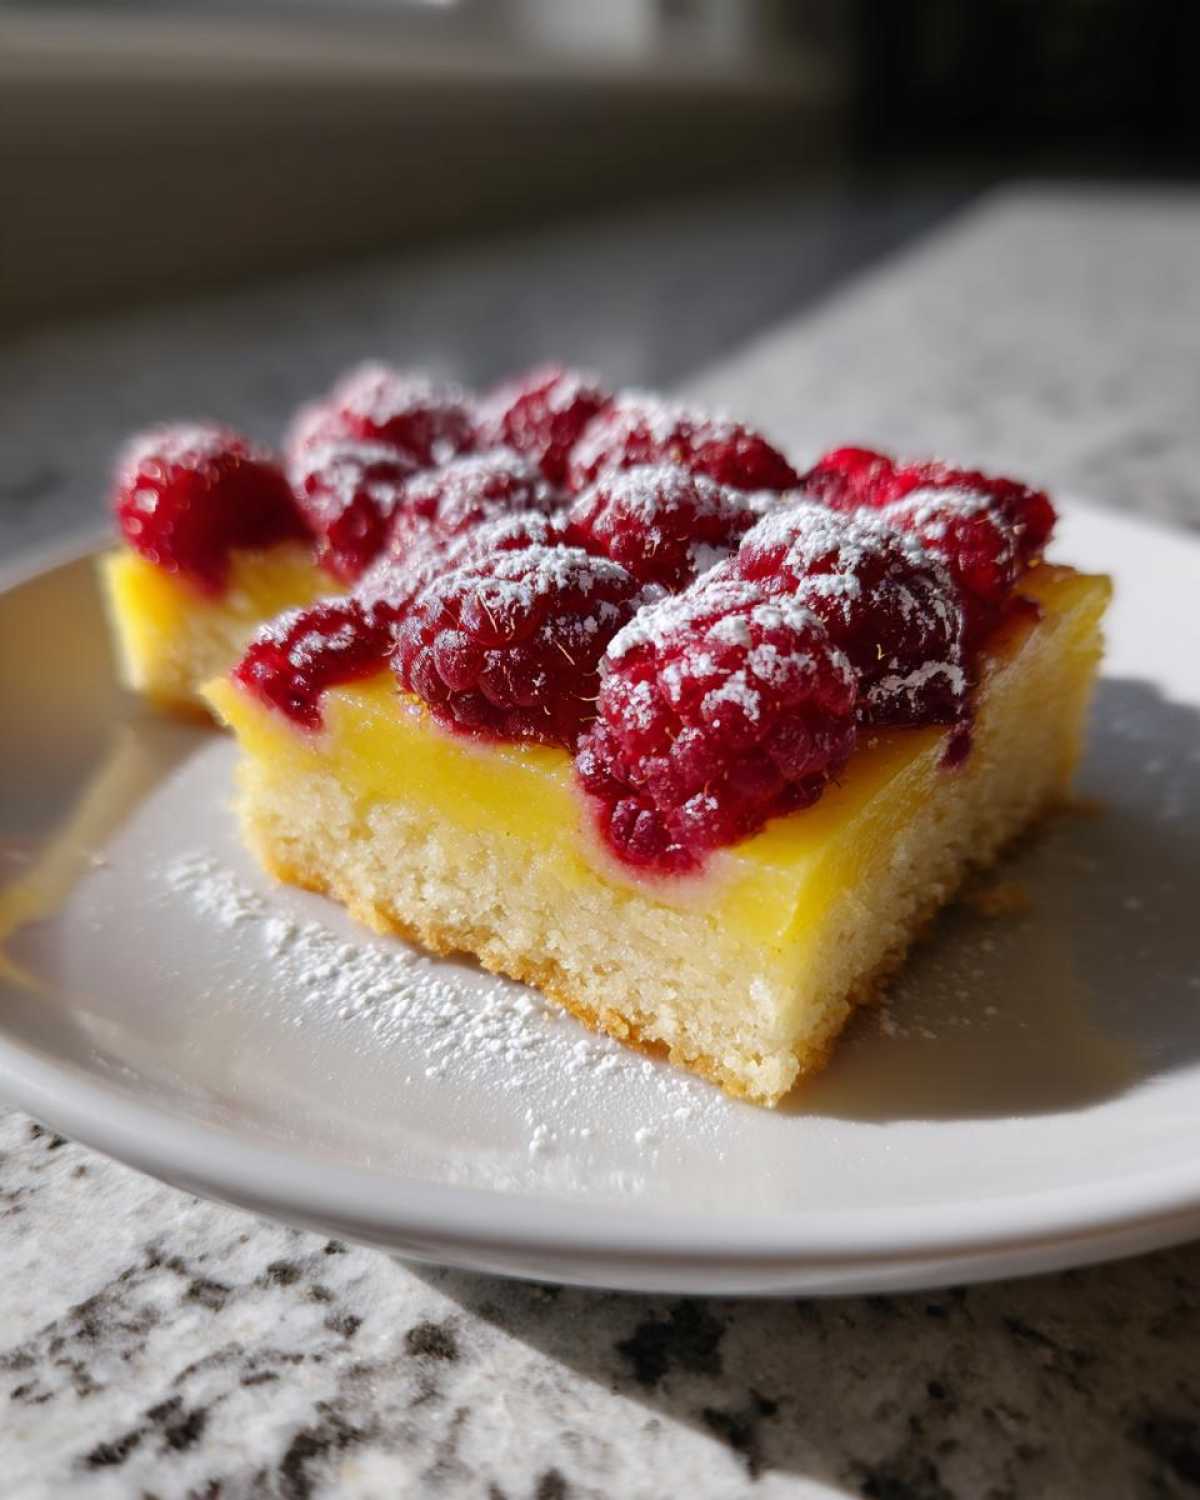
Now, I won’t lie—getting the lemon curd filling to set just right used to challenge me. I’ve ruined enough batches turning it into scrambled eggs in the oven! But once you understand that low and slow baking, plus the chilling time, is your best friend, you’ll master it. Trust me, once you nail that perfect, almost-set texture, you’ll never go back. These are absolutely fantastic for potlucks or just an afternoon treat with coffee. You have to give this zesty lemon cookie companion a try!
Why You Will Love These Easy Lemon Raspberry Bars Recipe
I’ve made a lot of bar cookies over the years, and honestly, these are a guaranteed crowd-pleaser. I promise you’ll keep this recipe tucked away for emergencies when you need a showstopper dessert fast. Here’s why these squares get top billing in my kitchen:
- The crust is pure buttery heaven. We use a simple shortbread base that melts in your mouth—it’s the perfect salty, rich contrast to all that bright filling.
- That signature tartness is spot-on. It’s intense without being painful! We use fresh juice, and there’s no substitute for that vibrant flavor.
- They hold up beautifully! These keep their texture well, meaning they are perfect for making ahead of time for parties or afternoon tea gatherings.
- The raspberries! They bake down just enough to release their juice but still offer little pockets of whole fruit throughout that gooey lemon layer.
Gathering Ingredients for Your Buttery Crust Raspberry Lemon Bars
Okay, getting ready to bake the best Lemon Raspberry Bars means making sure your ingredients are ready to go. I always organize everything right before I start the oven. That way, when it’s time to mix, everything flows smoothly, and you avoid that panic moment where you realize you’re short on something critical!
We’re relying on simple, high-quality staples here. The secret to that amazing texture in the crust really requires cold butter. Don’t try to sneak in softer stuff; cold and cubed works best for achieving that perfect crumbly texture we want!
If you’re looking for kitchen inspiration on staples, I sometimes use an amazing garlic butter recipe when I’m not baking, just to use up some of my butter stock!
Crust Components for Perfect Lemon Raspberry Bars
This is the base layer, folks. It only needs four things, but measure them carefully!
- 1 cup all-purpose flour
- 1/2 cup cold unsalted butter, cubed into little pea-sized pieces
- 1/4 cup granulated sugar (this keeps the crust nice and tender!)
- 1/4 teaspoon salt
The Rich Lemon Curd Filling Ingredients
This is where the magic happens. You absolutely need fresh lemon juice—bottled stuff just doesn’t cut it, as it mutes that bright flavor we’re aiming for for our perfect tart treat.
- 1 1/2 cups granulated sugar
- 4 large eggs, lightly whisked
- 1/2 cup fresh lemon juice (please, please use fresh!)
- 1 tablespoon lemon zest (that’s where all the strong lemon oil lives!)
- 2 tablespoons all-purpose flour (this helps keep the curd from weeping)
- 1 cup fresh raspberries (I use beautiful, slightly firm ones)
- 1/2 cup powdered sugar (we just use this for dusting the very top at the end)
How to Make Lemon Raspberry Bars: Step-by-Step Instructions
Alright, this is where we bring everything together! Making Lemon Raspberry Bars is actually super straightforward once you break it down. The two-stage baking process is key here. Don’t rush the cool down later, though; that’s the real secret to that bakery-style clean cut!
If you’d like to see how I handle other bar recipes, check out my chewy granola bar recipe—it uses a similar base technique!
Preparing and Pre-Baking the Buttery Crust
First things first, let’s get that oven ready. We are preheating to 350°F (175°C). You need an 8×8 inch pan, and I highly suggest lining it with parchment paper, making sure you leave a good overhang on two sides. This overhang acts like handles, making it so easy to lift the entire cooled dessert out later. No scraping necessary!
Take your crust ingredients—that’s the 1 cup of flour, 1/4 cup sugar, and salt—and toss them together. Now, take your cold, cubed butter and work it in. My favorite way is just using my fingertips, rubbing the butter pieces into the flour mix until it all looks like coarse crumbs. Press this mixture firmly and evenly into the bottom of your lined pan. Slide that crust in for 15 minutes until you see it turn just a little bit lightly golden around the edges. That’s our cue!
Mixing the Sweet and Tangy Raspberry Lemon Treat Filling
While the crust is getting cozy in the oven, we whip up the filling. Grab a separate bowl, please. We need to whisk together the 1 1/2 cups of sugar, the 4 eggs, your fresh lemon juice, that beautiful zest, and the remaining 2 tablespoons of flour.
The goal here? Total smoothness. You keep whisking until everything looks perfectly incorporated and there are absolutely no streaks of flour or clumps. I usually whisk vigorously for a full minute after I think I’m done, just to be safe. Lumpy curd is the bane of a lemon bar baker’s existence, so smooth is what we’re aiming for!
Baking and Setting the Final Lemon Raspberry Bars
Once the crust is golden, you pull it out. Carefully pour that smooth lemon filling right over the hot crust—it should sizzle a little bit, which is totally fine! Then, you just gently scatter your 1 cup of fresh raspberries right on top of the liquid filling. Don’t push them down; let them float!
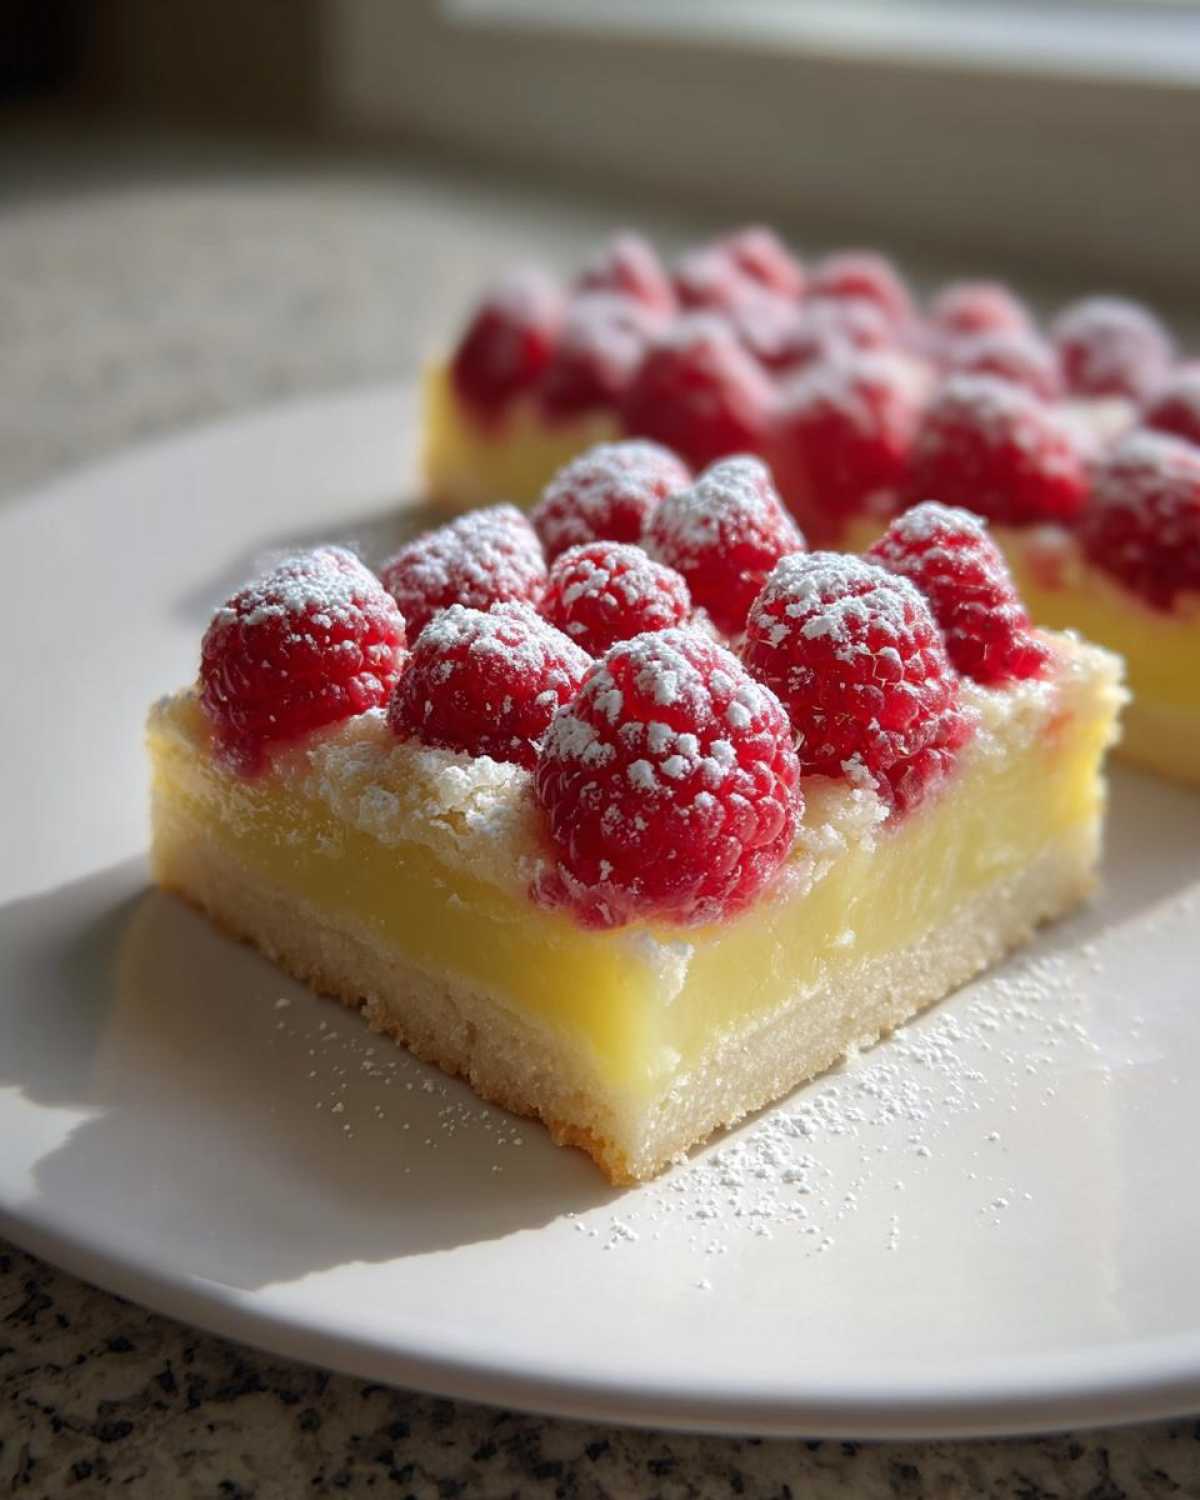
Back into the oven it goes for another 20 to 25 minutes. Here is your critical check: when you take the pan out, the center should not be completely solid. It needs to have a very slight jiggle, like firm gelatin. If it looks completely firm, you’ve overbaked it, and you might get cracking later. Cool down is the stage that truly sets the curd. You have to let them cool completely on a rack—I mean, two hours minimum. Better yet? Pop them in the fridge for four hours! Once they are chilled thoroughly, use those parchment paper handles to lift the whole thing out, and then slice them cleanly. Finish with a simple dusting of powdered sugar, and voilà!
Tips for Success with Homemade Lemon Raspberry Squares
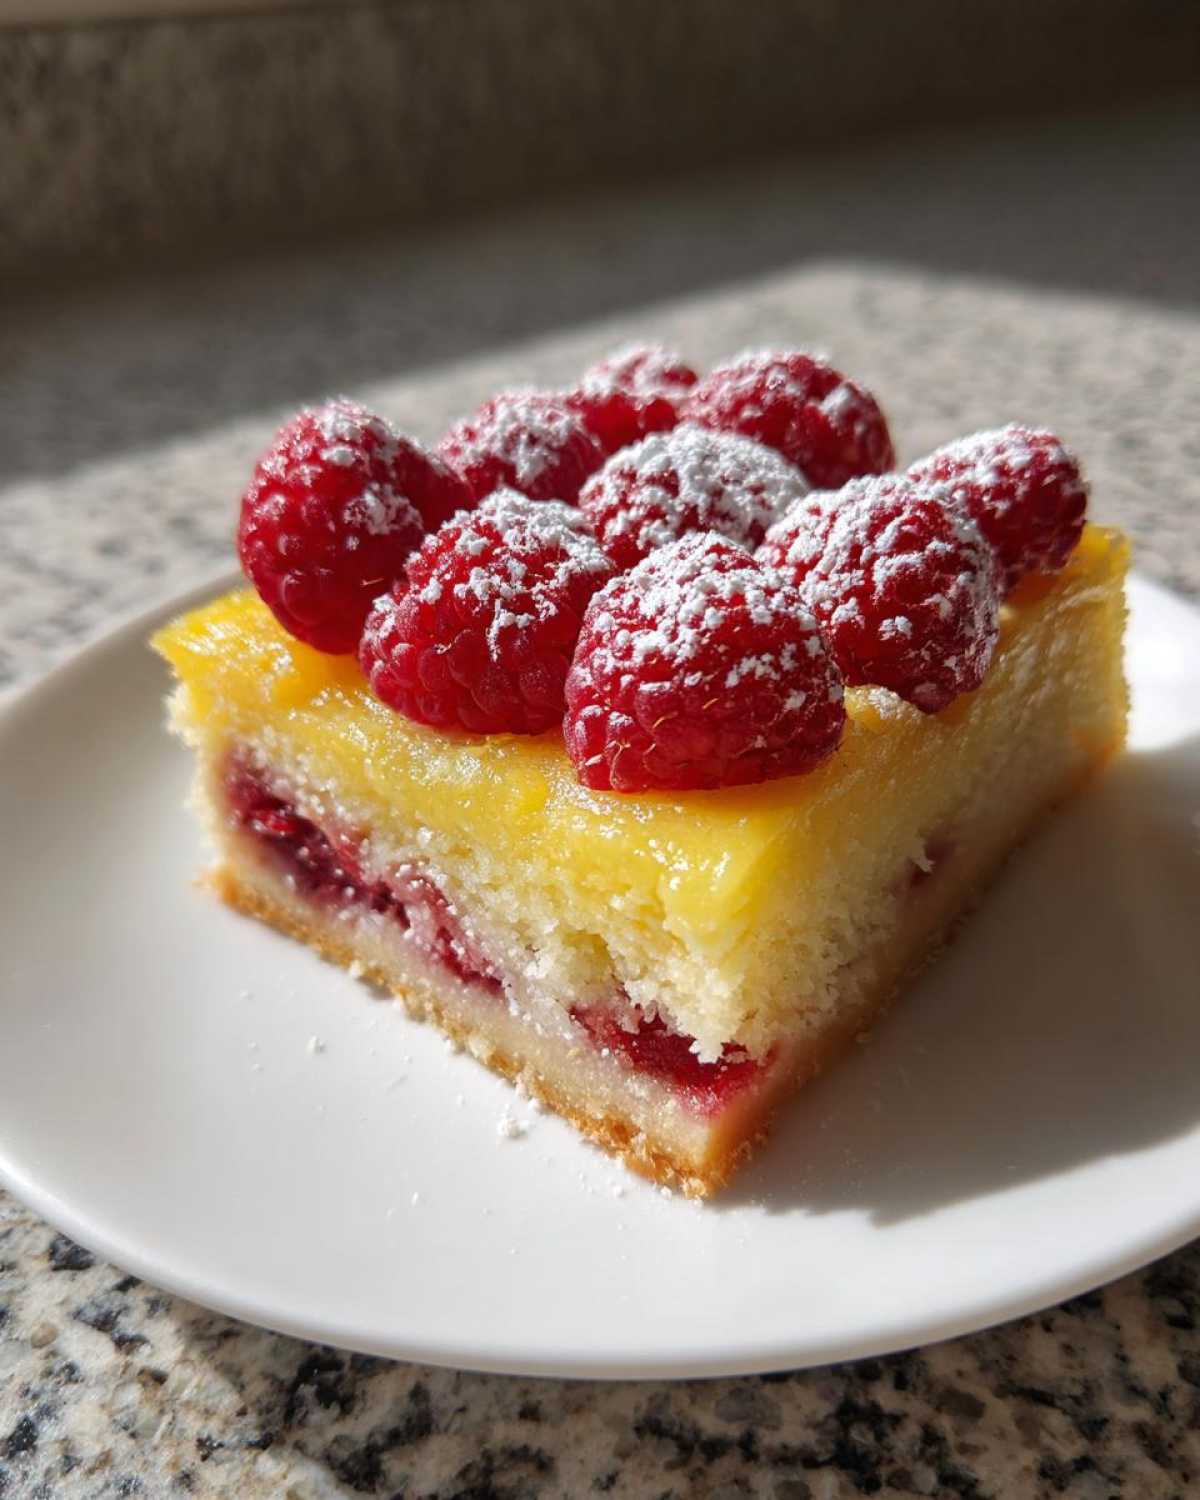
Baking is a science, but these bars are forgiving if you know the little tricks! I spent a good chunk of time figuring out the delicate balance here—we want tart lemon, not painful lemon, and a filling that sets beautifully without cracking into a million pieces. If you follow these little nudges, you’ll nail this every time.
My biggest piece of advice, which I mentioned before, is relying on things that come straight from nature. Using bottled lemon juice is like trying to run a marathon without stretching; you might finish, but it won’t be pretty! Fresh juice has a vibrancy that canned concentrates just zap right out of it.
If you love other bright citrus bakes, you might want to check out my classic lemon meringue pie recipe for another zingy treat!
Avoiding That Baked Curd Nightmare
The number one complaint I hear about lemon bars is that they crack during or after baking. This usually comes down to two things: too much heat or rushing the cool down. Remember when I said the center should have a slight jiggle? That jiggle is your safety net! The residual heat continues to cook the curd after it leaves the oven, so if you bake it until it’s firm in the oven, it *will* crack when it cools down.
Also, whisking the filling too much after you start adding the juice can incorporate too much air. Air bubbles expand and then collapse, leading to fissures on the surface. Whisk until just combined until you add the eggs, and then gently incorporate the rest. Slow and steady wins this race!
The Mandatory Chilling Period
I know, I know—you want to cut into those beautiful squares right away! But resist that urge! The cooling process is where the eggs and flour bind everything into that smooth, lovely texture we want. If you try to cut them warm, you end up with sloppy batter running everywhere, and you absolutely ruin the buttery crust beneath.
I usually bake these in the afternoon, let them cool on the counter for two hours, and then cover them loosely and pop them into the fridge overnight. When they are completely chilled, cutting them is a dream! The knife goes through clean as butter, and you get those perfect, bakery-style edges. Don’t skip this chill time; it’s essential for clean presentation.
Storage and Make Ahead Raspberry Lemon Dessert Tips
One of the best things about these Lemon Raspberry Bars is that they are fantastic for planning ahead! If you are throwing a spring bash or a summer picnic, the last thing you want is to be stressed about making dessert the morning of. That wonderful chilling period we talked about? That’s actually our secret weapon for make-ahead mastery.
Because the lemon curd needs that time to firm up completely, these bars actually taste *better* the next day. All those bright flavors have time to meld together against that buttery shortbread base. It’s the perfect make ahead raspberry lemon dessert option!
How Long Do They Last in the Fridge?
Once you’ve cut them into squares and dusted them lightly with sugar (or if you’re waiting to glaze them), you need to keep them covered tightly. I use plastic wrap gently placed over the squares, or just keep them in a single layer in an airtight container. They hold up really well in the refrigerator for about four to five days. That’s easily a whole week of happy snacking!
Just remember, the fresher the raspberries, the longer they last. If you used frozen berries that released a ton of water, you might notice things soften up a touch quicker than if you used perfectly firm fresh berries.
Preparing Them for a Party
If you are aiming for absolutely pristine presentation, here’s my trick for parties: Make them completely, chill them solid overnight, and slice them right before you leave for the event. I place them back into the 8×8 pan, still nestled in the parchment paper, and transfer the whole pan into a large Tupperware container or wrap it heavily in foil. They travel beautifully this way!
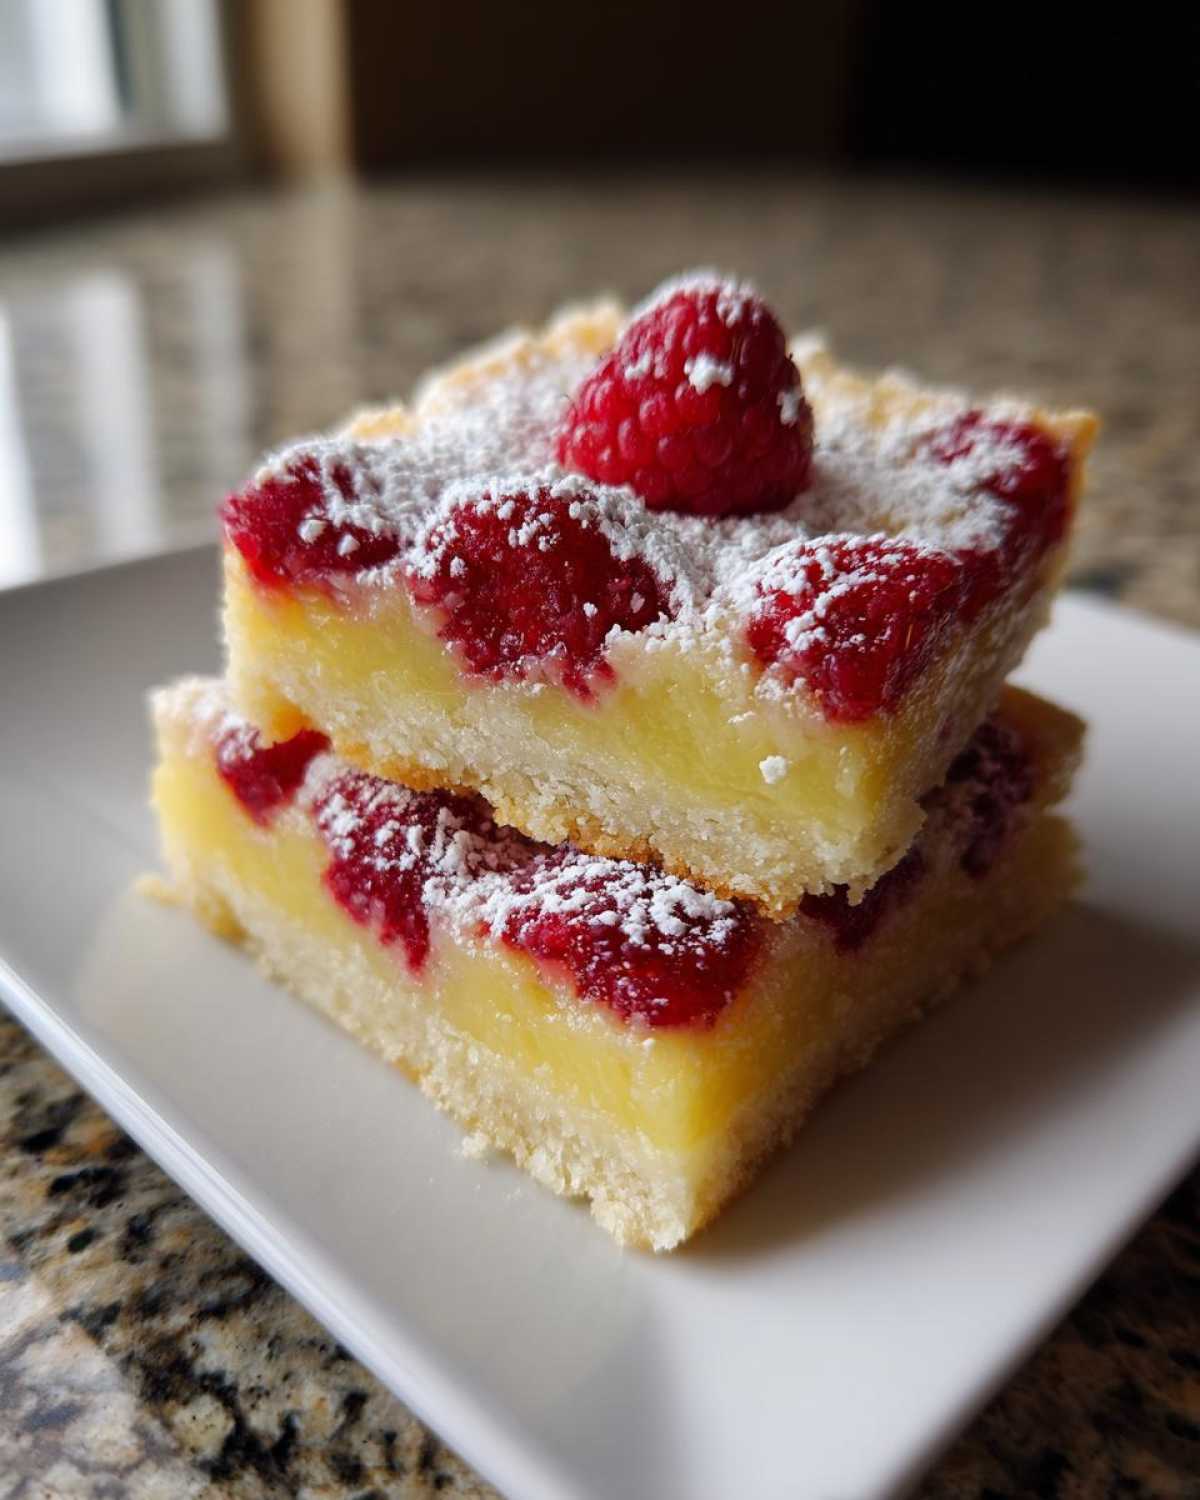
If you want to add a glaze instead of just powdered sugar, wait until about an hour before serving to drizzle it on. Glazes can sometimes sweat a little if they sit in the fridge for too long before you cut them. Trust me on this—a perfectly set, chilled bar is your best presentation tool for these sweet and tangy treats!
Frequently Asked Questions about Perfect Tart Raspberry Lemon Dessert
It’s funny how many little details come up once you start baking something new! I get questions all the time about ingredient swaps or how to handle the chilling process for my Lemon Raspberry Bars. Everyone wants that perfect slice! Here are a few common things people ask me when they are trying to master this springtime treat.
If you’re looking for tips on getting smooth surfaces on other desserts, like avoiding cracks on a New York style cheesecake, the principles of slow cooling apply there too!
Can I use frozen raspberries in my Lemon Raspberry Bars?
Yes, you absolutely can, especially if fresh ones are hard to find or just too pricey! If you use frozen raspberries, please do not thaw them first. If you thaw them, they will bleed way too much juice into that beautiful lemon filling while you’re mixing and pouring.
Just take the frozen berries straight from the freezer and scatter them over the filling just like you would the fresh ones. Since they are cold, they might slightly delay the baking time by just a minute or two, so keep an eye on that jiggle. You might need to add an extra minute or so if they look really icy when they go in, but usually, it’s not a big difference. They are the key to a great make ahead raspberry lemon dessert!
How do I get clean slices for my Homemade Lemon Raspberry Squares?
This is almost always the final hurdle, isn’t it? You walk away proud, and then when you cut them, you get jagged edges and messy curd! The answer, as I keep harping on about, is **chilling**. You must get these bars completely cold. I strongly recommend at least four hours in the fridge, but overnight is truly best for the cleanest cuts on your Homemade Lemon Raspberry Squares.
Once they are rock solid from the cold, the final trick is the knife! Get yourself a long, sharp chef’s knife. Dip the knife into a tall glass of very hot water—the hotter the better—and wipe it completely dry with a paper towel. Now, cut one piece. That heat from the knife melts through the curd cleanly. Before you make the next cut, you have to rinse and reheat that knife again! It sounds fussy, but wiping the knife clean between every single slice guarantees those perfect, professional-looking results.
Estimated Nutritional Data for Lemon Raspberry Bars
Now, while I’m not a nutritionist or anything—I’m over here just trying to make sure we have enough sugar to get through the afternoon—I know folks ask about the macros! So, I put together the general estimates for one square of these lovely Lemon Raspberry Bars based on the ingredients list above. Remember, these figures are just an idea!
I always say, since these are made right here in my kitchen with real butter and fresh fruit, they are probably a little more honest than what you get at some fancy bakery, right? This is Option A, just a clear presentation of the numbers we have.
- Serving Size: 1 square
- Calories: 220
- Sugar: 20g
- Fat: 11g (including 6g Saturated Fat)
- Carbohydrates: 30g
- Protein: 3g
- Cholesterol: 55mg
- Fibre: 1g
See? Totally worth it for that beautiful burst of sunshine on a plate. Don’t worry about the numbers too much; just worry about having enough raspberries to sprinkle on top!
Share Your Sweet and Tangy Raspberry Lemon Treat Experience
Whew! Now you have everything you need to conquer the world of tangy, buttery baked goods. I truly hope these Lemon Raspberry Bars become a staple in your house, just like they are in mine!
Baking is always more fun when we can share the results, so when you finally pull those perfectly set squares out of the pan, I really, *really* want to hear about it! Did your crust come out extra golden? Did you manage that perfect jiggle in the center before cooling? Tell me everything!
Please take a moment to scroll down and leave a star rating for this Easy Lemon Raspberry Bars Recipe. Those ratings really help other bakers know they are on the right track. And if you snap a photo of your beautiful Springtime Raspberry Lemon Baked Goods, tag me online! I love seeing your creations and sharing them on my page. Happy baking, friends! If you want to see what else I’ve been whipping up in the kitchen, check out my latest posts over on the main blog page!
PrintEasy Lemon Raspberry Bars

A straightforward recipe for tangy lemon bars layered over a buttery shortbread crust, topped with fresh raspberries.
- Prep Time: 20 min
- Cook Time: 35 min
- Total Time: 55 min
- Yield: 16 squares
- Category: Dessert
- Method: Baking
- Cuisine: American
- Diet: Vegetarian
Ingredients
- 1 cup all-purpose flour
- 1/2 cup cold unsalted butter, cubed
- 1/4 cup granulated sugar (for crust)
- 1/4 teaspoon salt
- 1 1/2 cups granulated sugar (for filling)
- 4 large eggs
- 1/2 cup fresh lemon juice
- 1 tablespoon lemon zest
- 2 tablespoons all-purpose flour (for filling)
- 1 cup fresh raspberries
- 1/2 cup powdered sugar (for dusting)
Instructions
- Preheat your oven to 350°F (175°C). Line an 8×8 inch baking pan with parchment paper, leaving an overhang on two sides for easy removal.
- Prepare the crust: In a medium bowl, combine 1 cup flour, 1/4 cup sugar, and salt. Cut in the cold butter using a pastry blender or your fingers until the mixture resembles coarse crumbs.
- Press the crust mixture evenly into the bottom of the prepared pan. Bake for 15 minutes until lightly golden.
- While the crust bakes, prepare the lemon filling: In a separate bowl, whisk together 1 1/2 cups sugar, eggs, lemon juice, lemon zest, and 2 tablespoons of flour until smooth.
- Pour the lemon filling over the hot, pre-baked crust. Gently scatter the fresh raspberries over the top of the filling.
- Return the pan to the oven and bake for an additional 20 to 25 minutes, or until the filling is mostly set but still has a slight jiggle in the center.
- Let the bars cool completely in the pan on a wire rack. This cooling process is crucial for setting the curd.
- Once fully cooled (at least 2 hours or chilled), lift the bars out of the pan using the parchment overhang. Cut into squares.
- Dust the top of the Lemon Raspberry Bars with powdered sugar before serving.
Notes
- For a firmer curd, ensure you use fresh lemon juice, not bottled concentrate.
- Do not overbake; the center should not be completely firm when removed from the oven, as it will set while cooling.
- Chill the bars for at least 4 hours before cutting for clean slices.
Nutrition
- Serving Size: 1 square
- Calories: 220
- Sugar: 20
- Sodium: 45
- Fat: 11
- Saturated Fat: 6
- Unsaturated Fat: 5
- Trans Fat: 0
- Carbohydrates: 30
- Fiber: 1
- Protein: 3
- Cholesterol: 55