

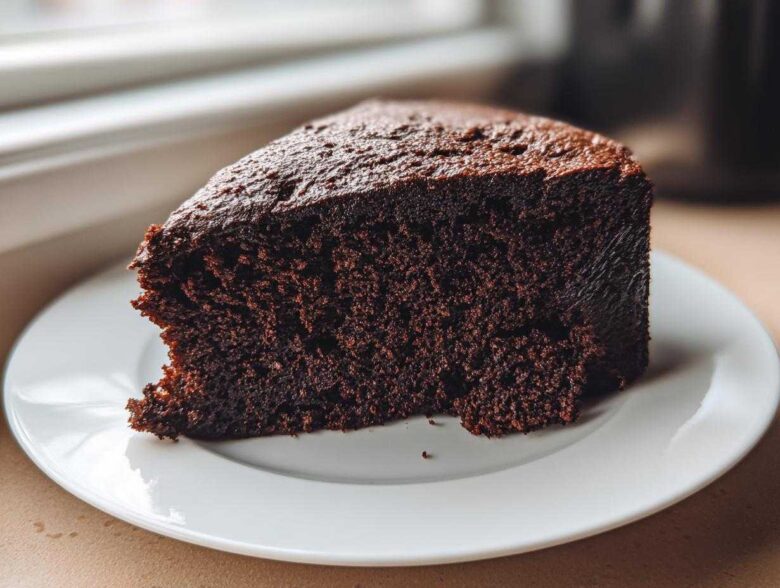
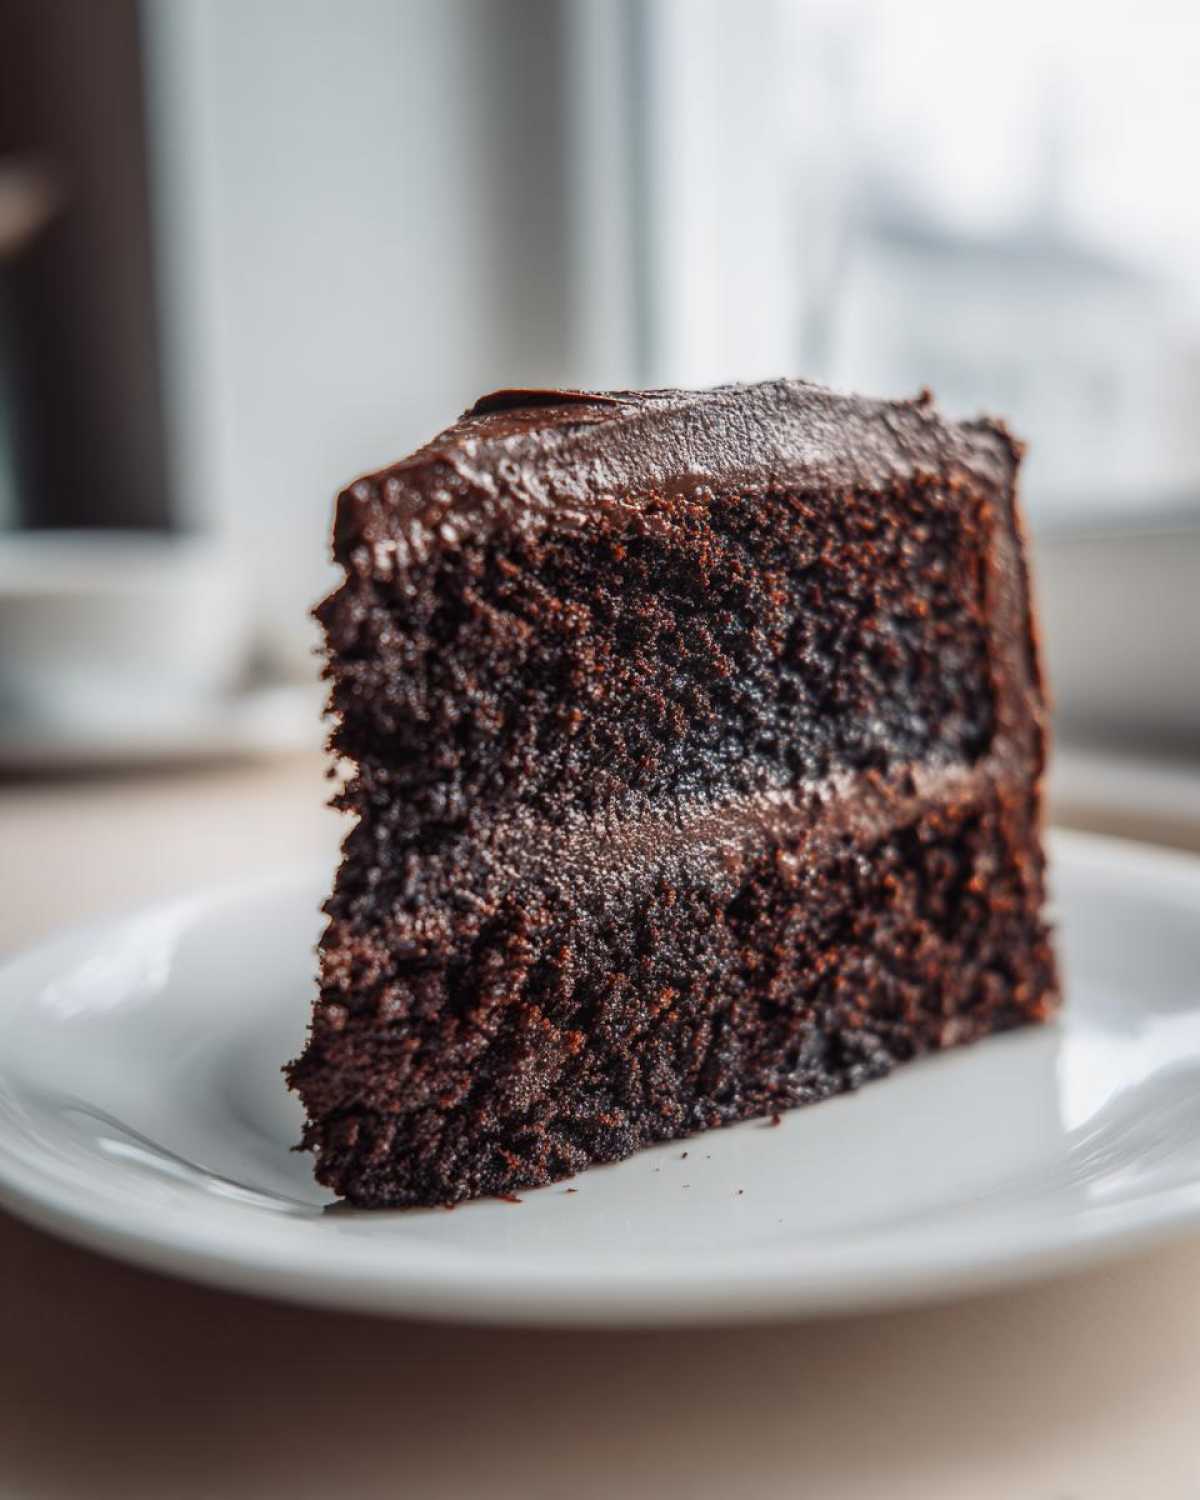
Oh, trust me, I know the struggle! Finding a truly satisfying Gluten-Free Chocolate Cake recipe that doesn’t end up crumbly, dry, or tasting like sad cardboard is like winning the baking lottery. Seriously, I’ve pulled more sad, sinking layers out of the oven than I care to admit when I first started swapping out the wheat. That’s why I’ve spent what feels like years perfecting this exact formula. This isn’t just another recipe; this is *the* recipe. It yields a dark, incredibly rich cake layer with the most unbelievably tender crumb you wouldn’t believe was wheat-free. We talk deep chocolate flavor, amazing moisture, and a structure strong enough to handle serious frosting. You are going to forget all about gluten when you taste this!
Why This Gluten-Free Chocolate Cake Recipe Works So Well
The biggest failure point in wheat-free baking is usually texture, right? You either get something dense like a brick or something so delicate it collapses when you breathe on it. Not here! This recipe eliminates those issues by being incredibly specific about the ratios. We focus on creating the best possible crumb for a Gluten-Free Chocolate Cake, ensuring it’s sturdy yet melts in your mouth. Success is baked right into these measurements!
Achieving the Perfect Crumb Structure in Your Gluten-Free Chocolate Cake
See, gluten usually provides the stretch and hold for a regular cake. Since we aren’t using that, we have to fake it! That’s why using a quality, pre-mixed gluten-free flour blend that already includes xanthan gum is super important. The gum acts like the scaffolding, holding all those lovely cocoa and sugar particles together so the cake doesn’t crumble on you when sliced. It really is key!
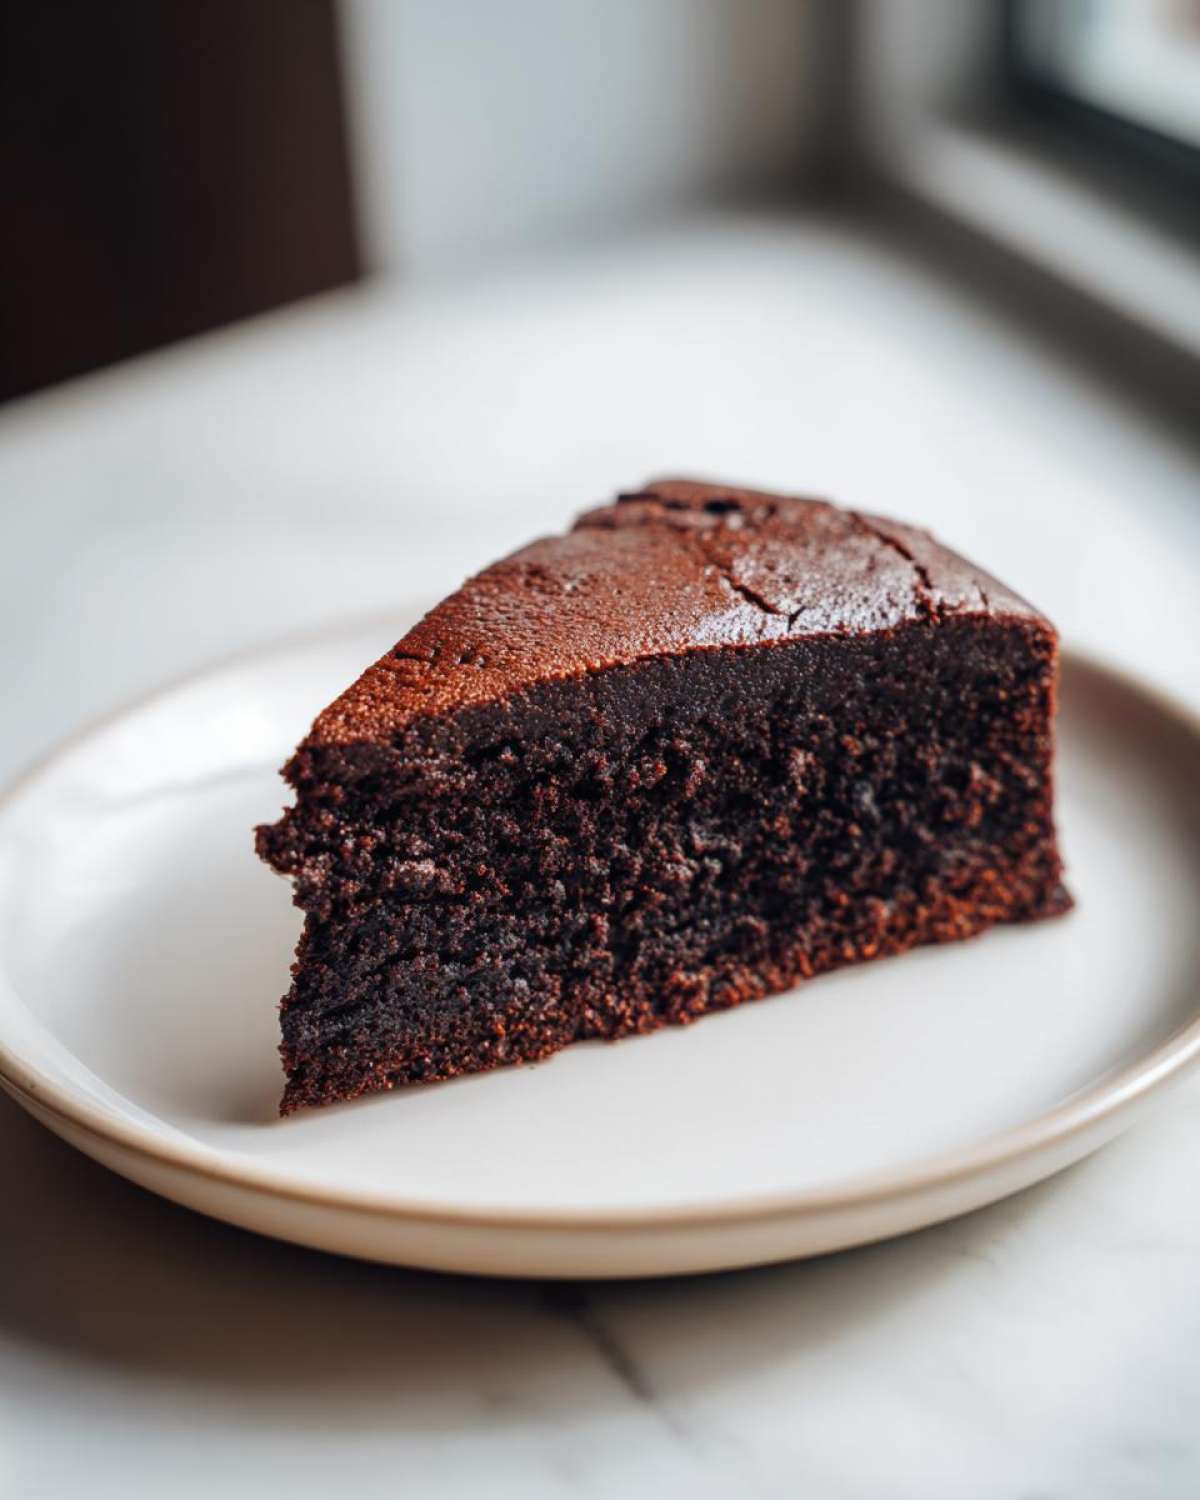
The Secret to Moist Gluten Free Chocolate Cake: Hot Liquid
This is arguably the most genius part of any great chocolate cake, but it’s vital for true Moist Gluten Free Chocolate Cake. Adding that cup of hot water or even better, hot coffee, at the very end does two jobs. First, it blooms the cocoa powder, making the chocolate flavor pop off the charts. Second, it dissolves the sugar and creates a thinner batter, which bakes up unbelievably tender. Don’t skip the heat; it guarantees the moisture!
Gathering Ingredients for Your From Scratch Gluten Free Chocolate Cake
Okay, now that you know *why* this cake works, let’s talk about what you need to pull it off. Anytime you switch to gluten-free baking, precision becomes your new best friend. I can’t stress enough that you need to measure your dry stuff carefully, especially the flour! Since we aren’t using wheat, every other item has to pull its own weight to deliver that rich flavor your Gluten-Free Chocolate Cake deserves.
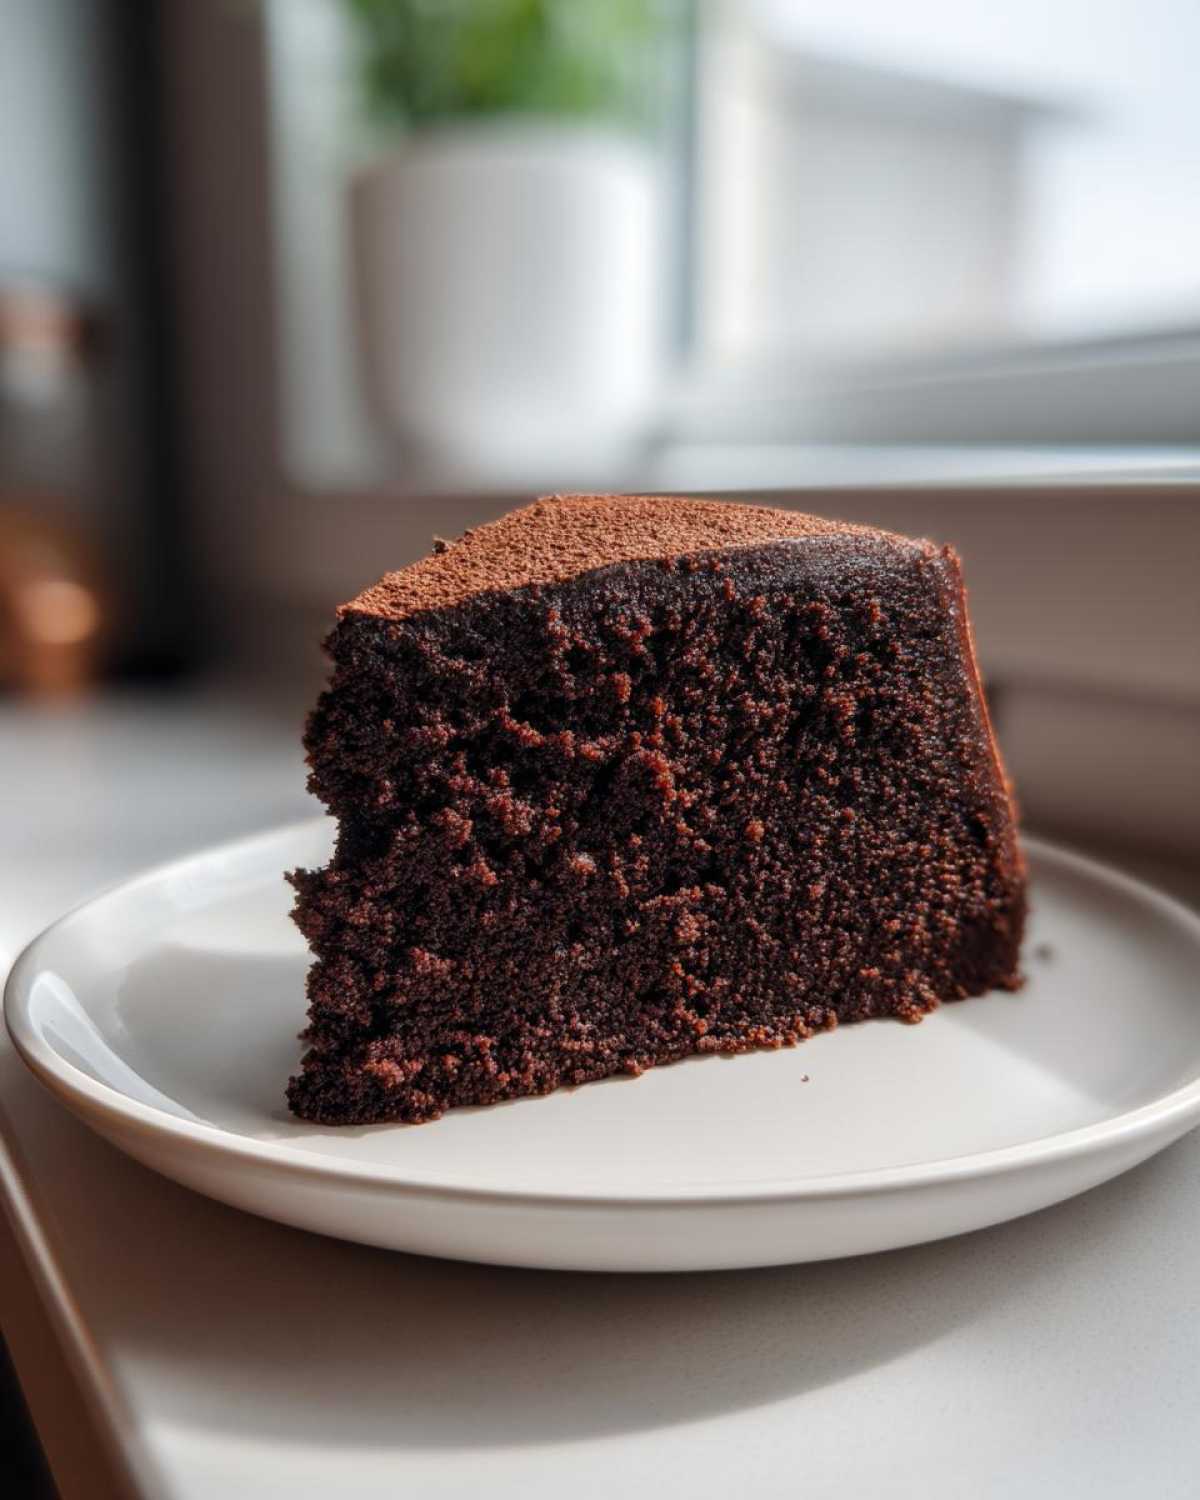
You’ll notice the batter is quite wet when we’re done, and that’s intentional—it’s how we keep things moist! Before you even start mixing, make sure you have everything ready to go, kind of like a little baking prep station. If you need a break in between steps or just want to check out some other great recipes while you wait for the oven to heat up, you can look at my guide on caramelized onions for inspiration later!
Gluten Free Flour Blend Cake Recipe Specifics
When shopping for your flour, look for an ‘All-Purpose Gluten Free Blend’ that explicitly says it contains xanthan gum. That’s your binding agent! If you happen to grab a blend that doesn’t list that stabilizer? No biggie! Just toss in an extra teaspoon of xanthan gum with your dry ingredients. Do NOT skip this step, or your beautiful cake layers will just turn into sad, delicious sand.
Dairy Free Chocolate Cake Recipe Ingredient Swaps
If you need this to be a full Dairy Free Chocolate Cake Recipe, thank goodness it’s simple! We use buttermilk, but you can easily make a substitute. Just take one cup of whatever non-dairy milk you prefer—almond, soy, oat, whatever works for you—and stir in one tablespoon of plain white vinegar or lemon juice. Let that sit on the counter for about five minutes until it curdles up a bit. Voilà! You have your dairy-free buttermilk ready for your layers!
Step-by-Step Instructions for the Best Gluten Free Chocolate Cake
Alright, let’s get down to the fun part: mixing this beauty together! Baking a great Gluten-Free Chocolate Cake requires a bit of patience, but the mixing process itself is surprisingly fast, especially compared to older recipes. We’re keeping things neat and organized here so we don’t end up with a sticky mess all over the counter. If you think you might need some extra help or just want to see some more general baking goodness, feel free to pop over and check out my main baking blog index.
Preparing the Pans and Mixing Dry Ingredients
First things first, get that oven preheated to 350°F (175°C). Don’t wait until the batter is mixed! Then, prep your two 9-inch cake pans. I always grease mine generously and then dust them lightly with gluten-free flour—the same blend you’re using for the cake works perfectly. Baking something without wheat can be tricky, and this extra step ensures our cake slides right out later. Now onto the bowl! Whisk together your flour blend, cocoa powder, sugar, baking soda, baking powder, and salt. You absolutely must whisk these dry items well. I mean, really whisk them until they are homogenous. This ensures the leavening agents are evenly distributed, which is critical for lift!
Combining Wet Ingredients and Adding Hot Liquid to the Gluten Free Chocolate Cake Batter
Next, we add the wet stuff right into the bowl with the dry mixture. Those are your two eggs, the buttermilk (or your dairy-free swap!), the oil, and the vanilla. Get your mixer going on medium speed for a solid two minutes. Once that’s smooth, take a deep breath because here comes the slightly weird part: slowly pour in that hot water or coffee. Mix that on low speed until it’s *just* combined. I mean it—just barely mixed! Stop as soon as you don’t see streaks of dry flour anymore. Yes, the batter will be incredibly thin—almost soupy! Don’t panic; that watery consistency is exactly what guarantees the moistest Gluten-Free Chocolate Cake possible.
Baking Times and Cooling for a Simple Gluten Free Birthday Cake
Divide that thin batter evenly between your two prepared pans. Pop them into the preheated oven for about 30 to 35 minutes. You’re looking for the cake to pull away just slightly from the edges of the pan, and a wooden pick inserted right into the center should come out clean, maybe with a few moist crumbs clinging to it, but no true wet batter. Let those beauties cool in the pan for about ten minutes. This short rest period is important because it lets the structure set up before you try to move them. After ten minutes, invert them carefully onto a wire rack to cool completely. Trying to frost them warm? Forget about it—it’s a guaranteed gooey disaster!
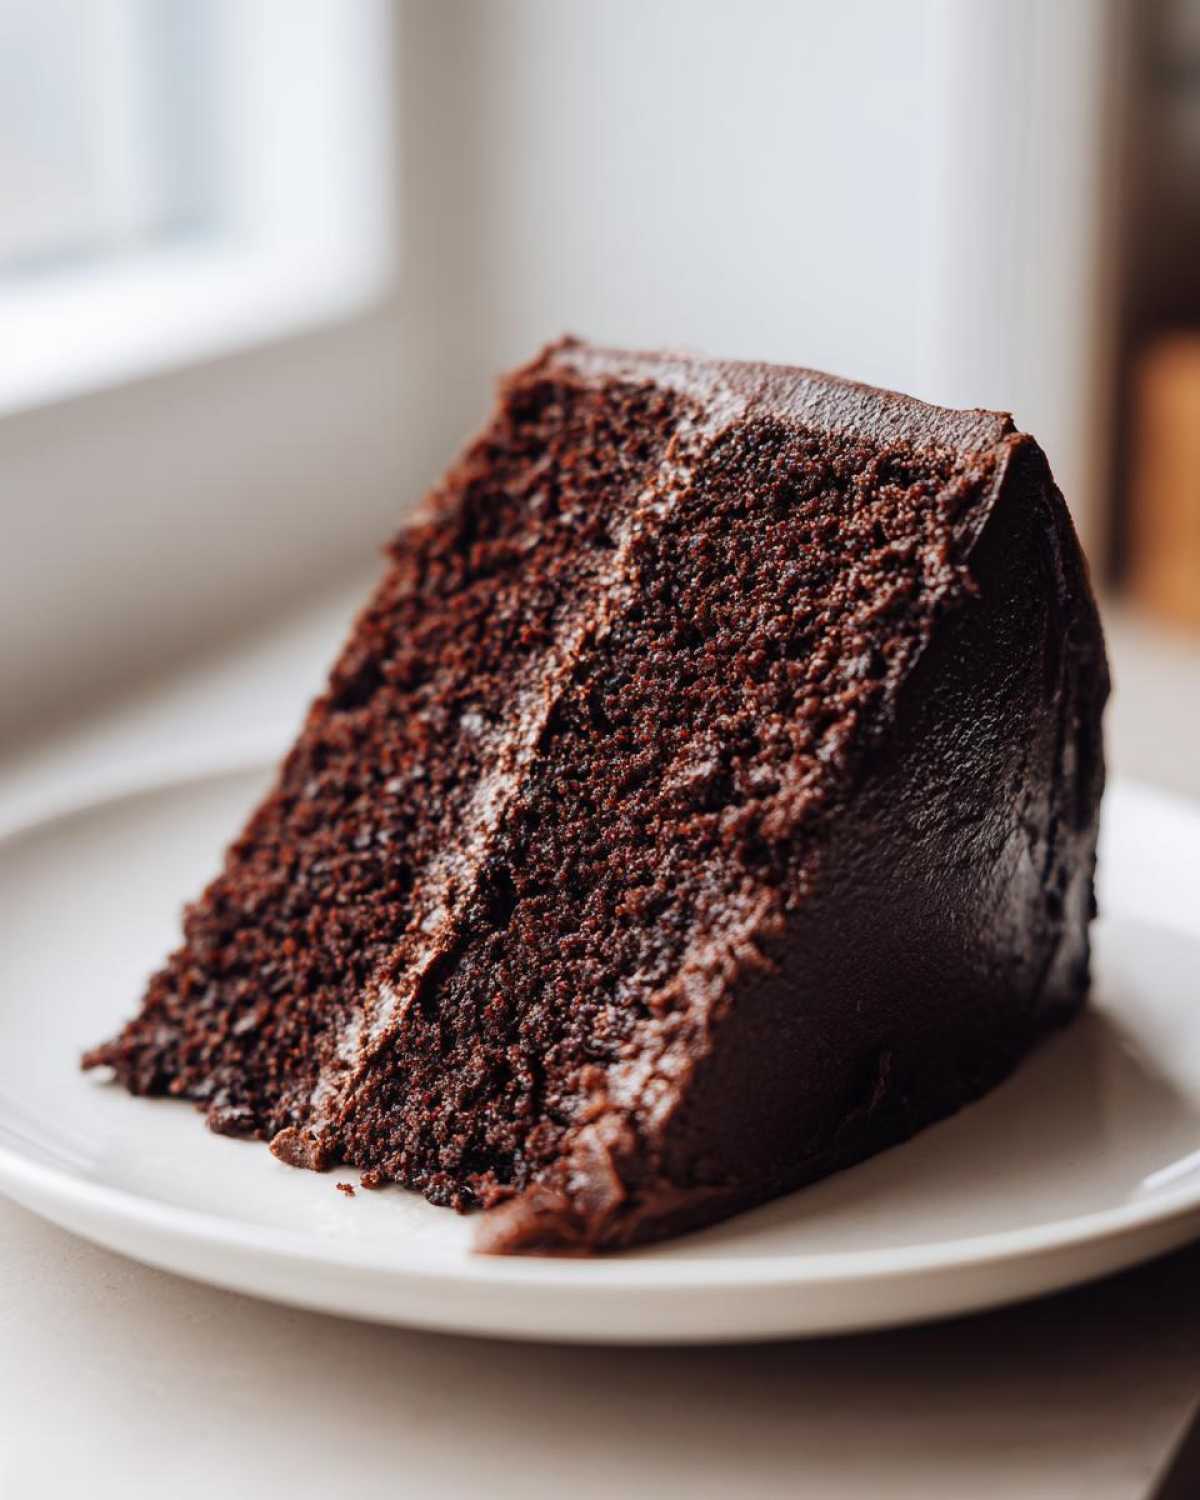
Frosting Your Rich Dark Chocolate Cake No Wheat Creation
Honestly, once you have layers this dark and flavorful, sometimes all you need is a little something sweet on top. Since this recipe is for the cake layers and not the whole dessert, I like to pair it with something equally robust. My go-to is usually a slightly tangy, rich frosting that complements that deep chocolate note. If you’re looking for the perfect pairing, I have a fantastic vanilla buttercream frosting recipe that never fails, even when I need it to be totally wheat-free!
But if you want to keep it super simple—hello, weeknight dessert emergency!—you cannot beat a quick, glossy ganache. Just melt high-quality dark chocolate (check that label to make sure it’s safe for your Gluten-Free Chocolate Cake) with heavy cream. Let that cool slightly until it’s thick enough to pour but still runny. It sets up beautifully and tastes utterly decadent. It’s so easy, you’ll wonder why you ever bothered with anything else!
Tips for Success with Your Gluten Free Chocolate Cake Troubleshooting
Okay, even with the best recipe in the world, sometimes things go a little sideways, right? It happens to me too! But troubleshooting a Gluten-Free Chocolate Cake is different than fixing a wheat-based cake. The variables are just a little trickier. Don’t throw that pan across the room if it doesn’t come out perfect the first time; let’s figure out what happened so your next batch is stellar!
Why Did My Gluten Free Chocolate Cake Sink?
This is such an annoying issue, and usually, it points to one of two things. First, did you check it too soon? A gluten-free cake needs that full set time, and if you pull it out when the center is still gummy, it *will* drop once it hits the cooling rack. Second, check your leaveners—the baking soda and powder. Did you measure them exactly? If you used a blend *without* xanthan gum and forgot to add it, that lack of structure means the lift you started with can’t hold up during cooling. It sinks like a tiny, sad ship!
Dealing with Dryness in Gluten Free Baking
If your beautiful cake comes out looking great but tastes dry, we need to revisit those key moisture components. The most common culprit here is over-baking. Even 5 extra minutes can suck the life out of a Gluten-Free Chocolate Cake! Remember how the instructions said to wait for just moist crumbs on the pick? Stick to that. Also, did you remember the hot liquid, whether it was water or coffee? That step is non-negotiable because it hydrates the cocoa and keeps the crumb soft long after it leaves the oven. Don’t forget that oil, either—it coats the flour particles and locks in tenderness across the entire layer!
Storage & Reheating Instructions for Gluten-Free Chocolate Cake
Storing this incredible Gluten-Free Chocolate Cake is almost as important as baking it perfectly! Because we used oil and hot liquid to keep it so moist, it tends to hold up really well, but you definitely don’t want to just leave the leftovers uncovered on the counter.
If you’ve frosted it, the best way to keep it fresh is to loosely tent it with plastic wrap or place it in an airtight cake carrier. I usually keep mine at cool room temperature for up to three days. If you used a cream cheese frosting, you’ll definitely want to keep it refrigerated, but remember to let it sit out for about 30 minutes before serving so it can come back up to room temperature. Cold cake always tastes a little stiff!
If you baked the layers unfrosted, they actually keep exceptionally well wrapped tightly in plastic wrap—sometimes I do this for up to two days! This traps any residual moisture inside. When you are ready to frost them, let them sit on the counter for a good hour still wrapped up. Nobody likes a cold, hard cake!
Reheating a slice? It’s easy! If it’s unfrosted, just stick a slice on a microwave-safe plate for about 15 to 20 seconds. It warms right up and tastes like it just came out of the oven. If it’s frosted, I prefer to just let the slice sit on the counter for a bit, but if you’re impatient like me, a quick 10 seconds is usually enough to soften things up! Enjoy every bite of that rich flavor!
Serving Suggestions for This Allergy Friendly Dessert
Now that you have this show-stopping, deeply chocolatey, and wonderfully safe Allergy Friendly Dessert sitting on your counter, how do you serve it up? Honestly, this cake is so rich on its own that you could just slice it, but I always like to give it a little something extra to make it feel like a real celebration!
My absolute favorite thing to do, especially when I want to brighten up that heavy dark chocolate, is to serve it with fresh fruit. Think raspberries or maybe some beautifully sliced strawberries. The tartness of the berries cuts through the richness of the cake layer perfectly. If you’re looking for the ultimate summer pairing, you have to see my classic homemade strawberry shortcake recipe—and while that recipe uses biscuits, the fresh berries themselves are what I’m talking about here!
If you want to keep it super simple and the cake already has a nice dusting of powdered sugar or a drizzle of ganache, try a little homemade whipped cream. Whip heavy cream with just a touch of vanilla and a spoonful of powdered sugar until you get soft, billowy peaks. It’s light, it’s easy, and it won’t upset anyone’s sensitive tummy!
For a party, I sometimes bake the cake layers as simple squares—a Gluten-Free Chocolate Sheet Cake works great—and then serve them warm with a scoop of vanilla ice cream. Warm chocolate cake hitting cold ice cream? That’s pure magic, folks. It’s incredible how simple accompaniments elevate this safe dessert to fancy-restaurant quality. Seriously, try serving it warm at least once!
Estimated Nutritional Data for Gluten Free Chocolate Cake
Okay, let’s talk numbers, because even though this Gluten-Free Chocolate Cake tastes like pure vacation, it’s good to have a rough idea of what you’re serving up! I want to be super clear here: the chart below is based purely on the cake layers *before* you add any glorious frosting on top. Since we are dealing with different gluten-free blends and everyone has their favorite milk choice for making it dairy-free, these values are certainly estimates.
The final nutrition for your truly amazing, rich dark chocolate cake will depend wildly on what kind of flour blend you use and, let’s be honest, how thick you spread that frosting! So treat this as a ballpark figure, not a doctor’s order, alright? It’s just a little guide for you as you enjoy this fantastic, from-scratch treat.
- **Serving Size:** 1 slice
- **Calories:** 350
- **Sugar:** 35g
- **Fat:** 16g
- **Carbohydrates:** 50g
- **Protein:** 4g
See that sodium count? It’s not bad at all, especially for a cake! Remember, if you use the Dairy Free Chocolate Cake Recipe swap, or if you decide to go wild with a rich chocolate ganache instead of a simple dusting, those numbers are going to shift. That’s just the nature of baking—it’s delicious science! If you’re focused on keeping things truly low sugar, you might want to check out my tips on vanilla buttercream frosting, where I discuss cutting back the sweetness slightly. Enjoy the indulgence guilt-free, knowing you nailed the hardest part: getting that perfect crumb!
Share Your Experience Baking This Gluten-Free Chocolate Cake
Now that you’ve baked what I truly believe is the best Gluten-Free Chocolate Cake you’ll ever make, I really, truly want to hear about it! Did it turn out perfectly moist on the first go? Did your guests even realize it was wheat-free? Please, don’t keep your success (or your funny little baking accidents) to yourself!
I would love it if you left a star rating right here on the page. A quick review helps other bakers know they can trust this recipe, which is so important when dealing with specialized dietary needs. If you have a moment, drop a comment below telling me what you served it with—maybe you went for the berries or slathered it in that dairy-free frosting we talked about earlier?
And if you took a photo of your gorgeous layers, throw it up on social media and tag me! Seeing those beautiful, dark crumbs made by real home bakers is honestly the best part of sharing my recipes online. If you have any lingering questions or need personalized help, you can always reach out through my contact page. Happy baking, everyone!
PrintRich Gluten-Free Chocolate Cake
A reliable recipe for a moist, rich chocolate cake made without any wheat flour.
- Prep Time: 15 min
- Cook Time: 35 min
- Total Time: 50 min
- Yield: 12 servings
- Category: Dessert
- Method: Baking
- Cuisine: American
- Diet: Gluten Free
Ingredients
- 1 3/4 cups gluten-free all-purpose flour blend (with xanthan gum)
- 3/4 cup unsweetened cocoa powder
- 1 3/4 cups granulated sugar
- 1 1/2 teaspoons baking soda
- 3/4 teaspoon baking powder
- 3/4 teaspoon salt
- 2 large eggs
- 1 cup buttermilk (or dairy-free milk mixed with 1 tablespoon vinegar)
- 1/2 cup vegetable oil
- 2 teaspoons vanilla extract
- 1 cup hot water or hot brewed coffee
Instructions
- Preheat your oven to 350 degrees F (175 degrees C). Grease and flour two 9-inch round cake pans with gluten-free flour or line with parchment paper.
- In a large bowl, whisk together the gluten-free flour blend, cocoa powder, sugar, baking soda, baking powder, and salt.
- Add the eggs, buttermilk, oil, and vanilla extract to the dry ingredients. Beat with an electric mixer on medium speed for two minutes.
- Carefully pour the hot water or coffee into the batter and mix on low speed until just combined. The batter will be thin.
- Divide the batter evenly between the prepared cake pans.
- Bake for 30 to 35 minutes, or until a wooden pick inserted into the center comes out clean.
- Let the cakes cool in the pans for 10 minutes before inverting them onto a wire rack to cool completely before frosting.
Notes
- For best texture, use a high-quality gluten-free flour blend that contains xanthan gum. If your blend does not contain it, add 1 teaspoon of xanthan gum to the dry ingredients.
- Using hot coffee instead of hot water deepens the chocolate flavor without making the cake taste like coffee.
- To make a dairy-free version, substitute regular buttermilk with dairy-free milk (like almond or soy) mixed with 1 tablespoon of white vinegar or lemon juice; let it sit for 5 minutes before using.
- If you prefer cupcakes, bake for 18 to 22 minutes.
Nutrition
- Serving Size: 1 slice
- Calories: 350
- Sugar: 35
- Sodium: 280
- Fat: 16
- Saturated Fat: 3
- Unsaturated Fat: 13
- Trans Fat: 0
- Carbohydrates: 50
- Fiber: 3
- Protein: 4
- Cholesterol: 55