

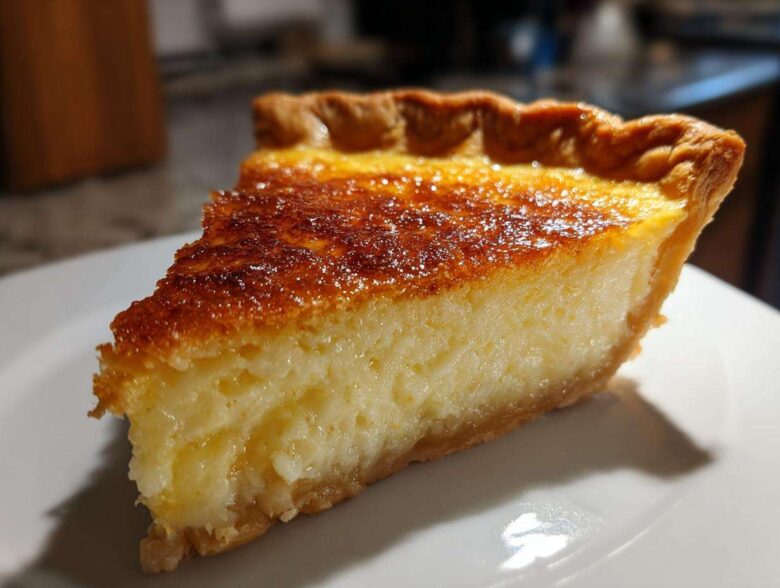
Oh, you absolutely must try this one! If you’ve ever closed your eyes and wished for the taste of a proper Southern Sunday dinner, this is the recipe that delivers it. For me, mastering the classic custard pie felt like a huge victory, and I couldn’t wait to share my very best version: the Classic Old-Fashioned Southern Buttermilk Pie. Trust me on this—it’s all about that perfect balance of tang and sweetness. We spent ages perfecting this so you don’t have to run into the same culinary chaos Mia and I did when we first started baking. This pie is pure, creamy nostalgia, and I’m so excited for you to make it! You can see all our tested notes for this masterpiece over in our dedicated post about the Classic Old-Fashioned Southern Buttermilk Pie.
Why This Classic Buttermilk Pie Recipe is Southern Comfort Baking Gold
Look, I get it. Baking can seem fussy, especially when you’re trying to nail that perfect traditional flavor. Buttermilk pie shouldn’t intimidate you! This is true Southern comfort baking because the ingredients are so simple, but the result feels like it took days to make. We designed this to be your go-to recipe when you need something impressive without stressing out.
- It delivers that dreamy, slightly citrusy, almost caramelized “Tangy Sweet Pie” flavor we all crave.
- This is practically a No-Fail Southern Pie if you follow the mixing order—seriously, it’s hard to mess this up!
- As one of the Best Southern Desserts, it’s guaranteed to earn you compliments at any potluck or Sunday dinner.
The Perfect Tangy Sweet Pie Experience
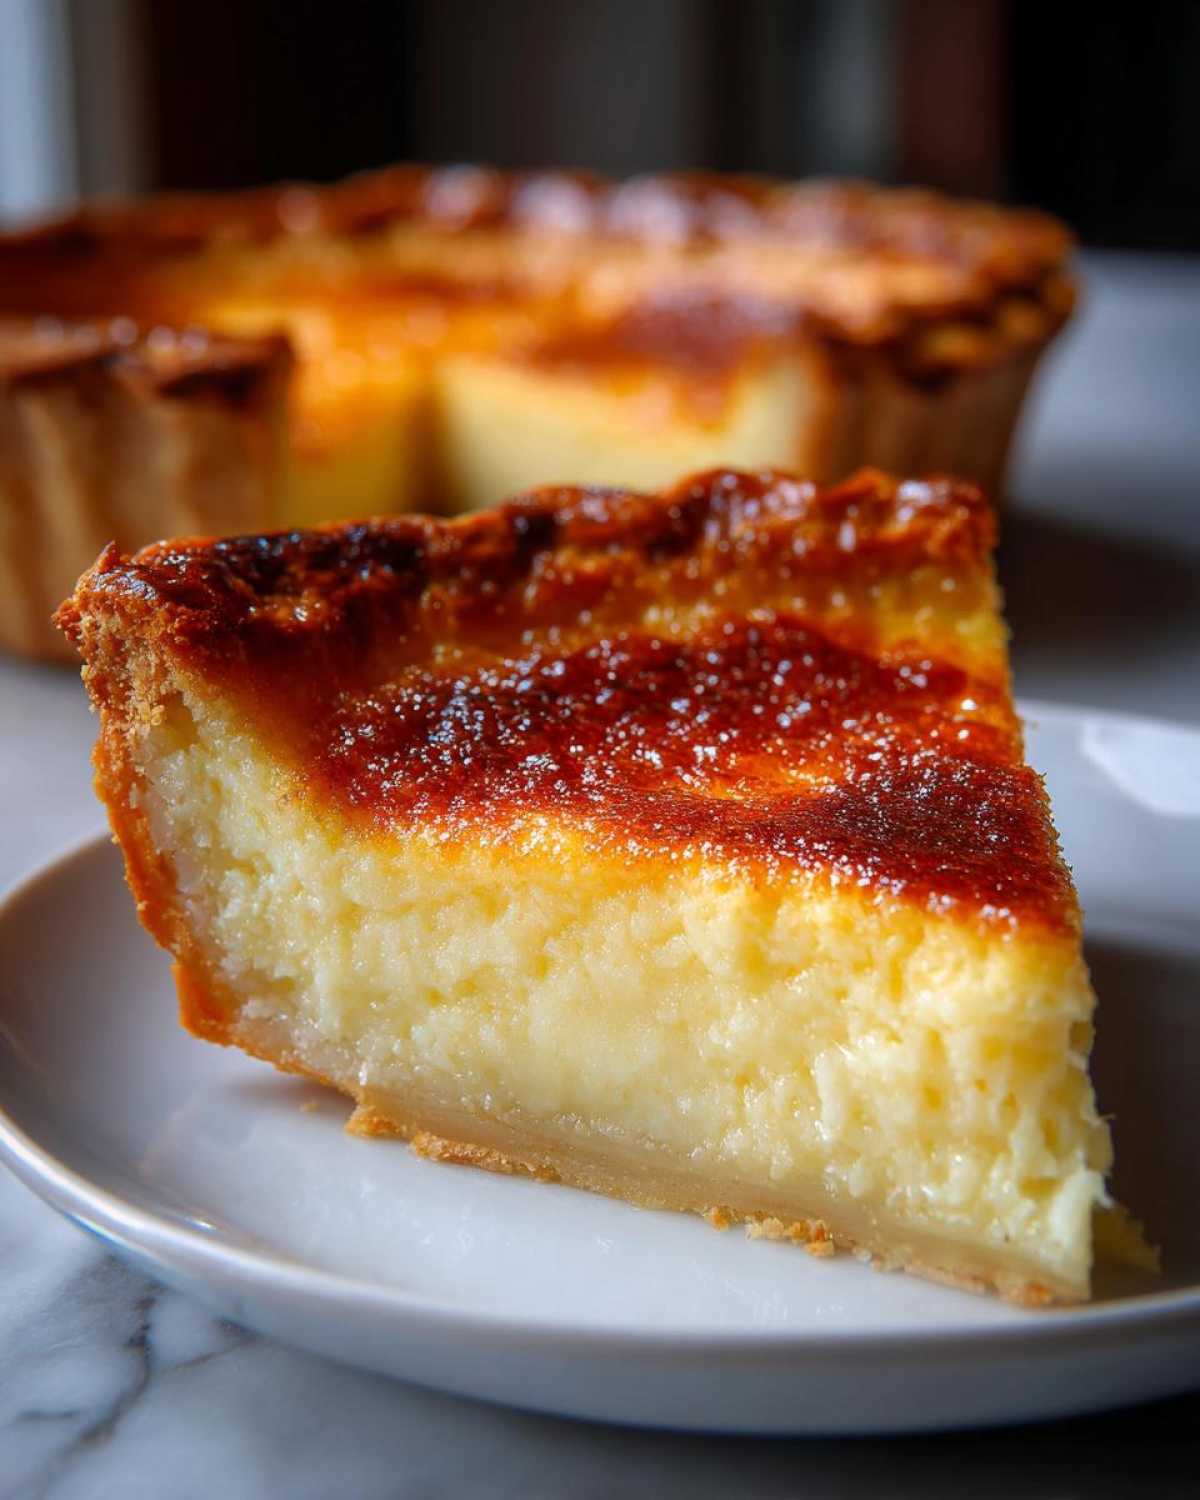
Forget those overly sugary custard pies you sometimes find. The magic in this Classic Buttermilk Pie comes from the pure tang of the buttermilk cutting through the sweetness. When it bakes, the filling firms up into this unbelievably smooth, silky texture that just melts away. It really is the definition of an Old Fashioned Pie Recipe that tastes exactly like home, only better because you made it!
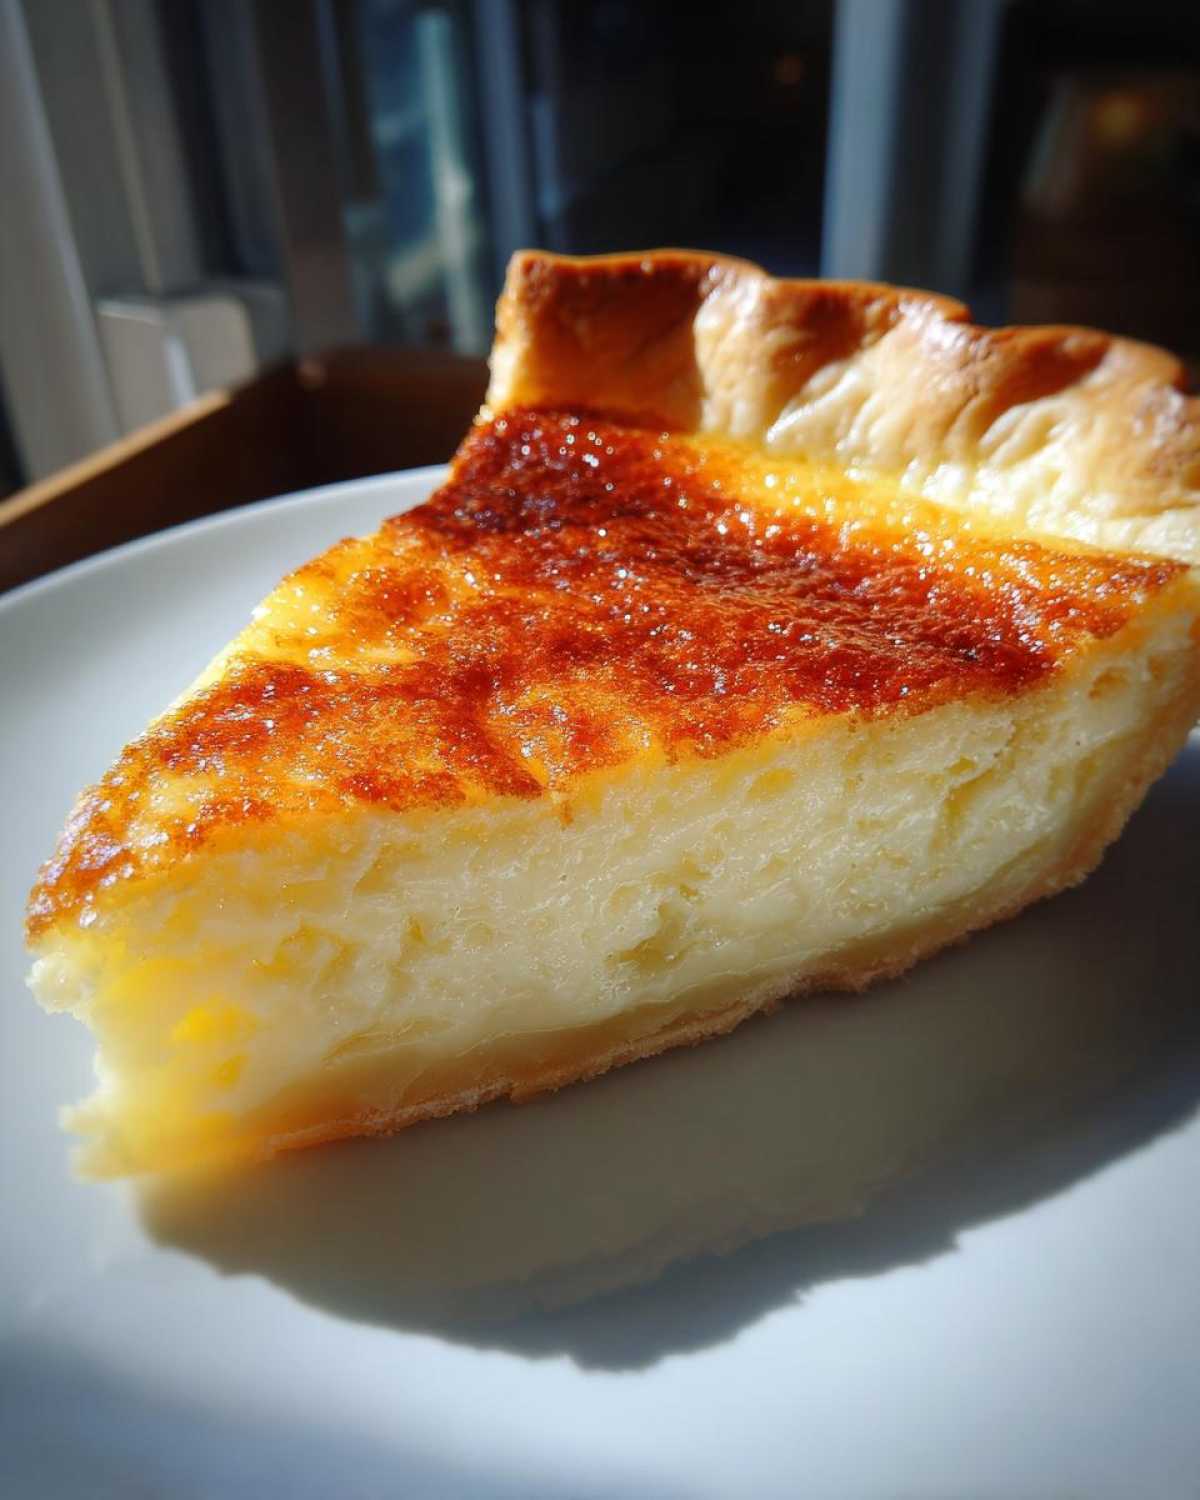
Ingredients for Your Homemade Buttermilk Pie
If you’re hunting for a true From Scratch Pie Filling, you’re in luck! I keep these ingredients stocked in my pantry all the time because you never know when a craving for this easy dessert will strike. The best part about this Homemade Buttermilk Pie is that you won’t need any fancy, complicated stuff. We’re keeping it real, simple, and totally Southern here. Before we jump into the steps, take a peek at everything you’ll need. Remember, the quality of your buttermilk really makes a difference in achieving that perfect tartness! You can read more about why the right ingredients matter over here in our deeper dive into Classic Old-Fashioned Egg Recipe posts.
- 1 (9-inch) unbaked pie crust (use your favorite flaky crust pie recipe—mine is linked in the next section!)
- 1 1/2 cups granulated sugar
- 3 tablespoons all-purpose flour
- 1/4 teaspoon salt
- 1 cup buttermilk (full-fat is vital!)
- 1/2 cup (1 stick) unsalted butter, melted
- 2 large eggs, lightly beaten
- 1 teaspoon vanilla extract
- Pinch of nutmeg (optional, but I love it for the topping!)
How to Prepare Your Old Fashioned Pie Recipe Step-by-Step
Okay, get your apron on because this is where the magic happens! While the name sounds fancy, making this buttermilk pie is actually super straightforward—it’s why it’s such a fantastic comfort food baking staple. We always start by getting that oven nice and toasty at 350 degrees Fahrenheit. Make sure you’ve got your unbaked flaky crust pie ready to go in the plate. Since this is a custard, we want to make sure we don’t bake it in a cold oven! If you haven’t made your crust yet, you can check out my favorite technique for a super flaky base over in the flaky crust pie guide, or maybe try my famous homemade apple pie recipe for practice!
The overall baking time is usually right around 40 to 50 minutes, but don’t just trust the clock. We need to check the texture!
Mixing the Buttermilk Pie Filling
The secret to that incredible custard texture is keeping things separate until the very last minute. First, whisk your sugar, flour, and salt together—those dry guys need to become buddies first! In a separate bowl, gently whisk your buttermilk, melted butter (make sure it’s not hot!), eggs, and vanilla. Now, here’s the rule: slowly pour the wet mixture into the dry while whisking gently. Stop mixing the second it looks uniform! Overmixing this filling ruins the texture and you won’t get that perfect tangy sweet pie result.
Baking and Setting the Buttermilk Pie
Carefully pour that beautiful filling into your prepared crust. Bake it for 40 to 50 minutes. You’re looking for a top that is beautifully golden brown, but when you gently nudge the pan, the center should still have a *slight* wobble—like soft gelatin. If the crust edges are getting dark too early, just take a piece of foil and loosely wrap them up around 30 minutes in. Seriously, the *most* important step for a perfect slice is patience: let the buttermilk pie cool completely on a rack. I know it’s hard, but that chilling time is what sets the custard firm.
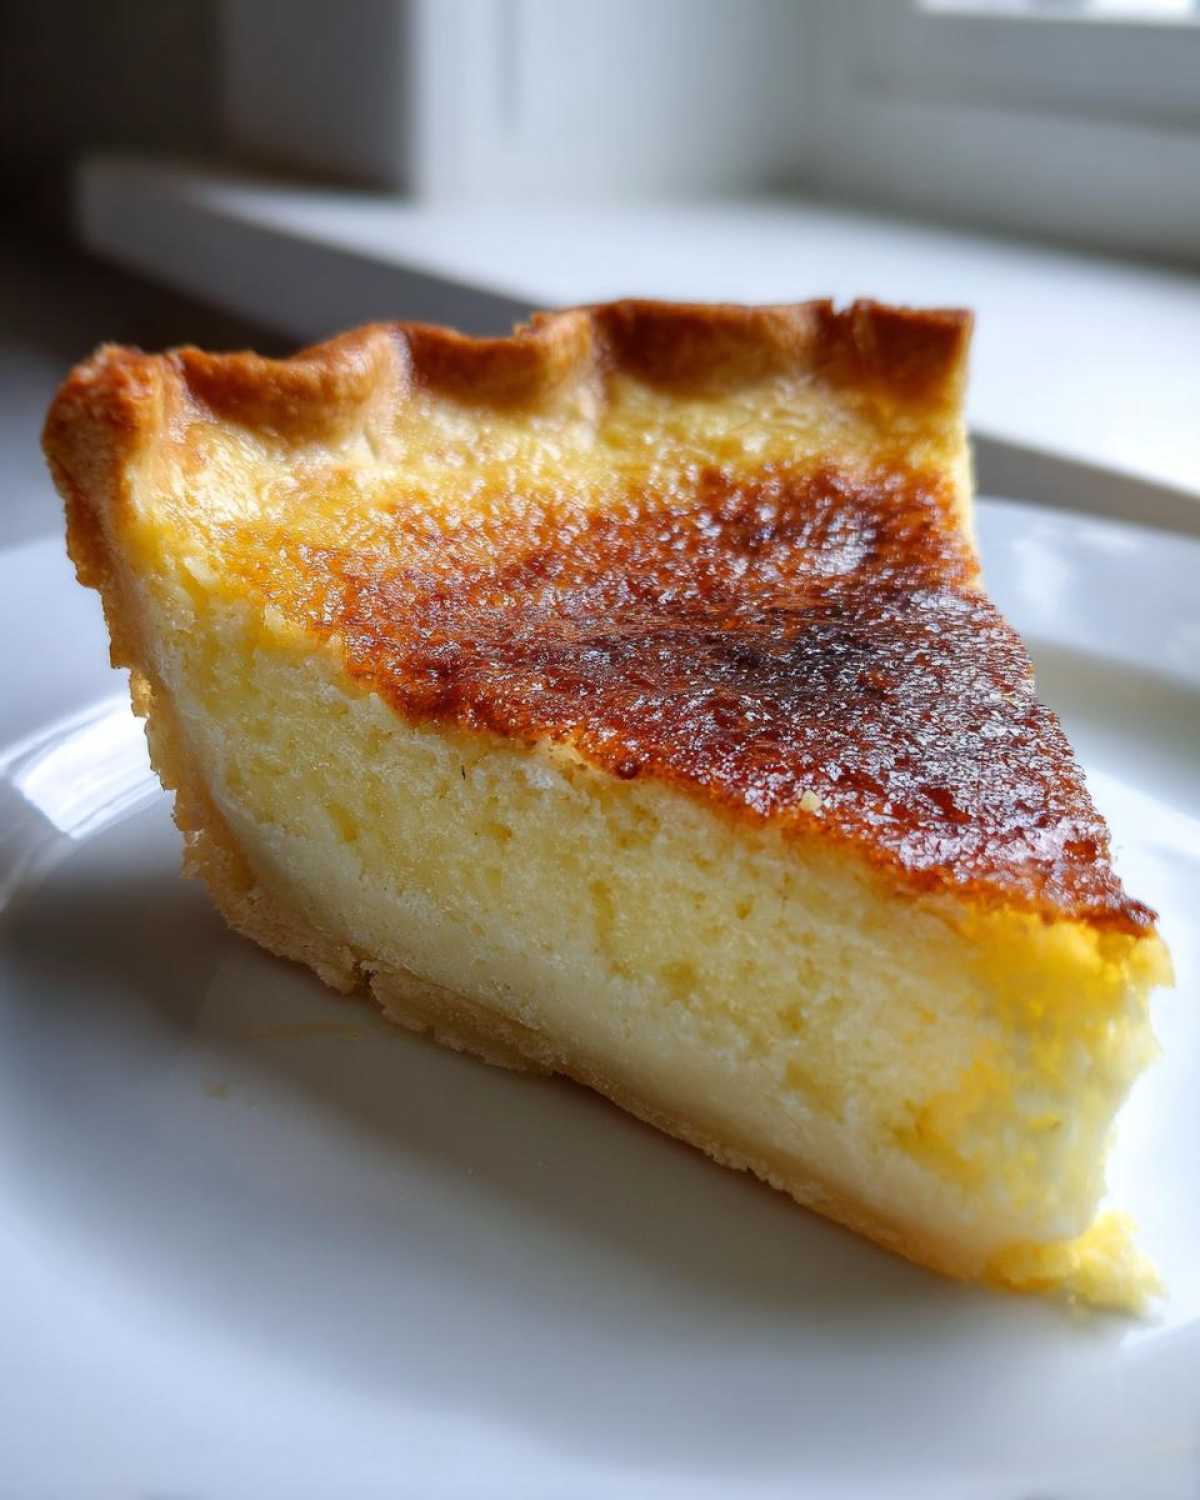
Tips for a No-Fail Southern Pie Success
You’ve mixed it right, you’ve poured it careful, so now let’s talk about nailing that bake! Achieving that gorgeous, slightly cracked, Golden Brown Pie Top Dessert look on your buttermilk pie is all about managing the edges. My biggest tip, which I learned the hard way after one burnt crust incident, is to keep an eye on the rim halfway through baking. If your crust starts kissing the heat too much, just grab some aluminum foil and loosely cover the edges. It sounds small, but it saves your perfect pastry!
Also, please, please use actual, full-fat buttermilk. Don’t cheat here! That fat content is crucial for the texture, and the real tang is what balances the sugar so well. If you want to chat more about what to look for when you’re baking with buttermilk, I wrote a whole little guide about it over at this post. Remember, this Classic Old-Fashioned Southern Buttermilk Pie is resilient, but respecting the ingredients gets you that melt-in-your-mouth filling every single time!
Ingredient Notes and Substitutions for Your Buttermilk Pie
So, what happens if your fridge is currently out of that heavenly, tangy buttermilk? Don’t panic! I’ve been there many times, realizing mid-recipe that I’m short on a key ingredient. While nothing beats *real* buttermilk for the authentic flavor profile of this buttermilk pie, you can make a decent substitute. Mix one cup of regular milk or, even better, heavy cream with one tablespoon of white vinegar or lemon juice, stir it up, and let it sit for five minutes until it curdles slightly. That works for baking with buttermilk in a pinch!
Now, let’s talk crust, because this needs a sturdy home. If you are using store-bought, that’s totally fine—I won’t tell! Just make sure it’s flaky and blind-baked just enough so it looks dry before you pour in the filling. If you’re committing to a Flaky Crust Pie experience, well, I sincerely hope you try my favorite recipe for it!
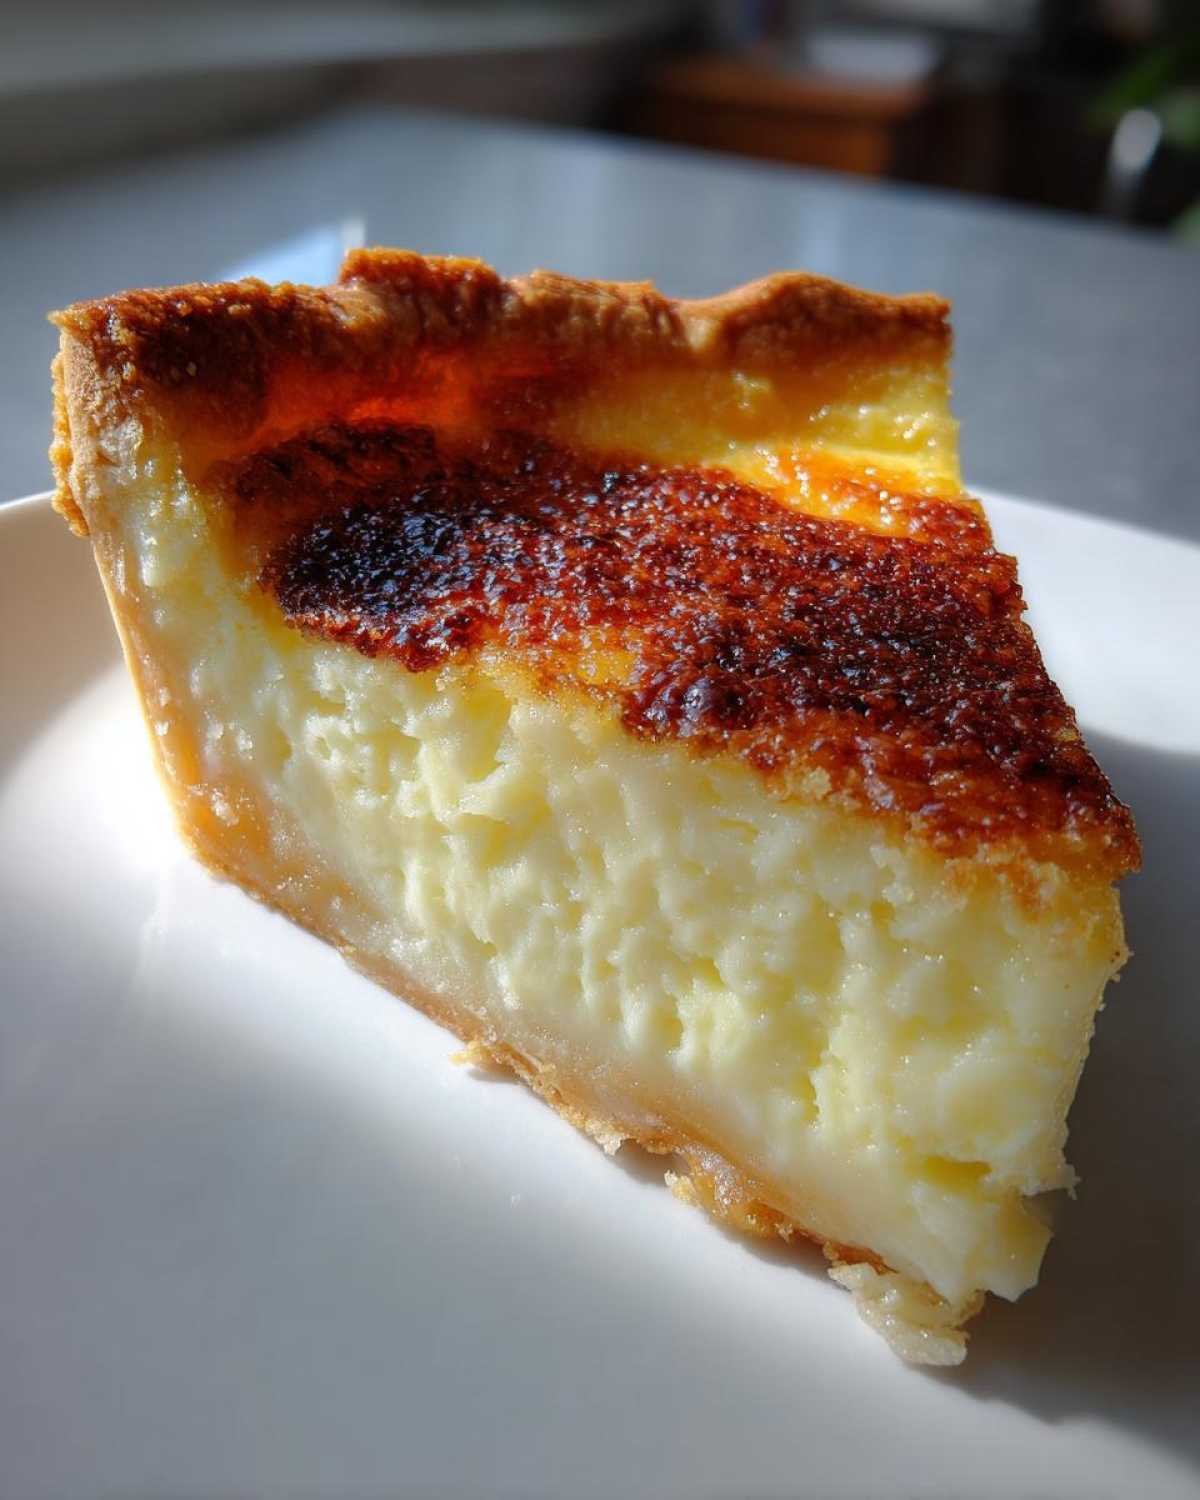
Serving Suggestions for This Traditional American Pie
Now that your gorgeous buttermilk pie has completely cooled and set—I know, resting is the hardest part!—it’s time for the fun bit: serving! This Traditional American Pie is actually super versatile. You can absolutely serve it slightly warm, which makes the custard softer, but I find it slices cleanest when it’s at room temperature. The absolute best way, in my honest opinion, is serving a slice alongside a big dollop of freshly whipped cream. That light coolness perfectly complements the tangy filling. If you wanted to try something extra special, you could certainly frost it with a simple vanilla frosting, like the one I use for my cakes here, but usually, a little dusting of nutmeg is all you need for that classic look!
Storing and Reheating Your Homemade Buttermilk Pie
Because this is such a glorious custard, we really have to be smart about storing our leftovers. Don’t leave this beautiful buttermilk pie sitting out on the counter! It needs to go straight into the fridge once it’s fully cooled down. Cover it loosely with plastic wrap—don’t press the wrap right onto the surface, or you might mess up that nice set top. It keeps really well for about three or four days, which is perfect because you’ll be sneaking slices!
When you want to bring a slice back to life, I suggest taking it out of the fridge about 20 minutes before serving. Letting it warm up just slightly takes the chill off the custard, making it creamy again without getting too soft. If you’re feeling fancy, a quick 10-second zap in the microwave is okay if you’re craving it warm, but be careful not to overheat it, or it gets all runny again!
Frequently Asked Questions About Buttermilk Pie
I know you might have a few lingering doubts, especially when tackling a true classic like this Southern Custard Pie. Don’t worry, I’ve collected the questions I get all the time about making sure this becomes your favorite Easy Buttermilk Dessert!
Can I make this buttermilk pie ahead of time?
Oh yes, and you absolutely should! While it tastes wonderful the day it’s baked, this pie is actually much better the next day. Once it chills completely in the fridge overnight, the custard firms up perfectly, making it so much cleaner and easier to slice! It holds beautifully for up to four days tucked away in the cold.
What is the difference between this and a chess pie?
That is such a good question! They look similar, but they taste totally different! A real Old Fashioned Pie Recipe for Chess Pie usually relies on cornmeal or flour for thickening and often includes less liquid, making it denser and sweeter upfront. Our buttermilk pie relies on that creamy liquid buttermilk for its signature mouthfeel and that wonderful, bright tang that cuts through all that rich sweetness.
I also wanted to throw this out there—if you’re looking for other easy, amazing comfort dishes to serve alongside your pie, you should totally check out my recipe for easy pulled chicken. It’s a dinner lifesaver!
Share Your Comfort Food Baking Creations
Alright, my fellow kitchen (maybe-still-a-bit-chaotic) bakers! Now it’s your turn. I honestly cannot wait to see your beautiful, golden-topped buttermilk pies. Please, please, when you bake this Classic Old-Fashioned Southern Buttermilk Pie, snap a picture! Tag us or drop a comment below letting me know what you thought. Did it bring back memories? Were you surprised by how easy this Simple Custard Pie was?
Every time you make one of these recipes, you are officially part of the Cookery Kings family. We started this whole crazy adventure so we could stop ordering pizza and start creating amazing food together. You are proving every day that anyone can conquer the oven, even when it feels messy!
If you have feedback, questions, or just want to tell me how much you loved that tangy custard, don’t be shy! You can always reach out directly to Mia or me over on our contact page. And if you want to stick around and see what other comfortable, achievable recipes we are messing around with next, check out the rest of the fun over on the main Cookery Kings blog!
PrintClassic Old-Fashioned Southern Buttermilk Pie

Make this easy, traditional Southern Buttermilk Pie for a comforting dessert. You get a creamy, tangy custard filling in a flaky crust, perfect for Sunday dinner.
- Prep Time: 15 min
- Cook Time: 50 min
- Total Time: 65 min
- Yield: 8 servings
- Category: Dessert
- Method: Baking
- Cuisine: Southern American
- Diet: Vegetarian
Ingredients
- 1 (9-inch) unbaked pie crust (use your favorite flaky crust recipe)
- 1 1/2 cups granulated sugar
- 3 tablespoons all-purpose flour
- 1/4 teaspoon salt
- 1 cup buttermilk
- 1/2 cup (1 stick) unsalted butter, melted
- 2 large eggs, lightly beaten
- 1 teaspoon vanilla extract
- Pinch of nutmeg (optional, for topping)
Instructions
- Preheat your oven to 350 degrees Fahrenheit. Place your unbaked pie crust into a 9-inch pie plate.
- In a medium bowl, whisk together the sugar, flour, and salt until they are fully combined.
- In a separate bowl, whisk together the buttermilk, melted butter, eggs, and vanilla extract until smooth.
- Gradually add the wet ingredients to the dry ingredients, whisking constantly until the filling is smooth. Do not overmix.
- Pour the buttermilk filling carefully into the unbaked pie crust.
- Bake for 40 to 50 minutes. The center should be mostly set, with only a slight jiggle remaining when you gently shake the pan. The top should be golden brown.
- If the crust edges start browning too quickly, cover them loosely with aluminum foil after about 30 minutes of baking.
- Remove the pie from the oven and let it cool completely on a wire rack. This cooling process is important for the custard to fully set.
- Before serving, you can sprinkle a tiny pinch of nutmeg over the top, if desired.
- Serve this traditional American pie at room temperature or slightly warm with fresh whipped cream.
Notes
- For the best results, use real, full-fat buttermilk for that classic tangy flavor.
- If you want a copycat version similar to Cracker Barrel, you can add 1/2 cup of chopped pecans to the filling before baking.
- This pie tastes even better the next day once the custard has fully chilled and set firm.
Nutrition
- Serving Size: 1 slice
- Calories: 350
- Sugar: 45g
- Sodium: 250mg
- Fat: 17g
- Saturated Fat: 9g
- Unsaturated Fat: 8g
- Trans Fat: 0g
- Carbohydrates: 48g
- Fiber: 1g
- Protein: 5g
- Cholesterol: 85mg