


Who doesn’t adore the bright, electric tang of perfect lemon meringue pie? But let’s be honest, trying to slice that thing without ruining the gorgeous meringue is a nightmare! That’s why I spent ages tinkering until I nailed these unbelievably easy Lemon Meringue Pie Bars. Seriously, you get the buttery shortbread crust, that intensely tart lemon layer, and the cloud of sweet meringue, but you serve it like a brownie. No drama, no mess!
I always struggled serving wedges to big crowds; the filling would ooze out every time. Trust me, these bars solve that problem completely. After mastering the classic pie, I knew I had to translate that flavor profile into a sturdy, bake-and-cut format. If you’re nervous about making meringue, this bar version is much more forgiving. If you want to compare it to the original, check out my recipe for the classic lemon meringue pie first. I think you’ll find this adaptation is now my favorite way to enjoy lemon pie!
Why You’ll Love These Lemon Meringue Pie Bars
Honestly, these bars are just smarter than a full pie. Why fuss with slicing and slippery lemon goo when you can have perfection squared? Here’s what makes these my go-to summer treat:
- They are incredibly easy to cut and serve—perfect for parties!
- That shortbread crust base is buttery and holds up beautifully.
- The lemon filling delivers a super bright, tangy punch.
- The resulting meringue topping sets up nicely, reducing common weeping issues.
- It’s the full pie experience without any fuss.
You’re going to wonder why you ever bothered wrestling with a real pie dish again. It’s just easier, and that shortbread layer is everything!
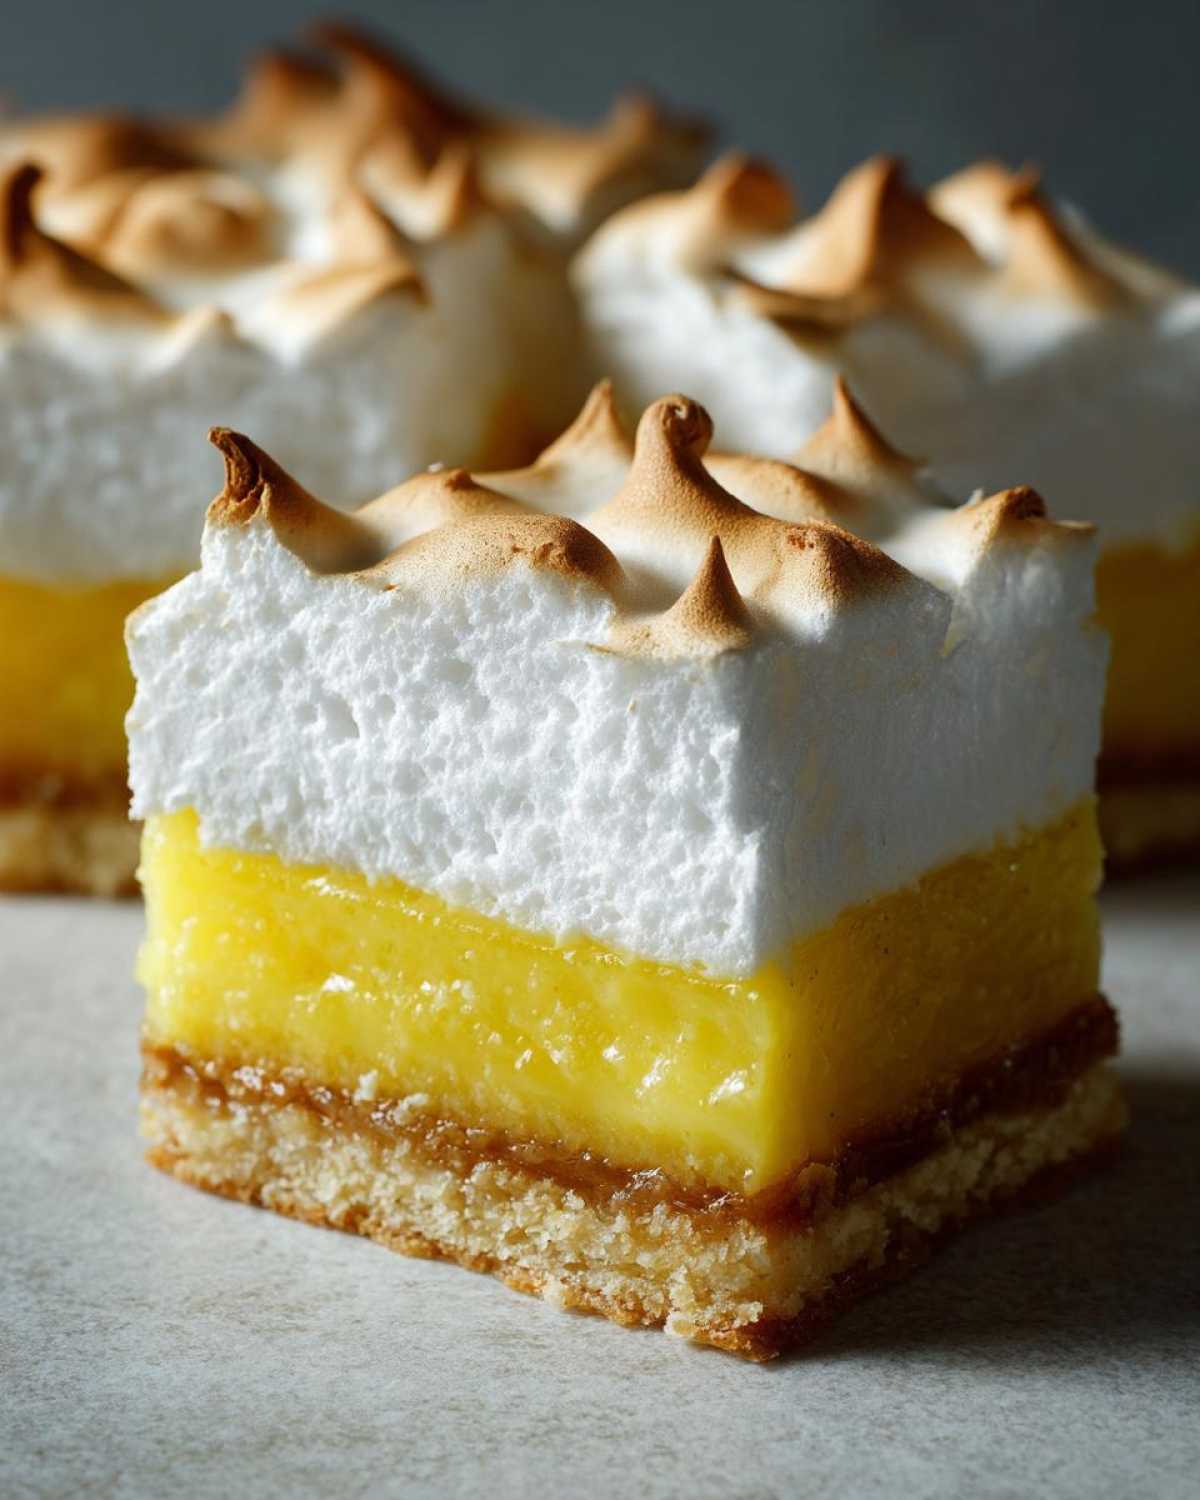
Gathering Ingredients for Your Lemon Meringue Pie Bars
Okay, ingredient gathering time! Since we are creating three distinct layers here—the cookie crust, that incredible bright filling, and the cloud-like topping—I’ve broken the list down so you aren’t confused. This arrangement helps you get everything ready for assembly line baking, which is how we keep these moving fast!
My absolute, non-negotiable rule for any citrus bake, especially when we want that zingy flavor in our lemon cookies, is using fresh juice and zest. Bottled stuff just doesn’t cut it here; we need that powerful natural pop! Everything else is pretty standard pantry fare, but the measurements have to be spot on, especially for that filling to set up right.
For the Shortbread Crust
This is the foundation, the sturdy part that holds everything together, so we need that butter absolutely freezing cold. Don’t cheat this step— if the butter melts before it hits the flour, your crust will spread too much!
- 1 1/2 cups all-purpose flour
- 1/2 cup powdered sugar
- 1/4 teaspoon salt
- 1/2 cup (1 stick) cold unsalted butter, cut into pieces
For the Tangy Lemon Filling Layer
Here’s where the magic happens! The combination of cornstarch and egg yolks is what gives us that perfect, thick lemon curd bars consistency that sets up beautifully when baked. Don’t skimp on the whisking!
- 1 1/2 cups granulated sugar
- 1/4 cup all-purpose flour
- 1/4 cup cornstarch
- 1/2 teaspoon salt
- 3 large egg yolks, lightly beaten
- 1 1/2 cups cold water
- 1/2 cup fresh lemon juice
- 2 tablespoons lemon zest
For the Fluffy Meringue Topping
Meringue can be fussy, I won’t lie, but if you follow the rules—especially making sure your bowl is sparkling clean and grease-free—you’ll get that gorgeous, fluffy meringue topping without any weeping! Also, make sure your egg whites are at room temperature; they whip up so much better that way.
- 4 large egg whites, at room temperature
- 1/4 teaspoon cream of tartar
- 1/2 cup granulated sugar
Step-by-Step Instructions for Perfect Lemon Meringue Pie Bars
Alright, this is where we bring it all together! If you’ve got your ingredients ready, making these easy lemon dessert bars is just about layering things carefully. It takes time, but honestly, each step is simple. Just follow along, and you won’t mess it up!
Baking the Shortbread Crust
First things first, get that oven preheated to 350°F (175°C). I always line my 8×8 inch pan with parchment paper, making sure I leave some overhang on two sides. This is your takeout sling later, so don’t skip that overhang! Next, mix up your dry crust ingredients until they look like coarse sand with your cold butter cut in. Pat that mixture firmly and evenly into the bottom of the pan. We’re only baking this until those edges just start turning a light golden color—that’s usually about 15 to 18 minutes. Pull it out and let it hang out while we tackle that zesty center.
Creating the Bright Lemon Filling Layer
This part requires a bit of constant attention, so stay right there by the stove. In a saucepan, whisk together all your dry filling components—the sugar, flour, cornstarch, and salt—before adding the wet stuff. Get that egg yolk, water, lemon juice, and zest mixed in until it’s totally smooth. Now, put it over medium heat and stir, stir, stir! You have to keep moving it so nothing scorches. You want it to get super thick and then actually come to a boil. Keep that boil going for a full minute—this is crucial—to make sure those starches thicken properly for your tangy lemon layer bars. Pour that hot goo right over your warm crust and put the whole thing back in the oven for just 10 more minutes. Then, pull it out and get ready for the fun part!
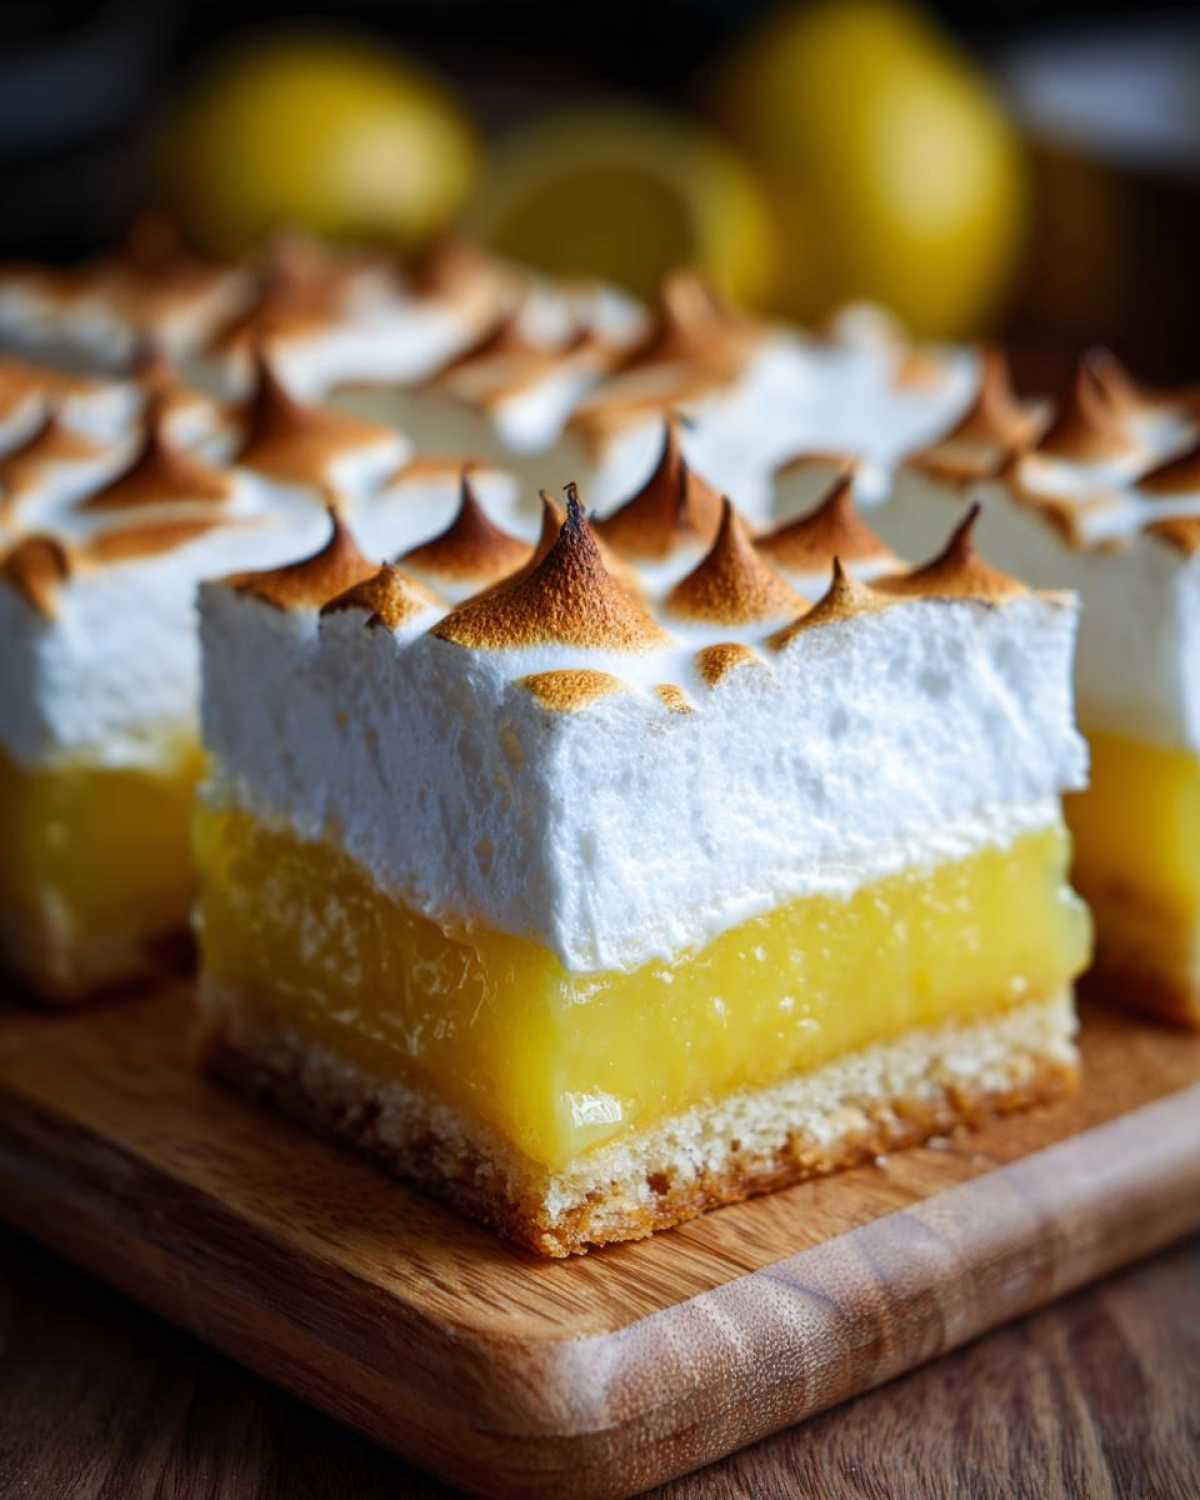
Achieving a Stable Meringue Topping for Bars
For the meringue, remember the rules: your bowl has to be spotless! Start beating those room-temperature egg whites and cream of tartar until you see soft peaks forming. Now, add the sugar slowly, maybe a tablespoon at a time, beating hard until you get stiff, glossy peaks. They should stand straight up when you lift the whisk! Don’t wait around; spread that meringue immediately and seal it all the way to the edges of the hot lemon layer—this helps lock everything in place so it doesn’t shrink while baking. Pop it back in the oven for 10 to 12 minutes until those beautiful tips are just barely kissed with brown.
Cooling and Cutting Your Lemon Meringue Pie Bars
This is the hardest step, I know, because my house smells amazing right now, but you must, must, must let these cool completely! At least two full hours on the rack at room temperature. If you try to cut them too soon, that beautiful lemon layer just slides right out. Once they are totally cool, use the parchment sling you made way back in step one to lift the entire block out. Then, slice into 16 perfect squares. Enjoy that flawless bake!
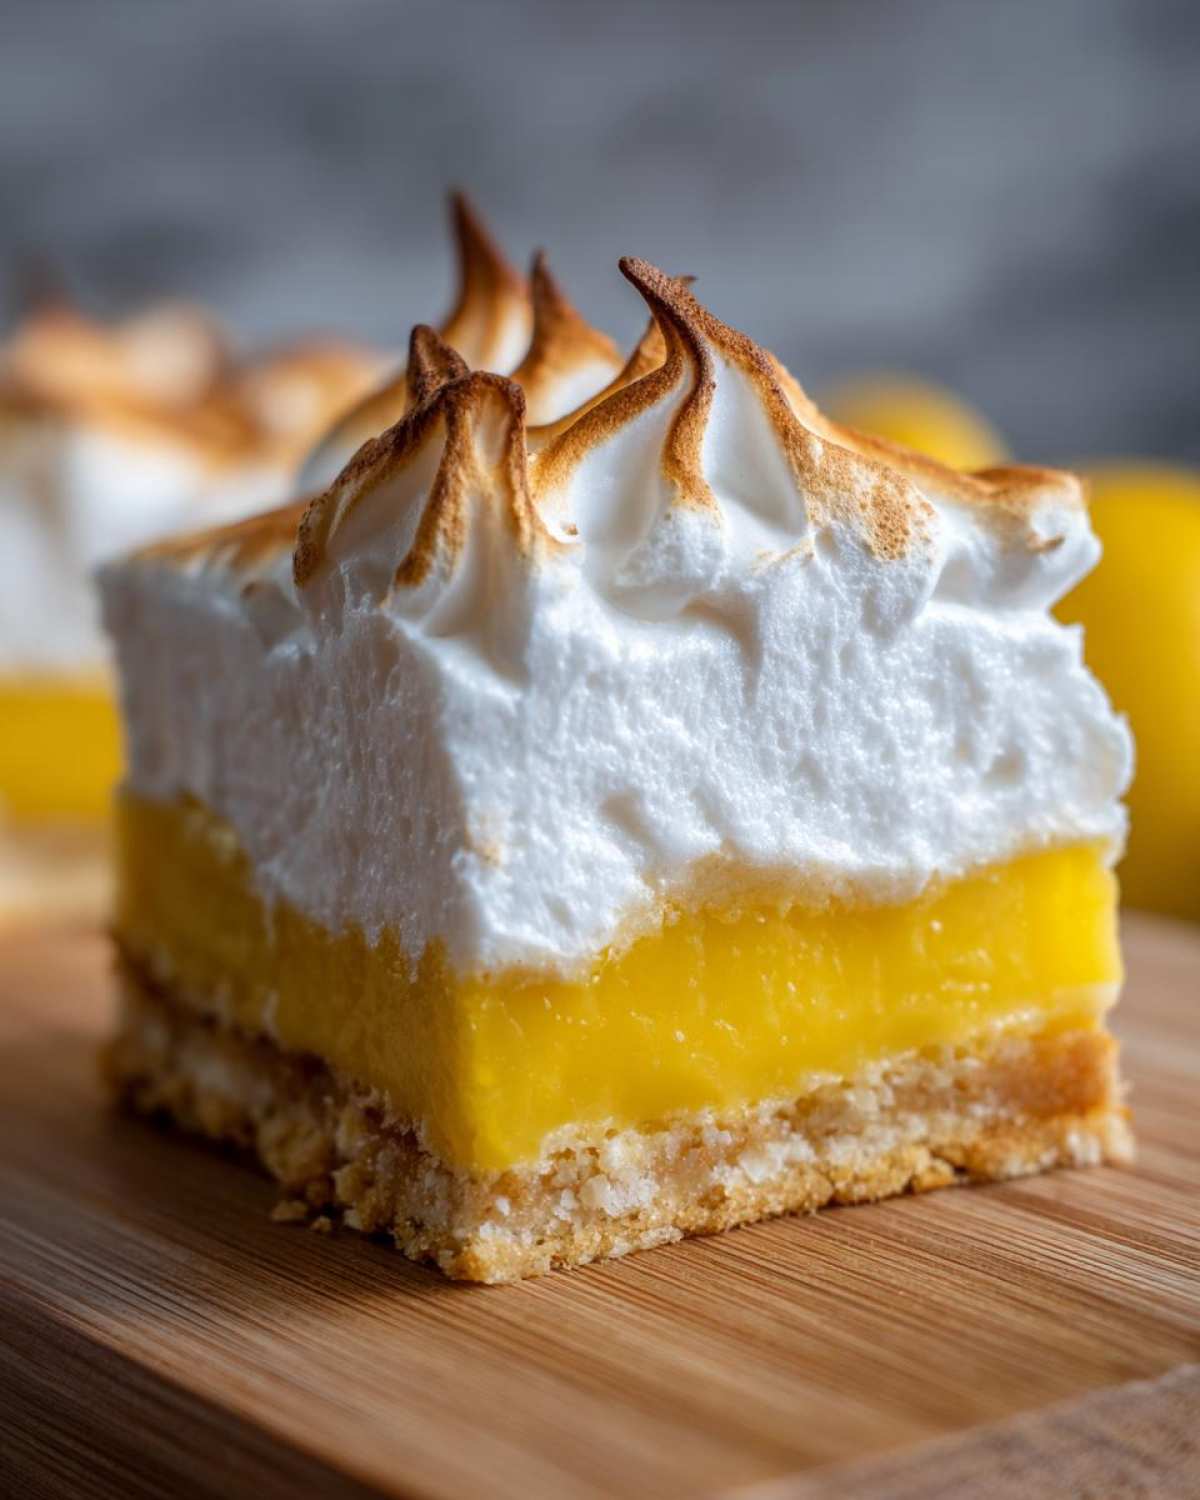
Tips for No-Fail Lemon Meringue Bars Success
If you’ve ever made meringue and watched it cry droplets of sugar water onto your dessert later, you know the fear! Nobody wants sad, weeping bars. But I promise you, following these tricks turns the process into a completely no-fail lemon meringue bars recipe. It’s all about small details that make a huge difference.
First, for that crust to stay crisp and not get soggy underneath the filling, make absolutely sure the butter you use for the shortbread is *very* cold, like you just pulled it from the chiller. Cut it into small pieces so it blends just right into crumbs.
Second, to stop that meringue weeping? You need complete grease freedom. I mean it—wipe your mixing beaters and bowl down with a tiny bit of vinegar or lemon juice before starting. Even a speck of fat will stop those egg whites from whipping up properly. Lastly, always, always spread that meringue onto the filling right after it comes out of the oven from its initial bake. That heat transfer helps lock the layers together during the final bake. These simple steps are the secret handshake to success!
Ingredient Notes and Substitutions for Lemon Meringue Pie Bars
We’ve covered the list, but I want to quickly chat about *why* certain things matter here, especially when we talk about achieving that perfect shortbread crust lemon bars texture. If you’re out of lemons, don’t even think about reaching for that little plastic bottle of juice! Bottled juice is usually pasteurized and simply doesn’t have the acidic punch or the bright, fragrant oils that fresh lemons provide. You need that zest and juice working together for the real tang.
Now, about the crust itself. The recipe calls for a classic shortbread, which I love because it’s sturdy and doesn’t get heavy. But hey, sometimes you need a swap! If you’re mid-bake and out of some flour, you can definitely swap out half of the flour for finely crushed graham crackers. It gives you a slightly sandier texture, but it works wonderfully for Lemon Meringue Pie Bars!
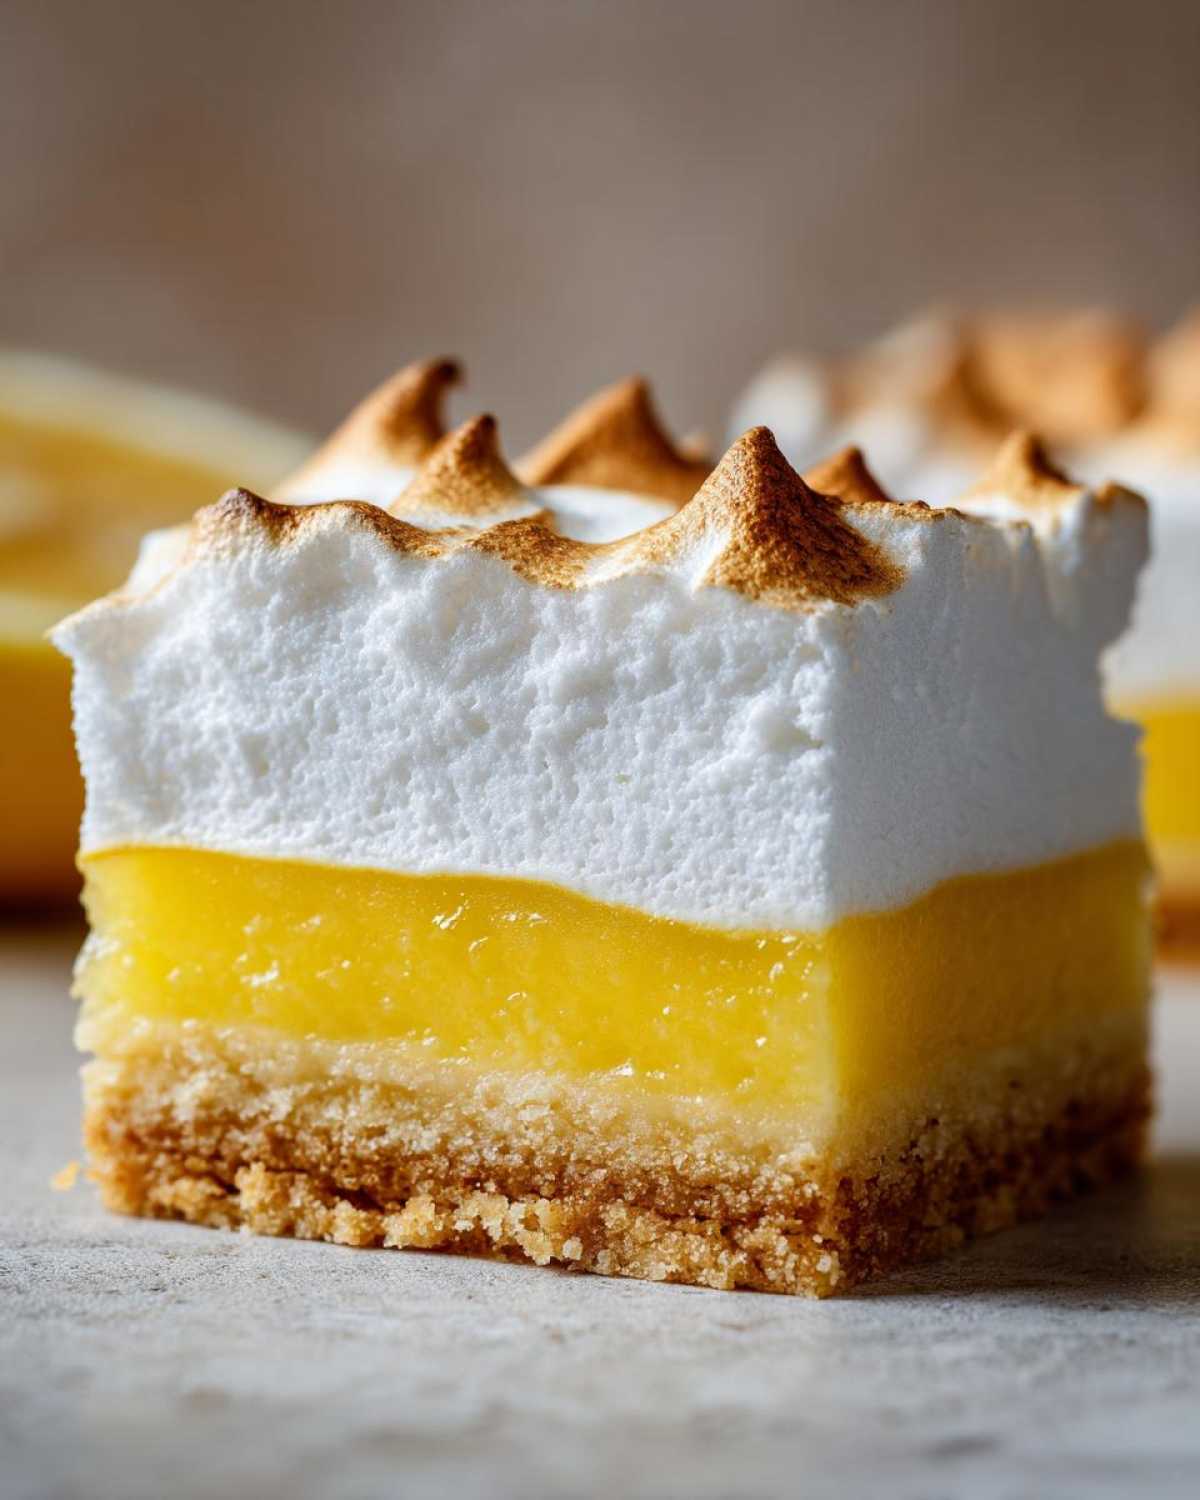
Finally, that cream of tartar in the meringue? I never skip it. It might seem silly, but that little bit of acid is what stabilizes those egg whites. It makes them whip up higher and, more importantly, it helps keep that fluffy cloud from collapsing or weeping later on. It’s the unsung hero of fluffy toppings!
Storage and Make Ahead Tips for Your Citrus Dessert Bars
Because these gorgeous things have that glorious, fluffy meringue topping, they don’t stay happy at room temperature for days. For the best results—and to keep that meringue looking pristine—you absolutely have to cover and refrigerate any leftover Lemon Meringue Pie Bars. They hold up beautifully in the fridge for about three or four days, though they are best within the first 48 hours.
I often use this recipe when I need to prep for a weekend party! You can totally get ahead of the game. You can bake the shortbread crust and the lemon layer (steps 1 through 6) completely the day before everyone arrives. Just let it cool fully after the 10-minute bake, cover it tight, pop it in the fridge, and then whip up the meringue right before you plan to serve. You can even make the crust completely the day before, which cuts down on your baking time immensely. Check out my advice on make ahead citrus bars for more ideas on cooling components!
Common Questions About Making Lemon Meringue Pie Bars
Whenever I share this recipe, people always have a few questions, mostly because turning a pie into these handy squares seems a little like magic, right? I’ve gathered the ones I get asked most often before you dive in!
Can I use a different pan size for these Lemon Meringue Pie Bars?
That’s a great question, especially if you’re baking for a crowd or trying to use up a specific pan! This recipe is tuned perfectly for an 8×8 inch pan because that thickness helps everything bake evenly and achieve that *thick lemon curd bars* structure. Honestly, trying to stretch it into a 9×13 pan will make your layers way too thin, and the texture will suffer. If you absolutely must use a 9×13, you’ll need to drastically increase all the ingredient amounts—maybe by 1.5 times—and you’ll need an extra 10 to 15 minutes of baking time for the crust.
How do I know when the lemon filling is done cooking?
This is crucial for the final set! You can’t just look at it. The filling needs to reach a full, rolling boil over medium heat, and you have to keep stirring and let it boil for a solid 60 seconds after it starts bubbling. If you stop too soon, that cornstarch won’t activate correctly, and you’ll end up with runny lemon soup instead of a firm layer for your **baked citrus dessert bars**. Look for it to be thick enough that when you pull the whisk across the bottom of the pot, the path stays clear for a second before the mixture flows back in.
Can I skip baking the meringue topping?
Oh, I really wouldn’t recommend skipping that final trip to the oven for the meringue! You *could* skip the final bake if you’re really short on time, but here’s the catch: the recipe calls for spreading the meringue over the filling *while the filling is still warm* (Step 6). That gentle heat helps cook the bottom layer of the egg whites slightly and adhere everything together. If you skip the final bake, you’re much more likely to see your beautiful **fluffy meringue topping tutorial** result separate and weep all over your counter. It only takes 10 minutes—it’s worth the time to fully set that topping!
Do I have to use cream of tartar for the meringue?
I understand wanting to skip ingredients if you are trying to pull this together fast, but cream of tartar is vital for creating a stable **meringue topping for bars**. It’s an acid, and that acid grabs onto the proteins in the egg whites and helps them build up strong, stiff walls. Without it, your whites might whip up okay, but they are much more likely to deflate or weep liquid later on. If you are truly out, a few drops of white vinegar or lemon juice can *sometimes* work in a pinch, but the cream of tartar is engineered for this job!
Nutritional Estimates for Lemon Meringue Pie Bars
We all bake for joy, but I know some of you like to keep track! Since these are rich in butter and sugar (as any good dessert should be!), the estimates below are just that—estimates. They can definitely swing based on how heavy your hand is with the meringue or the exact size of your lemons. Please remember that measuring for these Lemon Meringue Pie Bars is an approximation, so treat these numbers as a general guide!
- Serving Size: 1 bar
- Calories: 250
- Fat: 12g
- Carbohydrates: 35g
- Protein: 4g
Because this recipe has both the crust and the meringue, it balances out the density! If you were just eating a thick slice of pure lemon filling, the sugar count would be completely different. This is certainly a treat, but it’s sunshine in a square!
Share Your Experience Making These Pie Inspired Dessert Bars
I truly hope pulling these together was easier and less stressful than wrestling with a big pie dish. I want to see your squares! Did your meringue get perfectly golden tips? Did the shortbread crust stay crisp? Please leave a rating right below this section—a 5-star rating lets me know I nailed the balance for these pie inspired dessert bars!
If you found this recipe helpful, definitely share your thoughts in the comments. And don’t forget to tag me if you post pictures online! Hearing about your success keeps me motivated to turn more baking nightmares into simple bar dreams. Happy baking!
Nutritional Estimates for Lemon Meringue Pie Bars
We all bake for joy, but I know some of you like to keep track! Since these are rich in butter and sugar (as any good dessert should be!), the estimates below are just that—estimates. They can definitely swing based on how heavy your hand is with the meringue or the exact size of your lemons. Please remember that measuring for these Lemon Meringue Pie Bars is an approximation, so treat these numbers as a general guide!
- Serving Size: 1 bar
- Calories: 250
- Fat: 12g
- Carbohydrates: 35g
- Protein: 4g
Because this recipe has both the crust and the meringue, it balances out the density! If you were just eating a thick slice of pure lemon filling, the sugar count would be completely different. This is certainly a treat, but it’s sunshine in a square!
Share Your Experience Making These Pie Inspired Dessert Bars
I truly hope pulling these together was easier and less stressful than wrestling with a big pie dish. I want to see your squares! Did your meringue get perfectly golden tips? Did the shortbread crust stay crisp? Please leave a rating right below this section—a 5-star rating lets me know I nailed the balance for these pie inspired dessert bars!
If you found this recipe helpful, definitely share your thoughts in the comments. We all learn so much from each other down there! Whether you followed every step exactly or decided to throw in a pinch of extra vanilla, I want to know how your Lemon Meringue Pie Bars turned out. Seriously, tell me everything!
Hearing about your success keeps me motivated to turn more baking nightmares into simple bar dreams for all of us. Go ahead, leave those comments, and then maybe try one of my other pie inspired dessert bars next time you need a crowd-pleaser!
PrintLemon Meringue Pie Bars

Make bright, tangy lemon meringue pie in easy-to-serve bar form with a buttery shortbread crust and a fluffy, stable meringue topping.
- Prep Time: 25 min
- Cook Time: 45 min
- Total Time: 70 min
- Yield: 16 bars
- Category: Dessert
- Method: Baking
- Cuisine: American
- Diet: Vegetarian
Ingredients
- 1 1/2 cups all-purpose flour
- 1/2 cup powdered sugar
- 1/4 teaspoon salt
- 1/2 cup (1 stick) cold unsalted butter, cut into pieces
- 1 1/2 cups granulated sugar
- 1/4 cup all-purpose flour
- 1/4 cup cornstarch
- 1/2 teaspoon salt
- 3 large egg yolks, lightly beaten
- 1 1/2 cups cold water
- 1/2 cup fresh lemon juice
- 2 tablespoons lemon zest
- 4 large egg whites, at room temperature
- 1/4 teaspoon cream of tartar
- 1/2 cup granulated sugar
Instructions
- Preheat your oven to 350°F (175°C). Line an 8×8 inch baking pan with parchment paper, leaving an overhang on two sides for easy removal.
- Prepare the crust: In a medium bowl, whisk together 1 1/2 cups flour, 1/2 cup powdered sugar, and 1/4 teaspoon salt. Cut in the cold butter using a pastry blender or your fingers until the mixture resembles coarse crumbs.
- Press the crumb mixture evenly into the bottom of the prepared pan. Bake for 15 to 18 minutes, or until the edges are lightly golden. Set aside while you prepare the filling.
- Prepare the lemon filling: In a medium saucepan, whisk together 1 1/2 cups sugar, 1/4 cup flour, 1/4 cup cornstarch, and 1/2 teaspoon salt. Whisk in the egg yolks, water, lemon juice, and lemon zest until smooth.
- Cook the filling over medium heat, stirring constantly, until the mixture thickens significantly and comes to a boil. Boil for 1 minute while stirring. Remove from heat.
- Pour the hot lemon filling evenly over the warm baked crust. Return the pan to the oven and bake for 10 minutes. Remove from the oven and let cool slightly while preparing the meringue.
- Prepare the meringue: In a clean, grease-free bowl, beat the egg whites and cream of tartar with an electric mixer on medium speed until soft peaks form. Gradually add 1/2 cup granulated sugar, beating until stiff, glossy peaks form.
- Spread the meringue evenly over the warm lemon filling, making sure to seal the meringue to the edges of the crust to prevent shrinking.
- Bake the meringue for 10 to 12 minutes, or until the tips are lightly golden brown.
- Cool the bars completely on a wire rack at room temperature for at least 2 hours. Once cool, use the parchment overhang to lift the bars from the pan. Cut into 16 squares.
Notes
- To prevent a soggy crust, ensure the butter for the crust is very cold.
- To help stabilize the meringue and prevent weeping, make sure your mixing bowl and beaters are completely free of grease or water.
- Bake the meringue topping immediately after spreading it onto the warm filling.
Nutrition
- Serving Size: 1 bar
- Calories: 250
- Sugar: 28g
- Sodium: 110mg
- Fat: 12g
- Saturated Fat: 7g
- Unsaturated Fat: 5g
- Trans Fat: 0g
- Carbohydrates: 35g
- Fiber: 1g
- Protein: 4g
- Cholesterol: 65mg