

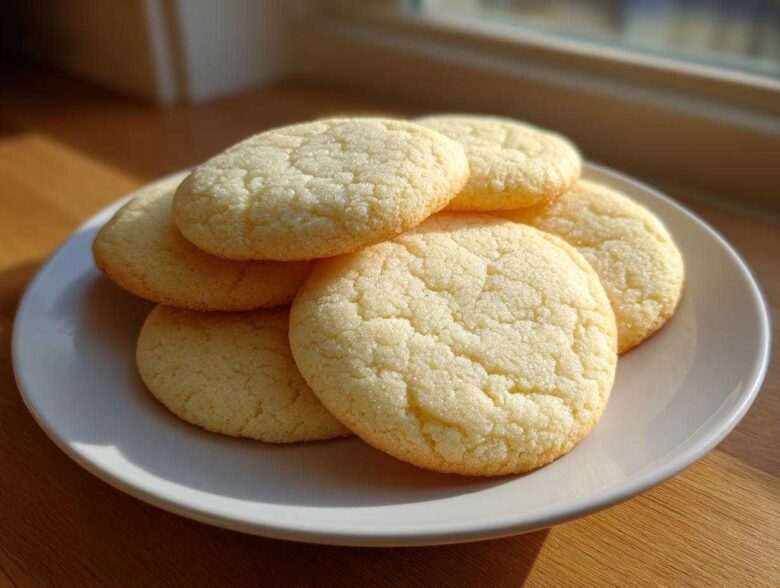
There is nothing in this world that screams ‘holiday magic’ quite like a tray full of homemade, beautifully decorated sugar cookies, right? I have spent what feels like a lifetime tweaking recipes, trying to find that unicorn cookie: one that spreads out into a sad, puffy puddle, or one that dries out like a cracker ten minutes after cooling. Well, friends, I think I’ve finally cracked the code!
This recipe delivers gorgeous, soft, and delightfully chewy sugar cookies that manage to hold their shapes perfectly—so your stars stay starry and your gingerbread men don’t end up looking like abstract art. After years of trial-and-error, especially during that frantic week before Christmas cookie exchanges, I settled on this simple vanilla formula that requires almost no chill time. Trust me, this batch is a game-changer for every holiday baking season!
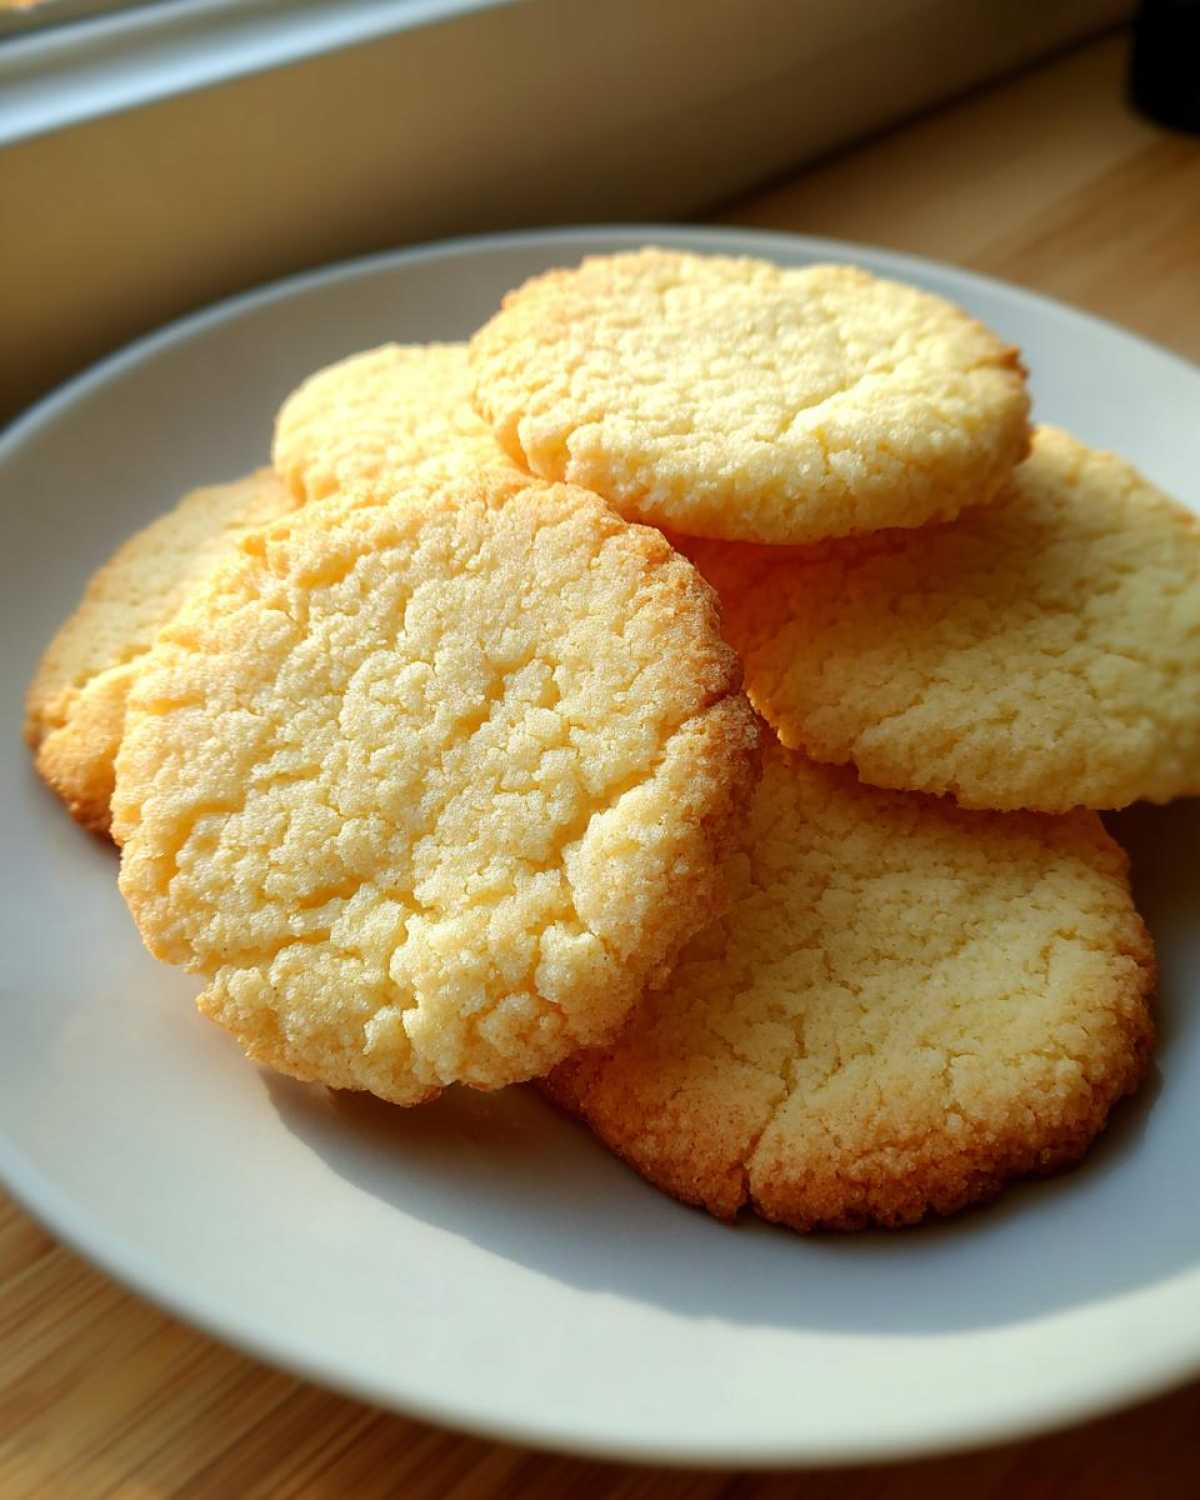
Why These Are the Best Sugar Cookie Recipe for Cutting and Decorating
I know, I know, everyone claims they have the best recipe, but hear me out on why these specific sugar cookies stand above the rest, especially when you need them sturdy enough for decorating. I’ve aimed this recipe directly at solving the two biggest holiday baking headaches: mushy middles and spreading edges.
- They are unbelievably soft and chewy—they practically melt in your mouth!
- They hold their shape like a champ, giving you those crisp edges you need for beautiful decorating.
- We keep the ingredient list super basic, so you probably have everything on hand right now.
- The dough barely needs to chill! If you’re pressed for time during the rush, this is a lifesaver.
This simple formula means less waiting around and more time spent icing reindeer!
Achieving Perfect Cookie Shapes with Your Sugar Cookies
The secret to getting those sharp, perfect cookie shapes without the edges curling up or puffing out too much lies right in the balance between the butter and the flour. It’s all about the fat-to-flour ratio here. Since we’re using a good amount of butter for that buttery flavor, we balance it with just enough flour and a touch of baking powder, which acts as a gentle lifter, not a spreader.
When you cream the butter and sugar just right, you incorporate tiny air pockets. Those pockets give you the structure needed to keep your shapes defined, even when they’re baking away at the holiday cookie exchange party!
Gathering Ingredients for Your Soft and Chewy Sugar Cookies
Okay, time to raid the pantry! The great thing about these simple vanilla cookies is that they rely on pantry staples you likely already have floating around. We aren’t messing around with strange extracts or specialty flours here; we want classic, buttery goodness that tastes like Christmas morning. Remember, the quality of your butter and vanilla really sings in this recipe, since there are so few competing flavors!
For the dough to come together into the perfect texture—soft, chewy, yet sturdy—we need everything measured correctly. Make sure your butter is actually softened, not melted; this step is crucial for that initial creaming process. When you see the ingredient list below, you’ll notice we need exactly two sticks of butter—don’t cheat on that fat content, it’s what gives us that melt-in-your-mouth quality!
Ingredient Notes and Simple Substitutions
Let’s talk specifics so your batch turns out amazing, becoming your go-to favorite for the cookie tray. The **buttery sugar cookies** flavor really depends on you treating the butter right. You absolutely need that butter to be soft enough that you can press a finger into it gently and leave a dent, but when you mix it, you don’t want it greasy or liquid. Room temperature is key!
Also, invest in good pure vanilla extract if you can. Vanilla is one of the main flavor profiles here, so the artificial stuff just won’t give you that rich background note. Now, if you only have salted butter on hand? No problem! Just grab a half teaspoon of salt out of the dry ingredients list and skip adding any extra salt to the flour mixture. Easy adjustment for your family baking needs!
Step-by-Step Instructions for Cutout Sugar Cookies Recipe
Alright, let’s get into the fun part—actually making these amazing sugar cookies! Don’t get intimidated; this is where the magic happens, and honestly, it comes together faster than you think. We start by prepping the dry ingredients so they are ready to go, and then we move straight into creaming the good stuff. Make sure your mixer is ready, but be gentle when we combine everything later!
When mixing your wet and dry ingredients, I want you to listen to me very carefully on one point: Do NOT overmix! Once that flour goes in, you mix just until you no longer see white streaks. Mixing too much develops the gluten, and that’s what turns your soft, chewy cookie into something tough. We want those buttery, tender textures we’ve been talking about, so stop the mixer when you think you might need to mix just a little more—that’s probably when you should stop, truly! If you need to review our general guidelines afterwards, check out our Terms and Conditions.
Chilling the Chewy Sugar Cookie Dough
Even though I brag that this is close to a ‘No Chill Sugar Cookies’ recipe, you still have to give the dough a short break. This chilling time is non-negotiable if you are serious about those defined, sharp edges for your holiday shapes. When the fat (butter) chills, it firms up, meaning it won’t immediately melt and spread out the second it hits the hot oven wall.
I ask you to divide the dough into two flat disks, wrap them up tight, and pop them in the fridge. You need a minimum of 30 minutes to get the job done. If you planned ahead a bit, chilling them for a full hour makes rolling that much cleaner and easier. You’ll notice the dough becomes much less sticky too, which is a huge bonus for rolling out your cookie shapes!
Baking Your Perfect Cookie Shapes
Once the dough is chilled and you’ve stamped out all your beautiful designs, it’s oven time! Set your oven right to 375 degrees F (190 degrees C). Make sure those baking sheets are lined with parchment paper; this helps prevent sticking and aids in cleanup, which we all love. Place your cutouts about an inch apart because even with chilling, they’ll spread just a tiny bit.
Watch them closely! These cookies bake quickly, usually between 8 to 10 minutes. You are looking for the edges to just barely start turning light golden brown. The center might still look a tiny bit pale or soft—that’s perfect! That softness is what guarantees you end up with those wonderful, chewy sugar cookies promised by the recipe. If they look fully brown when you pull them out, they’ll be hard when they cool down. Trust me on the light golden rule. We’ll transfer them gently off the sheet after five minutes of cooling. Don’t touch them until then, or you might accidentally reshape your Christmas trees!
Tips for Success When Making Homemade Sugar Cookies
So, you’ve got perfectly baked, beautifully shaped sugar cookies cooling on the rack! Fantastic! Now, we move into that final phase where we protect that amazing texture we worked so hard for. I’ve learned a couple of tricks over the years that ensure every single cookie lives up to its potential, whether it’s for Valentine’s Day hearts or giant Christmas shapes.
One of my top notes from the recipe card—the one Grandma always underlined twice—was ensuring the cookie sets up properly before frosting. If you rush the cooling, you risk steam getting trapped, or worse, the frosting melting right off! For a super-efficient workflow, especially when preparing for big holiday cookie exchanges, take advantage of your freezer space. After the cookies bake and sit on the pan for those first five minutes, carefully transfer them to a baking sheet in a single layer right into the freezer for about ten minutes. It shocks them cool quickly and primes them perfectly for immediate decorating!
Also, remember that little optional instruction about chilling the cutouts again? You absolutely should do that if you are using big cutters or very intricate shapes. I sometimes chill the shapes on the baking sheet for ten minutes right before they go into the oven. This extra cold shock really locks in those edges, guaranteeing you get those clean lines we are aiming for.
Making Soft Frosted Sugar Cookies: Cooling and Decorating
This is the make-or-break moment for those coveted soft frosted sugar cookies. I cannot stress this enough: the cookies must be completely cool before any icing touches them. If there is even a whisper of warmth left, your beautiful royal icing will slide right off into a sad, colorful puddle on your counter. It’s heartbreaking!
To speed things up if you’re juggling multiple holiday baking tasks, I sometimes use a trick I learned from a production baker friend. Once they’re off the baking sheet and onto the wire rack, I put the rack in front of a running box fan on low speed for about fifteen minutes. It circulates the air and pulls the residual heat away much faster than just leaving them on the counter. Just make sure you don’t have any stray flour or powdered sugar floating around that could stick to the warm cookies! Check out our Cookie Policy for more food safety thoughts!
Variations for Your Classic Sugar Cookies
While this recipe already delivers wonderfully flavorful and simple vanilla cookies, sometimes you just need to switch things up, especially if you’re making a huge batch for a cookie tray to keep things interesting! The beauty of this dough is that it’s such a fantastic base for experimentation, as long as we don’t mess with the core ingredient ratios that keep these sugar cookies sturdy.
For a slightly more sophisticated flavor profile, try swapping out half of that pure vanilla extract for almond extract. Just a dash of almond paired with some almond flour, if you’re feeling adventurous, gives you that gorgeous, slightly marzipan-like hint you find in bakery-style cookies. Or, if you’re baking during the summer months—or just need a bright zing for Valentine’s Day—add the zest of one full lemon or orange directly into the butter and sugar when you cream them together. That citrus oil wakes up the whole recipe!
Storage and Reheating Instructions for Your Batch of Sugar Cookies
Whew! You did it! You have a giant batch of beautiful, delicious sugar cookies, and you definitely don’t want to eat them all in one sitting—though I certainly won’t judge you if you try! Storing them correctly is key, especially if you baked early for a big holiday gathering. You want them to stay soft and chewy, not go stale!
The most important thing to remember is to separate your iced cookies from your plain ones. If you try to stack iced cookies immediately, you’ll end up with a sticky, colorful mess. Let your icing dry completely—I mean fully hardened—before you even think about stacking them. If you used royal icing, give them a full night out on the cooling rack to set up before we try to pack them away for your family friendly baking sessions.
For **un-iced cookies**, they are easier. Just pop them into a large, sturdy airtight container. You can layer them if you must, but put a piece of wax paper or parchment paper between each layer. This stops them from sticking together and protects them from breaking. They should easily stay perfectly soft at room temperature for about a week. Seriously, no need to freeze these unless you made a truly massive batch!
If you *have* to store decorated ones, they are happier in a single layer if possible. If you must stack, use those squares of parchment between every single layer. Keep them in a **cool, dry place**, away from sunlight. And please, skip the fridge! The cold air tends to dry out the sugar cookie texture faster, and we worked too hard to get that perfect soft chewiness to let that happen!
Frequently Asked Questions About Sugar Cookies
I get so many questions about these! When you’re aiming for the perfect combination of soft, chewy, and shape-holding, a few common worries pop up. Don’t sweat it; baking is all about learning those little adjustments. Here are the top things people always ask me about baking up their batch of homemade sugar cookies.
Can I skip chilling the dough entirely for these sugar cookies?
Oh, I wish I could say yes, especially when I’m pressed for time during holiday baking! For simple drop cookies, you absolutely can skip it. But because we are perfecting those beautiful, clean shapes for decorating—we want those precise edges!—a chill time is really necessary. If you skip it, your cookies will spread out significantly, potentially ruining the perfect cookie shapes you just cut. The minimum 30 minutes helps the fat solidify just enough to resist melting immediately in the oven.
What is the secret to making sugar cookies soft and chewy?
It really comes down to three things, and it’s not just about pulling them out of the oven early! First, the butter and sugar are creamed properly to get those air bubbles in. Second, we don’t overmix once the flour gets wet. But the real secret weapon to keep them super soft and chewy is the milk we add! That small amount of liquid goes in last; it keeps the dough hydrated without making it sticky, ensuring that wonderful, tender crumb. If you follow the recipe exactly, you’ll get that melt-in-your-mouth texture every time!
Estimated Nutritional Data for These Cookies
Now, I know most of us aren’t meticulously counting calories when we are busy pulling together a huge holiday cookie swap spread, but I like to give you all a general idea of what’s going into these treats just for completeness! Remember, baking is chemistry, but tasting is joy, so don’t stress too much over the numbers.
The figures listed below are estimates based on the standard measurements using the ingredients listed in the recipe. Things like the brand of flour you use, whether you use salted or unsalted butter, or exactly how much frosting you decide to pile on top will change these numbers slightly, of course. This information is just a helpful starting point!
- Serving Size: 1 cookie
- Calories: 145
- Sugar: 14g
- Sodium: 65mg
- Fat: 7g (including 4g Saturated Fat)
- Carbohydrates: 19g
- Protein: 2g
- Cholesterol: 25mg
Think of this as the nutritional profile for one plain, undecorated cookie. If you’re making soft frosted sugar cookies, you’ll need to add in the counts for your icing, which adds quite a bit of extra sugar! I always feel better knowing the base cookie is relatively simple, though. For legal stuff related to these figures, please keep our official Disclaimer in mind when using this data!
Share Your Holiday Baking Ideas
So there you have it! Everything you need to make what I genuinely believe is the best batch of sugar cookies you’ll ever pull out of your oven. They’re soft, they’re chewy, and they hold those complicated shapes like little soldiers!
Now that your kitchen probably smells wonderfully of butter and vanilla, I absolutely want to hear from you! Have you tried making these for your big holiday cookie exchanges? How did they hold up? Did you stick to the simple dusting of powdered sugar, or did you go all out with that royal icing for some really fun, colorful decorating?
Please, leave me a rating below in the comments and tell me the best shape you managed to cut out this year. Seriously, whether you made easy Christmas cookies or crafted tiny masterpieces, I thrive on seeing your results! Happy baking, and don’t forget to check out my favorite baking setups for inspiration next time!
PrintSoft and Chewy Cutout Sugar Cookies

Make soft, chewy sugar cookies that hold their shape perfectly for cutting and decorating. This simple recipe uses basic ingredients and requires minimal chilling.
- Prep Time: 25 min
- Cook Time: 10 min
- Total Time: 1 hour 5 min
- Yield: 3 dozen
- Category: Dessert
- Method: Baking
- Cuisine: American
- Diet: Vegetarian
Ingredients
- 3 cups all-purpose flour
- 1 teaspoon baking powder
- 1/2 teaspoon salt
- 1 cup (2 sticks) unsalted butter, softened
- 1 1/2 cups granulated sugar
- 1 large egg
- 1 teaspoon vanilla extract
- 1/4 cup milk
Instructions
- Whisk together the flour, baking powder, and salt in a medium bowl. Set aside.
- In a large bowl, beat the softened butter and sugar with an electric mixer until light and fluffy, about 3 minutes.
- Beat in the egg and vanilla extract until combined.
- Gradually add the flour mixture to the wet ingredients, alternating with the milk, mixing on low speed until just combined. Do not overmix.
- Divide the dough in half, flatten each half into a disk, wrap in plastic wrap, and chill for at least 30 minutes. (For faster results, chill for 1 hour).
- Preheat your oven to 375 degrees F (190 degrees C). Line baking sheets with parchment paper.
- On a lightly floured surface, roll out one disk of dough to about 1/4 inch thickness. Use cookie cutters to cut out shapes.
- Place the cutouts onto the prepared baking sheets, leaving about 1 inch between cookies.
- Bake for 8 to 10 minutes, or until the edges are lightly golden. The centers should still look soft.
- Let the cookies cool on the baking sheet for 5 minutes before transferring them to a wire rack to cool completely before frosting.
Notes
- For the best shape retention, chill the cutouts on the baking sheet for 10 minutes before placing them in the oven.
- If you prefer a slightly firmer cookie, reduce the milk to 3 tablespoons.
- Use high-quality vanilla extract for a richer flavor.
Nutrition
- Serving Size: 1 cookie
- Calories: 145
- Sugar: 14
- Sodium: 65
- Fat: 7
- Saturated Fat: 4
- Unsaturated Fat: 3
- Trans Fat: 0
- Carbohydrates: 19
- Fiber: 0
- Protein: 2
- Cholesterol: 25