

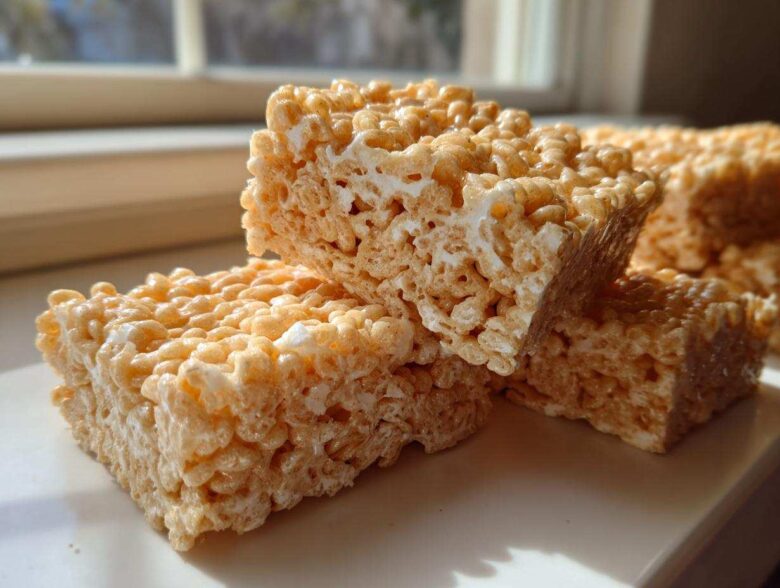
Oh my goodness, you absolutely have to try taking the humble Rice Krispie Treat and seriously leveling it up! We all grew up with those simple, squishy marshmallow bars, right? But what if I told you that just one extra step—browning the butter—transforms the whole thing into something truly special? Seriously, these Brown Butter Rice Krispie Treat Bars have this incredible, rich, nutty depth that you just can’t get otherwise. I spent an entire Saturday trying to nail that perfect toastiness in the butter, and when I finally got it right? Wow! Trust me, once you taste this nutty flavor profile, you’ll never go back to the basic recipe.
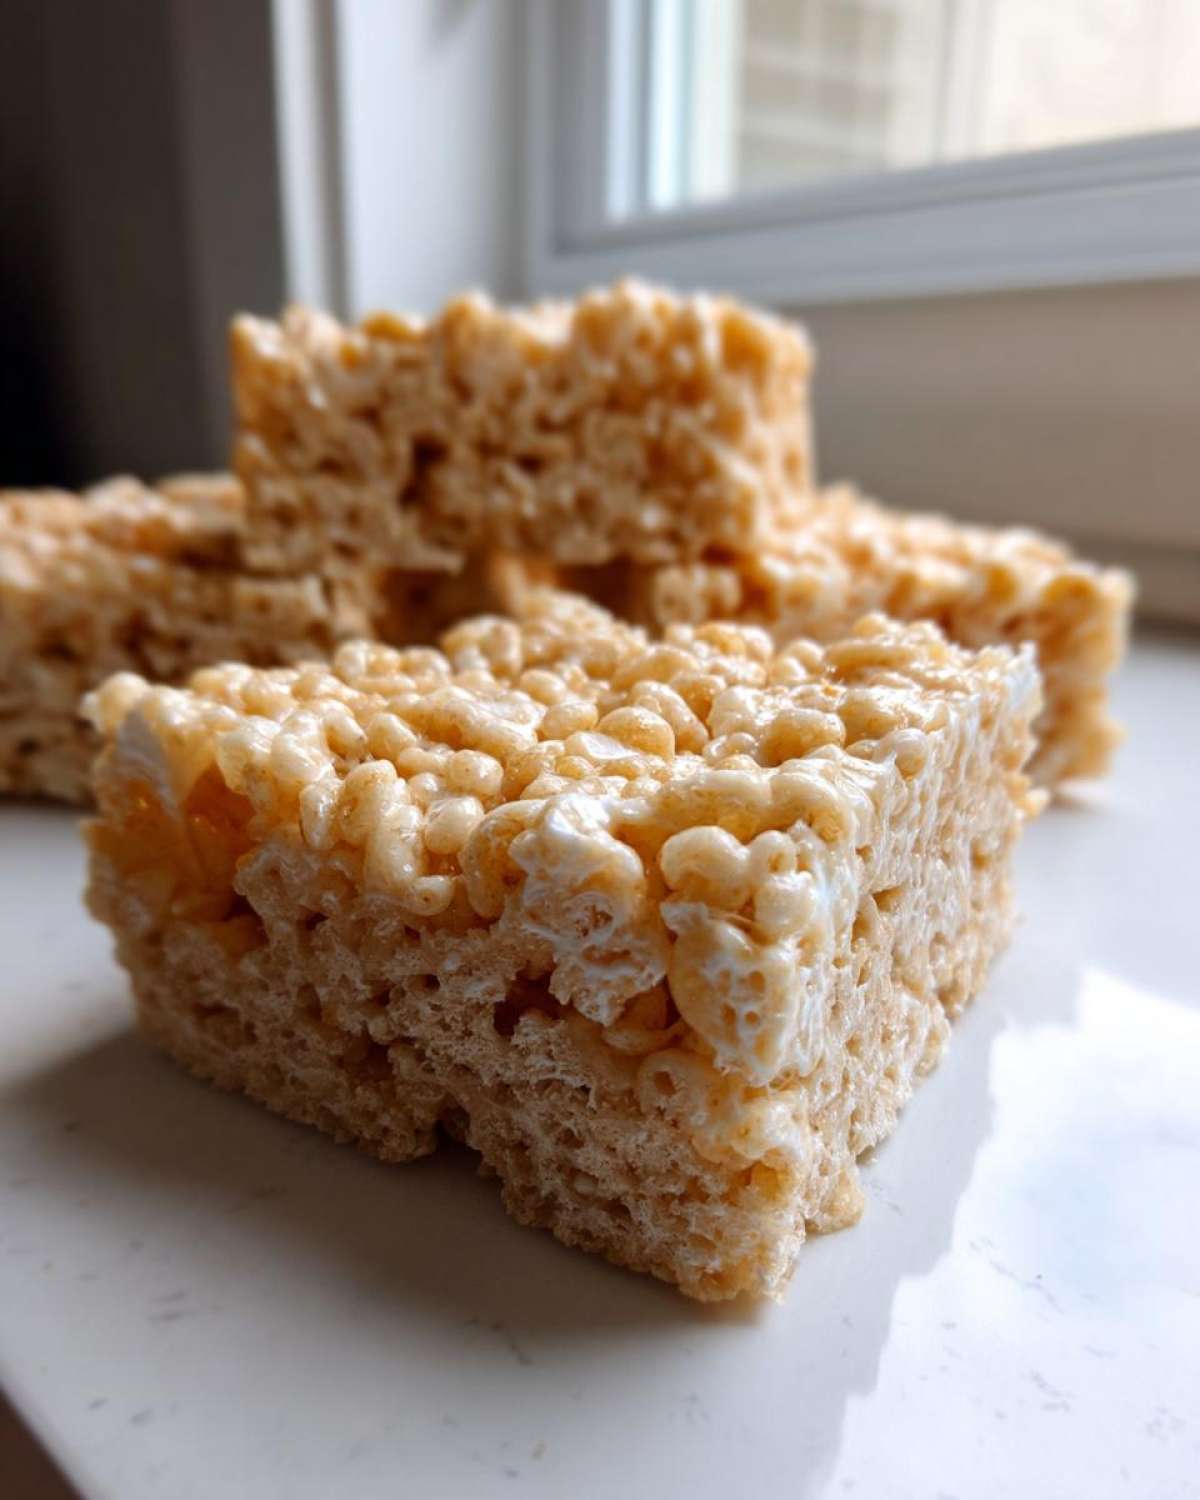
Why These Brown Butter Rice Krispie Treat Bars Are Superior
Okay, so why bother with the extra step of browning the butter? It’s all about flavor, darling! When you toast that butter, you are basically unlocking a whole new dimension of taste. It moves past just sweetness and adds these warm, gorgeous, nutty notes. That’s what makes these Rich Flavor Rice Rice Krispie Treats miles better than anything out of a box. They stop being a simple childhood snack and become something truly Elevated Rice Krispie Treats worthy of your best dessert platter.
The secret is we are adding complexity without adding any extra ingredients that fight the marshmallow. It’s pure magic happening right there in the saucepan. Also, don’t forget to check out my guide on making caramelized onions if you want to see another example of how taking time makes a huge difference in flavor, like with this savory recipe!
Texture Expectations for Brown Butter Marshmallow Cereal Bars
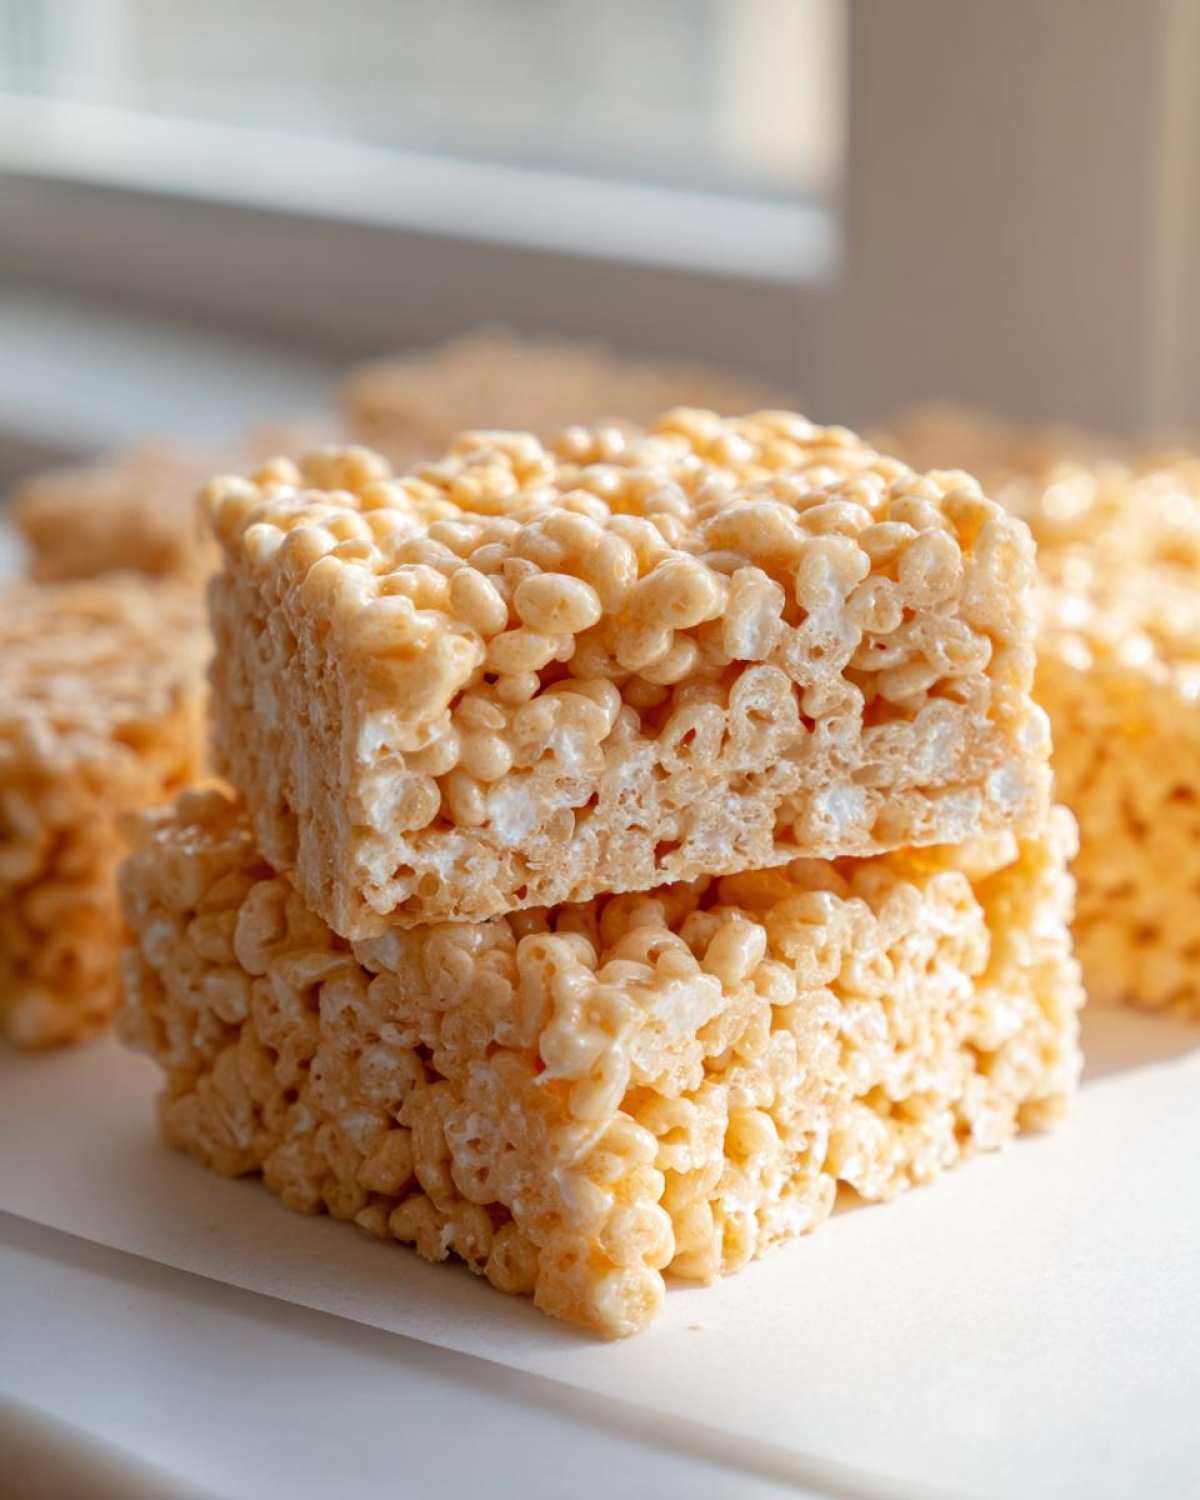
Now, some folks worry that adding an extra cooking step means the final bars will be hard as a rock. Nope! That’s where you have to be careful with the stirring later, but the brown butter itself doesn’t change the chewiness. If you follow the folding technique, these Brown Butter Marshmallow Cereal Bars stay perfectly soft and gooey inside. The goal is nutty flavor, not brittle texture, remember that!
Gathering Ingredients for Brown Butter Rice Krispie Treat Bars
This recipe is wonderfully simple ingredient-wise, which really lets that brown butter shine through! We don’t need a huge shopping list for these Gourmet Cereal Bars Recipe. You’ll need exactly 6 tablespoons of unsalted butter to start the browning magic. Then grab one standard 10 ounce package of marshmallows (don’t skimp!) and 6 cups of your favorite puffed rice cereal. Oh, and don’t forget the 1 teaspoon of lovely vanilla extract, plus that optional, but highly recommended, 1/2 teaspoon of sea salt!
Ingredient Notes and Substitutions for Nutty Crispy Bars
Listen, the quality of your cereal matters more when you change the flavor profile this much. I really suggest using a name brand cereal because the texture holds up better when folding in that warm, nutty mixture. If you were shooting for a true Hazelnut Butter Cereal Treats vibe, you could try adding a teaspoon of actual hazelnut paste along with the vanilla. However, for this specific recipe, stick to the butter—it’s powerful enough on its own. Just make sure that butter is unsalted so you control the salinity!
How To Make Brown Butter Rice Krispies: Mastering the Technique
This is it—the part that turns a basic snack into legendary goodness! We are focusing entirely on How To Make Brown Butter Rice Krispies, because this process is non-negotiable for the best results. You need to melt your butter completely over medium heat. It’s going to foam up, which is normal. But keep watching! The magic starts happening around the 5 to 7-minute mark when you smell that intense, nutty aroma. This is vital: you must watch the color like a hawk because it goes from perfectly toasted amber to totally burnt in like, two seconds flat. Seriously, don’t walk away! It’s worth the vigilance, though, because that smell is your confirmation that you’ve achieved peak flavor in this recipe. For another way to incorporate cooked butter into something amazing, check out my guide to the easy garlic butter recipe.
Step-by-Step Instructions for Brown Butter Rice Krispie Treat Bars
First things first, get your 9×13 pan ready! You can grease it lightly or line it with parchment paper so you have those little handles for lifting the bars later. Now, onto the butter in a medium saucepan over medium heat. Let it melt, and then just keep stirring occasionally.
You’ll see the milk solids sink and start turning golden brown at the bottom. Once you smell that amazing nutty scent and see the butter turn a deep amber, immediately yank that pan off the burner! Stir in your optional sea salt right then. Remember, the cooking stops once it’s off the heat.
Next up, toss in all the marshmallows. Stir constantly until they melt down into that luscious brown butter, making a smooth base. Then, stir in the vanilla extract quickly. Finally, pour in the 6 cups of puffed rice cereal and gently fold everything together until it’s evenly coated. Don’t over-mix, trust me on this!
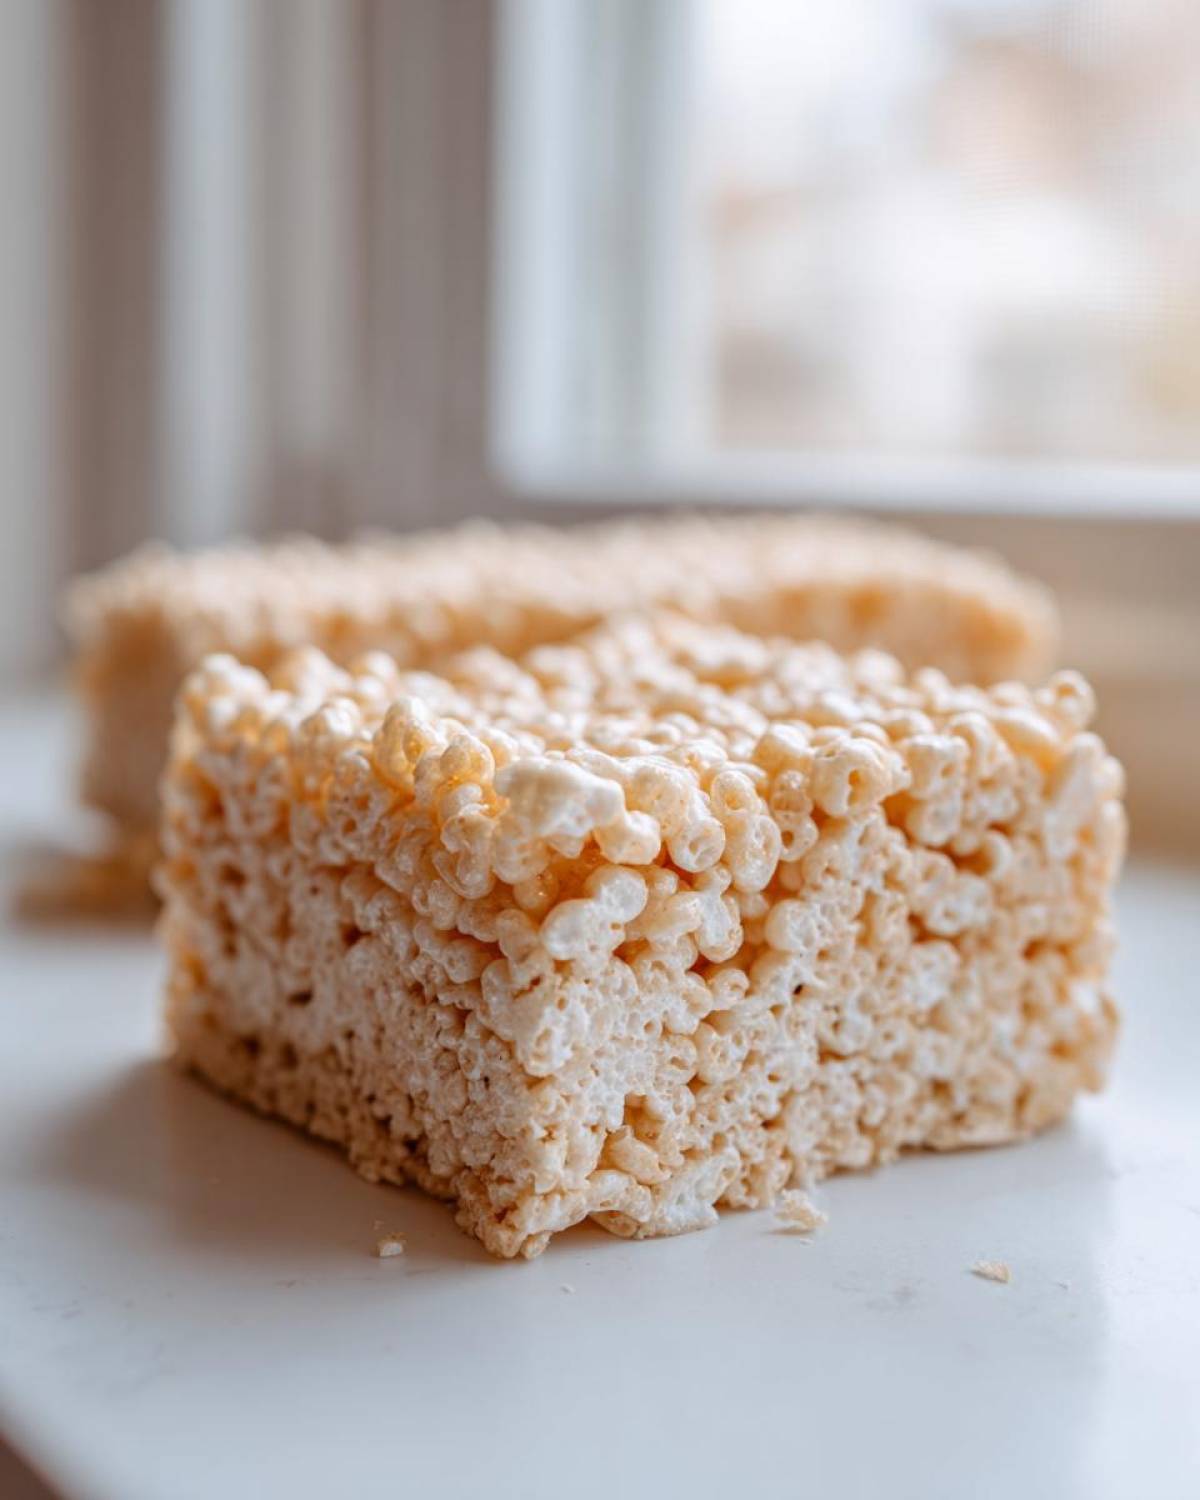
Transfer this beautiful mixture into your prepared pan. Use a piece of wax paper or a lightly buttered spatula to gently even out the top layer. Please, please, please do not press down hard—that’s how you get hard bars! Let them cool completely at room temperature for at least an hour before you slice them into perfect squares.
Tips for Perfect Brown Butter Marshmallow Cereal Bars
If you want these to truly live up to their name as the Best Brown Butter Marshmallow Bars, you have to remember two key things when you are finishing up. First, when you are spreading the mixture into the pan, *gently* persuade it into place. Don’t press down hard with the bottom of your spatula! If you mash the cereal together, it loses all that wonderful trapped air and you end up with a brick instead of a chewy square. Just use a light touch to level it out, okay?
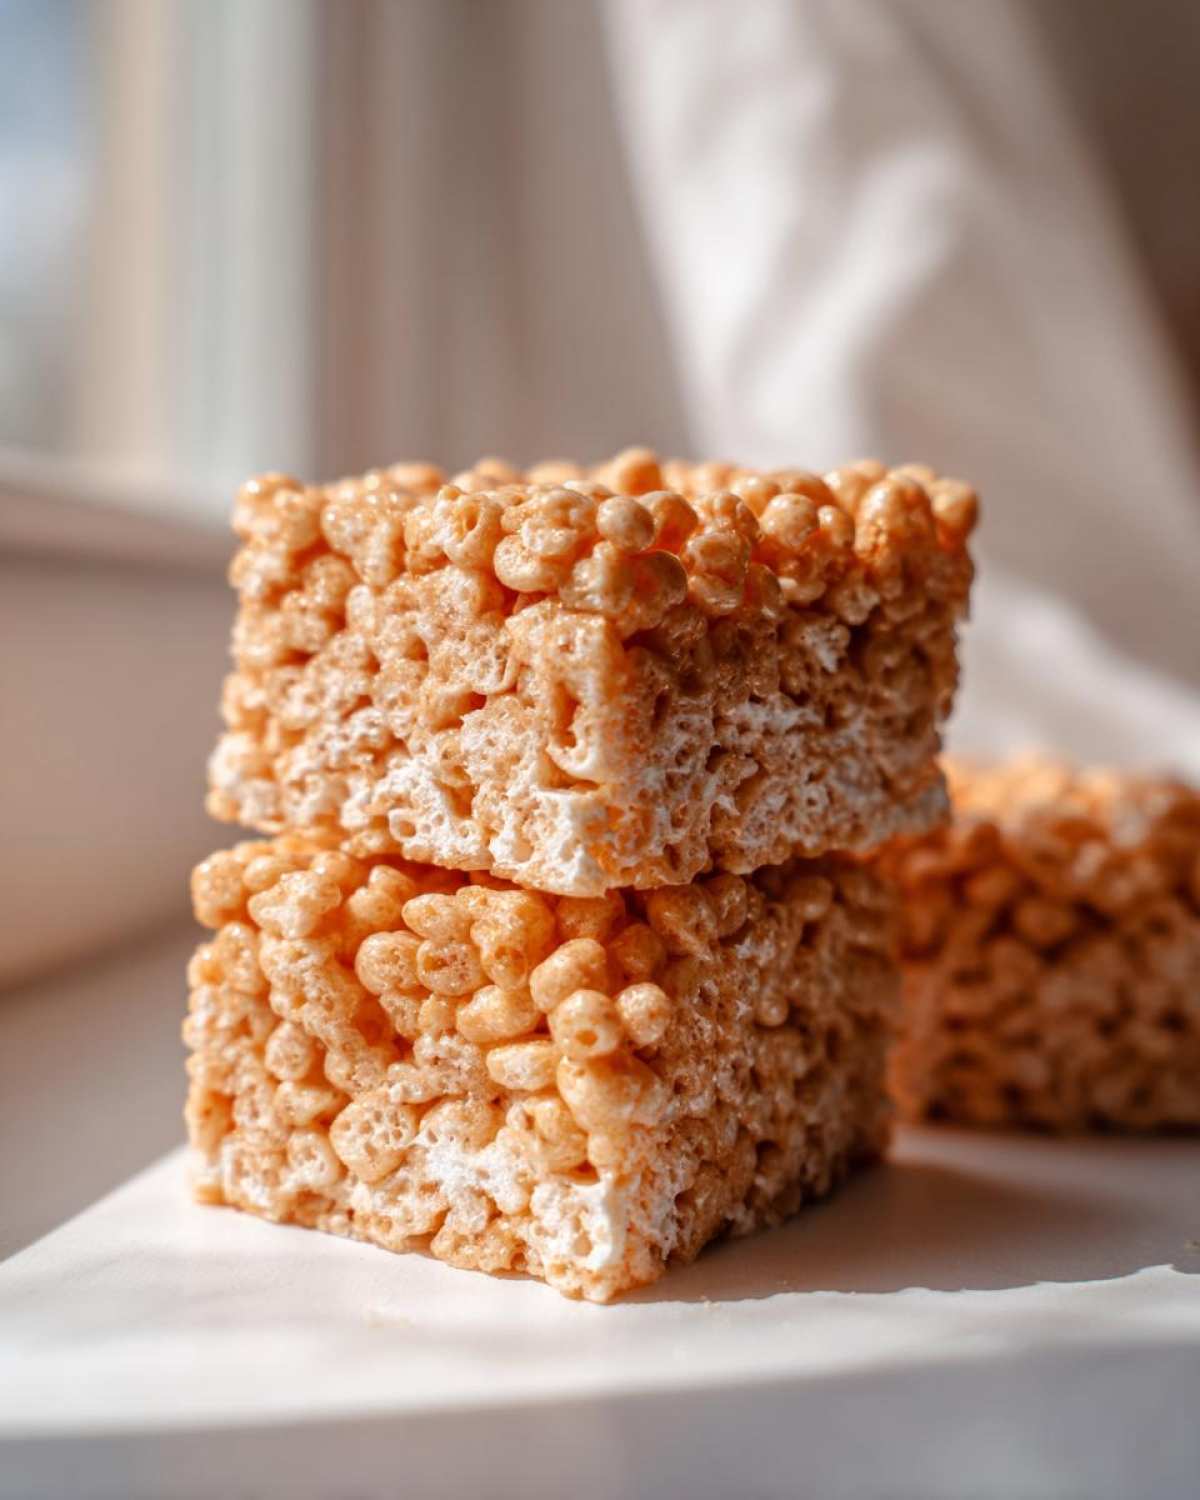
Second, if you decided to add that optional sea salt—and I really hope you did—sprinkle the flaky salt right on top *immediately* after you press the bars down! It needs that little bit of residual heat and stickiness to adhere properly. That hint of salt cutting through the richness of the toasted butter is just heaven. If you’re interested in other ways to use that liquid gold of brown butter, you should check out my post on maple cookies with soft brown butter glaze; it’s truly fantastic!
Variations for Gourmet Cereal Bars Recipe
You know, even though this recipe is perfect as is, sometimes your baking mood just calls for a little something extra, right? That’s the fun of making something yourself! Since that brown butter creates such a fantastic, deep base flavor, these bars are just begging for a little embellishment. If you want to step these up into truly decadent territory, I have a few go-to ideas for taking them from Gourmet Cereal Bars Recipe status to showstoppers.
My absolute favorite addition is to fold in about a cup of toasted pecans right along with the cereal. The toastiness plays so beautifully with the nutty butter flavor—it practically sings! Dark chocolate chips, especially the intense, dark kind around 60%, are another winner. Wait until the bars are just set in the pan, and then just sprinkle them over the top and let the residual warmth melt them slightly.
If you want to lean into the spice profile that brown butter naturally suggests, try mixing about half a teaspoon of ground cinnamon right into your melted marshmallow mixture along with the vanilla. It gives the bars this cozy, warm hug of fragrance that is just addictive!
Storage and Serving Suggestions for Your Homemade Crispy Treats with Brown Butter
The great news about these rich, nutty bars is they are fantastic for making ahead of time! Since they don’t have any fussy frosting or delicate fillings, storing these Homemade Crispy Treats with Brown Butter is super easy. You just need an airtight container—no fancy wrapping required. Keep them at room temperature, and honestly, they are delicious for a solid three to four days. If you wrap individual squares tightly in plastic wrap first, they last even longer!
When it comes to serving, you can go classic, or you can get fancy. If you’re serving a really big crowd, sometimes cutting these into smaller, bite-sized squares makes them disappear even faster. They are gorgeous served right alongside a strong cup of coffee or a latte; the bitterness of the coffee really balances out that caramelized sugar flavor from the brown butter.
If you’re making bars but want them in an easy grab-and-go format later, you should definitely check out the tips I share in my guide about making chewy no-bake homemade granola bars—some of those storage wrapping tricks really help keep these crispy treats perfectly fresh!
Nutritional Estimates for Easy Brown Butter Dessert Recipe
Now, I’m absolutely no nutritionist, okay? These Easy Brown Butter Dessert Recipe bars are pure indulgence! But for those of you who like to keep track, I gave a general estimate for one square based on the standard ingredients called for here. This is just a rough guideline, so take it with a grain of that lovely sea salt we talked about!
Generally, one bar clocks in around 180 calories. We’re looking at about 6 grams of total fat and about 30 grams of carbohydrates, mostly from the sugar and cereal base. You get about 2 grams of protein per serving. I always say, these treats are what happy memories are made of, not strict dietary charts, but hopefully, that gives you a starting point!
Frequently Asked Questions About Brown Butter Rice Krispie Treats
I know you might have a few sticking points, especially when you’re dealing with browning butter for the first time! We all start somewhere, and these Brown Butter Rice Krispie Treats are so worth learning the little quirks for. Here are the most common things I get asked when people try this recipe for the first time. If you’re still curious after this, you can always check out our About Us page to see more about our kitchen philosophy!
How do I know when the butter is perfectly browned?
This is the most important question! You’ll smell it first—a beautiful, rich, nutty aroma hits you, like toasted hazelnuts. Visually, you want the butter to be a deep amber color, and you’ll see those tiny milk solids sink to the bottom and turn a lovely golden brown. If you see black bits, you’ve gone too far and you’ll need to start over with fresh butter!
Can I use salted butter in this No Bake Brown Butter Bars recipe?
You absolutely can use salted butter in these No Bake Brown Butter Bars, but you must adjust! If you do, skip the extra 1/2 teaspoon of sea salt we call for in the main ingredient list. Since salted butter already has salt in it, adding more will make your final treats way too salty. Taste as you go, but it’s safer to leave the extra salt out entirely if you switch the butter type.
What is the best ratio of brown butter to marshmallows/cereal?
For the chewiest, richest result, we stick to the classic balance that the recipe uses, which works perfectly with the intense flavor of the brown butter. It’s essentially a 6-part butter to 10-part marshmallow to 6-part cereal ratio by volume, roughly speaking! Resist the urge to add more cereal just because you think it needs balancing; too much cereal makes the bars dry instead of chewy.
Do I have to use vanilla extract in these Nutty Rice Krispie Squares?
While vanilla doesn’t impact the texture, I honestly think it’s a vital addition for these Nutty Rice Krispie Squares! Browning butter brings out those deeper, almost toffee notes, and vanilla rounds out that intensity and adds back that familiar sweet background note we expect in a marshmallow bar. I wouldn’t skip it, truly!
Share Your Salted Brown Butter Crispy Squares
I absolutely want to see your creations! Once you try these, you have to come back and tell me all about it. Please leave a rating—five stars if you loved that nutty crunch! More importantly, tell me in the comments how those Salted Brown Butter Crispy Squares tasted different than the standard ones you’ve made before. Did the brown butter make a big difference for you? Don’t forget, if you have any questions for me, you can always hop over to my contact page!
PrintBrown Butter Rice Krispie Treat Bars
Make classic Rice Krispie Treats with a richer, nutty flavor by incorporating brown butter.
- Prep Time: 10 min
- Cook Time: 7 min
- Total Time: 1 hour 17 min
- Yield: 12 servings
- Category: Dessert
- Method: No Bake
- Cuisine: American
- Diet: Vegetarian
Ingredients
- 6 tablespoons unsalted butter
- 1 (10 ounce) package marshmallows
- 6 cups puffed rice cereal
- 1 teaspoon vanilla extract
- 1/2 teaspoon sea salt (optional)
Instructions
- Lightly grease a 9×13 inch baking pan or line it with parchment paper, leaving an overhang for easy removal.
- Place the butter in a medium saucepan over medium heat. Allow the butter to melt completely.
- Continue cooking the melted butter, stirring occasionally. The butter will foam, then the milk solids will begin to turn golden brown and sink to the bottom. You will smell a nutty aroma. This takes about 5 to 7 minutes. Watch closely to prevent burning.
- Once the butter is a deep amber color and smells nutty, immediately remove the pan from the heat. Stir in the sea salt, if using.
- Add the marshmallows to the warm brown butter. Stir constantly until the marshmallows are completely melted and smooth.
- Remove the pan from the heat source. Stir in the vanilla extract.
- Pour the puffed rice cereal into the marshmallow mixture. Fold gently until the cereal is evenly coated.
- Transfer the mixture to the prepared baking pan. Lightly press the mixture into an even layer using a piece of wax paper or lightly buttered spatula. Do not press too firmly, as this can make the bars hard.
- Let the bars cool and set completely at room temperature for at least 1 hour before cutting into squares.
Notes
- Browning the butter adds depth; watch the color carefully as it moves quickly from golden to burnt.
- For an extra flavor boost, sprinkle flaky sea salt over the top immediately after pressing the mixture into the pan.
- If you prefer a softer bar, use slightly less cereal or slightly more marshmallows.
Nutrition
- Serving Size: 1 bar
- Calories: 180
- Sugar: 15
- Sodium: 150
- Fat: 6
- Saturated Fat: 3.5
- Unsaturated Fat: 2.5
- Trans Fat: 0
- Carbohydrates: 30
- Fiber: 0.5
- Protein: 2
- Cholesterol: 10