

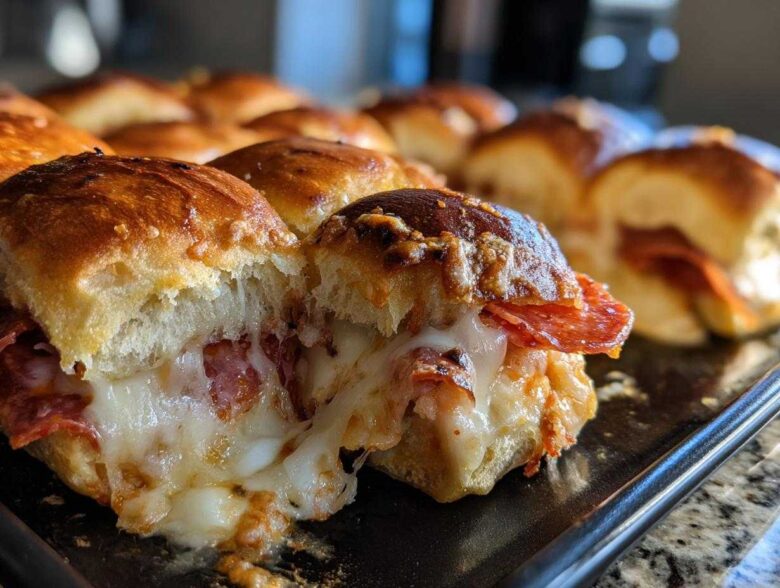
Listen, when the doorbell rings unexpectedly or the game is about to start and everyone’s hungry, you need a hero recipe. And I’m telling you right now, these Hawaiian roll pizza sliders? They saved my hosting life more times than I can count! Forget fiddling with dough or worrying about individual toppings. We are making the ultimate cheesy, gooey, pull-apart pizza sliders, all nestled in that slightly sweet, soft embrace of Hawaiian rolls.
This recipe is my secret weapon for being the most chill host ever. Seriously, the prep is nothing. I keep the ingredients stocked just in case! You’ll follow along, and trust me, the smell that fills your kitchen when that garlic butter hits the oven will make everyone think you’ve been cooking for hours. It’s just that good, and it’s all ready to share. Check out why we love fast food around here!
Why These Hawaiian Roll Pizza Sliders Are the Best Quick Party Food
If you need something fast that disappears the second you set it down, stop looking. These pizza sliders are total magic. They hit every single requirement for a perfect gathering—they are minimal effort, maximum payoff. Seriously, I don’t know how I managed game days before I cracked the code on these beauties. They are the definition of crowd pleasing appetizers.
- Prep takes honestly about ten minutes—maybe less if your cheese is already shredded!
- They use those amazing little Hawaiian rolls, which means no yeast, no kneading, just perfect sweet rolls ready to go.
- They bake up into one giant, cheesy, glorious blanket of flavor that everyone can just pull apart.
- The savory garlic butter topper makes them taste gourmet, even though they are the easiest quick party food imaginable.
Speed and Simplicity: Making Easy Pizza Sliders
When I say easy, I mean we are talking about something that qualifies as a true 30 minute dinner idea if you’re in a pinch! The absolute longest part is just getting that entire sheet of rolls sliced neatly in half horizontally. Here’s my little trick: don’t use a jagged knife. Use a long, thin serrated bread knife, holding the top half steady with your free hand, and saw gently but firmly right through the middle seam. It keeps the little buns connected on the bottom, which is crucial for that perfect pull-apart moment later. You just layer, top, and bake—it’s practically foolproof!
Gathering Ingredients for Cheesy Pizza Sliders
Okay, let’s talk about what you need to make these fantastic cheesy slider recipe superstars happen. Even though this is ultra quick food, don’t get sloppy with your measurements! The ratio of sauce to cheese to that amazing butter topping is what makes these sliders the best handheld pizza snacks around. We need those perfect, fluffy Hawaiian sweet rolls as the base foundation, of course. Everything else is just layering joy on top of joy!
Make sure your ingredients are ready to go before you start slicing the rolls. You don’t want your bottom layer sitting there getting sad while you measure spices. Have that mozzarella shredded and that butter melted and waiting patiently. Precision here means maximum gooey deliciousness later on, I promise!
Ingredient Notes and Substitutions for Your Hawaiian Roll Sliders Recipe
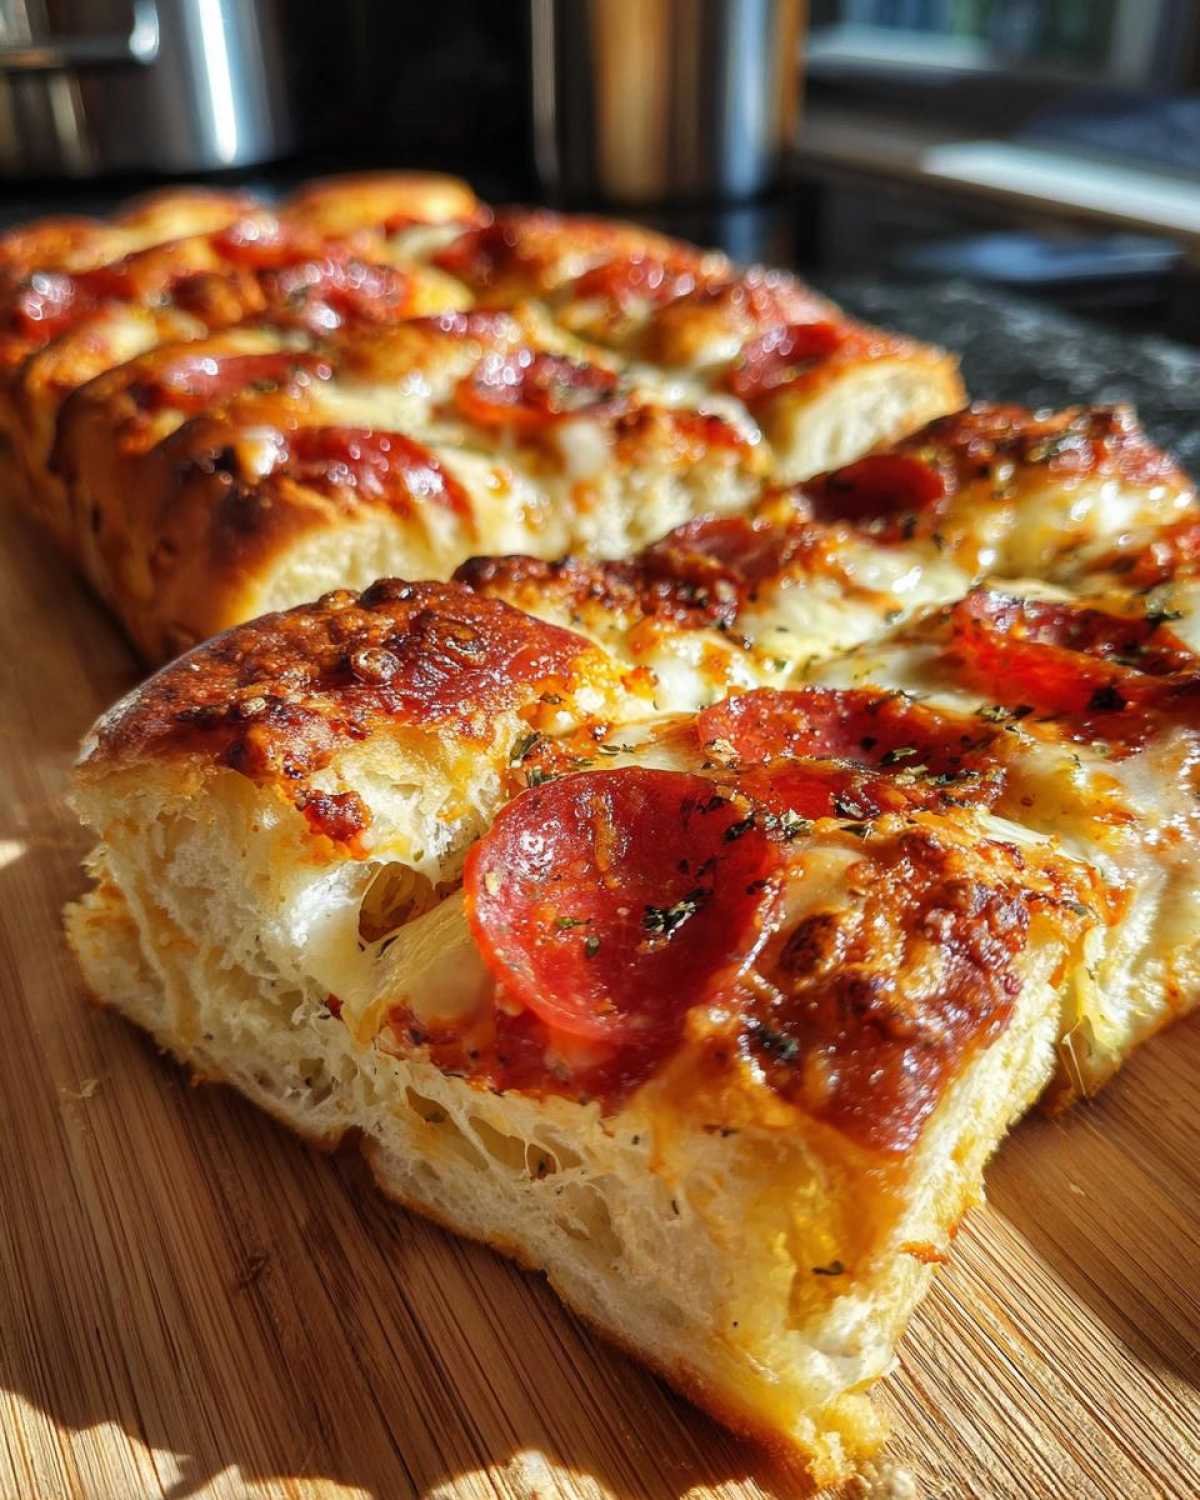
The recipe relies heavily on the sweet-meets-savory vibe, so sticking close to the list is great. But I know sometimes we are working with what we have! Feel free to swap out the mozzarella. Provolone melts beautifully and gives a slightly sharper flavor, or you can just use a straight pizza blend if that’s what you have on hand. That works perfectly too.
Now, for a truly decadent treat? This is where you build trust with your guests! If you want these Hawaiian roll sliders recipe creations to be unbelievably rich, spread a super thin layer of plain cream cheese onto the bottom half of the rolls before you even touch the pizza sauce. It melts right into the bread and adds such a glorious richness. For the pepperoni, use a good quality one; it matters in small bites like this!
Step-by-Step Instructions for Perfect Pull Apart Pizza Bites
Alright, this is where the magic happens! You’ve got your rolls sliced, the ingredients are waiting. Don’t stress about the steps; we’re just assembling a little handheld pizza masterpiece. First things first, you must preheat that oven to 350°F. Get a 9×13 dish ready—a quick spray of cooking oil is all you need to prevent anything from sticking. Trust me, wrestling baked cheese out of a pan is nobody’s idea of fun.
Lay that bottom half of the sweet rolls down snugly in the dish. Now, spread your pizza sauce on top—be a little conservative here! Too much sauce makes these pull apart pizza bites soggy, and we want structure. Next, shower them generously with mozzarella. Then, strategically place your pepperoni slices over the cheese. Finally, top it off with the second half of the rolls.
Now for the best part: that garlic butter! I mix up my melted butter with the herbs and garlic powder until it’s a beautiful, fragrant green-flecked liquid. Here’s my expert tip for truly even coating: use a nice silicone pastry brush and gently dab and sweep the butter over every single visible bun top. Don’t let any corners get missed, or those outside pieces will dry out while the middle stays perfectly soft. Brush it on happily!
We cover it with foil first. That steam keeps the bread tender while the cheese melts completely. You’ll bake this covered for about 15 minutes. Then, you pull that foil off so the tops can get that gorgeous, light golden color in the last five to seven minutes. Before wrapping things up, make sure you pop over and check out the full terms for using this amazing recipe!
Baking Time and Achieving Gooey Perfection
That covered baking time is essential for melting the cheese all the way through. Once you uncover them, you’re just browing the top slightly and ensuring everything is hot and bubbly. When they look perfect, take them out, but this next step is non-negotiable: let them rest for five minutes! If you try to slice them right away, all that glorious, melted cheese will ooze right out onto the plate. Letting them sit for just a few minutes lets the cheese set up just enough. Then you can slice between those rolls and serve up those perfect pizza sliders!
Tips for Making the Best Slider Recipes
Even though this recipe is already super simple, there are a few little tricks I use to elevate these from ‘quick snack’ to ‘must-have party food.’ The biggest enemy of these best slider recipes is sogginess, especially on the bottom rolls. My secret? Before you spread the pizza sauce on the bottom layer, dab the bread lightly with a paper towel. The Hawaiian rolls are already pretty sweet, so they absorb moisture fast. If your sauce seems a little runny, give it a quick stir to make sure it’s thick before spooning it on.
Also, don’t forget, these are versatile! If you’re making them for dinner instead of just as game day appetizers, you can easily switch out the pepperoni for thin slices of ham and use Swiss cheese instead of mozzarella. It’s still fast, still cheesy, and it delivers that same comforting, pull-apart experience. I just love how versatile these little handheld pizza snacks can be!
Storage and Reheating Your Handheld Pizza Snacks
If, by some miracle, you have leftovers (which never happens at my house!), storing them is easy. Keep them in an airtight container in the fridge. Don’t try to keep them too long, though; they are definitely best the day they are made.
When it comes time to reheat them the next day, skip the microwave completely! It turns the bread rubbery, and nobody wants a sweaty slider. The best tactic is to pop them back into a 325°F oven or even an air fryer for about 5 to 7 minutes. This brings that cheesy texture right back and crisps the buttery tops perfectly.
Serving Suggestions for Your Pizza Sliders
These little guys are superstars all on their own, especially when you’re scrambling for game day appetizers. But I find that a little something fresh on the side really balances out the richness of the cheese and butter. Since the rolls are already a bit sweet, I avoid overly sweet sides.
If I’m serving these for a weeknight family dinner, I usually toss together a super quick green salad with just a light vinaigrette. Anything acidic cuts through the fat perfectly! For game days, simple veggie sticks work wonders—think carrot sticks, celery, or some crisp cucumber slices. They are great for dipping in leftover marinara sauce if you happen to have any hanging around!
Frequently Asked Questions About Pizza Sliders
I get so many questions about these little things, which just proves how popular they are! People always want to know the best way to prep, store, or adapt them. Here are the things I hear most often when people try making these quick party food favorites for the first time.
Can I make these pizza sliders ahead of time?
Yes, you absolutely can save some time! I highly recommend assembling everything—the slicing, the sauce, the cheese, and the pepperoni—and getting it all layered in the pan. But here’s the trick: cover it tightly with plastic wrap and stick it in the fridge. Don’t add that glorious garlic butter topping yet! Pull the whole thing out about 20 minutes before you want to bake it so it’s not ice-cold, brush on the butter, and then bake as directed. It works like a charm for those events where every second counts!
What is the best way to reheat pepperoni pizza bites?
If you have any leftover pepperoni pizza bites (good for you!), do not ruin them in the microwave! If you want them to taste almost-as-good-as-new, you need dry heat. I pop mine back into a cooler oven, around 325°F, for about 8 to 10 minutes, or straight into the air fryer at 300°F until the cheese is just starting to melt again. This restores that slight crispness to the bread tops!
Are these suitable for vegetarian diets?
Well, the version I shared here uses pepperoni, so as written, they aren’t vegetarian. But my gosh, they are so easy to adapt! If you skip the pepperoni entirely, you are left with a fantastic cheese-and-sauce slider. Or, try adding spinach and mushrooms! If you want to make them vegetarian, just leave the meat out, and you still get that wonderful cheesy texture and garlic butter flavor. You can find my veggie-only testing notes over at the contact page if you need more ideas!
Nutritional Estimates for These Garlic Butter Sliders
I always feel a little awkward posting numbers, because honestly, when I’m whipping these up for the Super Bowl, counting calories is the absolute last thing on my mind! But because we all need to know what we’re diving into, I pulled the standard estimates for one slider based on the ingredients listed. It’s good to have a general idea, even when serving up the best game day appetizers.
Keep in mind, these numbers swing wildly depending on how much butter you brush on top (and let’s be real, I always brush extra!) and whether you use leaner pepperoni or the spicy kind. So, please treat these as a helpful guide rather than an exact science. You can review our full nutritional disclaimer here if you’re super curious about methodology, but trust me, they are worth every single bite!
- Serving Size: 1 slider
- Calories: 250
- Fat: 13g
- Saturated Fat: 6g
- Carbohydrates: 23g
- Sugar: 8g
- Protein: 10g
- Sodium: About 550mg (This can creep up depending on your roll brand!)
For those of you keeping track, the sugar content is mostly coming straight from those delicious Hawaiian rolls—that’s what makes them so good! But look at that protein count; they’re surprisingly filling for such a little packet of joy!
PrintHawaiian Roll Pepperoni Pizza Sliders with Garlic Butter
Make quick, cheesy, pull-apart pizza sliders using Hawaiian rolls, topped with a savory garlic herb butter.
- Prep Time: 10 min
- Cook Time: 22 min
- Total Time: 32 min
- Yield: 12 sliders
- Category: Appetizer
- Method: Baking
- Cuisine: American
- Diet: Vegetarian
Ingredients
- 1 (12 count) package Hawaiian sweet rolls
- 1/2 cup pizza sauce
- 1 1/2 cups shredded mozzarella cheese
- 1/2 cup sliced pepperoni
- 1/4 cup unsalted butter, melted
- 1 teaspoon dried parsley
- 1/2 teaspoon garlic powder
- 1/4 teaspoon dried oregano
Instructions
- Preheat your oven to 350 degrees Fahrenheit. Lightly grease a 9×13 inch baking dish.
- Slice the entire package of Hawaiian rolls horizontally, keeping the rolls connected in their original shape. Place the bottom half of the rolls into the prepared baking dish.
- Spread the pizza sauce evenly over the bottom layer of rolls.
- Sprinkle the mozzarella cheese over the sauce.
- Arrange the pepperoni slices on top of the cheese.
- Place the top half of the rolls over the pepperoni layer.
- In a small bowl, mix the melted butter, parsley, garlic powder, and oregano. Brush this mixture evenly over the top of the assembled sliders.
- Cover the baking dish loosely with aluminum foil.
- Bake for 15 minutes. Remove the foil and bake for another 5 to 7 minutes, or until the cheese is melted and bubbly and the tops are lightly golden brown.
- Let the sliders rest for 5 minutes before slicing between the rolls and serving.
Notes
- You can substitute mozzarella with provolone or a pizza blend cheese.
- Add a thin layer of cream cheese to the bottom roll for extra richness.
- For a spicier flavor, add a pinch of red pepper flakes to the garlic butter topping.
Nutrition
- Serving Size: 1 slider
- Calories: 250
- Sugar: 8
- Sodium: 550
- Fat: 13
- Saturated Fat: 6
- Unsaturated Fat: 7
- Trans Fat: 0
- Carbohydrates: 23
- Fiber: 1
- Protein: 10
- Cholesterol: 30