

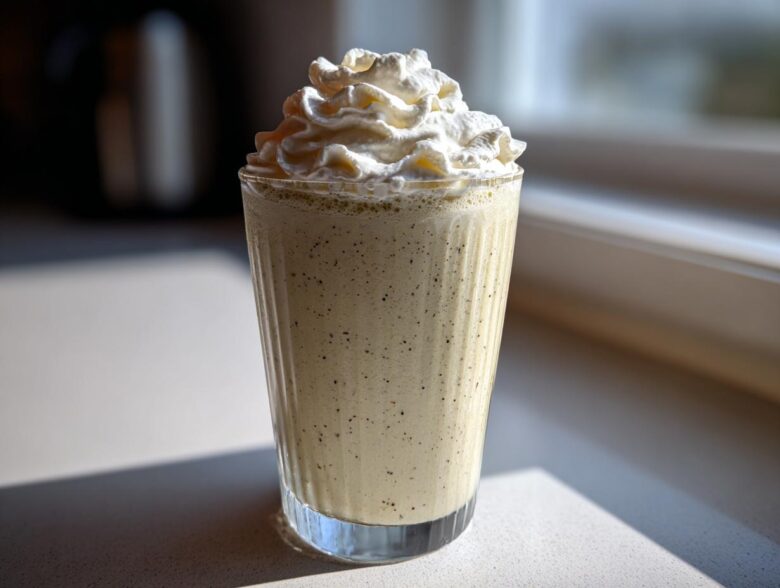
Oh gosh, I know that feeling! It’s two o’clock, the sun is blazing, and you just desperately need that icy, perfectly sweet, creamy vanilla drink that costs you nearly six dollars every single time. I spent *years* testing this, friends, trying to crack the code on getting that signature thick, almost scoopable texture without a commercial machine. Forget those watery disappointments! This **Homemade Vanilla Bean Frappuccino** recipe locks in the perfect balance of sweet vanilla and that crucial icy structure. Trust me, once you nail the texture, you won’t look back. We’re talking coffee shop quality, made faster in your own kitchen!
I’m always popping over to check the history of things I love, which is why I spend so much time in the kitchen trying to recreate my favorites. If you want to see more about my deep dives into food science and why recipes work, you can check out my little corner about us page!
Why This Homemade Vanilla Bean Frappuccino Recipe Works
Honestly, there are a million icy drinks out there that try to be a copycat, but they just end up tasting like a sweet milkshake. We don’t want that! This recipe is about precision hydration and amazing flavor layering. I’ve tested every stabilizer under the sun, and I finally landed on the secret sauce that keeps this drink perfectly smooth, not slushy!
If you’re looking for the best homemade vanilla frappuccino recipe that actually tastes professional, these two elements are non-negotiable:
- The Texture Agent: It’s the trick that locks everything in. We use a tiny bit of a specific ingredient to make sure it doesn’t separate quickly like watery ice cubes do.
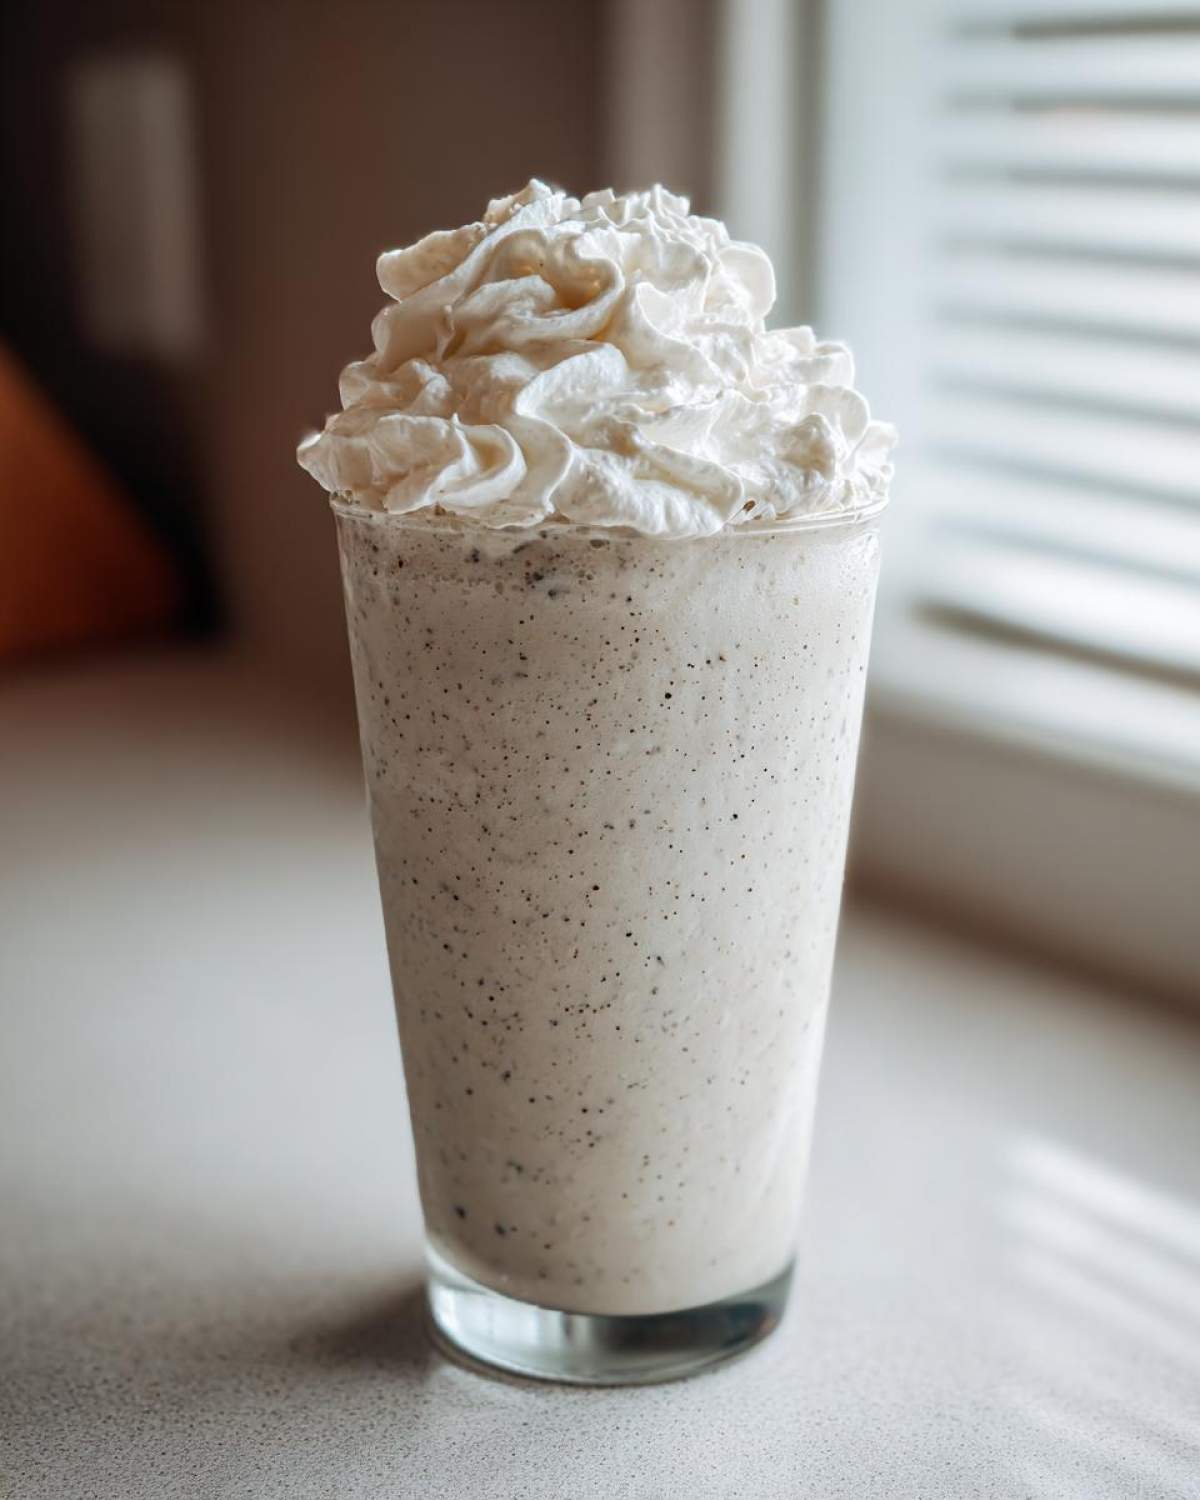
- The Vanilla Depth: Using more than just basic extract makes a difference. That little black speck you see? That’s pure vanilla power doing its job!
Achieving the Signature Thick, Icy Texture
Okay, this is the make-or-break moment for any blended drink. We rely on a tiny pinch of xanthan gum. I know it sounds scary, maybe like something from a science lab, but trust me, it’s magic! It’s what the coffee shops use to prevent the ice crystals from separating from the liquid, giving you that perfectly creamy, thick blend that stays smooth as you sip.
If you don’t have it on hand, don’t panic! We have a couple of slightly different, yet totally effective, fallback options in the notes below that work almost as well to create that amazingly creamy blended vanilla milkshake texture.
The Secret to Authentic Flavor in Your Homemade Vanilla Bean Frappuccino
You can’t have a true Homemade Vanilla Bean Frappuccino without real vanilla flavor punching through! That’s why I insist on scraping out the seeds if you have a whole bean, or using a high-quality vanilla bean paste if you don’t. That paste has those beautiful specks and a much deeper flavor profile than standard clear vanilla extract can give you. It’s what gives you that rich, authentic coffee shop taste; simple extract just falls flat against the ice and sugar!
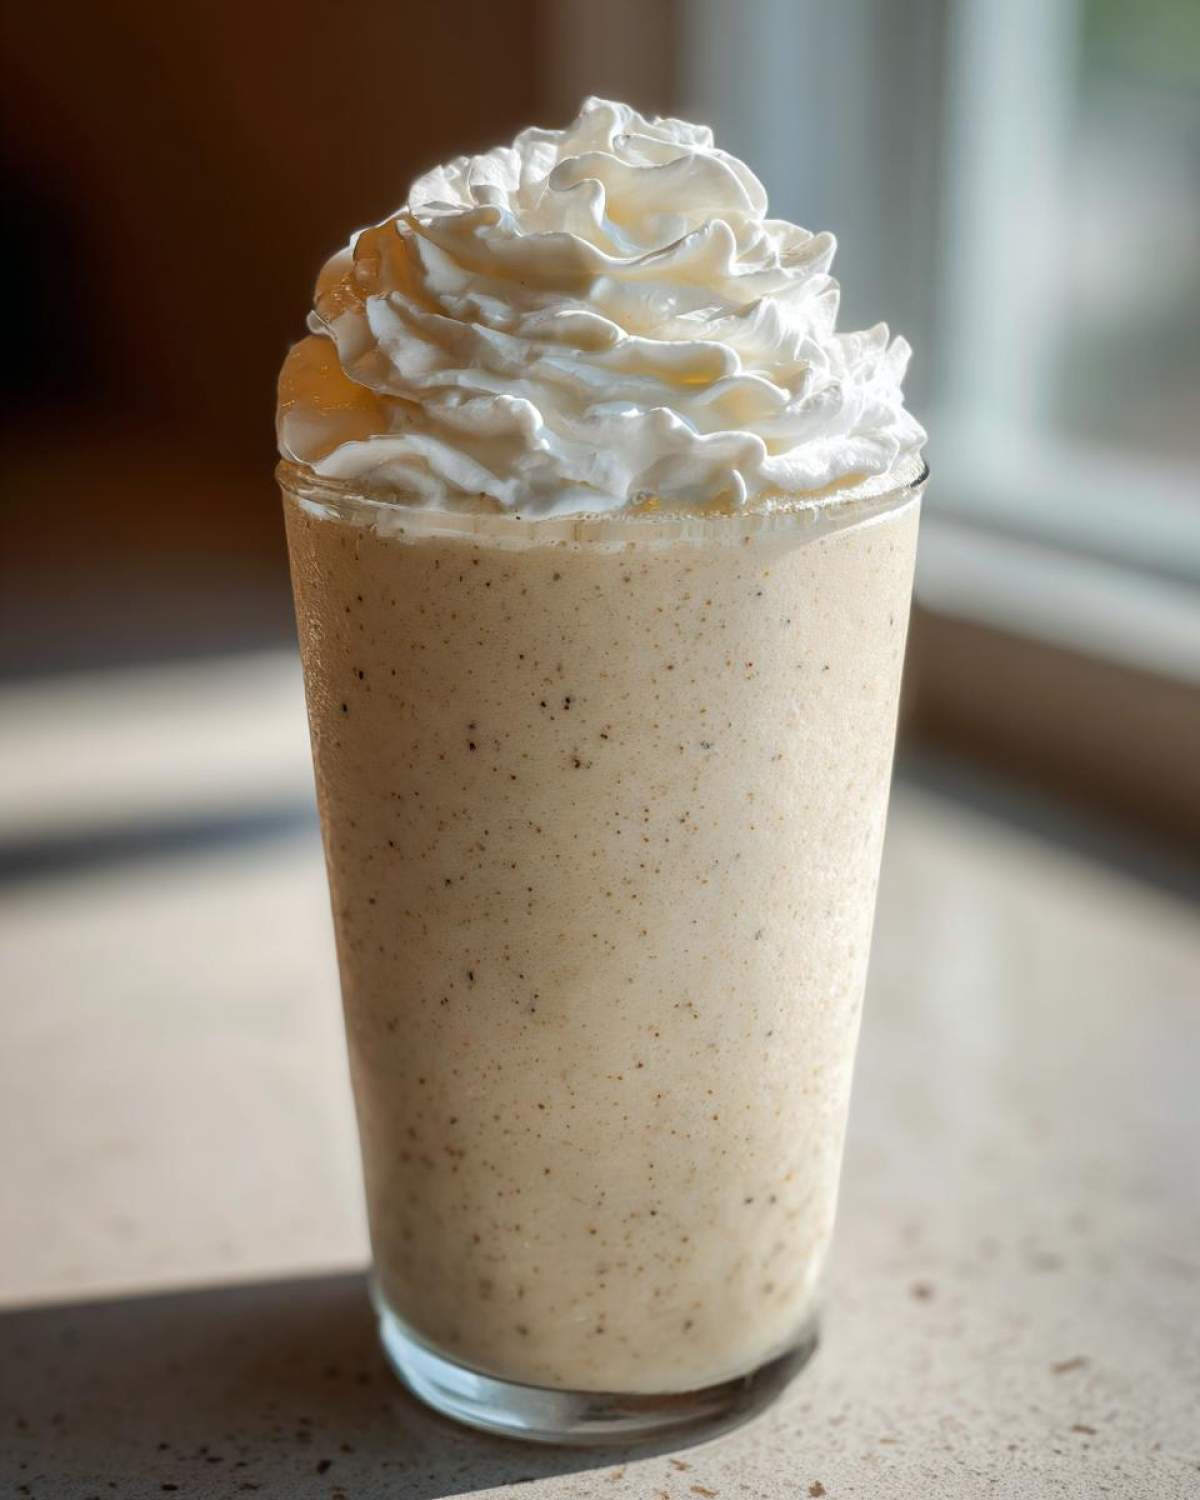
Gathering Ingredients for Your Homemade Vanilla Bean Frappuccino
Okay, let’s get everything ready to go! Because this drink comes together so fast—we’re talking maybe five minutes total—you need to have all your components measured out ahead of time. Don’t let the simplicity fool you; having everything ready is key to avoiding a sad, lukewarm puddle when you’re done blending. I’ve listed out exactly what I use to get the perfect volume and sweetness for one glorious serving of **Homemade Vanilla Bean Frappuccino**.
- 1 cup whole milk (or whatever milk gives you that creamy finish!)
- 1/2 cup strong brewed coffee or espresso, already cooled down
- 1/4 cup granulated sugar
- 1 teaspoon standard vanilla extract
- 1/2 vanilla bean, seeds scraped right out, OR 1 teaspoon of vanilla bean paste
- 1 1/2 cups ice cubes—don’t skimp!
- 1/4 teaspoon xanthan gum (Seriously, just a tiny sprinkle!)
- Whipped cream for topping (If you’re feeling extra fancy!)
If you want to try making your own amazing vanilla frosting sometime, you should check out my recipe for vanilla buttercream frosting—it uses some of the same foundational vanilla flavorings!
Ingredient Notes and Substitutions for Homemade Vanilla Bean Frappuccino
I know sometimes you just can’t find xanthan gum, and that’s okay! If you’re out, the recipe notes suggest swapping it for about 1 tablespoon of cream cheese or a half teaspoon of instant pudding mix. Those work because they introduce a little body that mimics the gum, though the texture might lean a *tiny* bit heavier, more like a true milkshake. Also, if you can’t find the fancy vanilla bean paste for your **Homemade Vanilla Bean Frappuccino**? Go ahead and use 1 1/2 teaspoons of regular vanilla extract instead. You just need that extra dose of flavor when you skip the paste!
Authentic Vanilla Bean Frappuccino Instructions: Step-by-Step Blending
Alright, the moment of truth! Getting the order right here is everything, believe me. If you dump all that ice in first, your blender is going to scream at you. For this Homemade Vanilla Bean Frappuccino, we start gentle. Get your liquids—milk and your pre-cooled coffee or espresso—into the blender pitcher first. Pour in the sugar, scrape your vanilla seeds in if you haven’t already, and sprinkle in that tiny bit of magical xanthan gum.
Only once the base liquids and powders are together do we add the ice cubes right on top. This helps everything crush evenly when we start blending. If you’re serious about great blended drinks, I seriously recommend checking out my tips on the best blender recipes for frozen coffee drinks—it makes a huge difference!
Blending Technique for the Creamiest Homemade Vanilla Bean Frappuccino
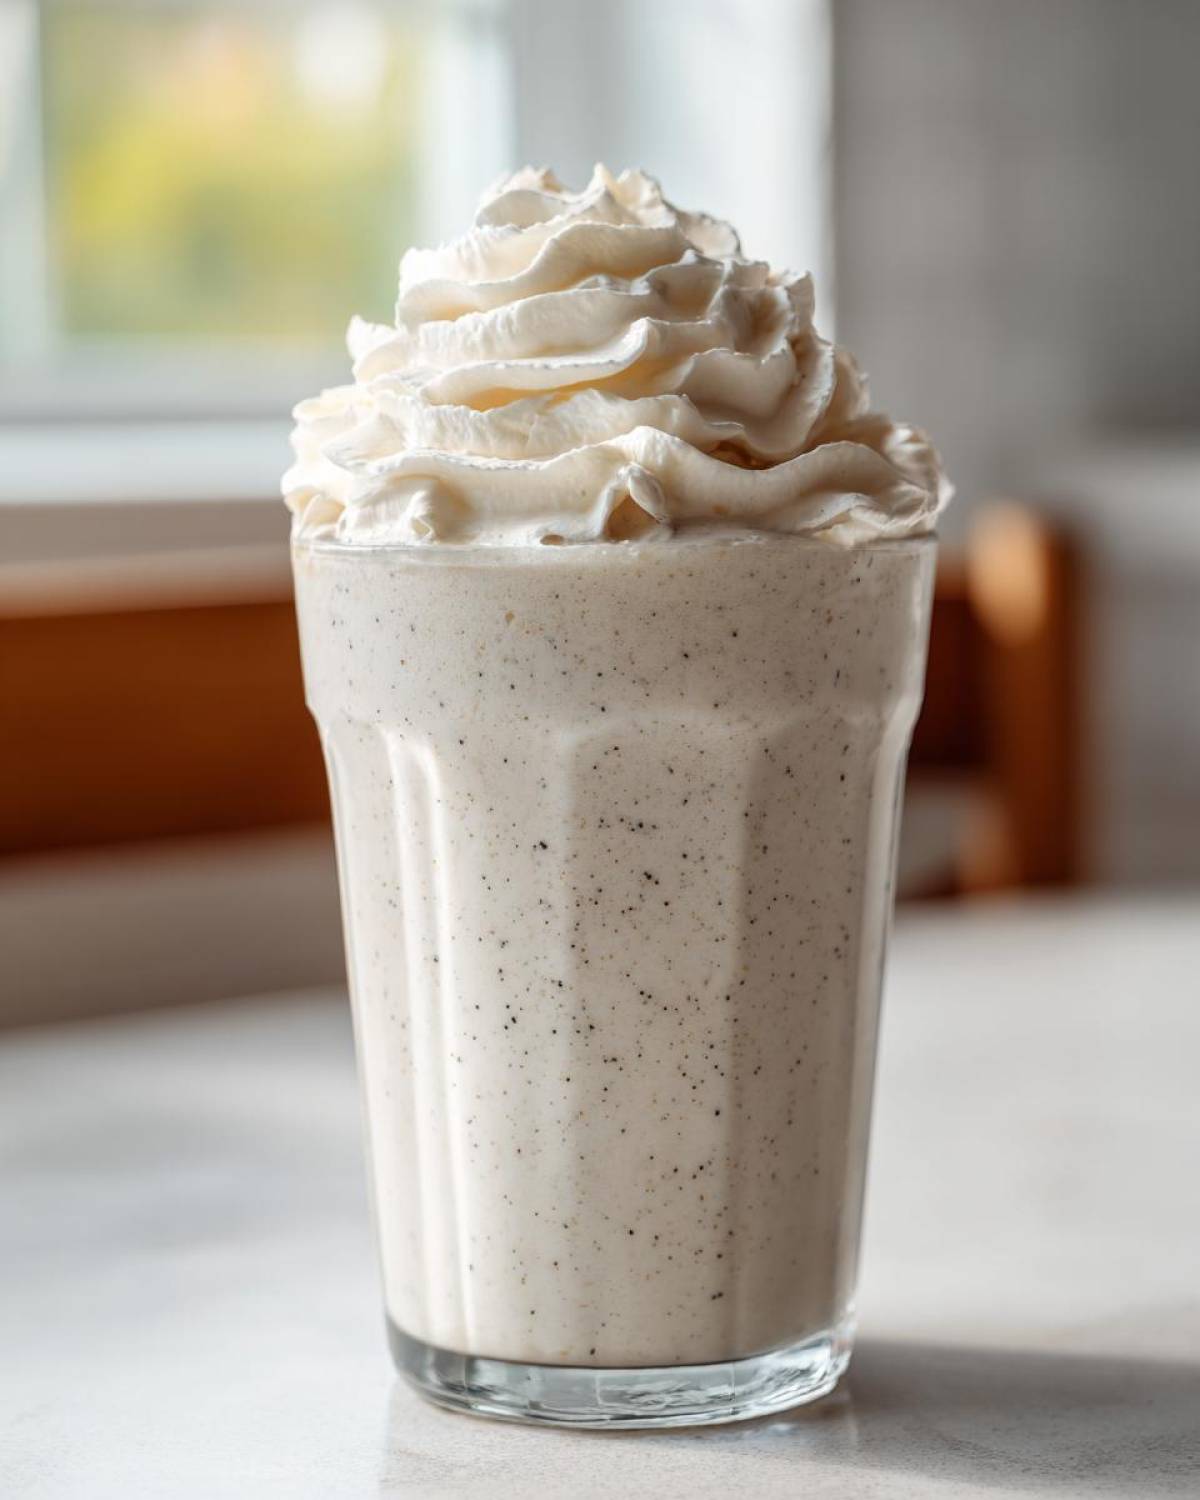
Secure that lid, hold on tight, and start on a lower speed just to get things moving and break up the big ice chunks. Once it starts swirling, crank that dial up to HIGH! You want to blend continuously until you see zero ice chunks and the mixture looks perfectly uniform—think thick, smooth silk, not chunky gravel. I usually blend for a good 45 seconds total. Stop once or twice to scrape down the sides if you need to, just to make sure everything gets incorporated evenly.
When you think it’s done, give it a quick taste check! Does it need a little more sweet zip? Add a tiny bit more sugar or vanilla, blend for just three more seconds, and pour out your gorgeous, creamy **Homemade Vanilla Bean Frappuccino** immediately!
Customizing Your Iced Blended Vanilla Drink Recipe
One of the joys of making these drinks at home is that nobody tells you you *have* to use espresso if you don’t want to! Sometimes I just want that pure, sugary vanilla hit without any caffeine jitters. This recipe is super flexible. If you’re skipping the coffee entirely, you definitely need to pay attention to volume and richness, because coffee does add a certain depth.
Dairy substitutes are totally fine too! Fun fact: Oat milk works wonders here. It has a bit more natural sweetness and fat content than almond milk, so it blends up into a beautifully rich base for this icy treat. I even have a favorite coconut soup recipe with loads of coconut milk when the weather is hot, and honestly, coconut milk gives such a great natural creaminess that totally works here too! You can find that recipe here if you’re curious.
Making a Coffee Free Vanilla Bean Frappuccino at Home
If you’re going totally coffee free, you need to make up for that missing volume and flavor. Skipping the 1/2 cup of cooled espresso means you need to add something back in, or your drink will be thin—we are aiming for thick, remember?
My best advice for a full **Homemade Vanilla Bean Frappuccino** without coffee is to increase your ice slightly, maybe up to 1 3/4 cups, and add in an extra splash (maybe 2 tablespoons) of your chosen milk. You might also want to bump up the vanilla bean paste by just a tiny bit, maybe another quarter teaspoon, to make sure that pure vanilla essence still shines through powerfully!
Toppings and Presentation for Your Homemade Vanilla Bean Frappuccino
You’ve made the perfect frosty base, and now it’s time to make it beautiful! A proper coffee shop drink demands a dazzling crown, and you simply cannot use that spongy, air-filled stuff from a can if you’ve gone to this much trouble. We are making the topping from scratch, too!
Putting this entire perfect **Homemade Vanilla Bean Frappuccino** together means taking the extra two minutes to whip up amazing vanilla whipped cream. It whips up seriously fast—I usually just use my hand mixer because pouring everything into the big stand mixer for just half a cup of heavy cream feels like overkill!
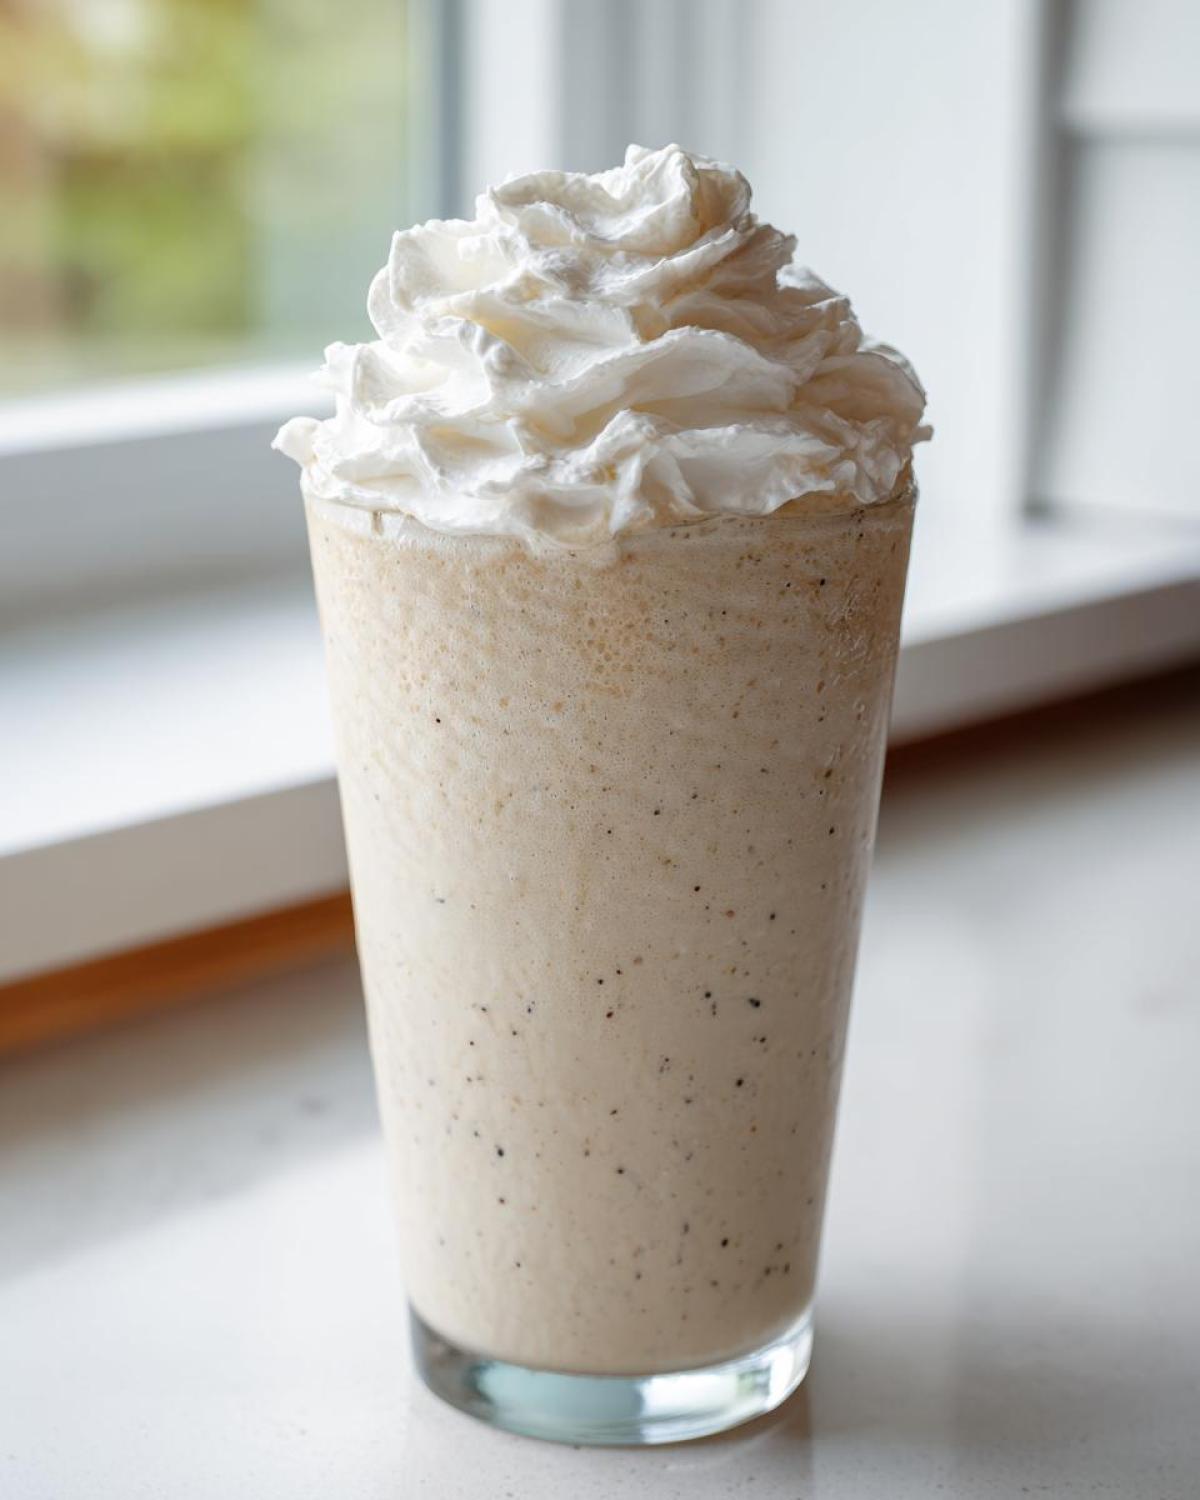
Here is the quick recipe for the best topping:
- Whip about 1/2 cup of heavy whipping cream.
- Add 1 tablespoon of powdered sugar (the fine sugar dissolves faster!).
- Drop in 1/2 teaspoon of vanilla extract.
- Beat until you get stiff peaks that actually hold their shape when you pull the beaters out.
If you’re ever looking for another amazing vanilla application while you’re in a baking mood, my vanilla buttercream frosting is always a hit at parties! Once that cream is ready, pile it high on your **Homemade Vanilla Bean Frappuccino**, maybe dust it with a *tiny* bit of cinnamon if you are feeling dramatic, and serve it right away in a tall, chilled glass. Presentation matters!
Storage and Making Ahead Tips for the Thick Icy Vanilla Drink Summer Treat
Listen, if you’re making the perfect **Thick Icy Vanilla Drink Summer Treat**, I hate to break it to you, but you have to drink it *right now*. Seriously, like, immediately after blending! Because we are using real ice and xanthan gum, this drink is incredibly unstable once it stops moving. If you let it sit on the counter for even five minutes, you’ll end up with liquid at the bottom and a weird icy sludge on top. It’s just the nature of these frozen blended drinks, sadly, they don’t reheat or store well!
That doesn’t mean you can’t prep parts of it ahead of time though! That’s where you save yourself huge amounts of time when you have that sudden craving. The key to success when you’re rushing is having the components ready to go.
- Coffee First: Always brew your espresso or coffee strong the night before and store it in an airtight jar in the fridge. Cold, concentrated coffee blends much better than warm coffee, which melts your ice immediately!
- Topping Triage: If you made that glorious homemade whipped cream, store that in the fridge in a piping bag or a very tightly sealed bowl. It usually lasts great for about 24 hours if kept super cold.
- Dry Mix Prep: If you want to get ahead, measure out your sugar and your sneaky little pinch of xanthan gum into a tiny container. When you’re ready to blend, just dump this pre-made powder mix in with your milk!
Honestly, the best part about making these at home is how fast they are. I swear, sometimes getting out the ice tray takes longer than the actual blending! Since we’re not baking anything that needs cooling, which often requires planning ahead—like waiting for my soft sugar cookies to cool completely—you just have to worry about chill time for liquids.
Frequently Asked Questions About the Homemade Vanilla Bean Frappuccino
I always get so many questions after sharing my recipe! People want to know every last detail, especially if they are trying to nail that perfect **Starbucks copycat vanilla bean frappuccino** flavor profile at home. Here are the things I hear most often when people are mixing up their first batch!
Can I use vanilla bean paste instead of real beans in the Homemade Vanilla Bean Frappuccino?
Absolutely, 100% yes! Vanilla bean paste is actually my go-to if I haven’t stopped at the specialty store lately. It saves you the fiddly work of scraping out the bean pod, and you still get those beautiful black speckles and that deep, intense vanilla flavor that makes this drink so spectacular. It’s a fantastic shortcut!
What is the best blender recipe for frozen coffee drinks like this?
Look, if you have a high-powered machine—like a Vitamix or one of those serious models—it’s super easy. You add everything, turn it on high, and it’s done in under a minute. Now, if you have a standard blender, you need to be patient! That’s why we add the liquids first and then the ice, so the blades can catch everything evenly. If you stick to the blending technique I mentioned, you’ll still get that wonderfully **creamy blended vanilla milkshake recipe** texture without needing a commercial machine!
If you’re looking for other ways to use vanilla flavorings, my cookie icing recipe gets rave reviews once you have the base flavor down.
Estimated Nutrition for Your Homemade Vanilla Bean Frappuccino
I always feel a little weird posting nutrition facts because, hey, this is a treat! It’s supposed to be indulgent, right? But I know some of you are tracking things closely, so I wanted to give you a general idea of what’s in one tall glass of this amazing drink, based on using whole milk and the specified sweeteners.
Remember, this is just an **estimate**, okay? If you swap out whole milk for skim or use a different sweetener, those numbers will definitely change. I calculated this based on one serving, topped with nothing but a little dusting of sugar!
Here is what we are looking at for one standard serving:
- Calories: About 350
- Fat: Around 10 grams (with 6 grams being saturated fat)
- Carbohydrates: Roughly 65 grams
- Sugar: Yikes! About 55 grams (This confirms why we only have this treat sometimes!).
- Protein: Around 8 grams
- Sodium: Low, about 100mg
If you go wild and add the homemade whipped cream on top, you’ll definitely need to tack on a little more fat and sugar, just a heads up! But even with that creamy topping, making this **Homemade Vanilla Bean Frappuccino** yourself is still worth every single calorie compared to buying it out!
Share Your Perfect Homemade Vanilla Bean Frappuccino Creation
I truly hope you love making this as much as I love perfecting it! But now it’s your turn to head to the blender!
Once you whip up your first **Homemade Vanilla Bean Frappuccino**, I absolutely need to know how it went! Did you use oat milk? Did you stick to the vanilla bean seeds? Did you go heavy on the homemade whipped cream—because I always do!
Please stop by the comments section below and leave a rating for the recipe! Five stars if it nailed that coffee shop texture for you, right? It really helps other readers decide if they should jump in and try blending up this amazing icy treat.
And if you snap a photo, please tag me on social media! There is nothing I love more than seeing your beautiful, frosty creations on my feed. You can always get in touch with me directly through my contact page if you have any specific questions I didn’t cover above or if you just want to share a compliment!
PrintHomemade Vanilla Bean Frappuccino
Make a smooth, icy vanilla bean blended drink at home that tastes like your favorite coffee shop version.
- Prep Time: 5 min
- Cook Time: 0 min
- Total Time: 5 min
- Yield: 1 serving
- Category: Beverage
- Method: Blending
- Cuisine: American
- Diet: Vegetarian
Ingredients
- 1 cup whole milk or preferred dairy alternative
- 1/2 cup strong brewed coffee or espresso, cooled (optional)
- 1/4 cup granulated sugar
- 1 teaspoon vanilla extract
- 1/2 vanilla bean, seeds scraped (or 1 teaspoon vanilla bean paste)
- 1 1/2 cups ice cubes
- 1/4 teaspoon xanthan gum (for thickness)
- Whipped cream for topping (optional)
Instructions
- Combine the milk, cooled coffee (if using), sugar, vanilla extract, vanilla bean seeds, and xanthan gum in a high-speed blender.
- Add the ice cubes to the blender last.
- Secure the lid and blend on high speed until the mixture is completely smooth and has a uniform, icy texture. You may need to stop and scrape down the sides once.
- Taste the mixture; add a little more sugar or vanilla if needed, then blend briefly to combine.
- Pour the blended mixture into a tall glass.
- Top with homemade or store-bought whipped cream, if desired.
Notes
- For a thicker drink without coffee, increase the ice to 2 cups and use slightly less milk.
- If you do not have xanthan gum, you can substitute with 1 tablespoon of cream cheese or 1/2 teaspoon of instant pudding mix for texture, though the texture may vary.
- To make vanilla whipped cream, whip 1/2 cup heavy cream with 1 tablespoon powdered sugar and 1/2 teaspoon vanilla extract until stiff peaks form.
- If you only have vanilla extract and no bean or paste, use 1 1/2 teaspoons of vanilla extract total.
Nutrition
- Serving Size: 1 drink
- Calories: 350
- Sugar: 55
- Sodium: 100
- Fat: 10
- Saturated Fat: 6
- Unsaturated Fat: 4
- Trans Fat: 0
- Carbohydrates: 65
- Fiber: 0
- Protein: 8
- Cholesterol: 35