

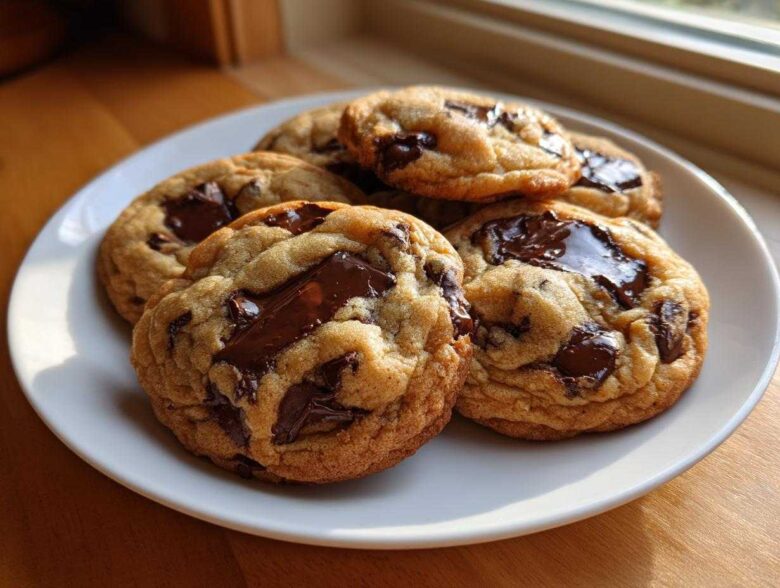
Okay, let’s talk about the cookie that launched a thousand kitchen fires in our early days: the chocolate chip cookie. Seriously, Mia and I have incinerated more sheet pans than I care to admit trying to get this right! But through all the charred edges and flat, sad puddles we used to produce, we finally cracked the code. Forget those dry, crumbly things—what you deserve are the ultimate, thick, soft, and chewy homemade chocolate chip cookies that taste like they came straight from an artisanal bakery.
We aren’t just posting another recipe here; this is the culmination of years of friendship, chaos, and learning exactly how much butter makes things beautiful. If you’re looking for that perfect hug-in-a-round-form, where the center is delightfully gooey and the edges offer just the right little crisp snap? Well, welcome to the club, because this is it. If you want to see the story of how we went from burnt toast disasters to baking pros, check out our messier-than-average journey over at About Us!
Why This is the Ultimate Homemade Chocolate Chip Cookies Recipe
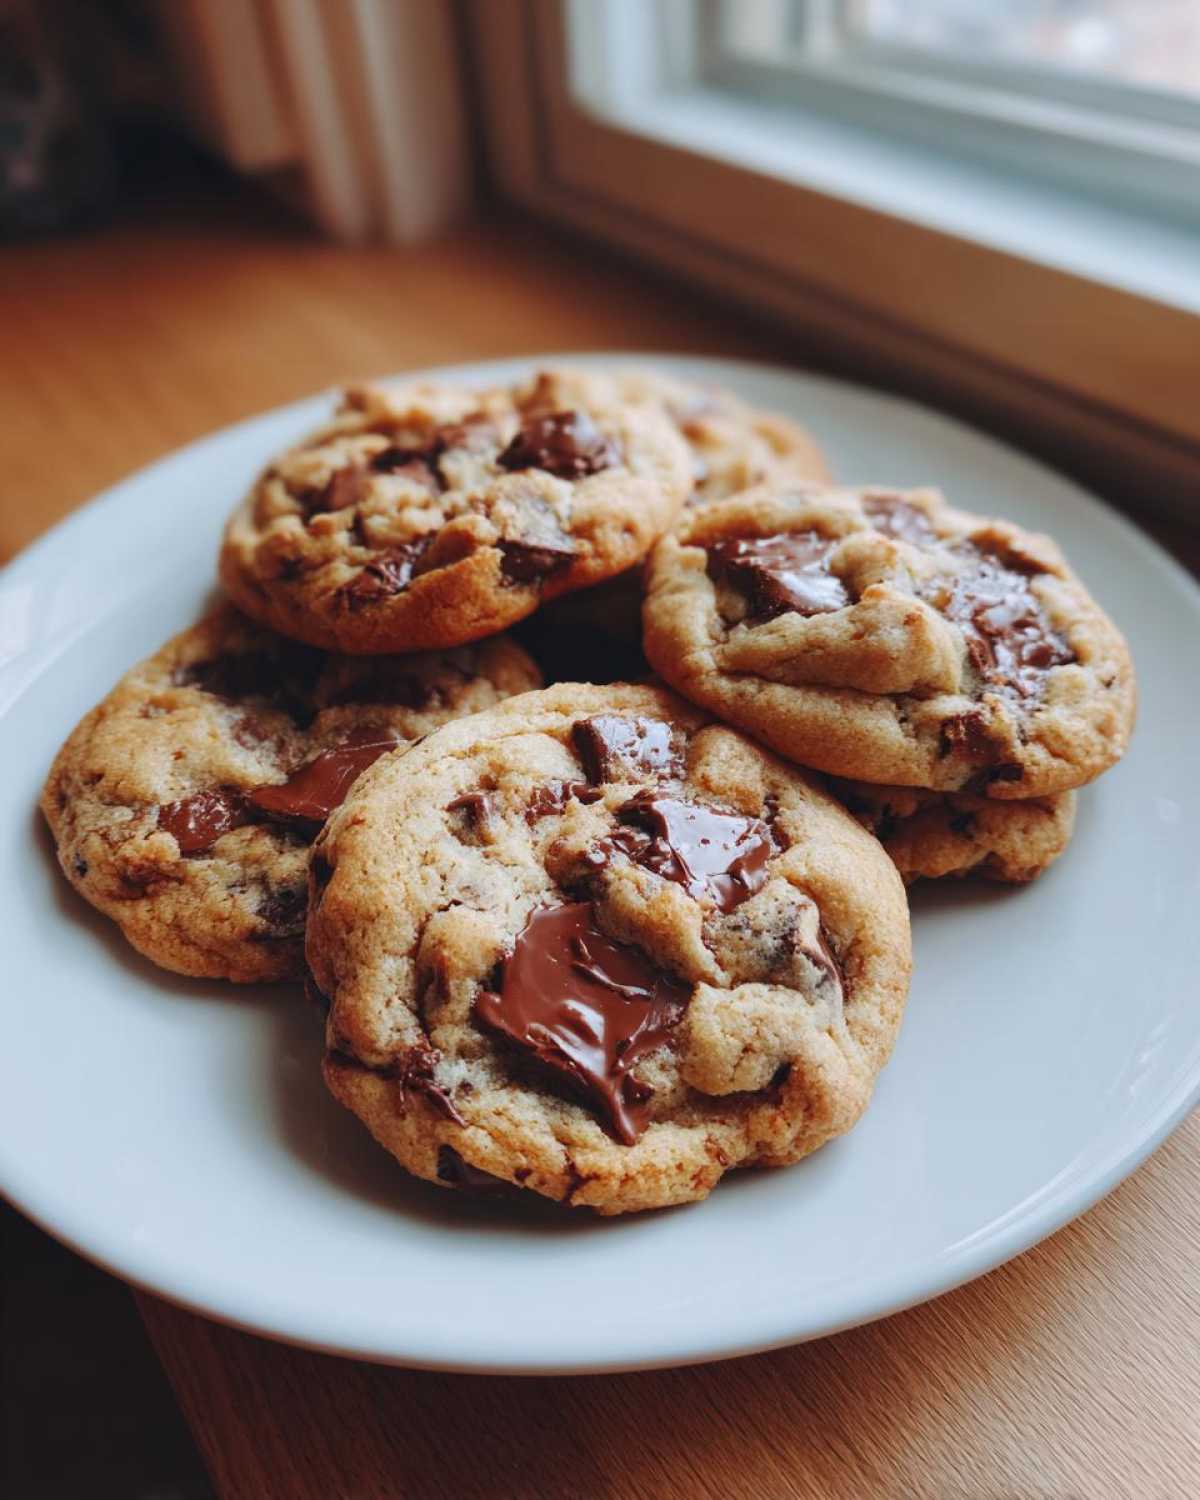
Honestly, when Mia and I talk about homemade chocolate chip cookies, the conversation always circles back to texture. We don’t want pancakes on a baking sheet, right? We want substance! This recipe nails that bakery vibe because we spent months adjusting ratios until we hit the sweet spot. Trust me, you’ll notice the difference immediately when you bite into one of these thick beauties.
- They deliver that highly desirable Bakery Style Cookies feel.
- Guaranteed Thick and Chewy Cookies—no more flat failures!
- That Soft Gooey Center Cookies dream comes true every time.
- Just enough crispness on the Crispy Edge Cookies to offer contrast.
We’ve got a whole separate post dedicated to other chewy variations, but this specific method sets the baseline for cookie perfection. You can see some of our other chewy experiments over at Our Chewy Chocolate Chip Cookie Adventures, but let’s see *why* this classic works so well.
Achieving Perfect Cookie Texture Every Time
It all starts with the fat and the sugar, seriously. That first mixing step—creaming the butter with both sugars—is non-negotiable. We use a higher ratio of brown sugar than white sugar here, which is key. That brown sugar isn’t just for flavor; the molasses locks in moisture, ensuring you get a softer chew instead of a crisp snap all the way through. When you cream them correctly, you’re whipping air into the foundation, which keeps the cookie thick instead of letting it spread into oblivion.
Gathering Ingredients for Your Homemade Chocolate Chip Cookies
Okay, here’s the lineup for crafting the absolute best homemade chocolate chip cookies. Remember, for that rich, melt-in-your-mouth experience, quality matters! We’re making sure these are genuinely buttery, so don’t skimp on the good stuff. You’ll need two sticks of unsalted butter, softened—and I mean properly softened, not melted! We need both white sugar and packed light brown sugar for that perfect moisture/crisp balance. Two large eggs go in, along with a full tablespoon of vanilla extract. For the dry group, grab your flour, baking soda, and salt. Finally, the star: a whole cup and a half of semi-sweet chocolate chips. If you want to see how we make seriously good caramelized onions (a savory obsession!), check out that guide here!
Ingredient Notes and Smart Substitutions
Listen closely, because this is where beginners mess up the texture. Always use unsalted butter when baking. Why? Because we are controlling the salt content ourselves in the dry mix. If you use salted butter, your cookies might taste a little… aggressive! Also, please use room temperature eggs. Cold eggs shock the creamed butter mixture and deflate those precious air pockets we just worked so hard to create. Oops!
For the chocolate, I sometimes swap out a quarter cup of the semi-sweet for dark chocolate chunks just for a little flavor depth—it’s amazing. If you’re out of baking soda? Well, that’s a tough one, because you really need it for the lift, but you could use a tiny bit of baking powder in a pinch, though the texture won’t be quite as perfect.
Step-by-Step Instructions for Thick and Chewy Homemade Chocolate Chip Cookies
Alright, let’s get baking! This is the fun part, and since this is nearly a 30-minute marvel when you’re itching for a treat, we need to move efficiently. Get your oven preheated to 350°F—no peeking before that! I always line my sheets with parchment paper because Mia used to complain about scrubbing baked-on sugar. It’s an easy step that saves major cleanup later. We are taking these steps exactly as written because they’re calibrated to give you those wonderful homemade chocolate chip cookies—thick, soft, and ready fast!
The full instructions are on the recipe card, but I want to focus on which steps are total game-changers for texture. If you want to see a super simple companion recipe for savory goodness, check out my guide to easy garlic butter!
The Critical Technique: Creaming and Mixing
When you cream the softened butter with both sugars (Step 2), you have to beat it until it looks genuinely light and fluffy—almost pale yellow. This isn’t just mixing; you are incorporating air. That air is what keeps the cookie high and thick instead of letting it spread into oblivion. Don’t rush this! Once you add the eggs one by one, make sure each one is fully incorporated before adding the next, followed by that vanilla goodness. This ensures a stable, emulsified wet base.
When you introduce the dry ingredients (flour, soda, salt), turn your mixer speed way down. We only mix until those white streaks just disappear. Seriously, stop the mixer! Overmixing after the flour goes in is enemy number one for chewy cookies because it starts building gluten, which leads to tough results. We want tender, not tough!
Baking Your Homemade Chocolate Chip Cookies for Soft Centers
Scooping is another area where you can control the “bakery style.” Use a rounded tablespoon or a small cookie scoop. We want nice, high mounds of dough placed about two inches apart. For extra thickness, gently press the tops down a tiny bit—just a little encouragement, don’t flatten them completely! This is where people mess up the final look of their homemade chocolate chip cookies.
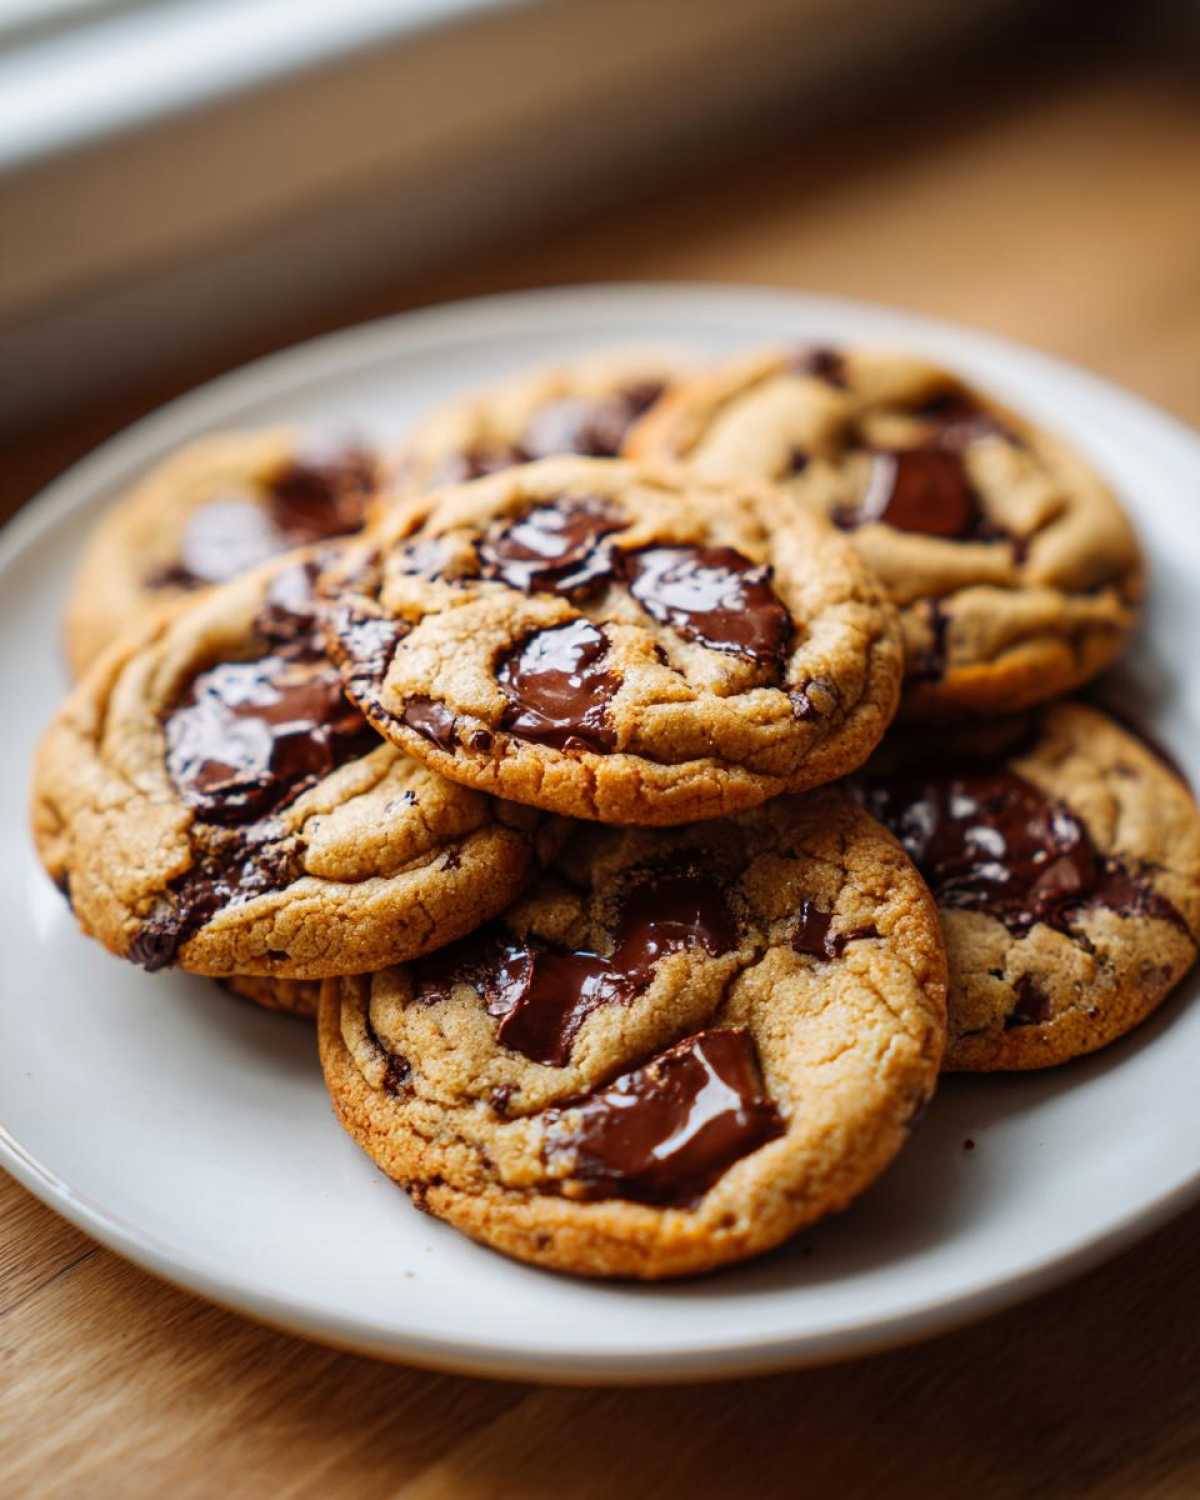
Bake them for 10 to 12 minutes. The moment the edges look golden brown, pull them out! I mean it! They should look slightly underbaked in the very center when you take them out. They continue to cook on that hot sheet pan, which is exactly how we guarantee that super soft, gooey center everyone raves about. If you want to see a fantastic technique for achieving that ultra-thick look, check out what the folks over at Handle the Heat suggest!
Tips for Success with Your Bakery Style Cookies
Even with the right recipe, sometimes you need those little insider nudges, right? When Mia and I first started obsessing over these Bakery Style Cookies, we figured out a couple of things that took them from good to OMG-I-need-to-hide-these delicious. First, if you *can* be patient—and I know, it’s hard when the dough smells that good—chill the dough!
I know the recipe says 30 minutes is fine for a Quick Cookie Recipe, but if I’m making these for a weekend project, I let it rest in the fridge for at least an hour, sometimes longer. This stops the cookies from spreading too thin, guaranteeing that thick look you want. It also just concentrates the flavor, which is a total win for anyone wanting those deep, Buttery Chocolate Chip Cookies.
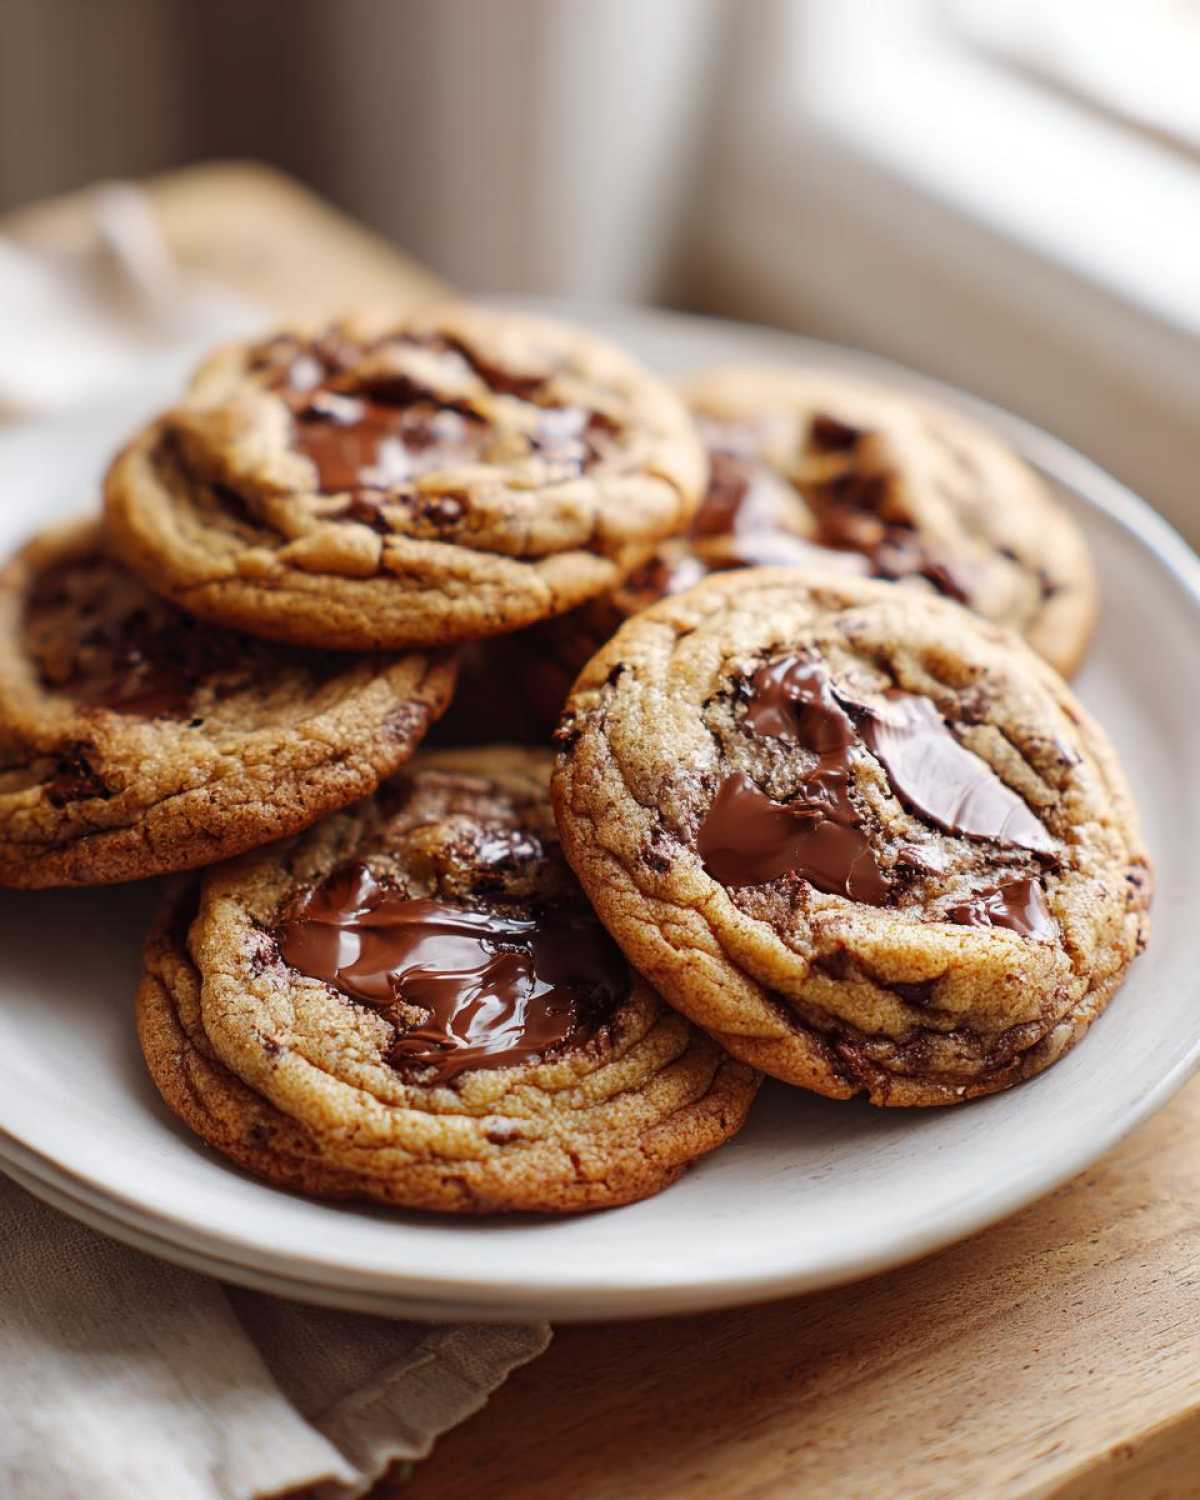
Another small secret is how you add the chocolate chips. I used to just throw them in at the end and mix them on medium speed with the electric mixer. Big mistake! Always fold them in by hand. You don’t want to overwork the dough right before baking, and folding ensures they get evenly dispersed without mixing the flour too much. It’s a small step, but it matters for that even distribution of melty chocolate. If you’re looking for other ways to sneak oats into your morning routine, check out my breakfast cookie recipe for inspiration!
Storing and Reheating Your Perfect Cookie Texture
You made them! Congratulations! Now, how do we keep them tasting like they just came out of the oven tomorrow? Simple: airtight containers are your best friend forever. Store your cooled cookies in a container right on the counter. If you stack them, maybe put a little parchment paper square between the layers so they don’t stick together—nobody wants a cookie monolith!
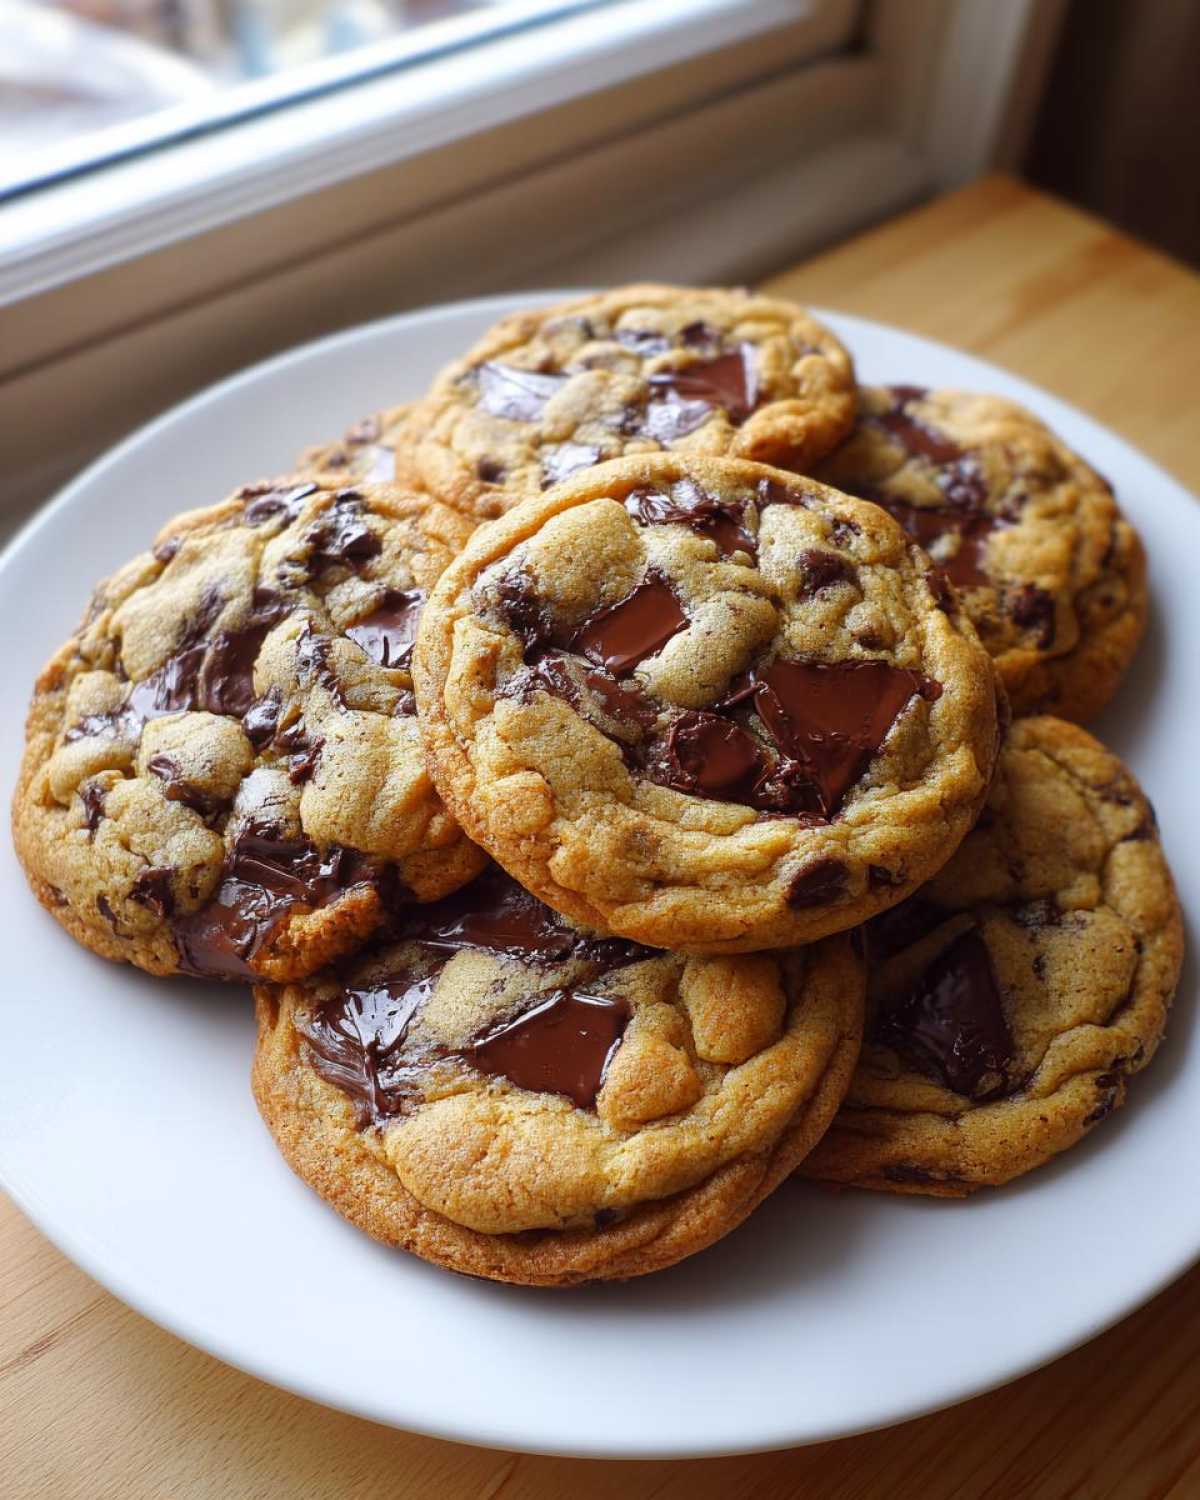
If you’re craving that fresh, warm-out-of-the-oven experience later, don’t microwave the whole batch! Just take one cookie, pop it in the microwave for about 8 to 10 seconds. Trust me, that little blast re-melts the chocolate chips and softens the center instantly. It’s like magic! If you need some fun topping ideas for these, check out my guide to cookie icing recipes.
Variations on Classic Chocolate Chip Treats
Once you’ve mastered the true art of the homemade chocolate chip cookies—getting that perfect thick, chewy center—you might want to mix things up a bit! That’s the fun part of having a foolproof base recipe. We love making little tweaks to keep things exciting.
The easiest upgrade is playing with your chocolate. Try using half semi-sweet chips and half milk chocolate chunks. Or, if you like a richer, deeper bite, toss in some dark chocolate bittersweet chips. That’s usually my go-to change!
If you enjoy a nice crunch, about a half cup of roughly chopped pecans or walnuts folded in with the chips makes these incredible. And my absolute favorite finisher, especially if you use dark chocolate? A tiny sprinkle of flaky sea salt right on top of the dough balls before they go into the oven. It sounds fancy, but it just makes the whole thing taste richer! If you are feeling extra adventurous and want a truly wild cookie experience, you have to try my pecan pie cookies next time!
Frequently Asked Questions About Homemade Chocolate Chip Cookies
Okay, I’ve gotten so many messages asking about texture hiccups when people try this From Scratch Cookie Recipe for the first time. It happens to everyone! Baking, especially cookies, is a science that sometimes needs a little tweak based on your environment. Don’t stress; that’s why we troubleshoot together here! If you have more questions that aren’t covered below, feel free to reach out to us via our Contact Page!
Why did my homemade chocolate chip cookies spread too much?
This is the number one texture complaint I hear! Usually, there are two culprits causing your precious mounds to turn into flat discs. First, check your butter temperature. If your butter was too warm or even slightly melted when you mixed it, it doesn’t hold its structure as well during baking, so they spread right out. Second, chilling time! If you skip chilling the dough, the fats melt too quickly in the oven before the dry ingredients have a chance to set the shape. Remember what I said about chilling the dough? It’s a lifesaver for getting those thick edges!
Can I make these cookies ahead of time?
Oh, yes, you absolutely can! That’s one of the best parts about making Easy Homemade Cookies—you can prep when you have time! You have two options here. First, you can make the dough, wrap it tightly, and keep it in the fridge for up to 3 days (or frozen for months!). When you’re ready to bake, scoop the cold dough directly onto the sheet and add just 1 or 2 extra minutes to the baking time. Second, once they are completely cooled, baked cookies store beautifully in an airtight container for almost a week. If you want that soft center feeling again, just microwave a single cookie for those crucial 8 seconds!
Estimated Nutritional Profile for These Homemade Chocolate Chip Cookies
Now, Chloe is going to be totally honest with you here, okay? While Mia loves data, I’m usually more concerned with whether the cookies taste like pure happiness, and tracking every single calorie just feels… restrictive. So, while we have the data you saw listed in the recipe card itself, please consider that nutritional data an estimate only.
The exact numbers will change based on the brand of flour you use, the exact size of your eggs, or if you decide to use milk chocolate instead of semi-sweet chips! We never want these sweet treats to feel like homework. For the most precise information regarding ingredients and serving sizes, please always refer to the full disclaimer on our site, but for now, just trust that these are worth every single wonderful bite!
Share Your Ultimate Chocolate Chip Cookies Creations
Okay, you’ve made them! You’ve nailed the creamy edges and the gooey center we obsessed over. Now, I desperately need to see what you baked! You know how much Mia and I love seeing your successes pop up on our screens—it proves that even my chaotic process can result in true cookie magic for everyone!
Please, take a picture of your perfect homemade chocolate chip cookies and tag us on social media! We highlight our favorites every Friday. Even better, jump down below into the comments section and leave a rating. Did you get that signature thickness? Are they buttery enough? Your feedback truly helps other bakers build confidence when they try this recipe for the first time.
We build this whole space on trust and shared successes, so don’t be shy! We can’t wait to see these beauties cooling on your racks. If you want to keep exploring what we’re up to in the kitchen—whether it’s a total win or another smoke alarm incident—follow along on our main Blog!
PrintThe Best Bakery-Style Soft and Chewy Homemade Chocolate Chip Cookies

Follow this foolproof recipe to create bakery-style chocolate chip cookies that are thick, soft in the center, and have perfectly crisp edges. This is the ultimate homemade cookie you will crave.
- Prep Time: 15 min
- Cook Time: 12 min
- Total Time: 27 min
- Yield: 24 cookies
- Category: Dessert
- Method: Baking
- Cuisine: American
- Diet: Vegetarian
Ingredients
- 1 cup (2 sticks) unsalted butter, softened
- ¾ cup granulated sugar
- ¾ cup packed light brown sugar
- 2 large eggs
- 1 tablespoon vanilla extract
- 2 ¼ cups all-purpose flour
- 1 teaspoon baking soda
- ½ teaspoon salt
- 1 ½ cups semi-sweet chocolate chips
Instructions
- Preheat your oven to 350°F (175°C). Line baking sheets with parchment paper.
- In a large bowl, cream together the softened butter, granulated sugar, and brown sugar until the mixture is light and fluffy. This step helps create that bakery-style texture.
- Beat in the eggs one at a time, mixing well after each addition. Stir in the vanilla extract.
- In a separate medium bowl, whisk together the flour, baking soda, and salt.
- Gradually add the dry ingredients to the wet ingredients, mixing on low speed until just combined. Do not overmix.
- Fold in the semi-sweet chocolate chips by hand.
- Scoop rounded tablespoons of dough onto the prepared baking sheets, leaving about 2 inches between each mound. For extra thick cookies, press the dough balls slightly on top.
- Bake for 10 to 12 minutes. The edges should look golden brown, but the centers should still look slightly soft and underbaked. This is the secret to soft, gooey centers.
- Let the cookies cool on the baking sheet for 5 minutes before transferring them to a wire rack to cool completely.
Notes
- For the best flavor and texture, use room temperature eggs.
- If you have time, chilling the dough for 30 minutes before baking helps prevent spreading and deepens the flavor.
- Use a mix of chocolate chips (milk, dark, or chunks) for more complex flavor.
- To get those perfect crispy edges, slightly flatten the dough balls before baking.
Nutrition
- Serving Size: 1 cookie
- Calories: 180
- Sugar: 15
- Sodium: 100
- Fat: 10
- Saturated Fat: 6
- Unsaturated Fat: 4
- Trans Fat: 0
- Carbohydrates: 23
- Fiber: 1
- Protein: 2
- Cholesterol: 25