

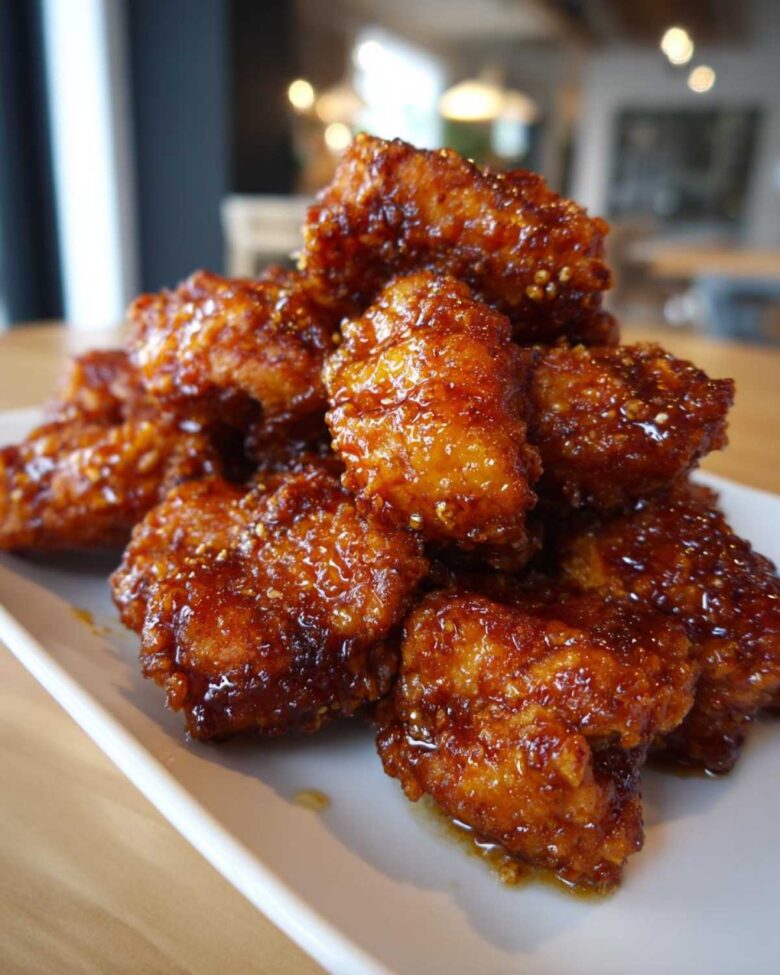
Oh my gosh, are you ready for a recipe that totally knocks it out of the park? I’m talking about that ultimate textural challenge: getting fried chicken that stays shatteringly crisp even when it’s dripping in a sweet, sticky glaze. It feels impossible, right? Every time I tried coating sticky chicken, it ended up soggy five minutes later! But trust me, after way too many kitchen experiments (and maybe a few oil splatters), I finally nailed the technique.
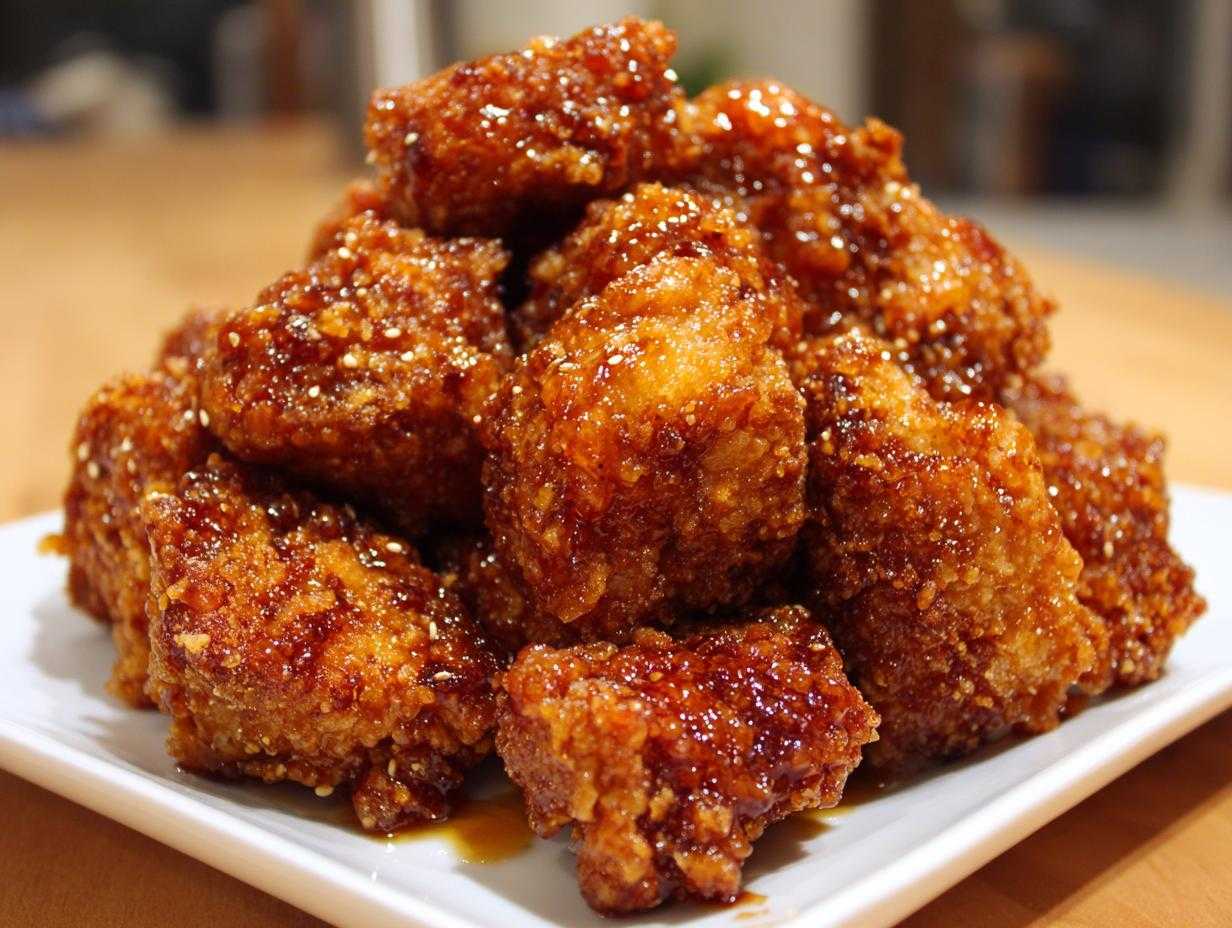
This recipe is my absolute answer to that craving. We are making Crispy Honey Butter Chicken Bites Golden and Juicy, and I promise they stay golden and impossibly crisp. Seriously, the double-fry method is magic! If you’ve ever struggled to keep your wings or bites crunchy under a sweet glaze, you need to save this post. You can check out my other quick bites recipe here while you’re waiting for your oil to heat up!
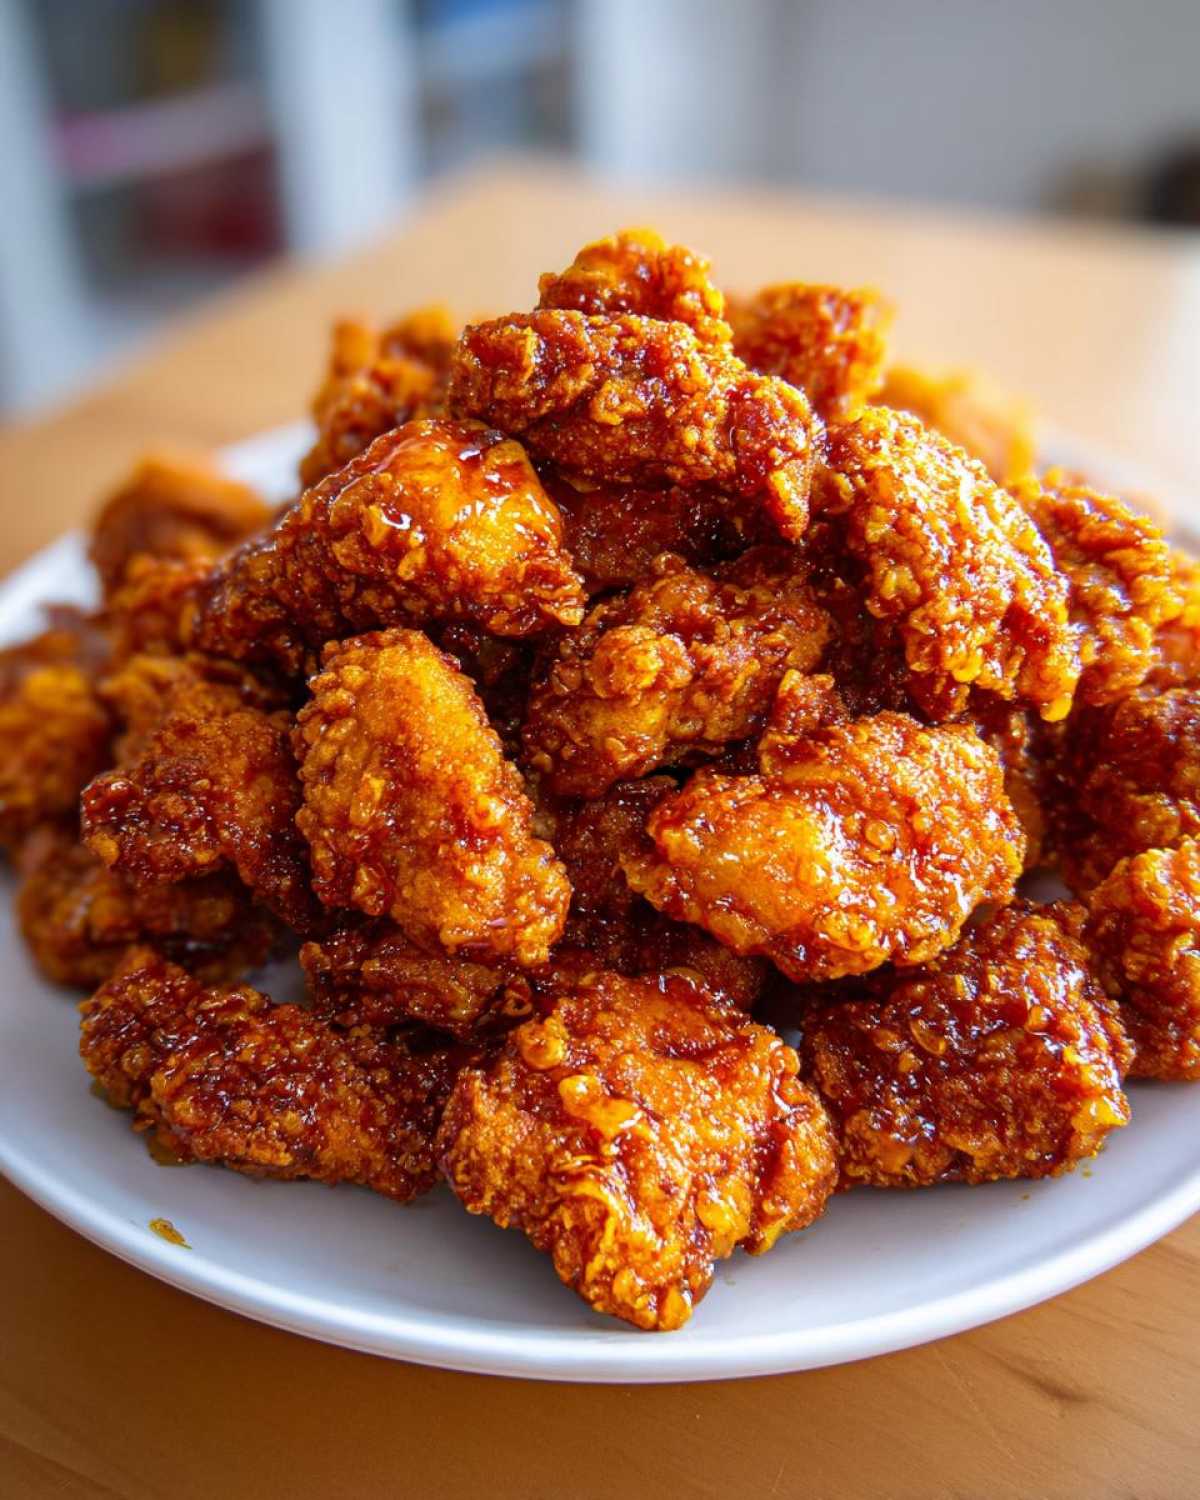
Why You Will Make Crispy Honey Butter Chicken Bites Golden and Juicy Every Time
I know you’ve been burned before by a glaze that instantly softens the crunch. Not here! These bites are different, thanks to science, honestly!
- You get maximum crunch because we use the tried-and-true double fry technique, ensuring that beautiful golden exterior.
- They are guaranteed juicy inside! The combination of the batter and quick cooking seals all those delicious juices in.
- We achieve the perfect sticky honey butter glaze consistency—it coats beautifully without turning immediately soggy.
- It’s ridiculously fast! You’ll have these restaurant-style bites ready in about 35 minutes total.
Essential Ingredients for Crispy Honey Butter Chicken Bites
Okay, let’s get down to what you need. Don’t skip out on the cornstarch here, that’s half the reason these turn out so gorgeously golden and crisp. You want to weigh everything out pretty closely, especially for the glaze, because that’s where the flavor balance lives.
You’ll need 1.5 pounds of boneless, skinless chicken cut into nice, manageable 1-inch bites. For the coating, grab 1 cup of all-purpose flour, a half cup of cornstarch, salt, pepper, garlic powder, and a touch of baking powder.
The wet stuff is easy: one large egg whisked up with a half cup of ice cold water—yes, cold water helps keep that coating super brittle when it hits the oil!
And finally, for that beautiful sauce you’re craving, you’ll need a half cup each of butter and honey, two big spoons of soy sauce for depth, one teaspoon of minced garlic, and maybe a tiny pinch of red pepper flakes if you like a little kick. You can find my other favorite easy garlic butter guide if you want to try similar flavors another time!
Mastering the Perfectly Crispy Chicken Coating Technique for Your Bites
This step is where the magic happens! If you want those chicken bites to look like they came straight out of a high-end Asian fusion restaurant—all golden and bumpy—you have to treat the coating process like a delicate art. Don’t just dust the chicken, we are building a fortress against sogginess here!
The cornstarch is your MVP, folks. It’s what separates a nice, light crust from that intense, airy crispiness we’re chasing. The baking powder is just a little chemical boost that helps create those incredible little bubbles when the coating hits the hot oil.
Preparing the Dry and Wet Mixes
First, get your dry ingredients whisked together in a big, shallow bowl. Whisk it really well! You want zero clumps of baking powder hiding in there. If you haven’t done this already, try marinating your cubed chicken for just 15 minutes in a tiny bit of salt and cornstarch—it’s a trick I learned that really helps lock in moisture before we even start frying. Then, for the wet side, just beat that egg with the cold water until it’s light and foamy. That’s it for prep!
Coating Each Piece for Maximum Crunch
Now for the technique. Pick up a piece of chicken that you’ve patted mostly dry. Dip it completely into the wet egg/water mix. Let the excess drip off for just a second—we don’t want a thick, pancake-like layer.
Next, plunge that damp piece right into the dry flour mixture. This is the important part: you need to press that flour onto the chicken! Use your fingers to gently but firmly push the coating onto every side. Pressing packs that flour on, creating that sturdy base for the double fry. Make sure every single bit of chicken is covered before you drop it into the oil. This adherence is what gives you that amazing, craggy crust!
The Double Fry Method for Golden and Juicy Crispy Honey Butter Chicken Bites
Okay, buckle up, because if you skip the double fry, you lose the signature crunch! This method is used in so many of those amazing restaurant-style recipes, and it’s the secret sauce—or rather, the secret heat—to keeping these bites golden and crisp even after they are swimming in that sweet glaze. It’s about cooking the inside perfectly first, and then finishing the outside for maximum armor!
I cannot stress enough how important temperature control is here. Keep a good thermometer handy! You fry them once at a moderate heat to cook the chicken through without burning the coating, and then you crank the heat up for the final blast. Safety note: always be mindful when dealing with hot oil, and never let it get above 400°F, or you risk really bad sputtering.
First Fry: Setting the Foundation
Get your vegetable oil heated up to 350°F. We’re going to fry the coated bites in small batches—don’t overcrowd your pot or the oil temperature will drop too fast! Let them swim for about 4 to 5 minutes. You’re looking for a light, pale golden color when you pull them out. Shake off the excess oil and let them drain on a wire rack. They should look slightly done, but definitely not brown yet!
Second Fry: Achieving Ultimate Crispiness
Now, raise that oil temperature sharply up to 375°F. This is where the magic happens! Place those semi-fried chicken pieces back into the blistering hot oil for just another 2 to 3 minutes. That quick blast at higher heat sucks out any remaining surface moisture and makes that cornstarch coating turn deeply golden and impossibly hard—in the best way possible! See how this compares to air frying? You can read about my air fryer method adventures, but for this sticky glaze, nothing beats the double-fry crunch!
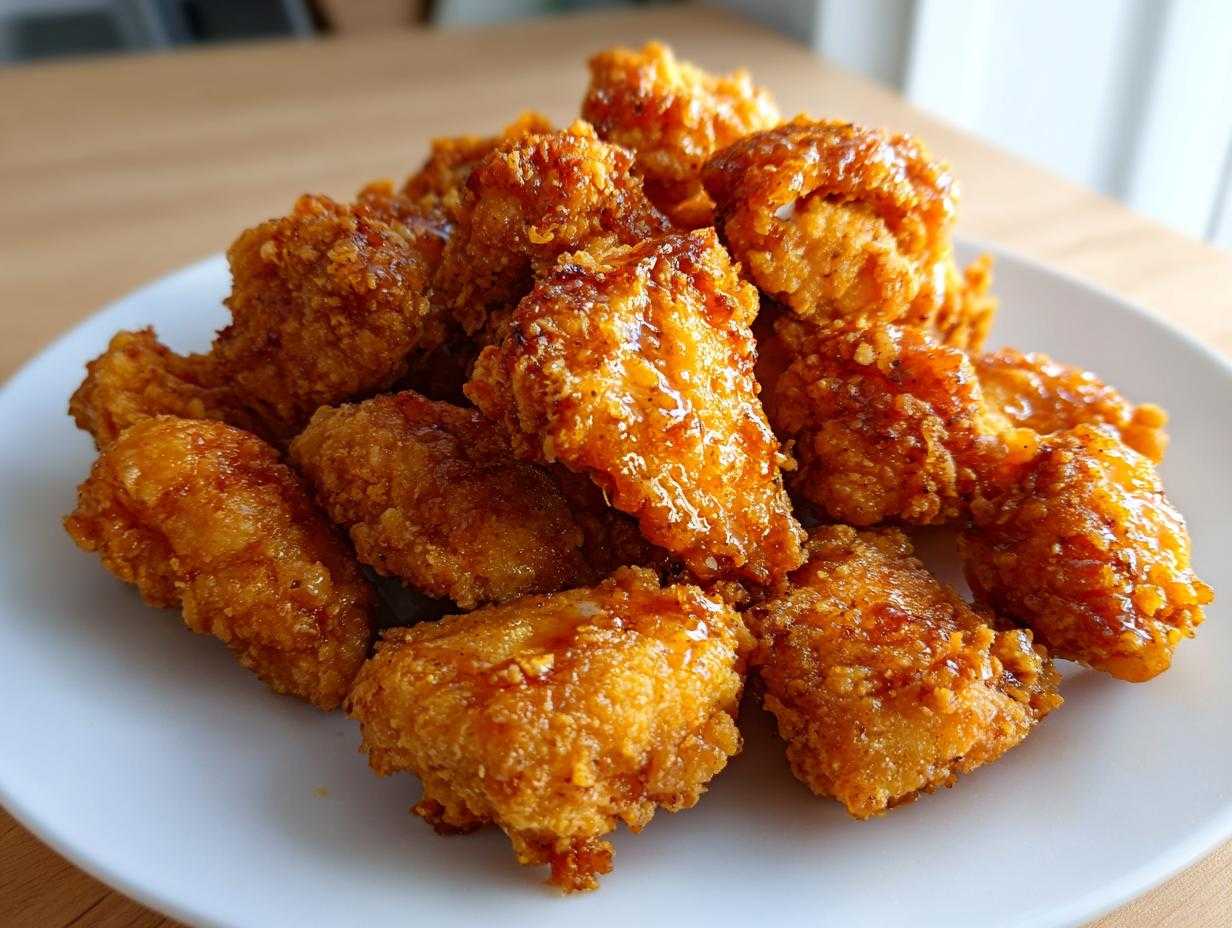
Crafting the Sticky Honey Butter Glaze for Your Chicken Bites
While that second fry is happening and getting your chicken amazingly crispy, you need to whisk up the sauce. This glaze is what brings the whole dish together, making your Honey Butter Chicken Bites sweet, savory, and wonderfully sticky. The key here is not boiling it too long—we want it to coat the chicken, not turn into candy!
In a small saucepan, melt down that half cup of unsalted butter over medium heat. Once it’s foamy, pour in the honey. I love the combo of the two fats and the sugar working together. Don’t forget the soy sauce! That’s your secret savory anchor so the glaze doesn’t taste like straight dessert.
Let that mixture come to a gentle simmer for just two minutes. Two minutes is all you need to let the water evaporate slightly and thicken it up just enough. If you go longer, it gets too hard when it cools down. Stir in your minced garlic and optional red pepper flakes while it’s just off the heat. Honestly, that quick simmer gives you the perfect sticky consistency that just clings to the crunchy coating!
Tossing the Crispy Honey Butter Chicken Bites Golden and Juicy in Sauce
Okay, this is the moment of truth after all that hard work! As soon as those Juicy Fried Chicken Bites come out of the second, super-hot fry, they need to go straight into that warm honey butter glaze. Don’t let them sit on the rack for even a minute!
Transfer all the piping hot, crispy pieces right into the saucepan with the glaze. Toss them quickly and aggressively until every nook and cranny has that beautiful, shiny coating. Seriously, you are working against the clock here because moisture transfer is instant. The goal is to seal that crunch with the glaze, not drown it.
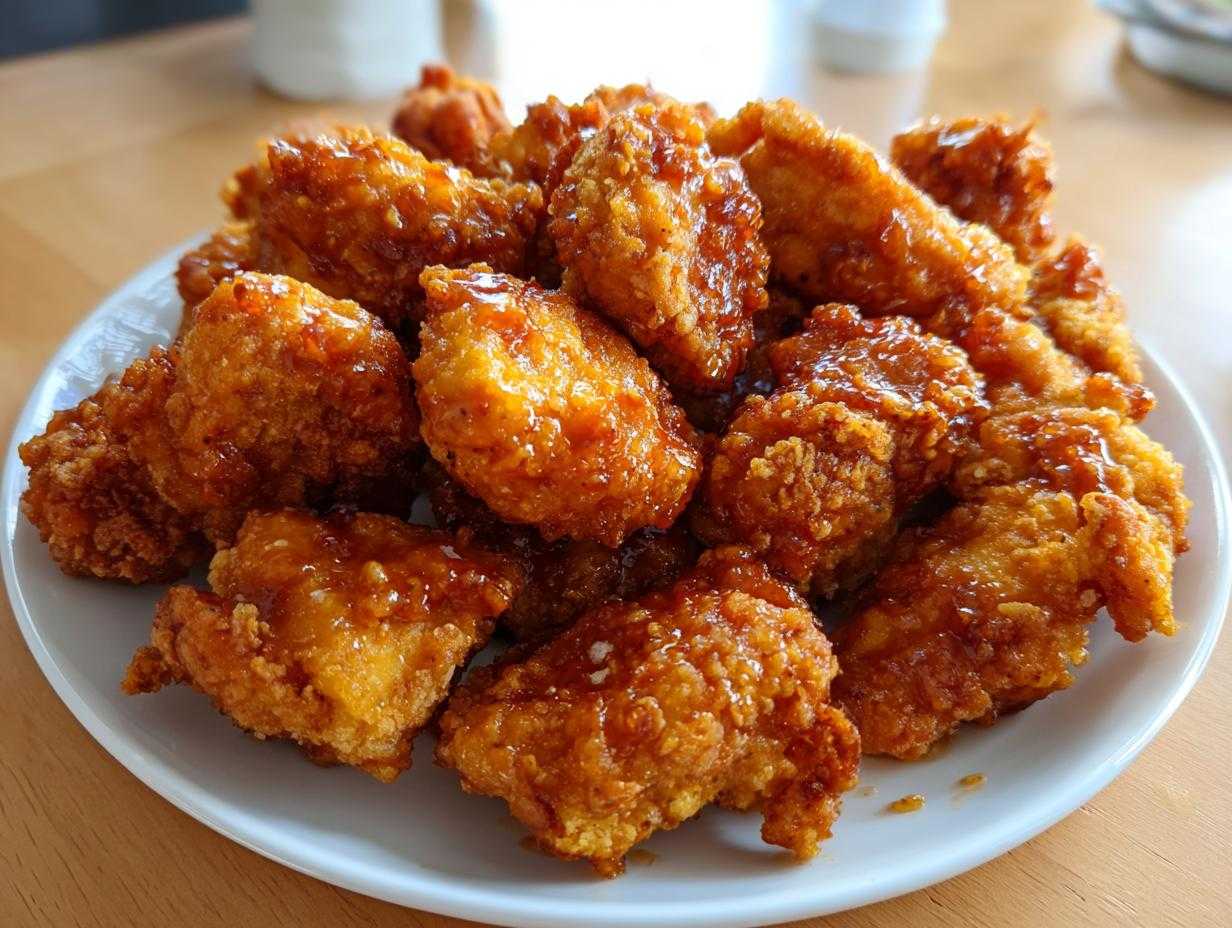
Because we want maximum crunch, you must get these fantastic Sweet and Savory Chicken Appetizer pieces onto plates right away! If you’re not serving immediately, you’ll lose that signature crispiness, and we simply can’t have that after all the effort we put into the batter! If you want to try making a homemade sauce from scratch for another time, check out my homemade teriyaki sauce recipe guidance!
Tips for Success with Crispy Honey Butter Chicken Bites
I love sharing my little shortcuts because, let’s be honest, we all want amazing food without spending three hours in the kitchen! If you are worried about deep frying, maybe because of the cleanup or just the sheer volume of oil, I have a great alternative for you!
Remember that little note about baking? You can absolutely bake these! Toss your coated chicken bites with a light, even spray of cooking oil—don’t skip the spray, that keeps them from getting leathery. Then bake them at 400°F for about 20 to 25 minutes, flipping them halfway through. They won’t be *quite* as crunchy as the double-fried ones, but they are still fantastic and far less messy.
Another big thing? The glaze. If your honey is super thick from being in the pantry too long, warm it up slightly before mixing it with the butter. This helps everything emulsify nicely. Oh, and if you want to check out some of my other baking tips, even though this isn’t baking, I wrote about how to keep things chewy in my favorite sugar cookie post—it’s all about controlling moisture!
Serving Suggestions for Your Sweet and Savory Chicken Appetizer
Since these Crispy Honey Butter Chicken Bites are so rich with honey and savoriness, you really need something bright to cut through that beautiful fat and sweetness. It keeps your palate refreshed for the next bite!
I always love serving these alongside a simple, crunchy Asian slaw that I dress super lightly—just rice vinegar and maybe a tiny bit of sesame oil. That acid really balances the glaze perfectly.
If you’re serving this as a main event rather than just an appetizer, they pair wonderfully over fluffy white rice. I have an amazing Easy Spanish Rice Recipe that adds just the right amount of zest without competing with the honey butter flavor. Otherwise, some quick pickled carrots or radishes are fantastic!
Storage and Reheating Instructions for Leftover Bites
Now, I’m going to be straight with you: these Honey Butter Chicken Bites are at their absolute, peak, crunchy perfection the second they leave the frying oil and hit that warm glaze. That delicious, sticky texture doesn’t last forever once stored, sadly!
If you do have any leftovers—which I doubt, because these vanish fast—store them in a container in the fridge for up to three days. But please, please, skip the microwave! Microwaving reheats the glaze and turns the crust rubbery immediately.
To get some crunch back, your best bet is the oven or the air fryer. Pop the bites on a rack over a baking sheet at about 375°F. If you have an air fryer, you can check out my air fryer resurrection tips; they work great for bringing fried food back to life for about 5 to 7 minutes. They won’t be *quite* as crispy as fresh, but they’ll be deliciously warm and flavorful!
Frequently Asked Questions About Crispy Honey Butter Chicken Bites
It’s totally normal to have questions when you are aiming for peak crispiness and flavor, trust me! I wrestled with these questions more times than I care to admit before I settled on this method for my Crispy Honey Butter Chicken Bites Golden and Juicy.
Here are the things I get asked most often:
Can I make the Honey Butter Chicken Bites ahead of time?
Yes, you totally can prep ahead, but I learned the hard way that you must separate the steps! Please, fry the chicken pieces all the way through first, let them cool completely, and store them in the fridge. Then, when you are ready to eat, make your glaze fresh, heat it up, and toss those perfectly Juicy Fried Chicken Bites in the sauce right before serving. That’s the secret to keeping them looking great!
What is the best way to achieve a Juicy Fried Chicken Bites texture?
I’ve got two must-dos here for amazing internal moisture. First, that little 15-minute marinade step with cornstarch and salt I mentioned earlier really helps seal things up. Second, and this is crucial: never, ever cram too many pieces into the oil at once for the first fry. Overcrowding drops the oil temperature way too fast, and then the chicken just soaks up grease instead of getting that gorgeous crust. Keep those batches small!
For more about my kitchen philosophy, you can always peek at my About Us page to see where all these obsession started!
PrintCrispy Honey Butter Chicken Bites Golden and Juicy

Follow this recipe to make bite-sized chicken pieces that are exceptionally crispy on the outside and remain juicy inside, coated in a sweet and savory honey butter glaze.
- Prep Time: 20 min
- Cook Time: 15 min
- Total Time: 35 min
- Yield: 4 servings
- Category: Appetizer
- Method: Deep Frying
- Cuisine: American
- Diet: Low Fat
Ingredients
- 1.5 lbs boneless, skinless chicken breasts or thighs, cut into 1-inch bites
- 1 cup all-purpose flour
- 1/2 cup cornstarch
- 1 teaspoon salt
- 1/2 teaspoon black pepper
- 1/2 teaspoon garlic powder
- 1/4 teaspoon baking powder
- 1 large egg, lightly beaten
- 1/2 cup cold water
- Vegetable oil, for frying
- 1/2 cup unsalted butter
- 1/2 cup honey
- 2 tablespoons soy sauce
- 1 teaspoon minced garlic
- 1/2 teaspoon red pepper flakes (optional)
Instructions
- In a large bowl, whisk together the flour, cornstarch, salt, pepper, garlic powder, and baking powder for the dry coating.
- In a separate bowl, whisk the egg and cold water together.
- Dip each chicken bite first into the wet mixture, allowing excess to drip off, then thoroughly coat it in the dry mixture, pressing lightly to adhere.
- Heat about 2 inches of vegetable oil in a deep pot or Dutch oven to 350°F (175°C).
- Fry the chicken bites in batches, ensuring not to overcrowd the pot, for 4-5 minutes until lightly golden. Remove and drain on a wire rack.
- Increase the oil temperature to 375°F (190°C) for the second fry. Return the chicken to the hot oil and fry for another 2-3 minutes until deep golden brown and very crispy. Drain again.
- While the chicken fries the second time, prepare the glaze. Melt the butter in a small saucepan over medium heat.
- Add the honey, soy sauce, minced garlic, and red pepper flakes (if using). Bring to a gentle simmer and cook for 2 minutes until slightly thickened.
- Remove the glaze from the heat. Add the hot, crispy chicken bites to the saucepan and toss quickly until every piece is evenly coated in the sticky honey butter sauce.
- Serve immediately to maintain maximum crispiness.
Notes
- For extra juicy chicken, you can briefly marinate the cut pieces in 1 tablespoon of cornstarch and 1/4 teaspoon of salt for 15 minutes before coating.
- To achieve the best stickiness without sogginess, toss the chicken in the sauce immediately after the second fry and serve right away.
- If you prefer baking, toss the coated chicken with a light spray of oil and bake at 400°F (200°C) for 20-25 minutes, turning halfway, then toss in the warm glaze.
Nutrition
- Serving Size: 1/4 of recipe
- Calories: 450
- Sugar: 25
- Sodium: 450
- Fat: 22
- Saturated Fat: 10
- Unsaturated Fat: 12
- Trans Fat: 0
- Carbohydrates: 35
- Fiber: 1
- Protein: 30
- Cholesterol: 105