

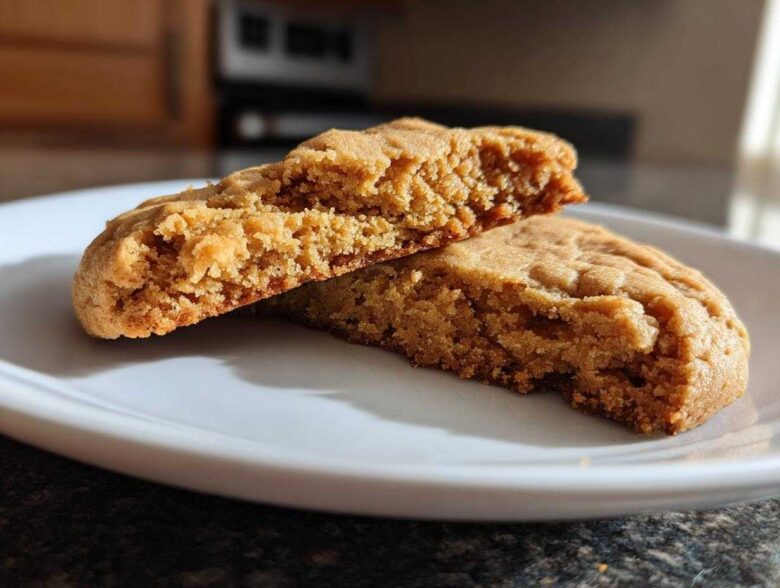
You know that smell, right? That warm, nutty, slightly sweet aroma that instantly takes you back to childhood cookie jars? That’s the signal that the oven is working its magic, and you’ve done something wonderful. For me, nothing beats the simple satisfaction of a perfect batch of **Peanut Butter Cookies**. Forget those flimsy, crumbly things you get sometimes; we are aiming for that ideal texture here.
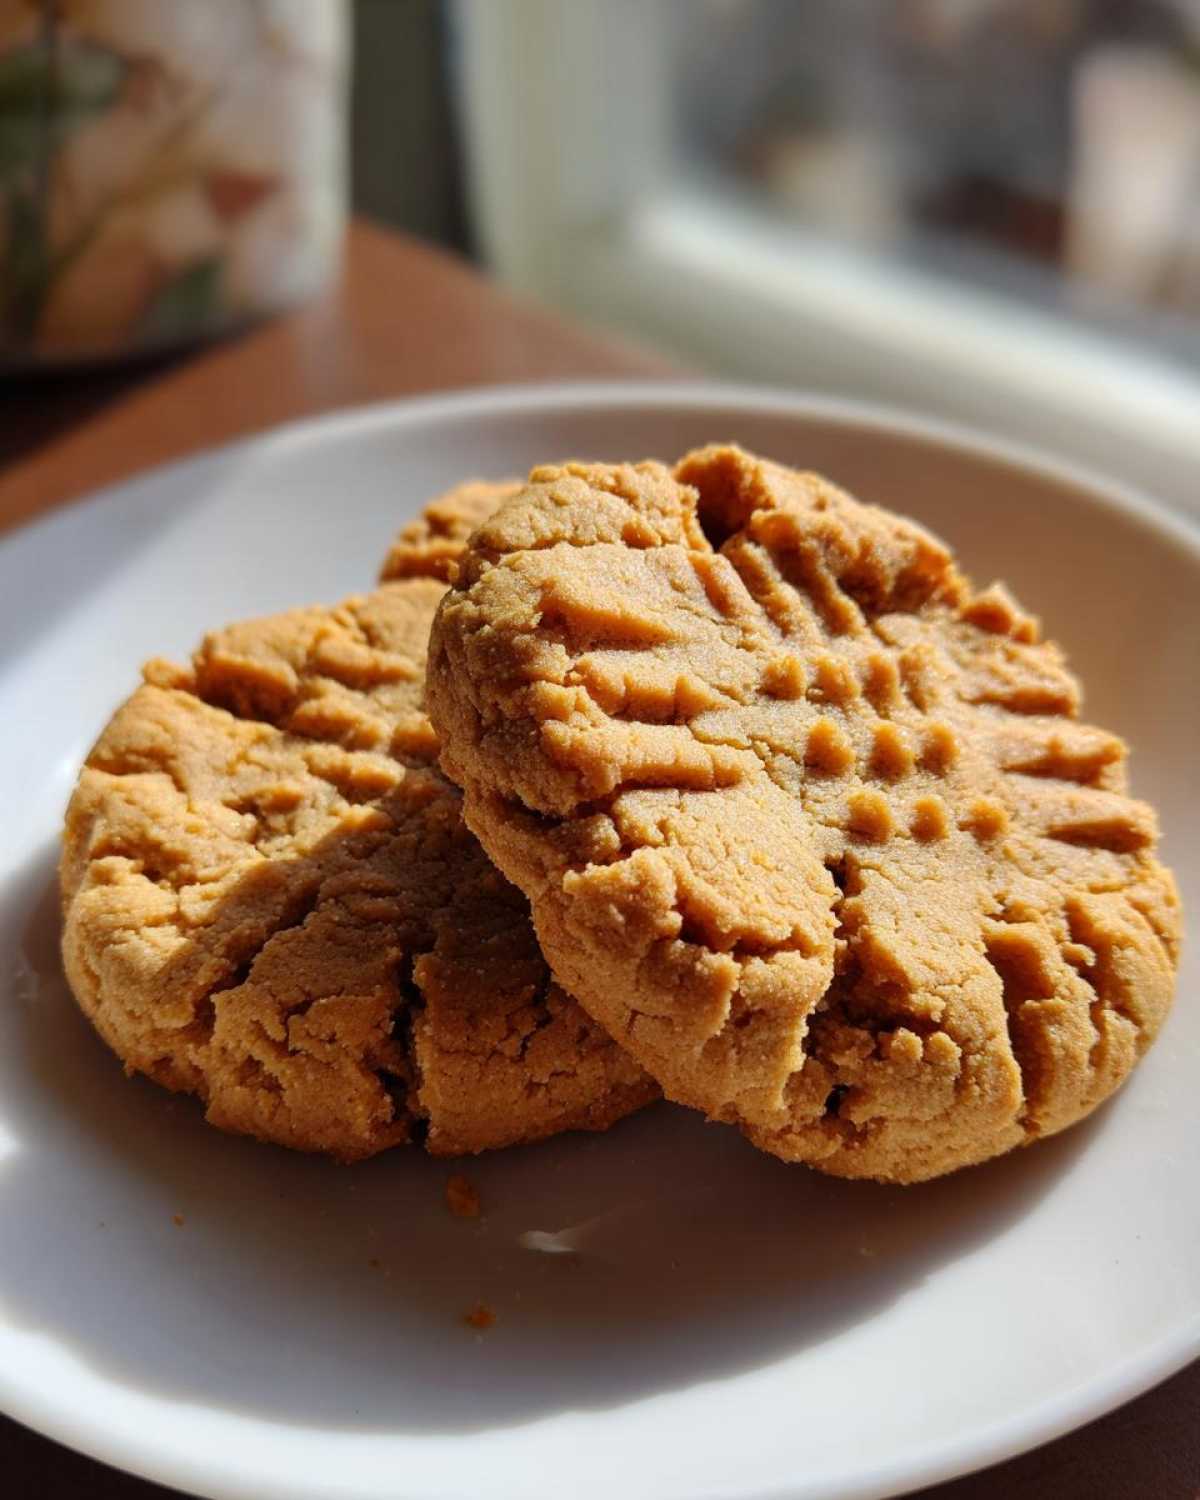
This recipe, my friends, is the absolute gold standard for **Classic Thick and Chewy Peanut Butter Cookies**. I must have baked a hundred batches before I finally landed on this ratio that keeps them wonderfully soft in the middle but gives you that slight, satisfying chew around the edges. Trust me, once you try this—especially seeing that perfect crisscross fork mark—you won’t be going back to any other version.
Why This Is the Best Peanut Butter Cookie Recipe (The Secret to Thick and Chewy Peanut Butter Cookies)
Listen, I’ve tried everything—the recipes that use only three ingredients, the ones that bake up totally flat. This specific combination is what locks in that amazing chewiness. The **Best peanut butter cookie recipe** needs to deliver on texture, and that’s exactly what we get here. It’s all in the balance: we use both granulated sugar *and* brown sugar, which keeps them slightly soft, and the higher ratio of butter helps them stay tender rather than getting brittle. That’s the magic behind truly **Classic thick and chewy peanut butter cookies**!
When you bite into one, you get that rich, familiar peanut butter flavor right away, not just sugar overload. It’s a cookie that holds up well for holidays or just sneaking out of the jar after dinner.
Quick Prep for Easy Peanut Butter Cookies from Scratch
The best part? You don’t have to wait forever for these babies! With only about 15 minutes of prep time, you can actually have these cookies cooling down before you finish your first cup of coffee. Seriously, these are some of the **Easy peanut butter cookies from scratch** you’ll ever make. You mix the wet, mix the dry, combine, scoop, and bake. That’s it! If you’re looking for a reliable base recipe for those famous peanut butter blossoms, this hits the spot perfectly. You can even check out my full blossom guide if dipping them in chocolate is your next move!
Gathering Ingredients for Perfectly Baked Peanut Butter Cookies
Okay, precision matters here, even though this recipe is super straightforward. If you want those **perfectly baked peanut butter cookies**, you need to measure exactly what’s on the list. Don’t just eyeball the butter or sugar, or they might end up spreading too much—we want them thick! Make sure that butter is truly softened, which just means it leaves a gentle imprint when you press it, not melted soup.
We are using both white and brown sugar for that perfect balance of sweetness and moisture. Have your eggs ready, and for the dry stuff, please whisk your flour, baking soda, baking powder, and salt together in a separate bowl *before* adding them to the creamed mixture. That extra step guarantees everything is distributed evenly throughout the dough.
Peanut Butter Cookie Variations and Ingredient Swaps
One of the things I love most about this batch is how easy it is to pivot! If you prefer a little crunch in your life, go ahead and swap the creamy peanut butter for crunchy—it just adds a fun new texture. You can also easily use this dough as a fantastic **peanut butter blossom cookie base recipe**; just skip the salt in the dry ingredients if you’re going straight for the chocolate topping.
Remember, the recipe calls for creamy, but don’t let that stop you if crunchy is what you have on hand. As long as you stick to the ratios of sugar and fat, this base dough is incredibly forgiving for some minor tweaks!
Step-by-Step Instructions: How to Make Peanut Butter Cookies Not Spread
Ready to get baking? This is where the magic happens, and we are definitely going to make sure these **Peanut Butter Cookies** stay nice and thick! First things first: get that oven warmed up to 375 degrees F (190 degrees C). Lining your sheets with parchment paper is a non-negotiable move for me; clean-up is a breeze, and it helps prevent any weird sticking or browning on the bottom.
Start by creaming your four main ingredients—butter, white sugar, brown sugar, and that gorgeous peanut butter—until they look light and fluffy. Remember what I said about technique? Beat that in well! Then, mix in the eggs one by one, followed by your vanilla. In a separate bowl, whisk your flour, soda, powder, and salt. Now, introduce those dry ingredients to the wet mixture slowly. Seriously, low speed! We want *just* combined. Overmixing is what makes them tough, and we want chew, not concrete!
Now for the crucial part on keeping them thick: if you find your dough looks a little too soft—maybe your kitchen is warm—take 30 minutes right now and pop the dough balls in the fridge before step seven. That chilling time works wonders to prevent spreading! Scoop out about 1.5 tablespoons for each cookie and place them two inches apart on your sheet.
Mastering the Crosshatch Technique for Classic Peanut Butter Cookies
This is how everyone knows a good PB cookie! After you’ve placed the balls on the sheet, grab a fork. You’re going to press straight down once, then go back perpendicular to make that classic ‘X’ or crosshatch pattern. Why do we do this tradition? It’s not just for looks! Pressing them down slightly ensures the center cooks at the same rate as the edges, leading to those beautifully **Classic Peanut Butter Cookies** that are thick throughout.
Don’t apply *too* much force, though; you don’t want to flatten them completely. Just enough to flatten the initial dome shape. Pop them right into that hot oven for 9 to 11 minutes. Remember, the centers really should look a little soft when you pull them out. They firm up beautifully on the pan! If you wanted to dress these up later, you could check out my notes on making a simple cookie icing!
Tips for Success: Achieving Soft Centered Peanut Butter Treats
Okay, now let’s get serious about texture because nobody wants a dry, sad cookie. We’re aiming for **Soft centered peanut butter treats**, right? The absolute biggest secret in my book of **Baking with peanut butter tips** is the cooling process. I know your instinct is to rush them onto the cooling rack right when they come out, but resist that urge!
When you pull those **Peanut Butter Cookies** out of the oven at that 9-minute mark, the centers look slightly gooey, maybe even a bit too pale. That’s perfect! You have to let them sit right there on that hot baking sheet for a full five minutes. That residual heat finishes cooking the center just enough so it sets up beautifully chewy instead of collapsing into raw dough. If you pull them off too soon, they’ll deflate and spread too much while they cool.
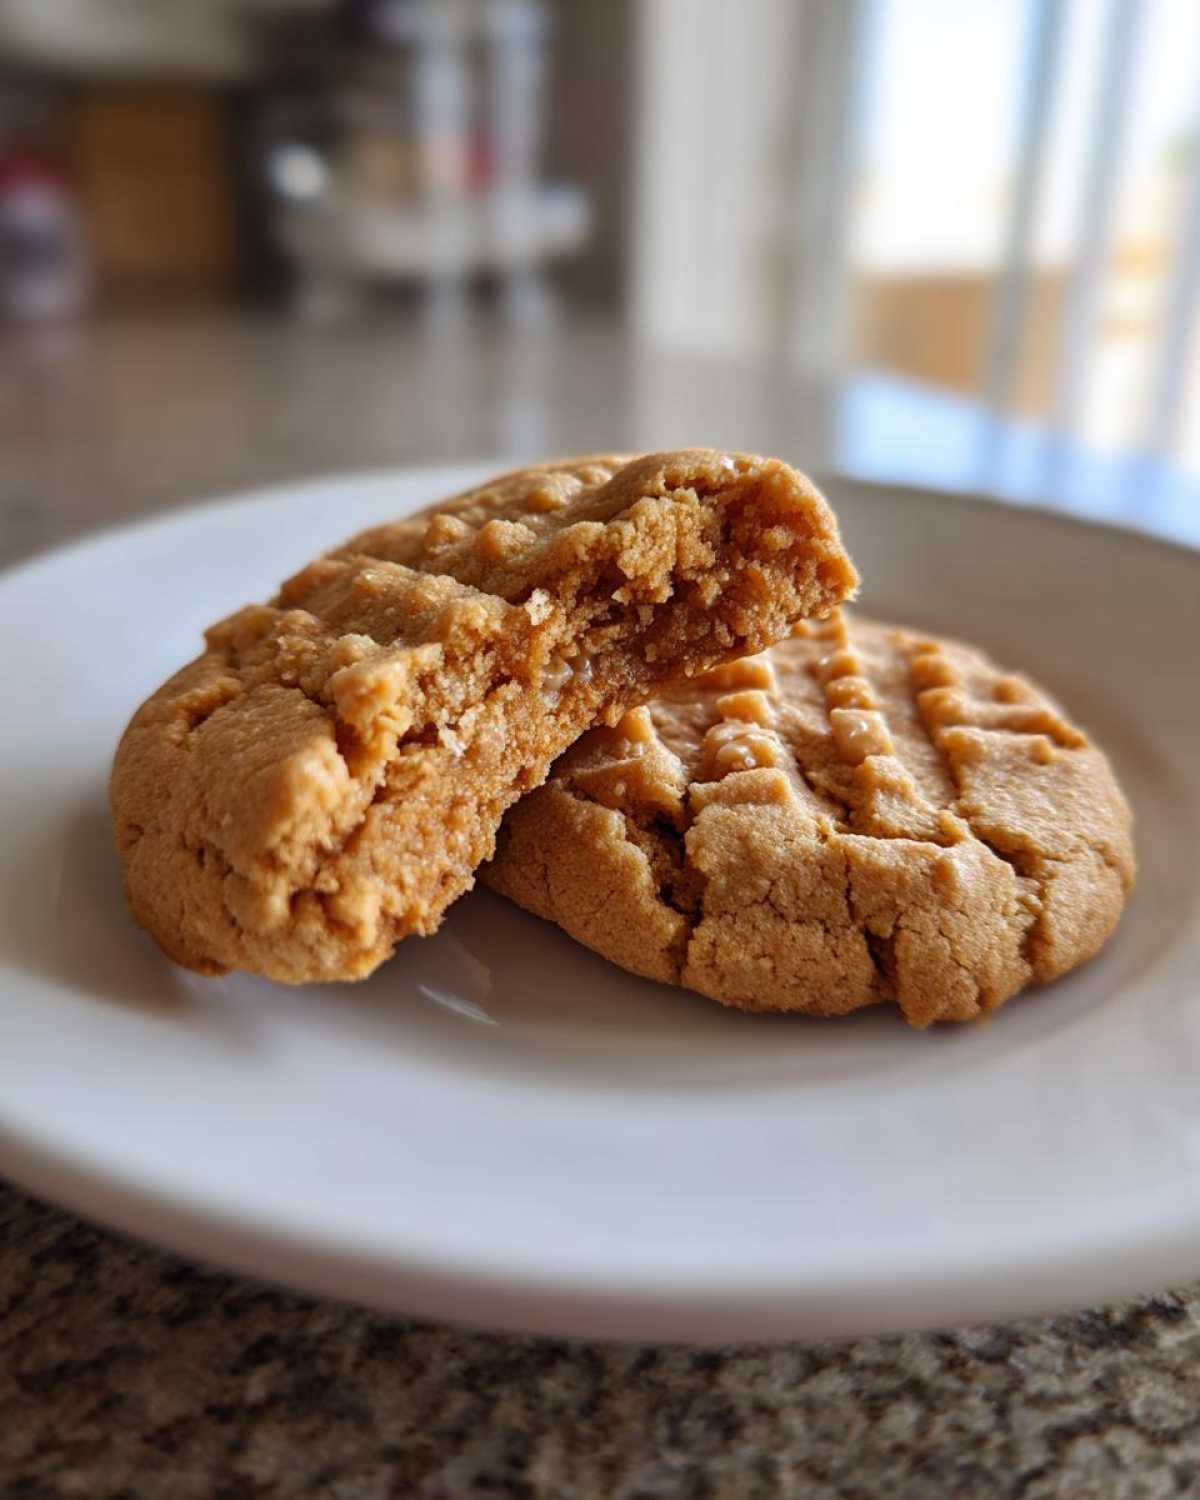
I learned this lesson the hard way when I made a huge batch for a cookie swap. I was rushing, pulled them immediately, and they ended up looking like flat, sandy discs! Never again. If you want slightly crisper edges, go ahead and add an extra minute or two in the oven—but don’t go past that 11-minute mark unless you’re intentionally chasing that snap. For really chewy results, remember to always use lightly packed brown sugar. It locks in the moisture better than anything! Curious how I keep my chocolate chip cookies chewy? You can check out the method right here!
Troubleshooting Common Peanut Butter Cookies Issues
Sometimes, even with the best recipe, things go a tiny bit sideways in the oven, right? Don’t stress! We’ve all been there. If your **Peanut Butter Cookies** came out flat and greasy, chances are your butter was just a touch too warm when you started creaming it. Remember, we want softened, not melted!
If they are too dry, you likely baked them a minute or two too long, or maybe you skimped on that brown sugar. For stickage, make sure you are using parchment paper or a fantastic homemade pan release spray. If you freeze the dough balls for that mandatory 30 minutes before flattening them, they’ll stay thick and won’t spread all over the place. It’s all about temperature control, really!
Peanut Butter Cookie Variations: Beyond the Classic Crosshatch
This base recipe for **Peanut Butter Cookies** is sturdy enough to handle all sorts of wonderful additions you might want to throw in! If you’re looking to move past the classic fork marks, think about mix-ins. My absolute favorite way to bump these up is by folding in about a cup of semi-sweet chocolate chips right at the end, making fantastic **Peanut butter and chocolate cookies**.
Also, don’t be afraid of flakey sea salt! A tiny sprinkle on top before baking elevates the richness of the peanut butter like crazy. You can also experiment with spices, perhaps a hint of cardamom if you’re feeling fancy, or even using crunchy peanut butter for added texture. If you want to get really creative with fillings, you can check out my recipe for those gooey pecan pie cookies for some extra inspiration!
Storage and Reheating Instructions for Your Homemade Peanut Butter Desserts
You’ve made the most perfect batch of **Homemade peanut butter desserts**, so now we need to keep them that way! Seriously, these **Peanut Butter Cookies** are best kept right at room temperature. Skip the fridge unless your kitchen is absolutely sweltering. Seal them up tight in an airtight container.
If you store them correctly, they will stay wonderfully soft for a good four or five days. If, by some miracle, you have leftovers a week later and they’ve firmed up a bit too much? Pop one on a plate and microwave it for about 10 to 12 seconds. It warms the chocolate chips (if you added them) and brings back that soft, fresh-out-of-the-oven texture. They’re great for freezing too! Just make sure they cool completely first. If you’re looking for other easy make-ahead ideas, check out my recipe for those no-bake balls!
Frequently Asked Questions About Making Peanut Butter Cookies
I get so many questions about this recipe because everyone wants that picture-perfect bite of **Peanut Butter Cookies**! Let’s tackle a few of the common ones I hear all the time.
Can I use natural peanut butter in this recipe?
That’s a great question! Natural peanut butter that separates (where the oil sits on top) can actually make your cookies spread way too much because the consistency is thinner. I really recommend sticking to conventional creamy peanut butter for the best structure. If you *must* use natural, make sure you stir it until it is super creamy and thick before measuring, and definitely chill that dough for a solid hour!
How do I make these cookies gluten free?
While this version uses standard AP flour, I totally get the need for alternatives! Luckily, peanut butter cookies are really adaptable. For a **Gluten free peanut butter cookies** version that still has great texture, you can substitute the all-purpose flour with a good 1:1 gluten-free blend that contains xanthan gum. Check out my dedicated gluten-free guide for complete details!
Can I skip chilling the dough if I want these cookies fast?
You *can* skip it if you’re in a massive hurry, but I’m warning you: you are asking for flat cookies! Remember, the chilling step is the secret weapon for **How to make peanut butter cookies not spread**. If you skip it, they won’t spread as much if you use slightly colder butter, or if you use a slightly higher ratio of flour, but honestly, 30 minutes in the fridge makes all the difference between a thick treat and a crispy film!
Estimated Nutritional Data for Classic Peanut Butter Cookies
Now, I know most of us aren’t baking these heavenly **Peanut Butter Cookies** for a diet plan—they’re meant to be a treat! But for those who need to track things, here is a general guide. These numbers are just estimates based on the standard ingredients listed, and your final count will change depending on the brand of peanut butter or sugar you use.
- Serving Size: 1 cookie
- Calories: 180
- Sugar: 14g
- Fat: 10g (4g Saturated)
- Protein: 4g
Please keep in mind that this is just a ballpark figure. If you make any of those wonderful healthy swaps we talked about, you’ll need to recalculate, but for the classic recipe, this is what you’re looking at!
PrintClassic Thick and Chewy Peanut Butter Cookies
This recipe yields thick, chewy peanut butter cookies with a classic crosshatch top. It is a straightforward recipe for homemade peanut butter desserts.
- Prep Time: 15 min
- Cook Time: 11 min
- Total Time: 26 min
- Yield: About 3 dozen cookies
- Category: Dessert
- Method: Baking
- Cuisine: American
- Diet: Vegetarian
Ingredients
- 1 cup (2 sticks) unsalted butter, softened
- 1 cup granulated sugar
- 1 cup packed light brown sugar
- 1 cup creamy peanut butter
- 2 large eggs
- 1 teaspoon vanilla extract
- 2 1/2 cups all-purpose flour
- 1 teaspoon baking soda
- 1/2 teaspoon baking powder
- 1/2 teaspoon salt
Instructions
- Preheat your oven to 375 degrees F (190 degrees C). Line baking sheets with parchment paper.
- In a large bowl, cream together the softened butter, granulated sugar, and brown sugar until light and fluffy.
- Beat in the peanut butter until combined. Add the eggs one at a time, mixing well after each addition. Stir in the vanilla extract.
- In a separate medium bowl, whisk together the flour, baking soda, baking powder, and salt.
- Gradually add the dry ingredients to the wet ingredients, mixing on low speed until just combined. Do not overmix.
- Scoop the dough into balls, about 1.5 tablespoons each, and place them 2 inches apart on the prepared baking sheets.
- Use a fork to press down on each dough ball to create a crisscross pattern.
- Bake for 9 to 11 minutes, or until the edges are lightly golden brown. The centers may look slightly underdone.
- Let the cookies cool on the baking sheet for 5 minutes before transferring them to a wire rack to cool completely.
Notes
- For thicker cookies that spread less, chill the dough for 30 minutes before baking.
- If you prefer a crispier cookie, bake for an extra 1 to 2 minutes.
- You can substitute creamy peanut butter for crunchy if you like texture in your cookies.
- For peanut butter blossom cookies, press a chocolate kiss into the center immediately after removing them from the oven.
Nutrition
- Serving Size: 1 cookie
- Calories: 180
- Sugar: 14g
- Sodium: 110mg
- Fat: 10g
- Saturated Fat: 4g
- Unsaturated Fat: 6g
- Trans Fat: 0g
- Carbohydrates: 21g
- Fiber: 1g
- Protein: 4g
- Cholesterol: 20mg