

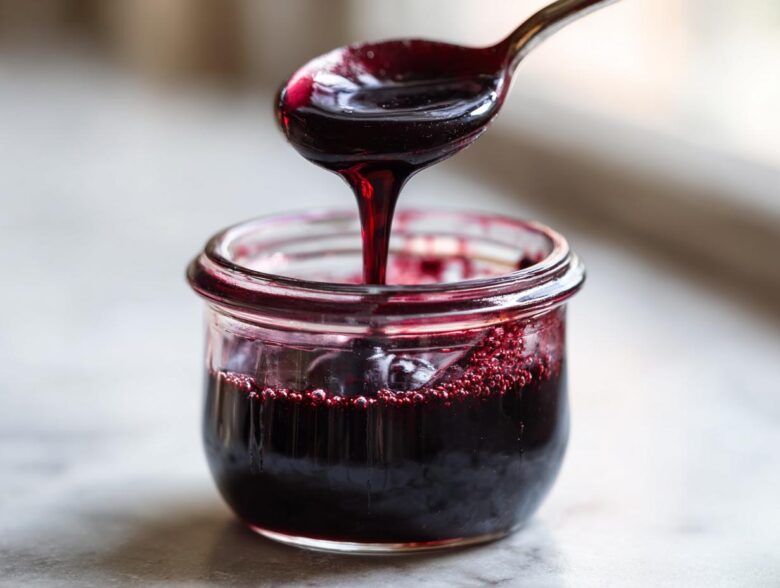
Every year, as soon as the air gets that first crisp chill, I start thinking about boosting our defenses. I’m Chloe, and back when Mia and I were burning toast in our tiny apartment, the idea of making something truly natural felt impossible. But look at us now! We are obsessed with simple, proactive health care, and that starts right here in the kitchen. This elderberry syrup recipe is hands-down the best way to arm yourself for cold and flu season. Forget those super sugary store-bought bottles; we’re making a delicious, small-batch version sweetened naturally with raw honey that you can easily refrigerate or even process for shelf stability. It’s comforting, simple, and takes just about an hour of your time to make a gorgeous, homemade immune syrup. You can read more about our kitchen disasters and journey to becoming the Cookery Kings over on our About Us page!
Why This Homemade Immune Syrup Recipe Works Best
Listen, I know there are a million ways out there to tackle the cold and flu season, but honestly, this homemade immune syrup beats them all because you are in total control. When you make a small batch elderberry syrup recipe, you know exactly what’s going into your body—no weird fillers or unnecessary sugars! That’s huge for me because I want this cold-and-flu remedy to really work.
The real magic clue I picked up is in the simmer! We use those gorgeous spices like ginger and cloves, but the biggest rule is never, ever boil your honey. Boiling honey destroys all those amazing enzymatic qualities that make it so helpful. So, we simmer the berries and spices first until the liquid reduces down beautifully. Then, and this is crucial for maintaining all those good things, we let the liquid cool until it’s just lukewarm before stirring in the raw honey at the end. It’s a tiny extra step, but trust me, it makes a difference in the quality of your final honey elderberry tonic!
Key Benefits of Our Elderberry Syrup Recipe
- Sweetened naturally with high-quality raw honey at the perfect temperature.
- Super easy to scale up or check the ratio if you want to make a huge supply next time.
- Uses pantry-staple warmth like cinnamon and cloves for a familiar, comforting flavor.
- Perfect for small-batch storage right in the fridge for quick access when you need it most.
Gathering Ingredients for Your Elderberry Syrup Recipe
Okay, getting a good elderberry syrup recipe going doesn’t mean you need to raid a specialty apothecary! We keep this super straightforward, using things you might already have in your spice cabinet. Keep in mind, we are making roughly 1.5 cups of syrup, which is perfect for a small batch elderberry syrup recipe.
For the berries, you can use either dried or fresh. If you snag some fresh ones, just remember you’ll need about one and a half cups to substitute for the one cup of dried berries. Everything else goes into the pot together up front!
- 1 cup dried elderberries (or 1.5 cups fresh elderberries)
- 3 cups filtered water
- 1 cinnamon stick
- 1 inch fresh ginger, sliced
- 1 teaspoon dried cloves
- 1/2 cup raw honey (this is super important—it goes in last!)
Ingredient Notes and Substitutions for Your Elderberry Syrup Recipe
The biggest tip here revolves around that honey. Please, please, please use raw honey if you can, and only stir it in once the berry mixture has cooled down below 110°F (about 43°C). If you boil it, you lose the good stuff! If you are really worried about the flavor being too intense for the little ones, I have a little trick: Stir in about 1/2 teaspoon of pure vanilla extract right after you mix in the honey. It really smooths out the flavor profile without affecting how well this homemade immune syrup works.
Step-by-Step Instructions for the Perfect Elderberry Syrup Recipe
Alright, let’s get this simmering! This is where the kitchen adventure really picks up pace. Don’t worry if you’ve never done this before; these steps are super straightforward. The key is giving the mixture enough time to really extract those vibrant colors and helpful compounds from the berries and spices.
First up, grab your saucepan—we’re not messing around, we are making a real, potent brew! Toss in your elderberries, the 3 cups of water, that cinnamon stick, the sliced ginger, and the cloves. Turn the heat up to medium-high and bring the whole thing to a proper boil. Once you see those satisfying bubbles, immediately drop the heat down low. We want a gentle, lazy simmer, not a rolling boil, so cover the pot almost completely. You need about 45 minutes to a full hour here. You’ll notice the liquid shrinking down—we are looking for it to reduce by about half. That’s how you know the flavor is concentrating!
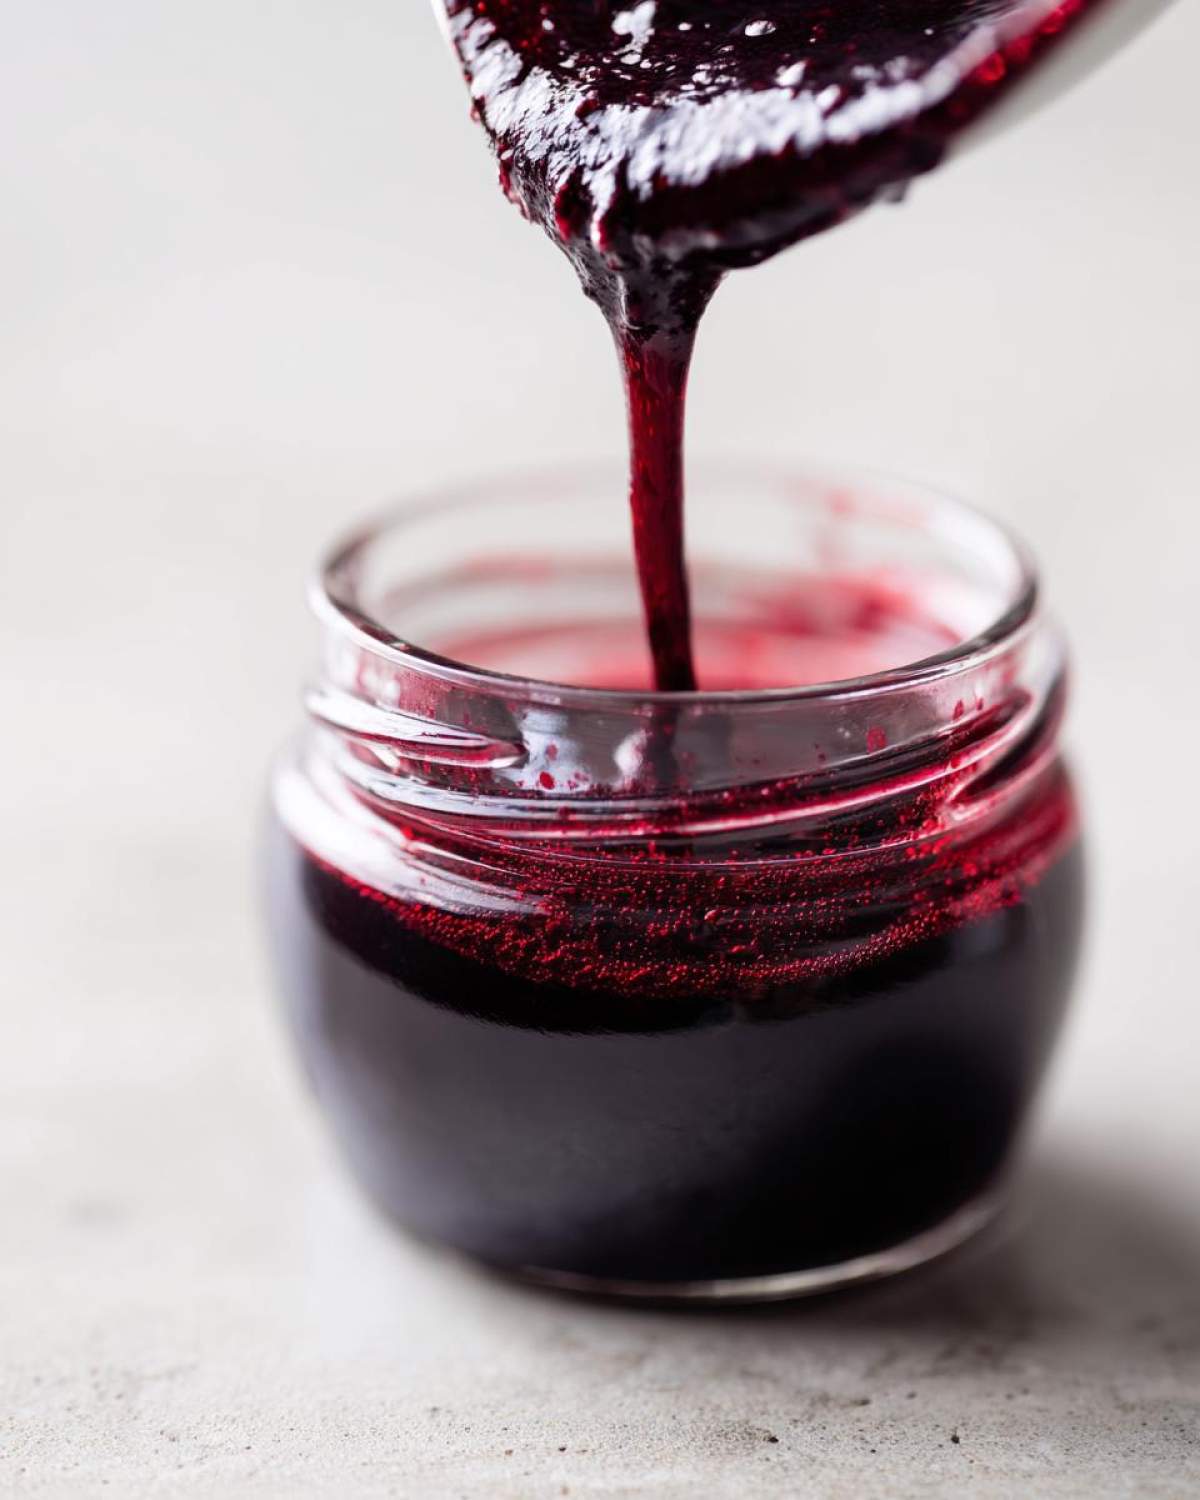
When it looks beautifully thick and dark, take it off the heat completely. Now for the most important patient moment: you absolutely have to let the mixture cool down. If it’s too hot, you’ll basically cook the raw honey, and we don’t want that! Wait until it’s merely lukewarm—I look for below 110°F (or 43°C). Seriously, touch the side of the bowl; you should be able to keep your hand there comfortably. Once it passes the touch test, slowly stir in that 1/2 cup of raw honey until it dissolves completely. Congratulations, you’ve just crafted a stunning honey elderberry tonic!
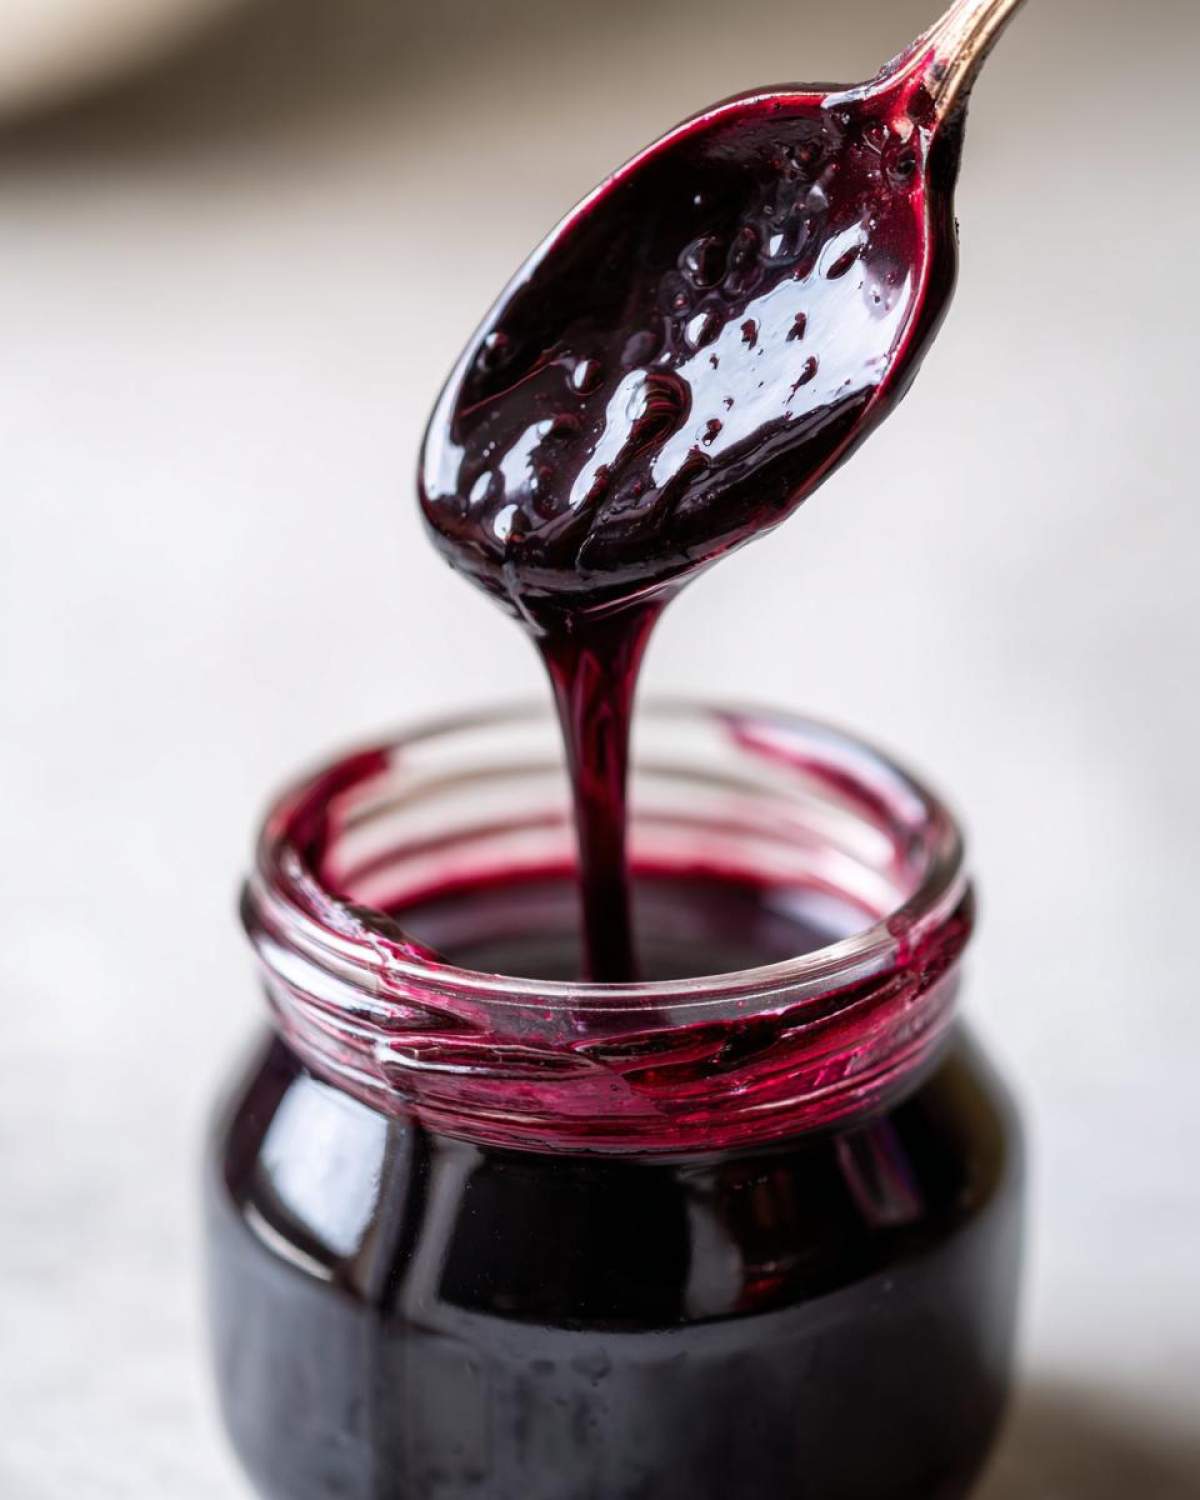
Pour that gorgeous mixture into sanitized jars. If you’re just making a small batch elderberry syrup recipe to keep in the fridge, put the lid on and tuck it into the cold part right away. We’ll talk about canning next!
Alternative Method: Instant Pot Elderberry Syrup Recipe
If I’m having one of those days where I just can’t monitor a simmering pot—which, let’s be real, happens often—I turn straight to the pressure cooker. It’s a fantastic time-saver! For this Instant Pot elderberry method, you combine the berries, spices, and use just 2 cups of water instead of 3. Seal it up and cook on high pressure for exactly 10 minutes. When the time is up, let it naturally release pressure for a full 10 minutes before manually releasing any final steam. Strain it, let it cool slightly, and then mix in your honey, just like the stovetop method. It comes out perfect every single time!
Preserving Your Small Batch Elderberry Syrup Recipe
Now that you have this beautiful, concentrated syrup, how do you keep it on hand for when you actually need it? Since we made this a small batch elderberry right up front, you have two easy choices for storage. If you plan on using it up within a few weeks, just pour it into clean bottles, cap it, and keep it tucked away in the fridge. It stays good for ages that way when you use honey!
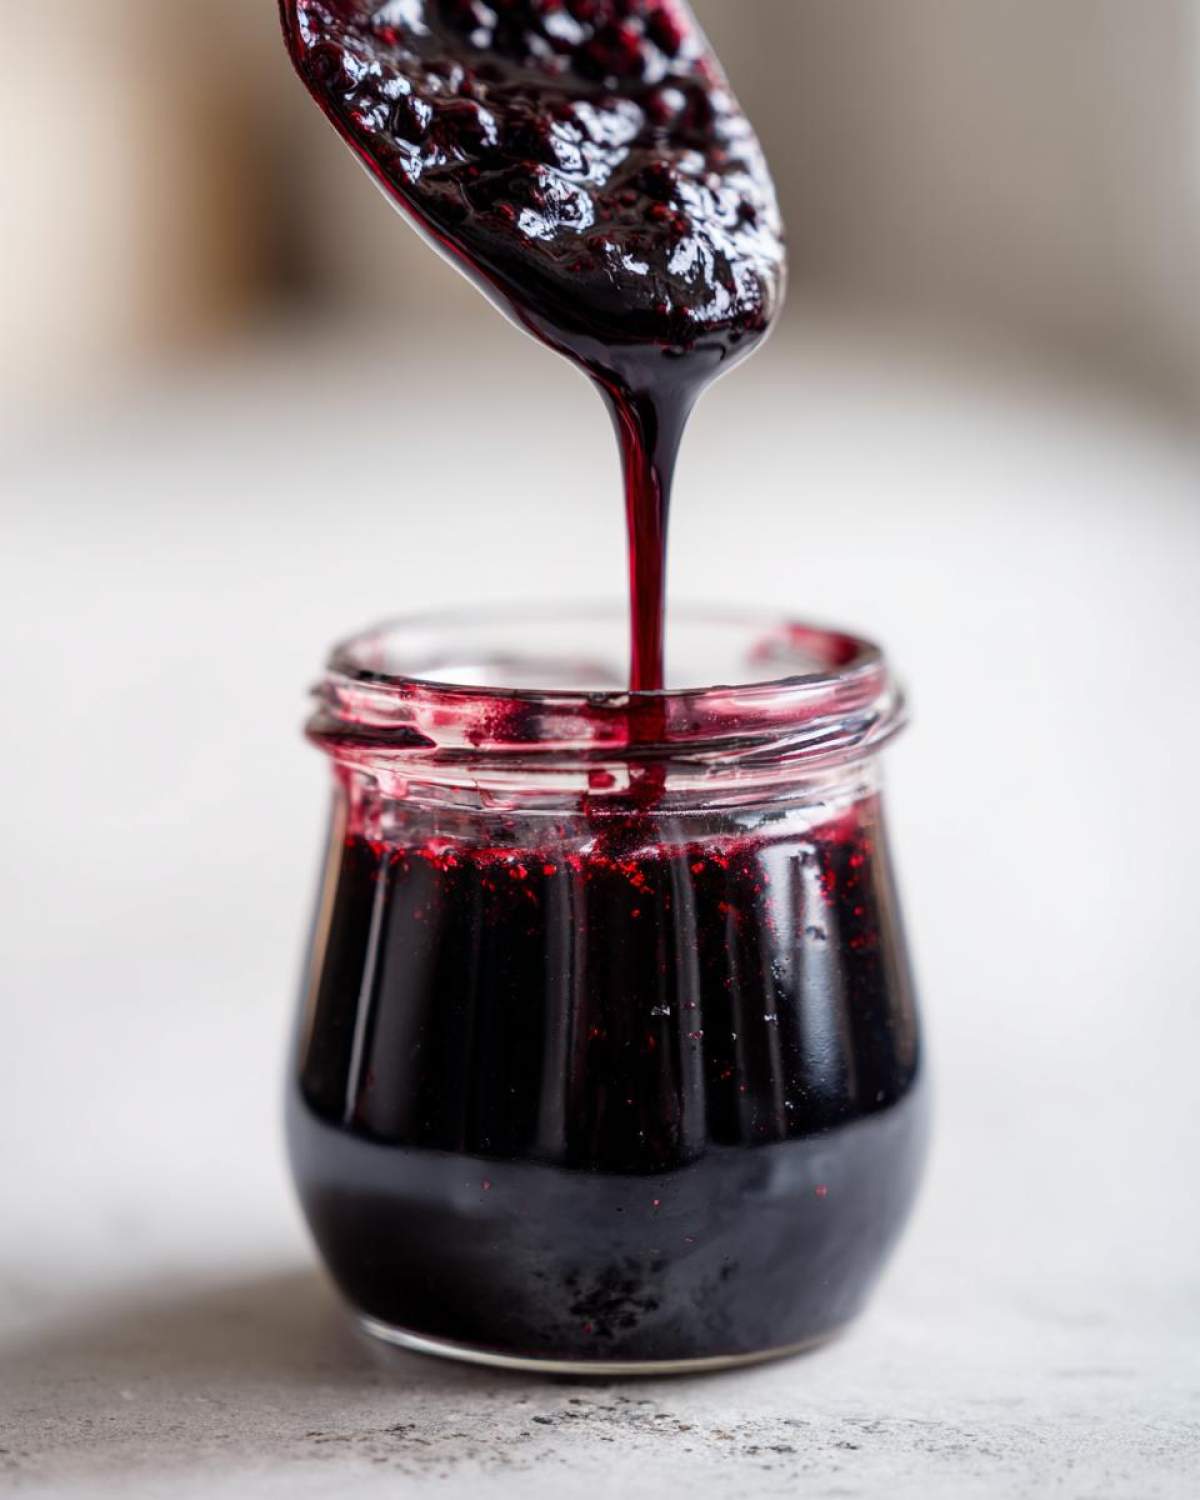
But for those of us who want to prepare for the whole winter season without having to cook a batch non-stop, you need to know about canning elderberry syrup. Honestly, Mia and I were so terrified of canning when we first started this. Remember that raw chicken disaster? We were sure we’d somehow mess up the seals! But once we followed a standard water bath canning process for shelf stability, we realized it’s not scary at all. You just process those filled jars the right way, and suddenly you have years of immune support ready to go. It’s one of those kitchen skills that feels really empowering once you nail it.
Storage and Dosage Guidance for Your Elderberry Syrup Recipe
Since this is potent stuff, a little goes a long way, and you don’t want to accidentally take too much, especially for the little ones. For general daily maintenance—just trying to keep healthy—we stick to this routine:
- Adults: 1 tablespoon daily.
- Children over one year: 1 teaspoon daily.
If you or someone in the house feels like something is coming on or is already sick, you can bump that frequency up to about 1 tablespoon three times a day for adults, just until you feel back on track. Always remember that this delicious honey elderberry tonic is intended as a supplement, not a replacement for listening to your doctor!
Tips for Success When Making Your Elderberry Syrup Recipe
I feel like every recipe we share here is a lesson learned through trial and error, usually featuring a sticky counter or two! Making this effective elderberry syrup recipe is incredibly simple, but there are a few small things that make the difference between a good syrup and a great one. As Mia always says, taking care of the little details upfront saves us from cleaning up a huge mess later on our blog!
First, let’s talk about straining because nobody wants chunky syrup clinging to the bottom of their spoon. Once you’ve taken the mixture off the heat and it’s cooled down a bit, use the finest mesh sieve you own. If you have cheesecloth lying around, layer it over the sieve! When you pour the cooled berries and liquid through, take a clean spatula or spoon and gently press down on the solids. Don’t mash them into oblivion—we just want to make sure we squeeze every precious drop of that dark, concentrated liquid out before ditching the solids. You’ll be amazed at how much extra syrup this releases!
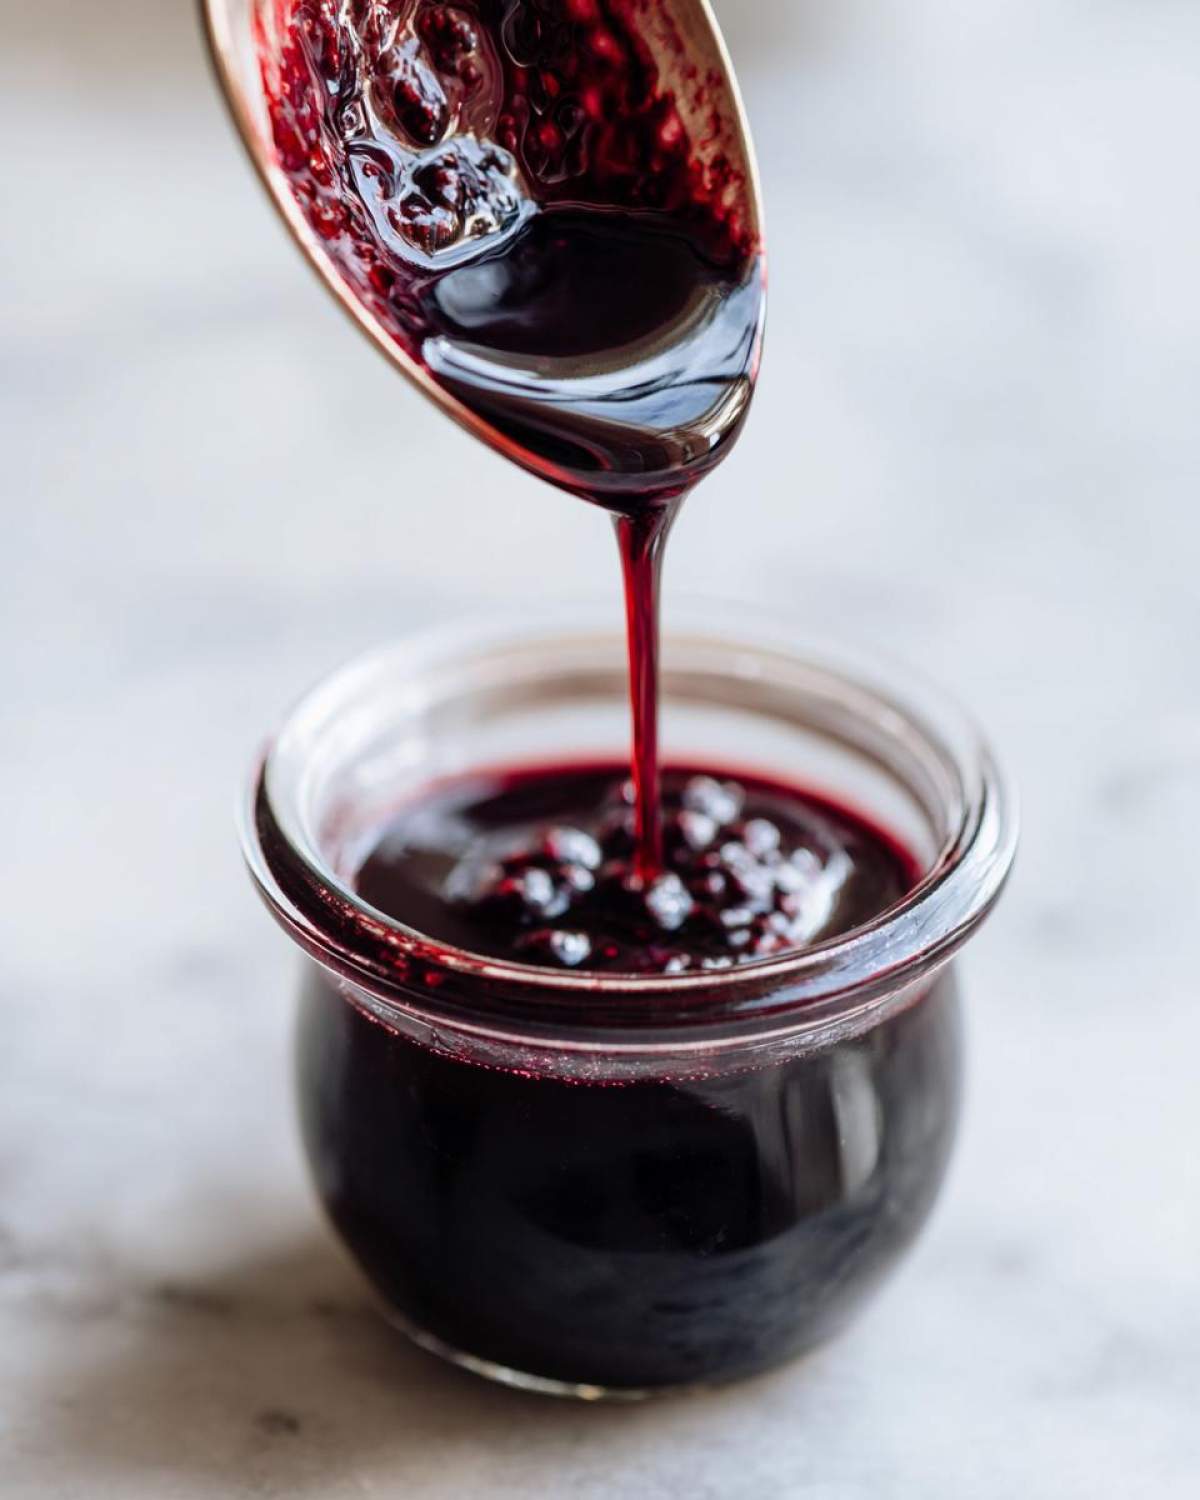
Another thing I learned trying to make a supply last year: scaling up! If you decide you want more than this small batch elderberry provides, you absolutely can scale it. Just make sure you keep the spice ratios correct for the increased volume of berries and water. However, the honey ratio is the most crucial part to keep consistent. If you double the berry/water liquid volume, you must double the honey volume too. Resist the urge to cut back on the honey when scaling for canning, as the honey helps keep that shelf stability in check!
Frequently Asked Questions About This Elderberry Syrup Recipe
I know when you look at making your own cold-and-flu remedy, tons of little questions pop up, and that’s totally normal! Honestly, I bombard Mia with questions every time we try a slight tweak. Here are some of the things people ask most often about this elderberry syrup recipe so you can dive right into making your batch!
How long does refrigerated elderberry syrup last?
Because we rely so heavily on the natural preservative powers of raw honey, your homemade immune syrup lasts quite a while in the fridge! If you only make the small batch elderberry and don’t process it for canning, it usually stays perfectly good for about 3 to 4 weeks in a sealed, sterilized container. Just keep an eye out for any mold forming on top or any strange smells, but honestly, the honey usually keeps it rocking for a long time.
Can I use fresh elderberries instead of dried in this elderberry syrup recipe?
Yes, you absolutely can! This is a common question since fresh berries are sometimes easier to find locally. If you switch to fresh, just remember the hydration ratio changes a little bit because fresh berries hold more water. For this recipe, if you are using fresh berries, bump the amount up from 1 cup (dried) to 1 and a half cups of fresh ones. Everything else stays exactly the same for the simmering and straining!
I’m out of cloves—can I skip them in this honey elderberry tonic?
Oh, totally! Don’t let one missing spice stop you, especially when you need that cold-and-flu remedy fast. Cloves add a warm depth, but if they aren’t in your cupboard, you can skip them entirely. Or, if you happen to have an extra cinnamon stick or a little bit more ginger, you can bump those up just a tiny bit to compensate for the lost warmth. The spices are there to flavor and support, but the berries are the star of the show!
Can I make this elderberry syrup recipe vegan?
That’s a great question for those balancing different dietary needs! Since the original recipe calls for raw honey, it’s not strictly vegan. But you can definitely swap it out! Instead of 1/2 cup of honey, try using 1/2 cup of pure maple syrup. Just make sure you add it *after* the liquid has cooled down, just like you would the honey, so you don’t cook the beneficial qualities out of the maple syrup either. You might need to stir it in a moment longer because maple syrup is generally a bit thinner than honey.
Estimated Nutritional Breakdown of This Elderberry Syrup Recipe
Okay, so when you’re making up your own elderberry syrup recipe at home, especially one sweetened with raw honey instead of processed sugar, the nutrition is going to look different than the store-bought stuff. That is half the victory right there!
We put together an estimated breakdown based on using 1/2 cup of raw honey in our proportions. Just remember, since we aren’t using massive amounts of sugar and we are relying on the natural goodness of the fruit and spices, this is pretty straightforward. This is just a general guide, though. Since we’re mixing our own ingredients—and I know Mia gets super picky about what brand of raw honey we use—the exact numbers can definitely shift around based on what you toss in!
For reference, here is the approximate nutritional information per tablespoon serving:
- Serving Size: 1 tablespoon
- Calories: 50
- Sugar: 12g
- Sodium: 1mg
- Fat: 0g
- Carbohydrates: 13g
- Protein: 0g
See? Mostly just coming from that lovely honey sweetness! It’s a much cleaner way to support your system than grabbing those syrups loaded with corn syrup. If you’re tracking anything specific, remember that using maple syrup instead of honey will slightly alter the carbohydrate and sugar counts, so use these estimated numbers as your starting point!
Share Your Homemade Immune Syrup Creations
Phew! We made it through the whole elderberry syrup recipe together! Now comes my favorite part, which is hearing from you guys. Since Mia and I are all about making this whole cooking thing a joyful adventure, we absolutely love seeing your results when you try brewing up this honey elderberry tonic.
Did you stick strictly to the simmered spice blend, or did you try my little vanilla trick to make it extra friendly for the kids? Maybe you added a completely new spice that you are obsessed with! If you successfully canned your batch or used the Instant Pot elderberry method and loved it, shout it out!
Please leave us a star rating right here on the recipe card above—it helps other folks who are hesitant about making their own cold-and-flu remedy see that this simple process is totally worth it. And if you have any tweaks or surprises you discovered while making your homemade immune syrup, drop a comment below. We read every single one, and honestly, sometimes you guys come up with the best ideas! We’re still ruling our kitchen (mostly), and we want you to feel like the King or Queen of yours, too!
PrintSimple Homemade Elderberry Syrup Recipe for Immune Support
Learn how to make a small-batch, honey-sweetened elderberry syrup at home. This recipe is easy to follow and perfect for canning or refrigerating for daily immune support.
- Prep Time: 10 min
- Cook Time: 60 min
- Total Time: 70 min
- Yield: About 1.5 cups
- Category: Natural Remedy
- Method: Stovetop Simmering
- Cuisine: American
- Diet: Vegetarian
Ingredients
- 1 cup dried elderberries (or 1.5 cups fresh elderberries)
- 3 cups filtered water
- 1/2 cup raw honey (add after cooking)
- 1 cinnamon stick
- 1 inch fresh ginger, sliced
- 1 teaspoon dried cloves
Instructions
- Combine the dried elderberries, water, cinnamon stick, ginger, and cloves in a medium saucepan.
- Bring the mixture to a boil over medium-high heat.
- Once boiling, reduce the heat to low, cover the pot partially, and let it simmer for 45 minutes to 1 hour. The liquid should reduce by about half.
- Remove the saucepan from the heat and let the mixture cool for about 20 minutes.
- Strain the liquid through a fine-mesh sieve or cheesecloth into a clean bowl, pressing gently on the solids to extract all the liquid. Discard the solids.
- Wait until the elderberry liquid is lukewarm (below 110°F or 43°C) before stirring in the raw honey. Do not boil the honey.
- Stir until the honey is fully dissolved into the syrup.
- Pour the finished honey elderberry tonic into clean, sterilized jars or bottles.
- For small-batch elderberry syrup, refrigerate immediately. For canning elderberry syrup, process jars according to standard water bath canning procedures for shelf stability.
Notes
- If you prefer a kid-friendly flavor, you can add 1/2 teaspoon of vanilla extract after removing from heat.
- If you are using an Instant Pot elderberry method, combine ingredients (use 2 cups of water instead of 3) and cook on high pressure for 10 minutes, followed by a natural pressure release.
- For dosage, adults typically take 1 tablespoon daily for maintenance, increasing to 1 tablespoon three times daily when feeling unwell. For children over one year, use 1 teaspoon daily, increasing as needed.
- If you want to make a larger batch, you can scale the recipe up, keeping the ratio of honey to liquid the same.
Nutrition
- Serving Size: 1 tablespoon
- Calories: 50
- Sugar: 12g
- Sodium: 1mg
- Fat: 0g
- Saturated Fat: 0g
- Unsaturated Fat: 0g
- Trans Fat: 0g
- Carbohydrates: 13g
- Fiber: 1g
- Protein: 0g
- Cholesterol: 0mg