

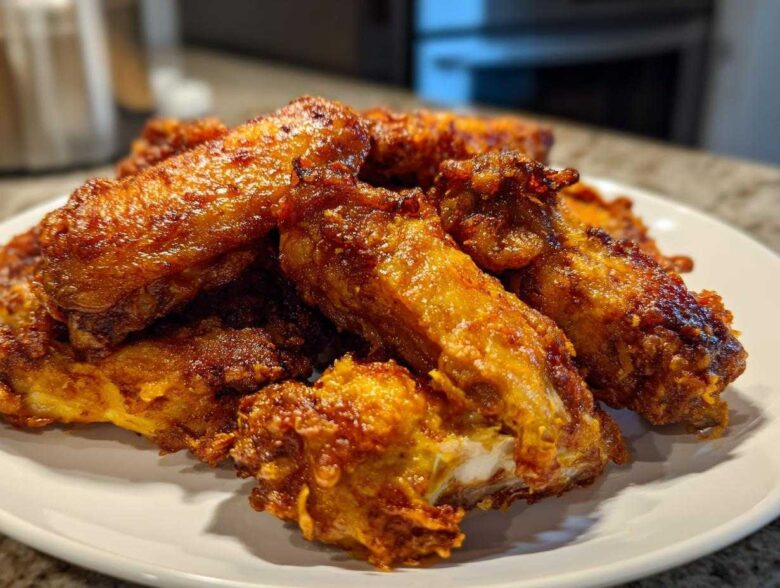
Oh my goodness, let’s talk about the ultimate snack: perfectly **crispy chicken wings**. I remember Chloe and I in college, thinking if we wanted good wings, we absolutely had to order takeout or deep fry them until the smoke alarm sang us the song of our people, right? Well, throw out that greasy pan! I figured out a secret weapon that lets you conquer true crunchiness right in your regular kitchen oven. Seriously, these **Extra Crispy Baked Chicken Wings** deliver that snap without the oil bath. It’s the technique that changed everything for our game day spreads. If you’re looking for easy, no-fuss appetizers that wow everyone, you have to try this. You can check out our whole chaotic kitchen origin story over on our About Us page if you need a laugh!
Why This Baking Powder Trick Makes the Best Crispy Chicken Wings
Look, I know it sounds weird throwing baking powder on meat, but trust me on this one. This isn’t just some random internet hack; it’s actually solid food science that gives us the **Best Chicken Wing Technique** without drowning them in oil. What’s happening is that aluminum-free baking powder slightly raises the pH level on the chicken skin.
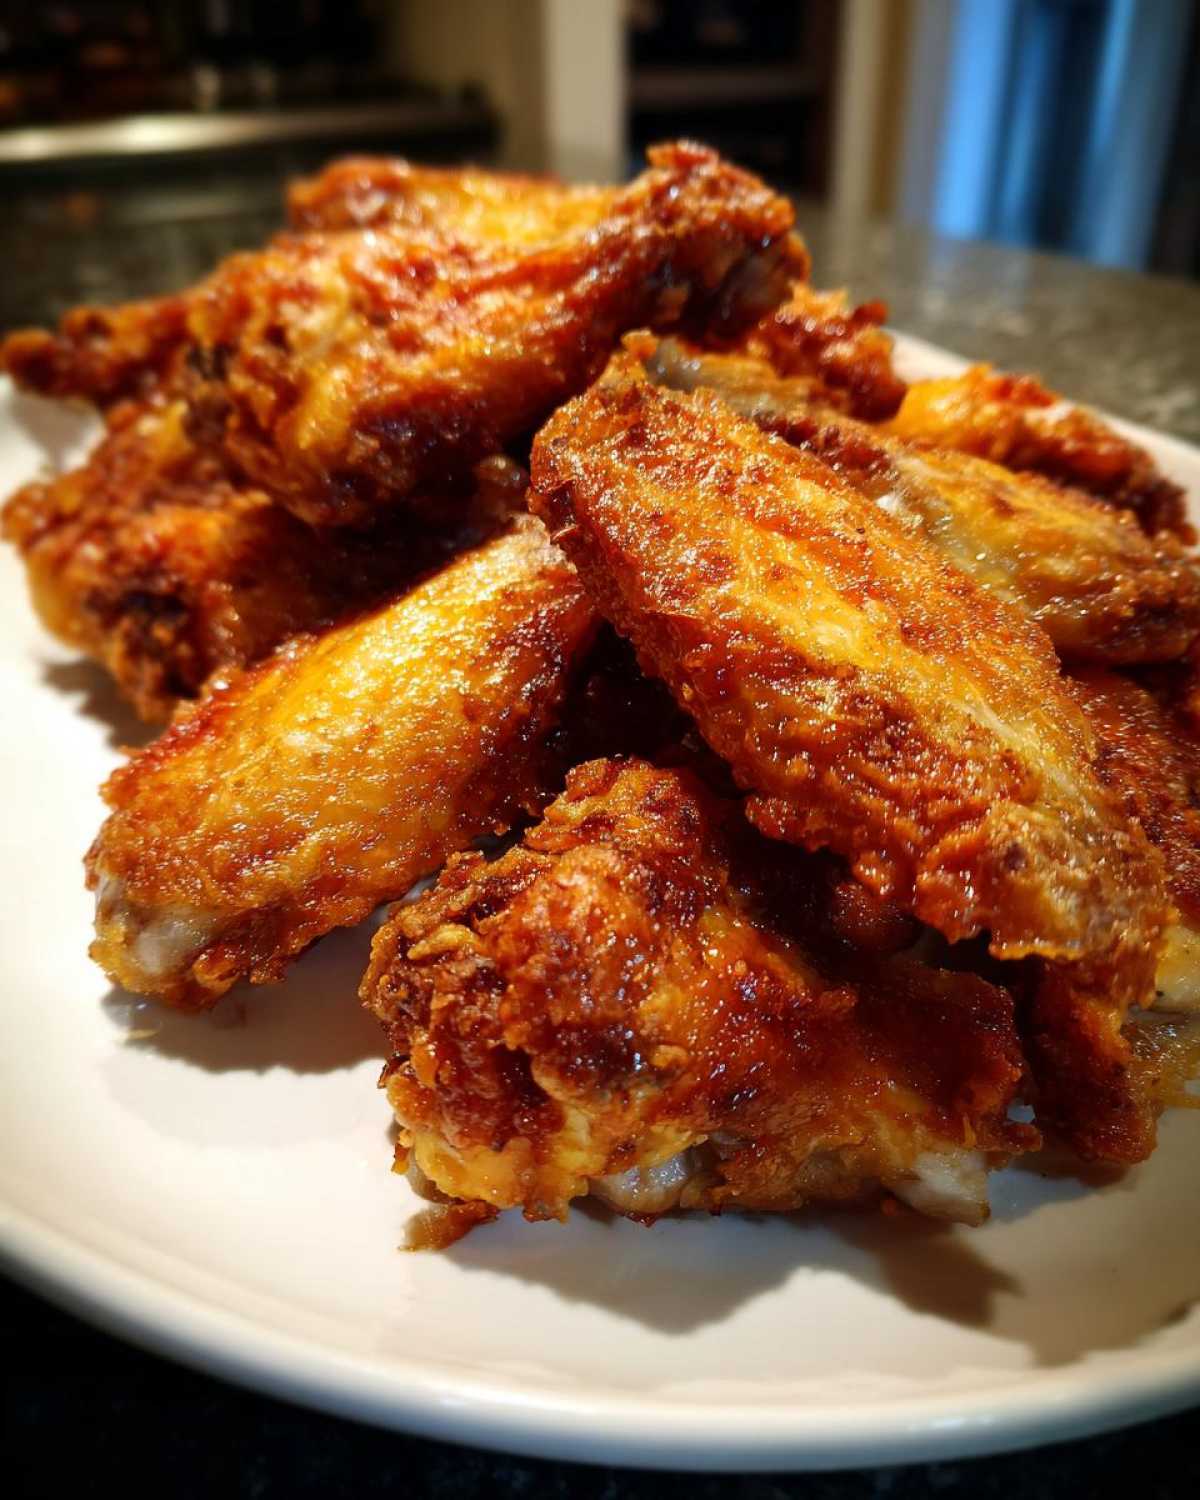
When the skin gets a little more alkaline, it helps break down proteins and dry out the surface way faster in the hot oven air. That super-dry surface hits the heat, and *bam*, we get that deep golden browning and incredible crackle we usually only get from deep frying. It’s truly genius for anyone wanting **no fry chicken wings** on Game Day!
Achieving Juicy Inside Crispy Outside Chicken Wings
This method is the secret handshake to getting that textural masterpiece. You get shatteringly crisp skin on the outside, but since the moisture is locked in during the cooking process by that dry coating, the meat stays unbelievably juicy. Honestly, these are the **Juicy Inside Crispy Outside Wings** you dream about when you settle in to watch the game.
Gathering Ingredients for Extra Crispy Baked Chicken Wings
Okay, now that you know the magic trick (baking powder!), let’s get our supplies ready. I’ve listed everything out below exactly how I wrote it on my recipe card. When you’re shopping, remember we need about 3 pounds of wings, making sure you separate those flats and drumettes—it helps them cook evenly!
- 3 lbs chicken wings (flats and drumettes separated)
- 1 tablespoon baking powder (aluminum-free works best)
- 1 teaspoon salt
- 1/2 teaspoon black pepper
- 1/2 teaspoon garlic powder
- 1/4 teaspoon cayenne pepper (optional, for a little heat)
- 2 tablespoons unsalted butter, melted (for tossing after baking)
- Your favorite sauce (Buffalo, Honey Garlic, or Ranch seasoning)
Ingredient Notes and Substitutions for Your Chicken Wings
A few quick notes here before you start mixing! You absolutely must use baking powder, not baking soda—they do totally different things chemically, and baking soda will make your wings taste soapy! Also, don’t mix the sauce in yet; we wait until they come out of the oven. The light coat of butter just helps the sauce stick better to all that crispiness. If you aren’t into any heat, skip that cayenne pepper; they are delicious and savory without it!
Step-by-Step Guide: How to Prepare Perfect Oven Baked Wings
Alright, this is where the cooking alchemy happens! While I might be the chaos coordinator, Mia always makes sure I follow these steps precisely because the difference between a good wing and a legendary **Oven Baked Wings** experience is all in the setup. First things first: preheat your oven high—I mean really high—to 425°F (220°C). If you have a wire rack, toss it on your baking sheet now; it lets the air flow underneath, which is fantastic for getting rid of fat.
Next, this is non-negotiable: you have to pat those wings bone-dry using paper towels. I mean *completely* dry. Any lingering moisture is the enemy of crispiness, so grab a wad of paper towels and blot until they feel almost leathery! Once they are dry, dump your spices—that baking powder mix we talked about—into a big bowl, toss in the wings, and make sure every single bit is coated. Don’t leave any white spots showing! If you want to see how we prep other things for maximum moisture retention, check out our guide on our secret marinade technique!
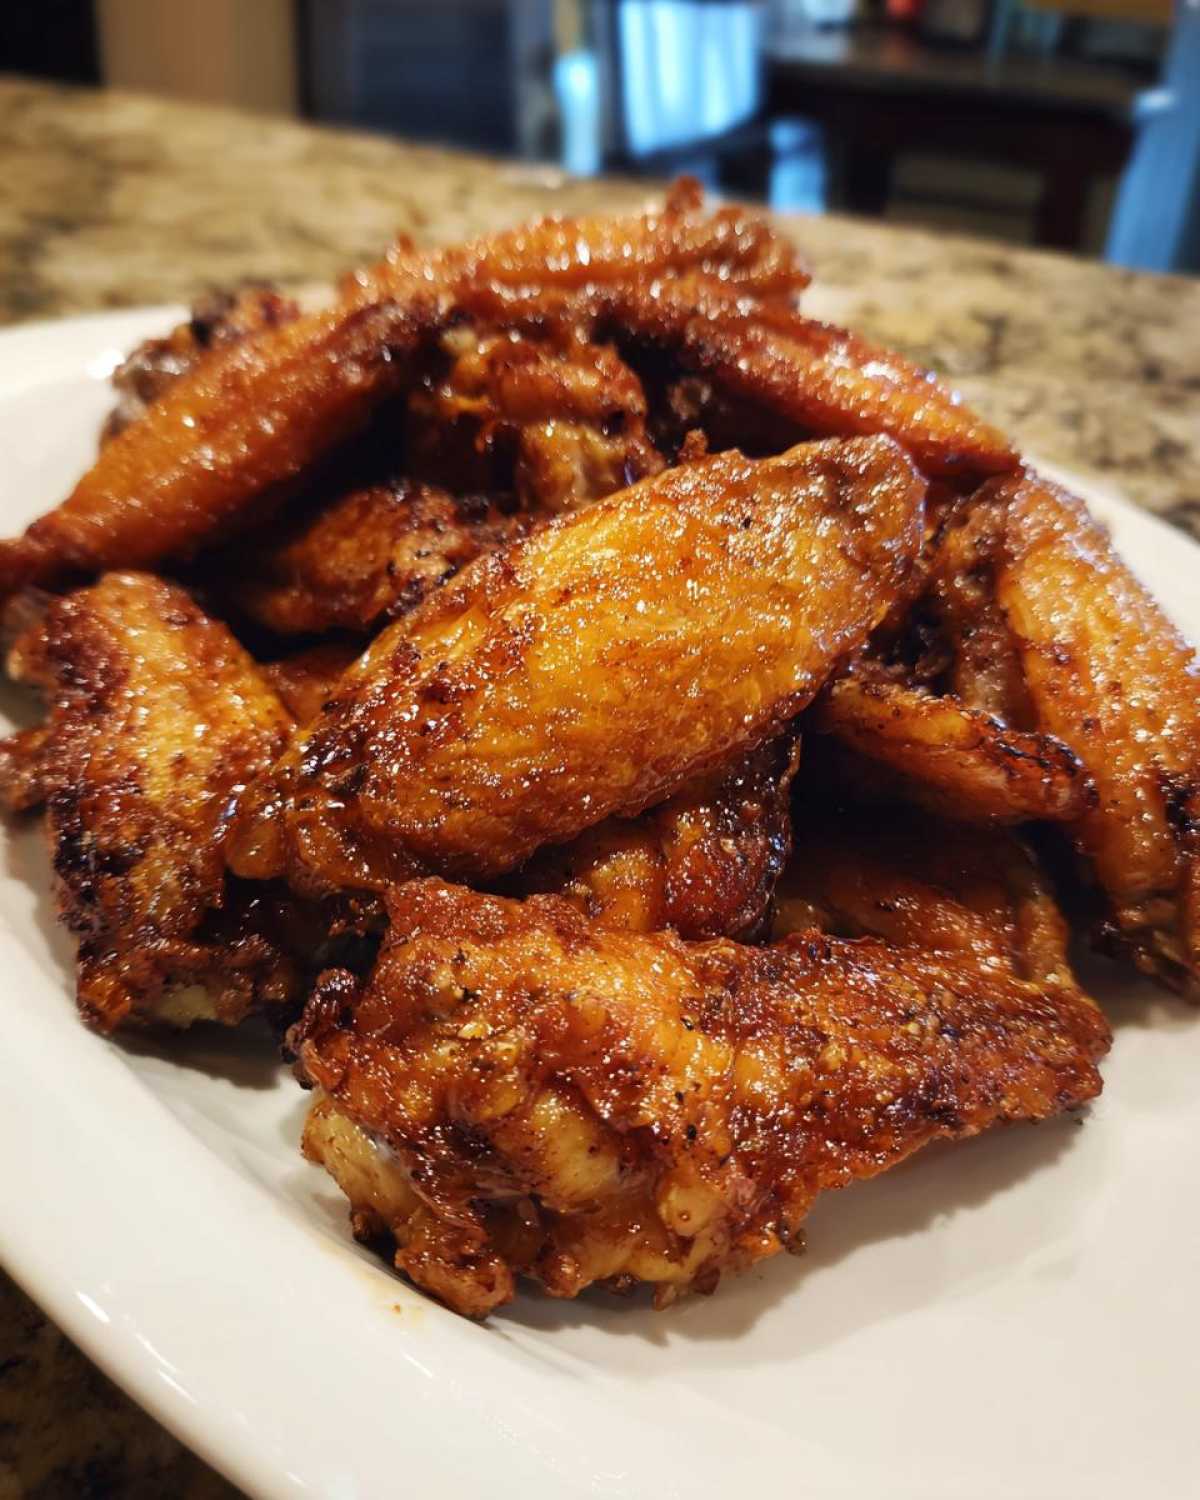
Finally, lay them out on that prepared sheet or rack. They absolutely cannot touch each other! Think of them like little sunbathers; they need space to get golden and crispy all over. No crowding allowed, trust me!
Baking Times and Temperature for Maximum Crispiness
We are using high heat here, remember? 425°F is perfect because it dries out the skin fast. Pop them in the oven for 25 minutes. This is just the warm-up act! When that timer goes off, you have to flip every single wing over. Give them another 20 to 25 minutes until they look deeply golden and feel super crunchy when you poke them gently. This high-heat, flip-it-once method is how we keep our promise of delivering amazing **no fry chicken wings** every single time!
Flavor Variations: Saucing Your Homemade Chicken Wings
This is my favorite part—the flavor explosion! Since we already nailed that crispy texture, now all you have to do is dress these beauties up. You asked for it, so we’ve got room for all the greats here. For Buffalo fans, wait until the wings cool for just a minute, then toss them in your favorite heat! If you’re making **Honey Garlic Wings**, toss them in the melted butter first, *then* gently fold them into that thick, sticky glaze for maximum coverage. If you ever want an alternative to the usual sauces, you should check out my recipe for the best homemade teriyaki sauce!
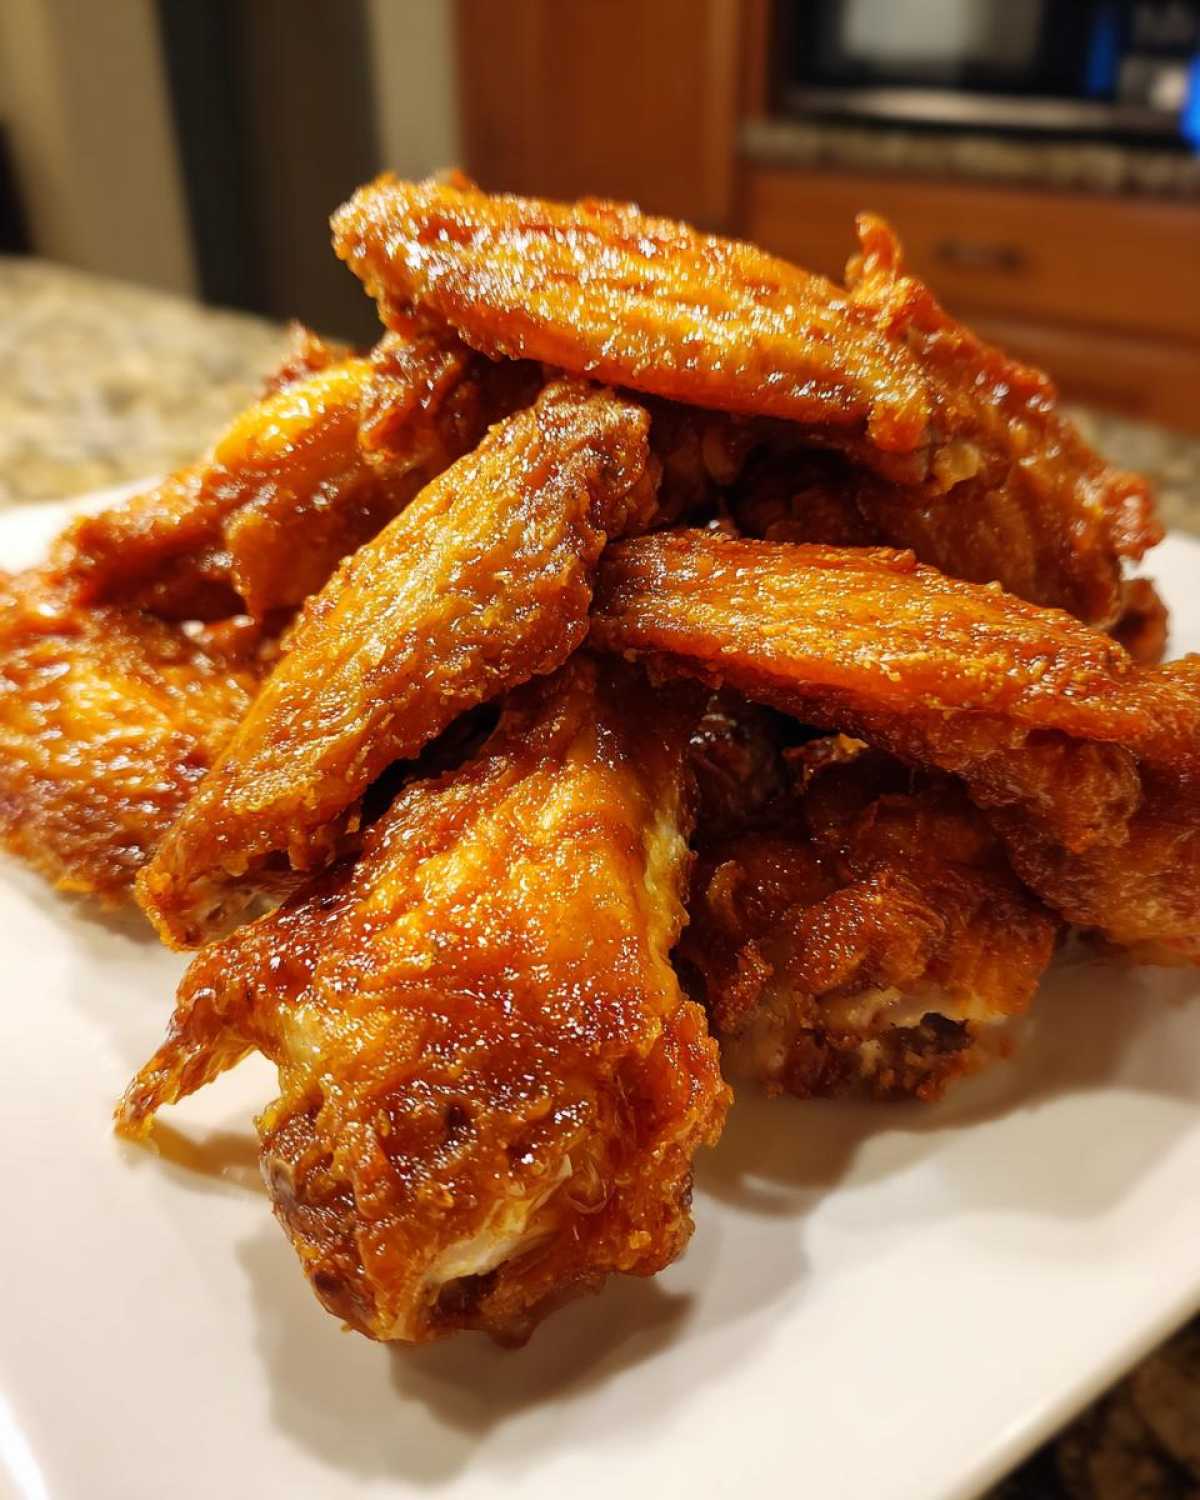
For our dry rub lovers—thinking Lemon Pepper or something like a smoky BBQ—you’ll toss them in the melted butter right out of the oven first to make the rub stick like glue! I know some people use a full **Ranch Wings Recipe** coating, but after baking, a quick toss in whatever sauce or dry dust you love is the way to go. Honestly, drizzle that hot honey sauce on top right before serving for the best visual appeal!
Making Easy Wing Recipes for Game Day Chicken Wings
These end up becoming the ultimate **Game Day Chicken Wings** centerpiece, hands down. Because we’re baking them and not dealing with hot oil splatter, they are super fast to prep, too. They transition perfectly from **Easy Wing Recipes** for a spontaneous Friday night to being the star appetizer at a big party spread. You can easily scale this batch up or down, making it perfect for a **Quick Chicken Wing Dinner** for two or a full football watch party lineup!
Tips for Success with Crispy Baked Chicken Wings
Okay, let’s recap the things that keep these babies from turning into sad little soggy nuggets. First up, and I learned this the hard way after I almost set our apartment on fire making sloppy joes back in the chaotic college days—you need everything dry! Patting the skin down until it feels desert-dry is the ticket to crunch. Seriously, don’t rush that step!
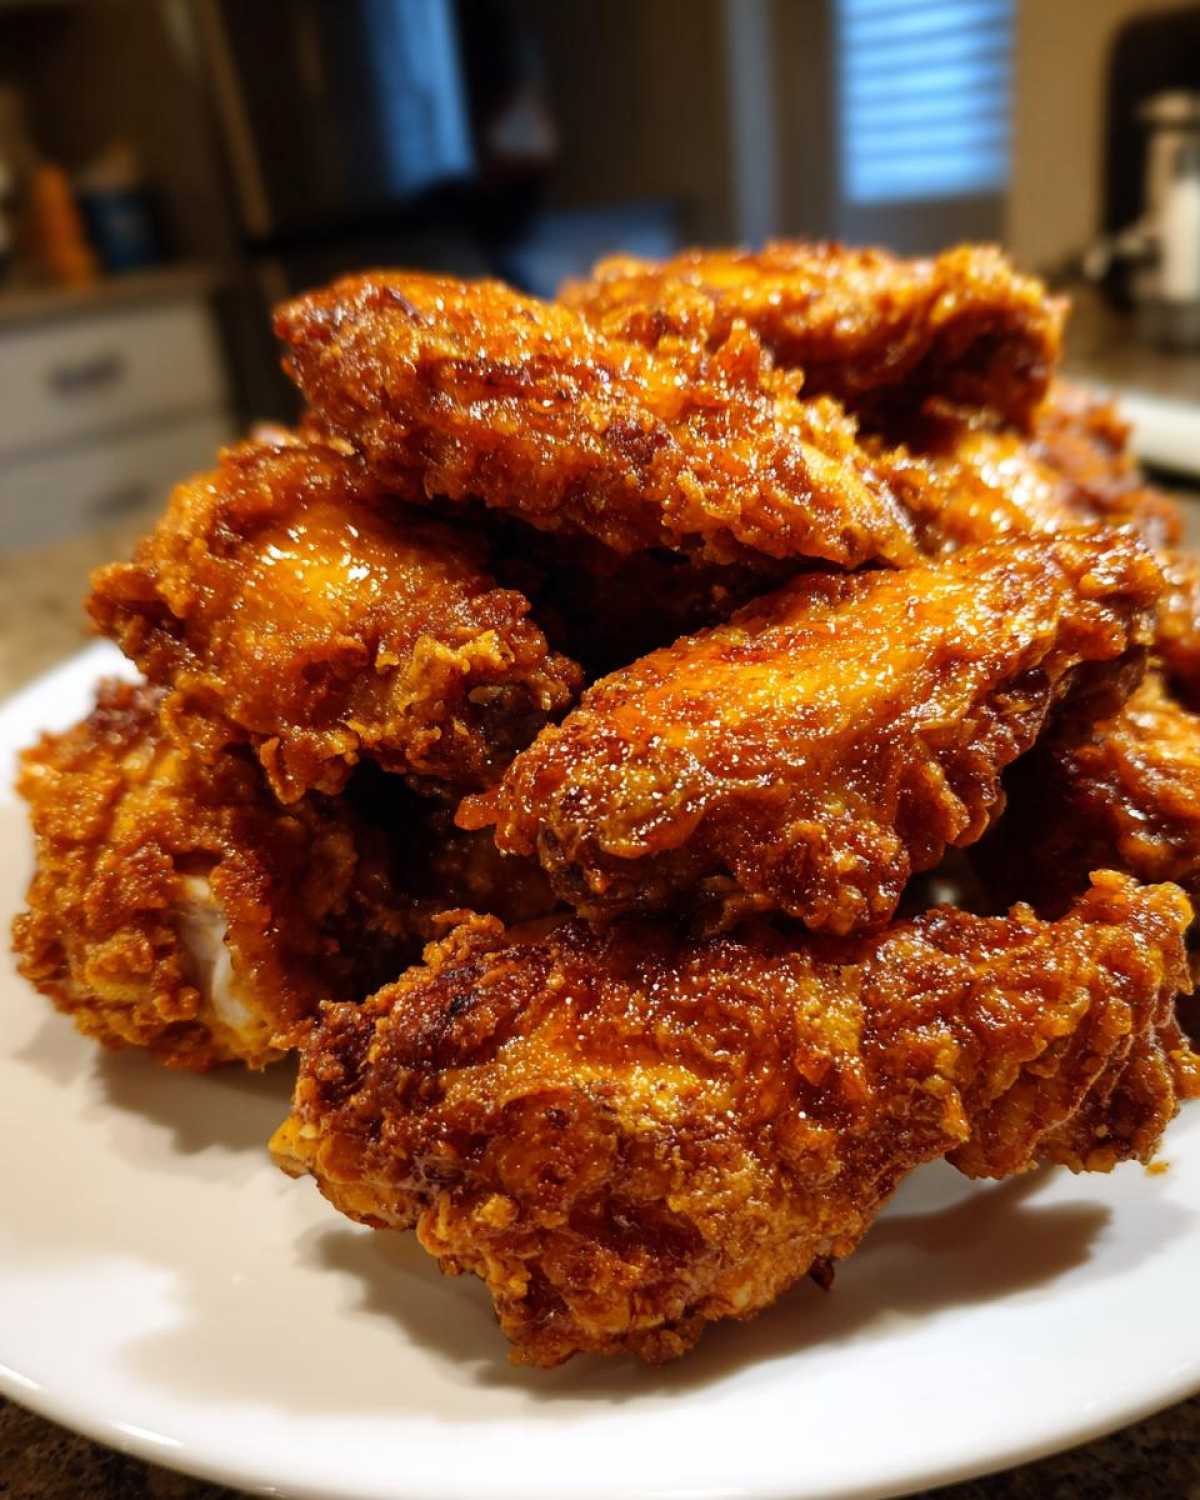
Also, if you can swing it, always use that wire rack set over your baking sheet. That little bit of space underneath lets the fat drip away, giving you that all-over crispness you just can’t get if the wings are sitting directly on foil or parchment. Following these little tweaks from our ongoing kitchen experiments means you save time and end up with perfect **homemade chicken wings** every time. You can always catch up on some of our other kitchen failures and successes over on the main Cookery Kings blog page!
Storage and Reheating Instructions for Leftover Chicken Wings
Now, sometimes—and I say *sometimes*—we actually have leftovers, which is a shocker because these disappear fast! If you have any amazing **chicken wings** left, stick them in an airtight container in the fridge for up to three days. Don’t drown them in sauce beforehand if you plan to save them, though!
The microwave is your enemy here; it turns them rubbery fast. For reviving that perfect crunch, my best tip is the toaster oven or the air fryer set to about 375°F for five to seven minutes. If those aren’t handy, a quick 10-minute blast in the regular oven at 400°F works wonders too. They come right back to life!
Frequently Asked Questions About Making Chicken Wings
Since we’ve covered the technique for getting that amazing crispiness, I figured I’d tackle a few questions I see popping up whenever I mention these wings online. I want to clear up any last-minute worries so you can get these in the oven ASAP!
Can I use baking soda instead of baking powder?
No, please don’t swap them out! Baking powder is the magic ingredient here because it’s a mixture of baking soda, an acid, and cornstarch—that combo is necessary to raise the pH just enough to dry the skin perfectly. Baking soda alone is too strong and acidic, and it will leave a weird, metallic, almost soapy taste in your finished **chicken wings**.
Do I really need to use a wire rack?
If you want that super crispy, all-the-way-around crunch, yes! If you don’t have a rack, you can line your sheet pan with foil and then use a fork to poke raised holes in the foil to create ridges, but honestly, a cheap wire rack makes all the difference because it lets the melting fat drip completely away from the skin. If you are trying an Air Fryer instead, I have some tips on air frying gnocchi that might translate well to wings!
Can I use these exact steps for the Air Fryer Chicken Wings?
You totally can adapt this! The air fryer is basically a high-powered mini convection oven, so the baking powder coating is still going to work wonders. You’ll use the same prep and coating steps, but you’ll need to reduce the cooking time significantly—probably about 18 to 22 minutes total at 380°F, flipping halfway through. It cooks faster, so keep an eye on them!
What if I only have iodized table salt?
That’s fine! While kosher salt is easier to handle when you’re coating things, regular table salt will absolutely work. Just stick to the measurement listed in the recipe. It’s all about getting that balance right before the high heat hits them.
Serving Suggestions for Your Party Appetizer Wings
If you’re going to all this effort for the crunchiest wings ever, you need the perfect supporting cast, right? These baked wings are the definition of **Crowd Pleaser Appetizers**! For game day, you absolutely have to stick to tradition: big bowls of celery and carrots served up with a serious blue cheese dip—Chloe swears by my creamy version. You can find the recipe for those best deviled eggs, too, for dipping!
If you need something lighter, a simple, crisp green salad with a bright vinaigrette cuts right through the richness of the sauce beautifully. Serve them hot, right out of the oven after saucing, and watch them disappear!
Estimated Nutritional Data for Baked Chicken Wings
Okay, because we believe in being totally upfront about what we’re eating—even when it’s this delicious—here is the estimated nutritional breakdown for these crispy baked beauties. Remember, this is just a guide! This information is based on a serving size of four wings before you toss them in heavy, sugary sauces. You’ll see these **homemade chicken wings** are surprisingly high in protein!
- Calories: 350
- Fat: 22g
- Protein: 33g
- Carbohydrates: 1g
See? Not too bad for something this satisfying! If you pile on the BBQ sauce, the numbers will change, of course, but the base wing recipe is solid!
PrintExtra Crispy Baked Chicken Wings (No Fry Technique)
You can make incredibly crispy chicken wings in your oven without deep frying. This recipe uses a simple baking powder trick to achieve that satisfying crunch, perfect for game day or any party.
- Prep Time: 15 min
- Cook Time: 45 min
- Total Time: 60 min
- Yield: 4 servings
- Category: Appetizer
- Method: Baking
- Cuisine: American
- Diet: Low Fat
Ingredients
- 3 lbs chicken wings (flats and drumettes separated)
- 1 tablespoon baking powder (aluminum-free works best)
- 1 teaspoon salt
- 1/2 teaspoon black pepper
- 1/2 teaspoon garlic powder
- 1/4 teaspoon cayenne pepper (optional, for a little heat)
- 2 tablespoons unsalted butter, melted (for tossing after baking)
- Your favorite sauce (Buffalo, Honey Garlic, or Ranch seasoning)
Instructions
- Preheat your oven to 425°F (220°C). Line a large baking sheet with parchment paper or a wire rack set over the sheet. Using a rack helps air circulate for maximum crispiness.
- Pat the chicken wings completely dry using paper towels. This step is crucial for crispy skin.
- In a large bowl, combine the baking powder, salt, pepper, garlic powder, and cayenne pepper.
- Add the dried chicken wings to the bowl. Toss thoroughly until every piece is evenly coated with the baking powder mixture. Do not skip this coating; the baking powder helps dry out the skin.
- Arrange the wings in a single layer on the prepared baking sheet or wire rack. Ensure there is space between each wing for even cooking.
- Bake for 25 minutes.
- Flip the wings over. Return them to the oven and bake for another 20 to 25 minutes, or until the skin is deeply golden brown and very crisp.
- Remove the wings from the oven. Place them in a clean, large bowl. Drizzle with the melted butter and toss gently to coat.
- Toss the wings immediately with your chosen sauce or dry rub. Serve hot as a crowd pleaser appetizer or quick weeknight dinner.
Notes
- For the absolute best results, place the coated wings on a wire rack set over a baking sheet. This allows fat to drip away and air to crisp all sides.
- If you prefer a saucy wing, toss them in the sauce immediately after they come out of the oven while they are still hot.
- If you are making a dry rub like Lemon Pepper, toss the wings with the melted butter first, then toss with the dry rub to help it stick.
Nutrition
- Serving Size: 4 wings
- Calories: 350
- Sugar: 1
- Sodium: 450
- Fat: 22
- Saturated Fat: 7
- Unsaturated Fat: 15
- Trans Fat: 0
- Carbohydrates: 1
- Fiber: 0
- Protein: 33
- Cholesterol: 110