

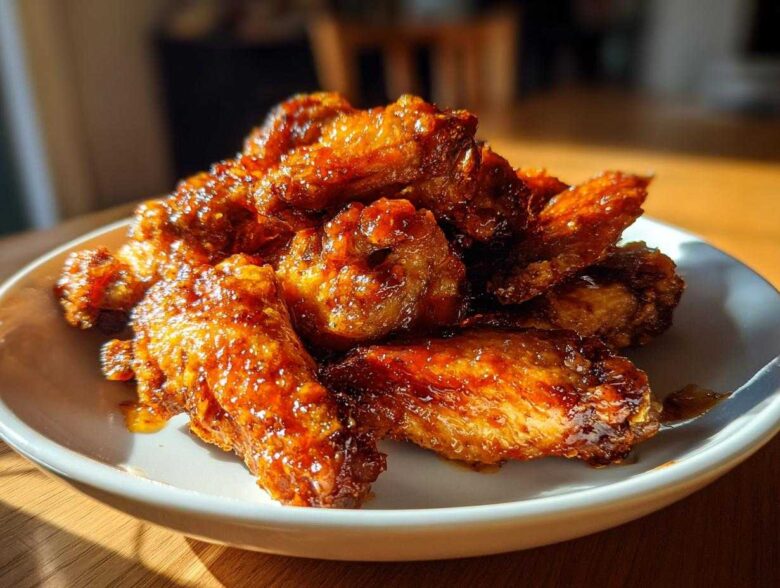
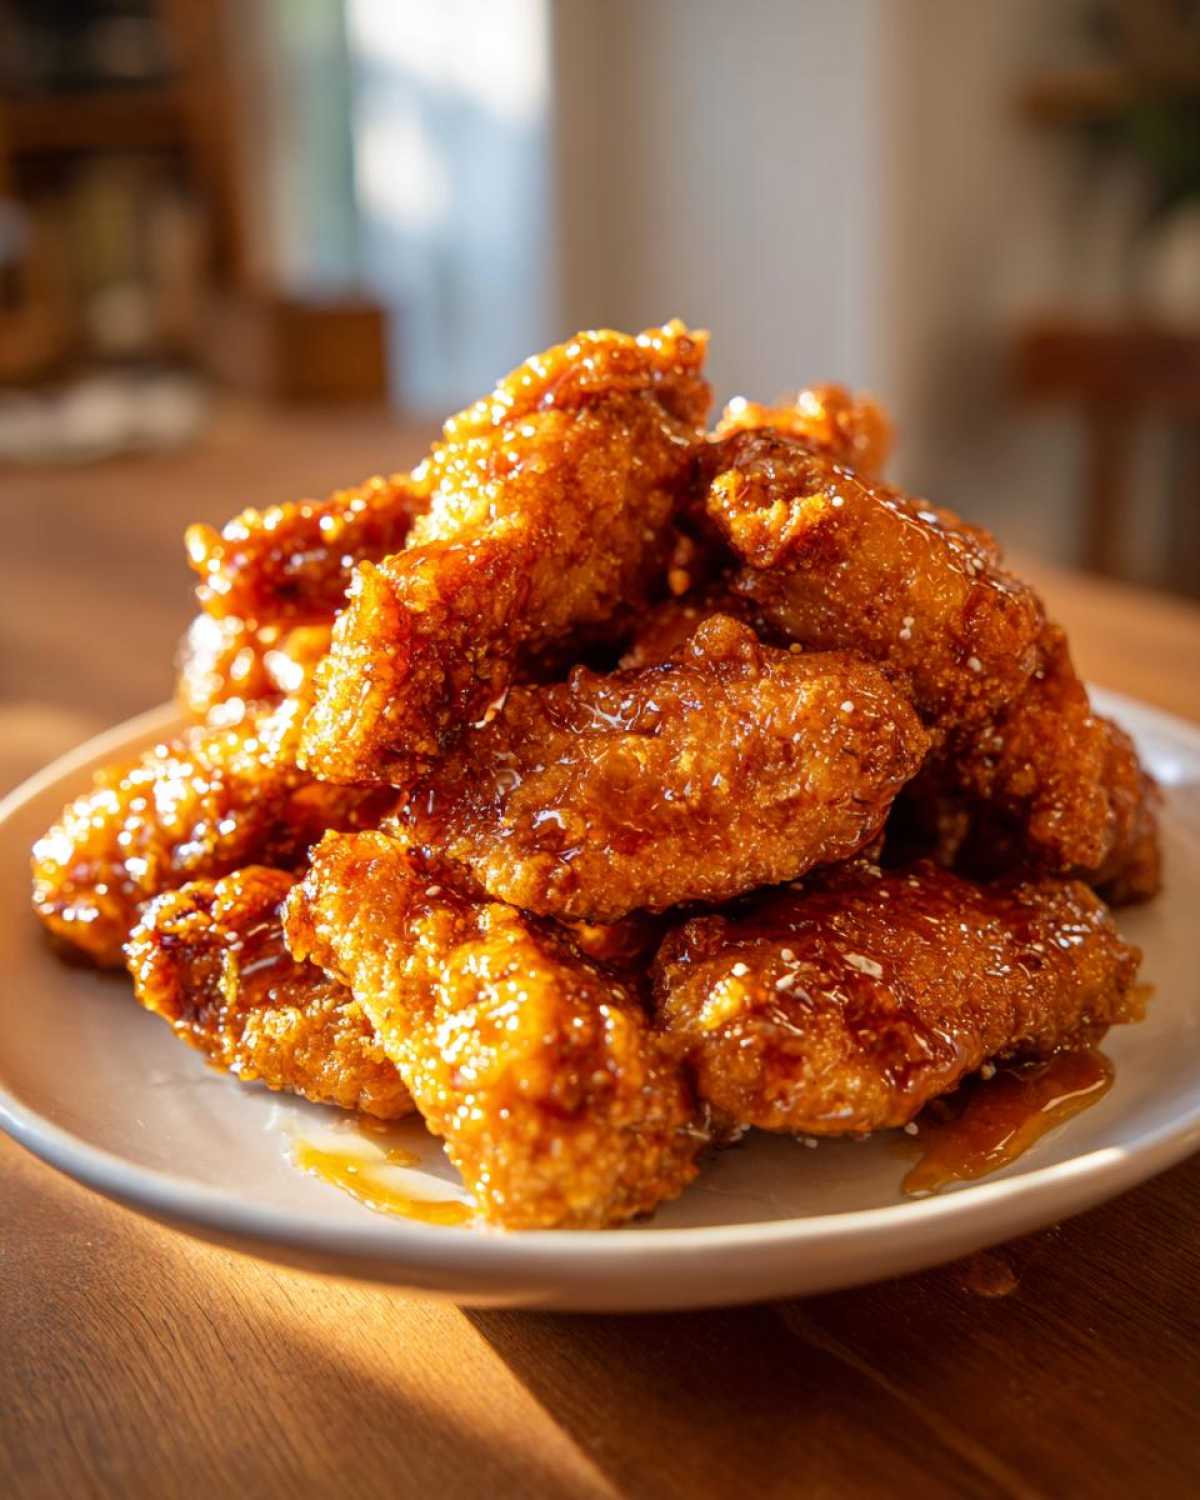
Listen, I know what you’re thinking: baked wings just don’t get crispy. They end up steamed, flimsy, and sad. I used to think that way too! For years, I lived by the idea that if you wanted real crunch, you absolutely had to haul out that giant pot of oil. Forget that noise now! After way too much trial and error—and a couple of smoke alarms—I figured out the secret handshake for oven-baking wings that shatter when you bite into them. We’re talking truly crunchy, deeply flavorful Crispy Baked Chicken Wings with Honey Glaze here. This recipe bypasses the fryer entirely, giving you that sweet, stick-to-your-fingers glaze without all the messy clean-up. Trust me, once you nail this technique, your weekend appetizer game changes forever. If you need help juicing up your next chicken breast, check out my marinade secrets too!
Why You Will Make Crispy Baked Chicken Wings with Honey Glaze Again and Again
Honestly, this recipe isn’t just good; it’s my go-to whenever company shows up or I just need a perfect Game Day Chicken Wings situation. You get so much flavor without any of the usual hassle. Here’s why I think you’ll absolutely love having this Simple Honey Sauce for Wings in your back pocket:
- The Crunch Factor is Real: We’re using baking powder—and no, they won’t taste like cleaner! This magic ingredient dries out the skin surface just enough so that when they hit that high oven heat, they puff up and get unbelievably crispy.
- Sticky, Not Soggy Glaze: The honey glaze reduces perfectly so it clings to the skin instead of sliding off into the pan. It’s the ultimate balance of sweet and savory that makes you reach for another wing immediately.
- Zero Deep Fryer Drama: This is an Oven Baked Chicken Wings recipe, folks! You get the results of deep frying with just a wire rack and some foil. Clean up is a breeze, which means you can actually enjoy the party instead of scrubbing oil vats.
- It’s Quick Enough for Weeknights: While the cook time is about an hour total, most of that is hands-off baking time. You prep them in 15 minutes, and then you can go catch up on your favorite show while they bake!
Essential Ingredients for Crispy Baked Chicken Wings with Honey Glaze
When it comes to making truly magnificent wings, the ingredients have to be right. This isn’t the time for shortcuts on flavor or texture! Every single item listed here plays a specific, important role in achieving that perfect combination of crispy skin and sticky glaze. I’ve listed out exactly what you need for this Easy Baked Wing Recipe below. If you want to try something else delicious with butter later, check out my easy garlic butter recipe!
For the Wings and Dry Rub, which is where all that crispiness starts:
- 2 lbs chicken wings, separated into flats and drumettes (make sure you ask your butcher to chop them up if you don’t want to do it yourself—it saves so much time!)
- 1 tablespoon baking powder (and listen carefully: it absolutely has to be aluminum-free. The regular stuff can leave a funky aftertaste, and we don’t want that!)
- 1 teaspoon salt
- 1/2 teaspoon black pepper
- 1/2 teaspoon garlic powder
- 1/4 teaspoon cayenne pepper (Only if you like a tiny little kick! If not, skip it.)
And for that amazing Honey Glaze that turns them into Sticky Chicken Wings Recipe perfection:
- 1/2 cup honey (Use the good stuff, the local kind if you can!)
- 1/4 cup soy sauce (This is crucial for that deep savory color and saltiness.)
- 2 tablespoons apple cider vinegar (The acid balances the sweetness, it’s magic.)
- 1 tablespoon unsalted butter (This goes in last to give the glaze a beautiful, glossy sheen.)
Seriously, separating the wings is key for even cooking in the oven. If you leave them whole, the flats bake faster than the drumettes, and nobody likes an underdone floppy bit!
Mastering the Technique: How to Get Crispy Skin on Baked Wings
This is where most home cooks give up on making good wings in the oven, but this is my holy grail section! We aren’t just throwing things on a sheet pan here; we are setting up an environment that guarantees maximum crunch. If you want to know How to Get Crispy Skin on Baked Wings, you need to focus on two things: zero surface moisture and applying that baking powder dry rub properly. If you skip the prep, you get steamed chicken, plain and simple. If you follow these steps religiously, you get wings that rival any takeout joint. If you’re curious about other high-heat cooking methods, I broke down my favorite tips for a crispy air fryer whole chicken too!
Preparing the Wings for Maximum Crispiness
First things first: the oven needs to be screaming hot—preheat it to 425°F! Next, you absolutely have to set up an air system. Line a sheet pan with foil (for easy clean-up—you’re welcome) and set a wire rack right on top. Now comes the most crucial step, the one Grandma always made me repeat: dry those wings until they squeak! Use paper towels and pat, pat, pat them dry. Moisture steams the skin, and steam kills crispiness. Why does the baking powder work? Because it’s alkaline, it raises the pH of the skin, which helps rapidly dry it out and promotes that glorious browning and puffing!
The Initial Bake for Crispy Baked Chicken Wings with Honey Glaze
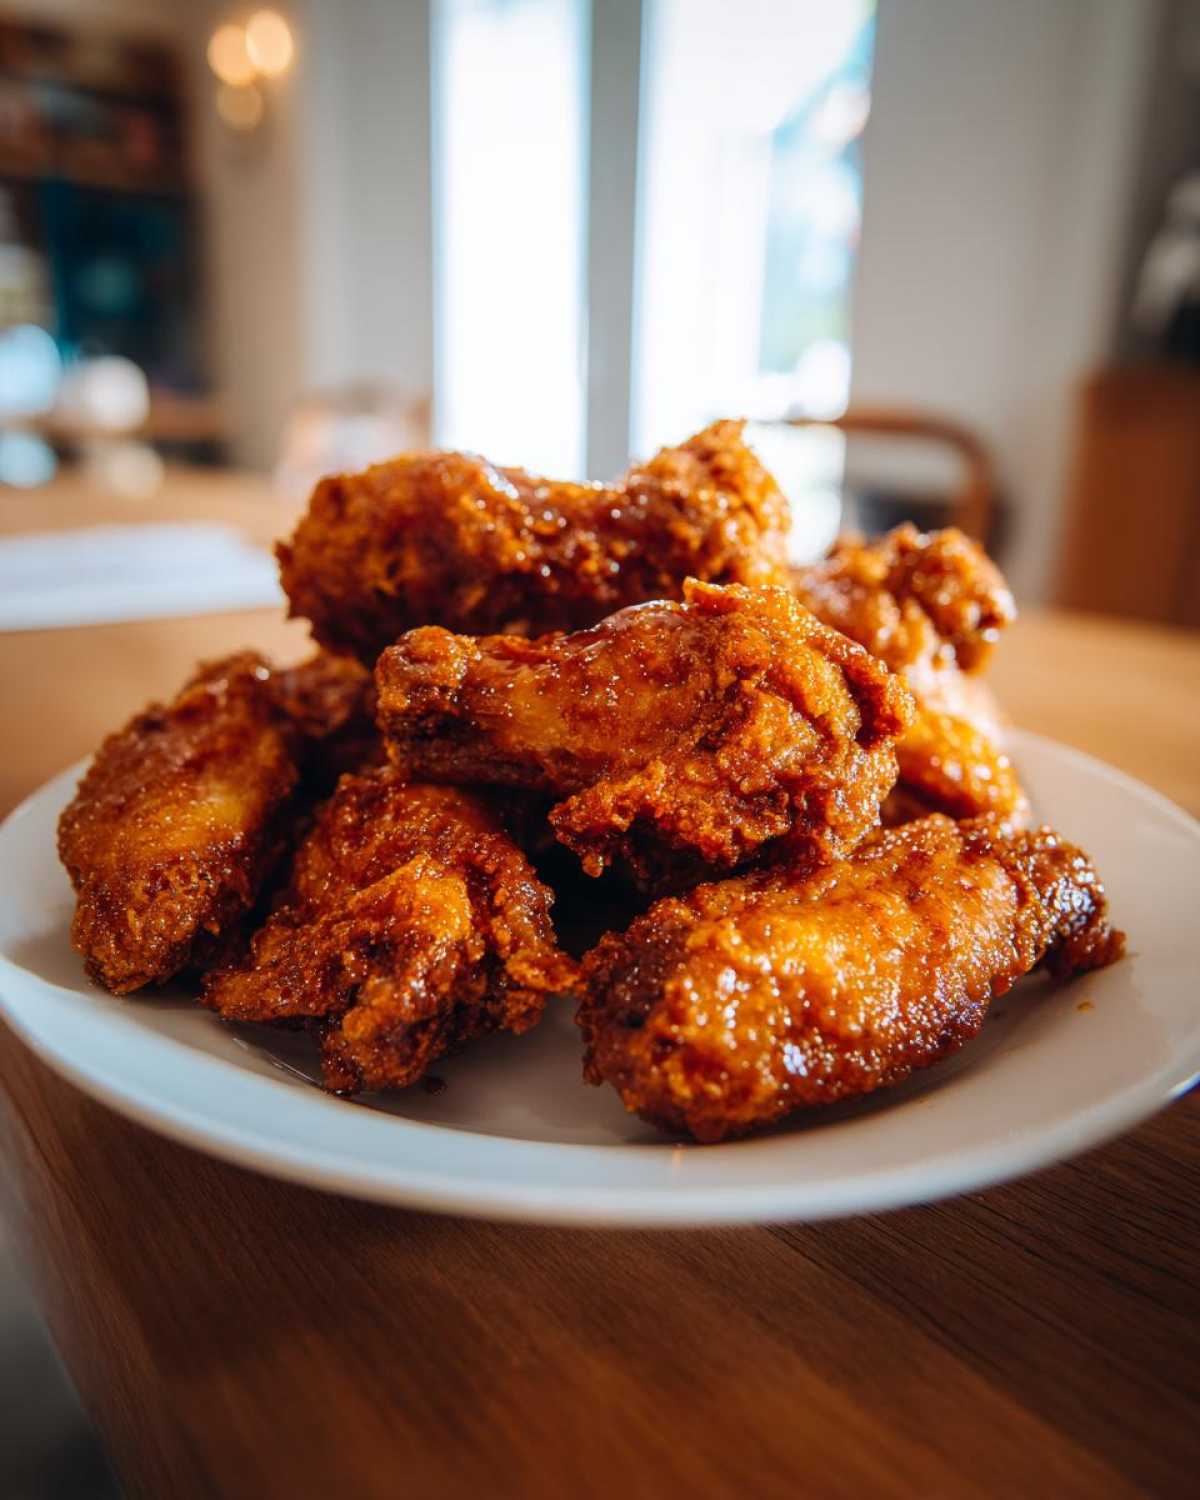
Once your dried wings are tossed in that baking powder rub and arranged on the rack (don’t let them touch!), they go in naked. They bake completely uncovered for 25 minutes. This initial phase is all about rendering out the fat and setting that skin structure we just created with the baking powder. We aren’t glazing them yet! If you cover them or glaze them now, you’ll trap moisture underneath, and we’ll be right back to sad, flabby wings. Let them roast untouched for a solid 25 minutes until you smell that slightly nutty, browning scent.
Creating the Sticky Honey Glaze for Your Wings
Okay, while those wings are working hard in the oven getting their crunch on, it’s time to whip up that gorgeous, sticky coating. This Simple Honey Sauce for Wings is what takes them from ‘simple baked appetizer’ to ‘must-make-again masterpiece.’ It’s incredibly fast, which is great because who wants to stand over the stove forever when wings are waiting?
In a small saucepan, combine your honey, soy sauce, and apple cider vinegar. We need to bring this mixture up to a gentle simmer over medium heat. Don’t just boil it violently; we want it to bubble gently. This simmering stage is super important! You’re looking for it to reduce for about 5 to 7 minutes. You’ll notice it starts clinging to the spoon a little bit better—that’s the reduction happening, making the sauce thick enough to actually stick to the wings later on, not just drip right off.
Once it coats the back of your spoon nicely, pull that saucepan right off the heat source. This next step is my little trick for extra shine! Stir in that tablespoon of unsalted butter until it’s completely melted and smooth. Don’t put the butter on the heat; if you do, it might separate or make the glaze cloudy. Off the heat, you get this beautiful, glossy, sticky sauce that smells absolutely divine.
If you’re into savory sauces, I’ve got a whole guide on making the best homemade teriyaki sauce, but honestly, this honey-vinegar combination stands up perfectly well on its own for the sweet and savory profile we are aiming for here.
Final Steps for Perfect Sticky Chicken Wings Recipe
This is the moment of truth! You’ve got super crispy wings resting on the rack, and your honey glaze is glossy and ready to go. Now, we need to marry the two without ruining the incredible crunch we worked so hard for. This is more than just pouring sauce over them; the timing here is critical for creating the best Crispy Baked Chicken Wings with Honey Glaze.
Remember, you baked them for 25 minutes on one side before flipping? Now, flip them over carefully and send them back into that 425°F oven for another 20 to 25 minutes. We need to ensure they are cooked all the way through—aim for an internal temperature of 165°F if you’re using a thermometer. If you don’t check the temperature, just cook until they look deeply golden brown and you can see the fat has completely rendered out. They should sound hollow when you tap them lightly.
Once they look absolutely perfect—deeply browned and shatteringly crisp—pull that whole tray out. Don’t let them cool down! Immediately transfer the hot wings into a large mixing bowl. This is where things get deliciously messy. Grab your prepared honey glaze, but here’s a pro tip: only use about half of it for tossing right now, save the rest for dipping later. Why? Too much sauce on immediately will trap steam and immediately start softening that gorgeous crust you spent 50 minutes building!
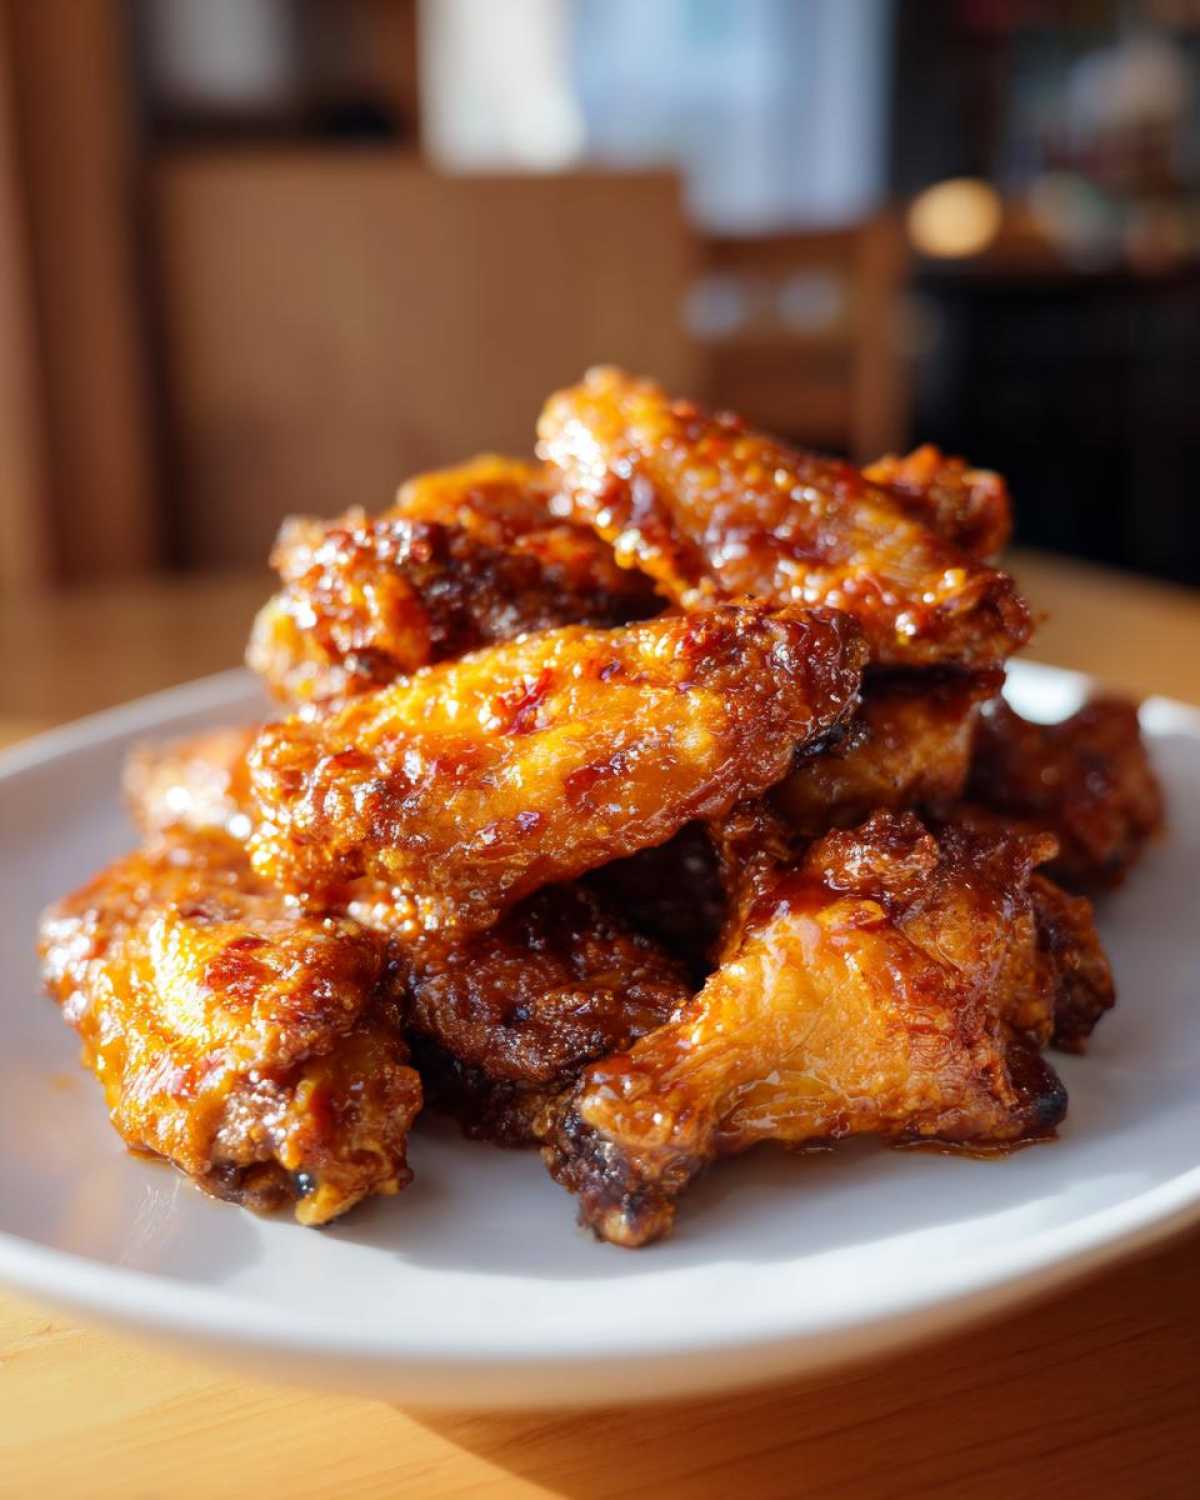
Pour the measured glaze over the hot wings and toss them gently but quickly. You want every surface lightly coated in that sticky, sweet armor. Serve them straight onto the plate, maybe with a little sprinkle of sesame seeds or green onion if you’re feeling fancy, and put that remaining glaze right next to the bowl for dipping. That way, everyone gets that initial crunch, and they can load up on extra sauce without making the wings soggy pre-game. It’s the best way to handle a truly Sticky Chicken Wings Recipe!
Tips for the Best Crispy Baked Chicken Wings with Honey Glaze
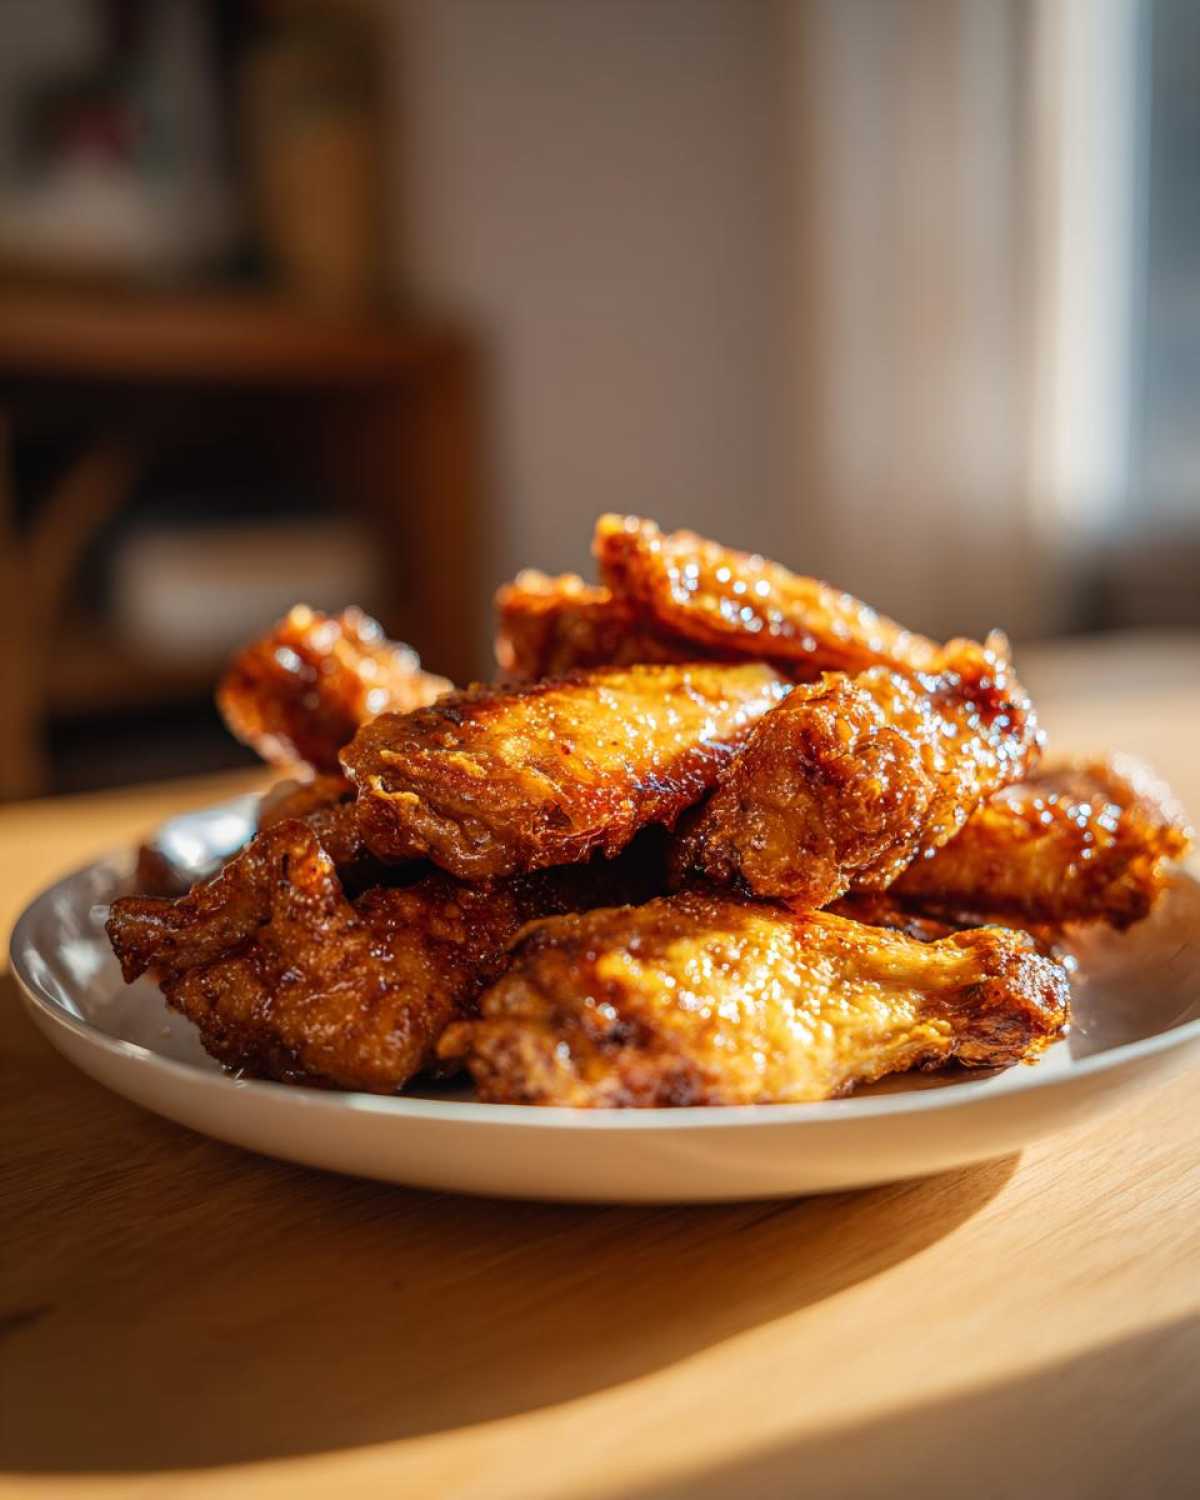
Even when you follow the steps perfectly, sometimes wings can be sneaky! I’ve learned a few extra little secrets over the years that can save your batch from turning into a saucy mess. These troubleshooting tips are the ones I rely on to ensure these are always my Best Crispy Wings Recipe, every single time. Think of these as the final polish on our masterpiece!
One thing I learned the hard way when making these sweet and savory chicken wings sometimes is that oven accuracy matters. If your oven runs cool, those wings might be done cooking internally but they won’t have that nice, set crust. That’s why I urge you to use a reliable instant-read meat thermometer. We look for 165°F internally, but honestly, I usually pull mine out when they hit 170°F if I want that final crisp without overcooking the meat. If you want to see my favorite techniques for everything from breading to flipping, you can check out my guide on the best french toast recipe technique tips—the principles of heat transfer are surprisingly similar!
Here are my absolute must-know additions for keeping these Non Fried Chicken Wings perfectly crunchy:
- Don’t Overcrowd the Rack: This is my biggest non-negotiable rule. If your wings are touching, they steam against each other. You need space for air to circulate all the way around. If you have more than 2 lbs, use two separate baking sheets!
- The Baking Powder Ratio: Don’t be tempted to add more baking powder thinking it’ll make them crispier! Too much and the flavor gets metallic. That one tablespoon per two pounds of wings is the magic ratio to raise the pH enough without tasting it.
- Fixing a Thin Glaze: If your honey sauce reduction didn’t thicken enough before you took it off the heat, don’t panic! Take a teaspoon of cornstarch, whisk it with an equal amount of cold water (that’s called a slurry), and slowly whisk that into the warm leftover sauce on the stovetop. Bring it back to a brief simmer, and it will thicken right up into a beautiful, sticky coating.
- The Best Way to Reheat: If you have leftovers (which I rarely do, let’s be honest), never, ever use the microwave. That steam will re-activate any residual moisture and kill the crunch. Pop leftover wings straight onto a clean wire rack over a baking sheet and bake them at 375°F for about 8 to 10 minutes. They’ll crisp right back up before you re-toss them in a little bit of saved glaze if you want!
Serving Suggestions for Your Sweet and Savory Chicken Wings
So, you’ve got the absolute best batch of Crispy Baked Chicken Wings with Honey Glaze ever made. Now what? You can’t just serve glorious wings by themselves, right? They need friends! Whether this is just a casual Tuesday night dinner or you’re hosting a blowout for the big game, the side dishes you pick can really elevate these Sweet and Savory Chicken Wings. The key here is offering something cool, creamy, or slightly acidic to cut through that beautiful, sticky sweetness of the glaze.
When I plan my menu for my favorite Party Wing Recipes, I always make sure I have a crunchy vegetable component. Think about it: you bite into that hot, sticky wing, and then you need a refreshing break. My immediate thought is always some kind of slaw. A sharp, vinegary coleslaw is fantastic because the acidity cleanses your palate perfectly, getting you ready for the next perfect wing.
Game Day Chicken Wings Pairings
For big events like a major sports broadcast, you want easy, scoopable sides. That’s why I love keeping things simple here. Forget complicated sides; people want to stand around the TV with a plate in their hand. For savory balance, nothing beats a good hunk of creamy dip with some veggie sticks! I often make a giant platter of celery and carrot sticks, but I serve them with a big bowl of cool ranch or blue cheese dressing on the side. It’s classic for a reason—the cool, tangy dairy is the perfect counterpoint to the hot, sweet honey glaze.
If you want something warm on the side that feels a little more substantial, think about serving them alongside my famous cast iron skillet cornbread. Check out the recipe for my Skillet Cornbread; the slightly sweet, crumbly texture is the ideal vehicle for soaking up any leftover glaze that drips off your plate!
Making it a Glazed Wing Dinner
If you’re trying to turn these into a full Glazed Wing Dinner instead of just an appetizer, you need a good green component. I usually keep the sides light so the wings remain the star of the show. A simple side salad dressed lightly with lemon vinaigrette works wonders. Avoid heavy, creamy dressings if you are already using a rich glaze on the wings themselves.
Another excellent, easy dinner pairing that I often rely on for my Weekend Appetizer Ideas which sometimes turn into dinner is simple baked sweet potato fries. They echo the sweetness of the honey glaze but offer a different texture. Just remember to season those fries simply with salt and maybe a dash more garlic powder so they don’t compete flavor-wise with the main event!
Storage and Reheating Instructions for Non Fried Chicken Wings
We all hope for zero leftovers because these Crispy Baked Chicken Wings with Honey Glaze taste best right out of the oven, but sometimes life happens! If you do manage to keep some of these delicious Non Fried Chicken Wings, how you store them makes a huge difference in how they taste the next day. The biggest enemy here is steam, which is what turns a perfectly crisp skin into something soft and chewy.
If you have too much glaze leftover, don’t just pour it all over the wings before storing! That’s a guaranteed soggy situation. For storage, place the leftover wings in an airtight container, but here’s the thing: you want to let them cool down *completely* first. If you seal them while they are still warm, any residual heat will create condensation inside the container, and bam—soggy wings.
Now, for the best part: reviving the texture! I cannot stress this enough: never microwave leftover wings. Seriously, don’t even consider it unless you enjoy rubbery chicken. The microwave heats the water molecules in the skin, which instantly steams them back to life in the worst possible way.
The only way to bring back that beautiful crunch is with dry heat. Pop those wings right back into a 375°F oven—no need to preheat the whole oven first if you’re in a hurry, but it helps. Lay them out on a clean wire rack set over a baking sheet. This allows the air to circulate underneath them again, just like we did when we first baked them! Bake for about 8 to 10 minutes. You’ll be amazed; that crispness comes right back! If you want them extra sticky again, you can quickly reheat a small amount of your leftover glaze on the stove (it thins out fast!) and toss them gently right before serving.
Frequently Asked Questions About Crispy Baked Chicken Wings
I love getting questions from you all because it means you’re out there trying this recipe! Sometimes the basics of a recipe need a little clarification, especially when we get into the tricky science of crispy skin. Don’t worry if you have a substitution idea or a timing question floating around; I’ve answered some of the most common ones I get about these amazing Crispy Baked Chicken Wings with Honey Glaze right here for you! If you ever have questions about the ingredients or techniques that aren’t covered here, please check out my full site disclaimer for broader context on my cooking philosophy!
Can I substitute the soy sauce in the Honey Glaze?
Yes, you totally can, depending on why you’re substituting! If you need this to be gluten-free, which is important for some folks, just swap out the regular soy sauce for an equal amount of tamari or a good quality gluten-free soy sauce alternative. It has a very similar salty, savory punch. If you just don’t have soy sauce on hand, you could technically use Worcestershire sauce in a pinch—maybe about half the amount, as it’s quite strong—but it will slightly change the flavor profile away from that classic Asian-inspired sweetness we have going on here. Seriously though, the soy sauce is key for that rich color in our Sticky Chicken Wings Recipe!
What is the best way to cook these if I want them faster?
Ah, the need for speed! If you’re making these for a last-minute gathering or just can’t wait that full hour, the air fryer is your best friend for making Sweet and Savory Chicken Wings faster. You can definitely use an air fryer and cut the total time down significantly, usually to about 20-25 minutes total cook time. Just make sure your appliance is big enough that you don’t overcrowd the basket—remember, air needs to flow! However, I’ll tell you straight up: the oven setup with the wire rack allows you to evenly cook a huge batch at once and gives you slightly more uniform crispness across all the wings if you’re feeding a crowd, which is why I always stick to this method for big Game Day Chicken Wings spreads!
How do I make this a healthier Chicken Wing Recipe?
That’s a fantastic question! The great news is that by choosing this recipe over deep frying, you’ve already made it significantly lighter. We aren’t adding any extra oil absorption from frying! To make it even more like a Healthy Chicken Wing Recipe, you can cut the amount of honey in the glaze by about a quarter and add a bit more acidity from the vinegar to keep the balance. And of course, load up on veggie sticks instead of adding heavy sides like potato salad!
PrintCrispy Baked Chicken Wings with Honey Glaze

Follow these steps to make very crispy chicken wings in the oven and coat them with a sticky, sweet, and savory honey glaze.
- Prep Time: 15 min
- Cook Time: 50 min
- Total Time: 65 min
- Yield: 4 servings
- Category: Appetizer
- Method: Baking
- Cuisine: American
- Diet: Low Fat
Ingredients
- 2 lbs chicken wings, separated into flats and drumettes
- 1 tablespoon baking powder (aluminum-free)
- 1 teaspoon salt
- 1/2 teaspoon black pepper
- 1/2 teaspoon garlic powder
- 1/4 teaspoon cayenne pepper (optional)
- 1/2 cup honey
- 1/4 cup soy sauce
- 2 tablespoons apple cider vinegar
- 1 tablespoon unsalted butter
Instructions
- Preheat your oven to 425 degrees Fahrenheit (220 degrees Celsius). Line a large baking sheet with foil and place a wire rack on top of the foil.
- Pat the chicken wings completely dry using paper towels. This step is crucial for crispiness.
- In a medium bowl, mix the baking powder, salt, pepper, garlic powder, and cayenne pepper.
- Toss the dried wings thoroughly in the seasoning mixture until every piece is lightly coated.
- Arrange the seasoned wings in a single layer on the wire rack, ensuring there is space between each wing.
- Bake for 25 minutes.
- While the wings bake, prepare the glaze. In a small saucepan over medium heat, combine the honey, soy sauce, and apple cider vinegar. Bring the mixture to a gentle simmer, stirring occasionally.
- Reduce the heat to low and let the sauce simmer for 5 to 7 minutes, or until it thickens slightly and coats the back of a spoon. Remove from heat and stir in the butter until melted.
- After the initial 25 minutes of baking, flip the wings over. Return them to the oven and bake for another 20 to 25 minutes, or until the internal temperature reaches 165 degrees Fahrenheit (74 degrees Celsius) and the skin is deeply golden and crisp.
- Remove the wings from the oven. Place them in a large bowl. Pour about half of the honey glaze over the wings and toss gently to coat.
- Serve immediately with the remaining glaze on the side for dipping.
Notes
- For the crispiest skin, do not skip drying the wings thoroughly before seasoning.
- Using a wire rack allows air to circulate around the wings, preventing the bottoms from steaming.
- If the glaze becomes too thick while cooling, reheat it briefly on the stove.
Nutrition
- Serving Size: 4 wings
- Calories: 350
- Sugar: 18
- Sodium: 650
- Fat: 18
- Saturated Fat: 5
- Unsaturated Fat: 13
- Trans Fat: 0
- Carbohydrates: 20
- Fiber: 0
- Protein: 28
- Cholesterol: 90