

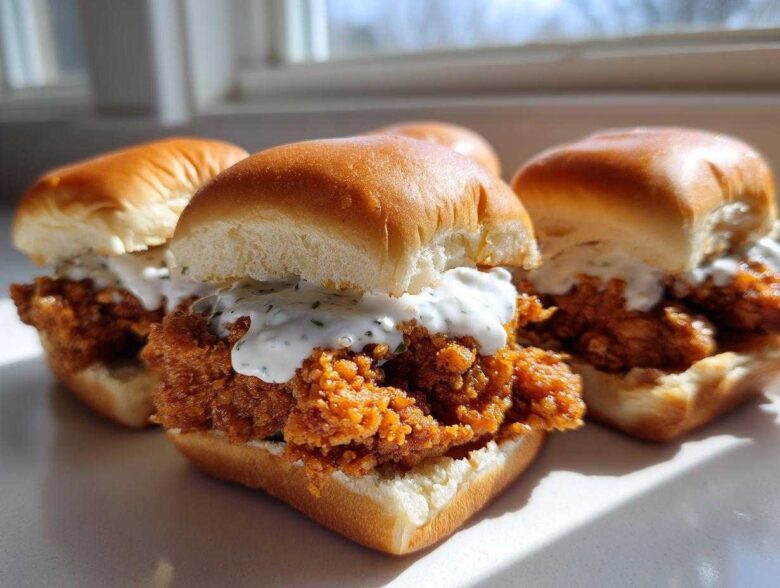
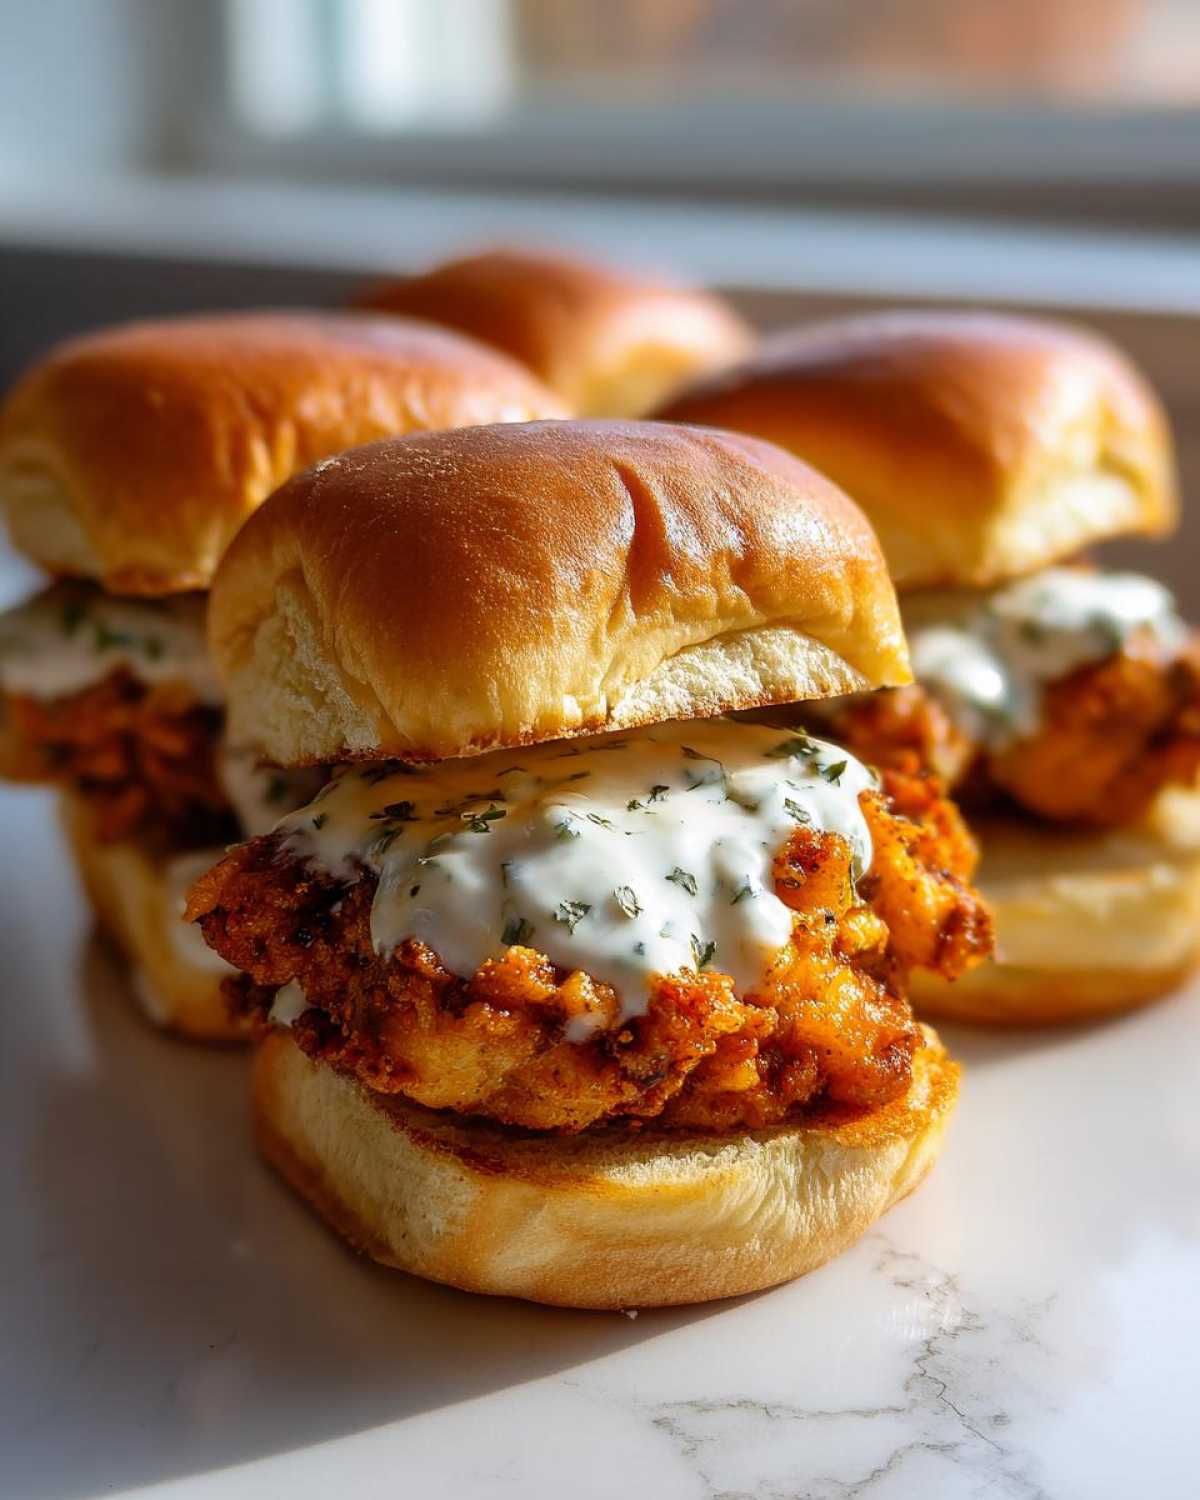
If you’re anything like me, you live for the moments when you can serve up something absolutely explosive in flavor but small enough for a crowd. Forget those giant, messy sandwiches! We’re talking about the MVP of game day snacks and quick dinners: the perfect bite-sized delight. I spent ages perfecting the crunch factor on these little guys. Seriously, there’s nothing better than that snap when you bite through the crust. And that sauce? Oh my gosh, the sauce ties everything together. I’m so thrilled to share my ultimate recipe for Crispy Chicken Sliders with Garlic Sauce. Trust me, once you nail this technique, you’ll be whipping these up every weekend!
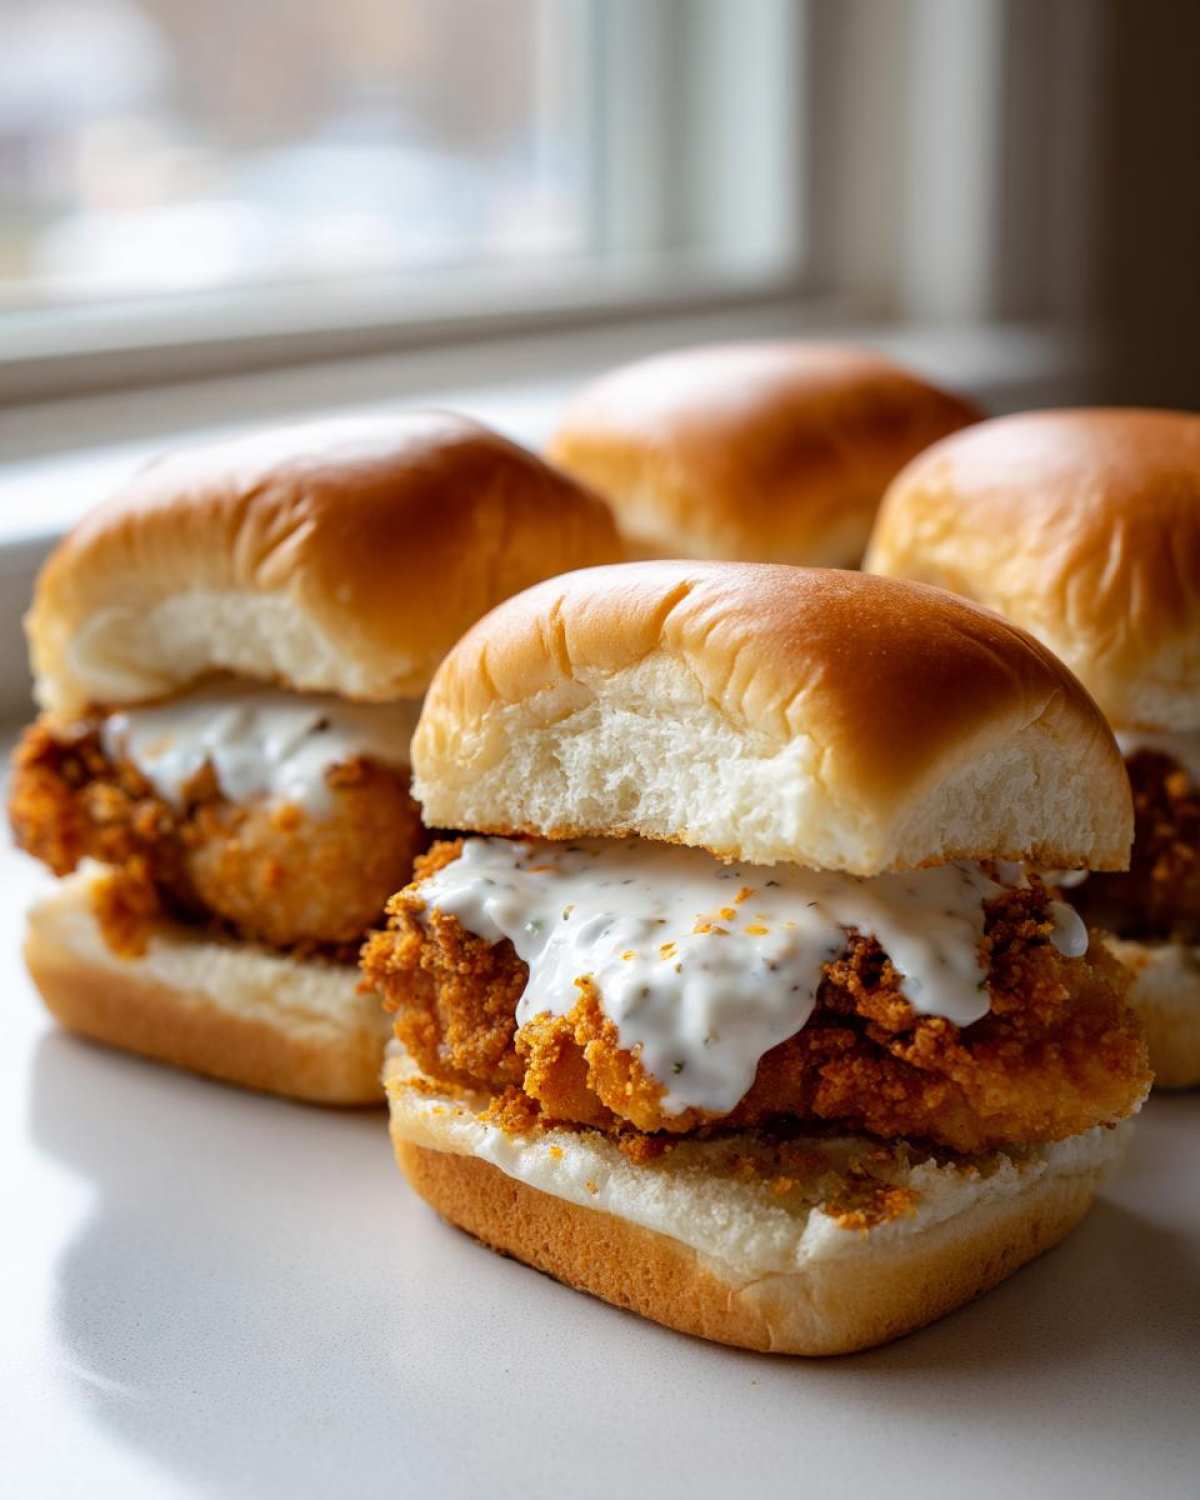
The secret here, which I’ll dive into later, is all about the double dredge and keeping the heat just right. But mainly, it’s the homemade garlic sauce that takes these from a fun snack to an unforgettable experience. I’ve got all my hard-earned secrets laid out for you below. You won’t want to miss any of this! If you need even more ways to make appetizers for your next big gathering, check out my ideas for incredible game day chicken sandwiches and planning for your next party food setup!
Why You Will Love These Crispy Chicken Sliders with Garlic Sauce
I know you’re busy, so I won’t keep you waiting! These aren’t just any chicken bites; they’re a showstopper that comes together faster than you think. Here’s why I think this recipe belongs in your regular rotation:
- The Crunch Factor is REAL: We aren’t kidding around with that ‘crispy’ promise. I swear, the little buttermilk bath makes these pieces impossible to deflate. They stay crunchy even sitting out on a platter!
- Dinner in Under 45 Minutes: Seriously! Between prep and frying, you’re looking at maybe 35 minutes total time. Perfect for when weeknight hunger hits hard, or when guests show up unexpectedly.
- Flavor Explosion from the Sauce: That creamy, bright garlic sauce? It’s the perfect foil for the warm, spiced chicken coating. It’s tangy, savory, and you’ll definitely want to sneak a spoonful when I’m not looking.
- Perfect Party Portability: Because they are sliders, they are inherently built for sharing. They look fancy, but they are so easy to manage when you’re navigating a crowded room at a party or trying to balance a plate during a big game. You can find more ways I make appetizers easy for entertaining when you check out my guide on must-have party food chicken sliders!
Essential Ingredients for Crispy Chicken Sliders with Garlic Sauce
Okay, listen up! The quality of your ingredients really dictates how amazing these Crispy Chicken Sliders with Garlic Sauce turn out. We need three distinct groups of items to make this work: the chicken bath and coating, the sauce we’re going to drown them in, and the little buns to hold it all together. Don’t skip the buttermilk for the chicken—that acidity is what tenderizes the breast meat just enough before it hits the hot oil. It’s what gives you that juicy interior!
This recipe really sings when you use fresh components, especially that garlic. If you want more inspiration on how to use garlic in every way possible, you should check out my recipe for easy garlic butter!
For the Crispy Chicken Coating and Frying
- 1 pound boneless, skinless chicken breast, cut into 1-inch pieces (These fit perfectly on a slider bun!)
- 1 cup all-purpose flour
- 1 teaspoon salt
- 1/2 teaspoon black pepper
- 1/2 teaspoon paprika
- 1/4 teaspoon garlic powder
- 2 large eggs, beaten
- 1 cup buttermilk
- Vegetable oil, for frying (Make sure you have about 2 inches deep in your pot or skillet!)
For the Best Garlic Sauce for Chicken
This is where the magic happens, folks. Forget the jarred stuff—fresh minced garlic is non-negotiable here. It makes the sauce bright and punchy!
- 1/2 cup mayonnaise (Use your favorite, full-fat works best for richness)
- 2 cloves garlic, minced (Use a microplane if you have one; we want it practically paste-like!)
- 1 tablespoon lemon juice (This wakes everything up!)
- 1 teaspoon Dijon mustard
- 1/4 cup finely chopped fresh parsley
For Slider Assembly and Toppings
You need a good vessel for all this deliciousness. Don’t use giant hamburger buns; they need to be slider size!
- 12 slider buns (I love using soft potato rolls if I can find them)
- Optional toppings: Sliced dill pickles or thinly shredded lettuce (Pickles are my number one choice for tang!)
Step-by-Step Instructions for Crispy Chicken Sliders with Garlic Sauce
Alright, time to get cooking! Don’t stress about the frying part; it’s actually really quick once you get set up. My goal for you here is maximum crunch and minimum mess. Follow these steps exactly, and you’ll master these Crispy Chicken Sliders with Garlic Sauce in no time flat. Keep everything close by, because once you start dredging, things move fast!
Preparing the Chicken Dredge and Buttermilk Soak
The first thing we do is set up our assembly line. Grab two shallow bowls—this is key for keeping things orderly! In the first bowl, whisk together your dry ingredients: the flour, salt, pepper, paprika, and garlic powder. Make sure that paprika is evenly distributed; we want that beautiful golden color!
In your second bowl, whisk up those two eggs and pour in the cup of buttermilk. This is the magic shower for our chicken! Once everything is staged, you’re ready to move to the next step. If you want to see this dredging process in action, I have a quick video on how to make crispy fried chicken sliders that shows exactly what I mean about the assembly line.
Achieving Maximum Crunch: Dredging the Chicken
This is vital for the texture! Take one piece of your 1-inch chicken and dip it completely into the buttermilk mix. Let the extra liquid drip off—we don’t want a soggy coating. Then, immediately transfer that wet chicken right into the seasoned flour mixture.
Here’s the trick: once it’s in the flour, press down firmly with your hands. You’re essentially massaging the breading onto the chicken. This pressure makes sure the coating really sticks once it hits the oil. You want flour clumped on there—that’s what makes it craggy and crunchy! Shake off the excess flour lightly and set the coated pieces aside on a clean plate while you prep the rest.
Frying the Chicken for Perfect Crispy Chicken Sliders
Now for the serious part! You need about two inches of vegetable oil heated in a deep skillet or pot. Get that temperature steady at 350°F (175°C). If the oil is too cool, the chicken soaks it up and gets greasy; too hot, and the outside burns before the inside cooks. We want that sweet spot!
Gently drop the dredged chicken pieces into the hot oil. And here’s a huge friendly warning: fry them in batches! Do not overcrowd your pan, otherwise, the oil temperature drops instantly, and you lose your crunch. Let them fry, turning occasionally, for about 4 to 6 minutes until they are deep golden brown and cooked through. Once they look perfect, use tongs to pull them out and place them immediately on a wire rack set over a baking sheet to drain. Do not use paper towels; the rack lets air circulate so the bottom stays crispy!
Mixing the Homemade Garlic Sauce
While your chicken is cooling down and listening to the oil sizzle fade away, whip up the sauce! This is so straightforward, I promise. Grab a small bowl and throw in your mayonnaise, that finely minced fresh garlic, the squeeze of lemon juice, the Dijon mustard, and all that fresh parsley.
Just stir it all up. Keep mixing until it’s completely smooth and creamy—you shouldn’t see any big chunks of garlic or streaks of mayo left. If you love savory bites, you must see my recipe for quick garlic butter chicken bites for more inspiration!
Assembling Your Crispy Chicken Sliders with Garlic Sauce
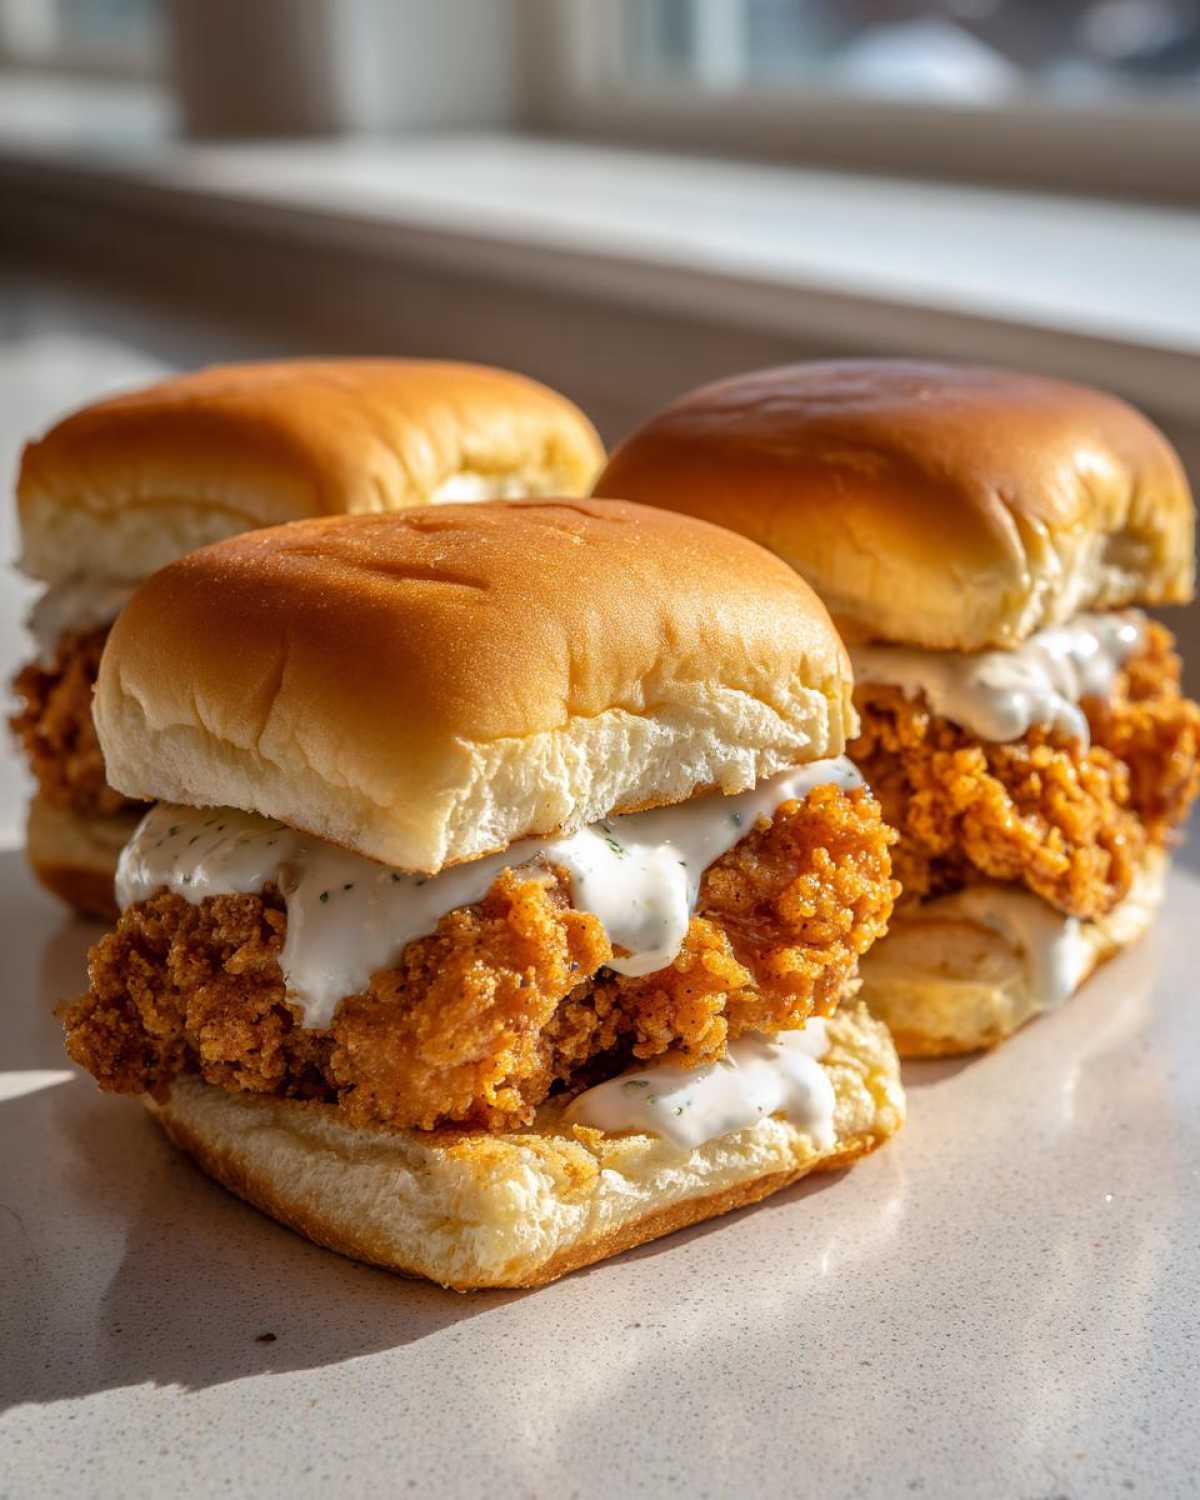
The payoff! Lightly toast your slider buns—just a quick pass face-down on a dry skillet or under the broiler until they just barely turn golden. This little step keeps the bottom bun from getting immediately soggy.
Spread a generous layer of your incredible homemade garlic sauce on both the top and bottom of every bun. Then, stack 3 or 4 of those hot, crunchy chicken pieces on the bottom. Top it with a pickle slice if you’re feeling zesty, slap the top bun on, and go! Serve immediately while that chicken is at its absolute crispiest. Enjoy every bite of these fantastic Crispy Chicken Sliders with Garlic Sauce!
Expert Tips for Perfect Crispy Chicken Sliders with Garlic Sauce
Okay, I’ve shared the whole method, but sometimes those little details are the ones that separate a good batch of sliders from a truly mind-blowing one. I pulled these pointers straight from the notes my mom used to scribble down—she was obsessed with making sure every batch was a winner. These tips will help you keep the integrity of that crunch and flavor!
First off, let’s talk about making things easier for next time. You can totally get ahead on the sauce front. I often make the best garlic sauce for chicken a full day before I plan to serve these. Just mix it all up, pop it in an airtight container, and stick it in the fridge. The flavors actually get even better melding overnight! Remember, though, that sauce isn’t going on until *after* the chicken is fried.
The Secret to Air Fryer Crispy Chicken Sliders
Look, I love frying, but sometimes you need a break, or maybe you just don’t want a big pot of oil involved. If you’re going the air fryer route for your Easy Chicken Slider Appetizers, you absolutely *must* spray the dredged chicken pieces lightly with cooking spray. Don’t use too much, or it’ll just wash the coating off, but you need enough fat to help things brown up beautifully.
Set your air fryer to a hot 400°F (200°C). You’ll cook them for about 10 to 12 minutes total, but you have to flip them halfway through. This is the difference between evenly crispy chicken and half-soggy chicken! Check out my guide on air fryer chicken parmesan breasts for general tips on getting that perfect hot-air crust.
Bun Selection Changes Everything
You might think any little bread will do for sliders, but seriously, stop doing that to yourself! For supreme texture contrast, you need a soft bun that can absorb a little sauce without immediately dissolving into mush. My absolute favorite bun for these Game Day Chicken Sandwiches is the brioche slider bun. They’re sweet, tender, and hold up beautifully to the heat of the chicken and the creaminess of the sauce. Potato rolls are a close second!
Keeping the Chicken Fresh (If You Have Leftovers)
If, by some miracle, you have any of this crisp chicken left over the next day, do NOT—I repeat, DO NOT—microwave them! The microwave is the enemy of crispiness. If you want to revive that crunch, set your oven to about 375°F (190°C) or use your air fryer again (2 minutes should do it). Placing them on a wire rack inside the baking sheet helps the residual heat circulate underneath, saving those crunchy edges.
Ingredient Spotlight: Achieving the Best Garlic Sauce for Chicken
We talked about the chicken crunch, but honestly, these Crispy Chicken Sliders with Garlic Sauce would be about 50% less exciting without the sauce. So let’s pause the frying talk for a minute and really zero in on what makes this particular garlic sauce so spectacular. It’s not just mayonnaise and garlic in a bowl; it’s balanced. It’s vibrant. It’s the reason people steal the leftovers right out of the fridge!
My biggest piece of advice here is trusting your nose and tastebuds. We’re using fresh garlic, not the powder that lives in the back of your spice cabinet. That powder has its place, sure, but when you want that sharp, fragrant punch that cuts through rich mayo and fatty fried chicken, nothing beats fresh, finely minced garlic. It provides a textural element too—that little bit of body that powder just can’t mimic.
The secret weapon I always swear by, and what really kicks this Best Garlic Sauce for Chicken up a notch, is the lemon juice. I know, it seems like such a small thing, but mayonnaise is quite rich on its own, and the fried coating adds even more richness. If you just mix mayo and garlic, it tastes heavy. That tablespoon of lemon juice—it brightens everything up! It adds a necessary little tang that cleanses your palate just enough so you’re ready for the next bite of that crispy goodness.
If you are trying to get creative with creamy sauces in general, you might want to check out my tips for making easy homemade Alfredo sauce sometime, because understanding how acids and fats interact is key to mastering any emulsion!
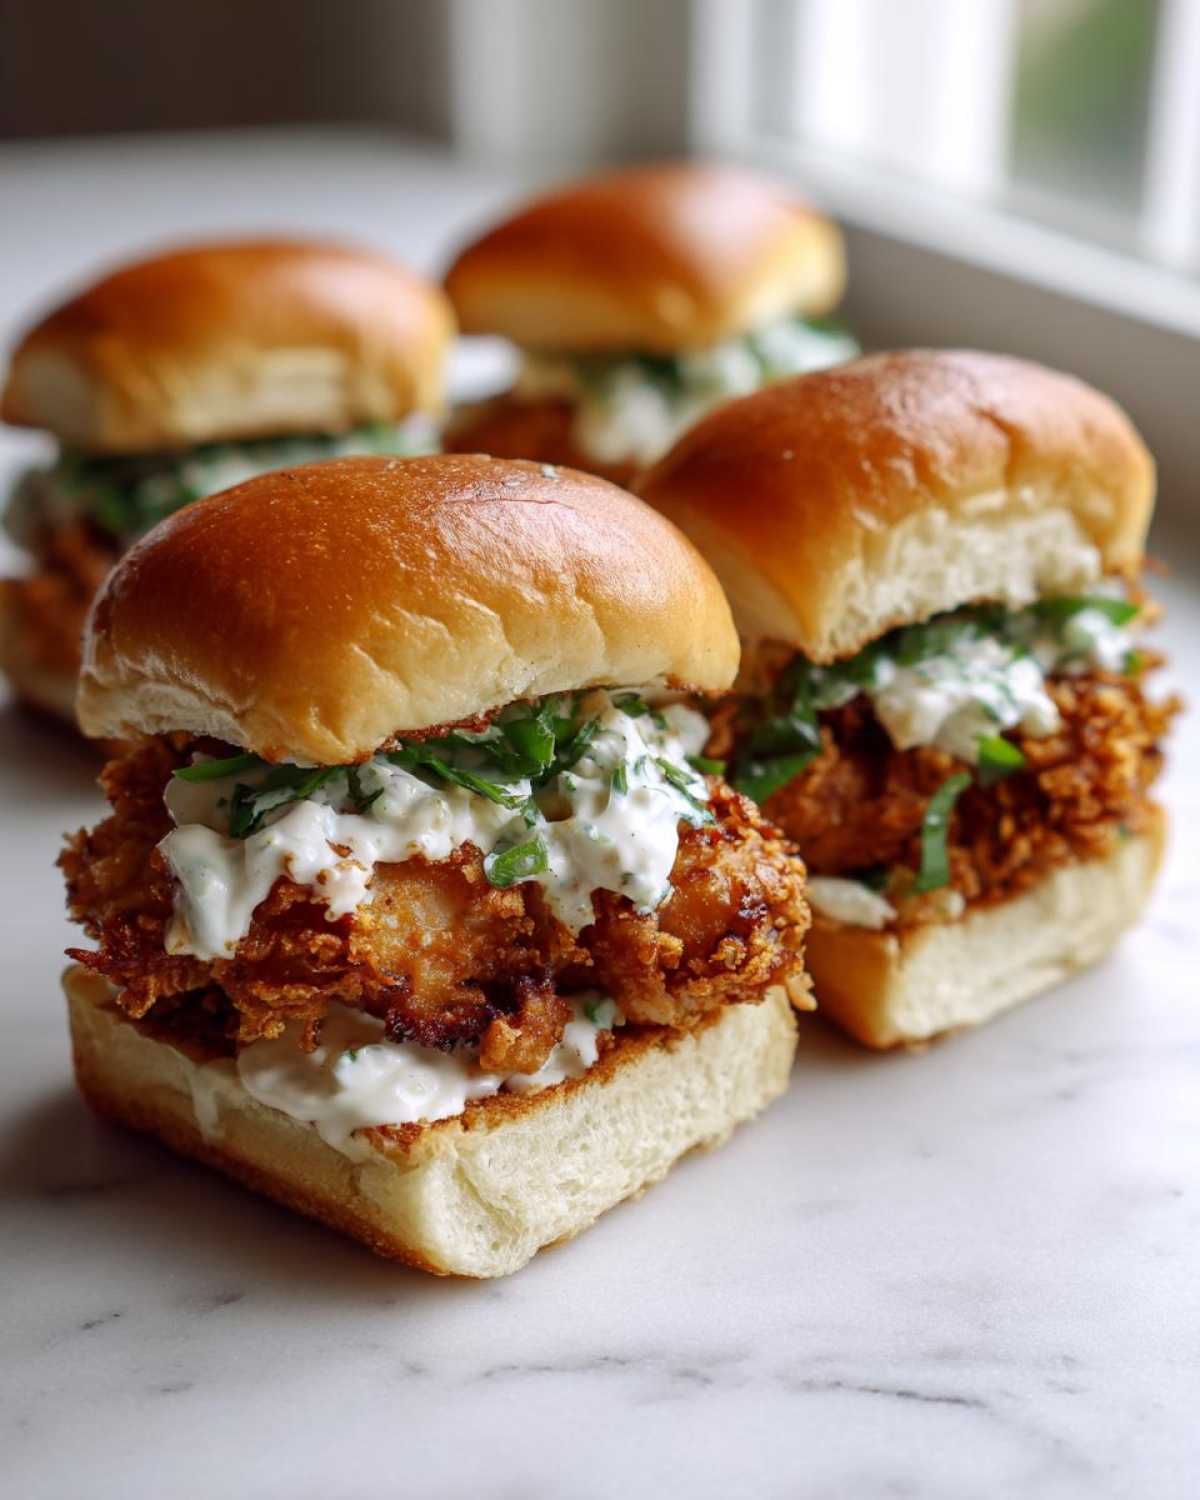
Remember, this sauce is what elevates us from basic chicken nuggets on a bun to actual gourmet Homemade Garlic Aioli Sliders. Don’t rush it; just whisk it until you can’t see the distinct ingredients anymore, and get ready for compliments!
Variations for Your Crispy Chicken Sliders
Look, I love this recipe exactly as it is—it’s a classic for a reason! But you know me, I can never leave well enough alone, especially when it comes to spice or pairing things with other favorite meals. You absolutely do not need to change the core technique (the buttermilk and double dredge are sacred!), but a few little tweaks can turn these Party Food Chicken Sliders into something totally new.
Here are a few super simple swaps I make when I’ve got a craving for something different. These customizations focus purely on flavor because the texture of the chicken is already locked in for success!
If you’re interested in playing around with other chicken flavors, you might enjoy how I integrate heat into my green chile chicken enchiladas recipe—we can borrow some of that warmth here!
Spice Up the Dredge Mix
The existing dredge has paprika and garlic powder, which is lovely and savory. But if you want a little kick or an earthy note, this is the easiest place to put it! You can add about a half teaspoon of cayenne pepper directly into your flour mixture. That gives you a nice background heat that you won’t notice immediately, but it really pops when paired with the cool garlic sauce.
If you’re looking for a more savory, Italian vibe, try swapping out the paprika for a teaspoon of dried oregano and maybe a pinch of dried basil. It gives the chicken a completely different personality! It makes them feel less like classic fried chicken and more like little Italian-seasoned chicken sandwiches. Super tasty contrast!
Heat Up That Creamy Garlic Dressing
My favorite modification, hands down, is making a spicy version of the sauce. Since the base sauce is so simple, it takes about 10 seconds to turn it into a fiery delight. Take half of your finished garlic sauce and whisk in about a teaspoon of your favorite hot sauce. Sriracha works great, but if you want that smoky heat, try chipotle hot sauce!
If you prefer heat without all the vinegar bite of standard hot sauce, add just a tiny pinch of crushed red pepper flakes right into the sauce when you mix it. That will give you little specks of red that look pretty, and provide a subtle, slow burn that pairs amazingly well with the tanginess from the Dijon mustard.
The Pickle Swap
This is so minor, but it changes the whole dynamic of that final bite! Instead of standard dill pickle chips, try swapping them out for bread and butter pickles. They are much sweeter, which leans into the sweetness of the slider bun and balances the pungent garlic sauce beautifully. It moves the flavor profile away from tangy/savory and more toward sweet/savory.
Another great replacement for the pickle is thinly slicing some pickled jalapeños. They bring great color and a nice vinegar brine along with the heat. Just a couple of those on top, and you’ve got yourself a spicy, tangy favorite in your lineup of Quick Dinner Sliders!
Storage and Reheating Instructions for Leftover Crispy Chicken Sliders
Now, let’s be honest—sometimes we make too much, or maybe you packed a few of these little gems away for lunch the next day. If you’re lucky enough to have any of these delicious Crispy Chicken Sliders with Garlic Sauce left, you need to store them correctly! My main rule for leftovers is: do not, under any circumstances, store them assembled!
If you stack that wonderfully crunchy chicken next to the soft bun while slathered in sauce, I guarantee you’ll wake up to sad, steamed sandwiches. We have to keep the crunch alive! It’s all about separating the components so that when you’re ready for round two, you can quickly revive that beautiful texture.
Start by placing your leftover fried chicken pieces into an airtight container. They should be cool before you seal them up tight! Next, put the garlic sauce into its own small, sealed container. The sauce is very sturdy and lasts great in the fridge for a few days. If you’re looking for other great ways to store chicken leftovers, make sure you check out my tips on using the slow cooker for easy pulled chicken, which works great if you’re cooking extra!
Reheating to Capture the Crunch
This is the most important bit for transforming last night’s leftovers into today’s exciting appetizer. We want that satisfying *snap* back, and only high, dry heat will do that job!
Forget the microwave. Please, I beg you! The microwave heats the trapped moisture in the coating, turning it instantly sad and soggy. We need to re-crisp the outside while gently warming the inside.
Your best friends here are the oven or the air fryer. Preheat your oven to a toasty 375°F (190°C). Place the chilled chicken pieces on a wire rack inside a baking sheet. I stress the wire rack—it’s essential! We need air flowing all around the chicken so the bottom doesn’t steam against the hot metal. Let them bake for about 5 to 7 minutes. Everything should be piping hot and crispy again!
If you’re using your air fryer, it’s even faster! Just lay the chicken pieces in a single layer, don’t overlap them, and blast them at 380°F (195°C) for maybe 3 to 4 minutes. Keep a close eye on them so they don’t burn!
Assembling Day-Two Sliders
Once that chicken is hot and crunchy again, you can assemble your sliders just like you did the first time. Lightly toast your buns again for just a minute—it helps perk them up! Then, spread that glorious, cold garlic sauce on the bun, stack your revived crispy chicken pieces, and enjoy! The contrast between the warm chicken and the cool, tangy sauce is honestly incredible, even on day two.
The sauce itself should keep beautifully in the fridge for up to four days. If it seems slightly separated when you pull it out, just give it a quick whisk, and it will smooth right back out again!
Frequently Asked Questions About Crispy Chicken Sliders with Garlic Sauce
I always get so many questions when people first try these sliders—they’re just *that* good, and everyone wants to make sure they nail the crunch! I’ve pulled together the most common things folks ask me about assembling, frying, and saving these amazing Crispy Chicken Sliders with Garlic Sauce. I hope these help you troubleshoot or prep ahead!
If you’re looking for even more small-batch appetizer ideas, you absolutely have to check out my list of other easy chicken slider appetizers!
Can I make these Sliders with Creamy Garlic Dressing ahead of time?
Yes, you absolutely can make the sauce ahead of time! That’s one of the best time-savers for serving these Sliders with Creamy Garlic Dressing. I usually mix up the garlic sauce the day before, put it in a jar, and keep it chilled. It actually deepens the flavor a bit overnight, which is awesome.
Now, about the chicken itself—you should always fry your chicken right before you plan to serve the sliders. Frying is an immediate gratification process! If you try to fry it hours ahead, you’ll lose that incredible, fresh-from-the-oil crunch. So, make the sauce early, but do the frying just as guests walk in the door or about 15 minutes before you sit down for dinner.
What is the best bun for these Game Day Chicken Sandwiches?
Oh, selecting the right bun is almost as important as the chicken itself! You need something soft that won’t fight the chicken, but strong enough not to crumble under the sauce. If you’re making these for your next batch of Game Day Chicken Sandwiches, skip the standard, drier white rolls.
My top recommendation, honestly, is the potato roll—they are buttery, slightly sweet, and super pillowy. Close behind that is the brioche slider bun. Both hold up incredibly well to a touch of sauce without turning to mush instantly. Toasting them lightly, as I mentioned in the main steps, helps create a tiny barrier against sogginess, no matter which soft bun you choose!
How do I ensure my chicken stays crispy if I use the Air Fryer Crispy Chicken Sliders method?
The air fryer is fantastic, but it’s notorious for drying things out if you’re not careful! The absolute key difference between a successful batch of Air Fryer Crispy Chicken Sliders and a sad, pale batch is ensuring you use a bit of fat on the outside of that flour crust.
Make sure you give the dredged chicken a good, light spray with some cooking spray—enough to coat it in a fine mist, but not so much that it pools up. Secondly, and this is crucial for air flow, you must avoid overcrowding the basket! If you stack the chicken pieces, the air can’t circulate, and those areas touching another piece will stay damp and soft. Cook in smaller batches if you have to—it’s worth the extra few minutes to guarantee that perfect crunch!
Estimated Nutritional Information for Crispy Chicken Sliders
I always feel a little guilty after eating too many of these amazing Crispy Chicken Sliders with Garlic Sauce, but when they taste this good, what can you do, right? I want to be totally upfront here, so I’m sharing the rough nutritional estimates based on one slider made according to the recipe. Keep in mind this is calculated assuming you’re using standard ingredients and that it’s just for one slider—and who eats just one of these?
This information is meant as a general guide, so if you have strict dietary needs, you’ll want to check the labels on your own mayo and buns. For all dietary specifics and disclaimers about how we calculate these averages, you can read more on my site nutrition disclaimer page. It’s important to check your own ingredients!
Here’s a quick look at what goes into one serving of these fantastic Chicken Slider Appetizers:
| Nutrient | Amount (Per Slider) |
|---|---|
| Calories | 320 |
| Total Fat | 18g |
| Saturated Fat | 3g |
| Protein | 18g |
| Total Carbohydrates | 22g |
| Sugar | 4g |
| Sodium | 550mg |
As you can see, these sliders pack a good punch of protein from the chicken, which helps keep you feeling full even though they’re small snacks! The fat content comes mostly from the frying oil and the creamy, delicious garlic sauce. But hey, when you’re snacking during a big football game, you deserve a treat that tastes this incredible!
Share Your Homemade Crispy Chicken Sliders with Garlic Sauce
Whew! That’s it! You have all the secrets now to make the absolute best Crispy Chicken Sliders with Garlic Sauce that your friends and family will ever taste. I’m practically buzzing just thinking about how crunchy those little pieces are going to be!
Now, it’s your turn! I put my heart and soul into getting this recipe just right, so I really want to know what you thought. Please, please, please leave me a rating below! If you loved that garlic sauce, give this recipe those coveted five stars! A great rating really helps other home cooks find these amazing recipes.
I especially want to hear comments about the sauce! Did you keep the lemon juice? Did you add a little kick of spice? Tell me about your modifications. I love seeing how you adapt recipes in your own kitchens!
And if you snapped a picture while you were building your appetizer platters—because these look gorgeous piled high, by the way—I would absolutely love to see them! Tag me on social media when you post your beautiful Easy Chicken Slider Appetizers. Seeing your finished meals is seriously the best part of cooking for all of you.
If you ever have questions while you’re working or just want to get in touch about recipe ideas, you can always reach out through my contact page. Happy cooking, everyone!
PrintCrispy Chicken Sliders with Garlic Sauce

Make crunchy, bite-sized chicken sandwiches topped with a simple, flavorful garlic sauce, perfect for appetizers or a quick meal.
- Prep Time: 15 min
- Cook Time: 20 min
- Total Time: 35 min
- Yield: 12 sliders
- Category: Appetizer
- Method: Frying
- Cuisine: American
- Diet: Low Lactose
Ingredients
- 1 pound boneless, skinless chicken breast, cut into 1-inch pieces
- 1 cup all-purpose flour
- 1 teaspoon salt
- 1/2 teaspoon black pepper
- 1/2 teaspoon paprika
- 1/4 teaspoon garlic powder
- 2 large eggs, beaten
- 1 cup buttermilk
- Vegetable oil, for frying
- 12 slider buns
- 1/2 cup mayonnaise
- 2 cloves garlic, minced
- 1 tablespoon lemon juice
- 1 teaspoon Dijon mustard
- 1/4 cup finely chopped fresh parsley
- Optional toppings: Pickles, shredded lettuce
Instructions
- Prepare the chicken dredge: In one shallow bowl, mix the flour, salt, pepper, paprika, and garlic powder. In a second bowl, whisk the eggs and buttermilk together.
- Dredge the chicken: Dip each chicken piece first into the buttermilk mixture, letting excess drip off, then coat thoroughly in the flour mixture, pressing lightly to adhere.
- Fry the chicken: Heat about 2 inches of vegetable oil in a deep skillet to 350°F (175°C). Fry the chicken pieces in batches for 4 to 6 minutes, turning occasionally, until golden brown and cooked through. Remove chicken and place on a wire rack to drain.
- Make the garlic sauce: In a small bowl, combine the mayonnaise, minced garlic, lemon juice, Dijon mustard, and parsley. Mix well until smooth.
- Assemble the sliders: Lightly toast the slider buns if desired. Spread a generous amount of garlic sauce on both halves of each bun. Place 3 to 4 pieces of crispy chicken on the bottom bun. Add pickles or lettuce if using, then top with the bun crown.
Notes
- For air frying, spray the dredged chicken lightly with cooking spray and cook at 400°F (200°C) for 10 to 12 minutes, flipping halfway, until crispy.
- You can prepare the garlic sauce up to one day ahead and store it in the refrigerator.
- Use small brioche or potato slider buns for the best texture.
Nutrition
- Serving Size: 1 slider
- Calories: 320
- Sugar: 4
- Sodium: 550
- Fat: 18
- Saturated Fat: 3
- Unsaturated Fat: 15
- Trans Fat: 0
- Carbohydrates: 22
- Fiber: 1
- Protein: 18
- Cholesterol: 75