

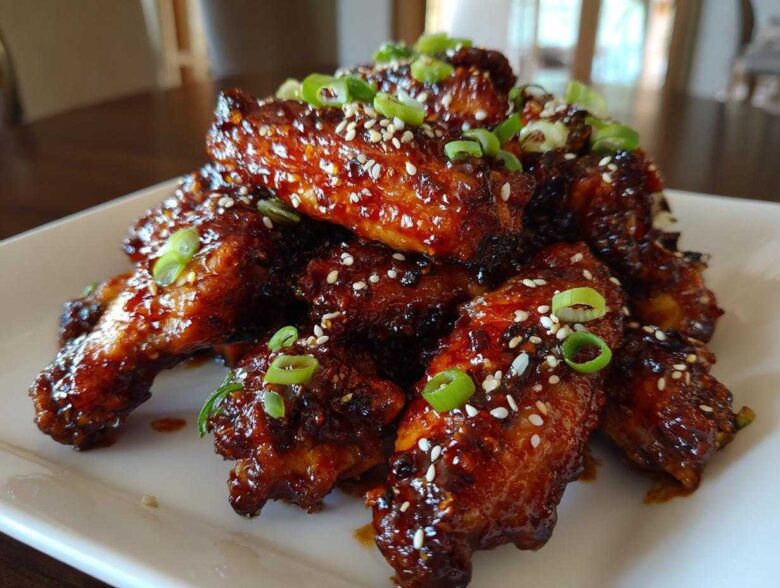
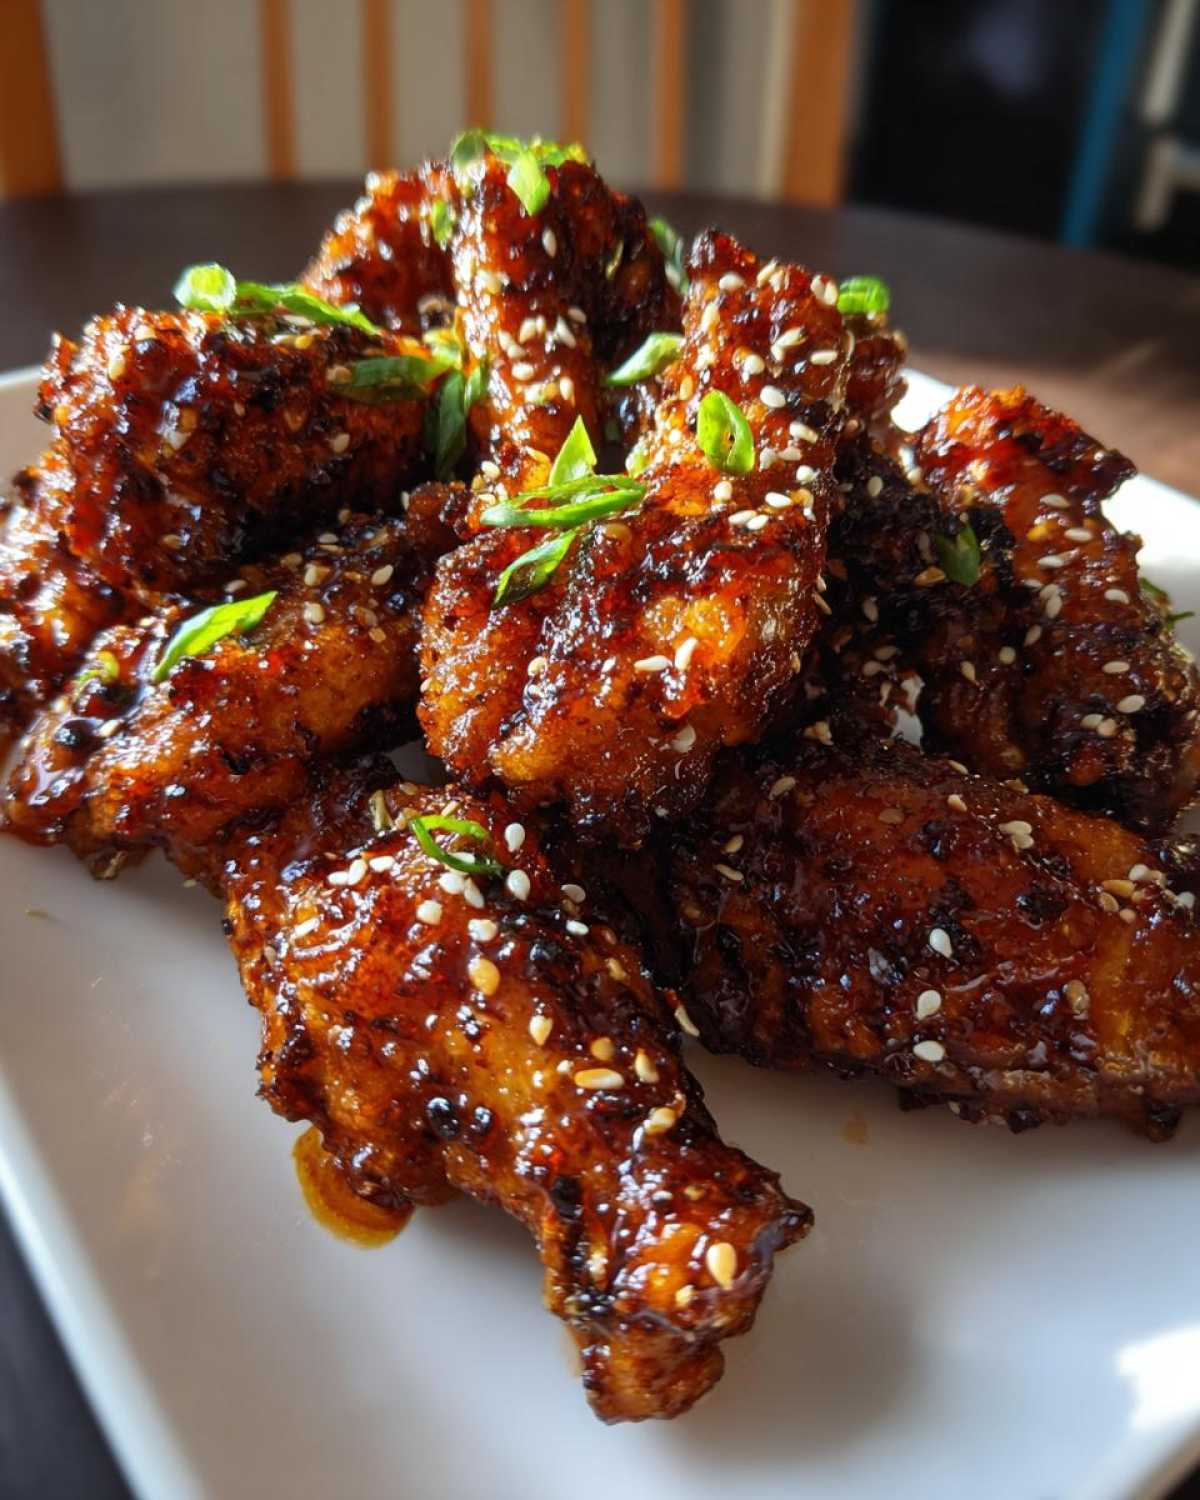
Forget soggy microwave wings or standing over a scary pot of hot oil! If you’re like me, you crave that perfect intersection of shatteringly crispy skin and a thick, dark, ridiculously sticky glaze. I spent three years trying every trick in the book—broiling, tossing, waiting—until I landed on this game-changer. We’re talking about the Sticky Teriyaki Chicken Wings Oven Baked method, and trust me, it delivers barbecue-joint quality right on your home baking sheet. The secret isn’t just in the sauce; it’s in the double-glaze technique paired with one unlikely kitchen staple. If you want to skip the store-bought stuff later on, check out my recipe for the best homemade teriyaki sauce! Get ready for the best weeknight chicken wing dinner you’ve ever made!
Why You Will Make These Sticky Teriyaki Chicken Wings Oven Baked Again
I promise, once you try this method, you won’t go back to just slathering sauce on raw wings and hoping for the best. These are the reasons I keep coming back to this recipe:
- Maximum Stickiness Guaranteed: We use a double-glaze process. That means you get one layer baked in for deep flavor, and a second, final glaze just before serving to make them tacky and shiny. They are the definition of Sticky Teriyaki Chicken Wings Oven Baked.
- Surprisingly Crispy Skin: Yes, you read that right! By using baking powder before the first bake, we achieve crispy results without needing a fryer, which is perfect for a quick weeknight dinner.
- Deep, Homemade Flavor: Even if you are short on time, the short simmer for the sauce concentrates the mirin and honey beautifully. It tastes miles better than just using a jarred sauce straight out of the fridge.
- Easy Cleanup: Because we line the sheet pan with foil and use a wire rack, cleanup is honestly a breeze. A little soak for the rack and you’re done!
- Perfectly Cooked Through: The staggered baking times ensure that the bone-in pieces are cooked perfectly without drying out the smaller flats.
- Crowd Pleasing Appetizer: Whether it’s game day or a casual Friday night meal, these sweet and sticky oven wings disappear fast. They just work for everyone in the family.
Essential Ingredients for Sticky Teriyaki Chicken Wings Oven Baked
Okay, let’s talk about what you need. Getting the perfect texture for these Sticky Teriyaki Chicken Wings Oven Baked really comes down to having the right combination of ingredients, especially for both the crust and the glaze. Don’t skimp on the prep ingredients!
Here is what you need to gather for this amazing batch:
- 2 lbs of chicken wings, broken down into flats and drumettes—make sure you separate them!
- 1 tablespoon of baking powder—and listen closely here, you absolutely must use baking powder, not baking soda. Trust me, this is the secret weapon for crispy skin in the oven!
- 1 teaspoon salt and 1/2 teaspoon black pepper for seasoning the dry coating.
Now for the glorious, thick glaze. If you ever want to dive deeper into making sauces from scratch, I have a great guide on my juicy chicken marinade secrets, but for the teriyaki, having these elements assembled is crucial for that perfect sticky coating:
- 1/2 cup soy sauce (low sodium is fine, but traditional soy sauce gives a better color).
- 1/2 cup mirin—this sweet rice wine is non-negotiable; it gives the glaze its authentic sweetness and sheen. Don’t try to substitute it with regular sugar water; the flavor profile won’t sing right.
- 1/4 cup packed brown sugar. The molasses in it adds that deep caramel note.
- 2 tablespoons honey. This helps build the stickiness on the second glaze.
- 1 tablespoon fresh ginger, grated finely. A MUST!
- 2 cloves garlic, minced up super fine.
- 1 teaspoon sesame oil for that characteristic nutty aroma.
- 1 tablespoon cornstarch whisked with 2 tablespoons cold water—this is our thickening slurry that makes the sauce sticky instead of watery.
- And finally, for garnishing: Sesame seeds and sliced green onions. Doesn’t look right without them, you know?
The Crispy Skin Secret: Preparing Your Oven Baked Teriyaki Wings
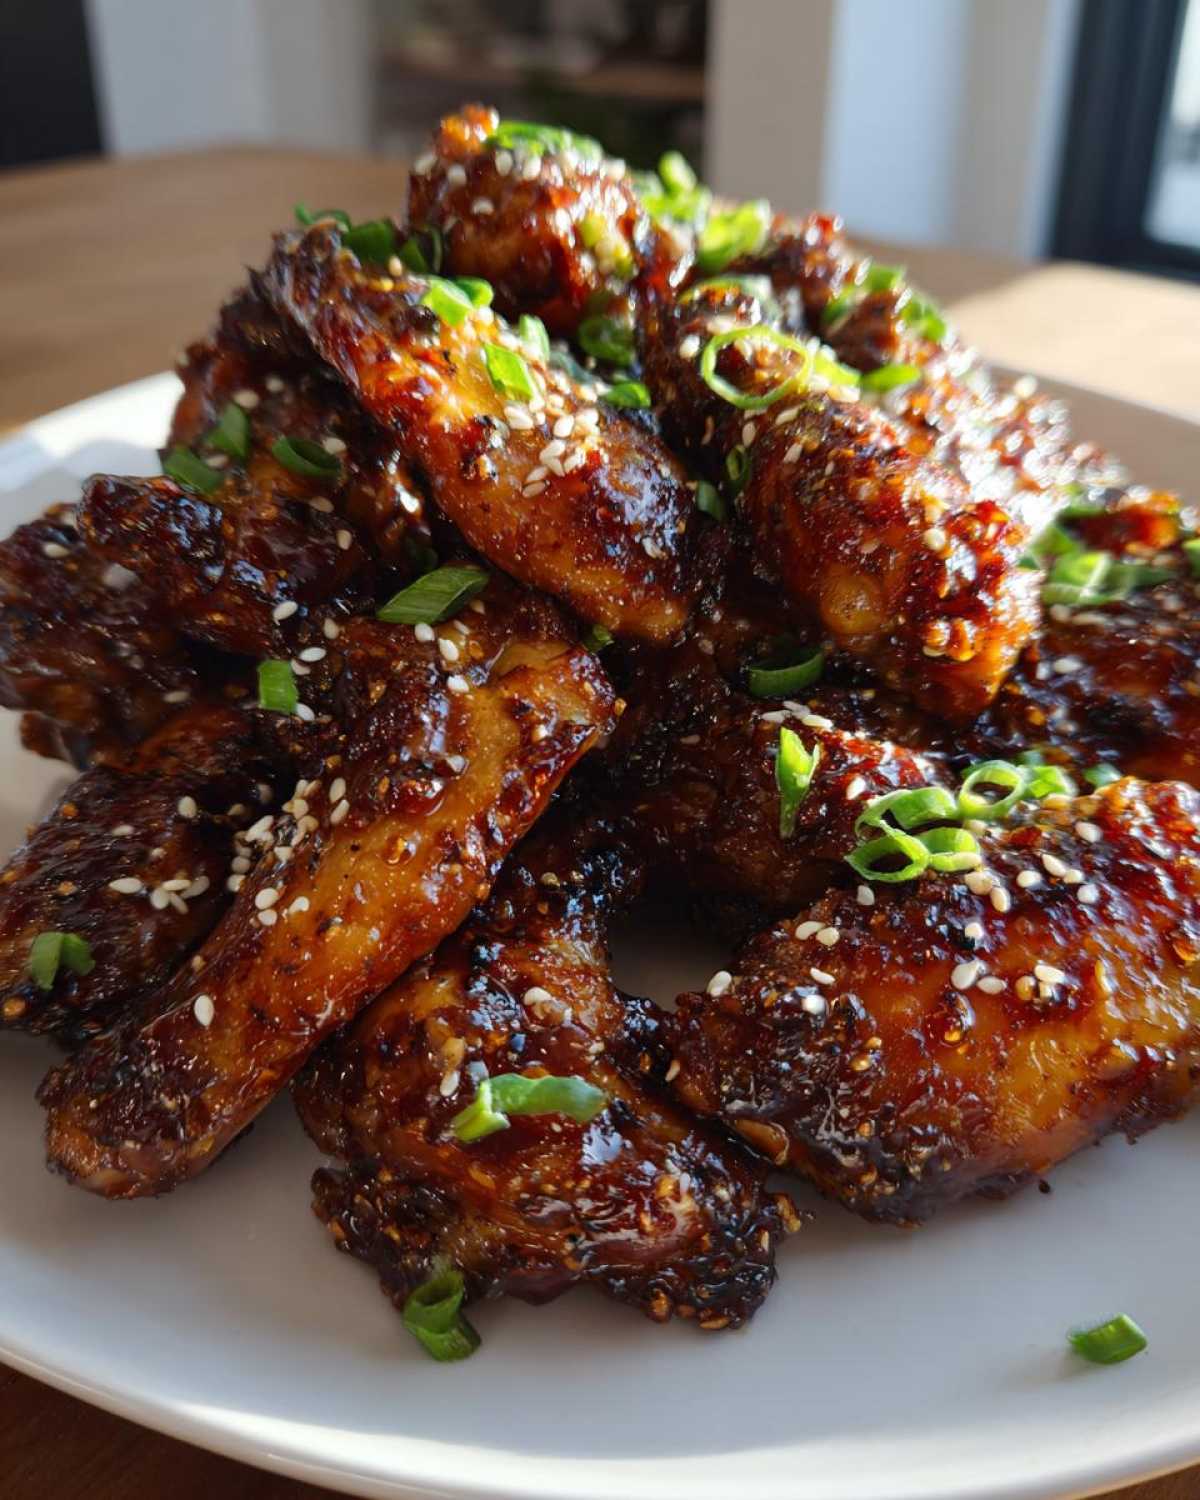
If you think you can’t get genuinely crispy wings in the oven, I’m here to prove you wrong! Getting that addictive crunch underneath all that glorious sauce is the hardest part of any Sticky Teriyaki Chicken Wings Oven Baked recipe, but our prep method handles it easily. Forget soaking the wings in ice water; we are going straight for dry heat assistance!
We want those wings to roast, not steam, which is why the setup is just as important as the sauce itself. I always encourage folks to check out my full guide on how to get crispy wings in the oven for more background, but here are the non-negotiable steps for the best texture.
Prepping the Wings for Maximum Crispiness
First thing first: grab a giant stack of paper towels. You need to pat those 2 lbs of flats and drumettes until they feel totally naked and dry. Any surface moisture is the enemy because it creates steam, and steam equals rubber skin. Once they are bone dry, it’s time for the magic dust!
In a bowl, toss them thoroughly with the baking powder, salt, and pepper. That baking powder does something wild in the high heat; it interacts with the skin’s proteins and helps wick away moisture, resulting in tiny little crispy bubbles! After seasoning, arrange them on a wire rack placed over a foil-lined baking sheet. If the wings touch each other on that rack, they’ll steam! Keep them separated so the hot air can circulate underneath them completely while they bake. This setup is critical for success!
Making the Best Sticky Wing Sauce Recipe for Your Teriyaki Wings
While those wings are out there getting their initial crisp on, we get to focus on creating the incredibly flavorful and gorgeous coating for our Sticky Teriyaki Chicken Wings Oven Baked. This isn’t just heating up bottled sauce; we are building flavor through a simmer and then achieving that perfect texture through thickening. You’ll simmer the soy sauce, the mirin (which really adds that essential sweetness you can’t fake), the brown sugar, honey, fresh ginger, and minced garlic for about five minutes.
Once that sauce simmers and the sugars melt down, it will be thin—which is exactly what we want for the first glaze. But to get that signature stickiness that coats your fingers, we need to thicken it up dramatically. Since we are using this sauce twice, we’ll reserve some of the thickened sauce and use the rest to toss the wings, before returning them to the oven to set that final, mirror-like coat. You can always read my deep dive on making the absolute best homemade teriyaki sauce if you want to batch prep some extra sauce to use!
Creating the Thickening Slurry
This next bit is crucial for avoiding lumps that look like tiny white Styrofoam balls in your beautiful dark sauce! Before you add anything to the hot mixture, you need to create a slurry. Take one tablespoon of cornstarch and whisk it together with two tablespoons of cold water in a tiny cup until it looks completely smooth—really make sure there are no dry clumps left in there.
Once the sauce has simmered for those first five minutes, take it off the direct heat momentarily. Then, whisk that slurry in vigorously. Put it back on the heat and stir constantly until it thickens enough that it coats the back of your spoon nicely. It should look shiny and slightly gelatinous—that’s the gooiness you want coating those oven baked teriyaki wings perfectly!
Step-by-Step Instructions for Sticky Teriyaki Chicken Wings Oven Baked
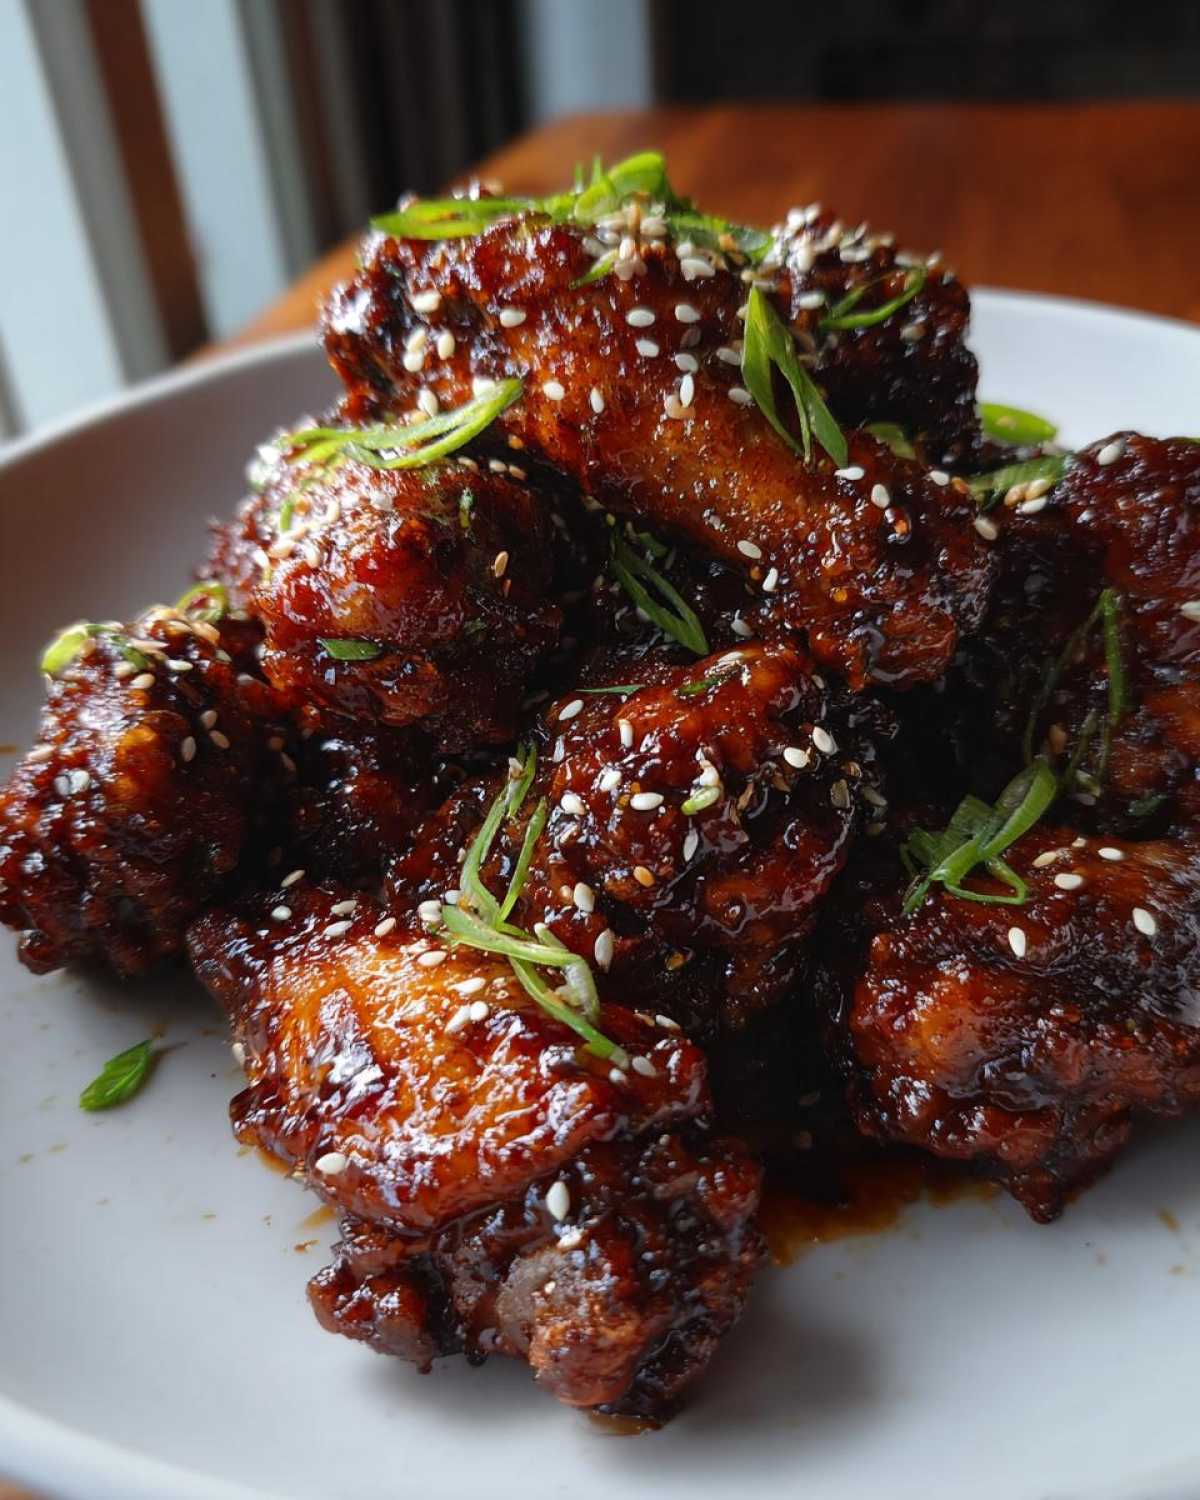
Alright, now for the fun part—bringing those crispy wings and that amazing sauce together! This double-glaze process is what elevates these from good to absolutely incredible Sticky Teriyaki Chicken Wings Oven Baked. It takes a little time, but honestly, most of it is just waiting while the oven does the hard work. Remember, patience leads to perfection, especially when sugar is involved!
Baking and First Glaze Application
First, get that oven preheated to 425°F (220°C). Make sure your wings are nestled on that wire rack over the foil liner we prepared. They need that initial 25 minutes completely naked to really dry out and start crisping up. You’ll know they are ready for the first coat because the fat will have rendered out nicely. Pull them out carefully!
Now, take about half of that thickened Glaze 1 you just made and brush it generously over every single side of the wings. Don’t be shy! Put them right back in the oven and let them bake for another 15 minutes. That first coat is meant to sink in and flavor the meat while caramelizing a bit onto the skin.
The Final Toss and Caramelization
When those 15 minutes are up, you’re going to pull them out one last time. For this final layer, we create Glaze 2. Simply mix the remaining half of Glaze 1 with about 1/4 cup of fresh teriyaki sauce (or use leftover sauce if you like a thinner, fresher coating). Heat that mixture just until it’s warm.
Toss the hot wings in Glaze 2 until they are completely saturated and shining. Then—and this is where you need to stand guard near the oven—put them back in for a final 5 to 10 minutes. Because that second layer has fresh sugars, it can go from perfectly glazed to sadly burnt very fast. Watch them like a hawk! This last blast of heat locks in that beautiful, thick, sticky shell. You can find more tips on achieving deep color, even with things like caramelized onions, which follow similar sugar principles!
Tips for Success with Baked Glazed Chicken Wings
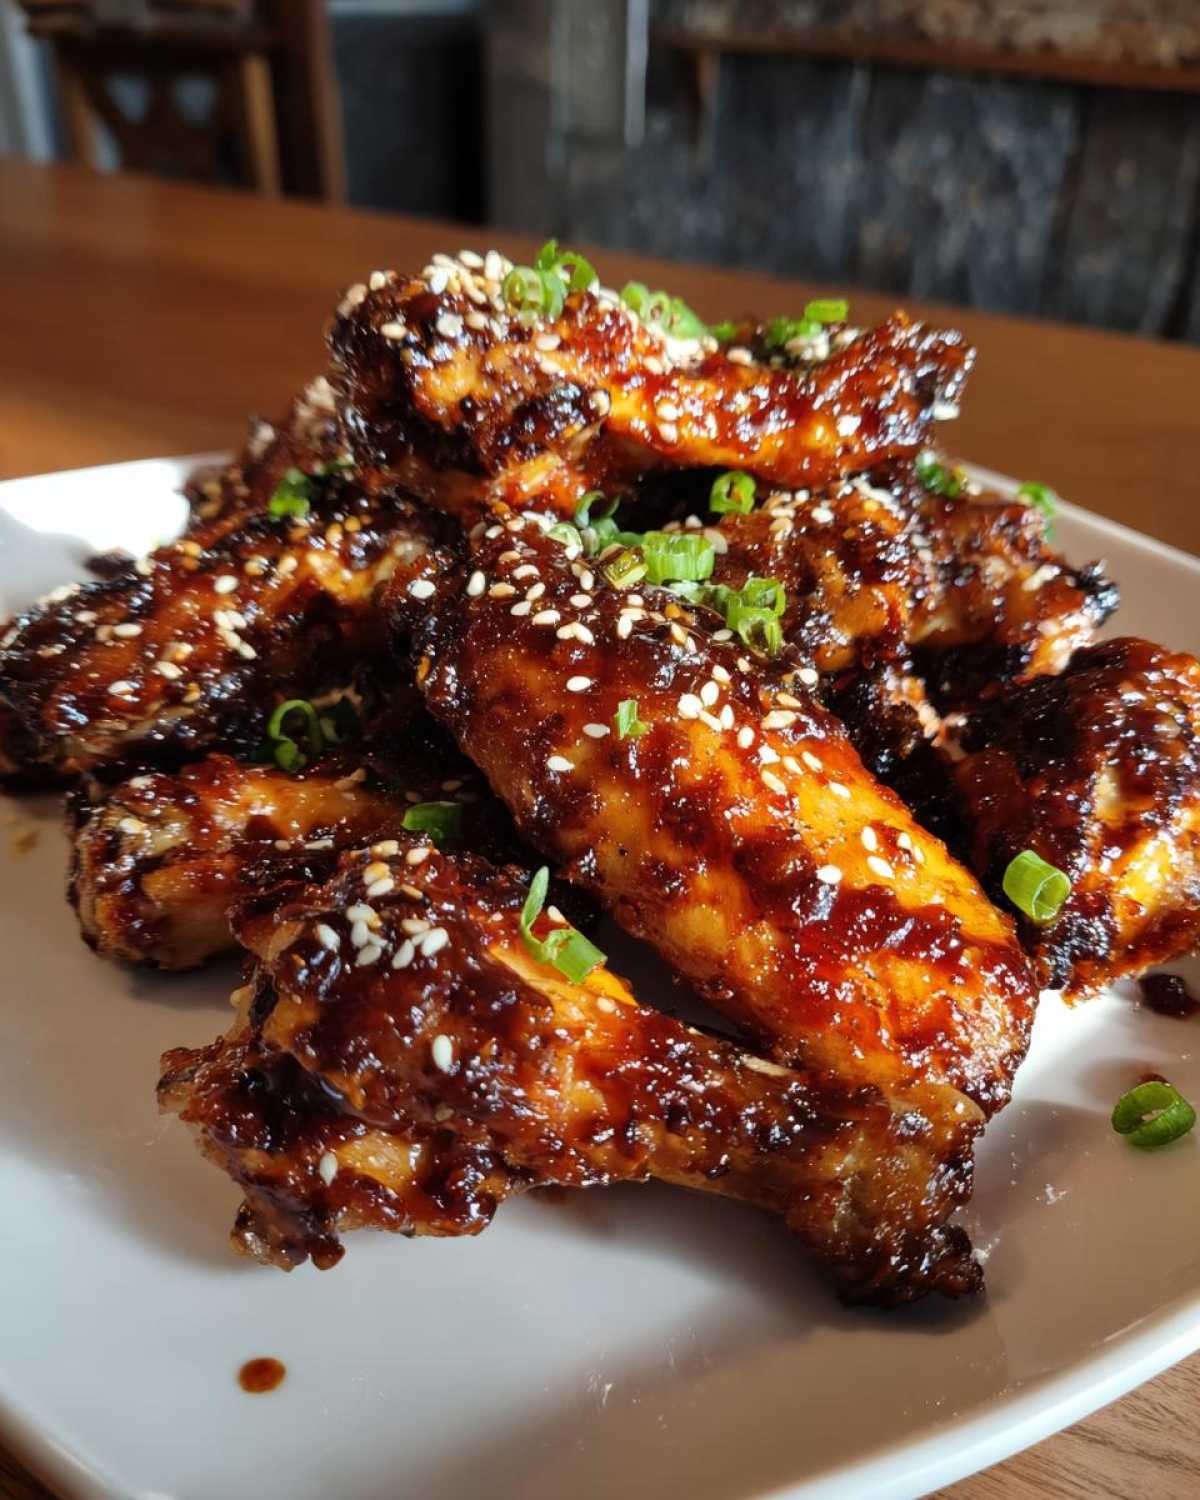
It kills me when a recipe goes sideways at the last minute, so I want to give you a few hard-won insights based on the notes I keep taped inside my pantry door. These aren’t just suggestions; they are how you guarantee success when making these glazed chicken wings no fryer needed.
First up: the sauce! Remember how we made that thick Glaze 1? If you want to make these wings extra saucy, or if you know you are going to serve them buffet-style where they sit out for a while, you should absolutely reserve two tablespoons of that thickened Glaze 1 *before* you toss the wings the first time. Glaze 2 is great, but that initial, thicker sauce acts like the ultimate setting agent. Use that reserved bit as your final dip after they come out of that last 5-minute bake—it clings wonderfully!
Also, don’t forget the reheating potential. Because these use a lot of sugar, just nuking them in the microwave turns them into steamed, slightly rubbery messes. If you have leftovers, the best bet is to spread them out on a fresh wire rack over foil and pop them back into a 350°F oven for about 8 to 10 minutes. That little bit of dry heat will wake up the crispiness that the baking powder gave them earlier!
Finally, think ahead! If you are hosting a huge crowd, you can totally make the teriyaki glaze mixture up to three days ahead of time. Store it covered in the fridge. Seriously, just give it a gentle reheat on the stovetop before you plan on using it for step six; it will save you a solid ten minutes when the wings are baking the first time. For more tips on managing sugar timing in cooking, take a look at my guide on caramelized onions—it follows similar principles for heat management!
Serving Suggestions for Your Oven Baked Teriyaki Wings Recipe
You’ve pulled off the perfect batch of sticky, shiny wings—congratulations! But now you’re wondering what goes well with them, right? Because the sauce is so concentrated, sweet, and savory, you really want sides that offer balance, either by being refreshing or by soaking up that glorious glaze that ends up pooling on the plate! These aren’t meant to be eaten alone, even though I clearly could!
I usually aim for crunch and something green to cut through the richness. You don’t want heavy sides here; keep it light so everyone can go back for seconds on the wings!
- Quick Steamed Rice: This is probably the most classic combo. A nice, neutral bed of plain white rice (Jasmine is my favorite) is perfect for soaking up any drips. If you want something with a little more zest, I have a fantastic easy Spanish rice recipe that adds a nice acidity to balance the sweetness of the teriyaki.
- Simple Crisp Slaw: A slaw made with shredded cabbage, carrots, and a super light vinaigrette (maybe just rice vinegar and a touch of sugar) is fantastic. It gives you that necessary fresh crunch.
- Blanched or Steamed Green Beans: Tossed lightly with a tiny drop of sesame oil right after steaming—that’s it! They give you that nice textural snap and a great color contrast on the plate.
- Cucumber Salad: Seriously underrated! Thinly slice cucumbers, toss them with a splash of rice vinegar, a pinch of salt, maybe a tiny bit of chili flake if you’re feeling frisky, and let them sit for 15 minutes. They are cold, crisp, and totally refreshing against the hot, sticky wings.
Think of the sides as the clean canvas that lets your beautifully glazed wings be the star of the show. Enjoy every bite!
Storage and Reheating Sticky Teriyaki Chicken Wings Oven Baked
Nobody expects these wings to last long, but if you manage to have any leftovers of your Sticky Teriyaki Chicken Wings Oven Baked—maybe you’re just a slow eater like I am—storage is easy!
The key to success here is understanding that the glorious sticky glaze is made mostly of sugar and thickeners, which solidify when chilled. You can absolutely store them, but you have to revive them properly later on. Pop any leftovers into a shallow, airtight container once they have cooled down a bit—don’t seal them while they are still hot, or you’ll steam them into mush right in the fridge!
They will happily hang out in the refrigerator for up to three days. Now, when it comes to reheating, this is where most people go wrong and end up scrubbing sugary goo off their plates. Microwaving is tempting because it’s fast, but it’s the enemy of crispiness! It will make the skin soft and chewy, and the glaze will just melt off into a puddle.
For the best results, you have to use dry heat to wake up that crispiness we worked so hard to build into the skin using the baking powder. I recommend spreading those leftover wings out in a single layer on a clean wire rack set over a foil-lined baking sheet. Pop them into a moderate oven—think 350°F (175°C)—for about 8 to 10 minutes.
If you notice the glaze starting to look a little dull after reheating, you can make a quick, small batch of fresh glaze (or just use a tiny dash of honey and soy sauce) and toss them right before serving. That little fresh hit brings back that incredible shine, making them taste almost as good as when they first came out of the oven. Trust me, taking those few extra minutes to reheat them properly preserves the texture we achieved with the double-glaze method for your Sticky Teriyaki Chicken Wings Oven Baked!
Frequently Asked Questions About Sticky Baked Chicken Wings
When you start working with baking powder and double-glazes, folks always have questions! I’ve tried to cover the biggest sticking points right here in this FAQ section so you can dive right into cooking without any guesswork.
Can I make these Sticky Teriyaki Chicken Wings in the Air Fryer instead?
You totally can! If you’re looking to speed things up or you just prefer the air fryer texture, the initial crisping step works beautifully. After you toss the wings in the baking powder mixture, set your air fryer to 400°F (200°C) and cook them for about 18 minutes, shaking the basket halfway through. Then, proceed with the basting steps exactly as written in the recipe. Everything after the first bake stays the same—you still need that glaze time to get things sticky! If you’re curious about another popular air fryer hack, I have a great guide on air fryer gnocchi that uses similar time-saving principles.
What happens if I accidentally use baking soda instead of baking powder?
Oh, watch out for that swap! Baking soda is much more alkaline than baking powder. If you use it instead of the powder in the dry rub, you risk ruining the texture and getting a really sharp, metallic, almost soapy taste to your wings. Baking soda reacts instantly when it gets wet, whereas baking powder needs heat to work its magic over time. Baking powder is used purely here to help dry out the skin, so stick to the powder—it makes all the difference for the crispiness!
How can I make these wings spicy if I love heat?
That’s an easy one! Since we are already building a homemade sauce, we have lots of room to play. For a nice warm heat, whisk in about a teaspoon of Sriracha or a dash of chili garlic sauce when you simmer the initial glaze ingredients (Glaze 1). If you want something with a bit more depth, try adding a teaspoon of Gochujang paste—it brings a lovely fermented pepper flavor that pairs wonderfully with the sweet mirin. Make sure you stir that in really well during the simmer so it incorporates fully!
Do I have to use Mirin, or can I substitute it with something else?
Mirin is really the secret ingredient that gives teriyaki its signature glossy shine and deep sweetness without being overpowering like soda or straight sugar. If you absolutely cannot find it, no problem—you can substitute it with a mixture of 1/4 cup dry white wine mixed with 1 tablespoon of granulated sugar. Whisk that substitution in really well when you start the sauce, but know that the final result won’t have quite the same authentic sheen. It will still be delicious, but a little less “restaurant quality,” if you catch my drift!
PrintSticky Teriyaki Chicken Wings Oven Baked
Make sticky, glazed teriyaki chicken wings in your oven using a double-glaze method for maximum flavor and crispy skin.
- Prep Time: 15 min
- Cook Time: 45 min
- Total Time: 60 min
- Yield: 4 servings
- Category: Appetizer
- Method: Baking
- Cuisine: Asian
- Diet: Non-Vegetarian
Ingredients
- 2 lbs chicken wings, separated into flats and drumettes
- 1 tablespoon baking powder (not baking soda)
- 1 teaspoon salt
- 1/2 teaspoon black pepper
- 1/2 cup soy sauce
- 1/2 cup mirin (sweet rice wine)
- 1/4 cup packed brown sugar
- 2 tablespoons honey
- 1 tablespoon fresh ginger, grated
- 2 cloves garlic, minced
- 1 teaspoon sesame oil
- 1 tablespoon cornstarch
- 2 tablespoons cold water
- Sesame seeds, for garnish
- Sliced green onions, for garnish
Instructions
- Preheat your oven to 425°F (220°C). Line a baking sheet with foil and place a wire rack on top.
- Pat the chicken wings completely dry using paper towels. This step is crucial for crispiness.
- In a medium bowl, toss the dried wings with baking powder, salt, and pepper until evenly coated.
- Arrange the wings in a single layer on the wire rack. Do not let them touch.
- Bake for 25 minutes.
- While the wings bake, prepare the first glaze. In a small saucepan, combine soy sauce, mirin, brown sugar, honey, ginger, garlic, and sesame oil. Bring to a simmer over medium heat, stirring until the sugar dissolves. Reduce heat and let it simmer gently for 5 minutes.
- In a separate small bowl, whisk together the cornstarch and cold water to create a slurry. Whisk the slurry into the simmering sauce. Continue to cook, stirring constantly, until the sauce thickens enough to coat the back of a spoon (about 1-2 minutes). Remove from heat. This is Glaze 1.
- After the initial 25 minutes of baking, remove the wings from the oven. Brush them generously with about half of Glaze 1.
- Return the wings to the oven and bake for another 15 minutes.
- Remove the wings again. In the saucepan, combine the remaining Glaze 1 with 1/4 cup of fresh teriyaki sauce (or more soy sauce/mirin mixture if you prefer a thinner second coat). Heat briefly until warm. This is Glaze 2.
- Toss the hot wings in Glaze 2 until fully coated.
- Return the wings to the oven for a final 5-10 minutes to set the glaze and caramelize the exterior. Watch closely to prevent burning due to the sugar content.
- Remove from the oven, garnish with sesame seeds and green onions, and serve immediately.
Notes
- For extra crispy skin, ensure your wings are very dry before seasoning with baking powder.
- If you prefer a thicker final coat, reserve 2 tablespoons of the finished Glaze 1 before tossing the wings the first time, and use this reserved sauce as your final toss sauce.
- You can prepare the teriyaki sauce up to three days ahead of time and store it in the refrigerator. Reheat gently before use.
Nutrition
- Serving Size: 4 wings
- Calories: 350
- Sugar: 18
- Sodium: 750
- Fat: 20
- Saturated Fat: 6
- Unsaturated Fat: 14
- Trans Fat: 0
- Carbohydrates: 20
- Fiber: 1
- Protein: 22
- Cholesterol: 85