

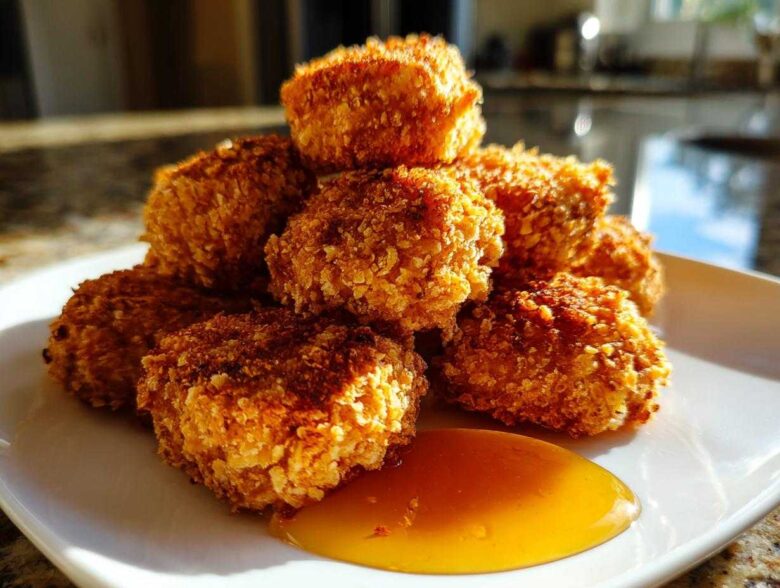
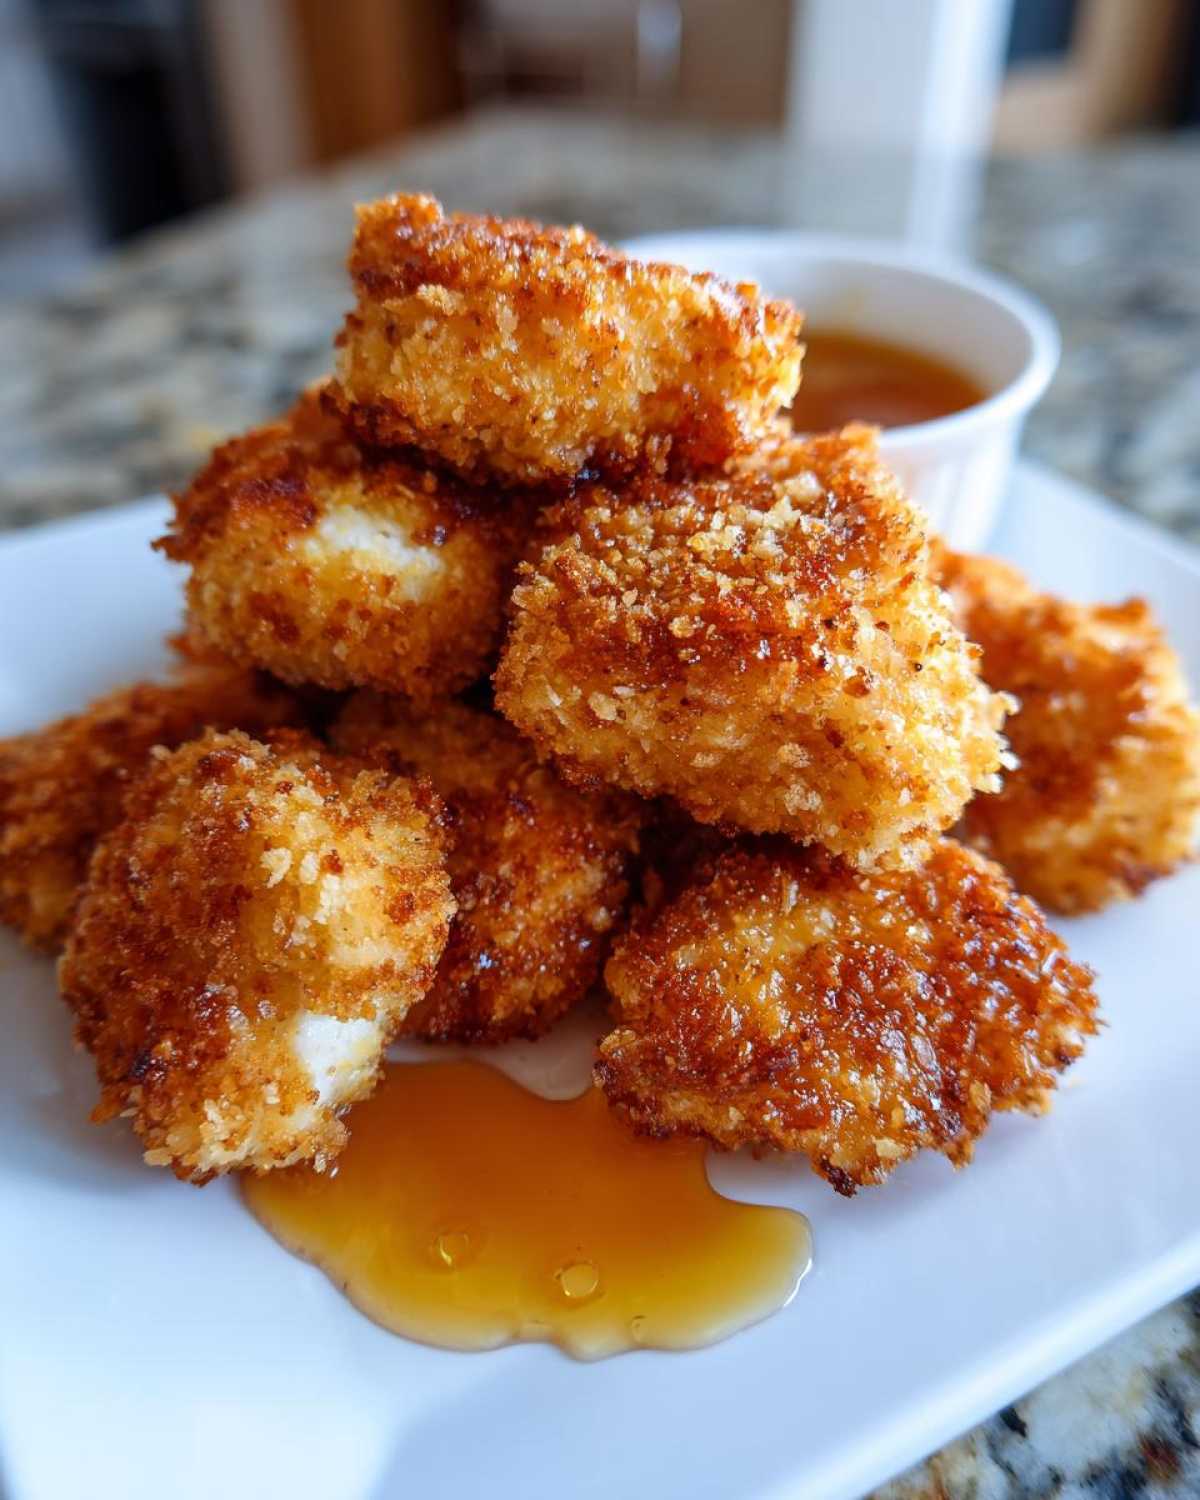
Oh my gosh, you know that tragic moment when you spend all that time breading chicken, you fry it up, and BAM! It’s just a soggy mess on the inside? It breaks my heart every single time it happened before I cracked the code. Seriously, homemade nuggets should never be soft! I spent an entire weekend perfecting what I now call my Crispy Chicken Nuggets with Honey Dip recipe—and trust me, they rival your favorite fast-food drive-thru, but better because you controlled everything that went into them.
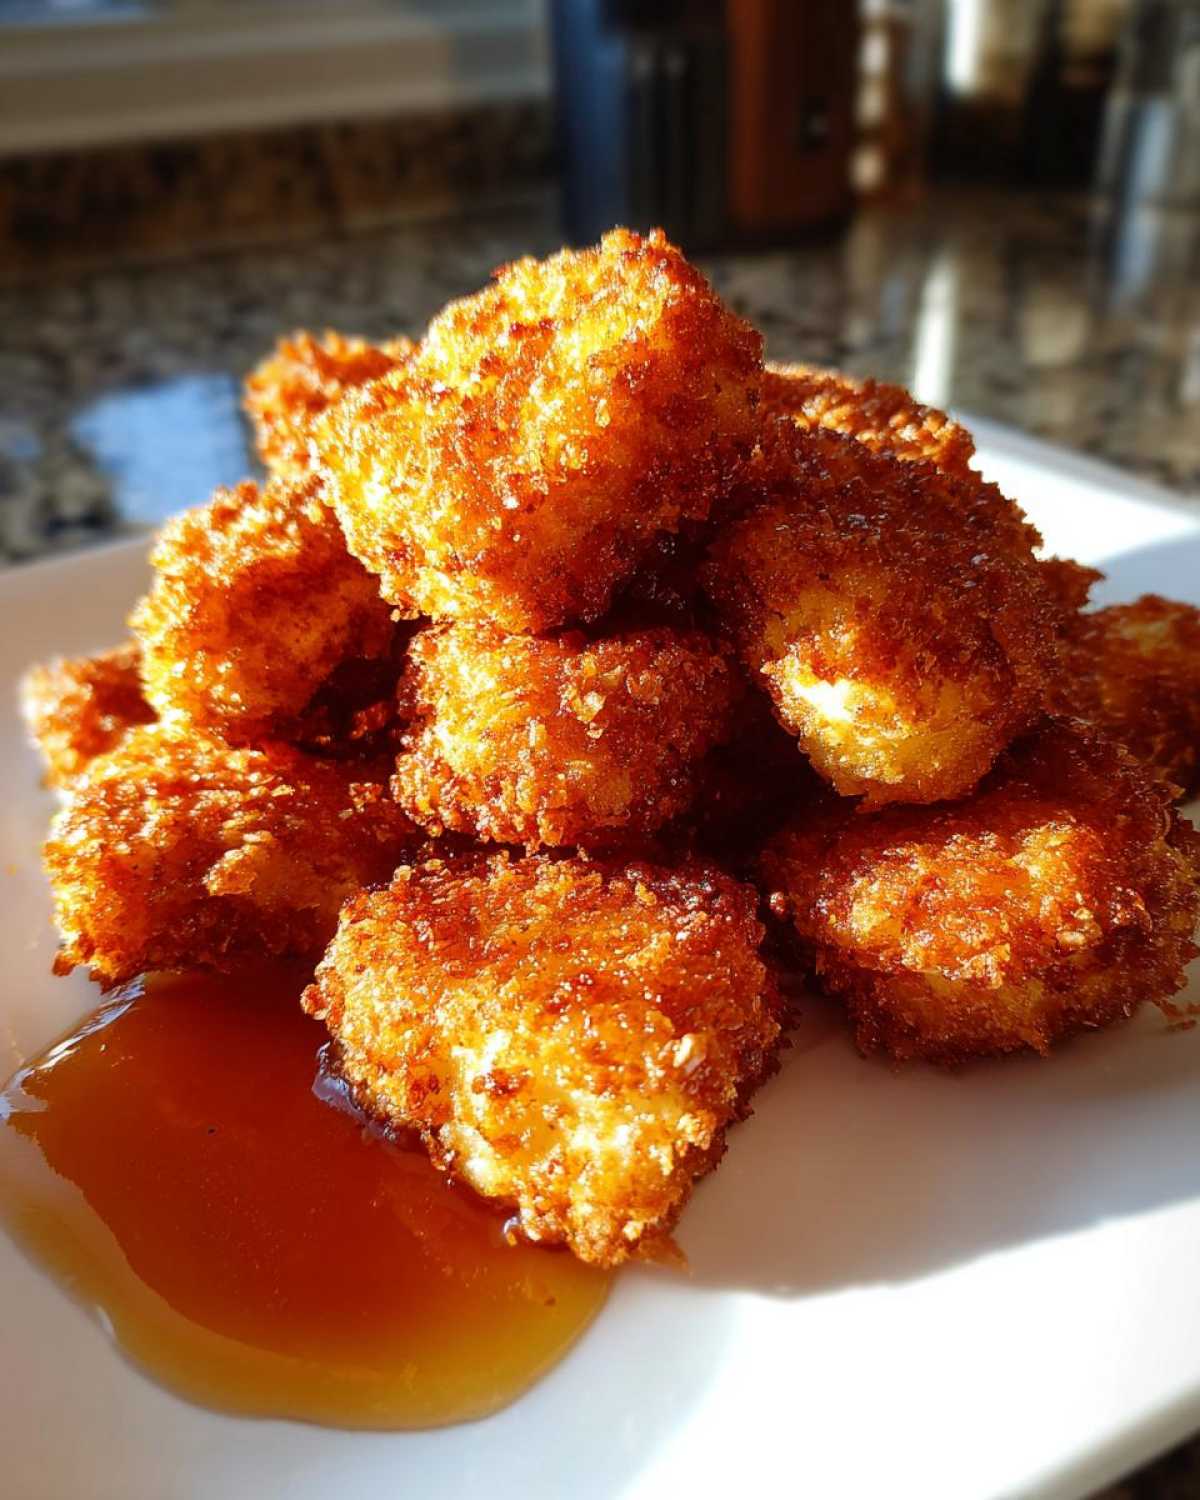
The absolute game-changer? It’s all about the crunch factor. We aren’t just dredging once; we are going big with a three-part coating that locks in that amazing texture. We’re talking a little flour dust, an egg bath, and then our secret weapon in the final layer. This technique, combined with getting the oil temp just right, guarantees that shatteringly crisp exterior every single time. Get your oil ready, because you won’t believe how easy it is to make these amazing nuggets, especially when paired with my super easy sweet-and-tangy dip!
I still remember the first batch I made using this method; my youngest wouldn’t stop asking for more! This homemade chicken nuggets recipe has saved me countless weeknights, and I’m so excited for you to try it. Let’s get cooking!
Why These Crispy Chicken Nuggets with Honey Dip Are Your New Favorite
Forget the freezer aisle, I promise! Once you nail this process, you’ll never look back. We nailed the texture challenge so you get the satisfaction of the Best Crispy Chicken Nuggets using ingredients you already have. They come together surprisingly fast for a ‘from scratch’ meal, too!
- That unbelievable crunch that lasts way longer than store-bought ones.
- You know exactly what kind of chicken you’re feeding your family—no weird fillers here!
- The homemade Honey Dip? It’s seriously addictive, balancing sweet honey with a little zing.
- They are 100% kid-approved, making them a perfect, fun weeknight dinner solution.
Essential Ingredients for Perfect Crispy Chicken Nuggets with Honey Dip
Okay, gathering your supplies is half the battle won! When you see the ingredient list here, I want you to focus on the breading components. That’s where our texture magic lives. Don’t make any swaps in that final coating unless you absolutely have to, okay?
For the Crispy Chicken Nuggets with Honey Dip
- 1.5 lbs boneless, skinless chicken breast, cut into 1-inch pieces
- 1 cup all-purpose flour
- 1 teaspoon salt
- 1/2 teaspoon black pepper
- 1/2 teaspoon garlic powder
- 2 large eggs, lightly beaten
- 1 cup milk
- 2 cups Panko breadcrumbs (Panko is non-negotiable for the crispness!)
- 1/2 cup cornstarch (This little guy mixed with the Panko makes them extra crunchy.)
- Vegetable oil, for frying (You’ll need about 3 cups to get good depth.)
For the Homemade Honey Dipping Sauce
This dip is so simple but it hits all the right spots after a bite of that salty, savory nugget goodness. It’s the perfect combination of sweetness and tang.
- For the Honey Dip: 1/2 cup honey
- For the Honey Dip: 2 tablespoons apple cider vinegar
- For the Honey Dip: 1 teaspoon Dijon mustard
- For the Honey Dip: Pinch of cayenne pepper (just a whisper to keep it interesting!)
The Step-by-Step Guide to Flawless Crispy Chicken Nuggets with Honey Dip
Alright, this is where the magic really happens! Forget complicated marinades for now; the real secret to these Crispy Chicken Nuggets with Honey Dip is making sure the exterior is rock solid before it hits the oil. Pay close attention here because timing and setup are everything to avoid soggy bottoms!
Preparing the Chicken and Setting Up the Breading Stations
First things first, we need dry chicken. Seriously, take your cubed chicken breast and pat it down until you think it can’t possibly get any drier. Water is the enemy of crispness, so go paper-towel crazy! Then, just give those little guys a light seasoning with a bit of salt and pepper.
Next, set up your assembly line, the dredging stations. You need three shallow dishes ready to go. Dish one is your seasoned flour—the one mixed with the flour, salt, pepper, and garlic powder. Dish two is your wet bath—the eggs whisked up with the milk. And dish three? That’s the winner: your Panko breadcrumbs mixed right in with that cornstarch. Trust me, that cornstarch in the final coating is key for that shatter! I like to get everything laid out like a little professional kitchen so I can move fast.
Achieving Maximum Crunch: The Double Dredge Technique for Crispy Chicken Nuggets with Honey Dip
Now for the fun part where we layer on the crunch! Take one piece of chicken and toss it in the flour mixture (Station 1). Make sure it’s fully coated, then shake off all that extra flour—we only want a light dusting here.
Next—and this is quick—dip it into that egg/milk combo (Station 2). Let the extra drip off for just a second. You want it wet, but not dripping heavily.
Then, immediately move it to Station 3, the Panko/cornstarch mix. This is the crucial step: truly press those crumbs onto the chicken. Don’t just roll it; physically press the Panko onto the surface. You want a thick, solid armor coating on every side. If you want the best results, pop those coated beauties onto a wire rack and let them chill out for about 15 minutes at room temperature. It sounds weird, but that rest time helps the coating stick so it doesn’t fall off in the fryer—and it sets up that amazing texture. It’s worth the wait!
Cooking the Crispy Chicken Nuggets with Honey Dip to Perfection
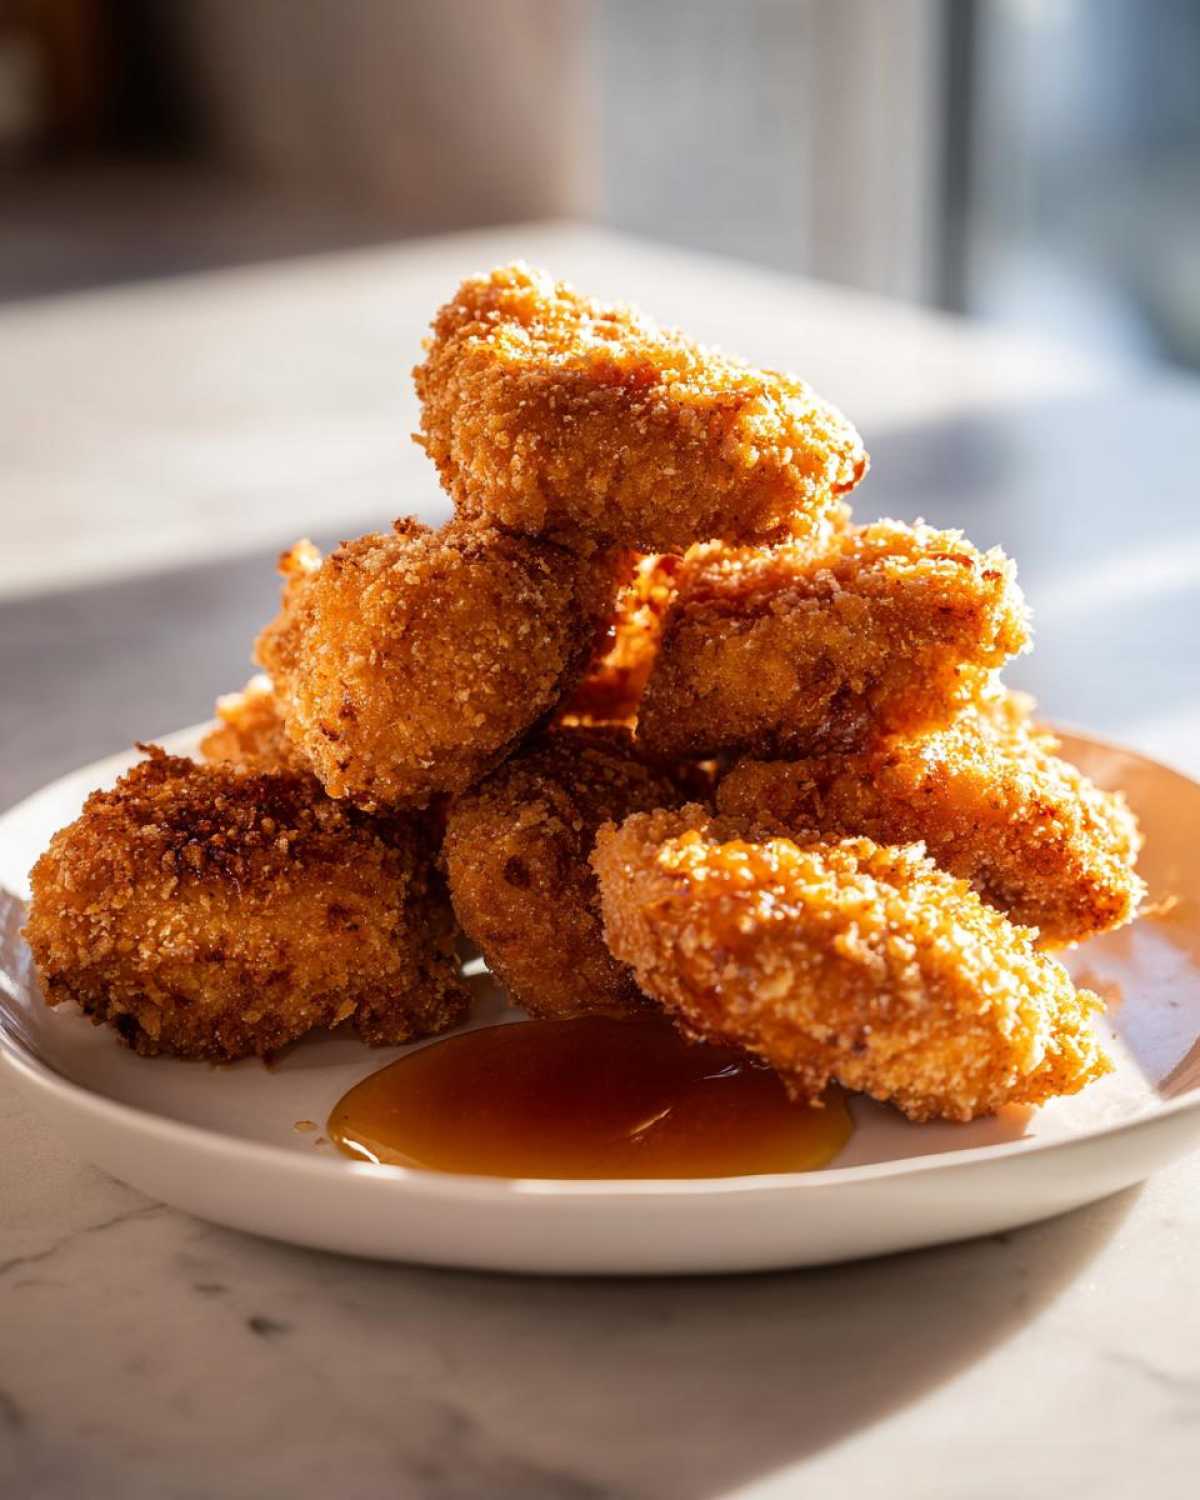
While they are resting, get your oil going! You need about 3 inches of vegetable oil in a heavy pot, and you absolutely must get it to 350°F (175°C). You need a thermometer here; I can’t stress that enough. Too cold, and they soak up oil and get greasy. Too hot, and they burn before the chicken cooks.
When the oil is ready, carefully drop in about 6 or 7 nuggets max. Don’t crowd the pot! Overcrowding drops the oil temperature instantly, and we are back to square one with soggy nuggets. Let them fry for about 3 to 4 minutes, tossing them gently so they brown evenly all over until they are that perfect golden brown color and heated through to 165°F internally. If you need tips on making sure your chicken stays juicy even when cooked through, you can check out my thoughts on quick chicken marinades, though these nuggets rely less on a marinade and more on the coating!
Pull them out immediately with a slotted spoon and get them straight onto that wire rack over a baking sheet. A little sprinkle of fresh salt right when they come out is heavenly. While those are draining, just whisk together the honey, vinegar, Dijon, and that tiny pinch of cayenne. That’s it! Serve those piping hot nuggets right away with that incredible homemade honey dip! You earned it!
Tips for the Best Chicken Nugget Breading
If you take away only one thing from this whole post, let it be this: the texture comes down to technique, not magic! I learned the hard way that simply rolling chicken in breadcrumbs doesn’t cut it. You need that double coating—the flour first creates a dry base for the wet egg mixture to cling to.
But the real secret in the Best Chicken Nugget Breading is that cornstarch mixed right in with the Panko. It adds an extra layer of dryness and structure that just won’t quit when frying. And remember how I said to press those crumbs on? You need to physically mold that coating onto the nugget surface. Make sure they rest for that full 15 minutes afterward, too. That small wait time solidifies the coating so you get that clean, sharp crunch!
Cooking Alternatives: Air Fryer Chicken Nuggets Crispy or Oven Baked Healthier Nuggets
I know deep frying is the *best* for that golden, shatteringly crisp result, but sometimes you just don’t want to deal with three cups of oil. Don’t you worry your little cook heart, though! I’ve tested this recipe for using an air fryer, and you can absolutely get fantastic results that lean toward the Oven Baked Healthier Nuggets end of the spectrum without losing too much crunch.
If you’re going the air fryer route, you need to treat those coated buddies right. Remember that 15-minute rest period we talked about? That’s even more important here so the coating doesn’t fall off when you toss them around.
The magic temperature for the air fryer is 390°F (199°C). Spray those coated nuggets lightly with cooking spray—just a light misting, don’t soak them—and pop them in a single layer. You’ll need about 10 to 12 minutes total cooking time, but you absolutely must flip them halfway through. That ensures both sides of your Air Fryer Chicken Nuggets Crispy get that beautiful golden armor.
If you’re strictly going oven-baked, place them on a wire rack set over a baking sheet—that air circulation underneath is key! Bake them at about 425°F (220°C) until they are golden brown, which usually takes around 18 to 20 minutes. If you have any other questions about using your air fryer after giving this a try, I wrote a little about using my favorite air fryer for other things, too!
Make Ahead Chicken Nuggets and Freezer Friendly Chicken Nuggets Storage
I totally get it—sometimes you want that amazing crunch in 20 minutes, but sometimes life is just too hectic! That’s why I love that this recipe doubles perfectly for meal prepping. You can get ahead of the game and have a stash of ready-to-cook Make Ahead Chicken Nuggets just waiting for you in the freezer when those 5 PM dinner scrambles hit.
When you’re breading your nuggets, make sure you use the exact same three-step process we talked about. The key here is handling them gently during that final Panko press, because once they freeze, they’ll be solid!
Once every nugget is coated, lay them out in a single layer on a parchment-lined baking sheet. Don’t let them touch! You need them to freeze individually first, which takes about an hour in the freezer. This prevents you from pulling out one giant, frozen chicken clump.
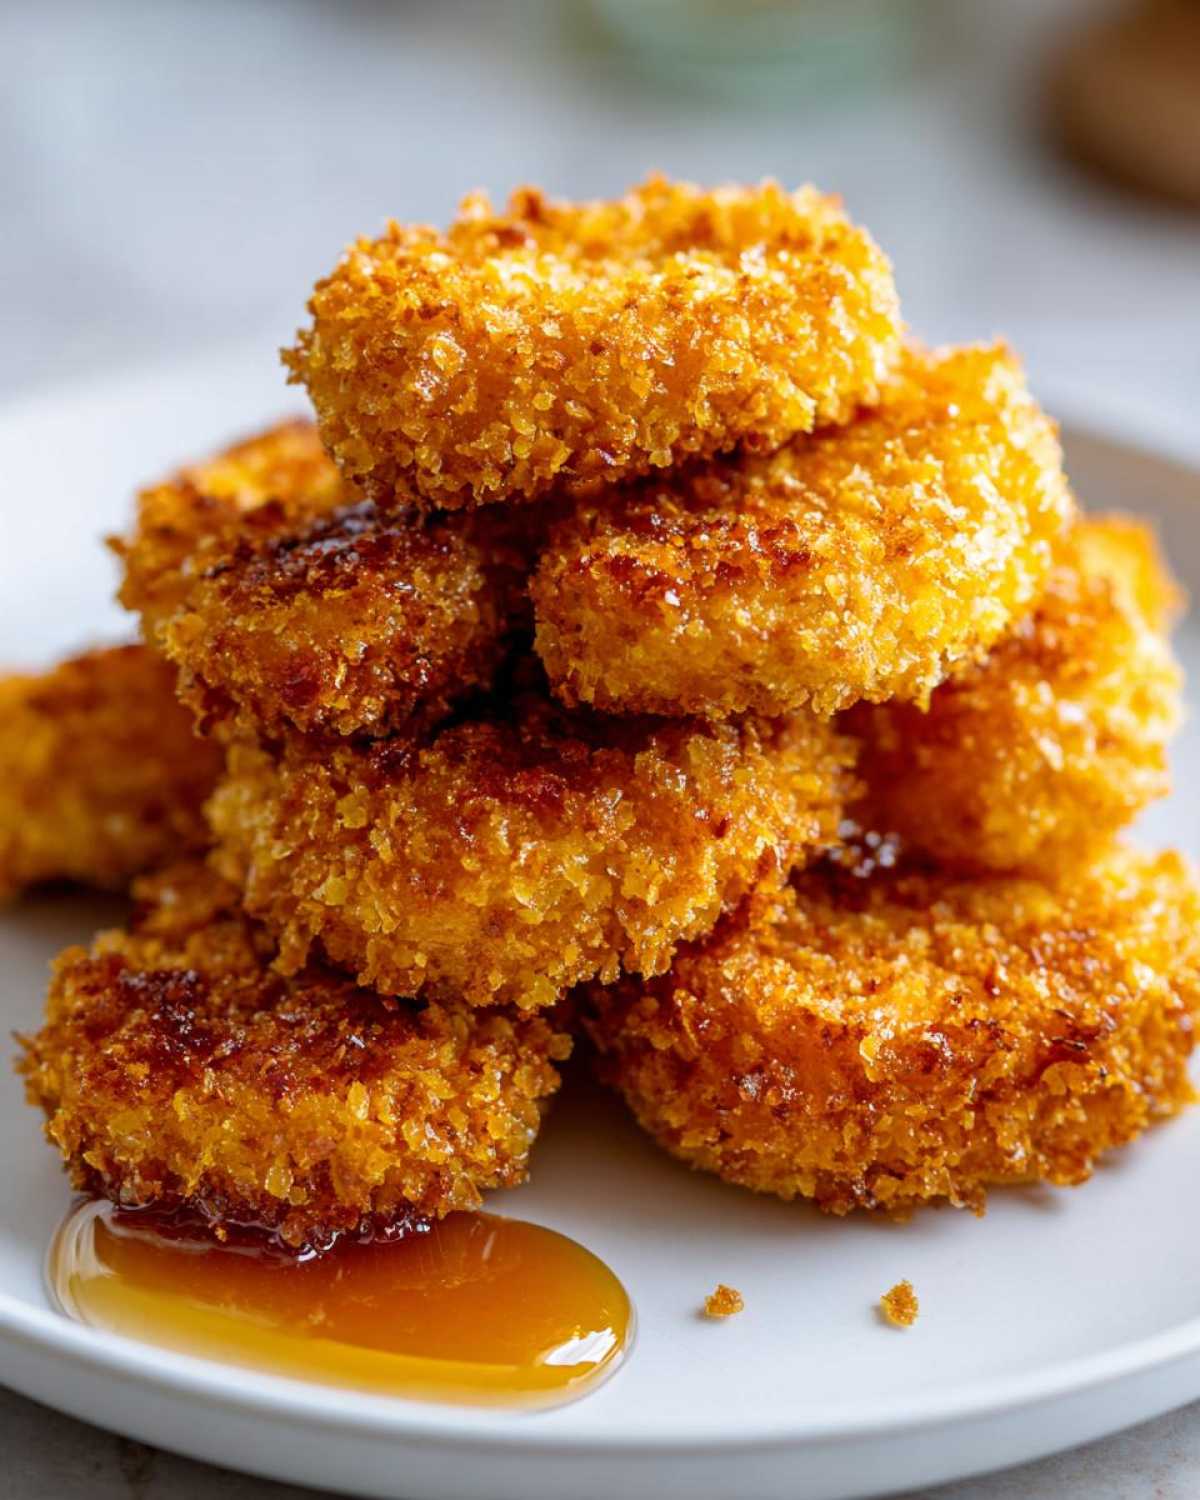
Once they are rock solid, transfer all those beautiful, perfectly breaded nuggets into a heavy-duty freezer storage bag. Squeeze out as much air as you can before sealing them up. Stored this way, they are fantastic for quick meals for up to three months. If you need a fantastic guide on how to best store these—and maybe some extra tips on prepping them ahead—I detailed my favorite method in this piece about Freezer Friendly Chicken Nuggets.
Cooking From Frozen
The best part? You don’t even need to thaw them! Just toss those frozen babies right into your 350°F oil or your air fryer. If you are frying, you need to be patient because the coating is frozen, meaning it needs longer to cook through without burning the outside. You just need to add about 2 or 3 extra minutes to the deep-frying time we discussed earlier. Keep a close eye on them! The air fryer method also works great from frozen; just bump the time up to about 12 to 14 minutes total at 390°F, flipping halfway through.
Serving Suggestions for Your Crispy Chicken Nuggets with Honey Dip
Now that you have achieved nirvana in nugget form—golden, crunchy, dripping with that amazing honey dip—what do you serve them with? We usually keep the sides super easy because honestly, the nuggets are the star of the show. We don’t want anything too heavy competing with that crunch!
For lunchboxes or quick snacks, I always grab carrot sticks and celery. They give you that wonderful cool crunch that contrasts nicely with the hot, savory chicken. If we are turning this into a proper dinner, you absolutely cannot go wrong with homemade fries, baked crispy, of course! A quick side salad with a light vinaigrette is excellent too, just to sneak some green in there.
If you want to serve them alongside something a little heartier, I sometimes make a big pot of rice to soak up any extra honey dip that goes astray. My quick easy Spanish rice recipe is perfect for that because it’s flavorful but doesn’t steal attention from the main event. Enjoy this simple perfection!
Frequently Asked Questions about Crispy Chicken Nuggets with Honey Dip
If you’ve made it this far, I’m guessing you’re just as obsessed with crunch as I am! It’s normal to have a few little questions pop up when you’re trying a new recipe, especially one where texture is so important. Here are the most common things folks ask me about making these Crispy Chicken Nuggets with Honey Dip; if I missed yours, feel free to drop a comment below!
How do I keep my Homemade Chicken Nuggets Recipe crispy after frying?
This is the million-dollar question, right? The key here is speed and drainage! As soon as those nuggets come out of the hot oil, they need to hit a clean wire rack set over a baking sheet, not paper towels resting on a plate. Paper towels trap steam rising from the hot food, and steam re-moisturizes your beautiful crust. I always sprinkle them with a little salt right on the rack, too. Finally, and this is the hardest part, serve them immediately! They really are best enjoyed within about ten minutes of coming out of the fryer for maximum crispness.
Can I use chicken thighs instead of breast for these nuggets?
Oh, absolutely! Chicken thighs are actually more flavorful and stay incredibly moist because they have a bit more fat in them. If you use thighs—make sure they are completely de-boned and trimmed of excess fat—you might need to keep them cooking for just about an extra minute in the oil. Since thighs are a little denser, you just want to ensure that internal temperature hits that safe 165°F mark. You’ll get a juicier nugget, but the breading technique works exactly the same way!
What can I substitute for Panko breadcrumbs in this recipe?
I push Panko so hard in this recipe because those large, airy flakes are what give you that signature, light-but-shattering crunch. If you are totally out, you can definitely use standard, fine breadcrumbs, but I warn you: the texture will be more dense and slightly less crispy. For a different but still crunchy take, you could try crushing up cornflakes! Just crush them roughly—not into a fine powder—and mix them with the cornstarch just like the recipe calls for. You’ll still get great results, but it won’t be the exact copycat texture!
Estimated Nutritional Snapshot for Crispy Chicken Nuggets with Honey Dip
Since we are making these completely from scratch, you have so much control over what goes in, which is fantastic! But just so you have a rough idea of what you’re looking at when you sit down to enjoy this spread, here is a quick estimate based on the ingredients listed above (this includes the honey dip coating).
Keep in mind that if you use the air fryer method, the fat content will drop considerably! These numbers are based on us frying them as detailed in the main recipe steps.
- Serving Size: 6 nuggets
- Calories: 380
- Sugar: 15g
- Sodium: 450mg
- Fat: 18g
- Protein: 30g
If you’re tracking things like sodium or fat, checking out the snacks section might give you some good ideas on boosting flavor without hitting those numbers too hard next time around!
Estimated Nutritional Snapshot for Crispy Chicken Nuggets with Honey Dip
Since we are making these completely from scratch, you have so much control over what goes in, which is fantastic! But just so you have a rough idea of what you’re looking at when you sit down to enjoy this spread, here is a quick estimate based on the ingredients listed above (this includes the honey dip coating).
Keep in mind that if you use the air fryer method, the fat content will drop considerably! These numbers are based on us frying them as detailed in the main recipe steps.
- Serving Size: 6 nuggets
- Calories: 380
- Sugar: 15g
- Sodium: 450mg
- Fat: 18g
- Protein: 30g
If you’re tracking things like sodium or fat, checking out the snacks section might give you some good ideas on boosting flavor without hitting those numbers too hard next time around!
PrintCrispy Chicken Nuggets with Homemade Honey Dip
Follow this recipe to make very crispy homemade chicken nuggets using a double-dredge technique, served with a simple, balanced honey dipping sauce.
- Prep Time: 20 min
- Cook Time: 15 min
- Total Time: 35 min
- Yield: 4 servings
- Category: Main Course
- Method: Deep Frying
- Cuisine: American
- Diet: Low Fat
Ingredients
- 1.5 lbs boneless, skinless chicken breast, cut into 1-inch pieces
- 1 cup all-purpose flour
- 1 teaspoon salt
- 1/2 teaspoon black pepper
- 1/2 teaspoon garlic powder
- 2 large eggs, lightly beaten
- 1 cup milk
- 2 cups Panko breadcrumbs
- 1/2 cup cornstarch (for the second coating)
- Vegetable oil, for frying (about 3 cups)
- For the Honey Dip: 1/2 cup honey
- For the Honey Dip: 2 tablespoons apple cider vinegar
- For the Honey Dip: 1 teaspoon Dijon mustard
- For the Honey Dip: Pinch of cayenne pepper
Instructions
- Prepare the chicken: Pat the chicken pieces completely dry with paper towels. Season lightly with salt and pepper.
- Set up the dredging stations: Place flour mixed with salt, pepper, and garlic powder in the first shallow dish. In the second dish, whisk the eggs and milk together. In the third dish, place the Panko breadcrumbs mixed with the cornstarch.
- First dredge: Toss the chicken pieces in the flour mixture, shaking off excess.
- Second dredge (wet): Dip the floured chicken into the egg mixture, letting excess drip off.
- Third dredge (dry/crisp): Immediately press the chicken firmly into the Panko/cornstarch mixture, ensuring full, thick coverage. Press the crumbs onto the chicken. Place coated nuggets on a wire rack.
- Rest the nuggets: Let the coated nuggets rest at room temperature for 15 minutes. This helps the coating adhere during cooking.
- Prepare the oil: Heat about 3 inches of vegetable oil in a deep, heavy-bottomed pot or Dutch oven to 350°F (175°C). Use a thermometer to monitor the temperature.
- Fry the nuggets: Carefully place 6-8 nuggets into the hot oil, ensuring you do not overcrowd the pot. Fry for 3 to 4 minutes, turning occasionally, until golden brown and cooked through (internal temperature reaches 165°F or 74°C).
- Drain: Remove the nuggets with a slotted spoon and place them on a clean wire rack set over a baking sheet to drain excess oil. Sprinkle lightly with salt immediately after removing from oil.
- Make the dip: While the nuggets cook, whisk together the honey, apple cider vinegar, Dijon mustard, and cayenne pepper in a small bowl until smooth.
- Serve the hot, crispy nuggets immediately with the homemade honey dip.
Notes
- For air frying: Spray the coated nuggets lightly with cooking spray. Air fry at 390°F (199°C) for 10 to 12 minutes, flipping halfway through.
- To make ahead, freeze the raw, coated nuggets on a baking sheet until solid, then transfer to a freezer bag. Cook directly from frozen, adding 2-3 minutes to the cooking time.
- The cornstarch mixed with the Panko is key to extra crispness.
Nutrition
- Serving Size: 6 nuggets
- Calories: 380
- Sugar: 15
- Sodium: 450
- Fat: 18
- Saturated Fat: 4
- Unsaturated Fat: 14
- Trans Fat: 0
- Carbohydrates: 25
- Fiber: 1
- Protein: 30
- Cholesterol: 95