

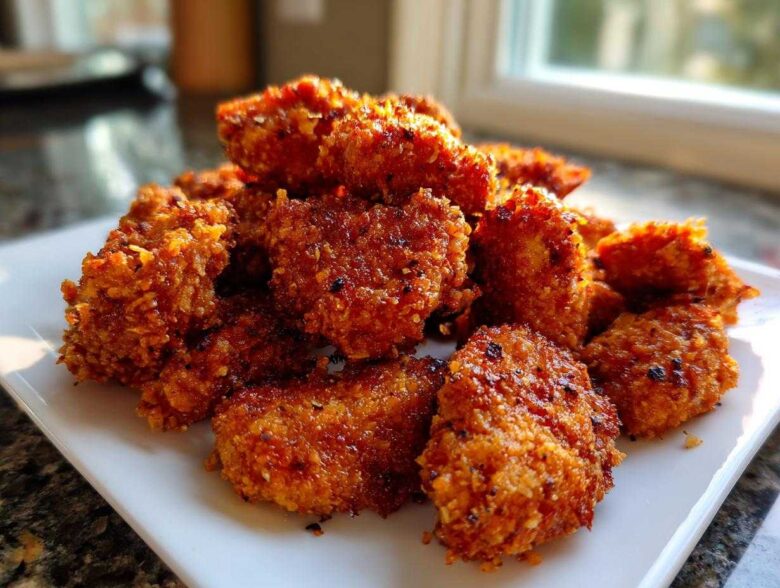
Honestly, who doesn’t miss that satisfying, crisp snap you get from a classic fast-food nugget? I used to crave them, especially on a hectic Tuesday night, but I always felt guilty about the ingredients. That’s why, after what felt like years of testing—and believe me, there were some sad, floppy failures along the way—I finally cracked the code for the best homemade chicken nuggets.
Forget deep frying! If you want that golden, crunchy exterior that rivals the drive-thru, you absolutely have to bake them. My secret? It’s all in the breading technique and being generous with the cooking spray. As I share more of my family’s favorite meals here on my site — I want you to know every trick I know— and these homemade chicken nuggets turn out unbelievably juicy inside while delivering maximum crispiness on the outside, and they are totally weeknight friendly, trust me!
We’ve perfected this recipe over many family taste tests. If you’re looking for that perfect, guilt-free copycat that the kids will gobble up without asking questions, you’ve found it. Let’s get cooking!
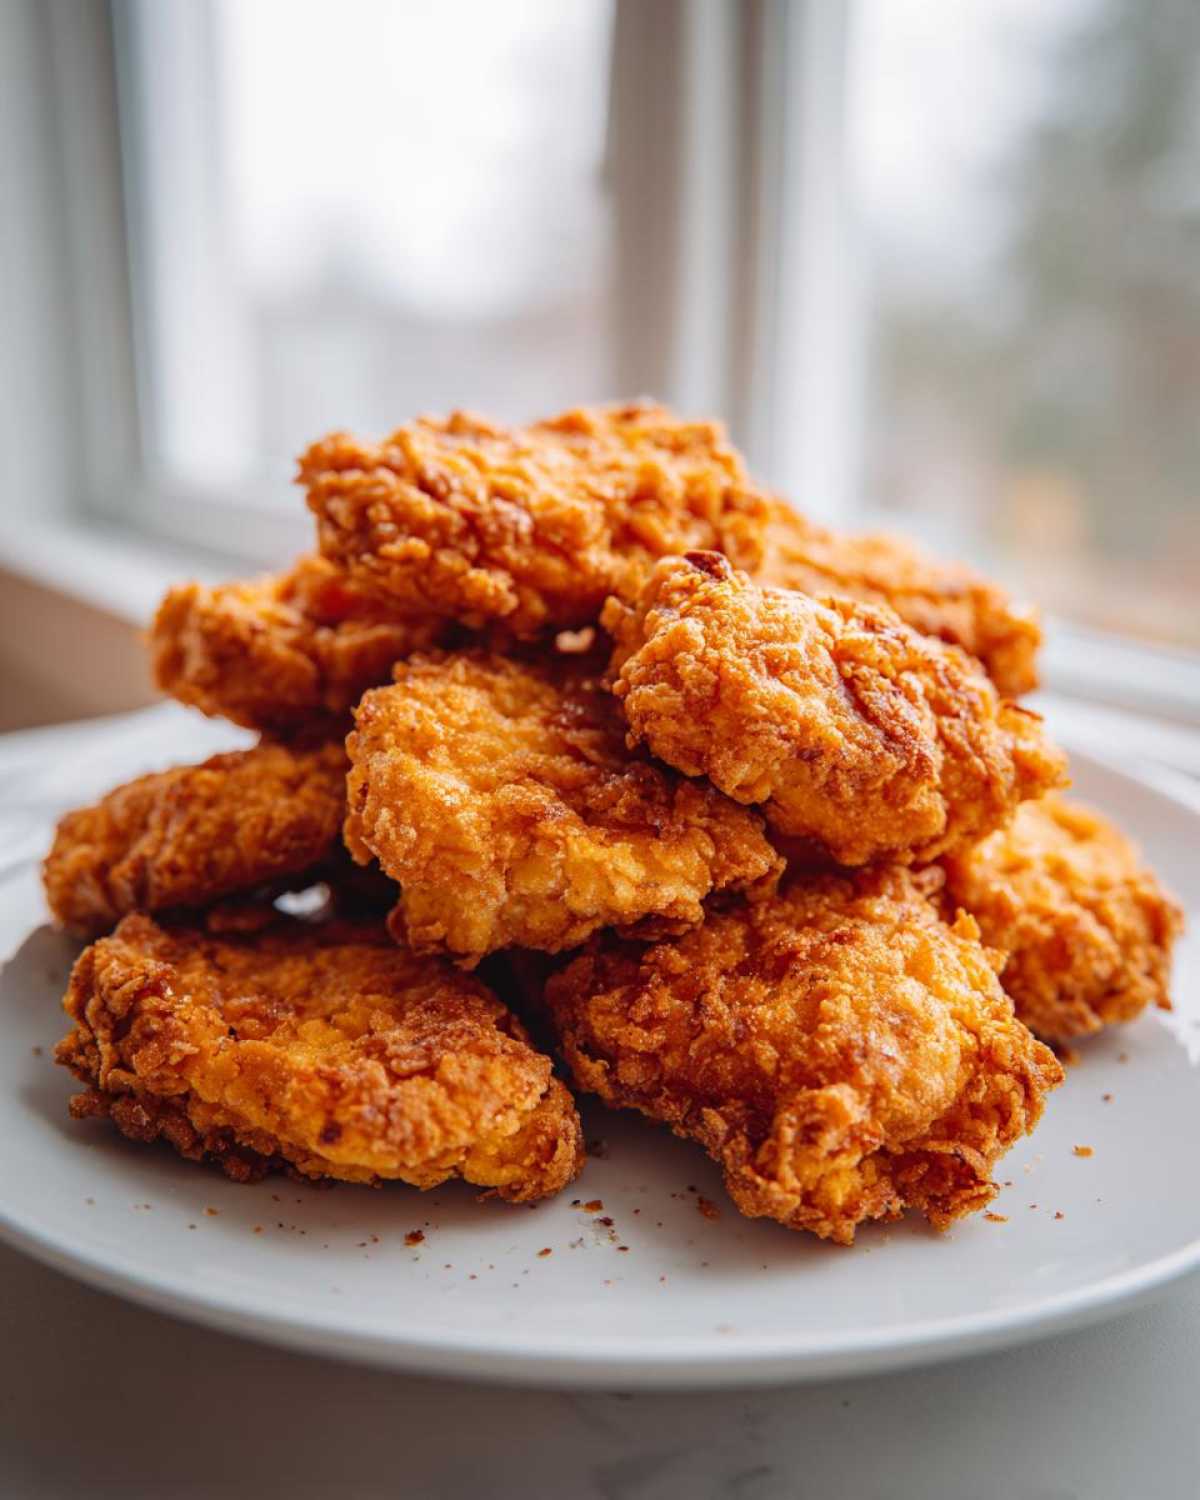
Why These Are the Best Homemade Chicken Nuggets Recipe
Listen, these aren’t just any homemade chicken nuggets; these are my gold standard for crispy goodness without the mess or heavy oil of deep-frying. They consistently pass the kid test, which is my personal metric for success in any kid friendly chicken recipe!
- They deliver unbelievably juicy chicken nuggets inside—seriously, they don’t dry out!
- We’re talking serious crunch; they are the definition of crispy baked chicken nuggets.
- Super fast prep time means they’re perfect for an emergency weeknight chicken dinner when you need something fast.
- The seasoning is mild enough for toddlers but flavorful enough for grown-ups.
Achieving Crispy Baked Chicken Nuggets Texture
This is where we separate the soggy from the sensational! The magic ingredient here is the Panko breadcrumbs. Regular breadcrumbs just can’t compete with the jagged, airy structure of Panko. When you press that panko chicken nuggets coating onto the surface, you create tons of tiny valleys for the cooking spray to hit.
That generous spray of oil before baking is critical. It mimics frying oil by helping the crumbs brown rapidly in the oven’s dry heat, locking in the juiciness while giving you that satisfying, shatteringly crisp coating we all crave.
Tips for Juicy Chicken Nuggets Inside Every Time
Nobody wants dry bird! The key to guaranteed moisture in these homemade chicken nuggets is twofold. First, stick to the 1-inch size recommendation; smaller pieces cook faster, obviously, but the size we chose allows the inside to steam perfectly while the outside crisps.
Second, and this is critical: use a meat thermometer! As soon as they hit 165°F, they are done. If you leave them in even two minutes too long, you’ll sacrifice that perfect, tender interior. Don’t guess—check the temperature!
Gathering Ingredients for Homemade Chicken Nuggets
Okay, let’s talk about what you need to assemble these amazing homemade chicken nuggets. The ingredient list is super simple, which means cleanup is a breeze, a huge plus for me when making a weeknight chicken dinner!
You’ll need about a pound and a half of boneless, skinless chicken breast, cut into uniform 1-inch pieces—consistency is important here! Then, we have our standard three-part breading station: exactly 1 cup of all-purpose flour, 2 lightly beaten eggs, and 1.5 cups of Panko breadcrumbs for that signature crunch. Don’t forget the seasoning: salt, pepper, garlic powder, and just a touch of paprika mixed right into the Panko. And for the final touch to get them golden? Cooking spray!
Ingredient Notes and Substitutions for Homemade Chicken Nuggets
I get lots of questions on this part! Can you use chicken thighs? Absolutely, if you prefer a fattier, darker meat; they generally stay juicier, but they won’t firm up quite the same way as the breast pieces do. If Panko is sold out—oh no!—crushed cornflakes work in a pinch, but the texture will be a little coarser.
Now, on the topic of texture: if you are making chicken nuggets with ground chicken instead of cutting up breasts, that’s totally fine for a softer texture. If you use ground chicken, you might need to mix in a tiny bit of breadcrumb or an extra egg white to help bind the mixture together before forming your nuggets. This recipe is so adaptable, which is why it’s one of my go-to kid friendly chicken recipes!
Step-by-Step Instructions for Crispy Baked Homemade Chicken Nuggets
Alright, this is where the fun starts! Getting the perfect coating for these homemade chicken nuggets is all about building an efficient breading station. It’s like an assembly line, and if you follow the steps, you’ll get amazing results in about 20 minutes of active work. Trust me, having everything ready to go makes this process fly by!
First things first: get that oven blazing hot. We need serious heat to mimic that satisfying fryer crunch. Preheat your oven to 400°F (200°C) right now. While it heats, line a good sturdy baking sheet with parchment paper—this is non-negotiable for easy cleanup—and give it a good misting with cooking spray; we want that base layer ready to help crisp things up!
Setting Up Your Breading Station for Perfect Homemade Chicken Nuggets
Lay out three shallow dishes in a row. In the first dish goes your seasoned flour—that’s the base layer that helps the egg stick. Dish number two is just your beaten eggs, make sure they aren’t watery. The third and final dish is where the crispiness happens: your Panko breadcrumbs mixed with your seasonings.
When you dip, always start with the flour, shake off the excess—you don’t want thick clumps—then into the egg bath, and finally, press that chicken piece firmly into the Panko. Pressing is key so the coating adheres!
Baking Technique for Nuggets Recipe Without Frying
Once all your nuggets are lined up on the tray, here’s the pro move for getting them golden without deep fat: spray the tops liberally with cooking spray. Don’t be shy! This helps them brown beautifully. Pop them into that 400°F oven for about 18 to 20 minutes total.
You must flip them halfway through the cooking time. This ensures both sides get perfectly cooked and golden brown. And remember our safety check for that juicy chicken nuggets inside? Pull them out when the internal temperature hits 165°F. Following this nuggets recipe without frying guarantees a healthier, but just as delicious, outcome!
Making Air Fryer Chicken Nuggets Variations of Homemade Chicken Nuggets
I know, I know—sometimes you just don’t want to heat up the whole oven, especially if you’re only making a quick batch of homemade chicken nuggets for someone eating early. That’s where the air fryer saves the day! It’s my favorite way to get the crispiness with even less monitoring.
If you’re using the same breading technique we just covered, switching to the air fryer is super straightforward. You’ll want to set your air fryer temperature slightly lower—aim for 380°F (195°C). This gives the Panko time to crisp up without burning before the center of the chicken cooks through.
Generally, they take about 10 to 12 minutes total. Remember to spray them well with cooking spray just like we did for the oven version! And yes, you absolutely must flip them halfway through. These air fryer chicken nuggets are nearly as good as the baked ones, and they’re done faster, which is perfect for those emergency kid friendly chicken recipes!
Tips for Success with Your Weeknight Chicken Dinner
Even though this recipe is super straightforward, a few tiny steps can take your homemade chicken nuggets from “pretty good” to “I can’t believe I made these!” I’ve learned these tricks over dozens of batches when I’m trying to pull together a quick weeknight chicken dinner.
First, if you have an extra ten minutes—and I mean *ten*—place your fully breaded nuggets on the baking sheet and pop them into the fridge for a quick chill. Seriously! This helps the coating adhere like glue. When it hits that hot oven, you get a much better set and less fallout.
Second, when cutting the chicken breast, try cutting against the grain if you can. It sounds fussy, but it truly helps keep the pieces tender and prevents them from getting too tough when baked. This ensures maximum tenderness for every bite.
Finally, when you spray the tops with cooking spray, do it right before they go into the preheated oven. That initial blast of heat hits the oil instantly, kicking off that glorious browning process right away. If you need more information on ingredients or substitutions, please check out my full notes section!
Serving Suggestions and Chicken Nugget Dipping Sauces
What’s a nugget without something to dip it in, right? These homemade chicken nuggets deserve the best companions. For sides, I keep it super simple during the week—maybe some quick oven-roasted sweet potato fries or just some bright, crunchy steamed broccoli to make Mom feel better about serving nuggets!
But the sauces! That’s where the fun really kicks in. We always have at least two choices ready. My kids swear by a mix of ketchup and a tiny bit of mayonnaise for a creamy pink sauce. For something classic, you can’t beat honey mustard—it’s so easy to whip up. If you’re feeling adventurous, try adding a splash of sriracha to store-bought ranch for a zesty kick. Having a selection of chicken nugget dipping sauces makes everyone happy!
Storing and Reheating Your Best Homemade Chicken Nuggets
If you’re lucky enough to have leftovers—which is rare in my house—storage is important so you don’t lose that crunch! Store any leftover homemade chicken nuggets in an airtight container in the fridge for up to three days. Seriously, avoid the microwave if you can; it’ll just turn them soft and sad.
To reheat and bring back that crispy baked texture, I highly recommend using the oven at 375°F or your air fryer for about 5 to 7 minutes. The blast of dry heat reactivates that Panko coating perfectly!
Frequently Asked Questions About Homemade Chicken Nuggets
I always get a ton of questions when I post pictures of these bad boys—and that’s fantastic! It means you’re ready to ditch the freezer bag stuff. Here are the big ones I hear about making the best homemade chicken nuggets!
Can I make these healthy chicken nuggets using ground chicken?
You totally can! If you want to move toward a softer texture, using ground chicken is a great shortcut for healthy chicken nuggets. The texture will be much closer to a classic processed nugget, less chunky than the whole-piece ones. Since ground chicken can sometimes be a little too loose, I really recommend mixing your ground meat with about one extra tablespoon of that flour coating *before* you even start the breading process. That acts like a little binder so they hold their shape better when you cook them.
How do I ensure my homemade chicken nuggets are kid friendly?
Keeping things kid friendly comes down to two things: size and spice level. Always make sure your nuggets are bite-sized—about an inch, maybe a smidge smaller for the littlest eaters. Uniformity helps them cook evenly, too! As for spice, the recipe I gave you is very mild; it’s mostly salt, pepper, and garlic. If your kids are super sensitive, leave the paprika out, or swap it for a pinch of onion powder instead. Honestly, the dipping sauce usually makes the flavor profile for them anyway!
One last thing that comes up a lot: Yes, you can freeze these! Bread them, but don’t bake them yet. Lay them out on a sheet pan, freeze until solid, then transfer them to a freezer bag. Bake them right from frozen, just add about 5 to 7 extra minutes to the baking time!
Estimated Nutritional Data for Homemade Chicken Nuggets
So, you want to know the good numbers behind these incredible homemade chicken nuggets? I totally get it! Tracking macros or just being mindful of what you’re serving the family is important, and these baked nuggets are definitely a healthier swap for the frozen box.
Keep in mind that these estimates are based strictly on the recipe ingredients listed, using standard white flour and regular Panko breadcrumbs, and dividing the yield by four generous servings. If you use almond flour or different brands of spray oil, your numbers will shift a little bit, so this is just a good guide for you!
Here’s the breakdown for what works out to about five nuggets per person:
- Serving Size: 5 nuggets
- Calories: 280
- Protein: 33g
- Total Fat: 7g (Yes, only 7g! That’s why baking is the bomb!)
- Carbohydrates: 20g
- Sugar: 1g
See that protein count? That’s why using good quality chicken breast is so rewarding. It keeps you full and completely avoids all that mystery filler you find in the store-bought stuff. Always remember that nutritional calculations are just estimates, and you can check out my full policy on health claims if you’re curious about how I approach this data!
PrintBest Crispy Baked Homemade Chicken Nuggets
Make juicy, crispy chicken nuggets at home using a simple baking method. This recipe is kid-friendly and avoids deep frying.
- Prep Time: 15 min
- Cook Time: 20 min
- Total Time: 35 min
- Yield: 4 servings
- Category: Dinner
- Method: Baking
- Cuisine: American
- Diet: Low Fat
Ingredients
- 1.5 lbs boneless, skinless chicken breast, cut into 1-inch pieces
- 1 cup all-purpose flour
- 2 large eggs, lightly beaten
- 1.5 cups Panko breadcrumbs
- 1 teaspoon salt
- 0.5 teaspoon black pepper
- 0.5 teaspoon garlic powder
- 0.25 teaspoon paprika
- Cooking spray
Instructions
- Preheat your oven to 400°F (200°C). Line a baking sheet with parchment paper and lightly coat with cooking spray.
- Set up a standard breading station with three shallow dishes.
- In the first dish, place the flour. In the second dish, place the beaten eggs. In the third dish, combine the Panko breadcrumbs, salt, pepper, garlic powder, and paprika.
- Take one piece of chicken and dredge it thoroughly in the flour, shaking off any excess.
- Dip the floured chicken piece into the egg mixture, allowing excess to drip off.
- Press the chicken piece firmly into the Panko mixture until it is completely coated.
- Place the coated nugget onto the prepared baking sheet. Repeat with all remaining chicken pieces.
- Spray the tops of the coated nuggets generously with cooking spray to help them brown.
- Bake for 18 to 20 minutes, flipping the nuggets halfway through, until they are golden brown and the internal temperature reaches 165°F (74°C).
- Serve immediately with your favorite dipping sauce.
Notes
- For an air fryer version, cook at 380°F (195°C) for 10 to 12 minutes, flipping halfway.
- You can substitute ground chicken for whole pieces, but you must form the ground chicken into nugget shapes before breading.
- Use crushed cornflakes instead of Panko for a slightly different crunch.
Nutrition
- Serving Size: 5 nuggets
- Calories: 280
- Sugar: 1
- Sodium: 350
- Fat: 7
- Saturated Fat: 1.5
- Unsaturated Fat: 4
- Trans Fat: 0
- Carbohydrates: 20
- Fiber: 1
- Protein: 33
- Cholesterol: 95