

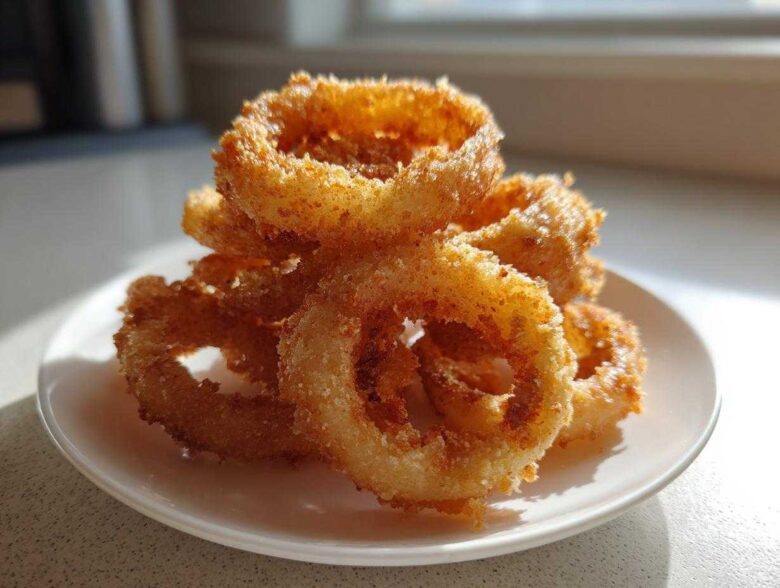
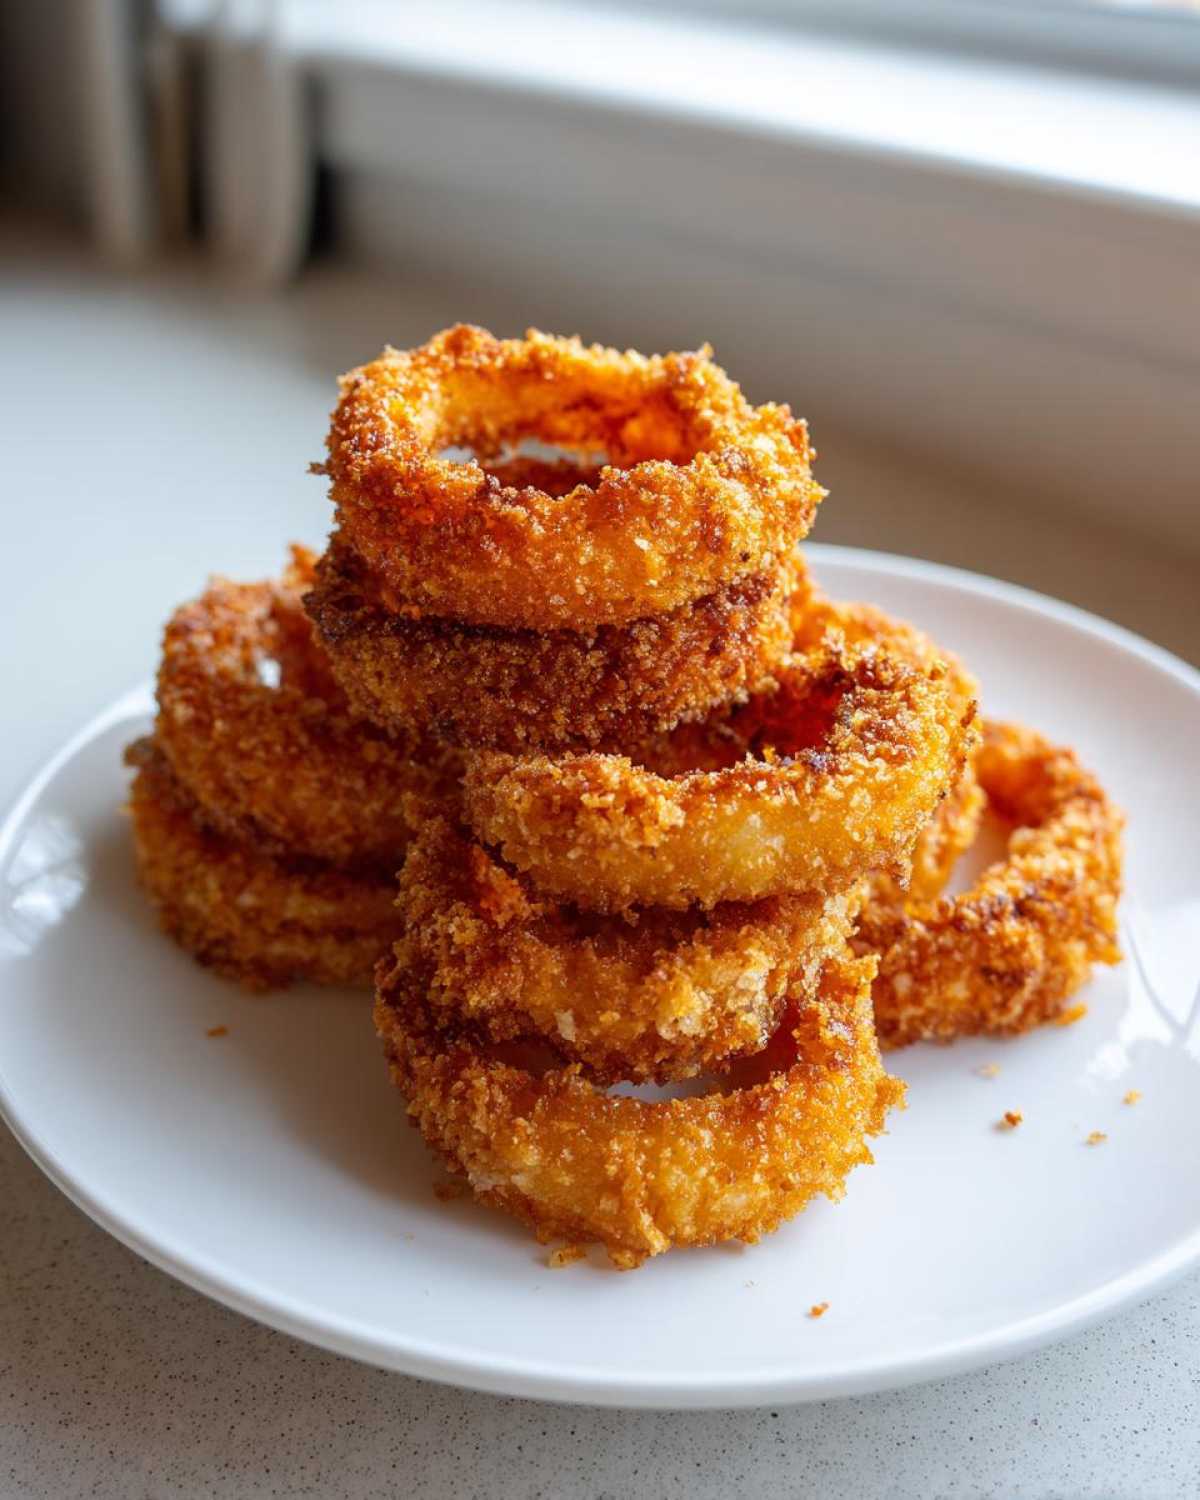
Okay, listen up, because I spent way too many evenings staring sadly at limp, pale onion rings coming out of that beautiful machine. We all want that satisfying crunch, right? The kind that echoes restaurant glory, but without feeling like you’ve just deep-fried your entire afternoon? Trust me, my first few attempts at making Air Fryer Onion Rings were a soggy disaster. But I cracked the code! This method—using panko and just the right amount of oil spray—is the game-changer. It’s fast, it’s ridiculously easy, and it finally gives you that perfect, crispy, golden shell every single time. No more greasy paper towels needed!
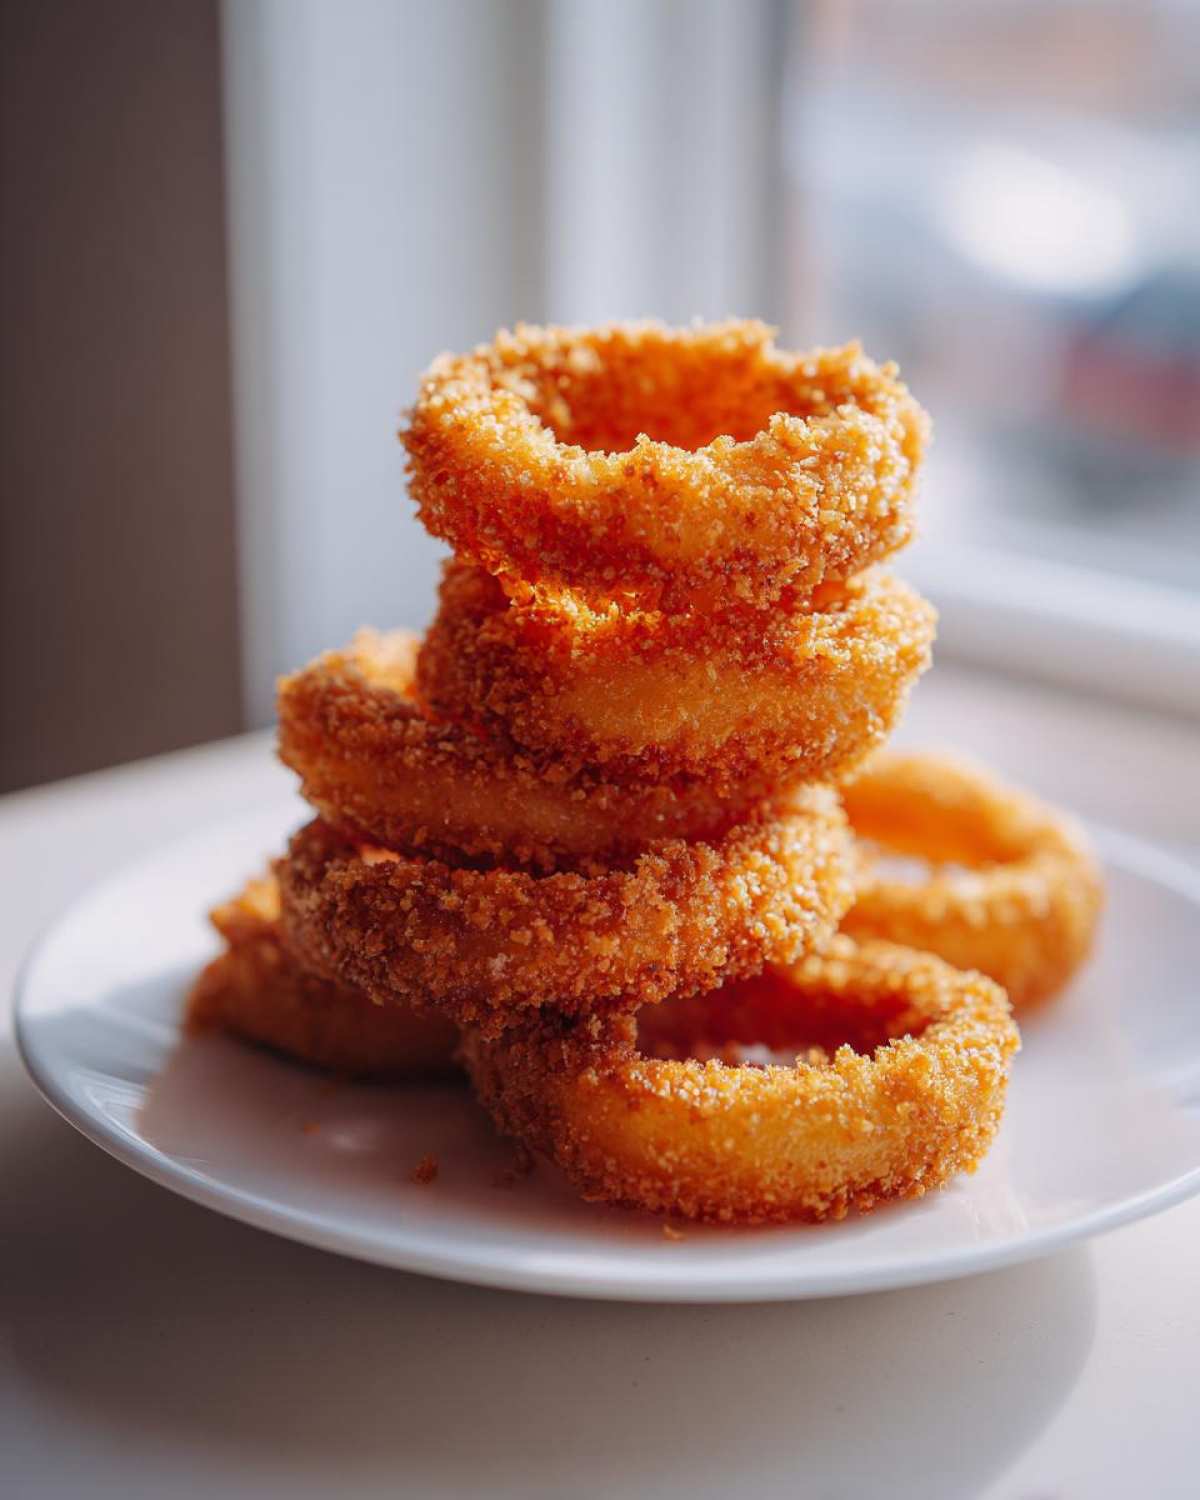
Why This is the Best Air Fryer Onion Rings Recipe (Crispy Homemade Onion Rings Air Fryer)
I’m so passionate about this specific setup because, honestly, most recipes online give you guidelines that just don’t work when you’re trying to get true crispiness in an air fryer. This isn’t just another quick appetizer; this is how you get those incredible Crispy Homemade Onion Rings Air Fryer results that taste totally out of this world. You get the flavor you crave with way less fuss. Check out why I swear by this exact process:
- You get maximum crunch using panko breadcrumbs, which are just superior for air crisping compared to regular crumbs.
- It cuts down on oil dramatically, giving you genuinely Less Oil Onion Rings Air Fryer goodness without sacrificing texture. I promise they won’t feel heavy!
- The preheating step is non-negotiable, but trust me, doing just that five minutes creates a heat pocket that seals the deal on the first batch.
- It’s lightning fast! From slicing the onions to pulling out those golden rings takes less than 30 minutes total. Perfect for a last-minute dinner side dish.
If you want to see more of my favorite quick setups, I’ve got a ton of other easy meals over on my main recipe page you should check out once you’ve mastered these rings!
Essential Ingredients for Perfect Air Fryer Onion Rings
Okay, gathering your supplies is the first big step toward success here. Don’t just throw anything in—the balance of these few things is what makes the difference between a sad, limp coating and one that rivals your favorite diner. We need structure, we need flavor, and we absolutely need the right kind of crunch.
Here is what you’re going to need for about four servings of absolute bliss:
- 2 large yellow onions – these are the workhorses of the dish!
- 1 cup all-purpose flour – your first layer of defense.
- 2 large eggs + 1 tablespoon water – the sticky binder!
- 1 1/2 cups panko breadcrumbs – this is the magic dust, seriously.
- 1 teaspoon salt, 1/2 teaspoon black pepper, and 1/2 teaspoon paprika – the spice blend for color and depth.
- Cooking spray (it needs to be oil-based, not non-stick spray made of lecithin, trust me on this one!).
Now, I have to harp on the panko. If you use regular fine breadcrumbs, they just absorb too much moisture and get gummy. Panko breadcrumbs, those big, flaky Japanese crumbs, create tiny air pockets and stay airy and jagged, giving you that phenomenal crunch. That’s the key to making these Air Fryer Onion Rings taste like they were professionally fried!
Ingredient Notes and Substitutions for Air Fryer Breading Ideas
Let’s talk details, because technique starts right here with the ingredients. First, the onions: you must slice them about 1/4-inch thick. If they are too thin, they shrink too much during cooking and disappear into the breading. If they’re too thick, they steam inside and won’t cook through before the outside burns. That 1/4-inch mark is perfect!
About the breading falling off—this is usually down to moisture. If your rings are sitting wet after slicing, they won’t stick well. Pat those slices dry! And when you are coating them, especially in that final panko stage, you really need to press it on. Don’t just roll it; physically press the Air Fryer Breading Ideas onto the egg wash. That firm pressure marries the panko to the onion, which prevents loss in the basket.
For the oil spray, I prefer avocado or vegetable oil spray. The important thing is that it’s pure oil. Do not—I repeat, *do not*—use a generic non-stick cooking spray like Pam designed for pans. Those often contain lecithin or other emulsifiers that burn at air fryer temperatures and leave a sticky residue inside your basket. We are going for **Healthy Onion Rings Air Fryer**, not a sticky mess!
How to Make Onion Rings in Air Fryer: Step-by-Step Instructions
Alright, here is the part where all that prep pays off! Making How to Make Onion Rings in Air Fryer successfully is all about getting things ready beforehand and then working quickly. You want that heat already roaring when those perfectly coated rings hit the basket. Don’t worry about juggling too many things; this process moves smoothly if you have your three dishes set up, like a little assembly line.
First things first: get your machine warmed up! That initial blast of heat is crucial for that crisp seal we talked about. I always preheat mine to 380°F (195°C) for a good five minutes. Once it’s ready, you’re going straight into coating and cooking. You can check out my trick for gorgeous air fryer gnocchi, but for these rings, consistency is king!
Mastering the Crispy Breading Technique Air Fryer
This three-stage dip is the secret sauce for that professional coating that doesn’t run away halfway through cooking! You need three shallow dishes lined up in this order:
- **Flour Dish:** This is where you dust the onion rings first. Shake off the excess really well; you only want the thinnest coating here. This initial layer helps cling to the egg.
- **Egg Bath Dish:** Whisk up your eggs and that tablespoon of water. Dip that floured ring right in. Let it drip—we don’t want watery batter interfering with the panko.
- **Panko Power Dish:** Here’s my biggest piece of advice for the **Crispy Breading Technique Air Fryer**: you have to press! Once the ring is wet from the egg, put it into the panko, salt, pepper, and paprika mix, and physically press that panko onto the surface. Really get it stuck on there. This firm pressure is what prevents them from falling off later.
Lay your finished, fully coated rings on a wire rack while you finish the batch. This keeps the raw coating from sweating against your counter.
Best Air Fryer Settings for Frying Onion Rings
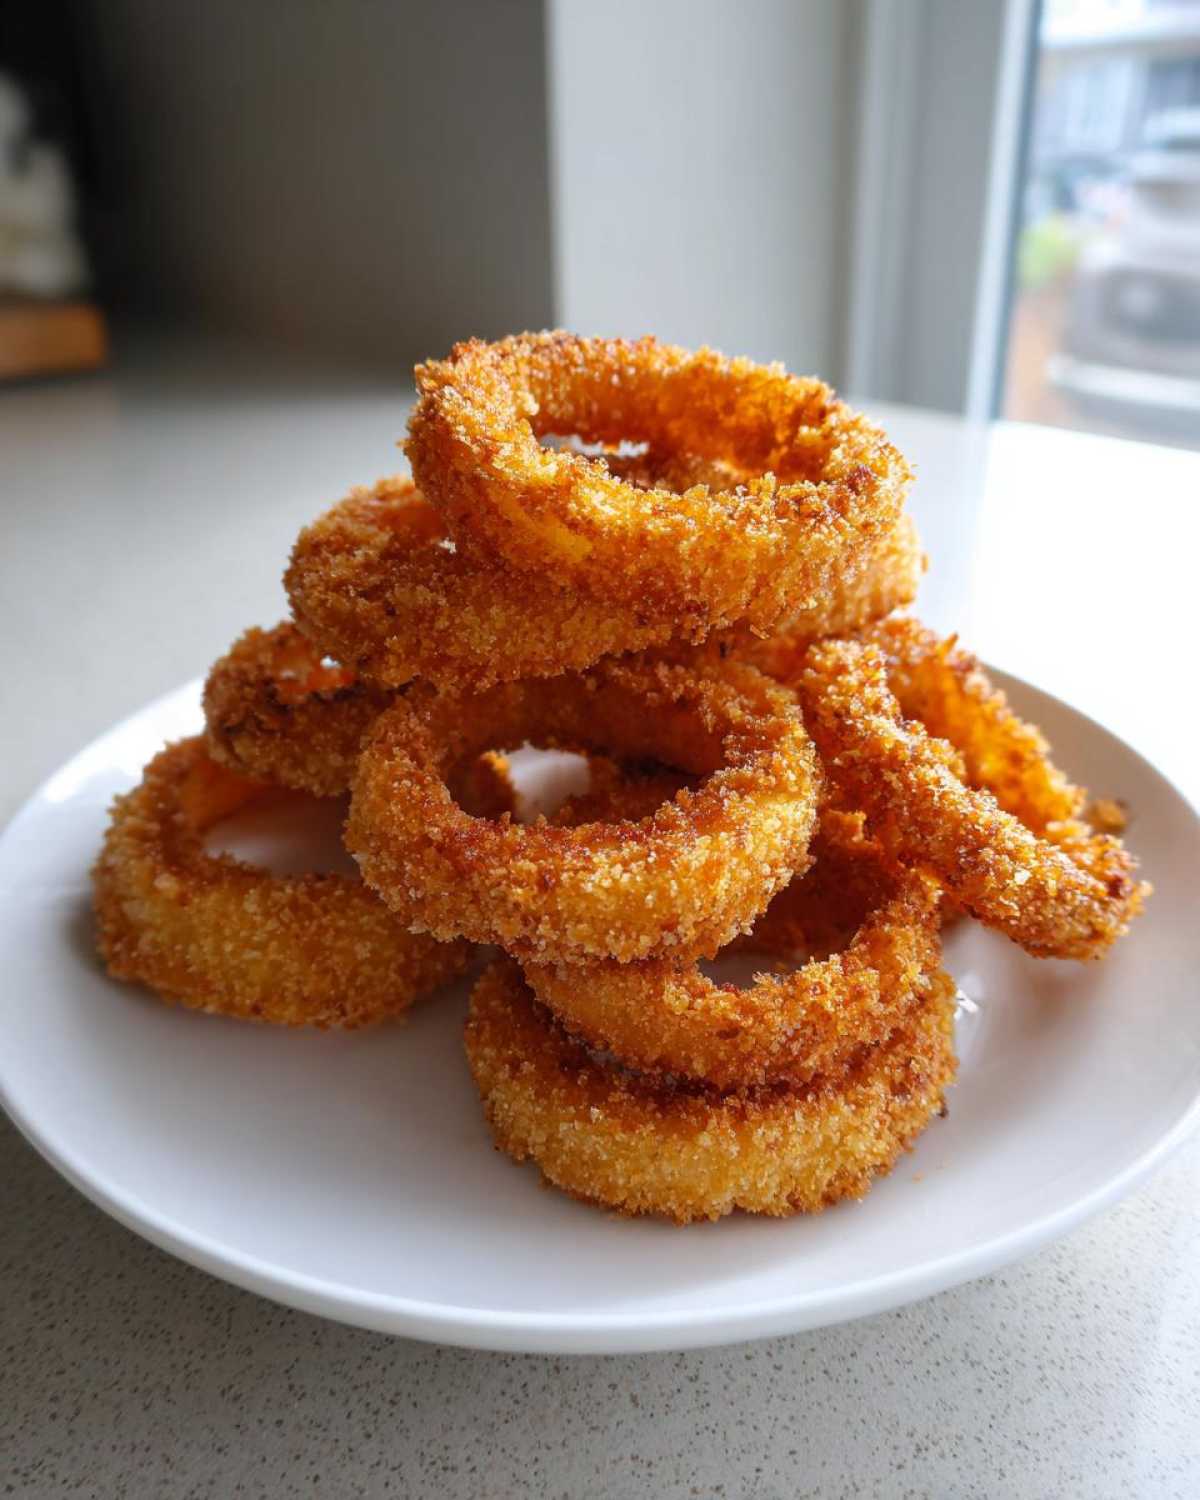
Temperature control is everything! We’re aiming for gold, not charcoal. The Best Air Fryer Settings for Frying Onion Rings are a solid 380°F (195°C). Why not 400°F? Because if you blast them too high, that gorgeous panko coating will burn to a crisp before the actual onion inside has softened even slightly. We need gentle, steady heat to cook through while aggressively crisping the outside.
Once they are in the air fryer sprayed with oil, the total cook time is usually only 8 to 10 minutes. Crucially, pull the basket out at the 5-minute mark. Flip them over, and give that second side another light spray of cooking oil before you pop them back in for the final 3 to 5 minutes. Watching them turn golden brown is truly satisfying!
Tips for No Soggy Air Fryer Onion Rings Success
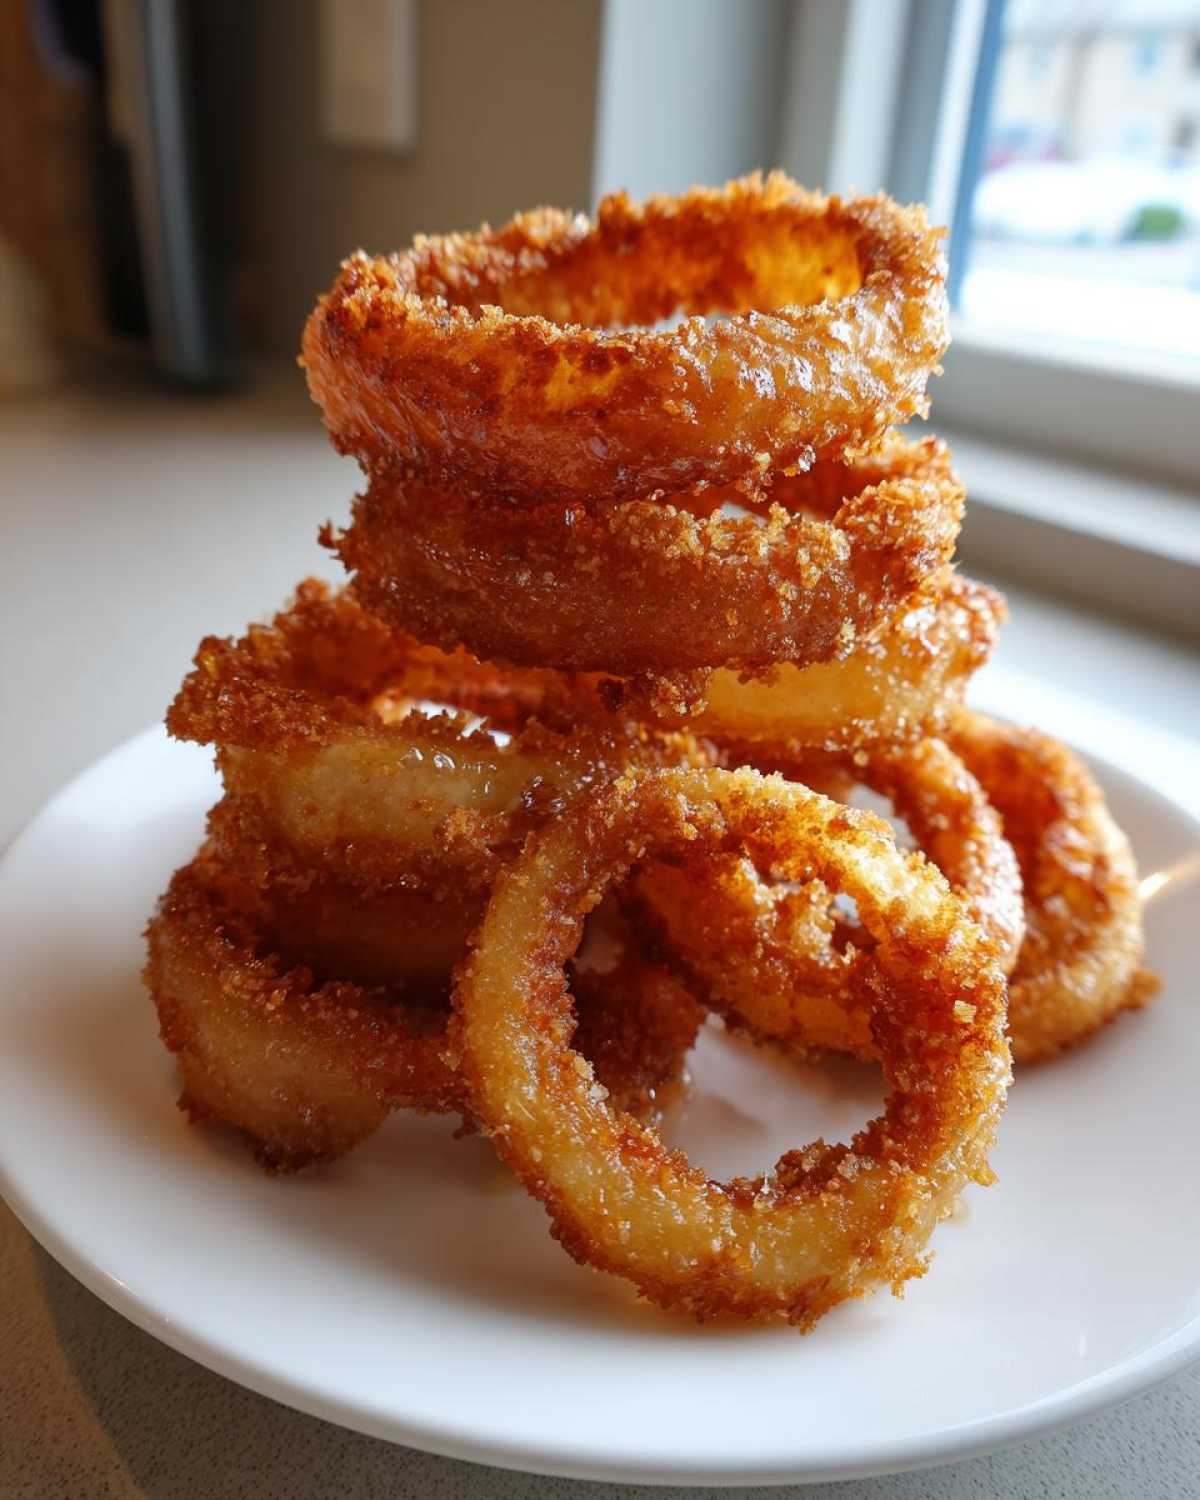
Okay, we’ve mastered the dip, we know the temperature, but what about those final stumbling blocks that lead to heartbreakingly soggy onion rings? I’ve been there. After wrestling with pale discs, I figured out three non-negotiable rules for success, especially if you’re trying to keep things Healthy Onion Rings Air Fryer style!
Rule number one, and I can’t stress this enough: You absolutely MUST employ the oil spray! I know, I know, we’re trying to be healthier than deep frying, but the air fryer needs fat to simulate that frying action and get that deep golden color. Without that spray hitting the panko surfaces, they will just dry out and taste dusty, not crispy! Use vegetable or avocado oil spray, give the tops a good coat before cooking, and a light spray on the bottom side right before you flip them.
Rule number two is all about space. That is the definition of the enemy when it comes to crispiness! If you pile those rings up like you’re making a crunchy tower, the middle ones don’t get the hot air circulation they need. They trap steam, and steam equals sogginess. You have to work in batches. Yes, it takes a tiny bit longer, but every piece comes out perfect. I usually aim for just two layers maximum, often just one layer if my onions were extra chunky that day. If you need to reheat some later, you can absolutely use the air fryer—just a quick blast at 380°F to crisp them back up!
Finally, if you find your breading keeps running off, go back to my breading section! You need to press that panko on like you mean it. You can even grab my method I use for getting the skin on my whole air fryer chicken perfectly—it’s all about surface adhesion! The better the coating sticks going in, the less likely you are to have any issue maintaining those perfect textures while cooking.
Serving Suggestions: Air Fryer Side Dishes for Burgers
Honestly, where do these beautiful, crispy rings belong? If you ask me, they are the most essential partner to a backyard barbecue, especially when you’ve got a sizzling burger on the grill! Forget limp fries; we’re elevating the whole meal here.
Since these are such a perfect, fast appetizer, they pair well with almost anything savory. If you’re making burgers tonight, try this combination out. My favorite is to serve them alongside a big summer salad—the contrast between the hot, crispy rings and the cool, light greens is just heaven. You can also serve them as a main event alongside my recipe for a quick, juicy chicken marinade if you aren’t feeling the burger vibe that night.
They are also fantastic stuffed into tacos (yes, really!) or even as a crunchy topper for a loaded baked potato. They are versatile, which is why they belong in the rotation of easy Air Fryer Side Dishes for Burgers. You just can’t go wrong!
Storage and Reheating Instructions for Air Fryer Onion Rings
Listen, I’m going to be totally honest with you: these Air Fryer Onion Rings are at their absolute peak—we’re talking crunchy perfection—the moment they come out of that basket. They are designed to be eaten immediately alongside your burgers or sandwich. If you can possibly manage it, make just what you need and eat them right then! The air traps moisture over time, and even the best ones will lose a little bit of their fabulous crunch if they sit waiting for leftovers.
But hey, sometimes life happens, and you end up with a few stray rings. If you absolutely must save them, here’s my advice. Let them cool down completely on a wire rack first. Once they are room temperature, store them in an airtight container layered with a paper towel. That paper towel is vital; it absorbs any residual moisture that tries to settle and make them gummy. Seriously, do not skip that towel!
Now, reheating is where the magic comes back! Do not, under any circumstances, try to microwave these babies—you’ll just turn them into hot, soft sponges, and we spent all that time getting that perfect coating!
The air fryer is your only redemption vehicle here. Take those cooled rings out of your storage container, give them a little shake so they aren’t touching too much, and pop them back into a preheated air fryer. I usually set the temperature slightly lower, maybe 360°F (180°C), and cook them for just 3 to 5 minutes. Keep an eye on them! This short blast of dry heat pulls all the moisture out again and makes that panko coating snap right back to life. They won’t be *quite* as good as the first batch, but they’ll be about 95% of the way there, which is a total win for leftovers!
Frequently Asked Questions About Air Fryer Onion Rings
You know I love hearing from you all, and usually, the questions I get after people try this recipe are all about tweaking things just a little bit. It’s natural when you’re trying to make something absolutely perfect! Here are the questions I get asked most often when folks are making their first batch of **Crispy Homemade Onion Rings Air Fryer** treats.
Can I use a wet beer batter instead of the three-stage breading?
This is a popular question, especially if you’re used to restaurant-style rings! Sadly, for the air fryer, I really, *really* advise against a true thin, wet beer batter. The thinner batters tend to drip right off during the cooking process, or they just turn into pale, sticky blobs in the air fryer basket. They don’t get that necessary structure to puff up and crisp beautifully without total submersion in oil. If you want to try it, you might have luck making a *very* thick batter and letting the rings completely dry on a rack for 15 minutes before spraying and cooking, but for guaranteed results and that **Crispy Breading Technique Air Fryer** success, stick to the panko dredge!
Is skipping the cooking spray really okay for making healthy onion rings?
Oh, I wish it were! I really do. But here’s the tough love part: if you skip the spray completely, you risk getting dry, pale, and somewhat tough coatings—they won’t crisp up properly, making them less satisfying. That light spray of oil is necessary to activate the crisping process on the panko under that high heat. It’s just one quick spray per side, which is a tiny fraction of the oil used in deep frying. For truly Healthy Onion Rings Air Fryer results, use a high smoke-point oil in your spray bottle, but please don’t skip that step!
How long will these last if I make extra?
As much as I brag about how long they keep in that other section, the truth is that the *very best* experience is immediately fresh. If you manage to have leftovers—maybe you made a huge batch for game day—try to eat them within 12 hours. Store them in an airtight container layered with a paper towel. The very next day, they will have softened considerably. Honestly, if you’re worried about having too many, make the onions ready the night before (sliced and separated) and keep them in the fridge, then only do the breading and frying right when you need them! You can find more tips on general food storage on my ramblings page.
Why is the temperature 380°F and not 400°F for the Air Fryer Onion Rings?
That’s a brilliant question because most air fryer recipes shout “400°F!” for everything! For these rings, we need to pay closer attention to the delicate coating. If we go straight to 400°F, the panko breadcrumbs—especially that beautiful, flaky panko—will scorch and burn before the 1/4-inch thick onion slice in the middle has time to soften up. Setting it at 380°F (195°C) gives us that sweet spot: intense enough heat to drive moisture out and create immediate crispness, but gentle enough overall to cook the onion through beautifully by the time the 8 to 10 minutes are up!
Is there a way to make crispy onion rings without peeling them first?
Oh, bless your heart, trying to save a step! No, you really can’t skip peeling the onion for these! The papery outer skin won’t cook or stick to the breading; it would just burn or fall off and leave weird gaps in your coating. Plus, those outer layers can sometimes have weird, dry texture spots that ruin the bite. Take the extra two minutes to peel off those dry layers. Once you peel two layers off, you should hit the nice, clean onion layer ready for slicing!
Estimated Nutritional Data for Air Fryer Onion Rings
Now, I know some of you are watching your numbers, and that’s smart! I always like to have a ballpark idea of what I’m eating, especially when I’m whipping up something I *know* is going to disappear in about three minutes flat at our house.
Since we ditch the deep fryer, these are already miles ahead of the takeout versions, but remember, we are still coating them in flour and panko, so they aren’t exactly a salad! This data is based on following my recipe exactly, using standard pantry ingredients. I use a calculator to run these numbers, but my kitchen always smells better than the computer screen looks, you know what I mean?
Here’s the breakdown for roughly five onion rings:
- Serving Size: 5 rings
- Calories: 280
- Fat: 8g (Only 1g is saturated—that’s a win!)
- Carbohydrates: 45g
- Protein: 8g
- Sodium: 350mg
Just a quick word of warning, though, because I always want to be straight with you guys: These numbers are definitely estimates! If you use a heavier hand with the cooking spray, or if your onions were extra massive, those values will shift a little. Also, if you decide to dunk them in my favorite spicy southwest ranch dip (which you should!), make sure you factor that in! This data is just here to give you a starting point for enjoying these Air Fryer Onion Rings responsibly.
Share Your Copycat Restaurant Style Air Fryer Onion Rings Experience
Whew! Now that your kitchen smells like the best part of a Friday night diner, I really, truly want to hear about them! Did you manage to get that perfect, crunchy echo when you bit into them? Were they a big hit as one of your essential Air Fryer Side Dishes for Burgers?
Please do me a huge favor and come back here after you’ve tried the recipe and leave a star rating right at the top. That helps other folks who are debating on whether to try this method or stick to their greasy old ways. Telling me exactly how things went—especially what kind of oil spray you used—is super helpful for everyone!
If you want to share your success stories online, snap a photo of those golden beauties! I’m always hanging out on social media looking for snapshots of your creations—tag me so I can see how close you got to that perfect Copycat Restaurant Style Air Fryer Onion Rings vibe. It genuinely makes my day to see my recipes in your kitchens!
And if you’re still wrestling with something—maybe you had a weird sticking issue, or you tried a different spice blend—don’t hesitate to drop a question in the comments below. I love troubleshooting! Seriously, that’s why I built this whole community space. We’re all learning together. If you want to know a little more about the crazy home cook who put all these tips together, you can always peek at my About Me page!
PrintCrispy Air Fryer Onion Rings
Make perfectly crispy, less oily onion rings using your air fryer with this straightforward recipe and breading technique.
- Prep Time: 15 min
- Cook Time: 10 min
- Total Time: 25 min
- Yield: 4 servings
- Category: Appetizer
- Method: Air Frying
- Cuisine: American
- Diet: Vegetarian
Ingredients
- 2 large yellow onions
- 1 cup all-purpose flour
- 2 large eggs
- 1 tablespoon water
- 1 1/2 cups panko breadcrumbs
- 1 teaspoon salt
- 1/2 teaspoon black pepper
- 1/2 teaspoon paprika
- Cooking spray (oil-based)
Instructions
- Slice the onions into 1/4-inch thick rings. Separate the rings and set aside.
- Set up a three-stage breading station. In the first shallow dish, place the flour. In the second, whisk the eggs and water together. In the third, mix the panko breadcrumbs, salt, pepper, and paprika.
- Dredge each onion ring first in the flour, shaking off excess.
- Dip the floured ring into the egg mixture, letting excess drip off.
- Press the ring firmly into the panko mixture until fully coated. Place the coated rings on a wire rack.
- Preheat your air fryer to 380°F (195°C) for 5 minutes.
- Lightly spray the bottom of the air fryer basket with cooking spray. Arrange the onion rings in a single layer; do not overcrowd the basket.
- Spray the tops of the onion rings generously with cooking spray.
- Air fry for 8 to 10 minutes, flipping the rings halfway through. Spray the second side lightly with cooking spray before flipping.
- Continue cooking until they are golden brown and crisp.
- Remove and serve immediately. Repeat with remaining rings.
Notes
- For best results and maximum crispiness, do not skip spraying the rings with oil before cooking.
- If your breading seems to fall off, press the panko onto the rings more firmly during the coating stage.
- Cook in batches to maintain high heat and achieve crispness; overcrowding leads to steaming.
Nutrition
- Serving Size: 5 rings
- Calories: 280
- Sugar: 6
- Sodium: 350
- Fat: 8
- Saturated Fat: 1
- Unsaturated Fat: 7
- Trans Fat: 0
- Carbohydrates: 45
- Fiber: 3
- Protein: 8
- Cholesterol: 75