

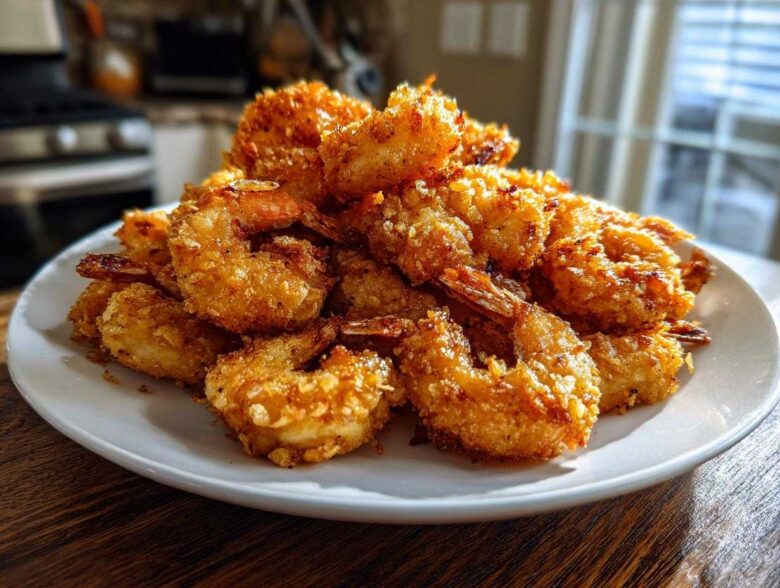
Oh my goodness, I know that feeling! You’re scrolling through your phone, and suddenly all you can think about is that perfect crunch—that shatteringly crisp coating you get from the very best **fried shrimp**. Forget soggy takes or bland coatings; I’ve cracked the code. This is my absolute favorite recipe for **Crispy Southern Fried Shrimp**, and it relies heavily on one simple bath: buttermilk. Over on our About Us page, I talk about how Chloe and I started out burning dinner, but I spent ages perfecting this specific technique just to make sure the coating stuck perfectly and stayed crunchy. Trust me, this buttermilk soak is the secret ingredient that turns basic shrimp into something spectacular. You deserve this!
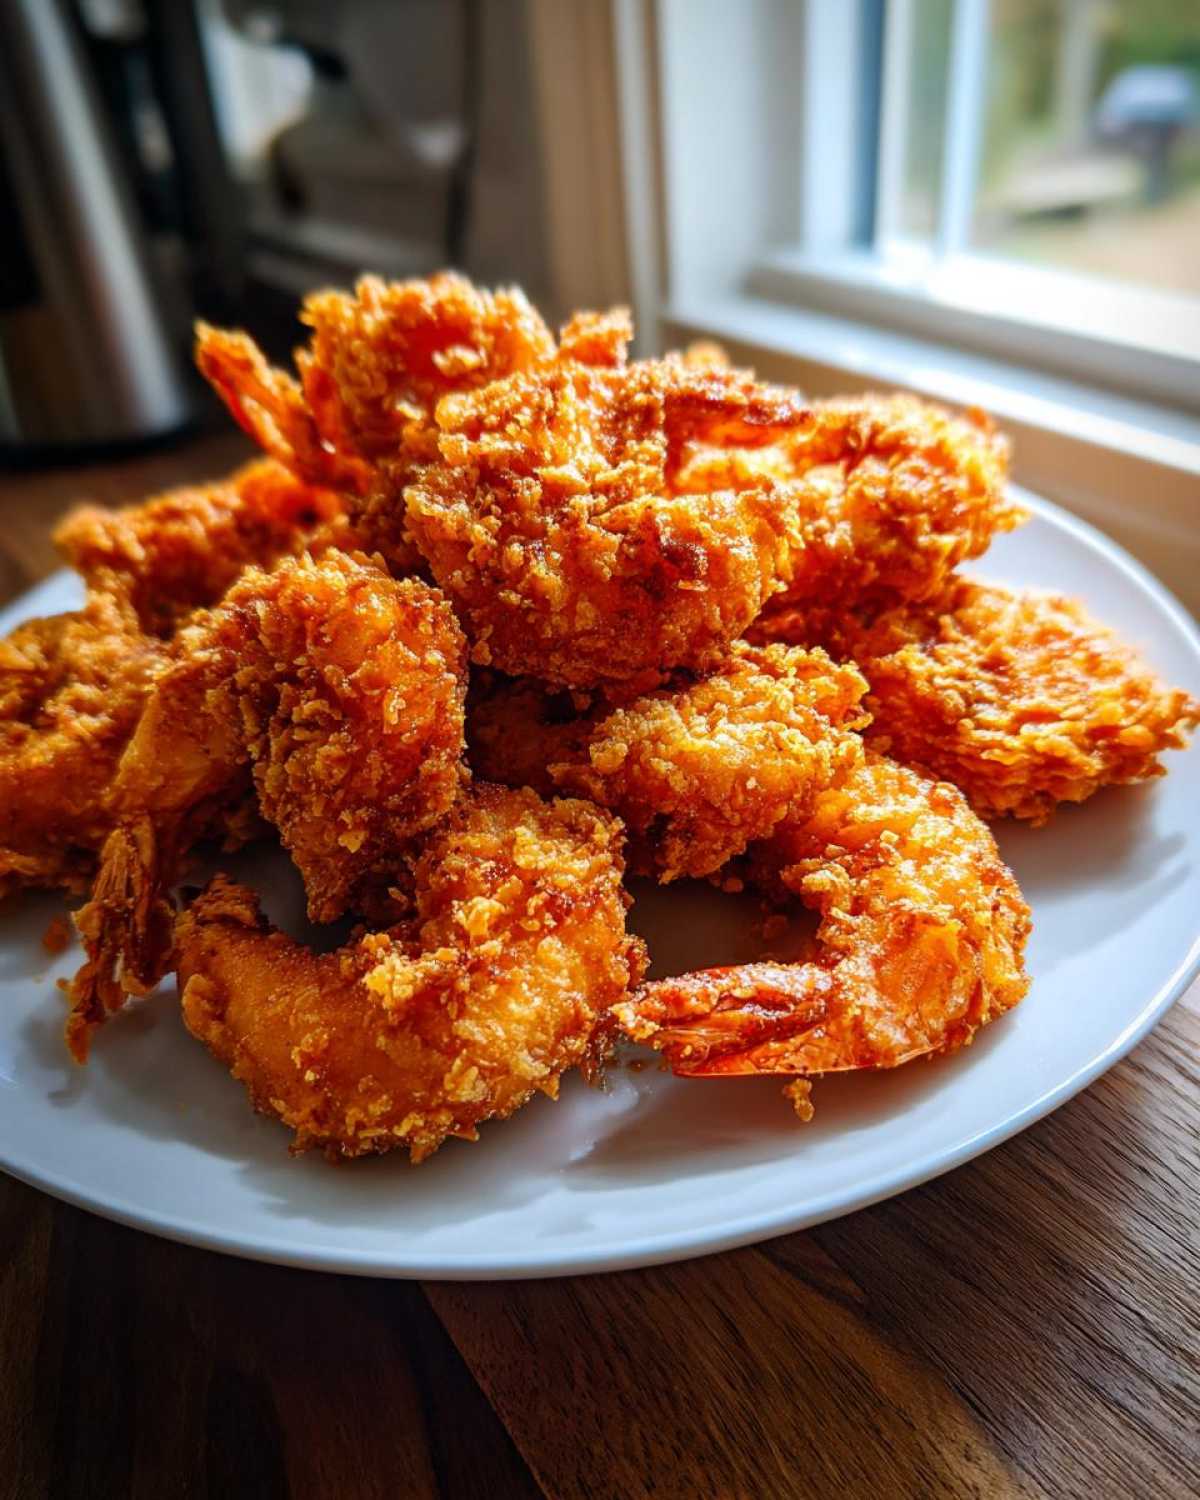
Why This Crispy Fried Shrimp Recipe Works So Well
Look, making good **fried shrimp** is easy. Making *great*, shatteringly crispy shrimp that stays crunchy for longer than five minutes? That takes a little know-how! We stick to a few core ideas here that Chloe still makes fun of me for because they’re so specific, but honestly? They deliver.
- The texture results from teamwork between the soak and the dry mix. We never skip the chill time!
- Plus, keeping the ingredients simple means the flavor of the actual shrimp really shines through.
The Secret to the Best Batter for Fried Shrimp: Buttermilk Soak
If you want that true, amazing coating adhesion, you need buttermilk. It’s not just about moisture; the slight acidity magic in the buttermilk helps tenderize the shrimp just a little bit, and it gives the flour something sticky to grab onto. It’s the key to the **best batter for fried shrimp**. I always throw in a dash of my favorite hot sauce in there if I’m feeling sassy—it cooks right off, but it adds a depth of flavor you wouldn’t expect!
Achieving Golden Fried Shrimp Texture
This is where the crispiness happens! We use a blend of flour and cornstarch—that cornstarch is essential, folks. It keeps the coating light instead of heavy and doughy. When you dredge the shrimp, you need to really press that coating in. Don’t be shy! Making sure that shrimp coating is firmly pressed onto the surface is exactly **how to make fried shrimp crispy** and ensures that beautiful golden brown finish when it hits the oil.
Gathering Your Ingredients for Perfect Fried Shrimp
Okay, before we even think about heating up the oil, let’s make sure your counter is covered in everything we need. This **fried shrimp** recipe is super straightforward, which is why I love it for a **quick seafood dinner**. You absolutely must grab two pounds of extra large shrimp—I usually keep the tails on for dipping, but chop ‘em off if you prefer! Make sure you have your full two cups of buttermilk ready, because that’s where the magic starts.
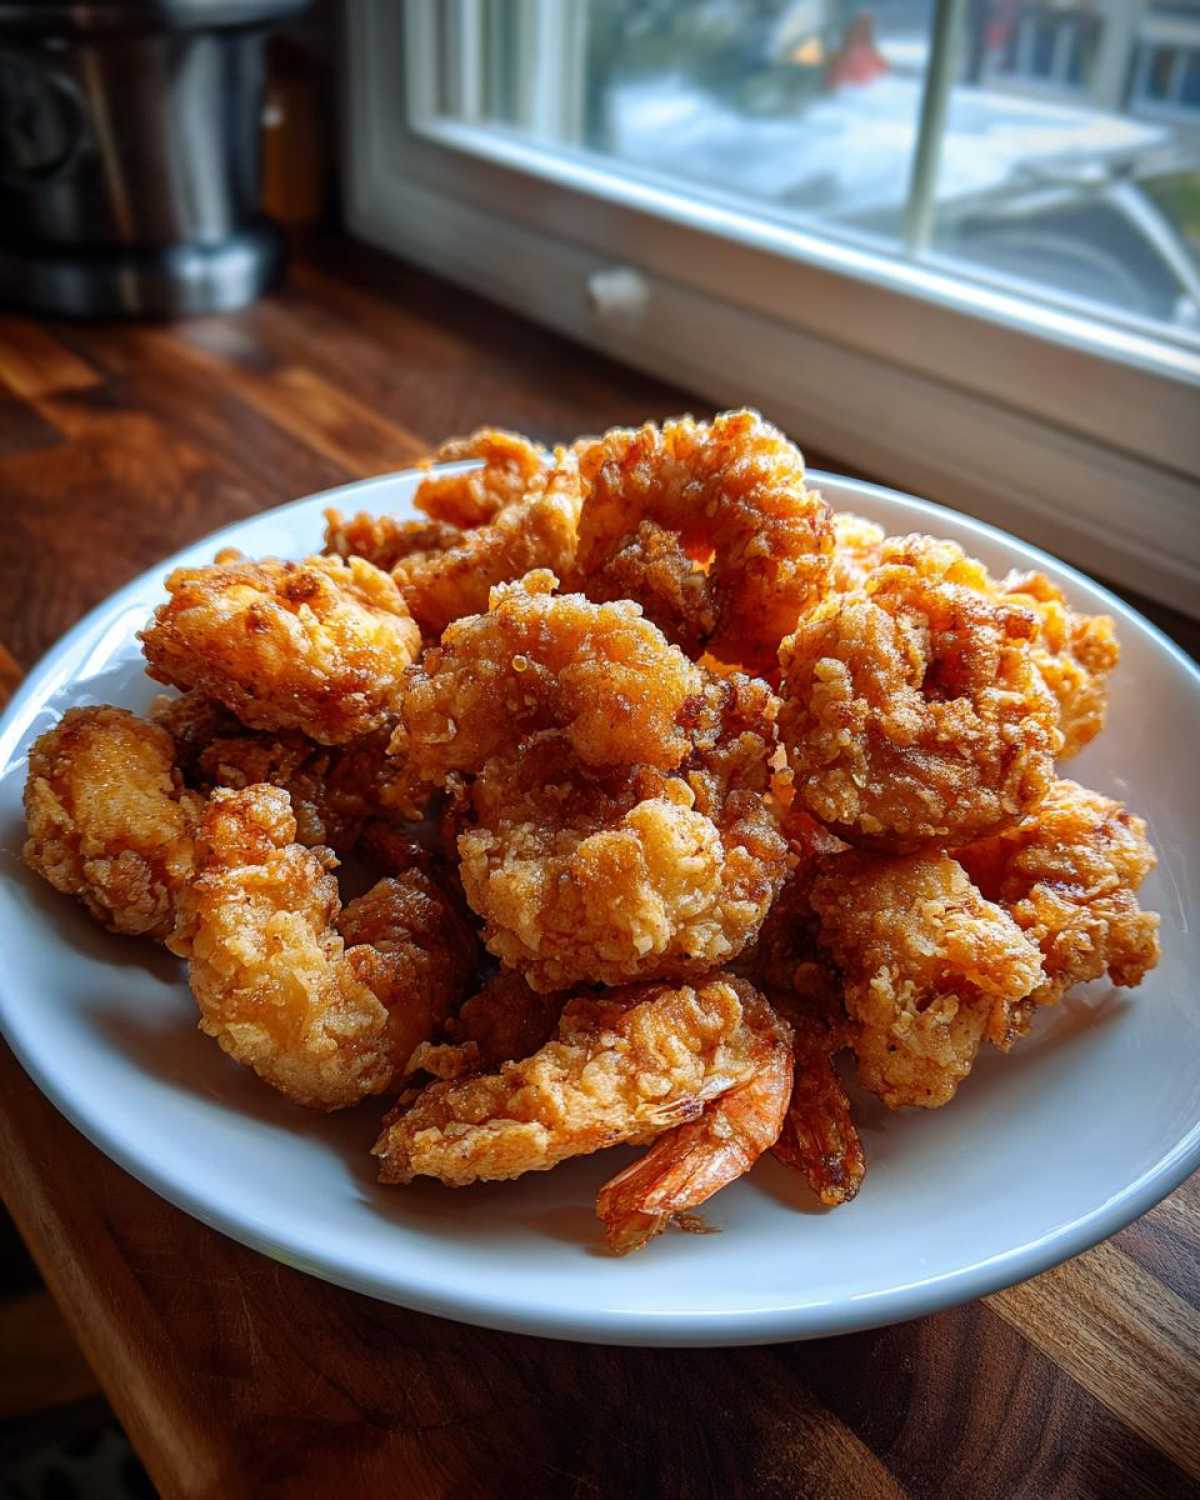
For the dry dredge, don’t skimp on the cornstarch; it’s our secret weapon for crispiness! You’ll also need your measuring spoons ready for the spices like smoked paprika and garlic powder. Assemble everything, and you’re halfway to buttery, crispy heaven!
Step-by-Step Instructions for Crispy Southern Fried Shrimp
Alright, let’s get cooking! This might look like a lot of bowls on the counter, but I promise, once we get into the rhythm, making this fried shrimp is incredibly fast. The key here is setting up your assembly line so you can move quickly when the oil is hot and ready. Organization is my domain, and it really pays off here!
Preparing the Buttermilk Soak
First things first, get your shrimp covered! Pop those cleaned beauties into a bowl and drown them in buttermilk—and that dash of hot sauce if you’re using it! You need to stir everything until those shrimp are totally submerged. Chloe once tried to rush this, and I made her start over. Why? Because that bath needs to happen for at least 30 minutes in the fridge, but up to four hours is even better for tenderizing. Don’t skip the chill time!
Mixing the Seasoned Shrimp Coating
While the shrimp is chilling, get your dry mix ready. In a separate shallow dish—make sure it’s wide enough for dipping!—whisk together that flour, cornstarch, salt, pepper, garlic powder, onion powder, and the cayenne if you like a little fire. Whisk it really well so everything is evenly distributed. If you have clumps of just garlic powder, you’ll get one bite that tastes like a full shaker of garlic, and we don’t want that!
Frying Technique for Best Deep Fried Shrimp
Time for the heat! You need about two inches of oil in a heavy pot, and this temperature is non-negotiable: 350°F (175°C). Use a thermometer, seriously. Once it hits that mark, pull the shrimp out of the buttermilk, let the heavy drips fall off, and press it firmly into your flour mix. You can double-dip it into the buttermilk quick and back into the flour for a ridiculously crunchy coat, which helps make this the **best deep fried shrimp** recipe ever. Fry just a few at a time—we can’t overcrowd the pot! Aim for 2 to 3 minutes until they are perfectly golden. Pop them out and onto a wire rack to drain!
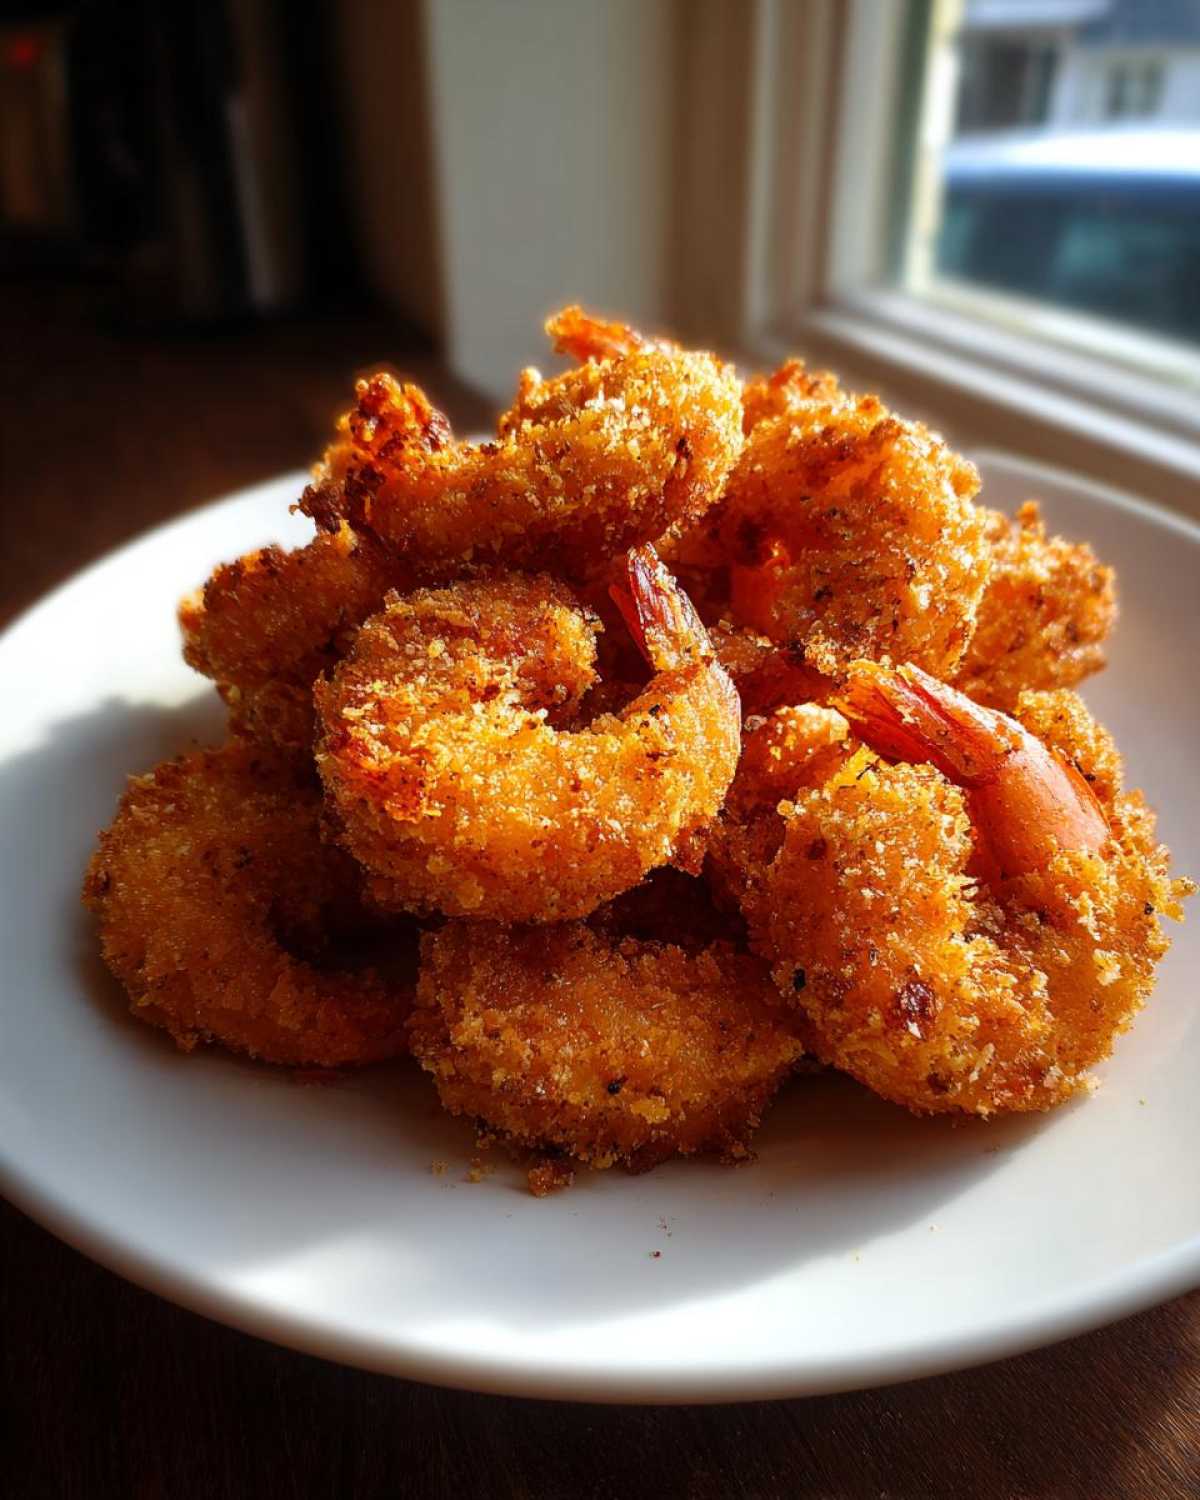
If you’re looking for more ideas like this to keep your weeknight cooking exciting, check out my favorite easy seafood dinner ideas!
Tips for Making Your Homemade Fried Shrimp Extra Crispy
Okay, you nailed the soak, you pressed the flour on good, and now the shrimp are sizzling. But how do you guarantee that crispiness lasts until it hits your mouth? This is about the final moments before serving, which honestly separates the good from the legendary! Never, ever drain your beautiful, crispy shrimp directly onto paper towels. I know, it seems logical, but those hot shrimp steam themselves underneath that paper, and poof! Your crunch vanishes.
The trick, and this is the absolute best way for **how to make fried shrimp crispy**, is using a wire rack set over a baking sheet. The rack lets the air circulate completely around the shrimp, letting all that excess oil drip away without trapping any steam underneath. Keep the rack near the stove and transfer them straight from the oil!
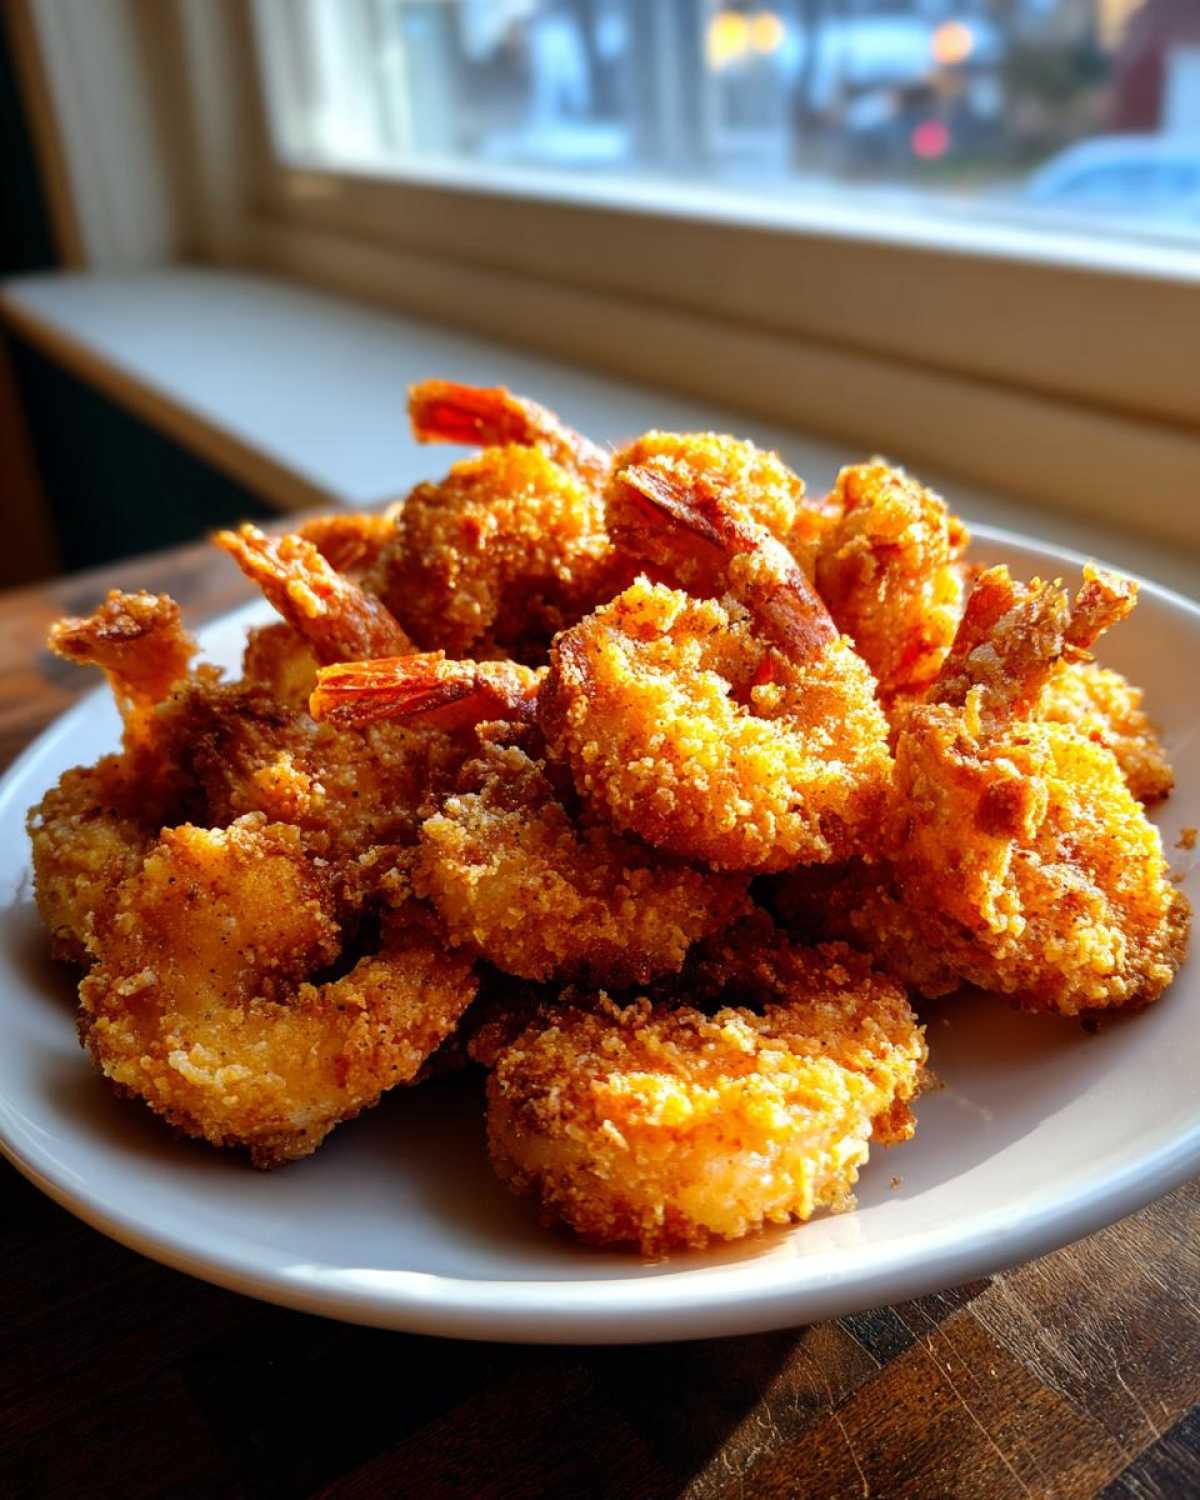
Also, keep an eye on that oil temperature! If it dips below 350°F because you added too much cold shrimp, the crust soaks up oil instead of crisping. If you want to learn more about getting really crispy results, check out this great link on Fried Shrimp techniques. A little patience with the batches makes a huge difference.
Serving Suggestions for Your Quick Seafood Dinner
Now that you’ve got the most incredible **fried shrimp** laid out on the cooling rack, you have to complete the meal, right? This fantastic seafood deserves some equally delicious partners, especially if you’re aiming for that **quick seafood dinner** vibe without ordering takeout!
Since these shrimp are so rich and perfectly seasoned, I usually lean toward sides that offer a little contrast. A bright, zesty coleslaw cuts right through the richness beautifully. Or, if we’re going full Southern comfort, you absolutely need something cornbread-y nearby to sop up any stray flavor.
If you want to make an amazing side that pairs perfectly with these shrimp, you have to try making my Skillet Cornbread—it comes out with that perfect crust in the cast iron, just the way Grandpa used to make it! You can find the recipe right here!
Simple Fried Shrimp Dipping Sauces
Honestly, you could eat these **fried shrimp** straight out of the cooling rack—they are that good! But no proper seafood platter is complete without a good sauce situation, so let’s talk about the dipping essentials. If you’re in a real rush, grab that store-bought cocktail sauce and a jar of tartar sauce; no judgment here! They pair perfectly with the seasoned coating.
However, if you have five minutes to stir a couple of things together, you unlock the true power of great **fried shrimp dipping sauces**. I love a quick homemade tartar sauce that uses chopped pickles and a squeeze of fresh lemon. It’s way better than anything from a bottle, I promise!
Speaking of creamy spreads, if you happen to have leftover aioli or want a totally new creamy experience, my recipe for Best Deviled Eggs actually uses a similar base that you could steal for a quick dip. It adds a little tangy complexity that regular tartar sauce just doesn’t manage!
Storing and Reheating Your Golden Fried Shrimp
So, you made an amazing batch of **fried shrimp** and now you have leftovers—yippee! The trick here is remembering that the enemy of the crust is steam. If you try to reheat these babies in the microwave, you might as well just toss them now; they’ll turn into sad, rubbery sponges, and we can’t have that!
For crispy leftovers, you have two ways to go depending on how much time you have. If you own an air fryer, that’s my absolute first choice! I use mine constantly for crispy things, and you can check out my favorite settings on my Air Fryer Chicken post—the technique is the same!
If you don’t have an air fryer, the oven works great. Spread the shrimp out on a wire rack set on a baking sheet (remember that rack trick from earlier?) and bake at about 375°F until they are hot all the way through and the crust feels stiff again. They’ll be ready in about 10 minutes!
Frequently Asked Questions About Fried Shrimp
I know you probably have a few lingering questions before you dive into frying. That’s totally normal for a recipe that promises the absolute best crunch! We want to make sure your batch of **fried shrimp** turns out perfect the very first time you try it. Here are a few things Chloe and I always get asked about!
Can I substitute buttermilk for regular milk in this crispy fried shrimp recipe?
You *can*, technically, use regular milk, but please don’t if you want that super **crispy fried shrimp recipe** texture! The magic of buttermilk is that slight acidity. That acid works on the shrimp protein to tenderize it slightly, and more importantly, when you pull it out of the milk, it leaves a tacky, almost sticky surface that the seasoned flour bonds to way better than regular milk does. It’s the key to that amazing Southern style coating!
What is the best oil to use for making fried shrimp?
This is crucial for getting that beautiful golden color without your food tasting greasy! You need an oil with a high smoke point, which is why this recipe calls for vegetable or peanut oil. These oils handle the high heat required for frying (remember, we keep it at 350°F!) without breaking down too quickly or adding funky flavors to your **homemade fried shrimp**.
Why do I need to use cornstarch in the shrimp coating?
Ah, the cornstarch question! That’s my addition, that’s Mia’s touch for extra crispiness! While flour gives you bulk and flavor, cornstarch is lighter and helps prevent the coating from becoming too heavy or doughy. It’s one of the main secrets for **how to make fried shrimp crispy** and keeps that crust airy and light instead of dense. It seriously makes all the difference!
Share Your Experience Making This Fried Shrimp
Whew! Now that you’ve got your hands on this amazing, crispy **fried shrimp** recipe, I absolutely need to know what you thought! Did that buttermilk soak work its magic for you? Please leave a rating below, send us a picture on social media, or tell us about any tweaks you made!
If you loved how fun and quick this was, don’t forget to browse all our other fun posts on the blog. Keep practicing those **easy seafood dinner ideas**, Kings and Queens!
PrintCrispy Southern Fried Shrimp with Buttermilk Soak
Learn how to make the best crispy fried shrimp using a simple buttermilk soak and seasoned flour coating. This easy recipe delivers golden, juicy shrimp perfect for dinner or an appetizer.
- Prep Time: 15 min
- Cook Time: 10 min
- Total Time: 55 min
- Yield: 4 servings
- Category: Dinner
- Method: Deep Frying
- Cuisine: American
- Diet: Low Fat
Ingredients
- 2 pounds extra large shrimp, peeled and deveined, tail on or off
- 2 cups buttermilk
- 1 tablespoon hot sauce (optional)
- 1 cup all-purpose flour
- 1/2 cup cornstarch
- 1 teaspoon salt
- 1 teaspoon black pepper
- 1 teaspoon garlic powder
- 1 teaspoon smoked paprika
- 1/2 teaspoon onion powder
- 1/2 teaspoon cayenne pepper (optional, for heat)
- Vegetable or peanut oil, for frying
Instructions
- Place the cleaned shrimp in a medium bowl. Pour the buttermilk and hot sauce over the shrimp. Stir to coat completely. Cover the bowl and refrigerate for at least 30 minutes, or up to 4 hours. This step helps tenderize the shrimp and makes the coating stick.
- In a shallow dish, whisk together the flour, cornstarch, salt, black pepper, garlic powder, smoked paprika, onion powder, and cayenne pepper until well combined. This is your shrimp coating.
- Heat about 2 inches of oil in a heavy-bottomed pot or deep fryer to 350°F (175°C). Use a thermometer to monitor the temperature; maintaining the correct heat is key for crispy fried shrimp.
- Remove the shrimp from the buttermilk mixture, letting any excess drip off briefly. Do not pat them dry.
- Dredge the shrimp in the seasoned flour mixture, pressing gently to make sure the coating adheres well. Shake off any loose flour. For extra crispiness, you can dip the coated shrimp back into the buttermilk quickly and then back into the flour mixture for a double coat.
- Carefully place 4 to 6 shrimp into the hot oil, ensuring you do not overcrowd the pot. Overcrowding lowers the oil temperature and results in greasy shrimp.
- Fry for 2 to 3 minutes per side, turning once, until the coating is golden brown and crispy.
- Use a slotted spoon or spider strainer to remove the shrimp from the oil. Place them on a wire rack set over a baking sheet to drain excess oil. Do not place them directly on paper towels, as this traps steam and softens the crust.
- Continue frying the remaining shrimp in batches, adjusting the heat as necessary to maintain 350°F.
- Serve your homemade fried shrimp immediately with cocktail sauce or tartar sauce.
Notes
- For the best results and maximum crispiness, make sure your oil temperature stays steady at 350°F.
- If you want a Southern fried shrimp flavor, use Creole seasoning in your flour mix.
- This recipe works well for a quick seafood dinner when you need something fast.
Nutrition
- Serving Size: 6 oz
- Calories: 350
- Sugar: 4
- Sodium: 650
- Fat: 18
- Saturated Fat: 3
- Unsaturated Fat: 15
- Trans Fat: 0
- Carbohydrates: 25
- Fiber: 1
- Protein: 24
- Cholesterol: 200