

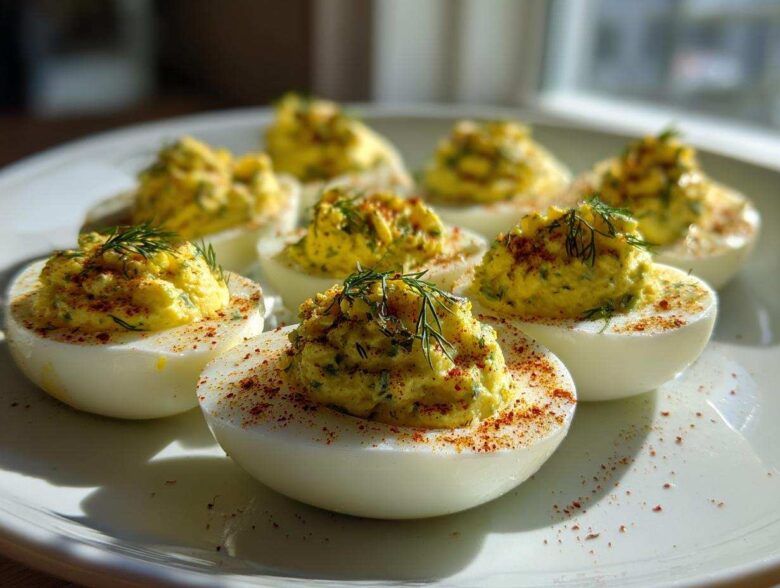
There’s just nothing that says ‘welcome to the party’ quite like a glistening tray of deviled eggs. Honestly, if I show up to a get-together and those aren’t there, I’m already looking around for them! They are the ultimate crowd pleaser, right? Forget fancy canapés; we need something reliable and delicious. Trust me when I say that this guide for Classic Deviled Eggs with Dill Pickle Relish is the only one you’ll ever need. I’ve perfected the creamy filling over years of picnics and big holiday spreads, making sure they are savory, tangy, and absolutely irresistible.
Why You Will Make This Classic Deviled Eggs with Dill Pickle Relish Recipe Again
Honestly, I make these almost every other weekend just because they disappear so fast! They are simple, classic, and trust me, the dill pickle relish just cuts through all that richness perfectly. You won’t regret making a double batch!
- They are the absolute Best Party Appetizer you can bring to a potluck—nobody ever leaves them untouched.
- We achieved the ultimate Creamy Egg Filling because we don’t skimp on the mayonnaise and vinegar combination.
- The tangy pop from the pickle relish ensures these aren’t just boring, one-note eggs. They have character!
- You can whip up the filling in about 15 minutes once your eggs are cool, making them a great Quick Snack Prep contender.
- This recipe is perfectly reliable; it’s a Classic Potluck Staple that always gets rave reviews from everyone, from kids to grandparents.
- The slight tang of the vinegar balances the richness of the yolk, resulting in a flavor that really mimics that perfect Southern Style Deviled Eggs taste.
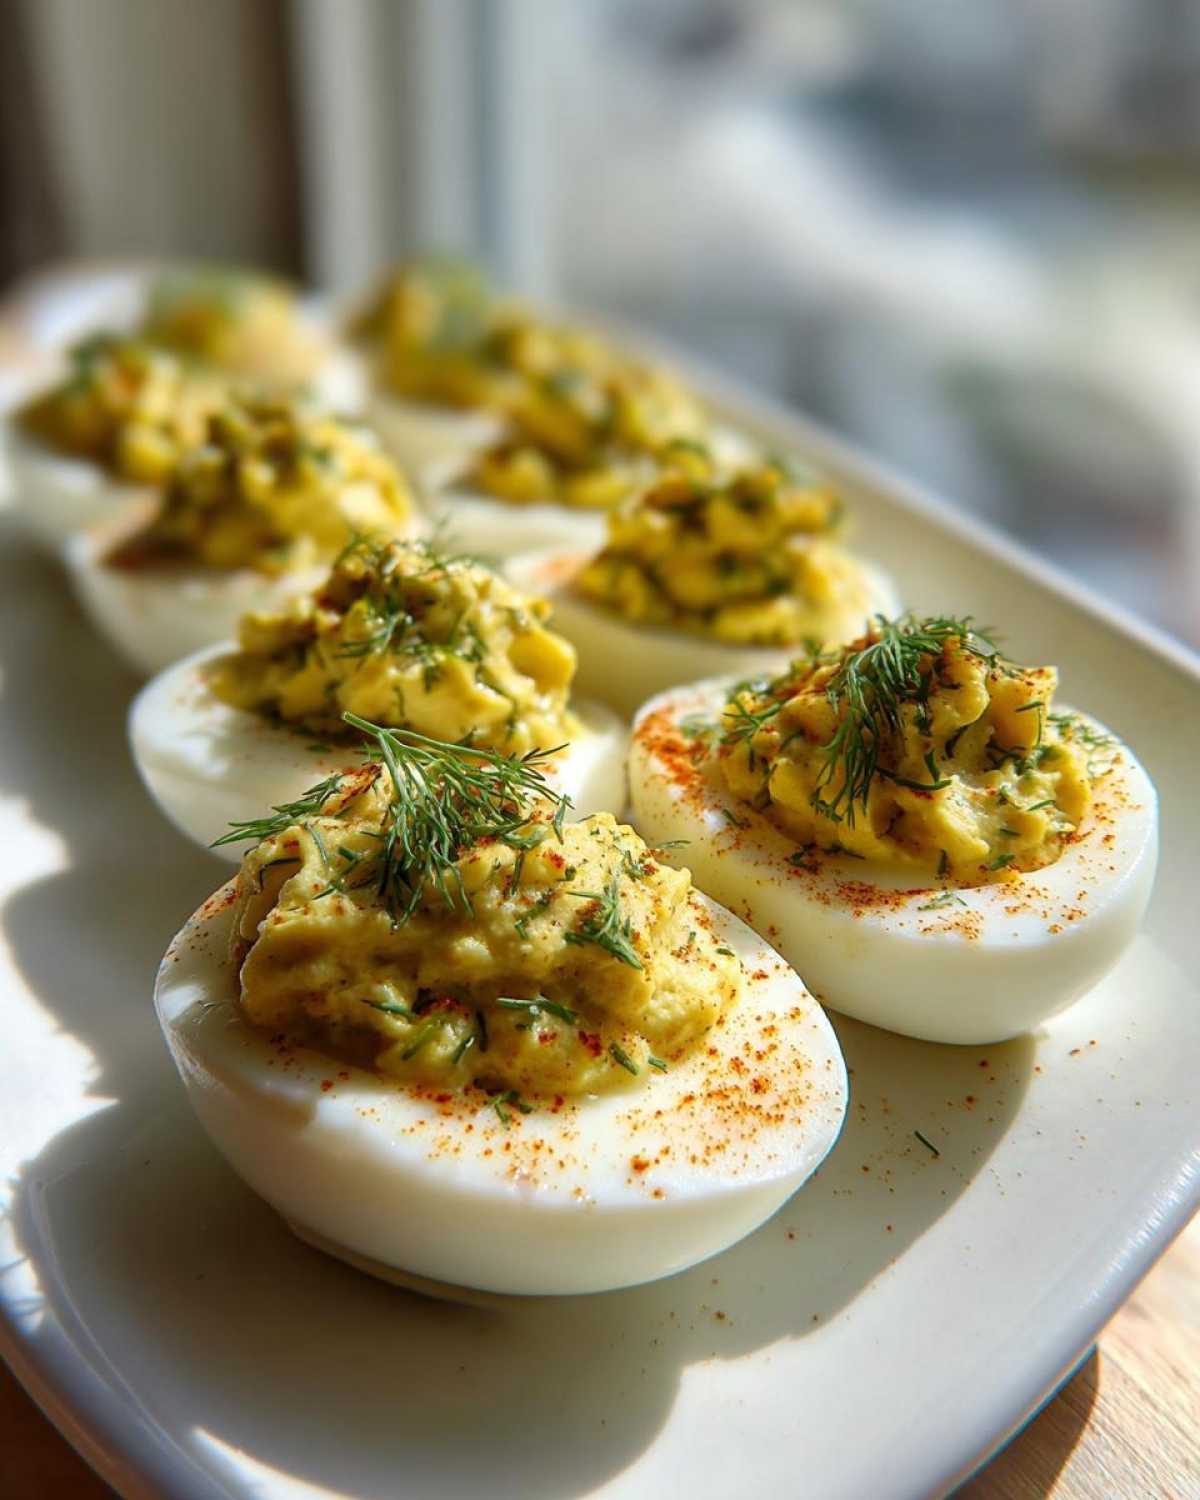
Essential Ingredients for Classic Deviled Eggs with Dill Pickle Relish
When you are aiming for that classic flavor profile, you can’t just toss things in willy-nilly. The ingredients list for these babies is short, which means every single item has to pull its weight! We need 12 large eggs to start, of course. Then for the creamy magic, we go with 1/2 cup of mayonnaise and 2 tablespoons of good ol’ yellow mustard—don’t skip the yellow, it gives the right color!
The star ingredient, obviously, is the pickle! You will need 1/4 cup of dill pickle relish, and this is important, you have to drain that relish really well. We want dill pickle flavor, not a soggy filling! Add 1 teaspoon of plain white vinegar for that extra zing, plus a pinch of salt and pepper (1/4 teaspoon salt, 1/8 teaspoon pepper). And we never forget the final touch: paprika for sprinkling on top!
Ingredient Notes and Substitutions for Your Classic Deviled Eggs with Dill Pickle Relish
Let’s talk about the freshest part: the eggs! Fresh eggs are lovely for eating, but honestly, they are the absolute worst for peeling. If you want super easy peeling for your Dill Pickle Flavor Recipes, try to use eggs that are about a week old. It makes the whole process so much less frustrating!
Now, about the mustard and vinegar. If you don’t have white vinegar, apple cider vinegar works fine, but use just a touch less—it’s stronger! If you are out of regular mayonnaise, full-fat Greek yogurt can be substituted in a pinch for part of it, but it will change the texture slightly, making it tangier and less rich. I stick to mayo because we are going for ‘Classic,’ after all!
Mastering the Perfect Hard-Boiled Eggs for Classic Deviled Eggs with Dill Pickle Relish
Okay, listen up, because if your eggs don’t peel right, the whole beautiful deviled egg plan falls apart. This is where we lock in that perfect texture and ensure you get those beautiful, intact whites for piping later. Seriously, getting the hard-boiled texture right is the difference between a great snack and the *best* snack.
My method is foolproof, I promise. We start by placing those 12 eggs in a big, sturdy saucepan and covering them with cold water—make sure the water is at least an inch over the top of the eggs. Bring that water up to a hard, rolling boil over high heat.
But here’s the crucial bit for achieving those Perfect Hard Boiled Eggs: as soon as that water hits a furious boil, I immediately yank the pan off the burner, slam the lid on tight, and just let them sit and steam for exactly 12 minutes. No peeking! That resting time cooks them through perfectly without turning the yolks chalky.
When that timer dings, it’s an emergency! You have to transfer those eggs right away into a big bowl loaded with ice and cold water—an ice bath! This step stops the residual heat from overcooking them, which is what makes the shells stick. Let them chill completely, about 10 minutes. Once they are cooled down, peeling is a dream, and you are ready to make that creamy filling!
Creating the Creamy Egg Filling for Classic Deviled Eggs with Dill Pickle Relish
Now that we have those perfectly cooked, easy-to-peel yolks separated, it’s time for the fun part—making this into that amazing Tangy Egg Salad Filling! You need to start by taking those yolks and mashing them really, really well in a medium bowl with a fork. I mean pulverize them until there isn’t a single lump left behind. If you leave chunks, your filling won’t be smooth, and frankly, it just looks sloppy!
Once they are powdery smooth, it’s time to bring in the party. Add your mayonnaise, the mustard, that vinegar, salt, and pepper. And here’s that star player again: the dill pickle relish. Remember what I said earlier? Make sure you’ve drained it super well! We’re mixing everything until it’s completely smooth and creamy. Keep stirring until you can’t tell where the yolk ends and the mayo begins. That ultra-creamy texture is key for these being the best deviled eggs!
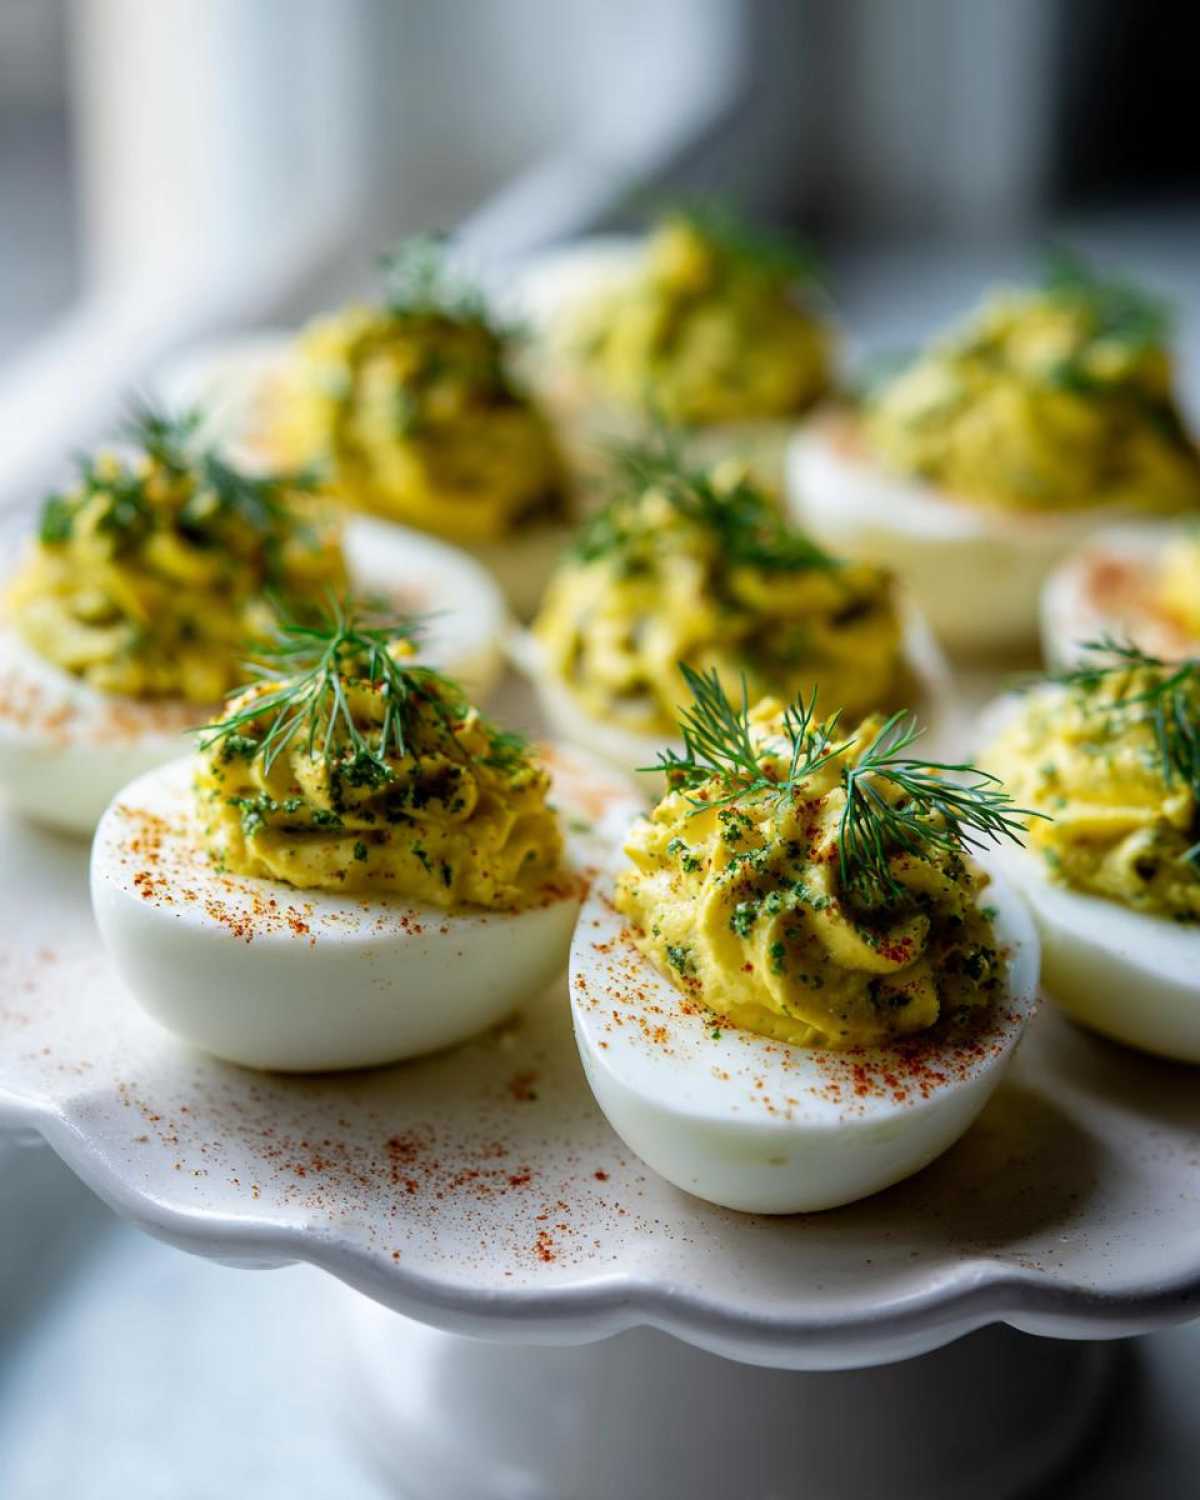
Pro Tips for the Smoothest Classic Deviled Eggs with Dill Pickle Relish Filling
If you really, truly want that professional, silky texture that melts in your mouth, I have a couple of tricks up my sleeve that I learned from watching my aunt—she’s a deviled egg fiend!
First, if you notice your yolks seem a little crumbly even after aggressive mashing, press them through a fine-mesh sieve right before you add the mayo. It sounds like an extra step, but oh my goodness, it makes the filling taste like velvet.
Second, when it comes to tools, don’t just use a fork! After the initial mashing, switch to a whisk or a small hand mixer for the final blend with the wet ingredients. It incorporates air and breaks down those last tiny bits of yolk way better than just a fork can. This simple switch elevates your filling instantly!
Assembling and Garnishing Your Classic Deviled Eggs with Dill Pickle Relish
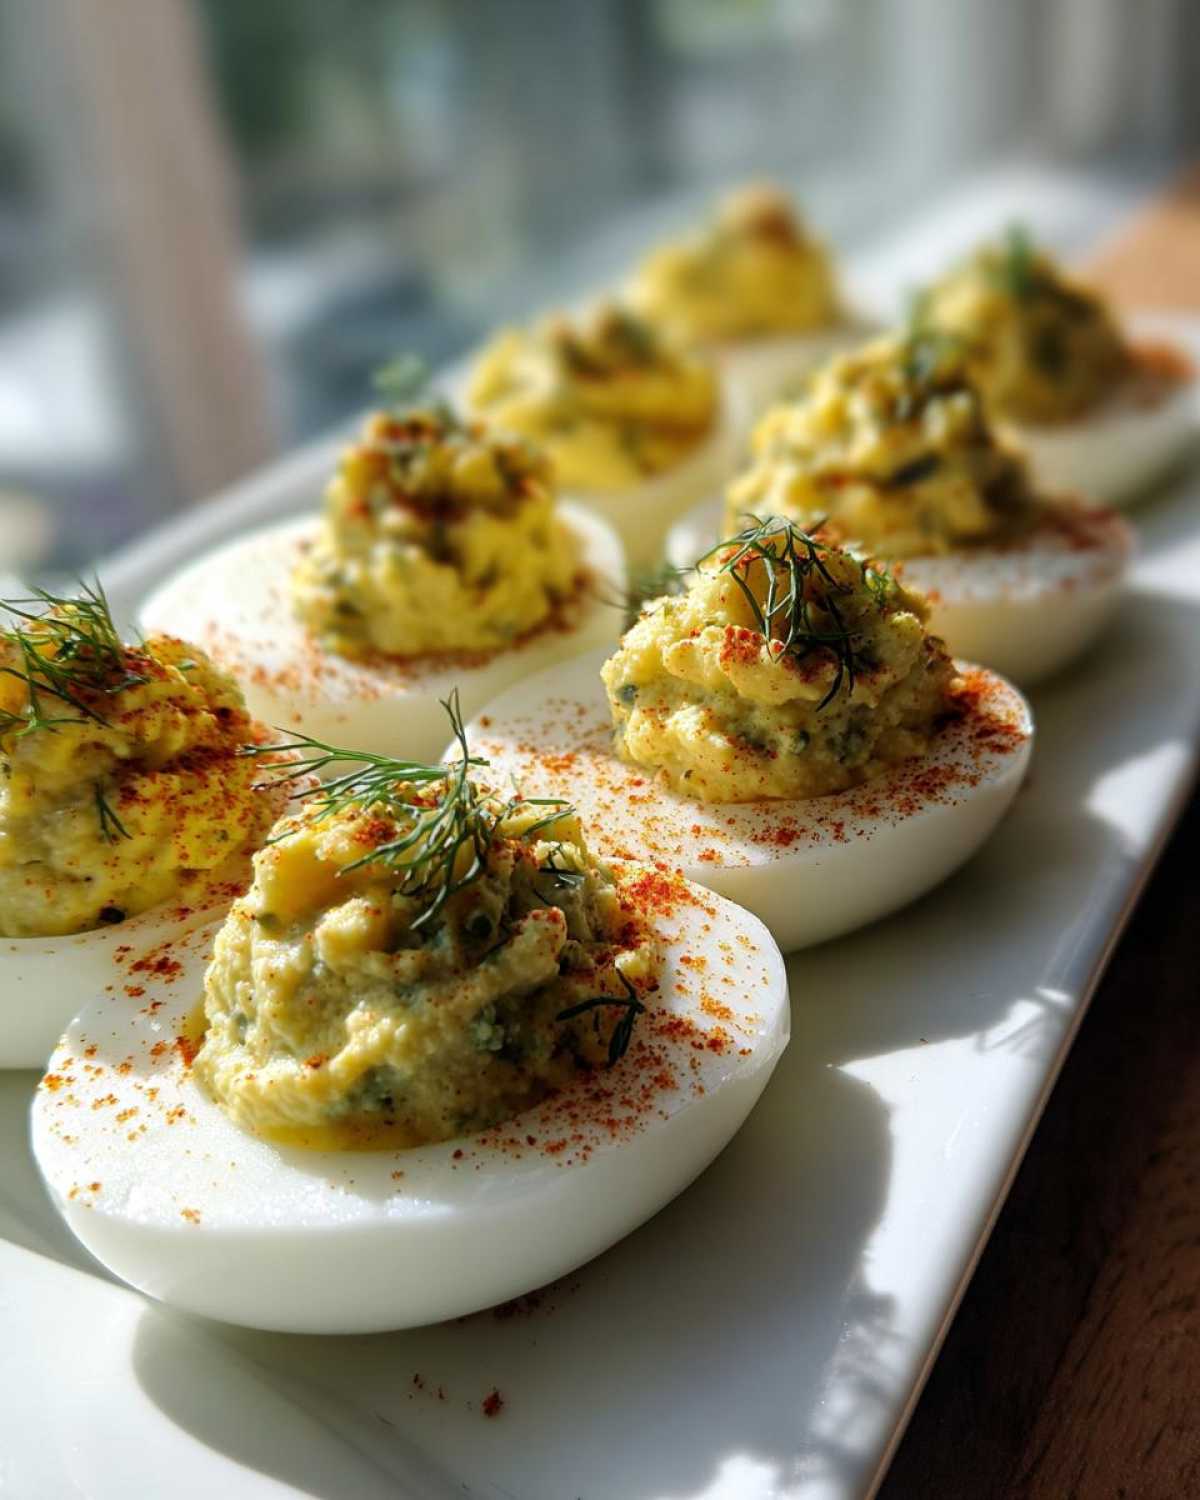
We’ve got the perfect creamy filling, so now we need to make these look as good as they taste! Nobody wants a sloppy deviled egg at a party, right? I highly recommend using a piping bag fitted with a star tip for the best presentation. It makes the filling look fancy and professional, turning them into actual Crowd Pleasing Snacks instantly!
If you don’t have a piping bag, don’t stress! You can definitely use a small spoon to carefully mound the filling into the egg white halves. Just try to make little swirls!
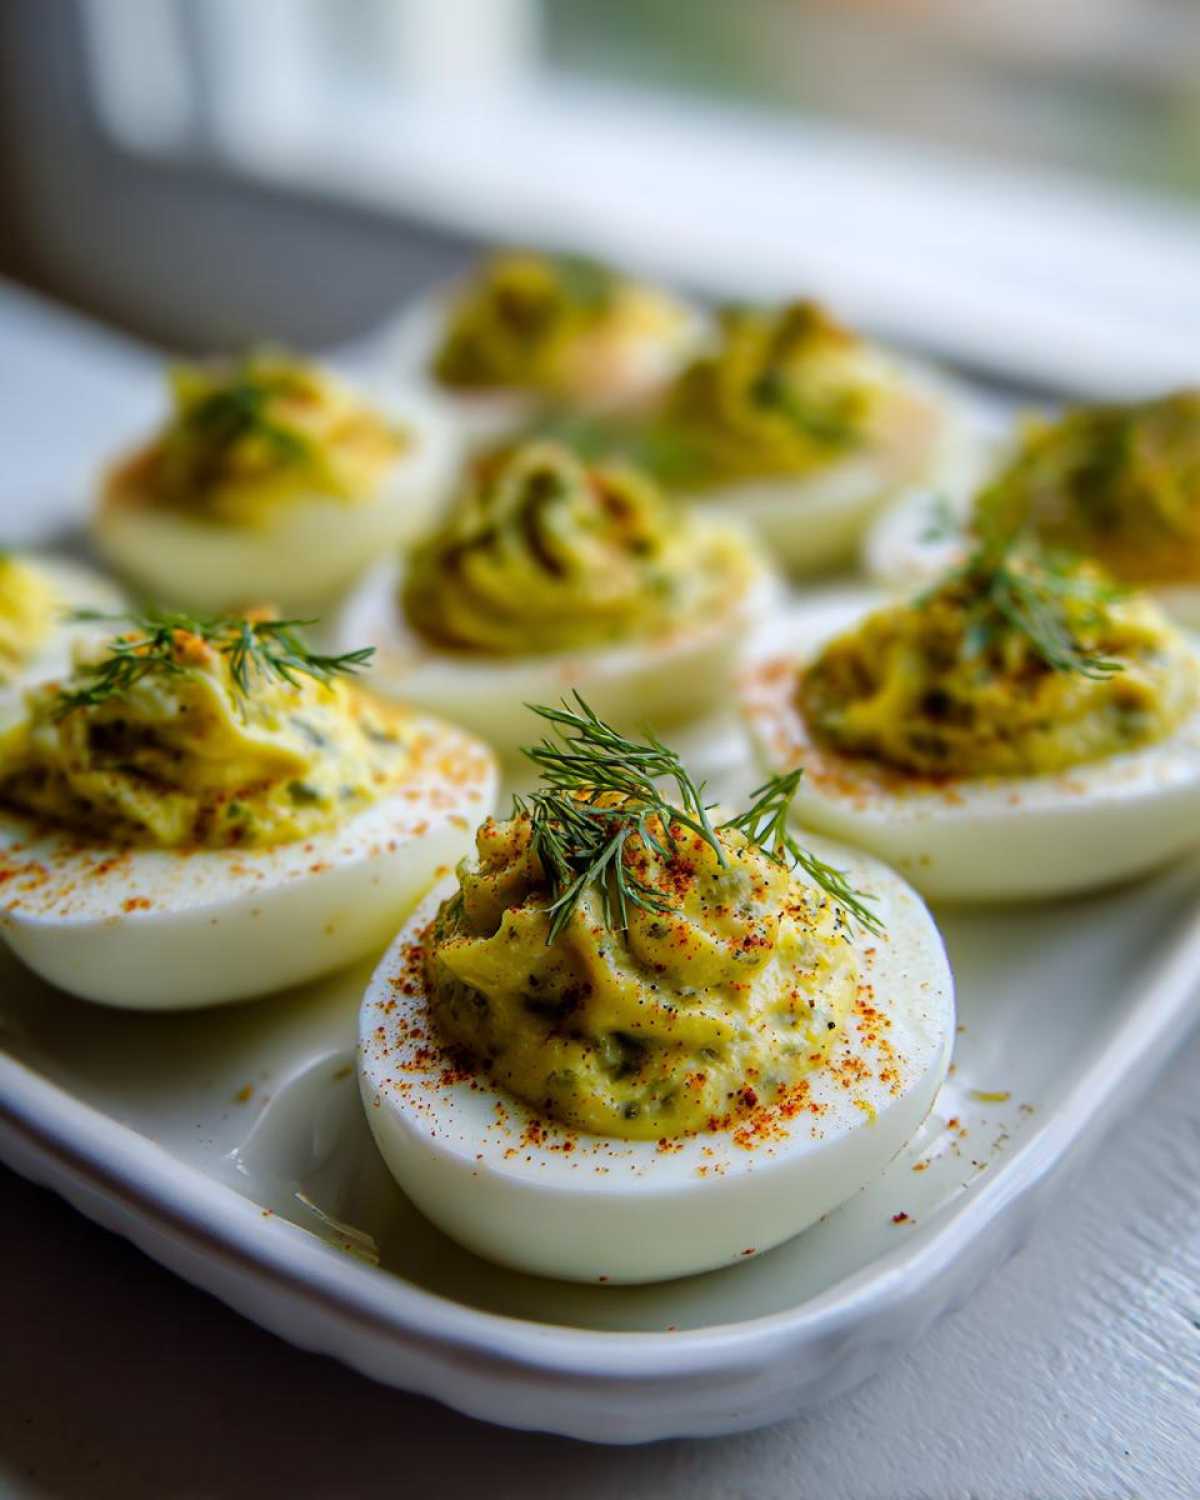
Once they are all filled up, the final step before serving is chilling. Do not skip this part! You must chill these eggs for at least 30 minutes. This lets the flavors settle in and firms up that creamy yolk mixture so it doesn’t ooze everywhere when people pick them up. Just before they hit the serving platter, dust them lightly, but definitely not heavily, with paprika. That pop of red color really makes them sing on the table!
Storage and Make Ahead Tips for Your Classic Deviled Eggs with Dill Pickle Relish
One of my favorite things about making these? They are fantastic Make Ahead Appetizers! You can absolutely make the creamy yolk filling up to a day ahead of time. Store that filling in an airtight container in the fridge. It actually lets those dill pickle flavors marry together, which is a bonus!
However, I never fill the egg whites until you are ready to serve, or at least within a few hours of serving. You want to keep those whites looking pristine! If you prep the whole tray, cover the serving platter tightly with plastic wrap—or better yet, use one of those plastic egg carriers if you have one. They last great in the fridge for about two days, though honestly, they never last that long at my house.
Now, about freezing? Don’t even try it with the assembled eggs. The mayonnaise separates and turns watery, making them sad little puddles. For best results as Picnic Basket Fillers, fill them right before you leave the house, or plan to chill them solid at the destination if you can! And remember to wait until the very last minute to sprinkle on that paprika garnish!
Frequently Asked Questions About Classic Deviled Eggs with Dill Pickle Relish
Can I use sweet pickle relish instead of the dill kind?
Oh, you certainly *can*, but then they won’t be Classic Deviled Eggs with Dill Pickle Relish anymore, will they? Sweet relish brings a very sugary flavor profile that competes with the savory mustard and egg. If you use sweet relish, you absolutely have to reduce the amount of sugar in your life elsewhere, or maybe skip the vinegar entirely. For the true tangy flavor that everyone expects from this classic recipe, stick to dill relish. It really is the defining flavor!
How do I prevent the filling from looking watery or runny?
This is usually a humidity issue! The number one culprit is always the relish. You have to drain it aggressively—I mean, press it between layers of paper towels until you think you’ve squeezed out all the moisture, and then squeeze it again! Also, make sure your mayonnaise is full-fat and not a low-fat option, because those watery ones break down when mixed. If you still find it too loose after mixing, just stir in an extra spoonful of mashed yolk or a tiny bit of dry mustard powder to bulk it up a bit. That’s my secret to combatting runniness!
Are these good for a picnic?
They are such a perfect Picnic Food Idea! Deviled eggs are designed to be handheld and satisfying. The only thing you have to watch out for is heat. Since this recipe contains mayonnaise, they need to stay cool to be safe, especially on a hot summer day. Pack them snugly in a cooler with plenty of ice packs underneath them. That’s how they survived our massive July Fourth potlucks!
Can I make these ahead of time for a big party?
Yes, you can definitely shorten your day-of workload! As I mentioned before, the filling keeps beautifully for up to 24 hours. Keep it covered tightly in the fridge. When you are ready to serve, spoon it into the whites. The only thing I advise against making ahead is adding the paprika garnish; it tends to get damp and sink into the filling if it sits too long. Garnish right before serving them up!
Estimated Nutritional Data for Classic Deviled Eggs with Dill Pickle Relish
Now, I know when we are making something this delicious for a crowd, we aren’t really counting every little nibble, but I always like to have a rough idea of what’s in these little flavor bombs! Since these are a classic appetizer often served alongside heavier fare, knowing the basics helps me balance the rest of the meal planning.
Here is the estimated breakdown for two halves of these Classic Deviled Eggs with Dill Pickle Relish. Keep in mind this is just an estimate based on perfectly sized, standard ingredients, so your results might vary slightly depending on how generous you are with the mayonnaise!
- Serving Size: 2 halves
- Calories: Around 90 calories
- Total Fat: About 7 grams (with 2 grams of that being saturated fat)
- Protein: A solid 4 grams
- Carbohydrates: Very low, just around 1 gram
- Sugar: Minimal, only about 0.5 grams
- Cholesterol: Approximately 95 mg
- Sodium: This is where the pickles and salt come in—plan for about 120 mg per serving.
See? Not so bad for such a popular, creamy snack! That protein boost really helps keep everyone satisfied while we wait for the main course to come out. Enjoy them!
Share Your Perfect Classic Deviled Eggs with Dill Pickle Relish
Well, that’s it! We’ve gone from cold eggs to the best appetizers you’ll ever serve. I really, truly hope you try these next time you have friends over or need something for that big summer picnic. They are my go-to, and I can’t wait to hear what you think!
Once you’ve tried these, please zip down to the comments section below and let me know how they turned out! Did you pipe them like a pro? Did you have to wrestle your family away from the platter before dinner time? I want all the details. If you loved them, please give this recipe 5 stars—it really helps other people find the best, most reliable recipe out there!
And if you snap a picture of your amazing tray of Classic Deviled Eggs with Dill Pickle Relish, please tag me on social media! Seeing your creations is seriously the highlight of my week. Happy cooking, friends!
PrintClassic Deviled Eggs with Dill Pickle Relish
A straightforward recipe for making creamy, classic deviled eggs featuring the tangy flavor of dill pickle relish.
- Prep Time: 20 min
- Cook Time: 12 min
- Total Time: 32 min
- Yield: 24 halves
- Category: Appetizer
- Method: Boiling and Mixing
- Cuisine: American
- Diet: Vegetarian
Ingredients
- 12 large eggs
- 1/2 cup mayonnaise
- 2 tablespoons yellow mustard
- 1/4 cup dill pickle relish, drained well
- 1 teaspoon white vinegar
- 1/4 teaspoon salt
- 1/8 teaspoon black pepper
- Paprika, for garnish
Instructions
- Place eggs in a large saucepan and cover with cold water by about one inch. Bring the water to a rolling boil over high heat.
- Once boiling, immediately remove the pan from the heat, cover it, and let the eggs stand for exactly 12 minutes.
- Transfer the eggs immediately to an ice bath (a bowl of ice and water) and let them cool completely, about 10 minutes.
- Peel the cooled eggs. Slice each egg in half lengthwise. Gently scoop the yolks into a medium bowl. Arrange the egg white halves on a serving platter.
- Mash the yolks thoroughly with a fork until no lumps remain.
- Add the mayonnaise, mustard, drained dill pickle relish, vinegar, salt, and pepper to the mashed yolks. Mix until the filling is completely smooth and creamy.
- Spoon or pipe the yolk mixture back into the hollows of the egg white halves.
- Chill the deviled eggs for at least 30 minutes before serving.
- Just before serving, sprinkle the tops lightly with paprika.
Notes
- For easier peeling, use eggs that are about one week old, not fresh from the carton.
- If you want a smoother filling, press the mashed yolks through a fine-mesh sieve before mixing in the other ingredients.
- Use a piping bag fitted with a star tip for a professional presentation.
Nutrition
- Serving Size: 2 halves
- Calories: 90
- Sugar: 0.5
- Sodium: 120
- Fat: 7
- Saturated Fat: 2
- Unsaturated Fat: 5
- Trans Fat: 0
- Carbohydrates: 1
- Fiber: 0
- Protein: 4
- Cholesterol: 95