

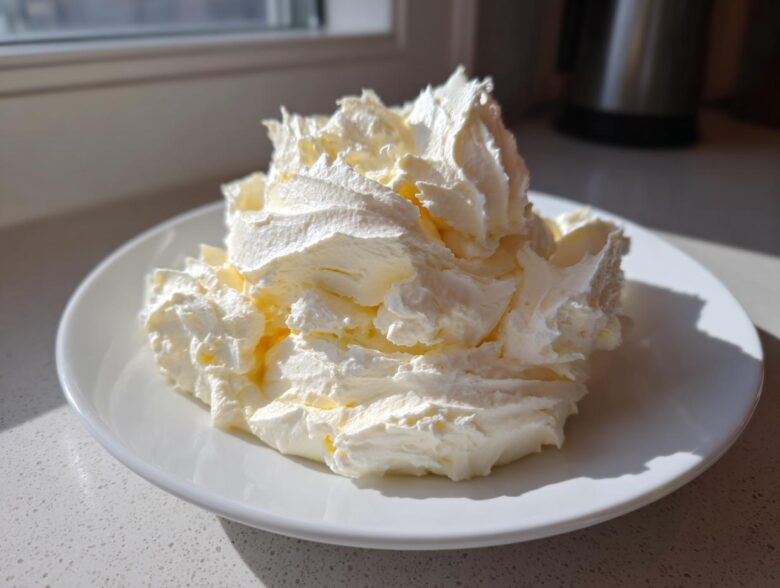
Okay, listen up because this is important: finding the right buttercream is maybe the biggest letdown in home baking. You spend hours on a perfect cake, and then you slap on some sugary, gritty topping, and the whole thing sinks. Been there, cried over that! That’s why Chloe and I are practically staking our reputation on this formula. This isn’t just icing; this is the Best Classic Vanilla Buttercream Frosting, and I promise you it’s impossibly creamy, totally fluffy, and ready in about ten minutes flat. Seriously! Once we nailed this simple American buttercream, our college dinner party mishaps started looking a lot less scary. This is the recipe we turned to time and time again when we needed reliable sweetness. If you want that smooth, velvety topping that holds its shape for piping every single time, stick with me. You can actually read more about our disastrous beginner kitchen adventures over on our story page!
Why This is the Best Classic Vanilla Buttercream Frosting Recipe
I know, I know, everyone claims their frosting is the best, but ours is seriously hard to beat because we focused on what matters: texture and speed. Chloe keeps asking me to update the cookie icing recipe, but honestly, this vanilla buttercream base works for everything! If you want a reliable, easy buttercream frosting that doesn’t taste like pure sugar, this is it. It’s the Best Buttercream for Cakes you’ll ever make. Here is why we love it so much:
- It takes about 10 minutes, max. No stove, no fuss, just pure mixing power.
- The resulting texture is just perfect—it’s sturdy enough for decorating but melts beautifully in your mouth.
- It pipes like a dream! Seriously, those swirls on cupcakes look professional without requiring Martha Stewart levels of skill.
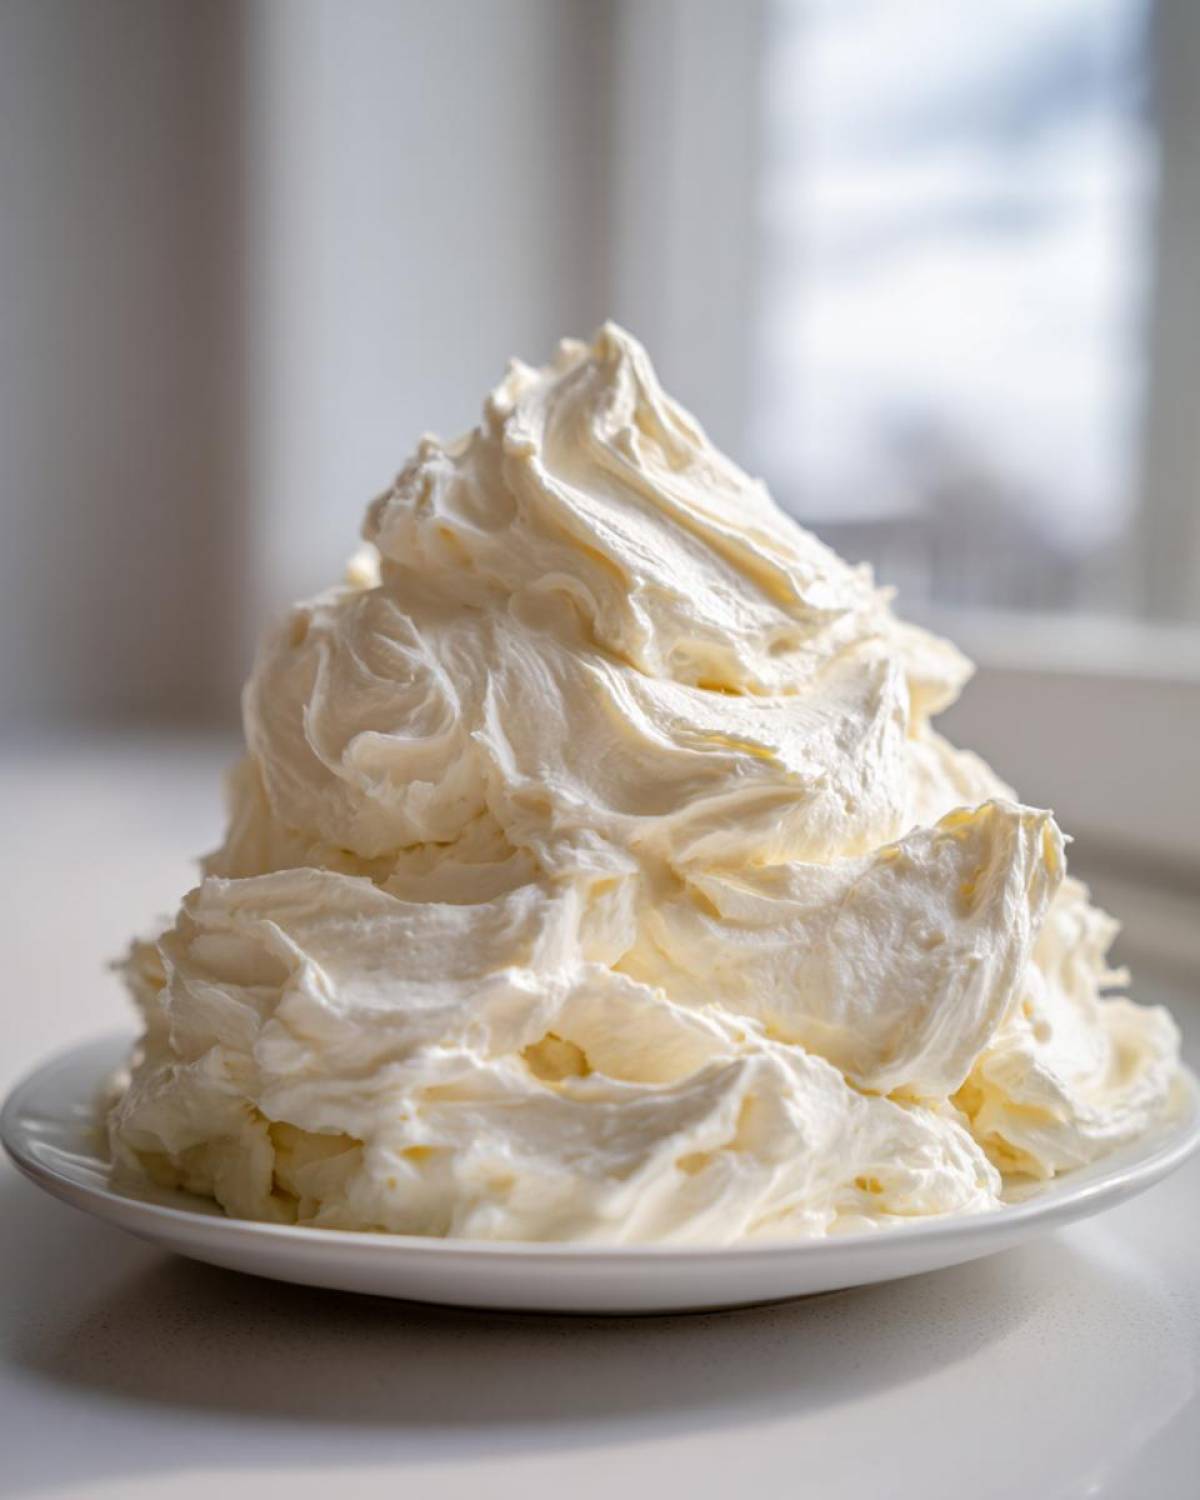
Achieving That Perfect Fluffy Cupcake Icing Texture
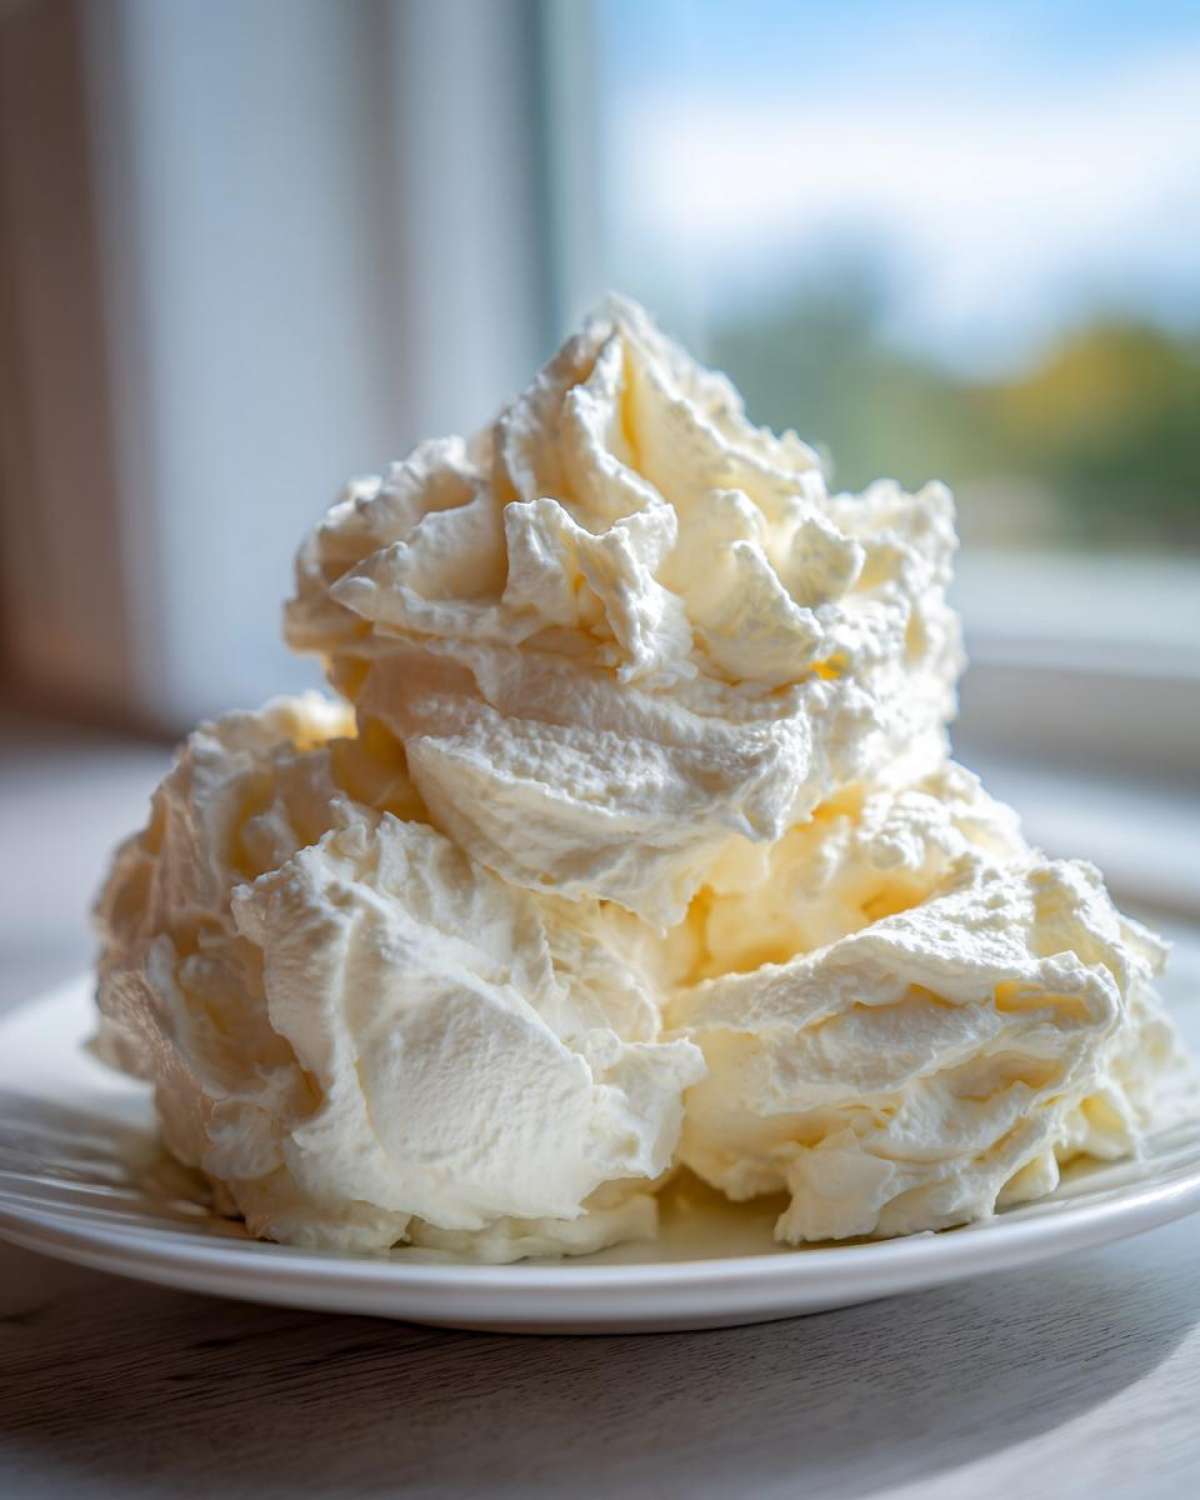
The secret sauce to making this vanilla buttercream frosting fluffy isn’t actually secret, it’s just patience with the mixer! You have to beat that butter until it’s completely smooth and pale *before* the sugar even enters the equation. And remember, the butter must be room temperature—not melty puddle temperature. That initial whipping action traps all those tiny air bubbles. When you add the sugar gradually, those bubbles don’t escape, which gives you that gorgeous, cloud-like finish instead of a heavy, dense topping.
Essential Ingredients for Rich Vanilla Flavor Frosting
This vanilla buttercream frosting is built on just a handful of things, but their quality really matters, trust me. I listed everything out for you below so you can gather your supplies before you even turn on the mixer. See those specific instructions? Those aren’t me being bossy; those details are what stop your frosting from turning into a greasy, gritty mess. We need one cup of unsalted butter that is genuinely soft but not melted. Then, we need four full cups of powdered sugar, and you absolutely MUST sift that sugar first. Seriously, sift, sift, sift!
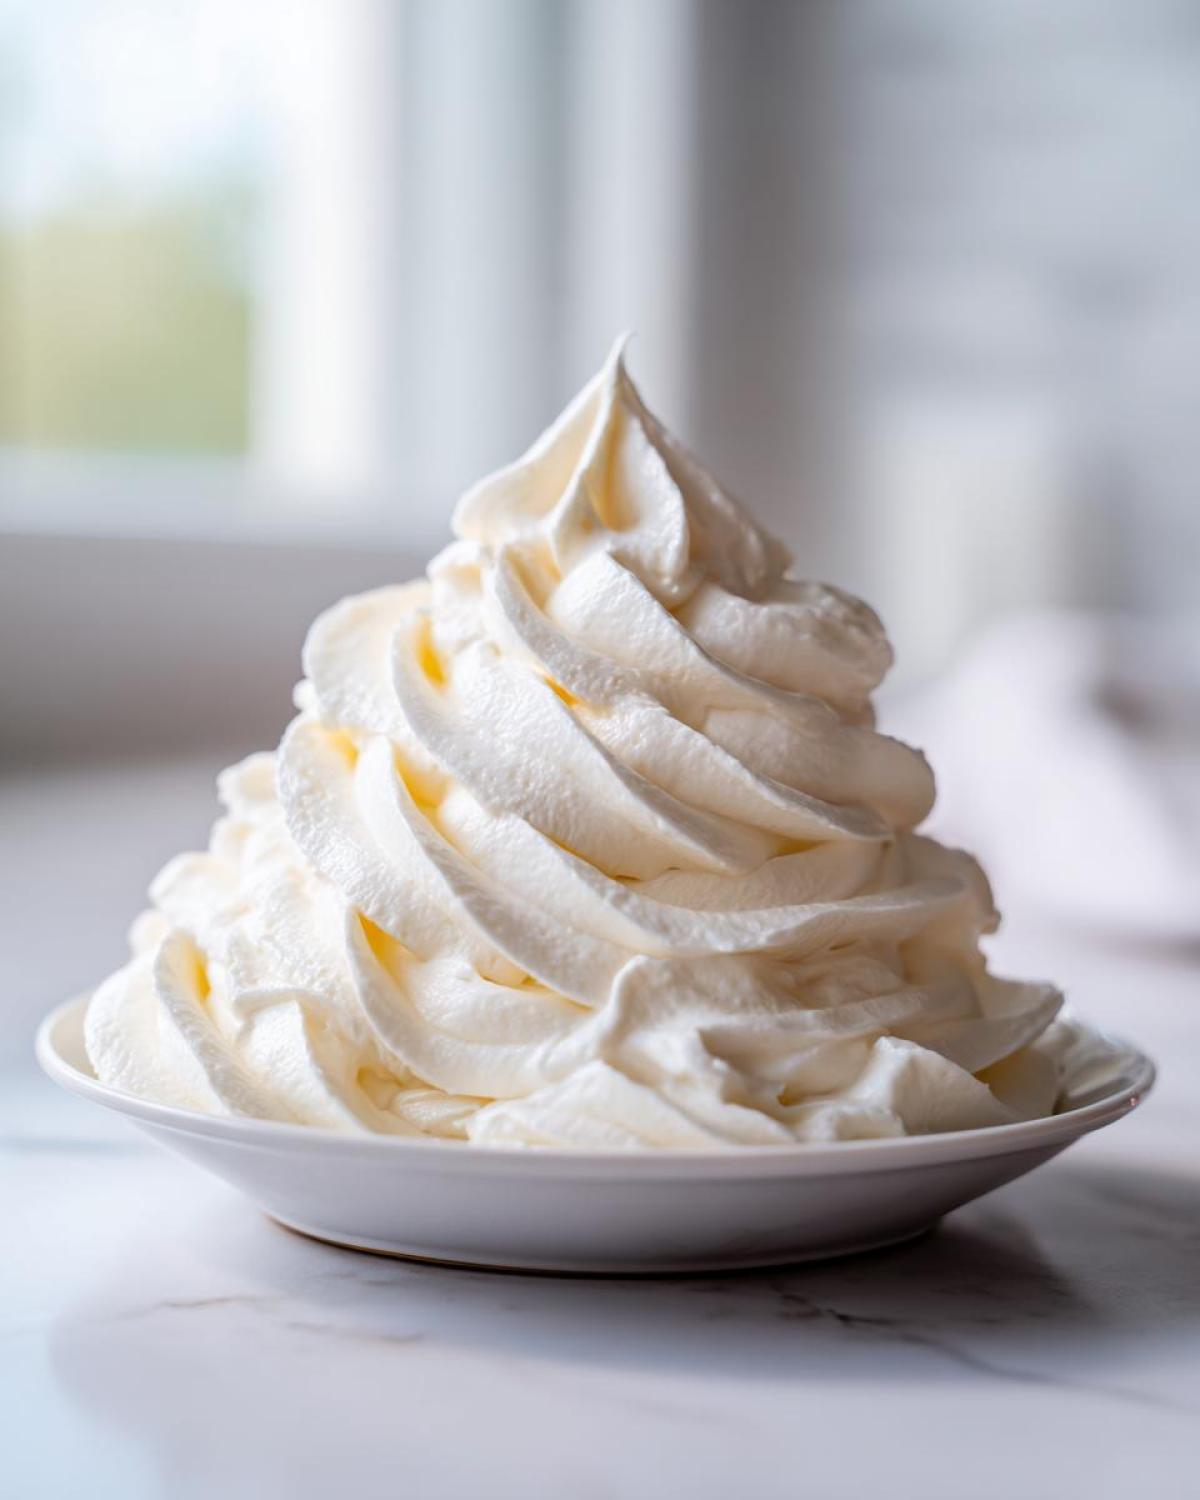
Ingredient Notes and Substitutions for Your Vanilla Buttercream Frosting
For the most incredible depth of flavor, skip anything imitation and splurge on pure vanilla extract. That rich vanilla flavor frosting everyone raves about comes straight from quality vanilla. If you’re trying to make it super thick for detailed piping, use heavy cream because it has less water content than milk. If you want it slightly softer, use milk. And please, don’t skip that tiny pinch of salt! It’s essential; it cuts through the sweetness and makes the whole thing taste balanced instead of like you just licked a lollipop. It makes this creamy dessert topping sing!
How to Prepare This Quick Buttercream Recipe Step-by-Step
This is where the magic happens, and honestly, it moves fast! I almost always have my stand mixer ready to go before I even sift the last bit of powdered sugar. We need to build that structure right from the start. The instructions look simple, but the timing is everything here. Remember what I said about patience in the previous section? That starts now. Get your paddle attachment ready! You’re going to be using it for the entire mixing process, which is why this quick buttercream recipe is so user-friendly.
First things first: Beat that room-temperature butter on medium for a solid two minutes—no cheating! We want it totally smooth. Scrape the sides down well. Then, add your sifted sugar slowly, one cup at a time, keeping the speed low so you don’t launch a sugar cloud across your kitchen. Once the sugar is incorporated, toss in your vanilla and salt. Now, crank that speed up and beat it for a full three minutes. This is crucial for getting that airy look before you ever touch the cream!
Mixing for the Ultimate Creamy Dessert Topping
Don’t rush that initial butter beating; if the butter isn’t perfectly creamy first, the whole batch will be grainy later. When you add the sugar, go slow! I mean it—low speed until it’s just incorporated. If you blast it on high right away, you’re basically dusting your cabinets with it! After the sugar and vanilla go in, that three-minute high-speed whip is what creates the necessary air. Scraping the bowl after the butter and again after the sugar goes in ensures every bit gets mixed evenly for one smooth, luxurious base.
Piping Buttercream Guide: Achieving Perfect Consistency
This final addition of cream or milk is where you customize this for your needs, especially if you are using this for decoration later. We add it one tablespoon at a time because consistency is everything for a good piping buttercream guide. If you want stiff, sharp details, just touch the liquid, maybe even use less than two tablespoons total. If you want something softer for swooshing on top of a quick batch of cupcakes, you might need those full four tablespoons. If you mess up and it gets too thin? Don’t panic! Just beat in a little more powdered sugar, a quarter cup at a time, until it stiffens right back up. That final minute whipping on high speed will make sure that beautiful vanilla buttercream frosting is ultra-fluffy and ready for decorating!
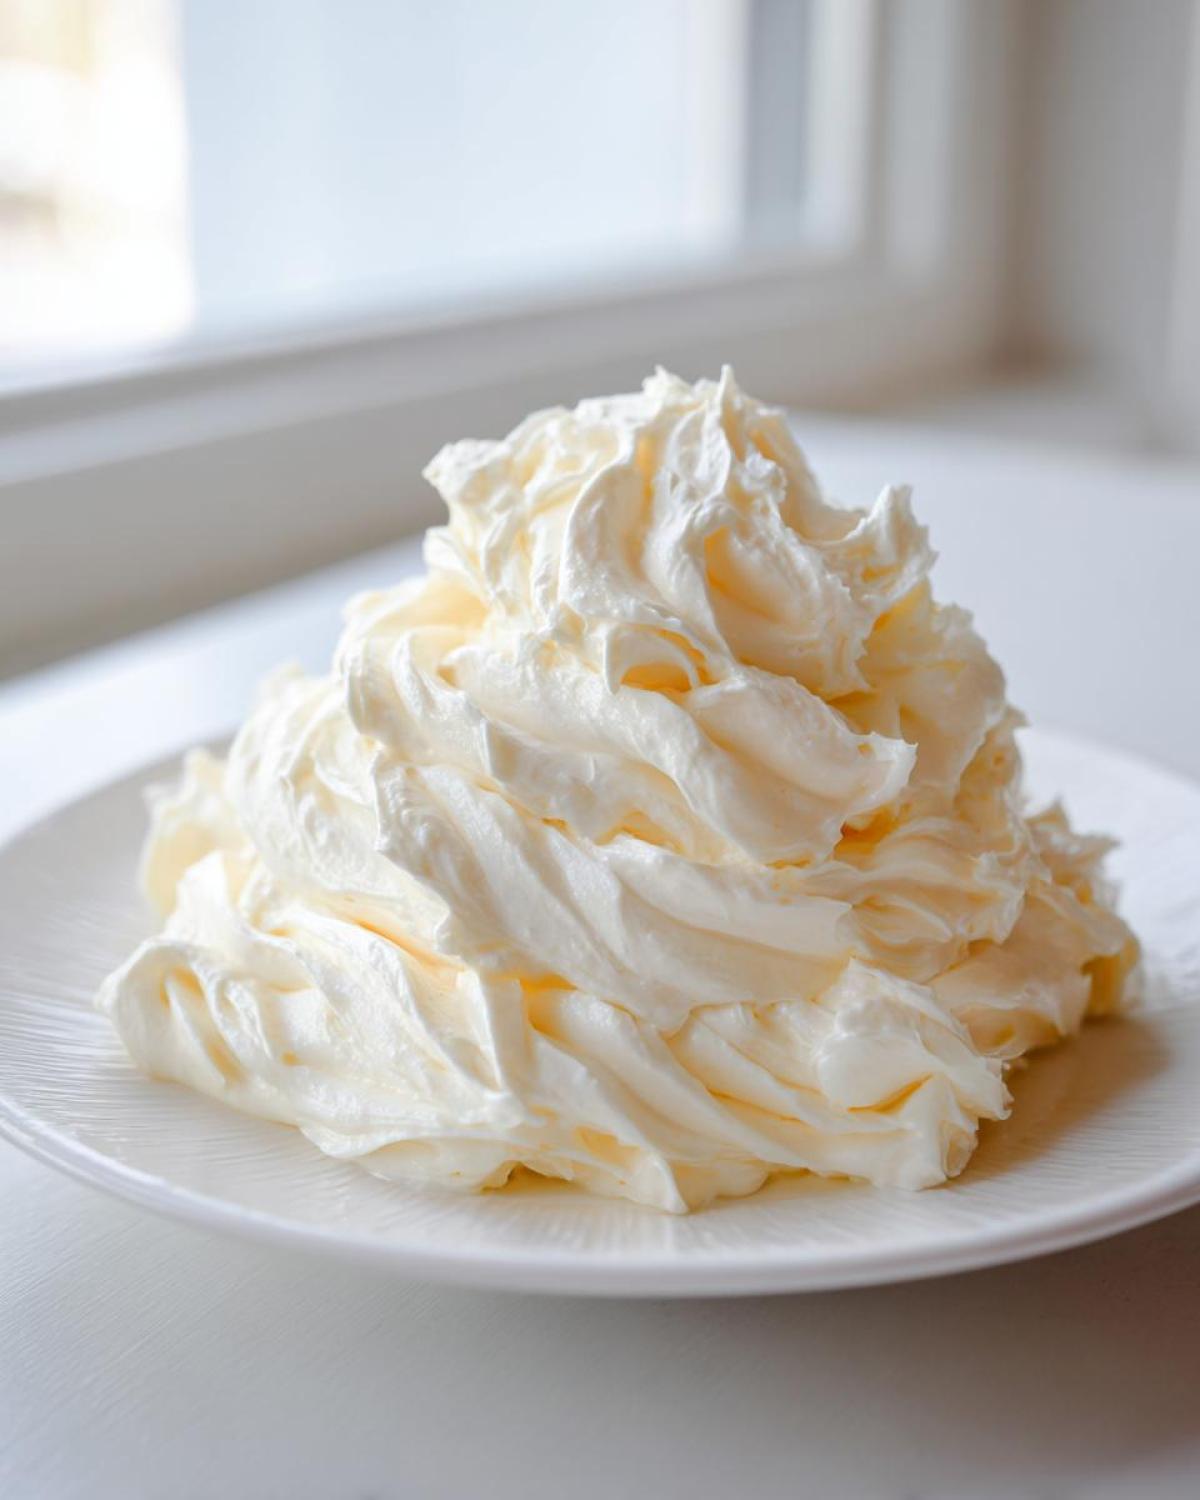
Tips for Success with Homemade Vanilla Icing
Look, Mia swears up and down that all baking is just following instructions, but with frosting, it’s really about technique. If you want that truly reliable, smooth result every time, you need to treat your butter right. I cannot stress this enough: room temperature doesn’t mean melty goo! If the butter looks oily on the edges, you’ve gone too far, and your final vanilla buttercream frosting will be greasy. You want it soft enough for your finger to make a gentle indent, that’s all.
When you start adding sugar? Go slow, okay? We are trying to mix, not create an airborne sugar cloud that coats the whole kitchen. Keep the mixer on low until that sugar mostly disappears into the fat. If you’re finding that your frosting is too stiff after you’ve added all the liquid, don’t just keep adding cream—you might end up with soup! Instead, pop the bowl into the fridge for 15 minutes. Chilling helps it firm up, and then you bring it out and give it a final, quick whip with the paddle attachment. Doing this ensures you avoid that gritty texture and maintain the fluffiness we worked so hard to create! This tip works just as well if you ever need to chill a batch of garlic butter, so it’s a good general kitchen habit!
Troubleshooting Common Vanilla Buttercream Frosting Issues
Even the simplest recipes can have off days, right? Don’t worry if your vanilla buttercream frosting isn’t looking perfect right out of the gate. If it’s grainy, that means you either didn’t sift your powdered sugar well enough, or you didn’t whip the mixture long enough in the end. Give it another three minutes on medium-high speed; sometimes the sugar just needs extra agitation to dissolve into the fat. If your frosting looks a little too yellow, it’s probably because your butter was slightly darker. For the whitest, most classic cake frosting look, I always try to grab the palest butter I can find!
Storage and Reheating Instructions for Your Frosting
Once you’ve made this dreamy vanilla buttercream frosting, you might have leftovers, which is a great problem to have when something tastes this good! If you aren’t using it right away, pop it into a truly airtight container. If your kitchen stays cool, it’s fine on the counter for a day, but for longer storage, the fridge is best. And don’t worry if it gets super firm! Just let it sit out for about 30 minutes until it warms up a little. Then, give it a good 30-second blast in the stand mixer again. That re-whipping brings all that glorious air back in. Check out our guide on caramelized onions—we use a similar ‘gentle reheat’ approach for balancing flavors!
Frequently Asked Questions About This Classic Cake Frosting
I always get tons of questions when people try this recipe for the first time. It’s super reliable, but everyone bakes a little differently, so here are the things I hear most often about making this classic cake frosting. If you’re trying to figure out what to bake next, definitely check out our main blog page for tons of ideas!
How much frosting does this recipe actually make?
This specific batch yields about five cups, which is perfect for generously covering one standard 9-inch layer cake or giving about 18 cupcakes a really nice swirl. If you’re tackling a huge tiered cake, you’ll definitely want to double the recipe, but that’s easy—just remember to add your liquid slowly!
Why is my vanilla buttercream frosting too soft?
Nine times out of ten, this means the butter was too warm when you started, or you added too much milk/cream too fast. Don’t panic! Scoop up your soft frosting, pop it in the fridge for about 15 minutes to firm up slightly, and then put it back on the mixer and beat it on high speed again. It traps the air back in and firms right up!
Can I use this recipe for cookies or just cakes?
Absolutely! This is my favorite homemade vanilla icing for cookies, especially cut-out shapes. If you want it super stiff to hold sharp edges on a cookie, use just two tablespoons of cold milk, and make sure you use the full four cups of sifted sugar. This is a classic American buttercream, so it crusts up nicely.
Can I color this American Buttercream Tutorial?
Yes, you totally can, and it’s super fun! The key when coloring this vanilla buttercream frosting is to use gel food coloring, not the liquid drops you find in the grocery store aisle. Liquid drops add extra moisture, which can totally upset the balance and make your frosting runny. A tiny dab of gel color gives you bright, vibrant shades without thinning out that perfect creamy base.
Estimated Nutrition for Creamy Dessert Topping
Now, let’s talk fuel for the fun! Because this is butter and sugar heaven, the numbers can look a little scary, so keep in mind these are just rough estimates based on the ingredients I used. If you splurge on fancy European butter or organic powdered sugar, things might shift just a tiny bit. I always say you can look at the calorie count later; right now, just enjoy the fact that you made the creamy dessert topping that tastes this incredible! Here is the typical breakdown per half-cup serving, just so you know what a generous scoop looks like.
- Serving Size: 1/2 cup
- Calories: 420
- Sugar: 75g
- Fat: 14g
- Protein: 1g
Remember, this is just an estimate! The exact numbers depend on the different brands of butter and cream we used back in the kitchen when we first tracked this vanilla buttercream frosting.
Share Your Perfect Vanilla Buttercream Frosting Creations
Okay, now it’s your turn! We’ve shared our best advice on achieving that perfect, fluffy texture, but I truly want to see what you create. If you made this vanilla buttercream frosting, please hop down to the comments and give us a star rating—five stars if you’re feeling the love! Chloe and I check every single comment, and we just adore seeing photos of your cakes and cupcakes. Seriously, tagging us or just leaving a note about how easy it was makes our whole week. We hope this recipe makes your next celebration super sweet! If you have questions or want to send us a fan mail note, you can always find us over at contact!
PrintThe Best Classic Vanilla Buttercream Frosting: Creamy and Fluffy
Learn how to make the best classic vanilla buttercream frosting. This American buttercream is smooth, incredibly fluffy, and perfect for piping on cakes and cupcakes. It comes together quickly with simple ingredients.
- Prep Time: 10 min
- Cook Time: 0 min
- Total Time: 10 min
- Yield: About 5 cups
- Category: Dessert Topping
- Method: Mixing
- Cuisine: American
- Diet: Vegetarian
Ingredients
- 1 cup unsalted butter, softened to room temperature
- 4 cups powdered sugar, sifted
- 1 teaspoon pure vanilla extract
- 2 to 4 tablespoons heavy cream or milk
- Pinch of salt
Instructions
- Place the softened butter into the bowl of a stand mixer fitted with the paddle attachment. Beat the butter on medium speed until it is completely smooth and creamy, about 2 minutes. Scrape down the sides of the bowl.
- Gradually add the sifted powdered sugar, one cup at a time, mixing on low speed until just combined after each addition.
- Add the vanilla extract and the pinch of salt. Increase the mixer speed to medium-high and beat for 3 minutes until the mixture is light and fluffy.
- Add the heavy cream or milk, one tablespoon at a time, beating well after each addition until you reach your desired smooth, pipeable consistency. If the frosting seems too thick, add more liquid by the teaspoon. If it is too thin, add more powdered sugar by the quarter cup.
- Beat on high speed for a final 1-2 minutes to incorporate air, making the frosting extra fluffy. Use immediately for frosting cakes or cupcakes.
Notes
- For the creamiest texture, make sure your butter is truly at room temperature, not melted.
- If you need a stiffer frosting for detailed piping, use less liquid or add a little more powdered sugar.
- If the frosting seems too soft after mixing, chill it in the refrigerator for 15 minutes before using it for decorating.
- This recipe makes enough frosting to generously cover one 9-inch layer cake or about 18 cupcakes.
Nutrition
- Serving Size: 1/2 cup
- Calories: 420
- Sugar: 75
- Sodium: 45
- Fat: 14
- Saturated Fat: 8
- Unsaturated Fat: 6
- Trans Fat: 0
- Carbohydrates: 74
- Fiber: 0
- Protein: 1
- Cholesterol: 35