

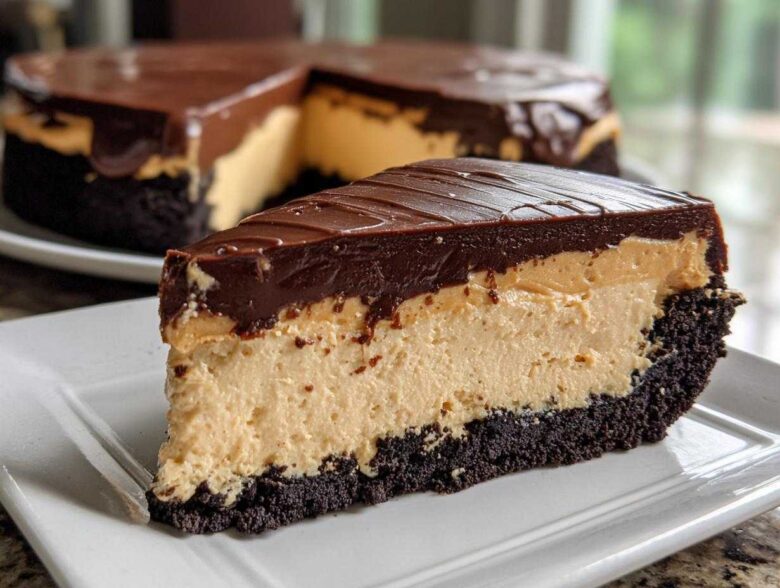
Okay, let’s talk about desserts that deliver maximum shock-and-awe factor with minimum effort. You know those moments when you need a showstopper for a gathering, but the thought of turning on the oven actually makes you want to order pizza instead? Been there, done that (trust me, check out our About Us page for the disaster stories).
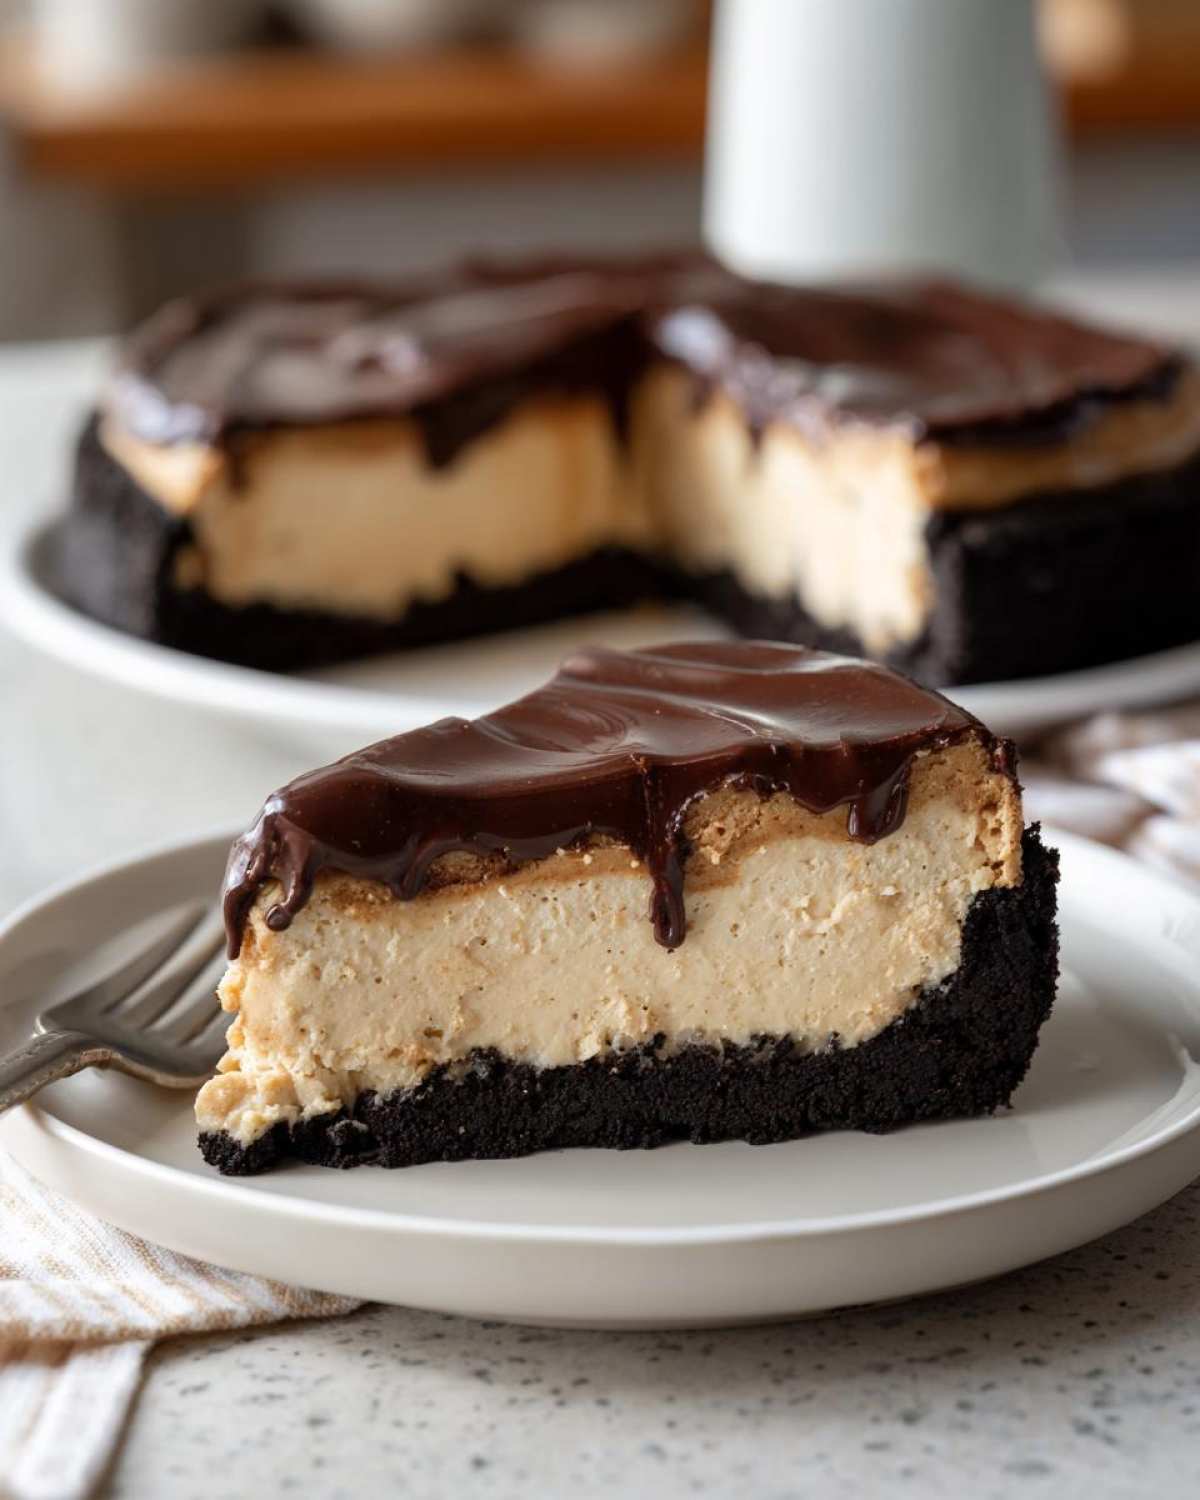
That is why I am thrilled to share this Easy No-Bake Creamy Peanut Butter Pie. Seriously, this recipe is my go-to when company shows up unexpectedly, or when the holiday dessert calendar is already overflowing. We ditched the baking entirely! It features this gloriously rich, smooth filling sitting perfectly in a buttery, chocolatey Oreo crust. This isn’t some airy, thin filling, either—it’s decadent, uses just a few simple steps, and is hands-down the best Peanut Butter Pie you’ll ever whip up without using an oven. You absolutely have to try this!
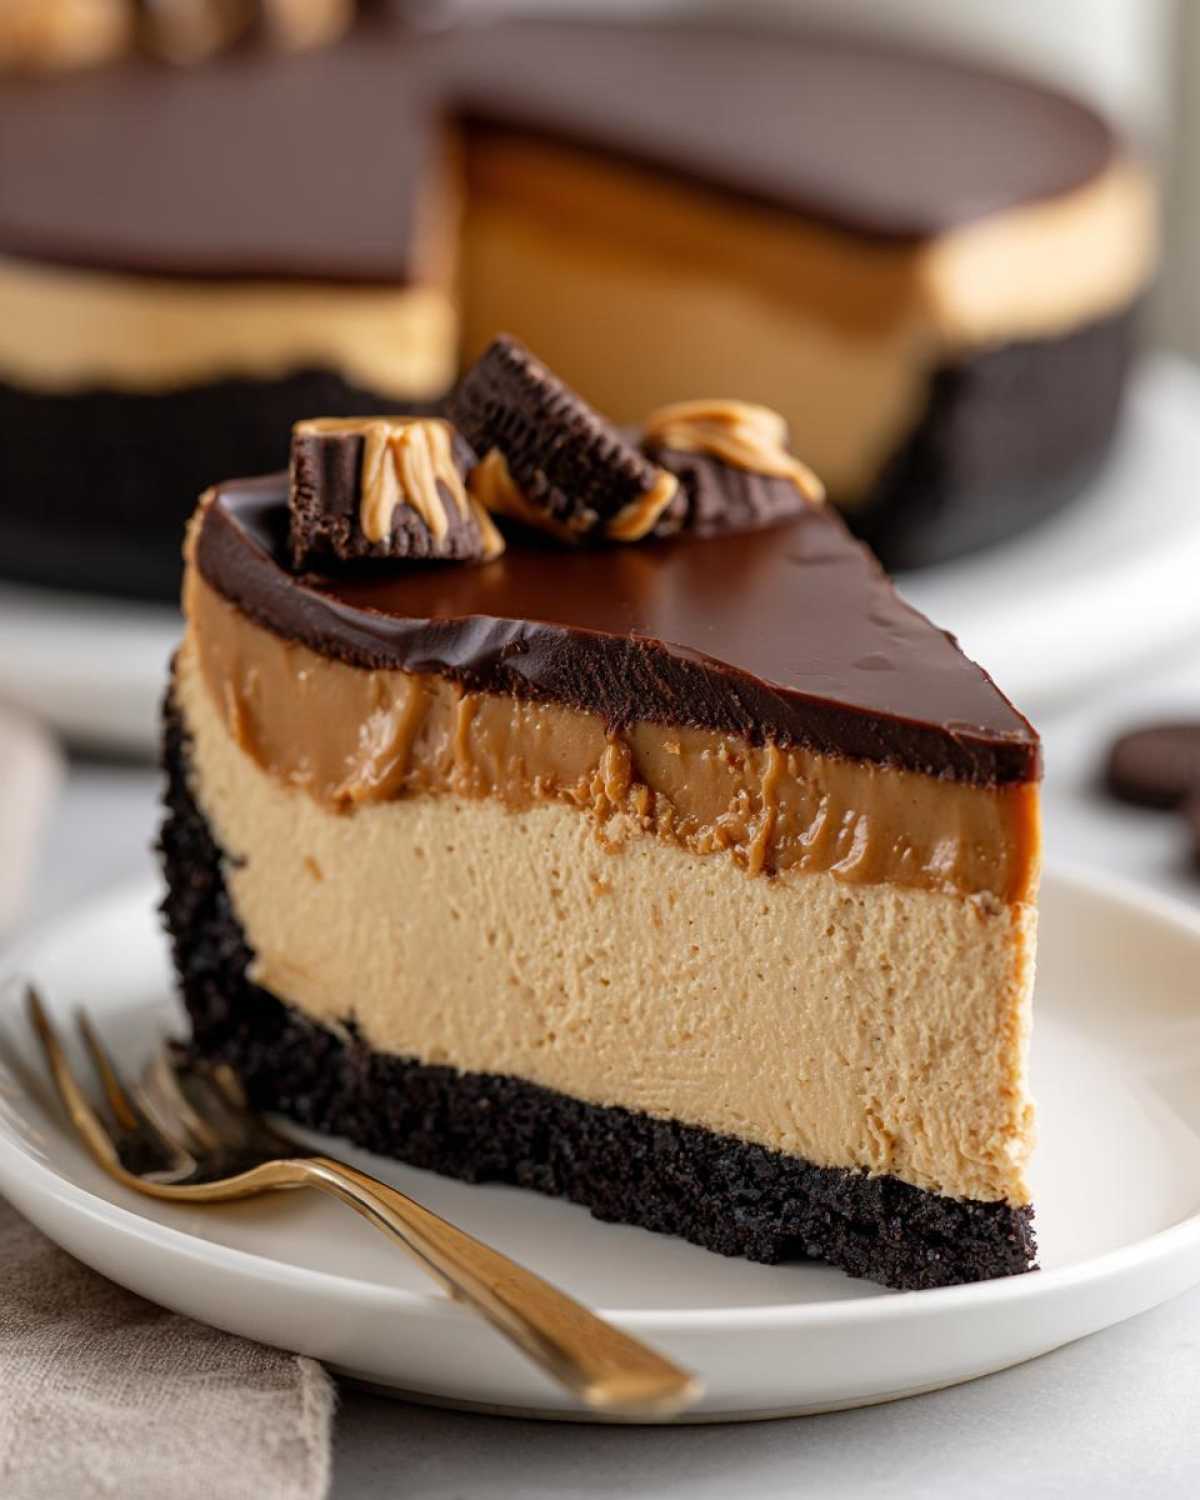
Why This No Bake Peanut Butter Pie is the Best Crowd Pleaser Dessert
If you’re looking for a simple recipe that disappears the second you put it on the table, stop searching! This No Bake Peanut Butter Pie is pure magic because it solves so many problems at once. Mia usually handles the detailed oven baking, but even she swoons over how fast this comes together.
Here’s why this dessert always wins big at parties:
- No Oven Required: It’s one of those glorious No Oven Desserts. This keeps the kitchen cool during summer or frees up your oven for the main course during the holidays.
- Incredible Texture: The filling is unbelievably Creamy Peanut Butter Pie perfection—rich, thick, and totally decadent without needing eggs or baking time.
- Lightning Fast Prep: Most of the active mixing time is less than 20 minutes, making it a stellar choice for a super Quick Peanut Butter Dessert.
- Guaranteed Hit: Whether it’s set up next to savory dishes or serving as the grand finale, this Crowd Pleaser Dessert always vanishes first!
Gathering Ingredients for Your Creamy Peanut Butter Pie Recipe
Alright, you’ve decided to conquer dessert with minimal effort, which is my favorite kind of cooking! The great news about this Peanut Butter Pie Recipe is that you probably have most of this tucked away in your pantry already. Since we aren’t baking, precise temperature matters more than usual, so make sure that cream cheese is truly softened—no one wants little lumps in this smooth dream!
Here’s what you need to collect before we start the assembly line. I’ve broken it down by section so you don’t accidentally put the chocolate chips into the filling mixture (oops!).
For the Crust:
- 1 1/2 cups crushed Oreo cookies (that’s about 25 cookies, just crush them in a zip-top bag—so fun!).
- 1/2 cup unsalted butter, melted.
For the Filling:
- 1 (8 ounce) package cream cheese, softened completely.
- 1 cup creamy peanut butter—I swear by the regular, shelf-stable stuff here!
- 1 1/2 cups powdered sugar.
- 1 teaspoon vanilla extract.
- 1 (12 ounce) container frozen whipped topping, thawed.
And the crowning glory, the Chocolate Topping:
- 1 cup semi-sweet chocolate chips.
- 1/4 cup heavy cream.
- 1/4 cup creamy peanut butter (yes, more peanut butter!).
Step-by-Step Instructions for the Easy Peanut Butter Pie
Okay, deep breaths! Because we aren’t baking, this recipe is all about technique and timing. We move fast in the beginning, then we let the cold do the work. Pay close attention to the chilling times, because that’s the key to getting a filling that holds its shape when you finally slice into this incredible Peanut Butter Pie.
If you ever need tips on how to make other things just as fast—like my famous chewy no-bake granola bars—just come back and check the archives later!
Creating the Oreo Crust Pie Base
First things first, we build the foundation! Grab that bowl with your crushed Oreos and melted butter. Mix them up until every crumb looks damp and muddy. Press that mixture down firmly—use the bottom of a measuring cup—into the bottom and right up the sides of your 9-inch pie plate. Don’t be shy with the pressure! Pop that crust straight into the freezer while you whip up the creamy filling.
Mixing the Smooth Peanut Butter Filling
In a big bowl, we start with the cream cheese, beating it until it’s totally lump-free; smoothness is non-negotiable for a great Creamy Peanut Butter Pie! Then, bring in the peanut butter and the powdered sugar. Mix until that’s all incorporated. Now for the magic touch: gently fold in your thawed whipped topping. I mean gently! If you overmix this, you deflate all the air, and we want this filling fluffy, not heavy. Stop mixing the moment everything looks striped when making this Peanut Butter Pie.
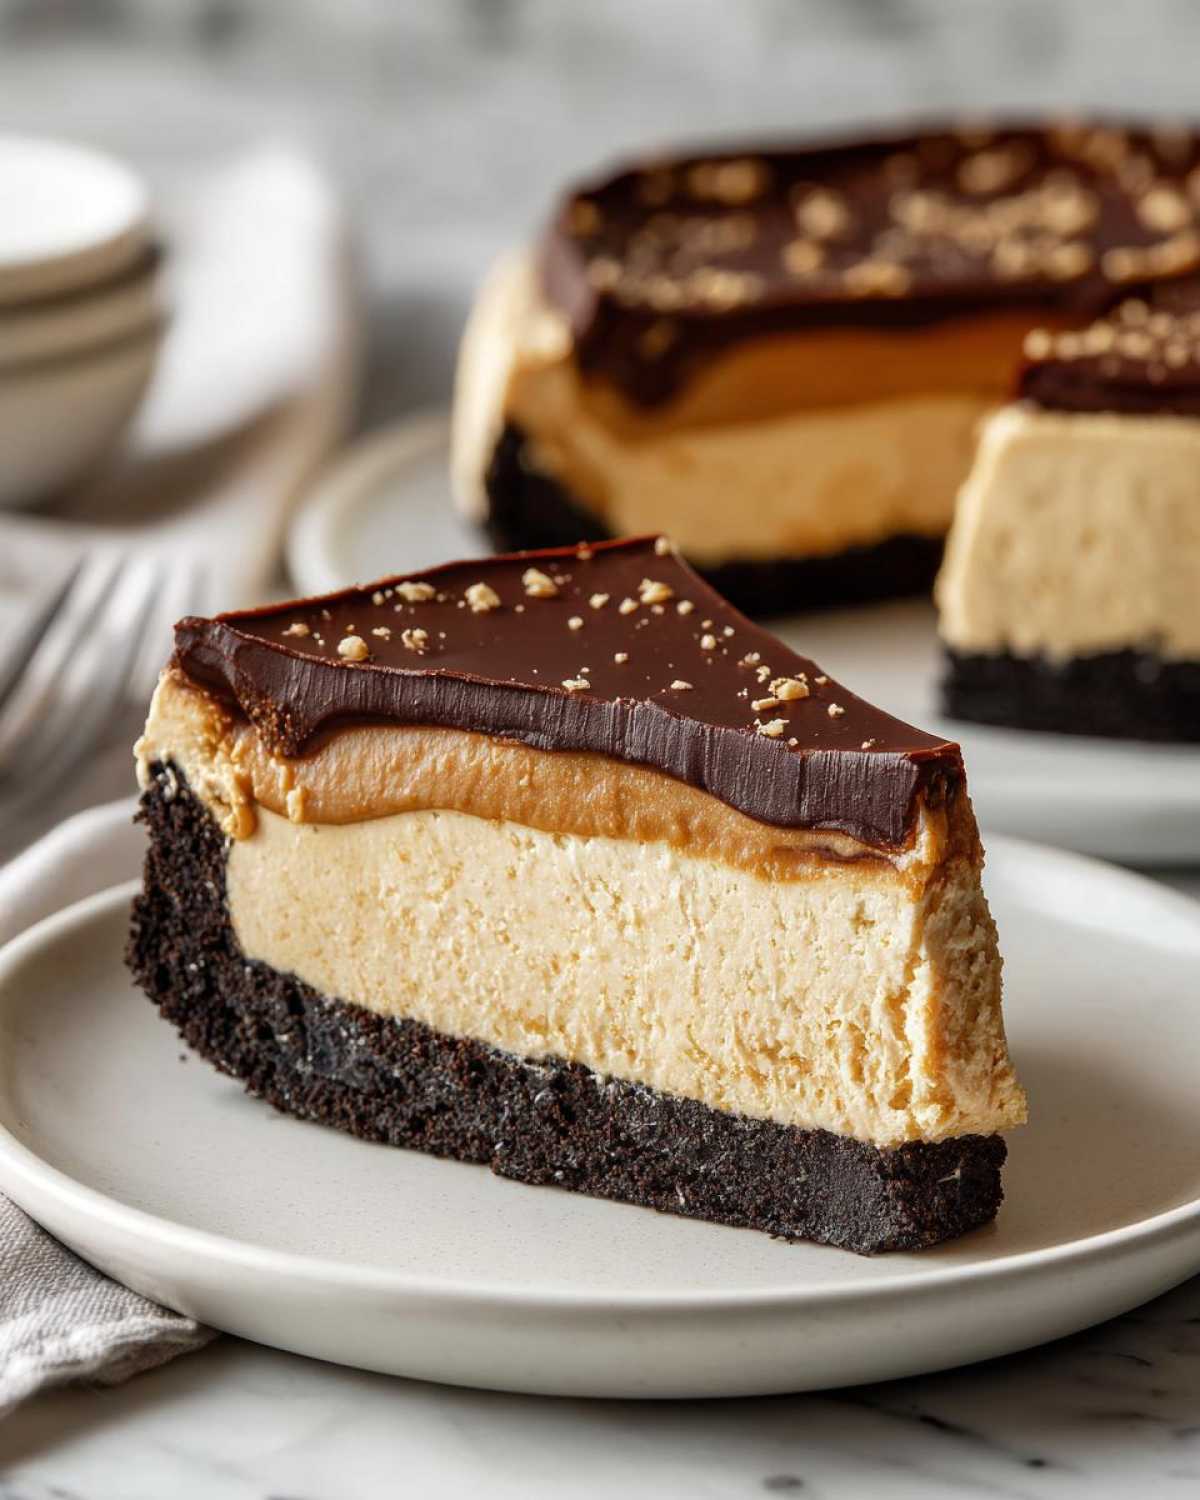
Preparing and Applying the Chocolate Topping
Time for the chocolate drizzle! Toss those chips, heavy cream, and the extra peanut butter into a microwave-safe bowl. Microwave it in short, 30-second bursts, stirring really well after every burst. You want it totally smooth and shiny—it’s basically a quick ganache right there. Once your pie filling has set up a bit in the fridge, pull it out and pour that warm chocolate mixture right over the top. You have to spread it quickly before it starts to get firm!
Remember, after that chocolate layer goes on, this amazing Peanut Butter Pie needs a long chill—at least four hours, but honestly, overnight is when it screams perfection.
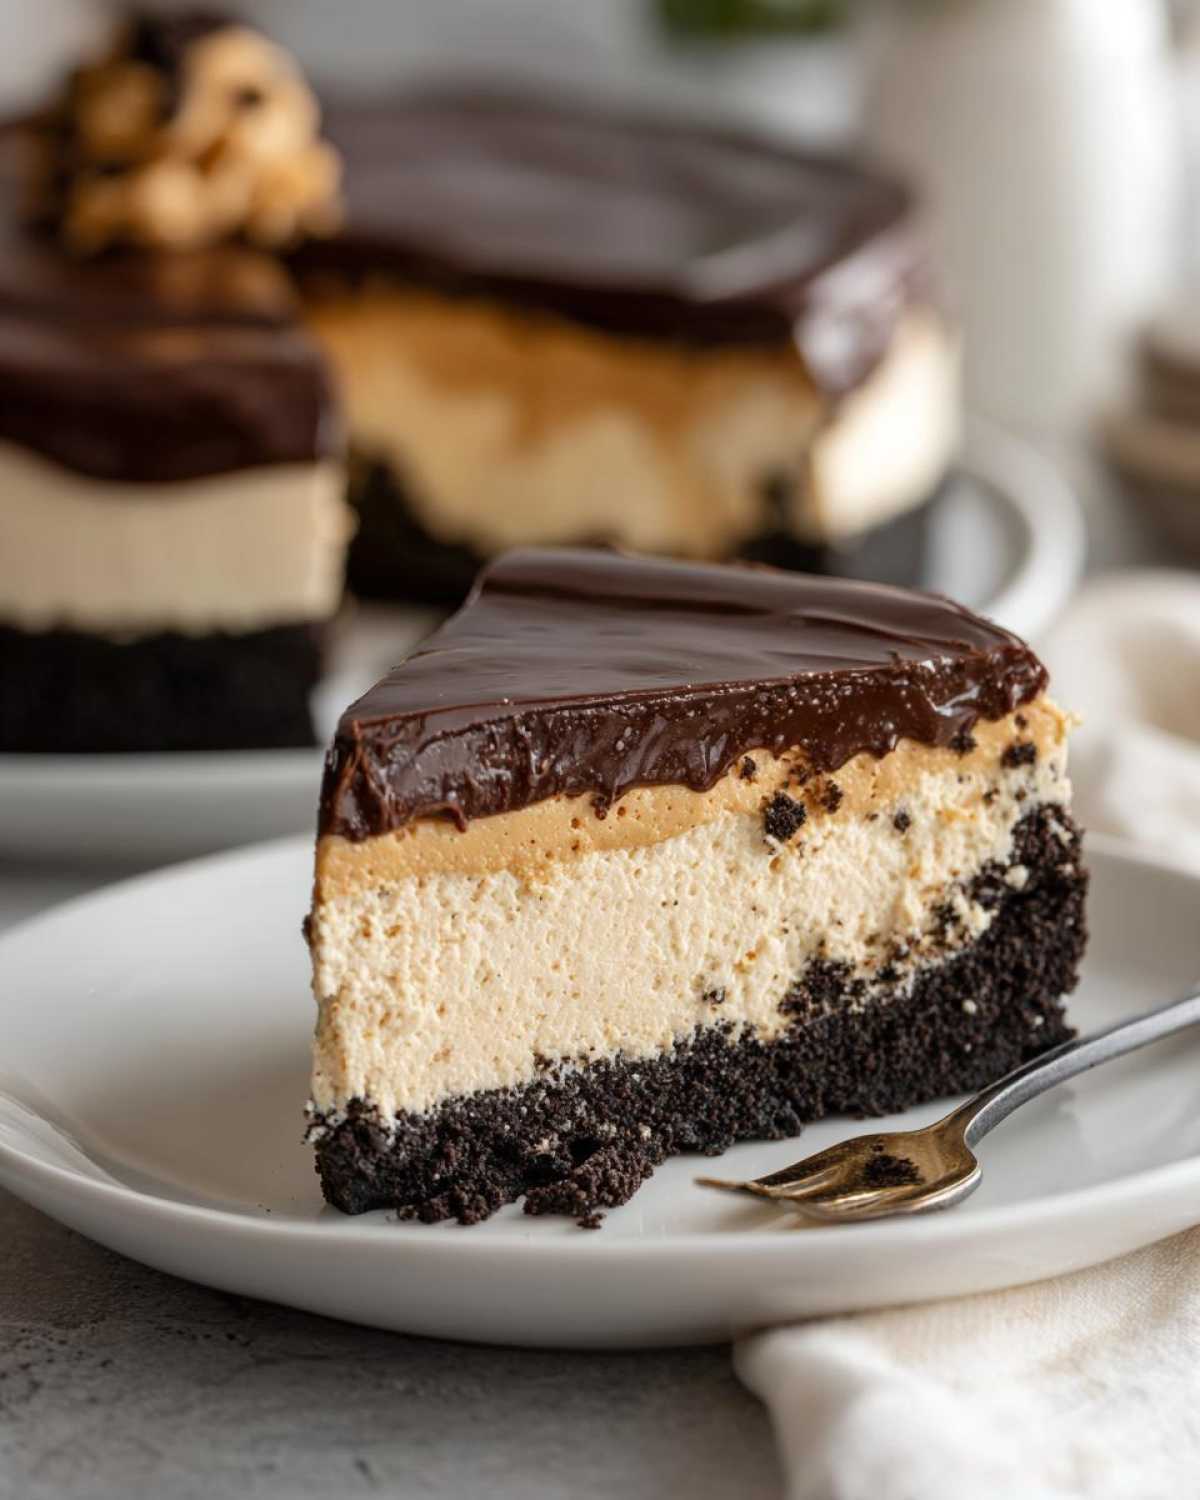
Tips for a Perfect Homemade Peanut Butter Pie
Even though this is a no-bake recipe, cheating yourself on the prep steps means sacrificing that rich, luscious texture we are aiming for! Think of the quality of your ingredients—that’s where the flavor really shines in a Peanut Butter Pie that only has a few components. If you want mine to taste as good as it does at holiday gatherings, follow these three little secrets I learned after Mia kept complaining about my lumpy fillings.
First, the cream cheese absolutely must be perfect. If it’s cold, you get lumps, and nobody wants a chunky Peanut Butter Pie Recipe. Leave it out on the counter for at least an hour. It should squish easily when you gently poke it.
Second, regarding the actual peanut butter: please use the creamy, shelf-stable kind! You know, the kind that doesn’t require stirring at the grocery store. Natural peanut butter is too oily and can sometimes cause the filling to break or separate when it chills. We need that predictable texture for this Easy Peanut Butter Pie to set up right!
Finally, chill time is mandatory! Don’t try to rush it. The crust needs that hour or so in the freezer, and the finished pie needs that long nap in the cold. If you need inspiration for setting desserts, check out how I make my creamy deviled eggs—it’s all about letting the cold work its magic. For tons of great no-bake pie ideas, take a peek at what the amazing folks at Handle the Heat do!
Ingredient Notes and Substitutions for Your Dessert
Okay, I know everyone loves the Oreo crust I put in the main recipe—it’s chocolate heaven with that peanut butter filling! But what if you’re out of Oreos, or maybe you just prefer a classic crunch? Never sweat it; this Peanut Butter Pie is super flexible. The key thing to remember, especially for a rich dessert like this, is that what you put in matters because we aren’t baking out any floury mistakes.
We already talked about using shelf-stable creamy peanut butter earlier, which is Mia’s insistence for structure. But don’t stress too much about the whipped topping brand; just make sure it’s come to room temp before folding it in—that’s more important than the label, honestly.
Crust Variations: Beyond the Oreo Crust Pie
If you want to switch up the base for this Graham Cracker Crust Pie, the substitution is easy! You’ll need about 1 3/4 cups of fine crumbs instead of the Oreos. Graham crackers are fantastic and give the pie a slightly lighter flavor profile. Or, if you have extra shortbread cookies lying around, crush those up! They make a buttery, sandy base that is divine with the sweet filling.
Storage and Reheating Instructions for this Decadent Peanut Butter Dessert
The wonderful thing about a No Bake Peanut Butter Pie is that it keeps really well, which is why it’s such a great Dessert for a Crowd—you can make it ahead!
Once it’s fully chilled and topped with that lovely chocolate layer, cover the pie plate tightly with plastic wrap. Keep it in the refrigerator; it should stay perfectly good for about 3 to 4 days. Since we didn’t bake anything, reheating isn’t really a thing! In fact, I think it tastes best when it’s very cold, right out of the fridge. If you let it sit on the counter for just 10 minutes before serving, the filling softens just enough to be ultra-creamy again.
Frequently Asked Questions about Making Peanut Butter Pie
I know you guys have questions! When you’re dealing with a temperature-sensitive Creamy Peanut Butter Pie, it’s smart to ask before you stir or chill. I’ve gathered the ones I get most often, especially when someone is trying to make this as a Quick Peanut Butter Dessert for the first time. Seriously, don’t overthink it; it’s so straightforward!
We want to make sure your pie sets up perfectly before those hungry friends dive in. For more general no-bake troubleshooting, sometimes I check out lists like the helpful one Sarah has over at Sara Flavors—it’s always good to see how others handle things!
Can I use crunchy peanut butter for this Easy Peanut Butter Pie Recipe?
You sure can! If you love texture, go for it. Just know that crunchy peanut butter will change the mouthfeel entirely, making it less of a smooth-as-silk Peanut Butter Pie and adding little peanut chunks throughout the filling.
What is the minimum chilling time for the No Bake Peanut Butter Pie?
Since this is a No Bake Peanut Butter Pie, it needs proper chilling to set up before you add that beautiful chocolate topping. You need at least two hours in the fridge just for the filling to firm up enough. But honestly, let it sit for four hours if you can manage!
Can I freeze this entire Peanut Butter Pie?
Yes, you can definitely freeze the whole thing! Wrap it well—and I mean *well*—after it’s completely chilled and topped. It keeps beautifully for about a month. Thaw it overnight in the fridge before serving, and it tastes almost as good as fresh!
Do I have to use an Oreo Crust Pie base?
Nope! While I think the chocolate crumb crust is the ultimate pairing with the rich filling, you can absolutely swap it out for a Graham Cracker Crust Pie base if you prefer a less intense chocolate flavor. Just follow the substitution instructions, and you’re good to go!
Estimated Nutritional Data for One Serving of Peanut Butter Pie
Because we went all-in on the creamy filling and that rich topping, this isn’t exactly a diet snack, but wow, is it worth it! For a single slice of this Peanut Butter Pie, here are the estimates based on our ingredient list:
- Calories: 450
- Fat: 30g
- Carbohydrates: 40g
- Protein: 9g
Now, remember, these are just ballpark figures! If you use natural peanut butter or top it with five Reese’s cups (which I totally support doing!), those numbers are going to hop around. This is just a general heads-up for when you’re planning out your dessert servings!
Share Your Sweet Peanut Butter Treats Creations
Okay, now it’s your turn! I am completely dying to see how your Peanut Butter Pie turned out. Did you stick exactly to the recipe? Did you add that extra layer of peanut butter cups on top like I suggested in the notes? I want to know everything!
Please head down to the comments section below and give this recipe a rating—five stars if you nearly ate the whole thing in one sitting, which I definitely haven’t done! Tell us if you stuck with the Oreo Crust Pie base or if you switched to the Graham Cracker version. Every bit of feedback helps me and Mia make sure our recipes are the absolute best for you guys.
And if you snapped a picture of your beautiful, Decadent Peanut Butter Dessert sitting on your dessert table—maybe next to some disastrously-burnt-but-tasty cookies from your own attempts—tag us on social media! We love seeing your kitchen triumphs. You can always browse the archives for more easy ideas over at the main Cookery Kings blog!
Thank you so much for baking with me today. We’re so excited you decided to tackle this one. Happy everything, and talk soon!
Lots of love,
Chloe
PrintEasy No-Bake Creamy Peanut Butter Pie

You will love this simple, rich, and decadent No-Bake Peanut Butter Pie. It features a buttery Oreo crust and a smooth, creamy filling, making it the perfect crowd-pleaser dessert for any gathering.
- Prep Time: 20 min
- Cook Time: 0 min
- Total Time: 4 hours 20 min
- Yield: 8 servings
- Category: Dessert
- Method: No-Bake
- Cuisine: American
- Diet: Vegetarian
Ingredients
- 1 1/2 cups crushed Oreo cookies (about 25 cookies)
- 1/2 cup unsalted butter, melted
- 1 (8 ounce) package cream cheese, softened
- 1 cup creamy peanut butter
- 1 1/2 cups powdered sugar
- 1 teaspoon vanilla extract
- 1 (12 ounce) container frozen whipped topping (like Cool Whip), thawed
- 1 cup semi-sweet chocolate chips
- 1/4 cup heavy cream
- 1/4 cup creamy peanut butter (for chocolate topping)
Instructions
- Prepare the crust: Mix the crushed Oreo cookies and melted butter in a medium bowl until the crumbs are evenly moistened. Press the mixture firmly into the bottom and up the sides of a 9-inch pie plate. Place the crust in the freezer while you prepare the filling.
- Make the filling: In a large bowl, beat the softened cream cheese until smooth. Add 1 cup of creamy peanut butter and powdered sugar. Beat until combined. Mix in the vanilla extract.
- Fold in the whipped topping: Gently fold the thawed whipped topping into the peanut butter mixture until just combined and creamy. Do not overmix.
- Assemble the pie: Spoon the peanut butter filling evenly into the chilled Oreo crust. Spread the top smooth. Refrigerate the pie for at least 2 hours, or until firm.
- Prepare the chocolate topping: Place the chocolate chips, heavy cream, and 1/4 cup of peanut butter in a microwave-safe bowl. Microwave in 30-second intervals, stirring well after each, until the mixture is smooth and glossy.
- Top the pie: Pour the warm chocolate mixture over the chilled pie filling. Spread it quickly to cover the top evenly.
- Chill completely: Return the pie to the refrigerator and chill for at least 4 hours, or preferably overnight, before slicing and serving.
Notes
- For an extra decadent touch, top the finished pie with chopped peanut butter cups before serving.
- If you prefer a graham cracker crust, substitute 1 3/4 cups of graham cracker crumbs for the Oreos.
- You can make this pie a day ahead of time; it tastes even better after a full night in the refrigerator.
Nutrition
- Serving Size: 1 slice
- Calories: 450
- Sugar: 35g
- Sodium: 300mg
- Fat: 30g
- Saturated Fat: 12g
- Unsaturated Fat: 18g
- Trans Fat: 0g
- Carbohydrates: 40g
- Fiber: 2g
- Protein: 9g
- Cholesterol: 45mg