

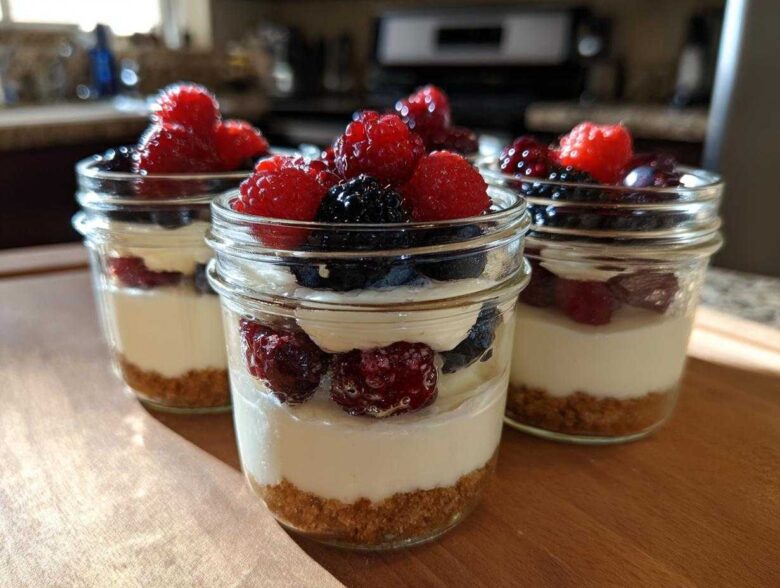
You know those days? When you’ve absolutely crushed your workout, but your brain is screaming for something sweet and ridiculously creamy? That used to be the worst. Mia and I would stare into the fridge, wishing baked goods didn’t sabotage all that hard work. Well, friends, the game has changed! I’m Chloe, and I finally figured out the secret to a genuinely satisfying, guilt-free indulgence: these **No-Bake High-Protein Cheesecake Jars**.
Forget everything you think you know about healthy desserts. This isn’t some sad, chalky excuse for a treat. This amazing **Protein Cheesecake** recipe is rich, decadent, and the macros are truly unbelievable. It’s packed with protein thanks to a smart swap we make in the filling. We whip these up on Sunday, and they save our sweet cravings all week long. Seriously, you need our full kitchen story, but first, let’s make some magic happen!
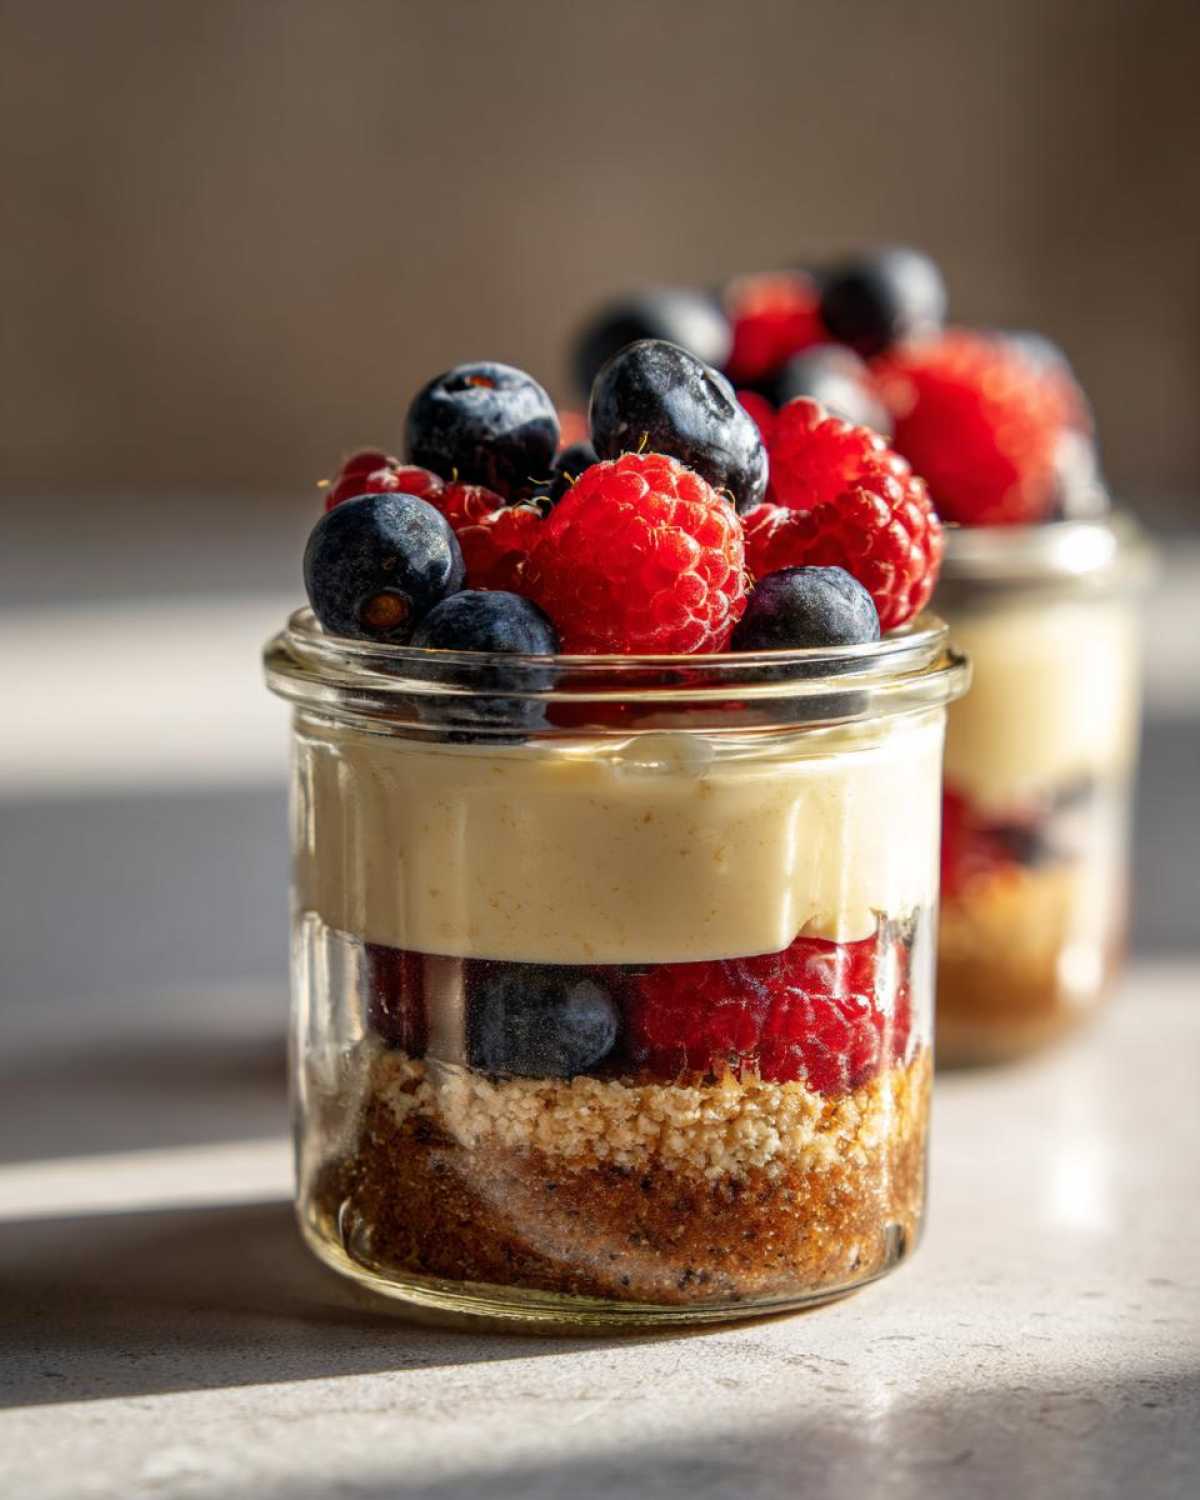
Why This No-Bake Protein Cheesecake Jars Recipe Works for Fitness Goals
When you’re focusing on hitting your fitness targets, dessert shouldn’t create guilt trips. That’s why I designed this recipe to be a perfect, guilt-free indulgence. It’s truly a fantastic Macro Friendly Dessert because we’ve intentionally cut the bad stuff and boosted the good stuff. Seriously, if you need a Quick Protein Snack that tastes like vacation, keep reading!
- This recipe is designed for minimal effort but maximum results. You get real cheesecake texture without turning on the oven, which means less fuss and easier cleanup—a huge win for me!
- It supports healthy eating because it uses ingredients that fuel your body instead of weighing you down.
High Protein Content Per Serving
This is the main showstopper! Every single jar packs a whopping 28 grams of protein. That’s huge for satisfying that sweet craving while actively supporting muscle recovery. Who knew dessert could double as high-quality fuel?
Simple, Sugar Free Dessert Preparation
We’re keeping this totally simple. Prep time is only about 15 minutes before it hits the fridge! We rely on sugar substitutes, making this a clean, Sugar Free Dessert that won’t cause a crash later in the day. You just mix and chill!
Essential Ingredients for Your Creamy Protein Cheesecake
Okay, listen up! To get that ultra-creamy texture that tastes exactly like real cheesecake but feeds your fitness goals, the ingredients matter a huge amount. Don’t eyeball these measurements, especially the protein powder, or you’ll end up with something a little too stiff! We are aiming for a luxurious *Greek Yogurt Protein Dessert* experience here.
We are layering this masterpiece, so let’s break down exactly what you need for all three parts: the crust, the creamy filling, and the topping.
For the No-Bake Crust Base
This is super easy, but it gives us that perfect crunch at the bottom. Since we are using almond flour, this crust manages to be naturally Gluten Free Cheesecake friendly! You’ll need:
- 1/2 cup almond flour (make sure it’s finely ground!)
- 2 tablespoons melted light butter or coconut oil (keep it liquid!)
- 1 tablespoon powdered erythritol or your favorite sugar substitute
For the High Protein Cheesecake Filling
This is where the magic happens and where we load up on muscle-supporting goodness. This blend makes it a fantastic *Cottage Cheese Cheesecake* alternative that is still smooth. Don’t skip the food processor step here!
- 1 cup low-fat cottage cheese (this is essential for texture)
- 1 cup plain non-fat Greek yogurt (the thicker the better!)
- 1/4 cup vanilla or unflavored whey protein powder (use a good quality one!)
- 1/4 cup powdered erythritol or your preferred sugar substitute
- 1 teaspoon vanilla extract
- A tiny pinch of salt to really make those sweet flavors pop
Step-by-Step Instructions for Perfect Protein Cheesecake Jars
Alright, we’ve got all our glorious ingredients ready to go—now for the fun part! Since this is a no-bake recipe, it’s all about assembly and making sure we blend that filling until it’s perfectly smooth. We want this to be the ultimate *Creamy Protein Treat*, not a gritty mess, so pay attention to that blending step!
Assembling the Crust Layer
First things first, we need to get those jars ready. Grab a small bowl and just toss in your almond flour, the powdered sweetener, and your melted butter or coconut oil. Mix it up with a fork until it looks like wet sand—you know, the kind of sand you can actually make a decent bucket castle with. Divide that mixture equally among your four little jars and press it down gently to form your base layer. Easy peasy, right?
Creating the Smooth Protein Cheesecake Filling
Now, scoop all your filling ingredients—the cottage cheese, Greek yogurt, protein powder, vanilla, and sweetener—right into your food processor or high-speed blender. This is critical: you need to blend this until there are zero lumps remaining. Seriously, scrape the sides down a couple of times! Achieving that perfect *Healthy Cheesecake* texture means blending longer than you think you need to. Once smooth, carefully spoon or pipe that dreamy filling right on top of your nice, firm crust layer.
Chilling and Serving Your Protein Cheesecake
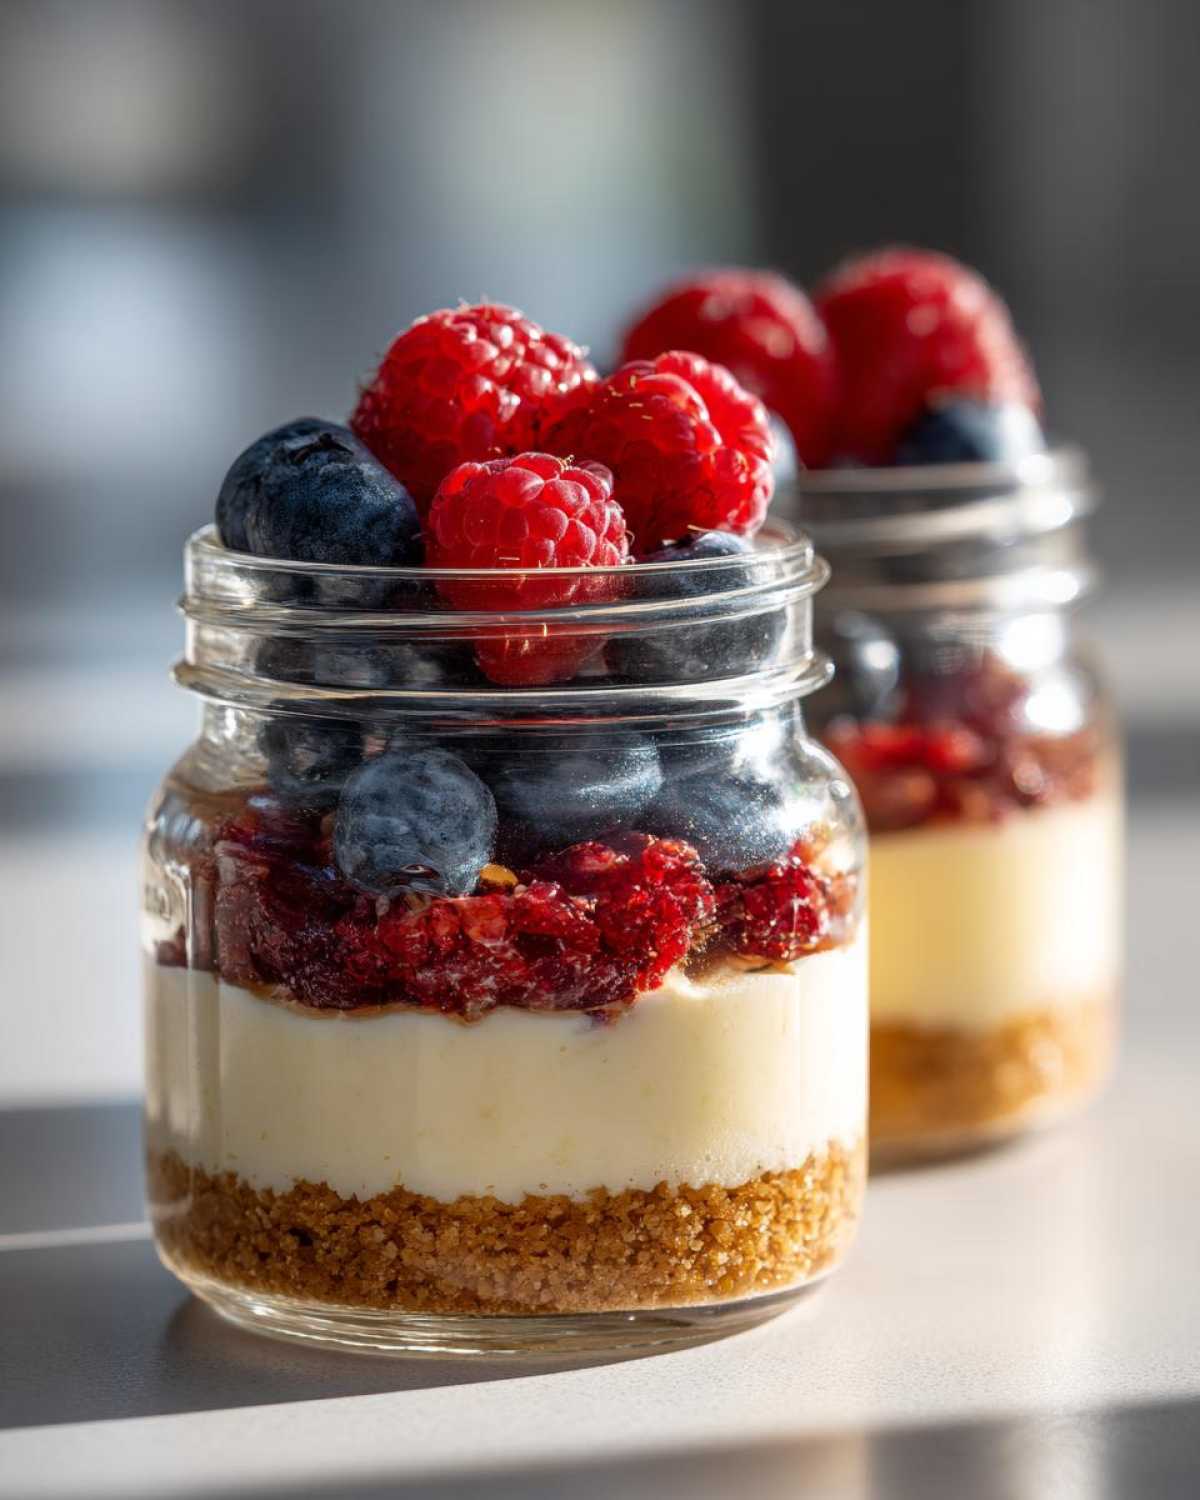
Once everything is layered up, go ahead and pop your toppings on—a few berries or some sugar-free chips look amazing! Then, cover them up. This is the hardest part: you must chill them for at least two hours. That chilling time is what sets this up into a perfect *No Bake Protein Dessert*. If you can wait longer, they get even better! Store any extras in the fridge for up to four days—though I doubt they’ll last that long. If you are prepping these ahead, check out my tips for making homemade granola bars for another great meal prep boost!
If you’re curious how others have enjoyed this macro-friendly powerhouse, you should definitely see what my friends over at Galley Bites did with their amazing High-Protein Cheesecake recipe for inspiration!
Tips for Customizing Your Protein Cheesecake
You know, just because we need a macro friendly dessert doesn’t mean we have to eat plain vanilla all the time! These jars are super easy to customize based on what you are craving that day. It’s just mixing in a little extra flavoring, and boom—you have a whole new treat!
Flavor Variations for Protein Cheesecake
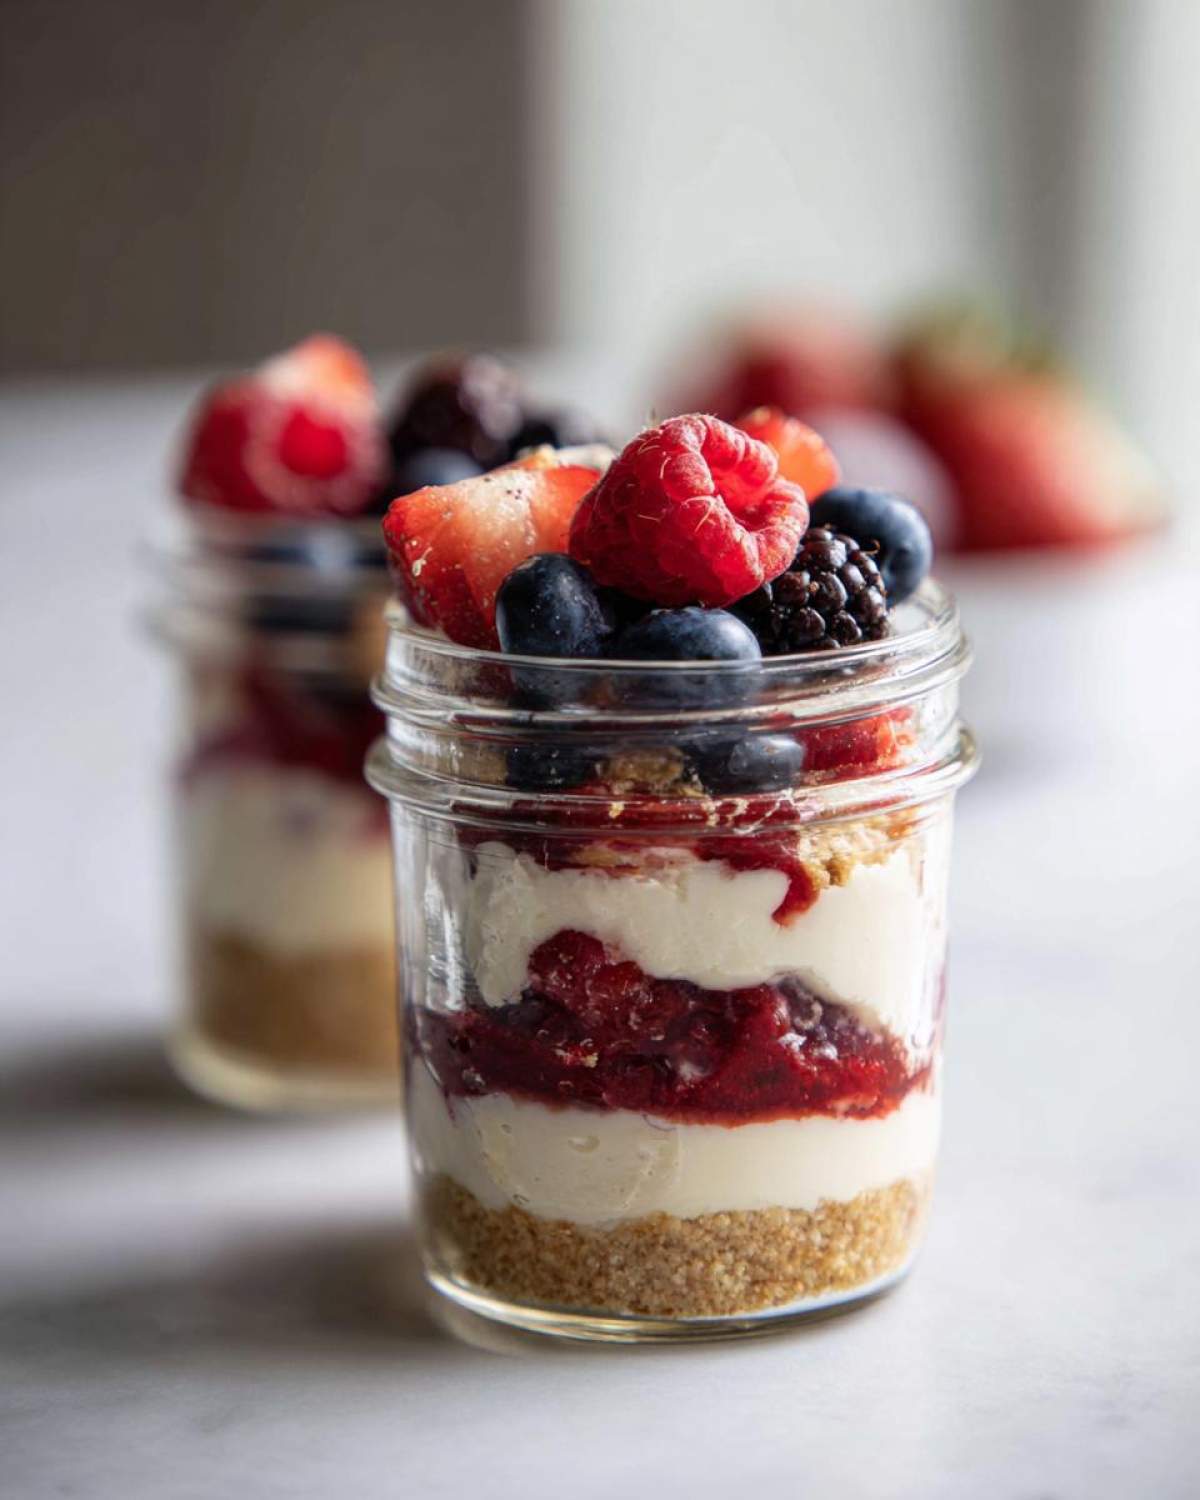
If you’re looking for a rich, decadent option, you can easily turn this into an amazing *Chocolate Protein Cheesecake*. Just add about two tablespoons of unsweetened cocoa powder when you blend the filling ingredients. It mixes right in and tastes incredible! For a brighter taste, nothing beats a *Strawberry Protein Cheesecake* vibe. Just swirl in a spoonful of your favorite sugar-free berry jam or puree right on top before chilling. Or, if you want a fluffier texture overall, check out Laura’s great High Protein Cheesecake Fluff recipe for some inspiration!
Making Protein Cheesecake Bars or Mini Protein Cheesecakes
Want to skip the jars? No problem! You can easily turn this into Protein Cheesecake Bars. Just press the crust into a small, parchment-lined 8×4 loaf pan and spread the filling over the top before chilling. For *Mini Protein Cheesecakes*, use lined muffin tins instead! You might need to cut the chilling time down just a smidge, but the ratios hold up perfectly.
Ingredient Substitutions for Your Protein Cheesecake
Life happens, right? Sometimes you swap out the milk, or maybe you just don’t have low-fat cottage cheese on hand—I totally get it! The good news is that this recipe is super flexible, but you do need to be smart about substitutions if you want to keep that *Low Calorie Cheesecake* profile we worked so hard for.
If you’re out of cottage cheese, you can definitely use all Greek yogurt, but you need to know the texture will be a little softer. It won’t set quite as firmly unless you add a teaspoon of xanthan gum, which helps thicken things up without adding extra calories. For sweeteners, anything powdery works! Powdered monk fruit or stevia blends are great replacements for erythritol, just stick to the equivalent sweetness level on the package. We want creamy, guilt-free indulgence, not a kitchen science experiment gone wrong!
Storing and Meal Prep for Your Protein Cheesecake Jars
Okay, this is my favorite part because it speaks directly to my chaotic schedule! This recipe isn’t just delicious; it’s a lifesaver for anyone who needs a *Meal Prep Dessert* ready to grab and go. Because we made these in individual jars, portion control is built right in, which Mia loves because she tracks everything!
The structure of this no-bake recipe is actually pretty forgiving, thanks to the protein powder binding everything nicely. You absolutely must keep these covered snugly in the refrigerator. If you seal them tight, they stay impressively fresh. I’ve tested this (for science, of course!), and they are honestly still perfect after four full days in the fridge. That’s almost a whole work week covered!
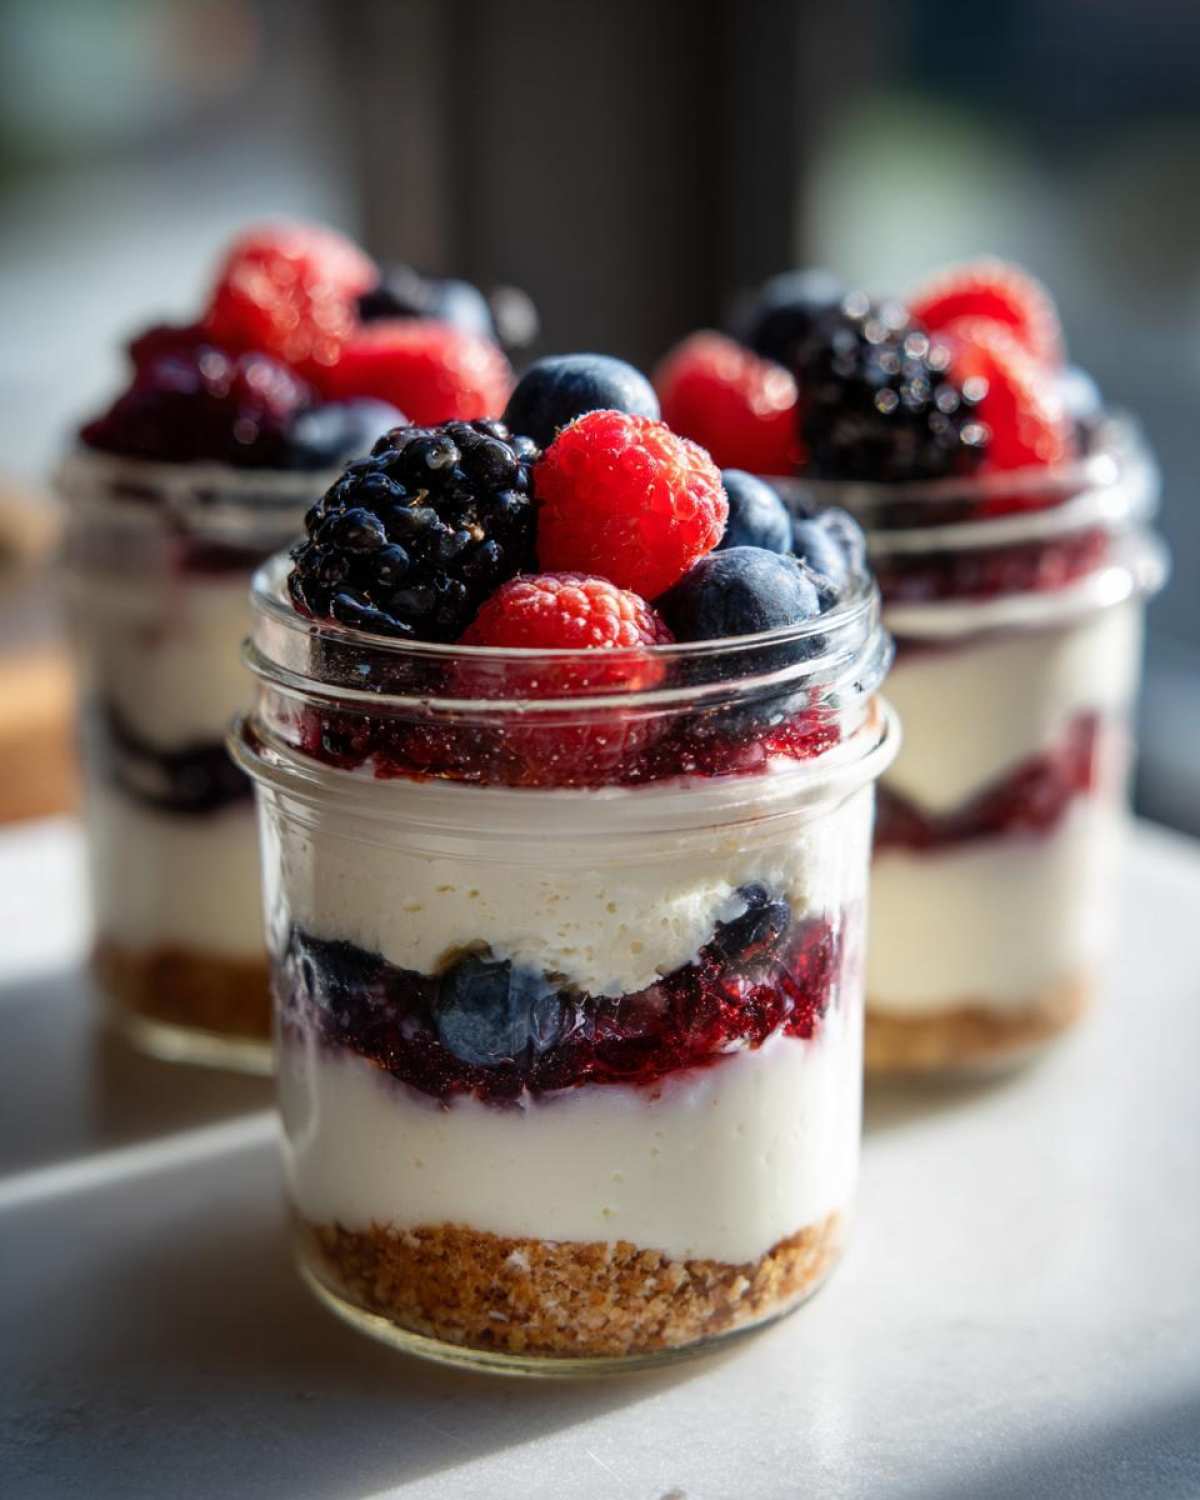
If you’re making a big batch, just make sure the lids are tightly secured to prevent any fridge smells from sneaking in. Storing them like this also means you can prep them way ahead of time, ready for those moments when you’re running out the door and realize you need a *Quick Protein Snack*. If you like prepping other grab-and-go items, you should check out how easy the clean-up is after making slow cooker pulled chicken—total opposite of baking, but same time-saving principle!
If you’re looking for motivation to keep them stored and not devour them all on day one, go read about Mia’s near-disaster with trying to ‘preserve’ leftovers years ago! I found this great article about making these jars ahead of time which really validates my obsession with prepping them on Sunday!
Frequently Asked Questions About Protein Cheesecake
I know you might have a few lingering questions, especially if you’re new to using cottage cheese in your sweets! It’s totally normal. We’ve answered the most common things people ask me when they first try to make a *Protein Cheesecake* recipe. Check these out before you dive in!
What is the best protein powder to use in this Protein Cheesecake?
This is super important! We used vanilla or unflavored powder here because we want that pure cheesecake flavor to shine through. For texture, I generally recommend a good quality whey or a whey/casein blend. Whey mixes in beautifully and dissolves well, giving us that perfect creamy bite we look for in a *Healthy Cheesecake*. If you use casein by itself, it can get a little too stiff, so just watch that blend!
Can I use regular cream cheese instead of cottage cheese for this Healthy Cheesecake?
You absolutely *can*, but here’s the trade-off: you are going to lose a big chuck of the protein, which changes this from a power-packed snack to more of a standard dessert. Traditional cream cheese has more fat, which makes it taste richer, but it won’t have the same lean macro profile. If you substitute it cup-for-cup, you’ll get a great texture, but probably only half the protein per serving. Keep that in mind for your goals!
How do I make this a baked Protein Cheesecake instead of no-bake?
Honestly, this recipe is optimized for the no-bake texture, which is what makes it so quick! If you really want to bake it, you totally can. You would press the crust into a springform pan, pour the filling in, and bake it at about 325°F (160°C) for 25 to 30 minutes, checking the center until it’s just set. But seriously, the no-bake version is my favorite for a *Quick Protein Snack* because there’s zero oven time!
If you are looking for more dessert ideas in general, hop over to our main blog page for tons of other fun stuff!
Estimated Nutrition Facts for This Macro Friendly Dessert
When planning your macros for the day, it’s super helpful to know what you’re getting. Remember that these numbers change slightly depending on which protein powder or sweetener you end up using, so think of this as a really solid baseline for this *Macro Friendly Dessert* choice!
Here is the breakdown per jar (based on using the exact ingredients listed):
- Calories: 280
- Protein: 28g
- Fat: 12g
- Carbohydrates: 18g (with 3g Fiber)
- Sugar: Only 5g!
I always tell Mia this: getting almost 30 grams of protein in a dessert that tastes this good is basically a win-win situation! Enjoy knowing you’re feeding your body what it needs.
Share Your Guilt Free Cheesecake Creations
I truly hope you dive into making these **Protein Cheesecake** jars this week! Honestly, seeing your creations is what keeps Mia and me going. We put so much love and so many experimental kitchen disasters into perfecting this recipe, and knowing someone else gets to enjoy a delicious, macro-friendly treat makes it all worthwhile.
When you make these, please snap a photo! Whether you get creative with your toppings, try out the chocolate swirl, or just stick to the classic berry look, I want to see it! Tag us on social media so we can cheer you on. We love keeping up with all your healthy successes!
And if you loved this recipe—if it saved you from reaching for the chips or the cookies during that 3 PM slump—please, please leave a star rating right here on the page. Those ratings help other fitness folks find this great keeper recipe for a **Guilt Free Cheesecake** that actually tastes incredible. Happy scooping!
PrintNo-Bake High-Protein Cheesecake Jars (Macro Friendly Dessert)
You need this simple recipe for high-protein cheesecake jars. This no-bake dessert uses Greek yogurt and cottage cheese for a creamy, macro friendly treat perfect for meal prep or satisfying a sweet craving.
- Prep Time: 15 min
- Cook Time: 0 min
- Total Time: 2 hours 15 min
- Yield: 4 servings
- Category: Dessert
- Method: No Bake
- Cuisine: American
- Diet: Low Fat
Ingredients
- 1 cup low-fat cottage cheese
- 1 cup plain non-fat Greek yogurt
- 1/4 cup vanilla or unflavored whey protein powder
- 1/4 cup powdered erythritol or preferred sugar substitute
- 1 teaspoon vanilla extract
- Pinch of salt
- For the Crust: 1/2 cup almond flour
- 2 tablespoons melted light butter or coconut oil
- 1 tablespoon powdered erythritol
- For Topping (Optional): 1/2 cup mixed berries or sugar-free chocolate chips
Instructions
- Prepare the crust: In a small bowl, mix the almond flour, 1 tablespoon of powdered sweetener, and melted butter or coconut oil until the mixture resembles wet sand.
- Divide the crust mixture evenly among four small jars or glasses. Press the mixture down lightly to form the base layer.
- Prepare the filling: Combine the cottage cheese, Greek yogurt, protein powder, vanilla extract, remaining powdered sweetener, and salt in a food processor or high-speed blender.
- Blend the filling until it is completely smooth and creamy. Scrape down the sides as needed. This step is key for a rich texture.
- Spoon or pipe the cheesecake filling evenly over the crust layer in each jar.
- Top each jar with your chosen topping, such as fresh berries or sugar-free chocolate chips.
- Cover the jars and refrigerate for at least 2 hours, or until the filling is firm. This chilling time is necessary for the best texture.
- Serve directly from the jar. Store leftovers in the refrigerator for up to 4 days.
Notes
- For a chocolate protein cheesecake, add 2 tablespoons of unsweetened cocoa powder to the filling mixture.
- If you do not have cottage cheese, you can substitute it with an additional 1 cup of Greek yogurt, but the texture will be slightly softer.
- Measure your protein powder accurately; too much can make the filling dry.
- This recipe is naturally gluten free if you use certified gluten-free protein powder.
Nutrition
- Serving Size: 1 jar
- Calories: 280
- Sugar: 5
- Sodium: 250
- Fat: 12
- Saturated Fat: 3
- Unsaturated Fat: 9
- Trans Fat: 0
- Carbohydrates: 18
- Fiber: 3
- Protein: 28
- Cholesterol: 15