

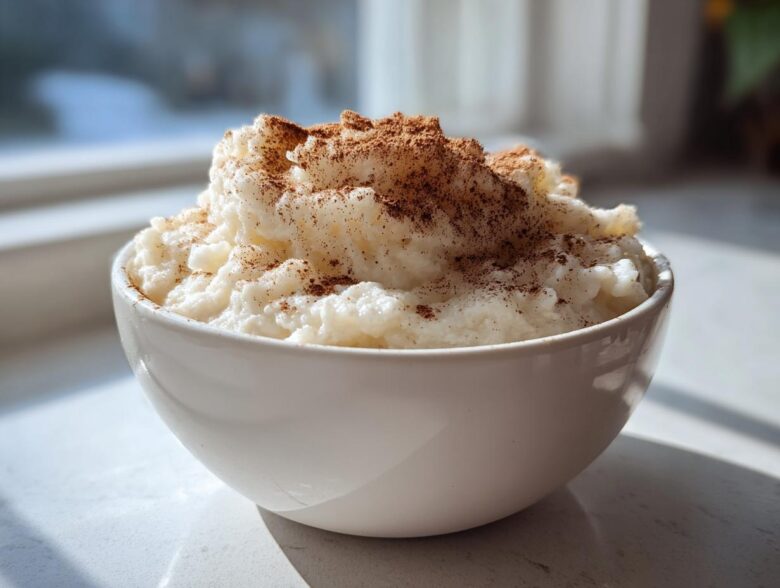
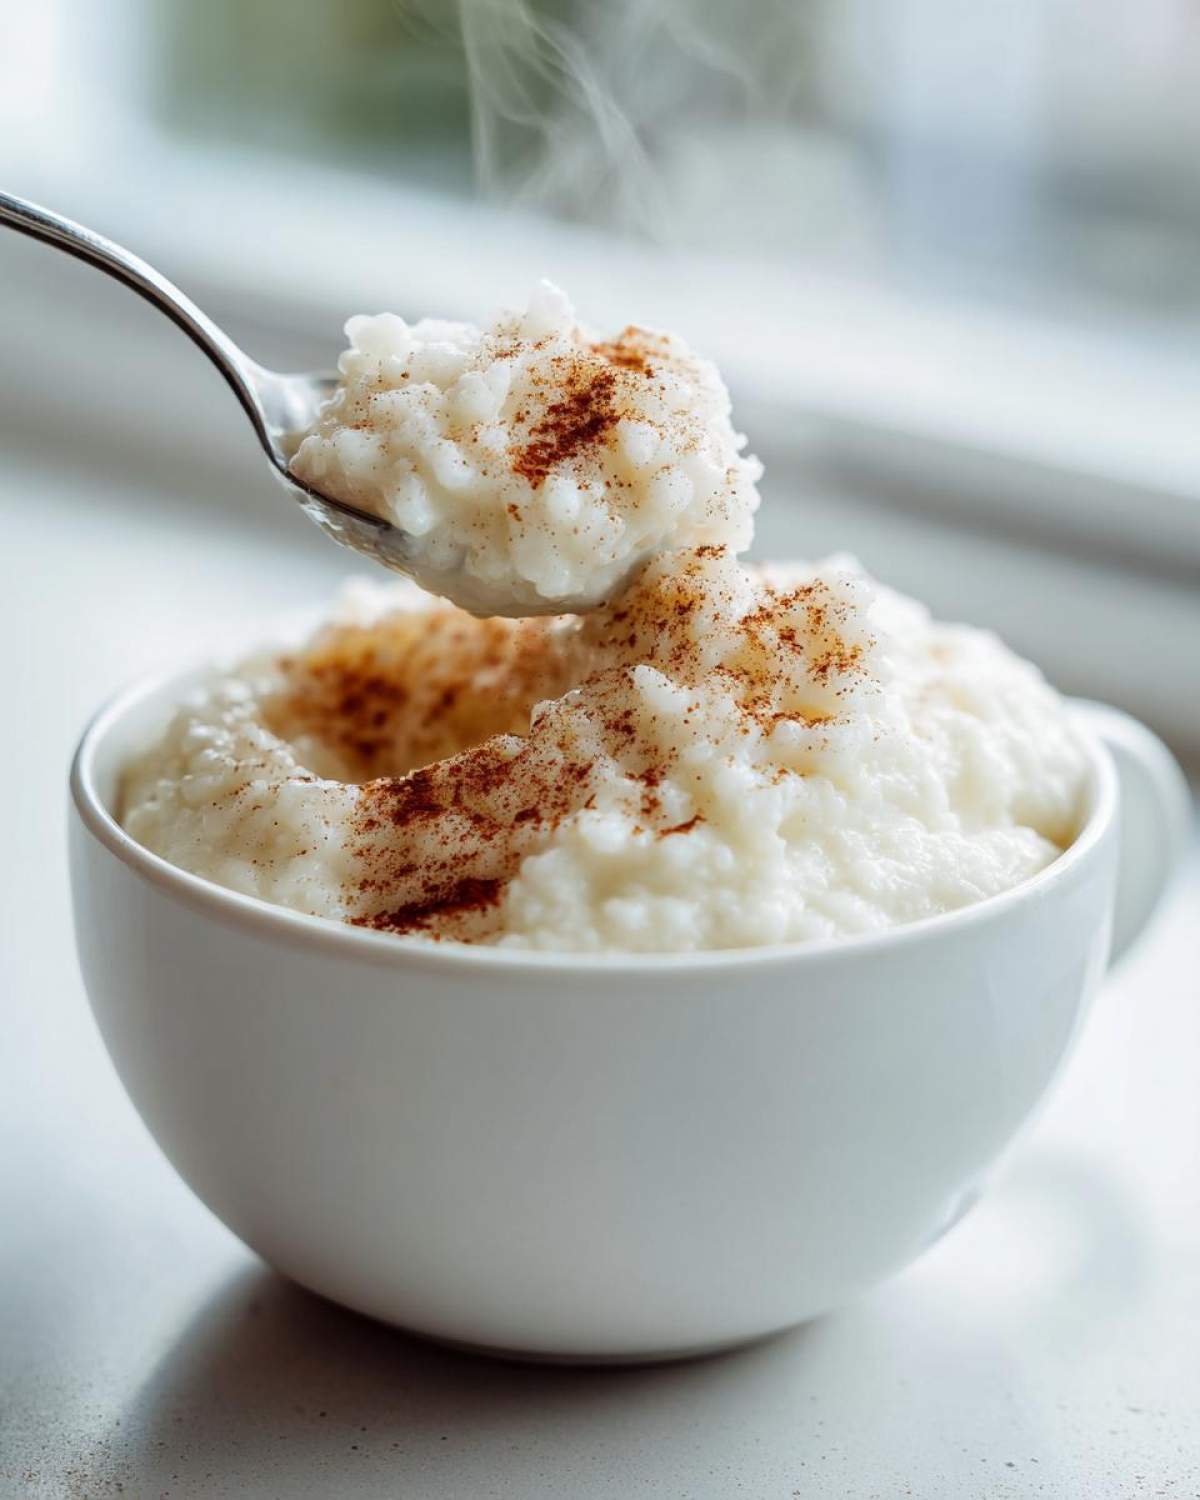
Okay, let’s talk about pure, unadulterated comfort. You know those nights when you just need the kitchen to smell like a warm hug, and you want something spoonable that requires zero fancy techniques? That’s exactly where this ultimate creamy, old-fashioned stovetop rice pudding comes in. Seriously, forget everything you think you know about watery or gritty versions!
When Mia and I were going through our chaotic kitchen disasters, something simple and nostalgic like rice pudding was our go-to takeout order. Now that we actually *know* how to cook (mostly!), I insist on making this at home. My personal mission with this recipe is simple: achieve the dreamiest texture possible. We’re talking about tender grains swimming in a sweet, thick custard that clings perfectly to your spoon. This isn’t some flimsy dessert; this is the real deal, classic homemade pudding that tastes exactly like childhood.
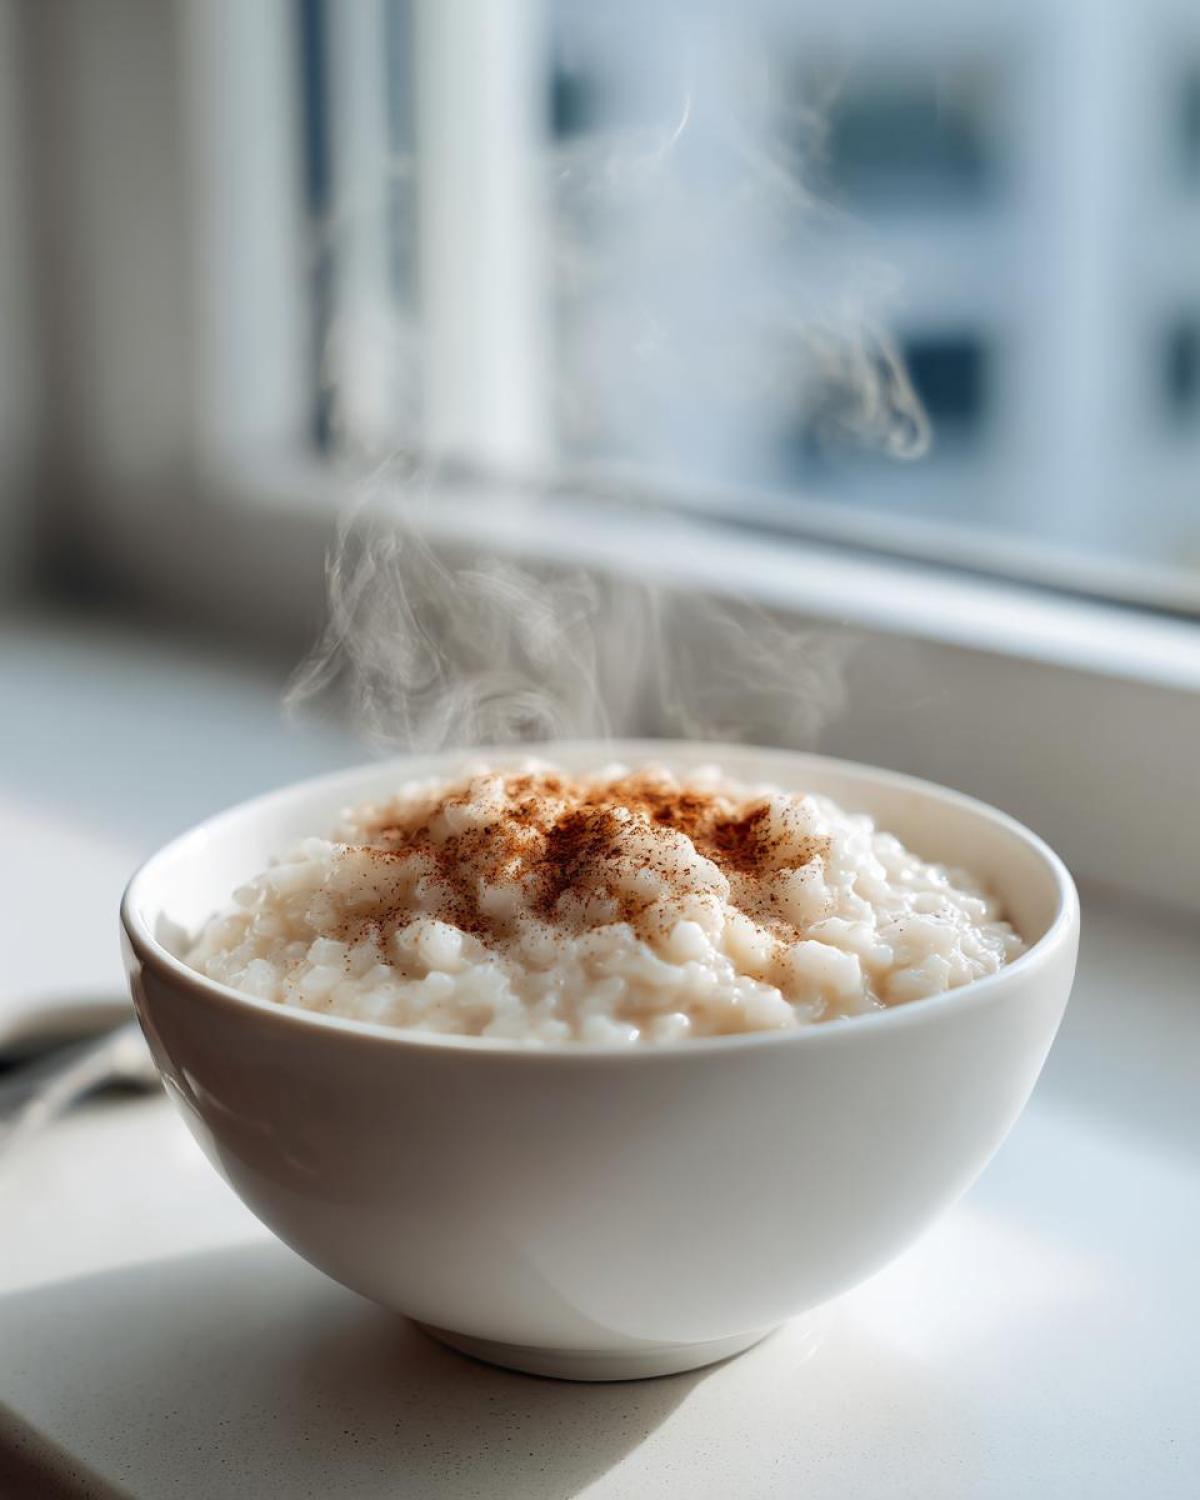
It’s such a sweet and simple dessert, and you can find out more about our messy kitchen journey over on our About Us page if you need a good laugh! But right now, let’s get this cozy rice pudding bubbling.
Why This Creamy Rice Pudding Recipe is Your New Favorite Comfort Food Dessert
Why should this be your go-to recipe whenever you need a hug in a bowl? Because it packs that huge, nostalgic flavor without demanding you turn on your oven or stand there stirring for two hours straight. Seriously, this hits all the high notes of a perfect Comfort Food Dessert.
- It delivers that dreamy, authentic texture that makes everyone ask for the recipe.
- It’s incredibly forgiving—great for beginners!
- It whips up fast enough for a weeknight treat, yet feels special enough for company.
This is truly a Sweet and Simple Dessert that will instantly transport you back to happier times.
Texture Perfection: Achieving Ultra Creamy Rice Pudding
Listen, the texture is everything when it comes to good Creamy Rice Pudding Recipe. We skip the super-hard long-grain rice because it just doesn’t get that luscious mouthfeel. We stick to short-grain rice—or Arborio, because why not use risotto rice for dessert sometimes?—which releases just the right amount of starch slowly while it melts in the milk. Lots of gentle stirring means you get that velvety smooth coating around every tender grain, not starchy clumps.
Quick Stovetop Method for Easy Stovetop Rice Pudding
Baking rice pudding is lovely, but look, sometimes I just don’t want to wait an hour and a half for something warm! That’s why I adore this Easy Stovetop Rice Pudding. From start to finish, we’re looking at less than 45 minutes total time. You’re stirring frequently, sure, but it’s active time! You can load up a playlist, sip your coffee, and within under an hour, you’re ready for dessert.
Ingredients for the Best Old Fashioned Rice Pudding
Okay, here’s the beauty of making truly Traditional Rice Pudding: the ingredient list is wonderfully short! Honestly, the quality of these few pantry staples makes or breaks the entire dish. If you use skim milk or instant rice, you won’t get the cozy richness we’re aiming for here. Trust me on this one; we need full-fat everything for that luxurious finish.
- 1/2 cup short-grain white rice (Arborio works well)
- 4 cups whole milk
- 1/2 cup granulated sugar
- 1 teaspoon vanilla extract
- 1/4 teaspoon ground cinnamon
- Pinch of salt
Ingredient Notes and Substitutions for Your Rice Pudding
Since we aren’t using a ton of elements, every choice matters! For the creamiest result, definitely stick to whole milk; that fat content is what thickens everything beautifully and gives you that rich mouthfeel. If you don’t have actual short-grain rice, Arborio is your next best friend—it’s designed to release starch, which is exactly what we want for that Traditional Rice Pudding texture. Dry rice? Nope! Always rinse your grains first; it stops things from getting too gummy later. Oh, and if you wanted to toss in about half a cup of raisins, do it during the last ten minutes of cooking. That’s Mia’s favorite way to jazz it up!
How to Make Stovetop Rice Pudding: Step-by-Step Instructions
Alright, this is where we turn those simple ingredients into magic! Since this is a stovetop recipe, you are going to be actively involved for about 40 minutes, but trust me, it’s worth every second of low, gentle bubbling. The secret to that famous creamy texture isn’t magic beans—it’s paying serious attention to the heat and stirring often. If you forget about it for five minutes, the whole bottom of the pot is going to scorch, and nobody wants burnt pudding, right?
This cooking process needs your focus, but don’t stress! Put on some good music—I usually blast that early 2000s pop we used to love—and get ready to stir. For more tips on saving time in the kitchen, you might check out some of my favorite easy sides while this slowly thickens.
Preparing the Rice for the Perfect Rice Pudding
Step one is often overlooked, but it’s crucial for a non-gummy outcome! You absolutely must rinse your short-grain rice until the water runs clear. Why? Because we want the starch to release slowly into the milk during cooking, not clump up into a sticky mess right away. Grab a fine-mesh sieve, wash that rice until the water looks nearly translucent, and then let it drain really well before it hits the pot.
The Gentle Simmer: Cooking Your Creamy Rice Pudding Recipe
In your heavy-bottomed pan—please use a heavy one, my stainless steel pots have battle scars because I tried using thin ones once!—combine the rice, milk, sugar, cinnamon, and salt. Start heating this mixture over medium heat, stirring constantly at first until it just starts to simmer. The second you see those first tiny bubbles breaking the surface, drop that heat way, way down to low. That’s key! We don’t want a rolling boil; we want a gentle whisper of heat for 30 to 40 minutes. Keep stirring every few minutes, especially towards the bottom, to ensure you get that perfect, non-stick, gloriously Creamy Rice Pudding Recipe. Stop cooking when the rice is tender and the mixture looks thick, almost like a thin sauce.
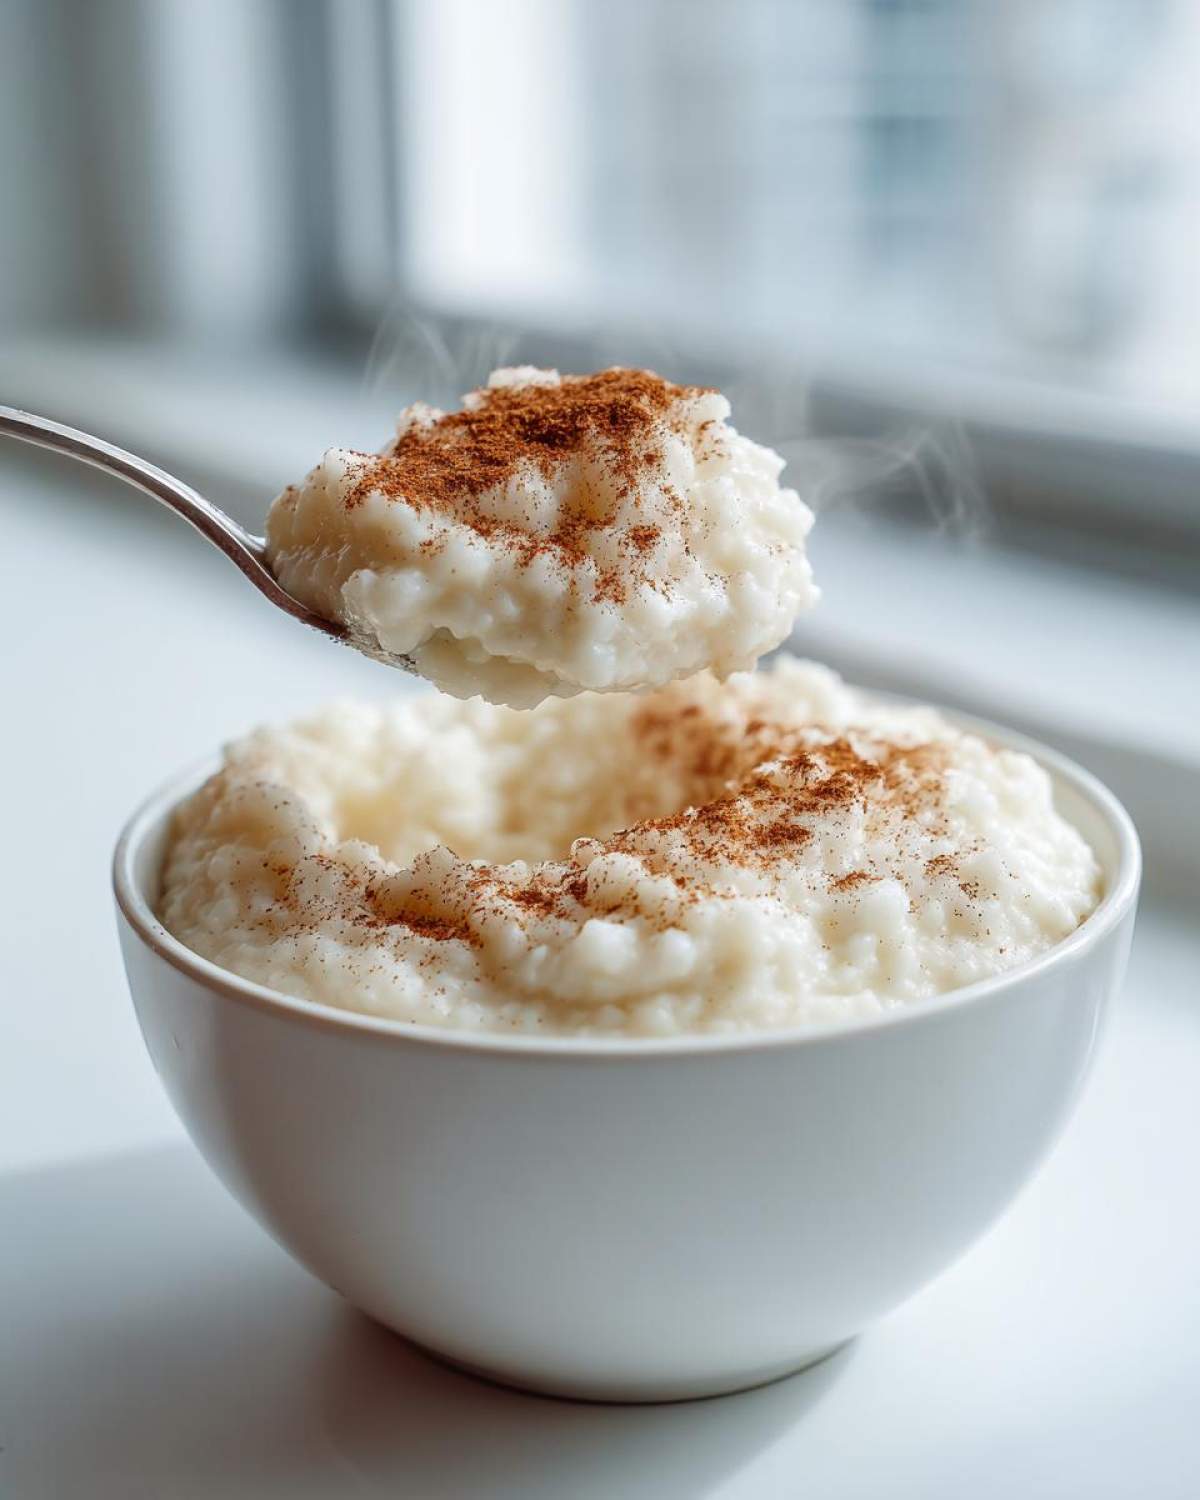
Flavoring and Finishing Your Nostalgic Dessert Recipes
Once the pudding has thickened to perfection, it’s time for the really fun part—adding those flavors that scream ‘old-fashioned comfort’! Once you pull the pot off the heat, stir in that teaspoon of vanilla extract. And don’t you dare skip it! I once forgot the vanilla after making a huge batch for a friend’s party; it was fine, but it tasted so *flat*. It was missing that warm, sweet background note that makes this a true Cinnamon Vanilla Pudding.
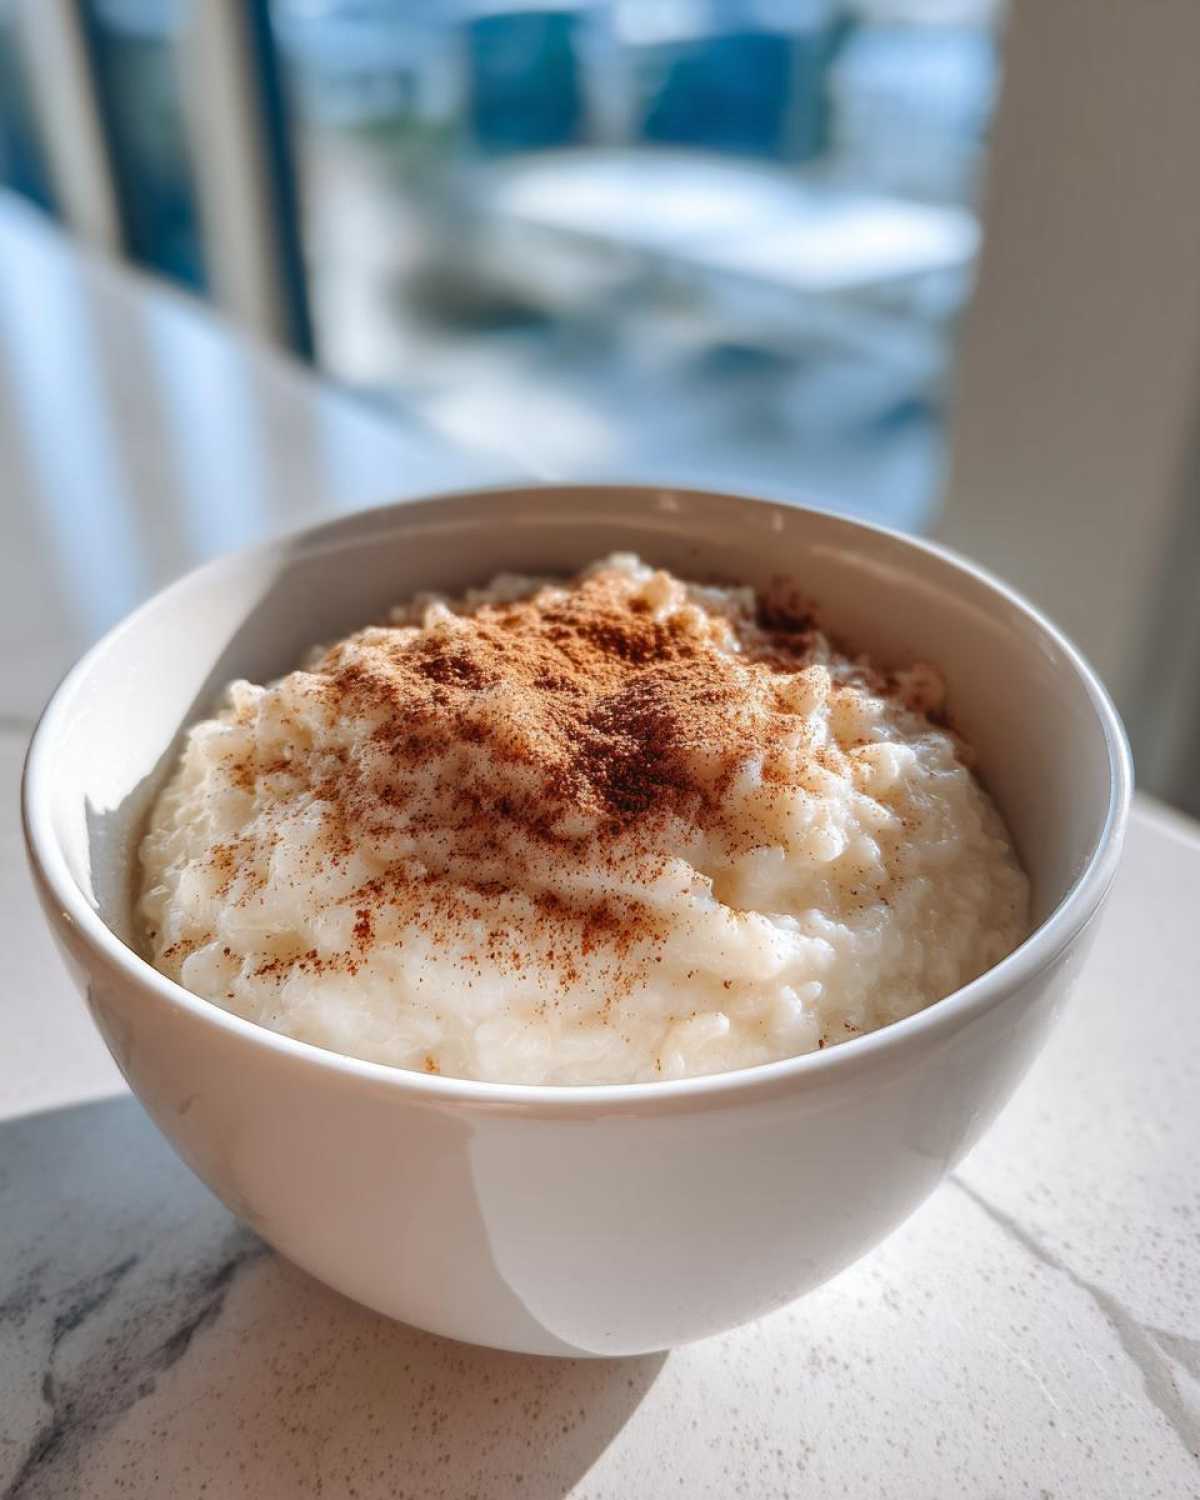
Seriously, the combo of the warm cinnamon we cooked in earlier and that hint of vanilla just transforms this from ‘sweet milk with rice’ to ‘heaven in a bowl.’ I’ve got a recipe for white hot chocolate that uses a similar vanilla trick if you are craving more cozy vibes!
Serving and Storing Your Homemade Pudding
The moment of truth! You have finished your Homemade Pudding, and you have two routes to go: hot or cold. If you want that perfectly cozy feel, serve it warm right away. But if you want true, dense, creamy indulgence, you have to chill it down. If you’re chilling it, listen closely because I learned this the hard way!
To prevent that weird, slightly rubbery skin from forming over the top layer when it cools? You need to cover the pudding directly with plastic wrap while it’s still steaming hot. Press that plastic right onto the surface. It lets the steam escape a bit but stops the surface tension from developing that skin we all hate. It’s a little trick, but it makes your cold pudding look gorgeous!
Make Ahead Dessert Tips for Your Rice Pudding
I’m a huge fan of making desserts ahead, and this rice pudding excels as a Make Ahead Dessert. You can stir this up entirely the day before your guests arrive. The thing is, it firms up a lot in the fridge—like, really firms up. If you pull it out and it looks more like a block of soft cheese than pudding, don’t panic! Just take a whisk and stir in a splash or two of extra whole milk. You’ll be shocked how quickly it loosens back up into that smooth, spoonable consistency we love. For more great tips on preparing sweets ahead of time, check out my notes on make ahead desserts!
Troubleshooting Common Rice Pudding Issues
Even though this is an easy stovetop method, sometimes things don’t go exactly to plan, right? That’s totally normal! Don’t stress if your first attempt isn’t exactly what you pictured. That’s part of the fun of learning How to Make Rice Pudding. The main issues I see people run into usually involve texture or sticking, both of which are usually fixable!
The most common thing that happens is that the pudding gets too firm in the fridge—and we talked about reviving that in the last section, but it bears repeating! If it’s too stiff, just whisk in a splash of cold milk until it softens up. Remember, it’s almost always easier to add liquid than to take it away!
Now, what if you’re still waiting for those grains to soften up? If 40 minutes pass and the rice feels rock-hard, it just means your liquid evaporated too quickly, or your heat was slightly too high. Don’t worry! Just stir in another 1/4 cup of milk, put the lid partially on to trap some steam, and let it simmer gently for another 10 minutes. Keep checking until those grains are tender. You can find some of my other general kitchen fails and fixes on the main blog page!
Frequently Asked Questions About This Rice Pudding
You guys always have the best questions when you’re in the kitchen, and I totally get it! When you’re making a classic dessert like this, you want to know exactly how to tweak it or what to do if the stars don’t align perfectly. Addressing these sticking points is key to becoming confident in making any Homemade Pudding, and I want you to feel totally prepared!
Can I use leftover cooked rice for this rice pudding?
That’s a great question if you’re looking for a super fast option! Yes, you absolutely can use leftover cooked white rice. However, since the rice is already soft, you need to cut way back on the cooking time—maybe just 10 to 15 minutes total—and you might need to add a bit more milk since the cooked rice has already absorbed some liquid. It turns this into a genuinely quick dessert!
Is this a No Bake Pudding Recipe?
It certainly is! If you were searching for a No Bake Pudding Recipe, congratulations, you found a stovetop friend! We aren’t putting this decadent mix into the oven at all. We achieve that creamy texture entirely on the stove with gentle, consistent heat. This keeps the process faster and gives us that specific type of comforting, smooth finish that I absolutely love.
Nutritional Estimates for Your Rich Dessert Ideas
Okay, so while this rice pudding is all about comfort and flavor, I know some of you are curious about the numbers! Since we are using whole milk and a good amount of sugar to keep that old-fashioned richness, it’s definitely a treat. Remember, these numbers are just rough estimates based on the exact ingredients listed above, so they might shift slightly depending on what rice you use or if you add raisins.
We calculated this for a single serving size of about one cup:
- Serving Size: 1 cup
- Calories: 310
- Sugar: 25g
- Fat: 7g
- Protein: 10g
Consider this fueling up for the best cozy night in! It’s a beautiful part of any Rich Dessert Ideas menu.
Share Your Cozy Nights Dessert Experience
Now that you know all my secrets for the ultimate creamy rice pudding, promise me you’ll give this a whirl? It truly is the perfect easy dessert for those Dessert for Cozy Nights evenings. I can’t tell you how much fun it is for Mia and me when you send us a note saying you finally made it!
Did you top it with a dusting of cinnamon, or maybe you added those optional raisins? Let me know your favorite topping in the comments below! If you make this, I hope you love reading the original classic version from this post, which inspired me. If you have any lingering questions, feel free to reach out via the contact page. Happy pudding making!
PrintThe Ultimate Creamy, Old-Fashioned Stovetop Rice Pudding

You will love this rich, smooth, and classic rice pudding recipe. It is simple to make on the stovetop and delivers that comforting, nostalgic flavor perfect for cozy nights.
- Prep Time: 5 min
- Cook Time: 40 min
- Total Time: 45 min
- Yield: 4 servings
- Category: Dessert
- Method: Stovetop
- Cuisine: American
- Diet: Vegetarian
Ingredients
- 1/2 cup short-grain white rice (Arborio works well)
- 4 cups whole milk
- 1/2 cup granulated sugar
- 1 teaspoon vanilla extract
- 1/4 teaspoon ground cinnamon
- Pinch of salt
Instructions
- Rinse the rice under cold water in a fine-mesh sieve until the water runs clear. Drain well.
- Combine the rinsed rice, whole milk, sugar, cinnamon, and salt in a medium, heavy-bottomed saucepan.
- Place the saucepan over medium heat. Bring the mixture to a gentle simmer, stirring frequently to prevent the rice from sticking to the bottom.
- Once simmering, reduce the heat to low. Continue to cook, stirring every few minutes, for 30 to 40 minutes. The pudding is done when the rice is tender and the mixture has thickened to your desired creamy consistency. Do not let it boil rapidly.
- Remove the saucepan from the heat. Stir in the vanilla extract.
- Serve the rice pudding warm, or transfer it to a bowl, cover the surface directly with plastic wrap to prevent a skin from forming, and chill completely before serving cold.
Notes
- For an ultra-creamy texture, stir the pudding often, especially during the last 15 minutes of cooking.
- If the pudding becomes too thick as it cools, stir in a splash of extra milk until you reach the right consistency.
- You can add 1/2 cup of raisins during the last 10 minutes of cooking if you like a traditional touch.
- This makes a wonderful make-ahead dessert; it thickens significantly overnight in the refrigerator.
Nutrition
- Serving Size: 1 cup
- Calories: 310
- Sugar: 25
- Sodium: 110
- Fat: 7
- Saturated Fat: 4
- Unsaturated Fat: 3
- Trans Fat: 0
- Carbohydrates: 55
- Fiber: 1
- Protein: 10
- Cholesterol: 25