

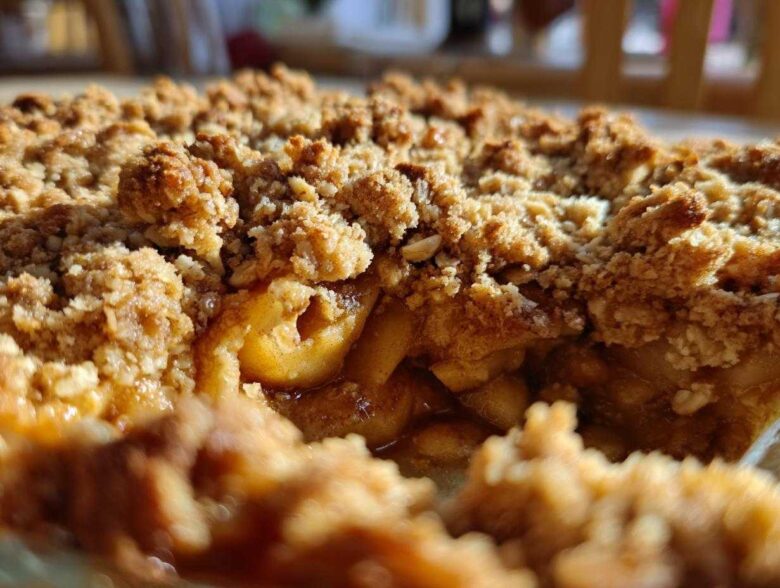
Oh my gosh, are you ready? Because if you are looking for that one dessert that just screams ‘cozy evening by the fire,’ you’ve found it! Seriously, this is the best, easiest apple crisp recipe you will ever need in your life. Forget complicated pie crusts; we are talking about tender, juicy apples swimming in warm cinnamon spice, all hidden under the crunchiest, butteriest oat topping imaginable. I remember being terrified of baking, honestly. Chloe and I have certainly had our kitchen disasters, but making this classic dessert? It was one of the first things that made me feel like I actually knew what I was doing in the kitchen. If you want to know more about how we started conquering the kitchen, you can check out our story over at Cookery Kings. Trust me, if you can toss ingredients in a bowl, you can nail this comfort food masterpiece. You simply have to try it!
Why This Classic Apple Crisp Recipe is Your New Fall Favorite
If you need a foolproof winner for your next gathering, this is it! This Easy Apple Crisp Dessert is the definition of Comfort Food Baking without any of the fuss. We designed it specifically so you get incredible flavor and texture without spending all day babysitting the oven. It’s fast, reliable, and guaranteed to make your house smell incredible.
Unbeatable Buttery Crumble Topping
Listen, the apples are great, but the topping? That’s where the magic happens! We make sure the butter is ridiculously cold so that when it bakes, you get this perfect contrast. You have that melt-in-your-mouth, soft, spiced apple filling below, and on top, crunchy, golden pockets of buttery goodness. It’s the texture dance everyone craves!
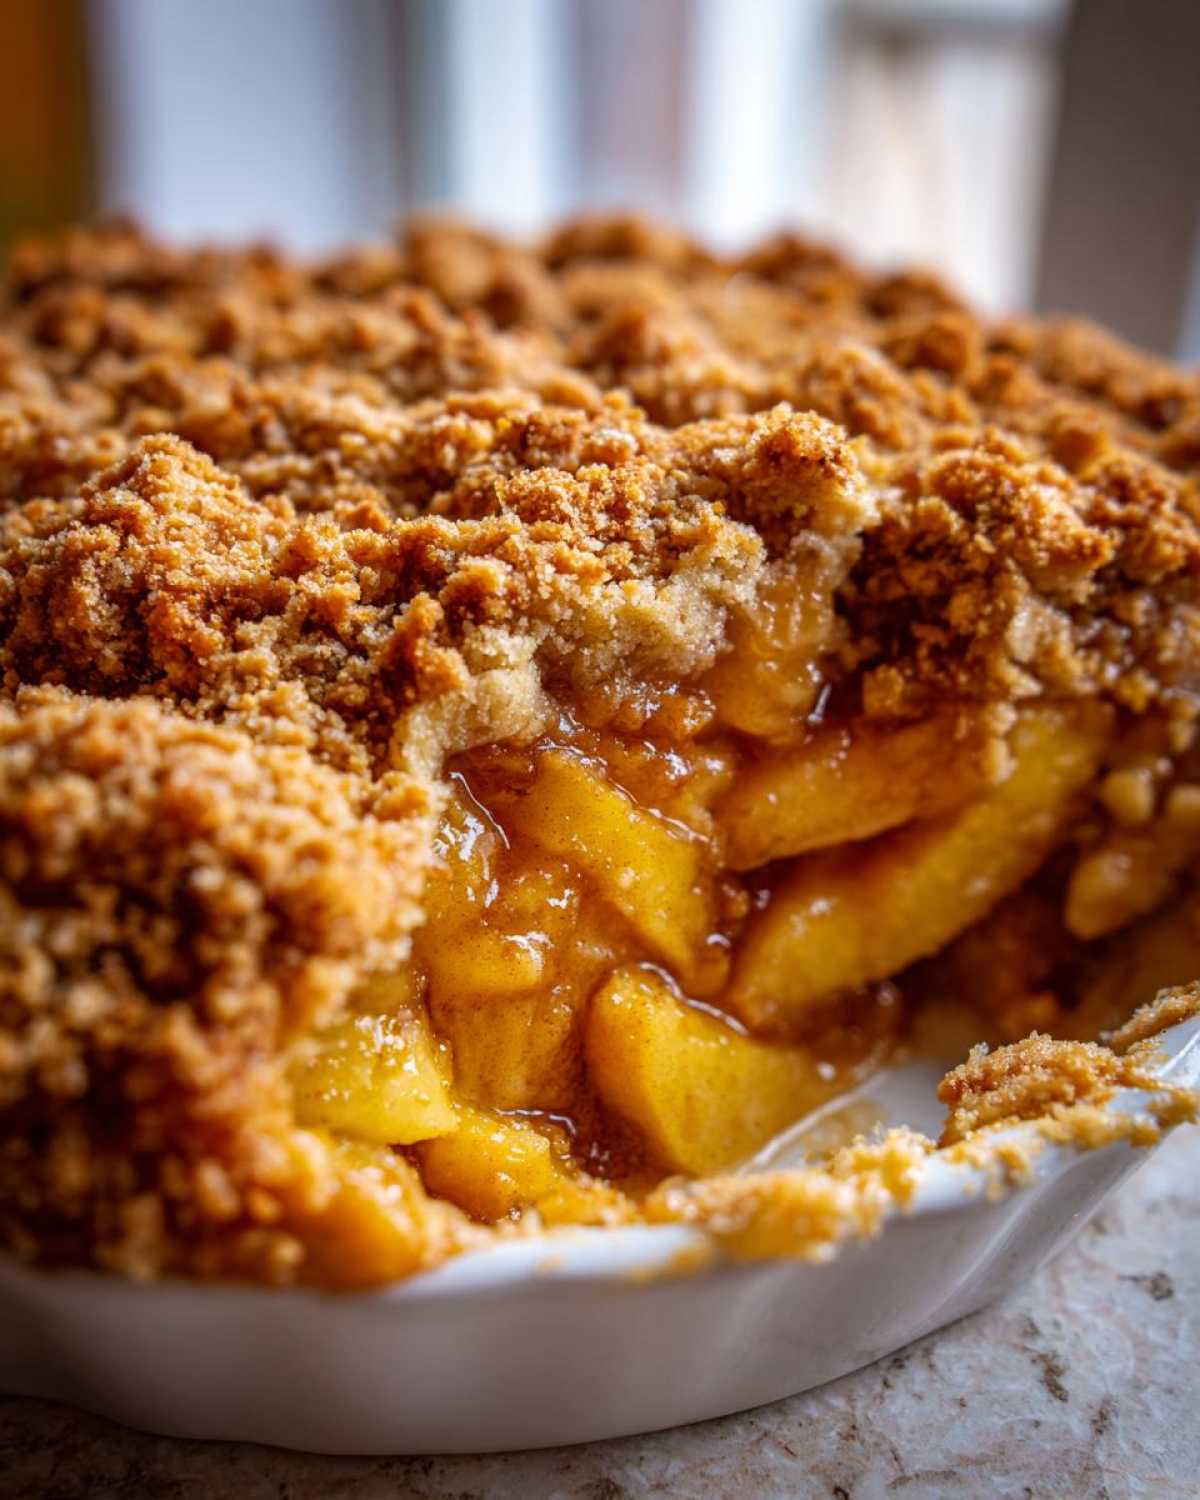
Simple Steps for an Old Fashioned Apple Crisp
No need to pull out complicated equipment or try weird new techniques here! This Old Fashioned Apple Crisp is intentionally simple. If you can measure, stir, and sprinkle, you are ready to bake. That’s why I love it; it always delivers that nostalgic, cozy feeling without any stress on me. It’s true comfort baking!
Gathering Ingredients for Your Apple Crisp Recipe
Okay, let’s get down to business and talk about what you need! This recipe uses super basic stuff—the kind of ingredients you probably already have in your pantry right now. That’s why it’s so perfect for a last-minute treat! We only have two groups here: the lovely filling and the crunchy topping. The most important thing I can tell you, which is a tip I live by, is that your butter *must* be cold for the topping. I mean straight from the fridge, cubed cold! Trust me, room temperature butter equals a sad, flat topping, and we are aiming for peak crispness here.
- 6 medium apples (like Granny Smith or Honeycrisp), peeled, cored, and sliced
- 1/4 cup water
- 1/4 cup granulated sugar
- 1 teaspoon ground cinnamon
- 1 tablespoon lemon juice
- 1 cup all-purpose flour
- 1 cup old-fashioned rolled oats
- 3/4 cup packed brown sugar
- 1/2 teaspoon ground cinnamon
- 1/4 teaspoon salt
- 1/2 cup (1 stick) cold unsalted butter, cut into small pieces
Choosing the Right Apples for the Perfect Baked Apple Filling
The apples truly make the filling, so don’t just use any old apple you find! I lean heavily on Granny Smith because they hold their shape wonderfully and offer that perfect little tartness to cut through all the sweet brown sugar. Sometimes I sneak in a few Honeycrisp apples for extra sweetness, too. Mixing varieties is an old baking trick—it gives you layers of flavor and ensures you get apples that are tender but not mushy when they come out of the oven. You want that juicy bite!
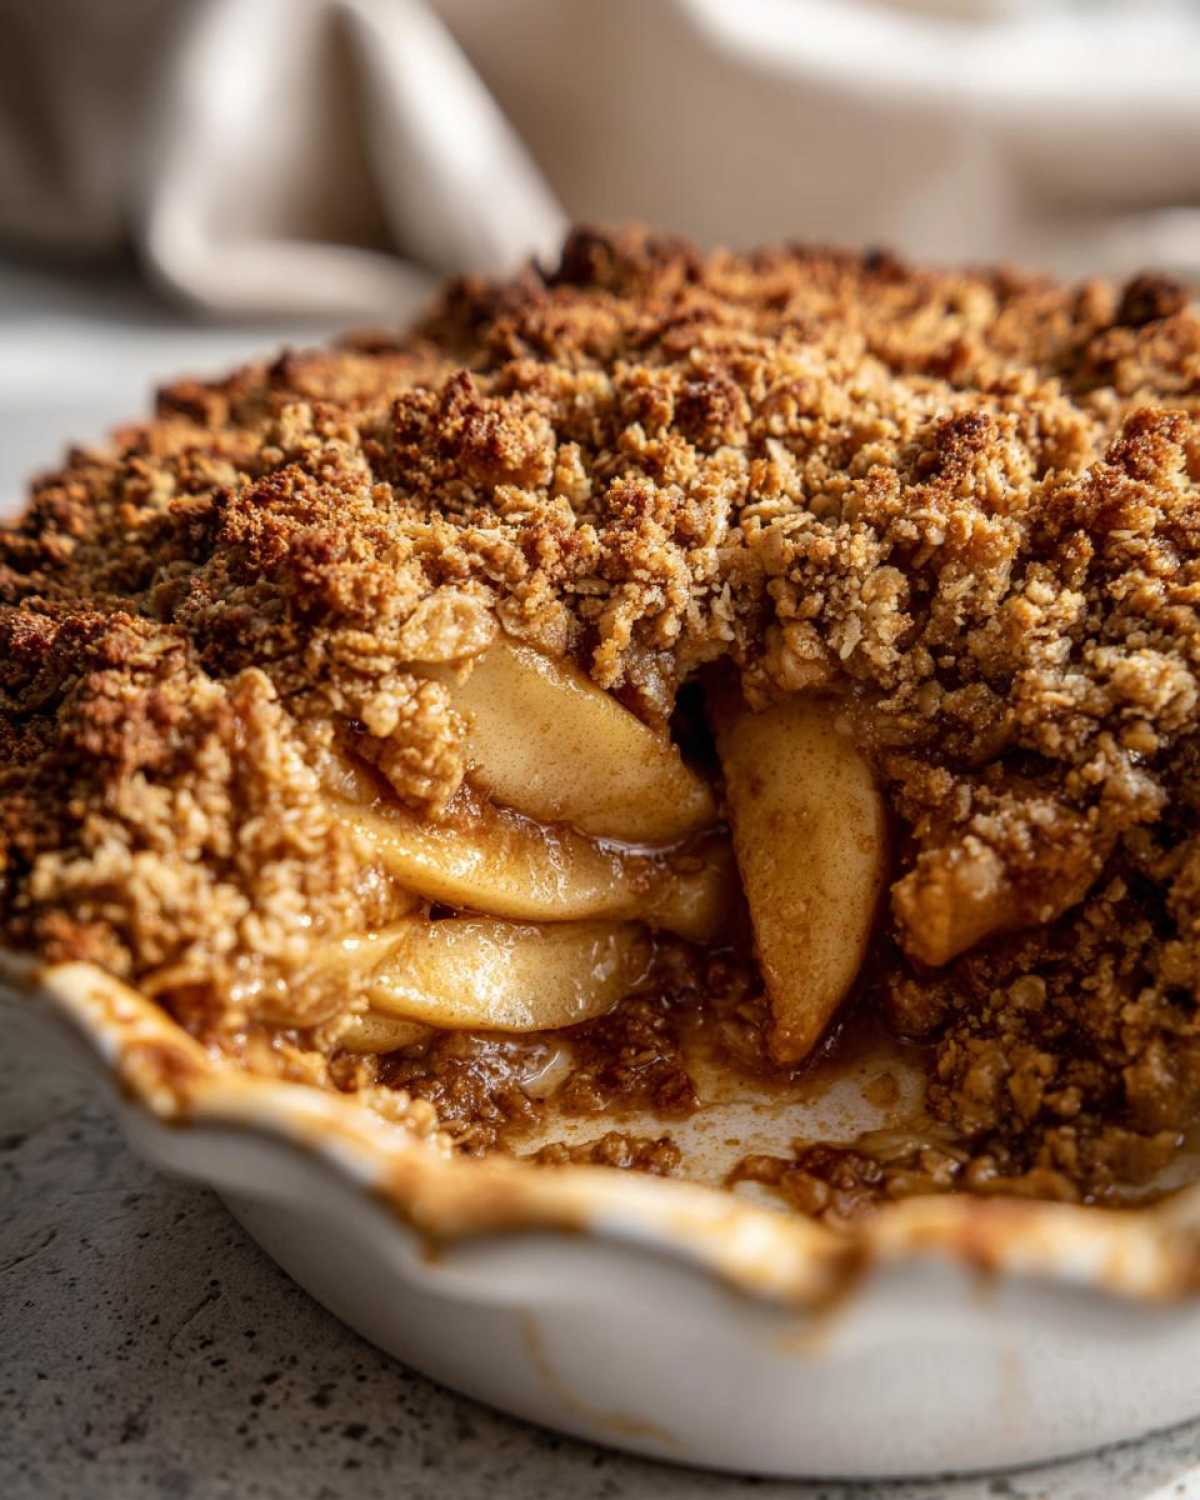
How to Make Apple Crisp From Scratch: Step-by-Step Instructions
Are you ready to assemble this masterpiece? Making this apple crisp recipe from scratch is actually so easy once you break it down. Remember how Chloe and I use our oven for everything? You’ll want to start by preheating that oven to 375°F (190°C) and giving your baking dish a quick grease. Then we move straight into layering flavor! We are keeping things straightforward so you can get that amazing dessert on the table faster.
Preparing the Tender Apple Filling
This part is just a big toss! Grab your biggest bowl and toss those sliced apples with the water, granulated sugar, the first bit of cinnamon, and that bright lemon juice. The lemon juice is key, trust me, it keeps the apples looking fresh and adds a little zing. Make sure every single apple slice is coated well before you pour that whole mixture evenly into your prepared dish. That’s it for the filling! It’s already looking amazing.
Creating the Buttery Crumble Topping
Now for the best part—the topping! In a separate bowl, whisk together your flour, rolled oats, brown sugar, the second measure of cinnamon, and salt. Next, you need to introduce those cold butter pieces. I always use my fingers for this because I can *feel* when it’s right! You gently pinch and rub the butter into the dry ingredients until it all looks like coarse crumbs. Stop when you see some pea-sized butter chunks still lurking—that ensures you get that super crunchy texture we promised for your Warm Apple Crisp with Oat Topping!
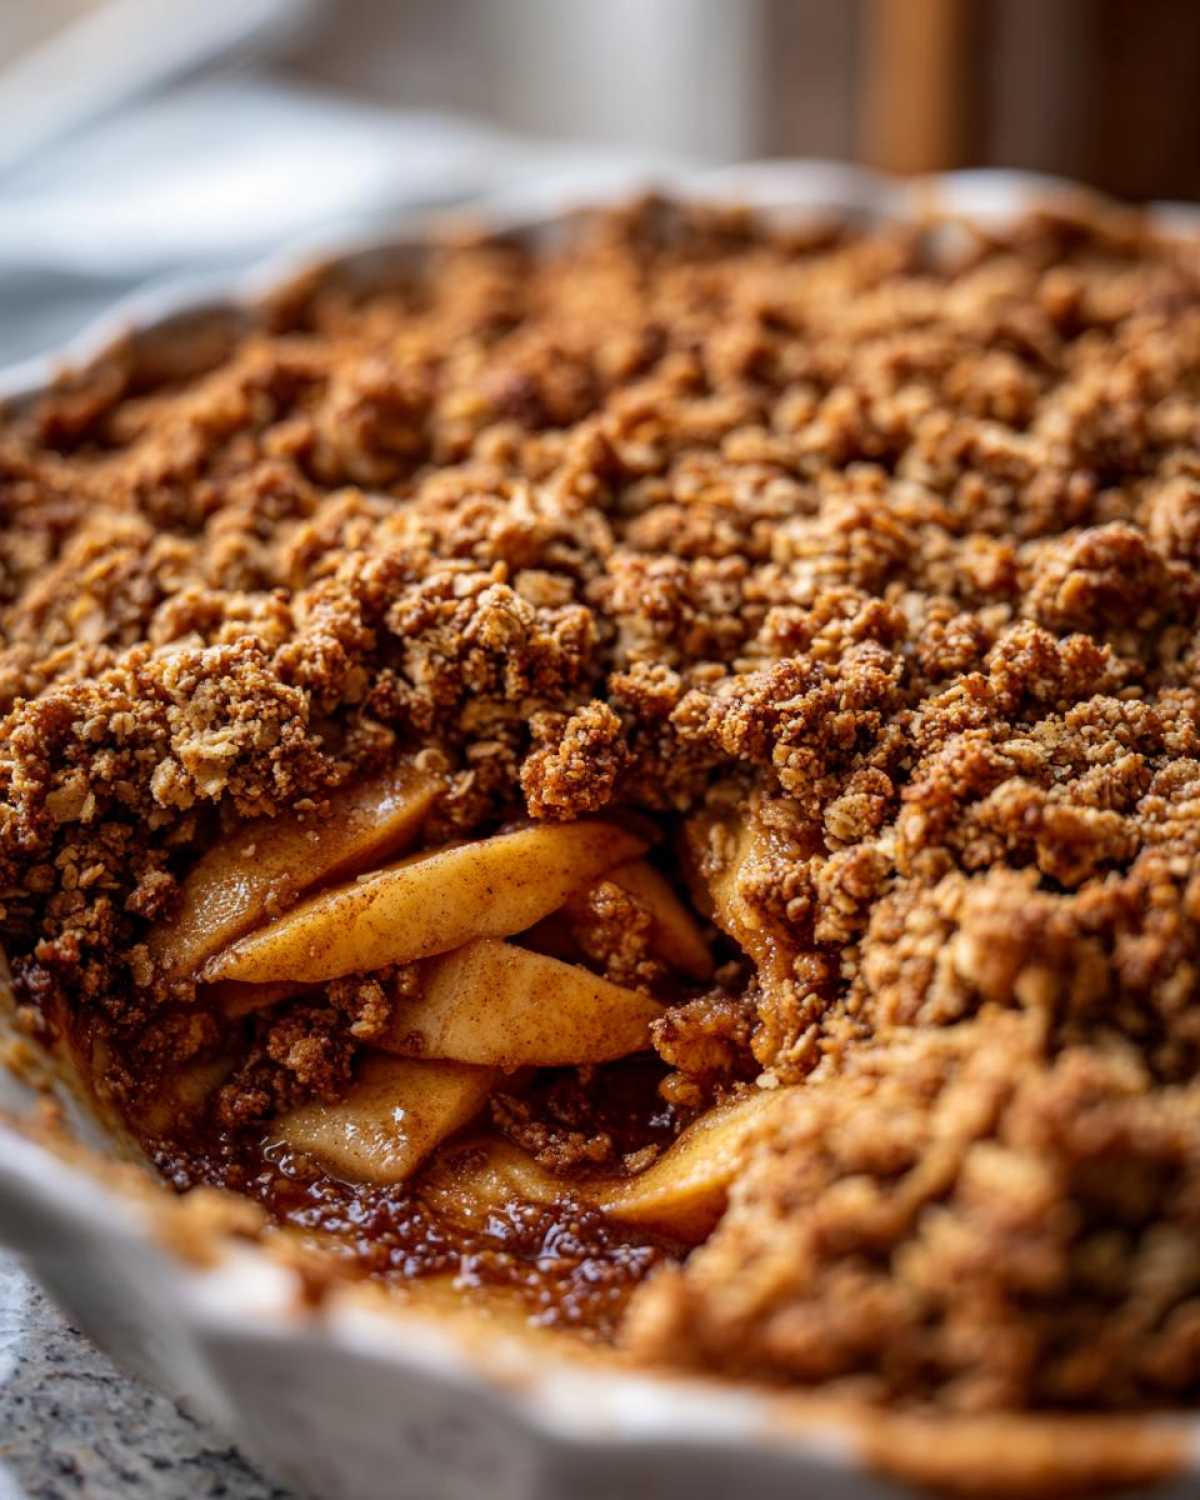
Once that topping is perfectly crumbly, just sprinkle it right over your apples. Give it a gentle press so it settles in, but don’t pack it down too hard! You want air pockets in there for maximum crispiness. Don’t forget you can always peek at other cozy baking ideas on our apple cobbler recipe posts while this bakes!
Baking Tips for the Best Apple Crisp Recipe
Getting this crisp into the oven is the easy part, but knowing when it’s perfectly done? That takes a little intuition, which you’ve totally got, by the way! We bake ours at 375°F (190°C) for about 35 to 45 minutes. You’re looking for two major things: first, the apple filling bubbling up around the edges—you want that juice to be thick, not watery. Second, that oat topping has to be deep golden brown, like toasted marshmallows!
Here’s one of my favorite tricks from the notes section: make absolutely sure your butter stays super cold when you mix the topping. If you notice the topping seems a little flat after about 20 minutes, give it a gentle nudge with a rubber spatula to fluff it up a bit. It helps redistribute the cold spots! Honestly, if you want to see how Natasha does hers, I always find her timing tips super helpful over at this great recipe.
Serving Suggestions for Your Warm Apple Crisp with Oat Topping
Okay, friend, this is the moment we’ve waited for! Taking this out of the oven after 40 minutes is torture, but you *must* let it cool for about 15 minutes before diving in. Why? Because that hot, bubbly filling needs a second to settle down, and you definitely don’t want to burn the roof of your mouth!
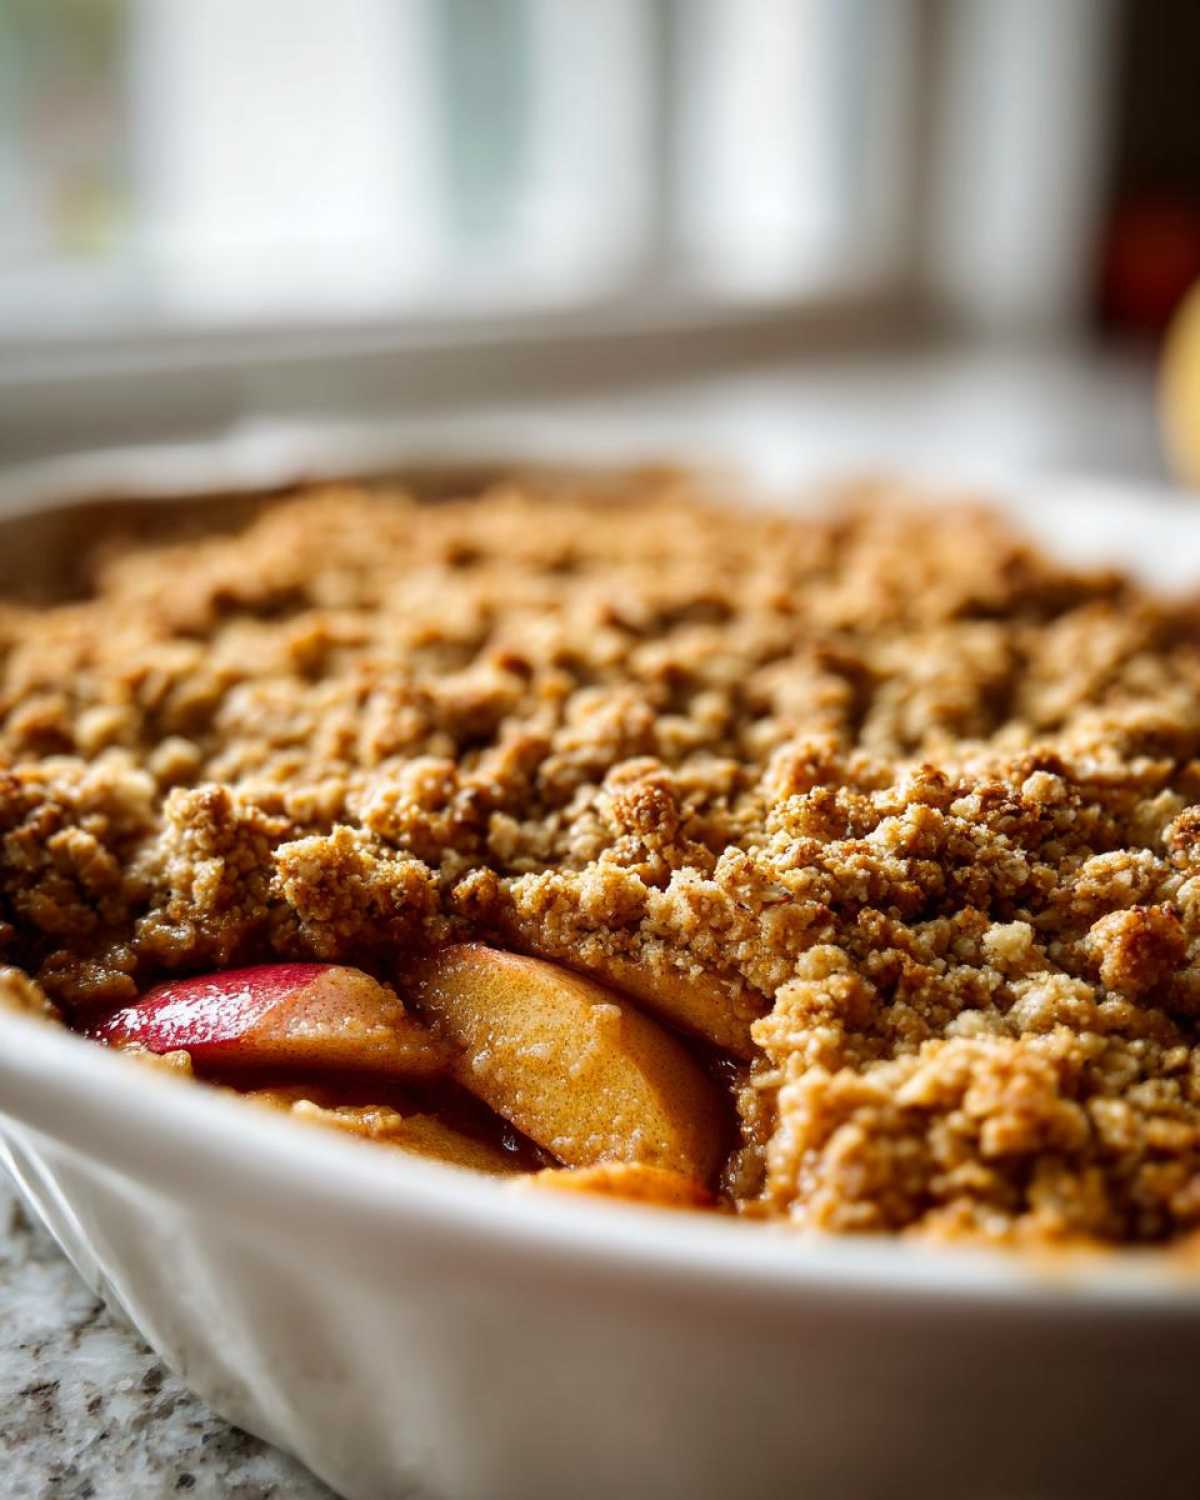
Nothing says Apple Dessert with Vanilla Ice Cream quite like this crisp. That contrast between the warm, spicy apples and the cold, melting vanilla is pure bliss. If ice cream isn’t your thing, try a dollop of rich whipped cream! Or, if you want something a little less sweet, I sometimes just drizzle a tiny bit of caramel sauce over the top. If you’re looking for other things to make with vanilla staples, I’ve got a great vanilla buttercream frosting recipe you might love later!
Ingredient Notes and Simple Apple Crisp Recipe Substitutions
Sometimes we don’t have exactly what the recipe calls for, right? Life happens! That’s why I wanted to chat about substitutions for this apple crisp recipe. We love keeping things flexible, which is how Chloe and I learned to cook in the first place—by improvising! For the flour in the topping, if you are out of AP, you can try swapping half of it with whole wheat flour for a nuttier flavor, just like I mentioned briefly earlier. That’s a substitution I’ve done many times. If you want to try a different spice, a pinch of allspice or a tiny bit of freshly grated nutmeg mixes beautifully with the cinnamon.
If you’re looking for other autumnal swaps or twists on baked goods, check out my ideas on the cranberry orange cake recipe! For those of you hoping to see variations, I saw someone suggesting some fascinating twists over at The Recipefy focusing on different sweeteners, so go check that out if you want to go beyond brown sugar!
Storage and Reheating Instructions for this Easy Apple Crisp Dessert
So, you have amazing leftovers? Lucky you! This Easy Apple Crisp Dessert usually lasts about three days. You want to keep it covered tightly—either with foil or plastic wrap—and store it on the counter if your kitchen isn’t too warm, or pop it in the fridge if it’s muggy. When you’re ready for another warm slice later, skip the microwave if you can! The microwave makes the topping soggy, and we worked too hard for soggy oats!
For the best results, reheat your serving in a toaster oven or a regular oven at about 350°F (175°C) for about 10 minutes. That low, slow heat brings back that perfect crunch. That’s the secret to enjoying this delicious treat again and again!
Frequently Asked Questions About Our Apple Crisp Recipe
I knew you’d have questions! When you hit on a recipe this good, people naturally want to tweak it or save time, so let’s cover a few of the things Chloe and I get asked about constantly regarding this apple crisp recipe. We want to make sure you feel confident baking this Comfort Food Baking classic!
Can I prepare the apple crisp recipe ahead of time?
Yes, you totally can! I usually assemble the whole thing, cover it tightly with plastic wrap, and keep it in the fridge for up to 12 hours before baking. Just add about 10 minutes to your baking time if you go straight from the cold fridge to the hot oven!
What is the best way to reheat leftovers of this apple crisp?
Like I said before, please, for the love of golden crusts, use the oven! Pop that portion back onto a baking sheet at 350°F for about 8-10 minutes. This dries out any moisture the topping absorbed overnight and gets that buttery little crunch back where it belongs.
Another question I always get is about applesauce—we personally haven’t tested applesauce in this version because we want that tender texture, but if you’re curious about working with cooked fruit, I have a great easy applesauce recipe where we discuss moisture content!
Share Your Apple Crisp Recipe Success!
Phew! That’s everything you need for the perfect dish. Now it’s your turn! We absolutely love hearing how your baking turned out. Did you go heavy on the cinnamon? Did you melt that ice cream just right? Head down to the comments below and leave a star rating—it really helps us know we’re on the right track for this apple crisp recipe! Come hang out with us over on the Cookery Kings blog anytime!
PrintThe Best Classic Apple Crisp Recipe with a Buttery, Crunchy Oat Topping

Embrace the cozy flavors of autumn with this easy-to-make warm apple crisp recipe. You get tender, juicy apples baked with cinnamon, topped with a buttery, golden-brown crumble made from oats. This is the ultimate fall comfort food dessert.
- Prep Time: 15 min
- Cook Time: 40 min
- Total Time: 55 min
- Yield: 6 servings
- Category: Dessert
- Method: Baking
- Cuisine: American
- Diet: Vegetarian
Ingredients
- 6 medium apples (like Granny Smith or Honeycrisp), peeled, cored, and sliced
- 1/4 cup water
- 1/4 cup granulated sugar
- 1 teaspoon ground cinnamon
- 1 tablespoon lemon juice
- 1 cup all-purpose flour
- 1 cup old-fashioned rolled oats
- 3/4 cup packed brown sugar
- 1/2 teaspoon ground cinnamon
- 1/4 teaspoon salt
- 1/2 cup (1 stick) cold unsalted butter, cut into small pieces
Instructions
- Preheat your oven to 375°F (190°C). Lightly grease an 8×8 inch baking dish.
- In a large bowl, combine the sliced apples, water, granulated sugar, 1 teaspoon cinnamon, and lemon juice. Toss gently to coat the apples evenly.
- Pour the apple mixture into the prepared baking dish and spread it into an even layer.
- In a separate medium bowl, prepare the topping. Whisk together the flour, rolled oats, brown sugar, remaining 1/2 teaspoon cinnamon, and salt.
- Cut the cold butter pieces into the dry topping mixture using a pastry blender or your fingertips. Work the mixture until it resembles coarse crumbs with some pea-sized pieces of butter remaining. Do not overmix.
- Sprinkle the oat topping evenly over the apples in the baking dish. Press the topping down lightly.
- Bake for 35 to 45 minutes, or until the topping is golden brown and the apple filling is bubbly and tender when pierced with a fork.
- Remove the crisp from the oven. Let it cool for at least 15 minutes before serving warm with a scoop of vanilla ice cream.
Notes
- For the best texture, make sure your butter is very cold when mixing the topping.
- You can substitute half the all-purpose flour with whole wheat flour for a slightly nuttier flavor.
- Serve this warm apple crisp with vanilla ice cream for the classic experience.
Nutrition
- Serving Size: 1 serving
- Calories: 380
- Sugar: 35
- Sodium: 120
- Fat: 18
- Saturated Fat: 11
- Unsaturated Fat: 7
- Trans Fat: 0
- Carbohydrates: 55
- Fiber: 4
- Protein: 4
- Cholesterol: 45