

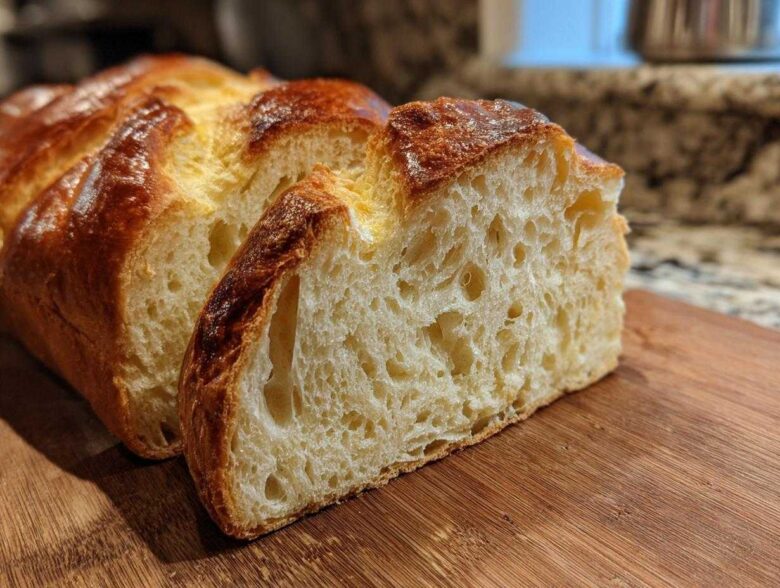
Oh my gosh, there is nothing, absolutely *nothing*, that beats the smell of fresh bread turning your kitchen into the coziest bakery on earth. Forget those flimsy, store-bought loaves! For ages, I thought getting that perfect, golden, crunchy crust on homemade Italian bread felt like a secret only real bakers knew. Mia and I used to joke that our oven only knew how to burn things. But trust me when I say we cracked the code! This recipe is so simple, even Chaos Coordinator Chloe can nail that epic bakery-style crust and fluffy interior every single time. You are going to dip this in olive oil until the plate is spotless, I promise!
Why This Homemade Italian Bread Recipe Works for Everyone
I know so many of you are nervous about starting with yeast, but this recipe is the perfect entry point into the world of Easy Crusty Bread Baking. We specifically designed this so you don’t need a fancy stand mixer or hours of waiting around. It’s beginner bread making at its finest!
- It delivers that sought-after Soft Inside Crusty Outside Bread texture.
- Uses only basic pantry staples—flour, water, yeast, salt, sugar, and oil!
- The rising times are manageable, making it a great weeknight bake.
Achieving the Perfect Bakery Style Italian Loaf Texture
The secret to that gorgeous crunch is steam, plain and simple. When the bread hits that hot oven, we give it a burst of steam—either by brushing the top with water or by tossing water into a hot pan underneath. That initial steam bath keeps the outer layer soft long enough for the bread to expand beautifully. Once the steam clears, that crust blasts into golden, crispy perfection. The simple kneading process we use creates the internal gluten structure, resulting in that satisfyingly chewy interior. Trust me, you’ll be smelling fresh baked bread aromas filling your house!
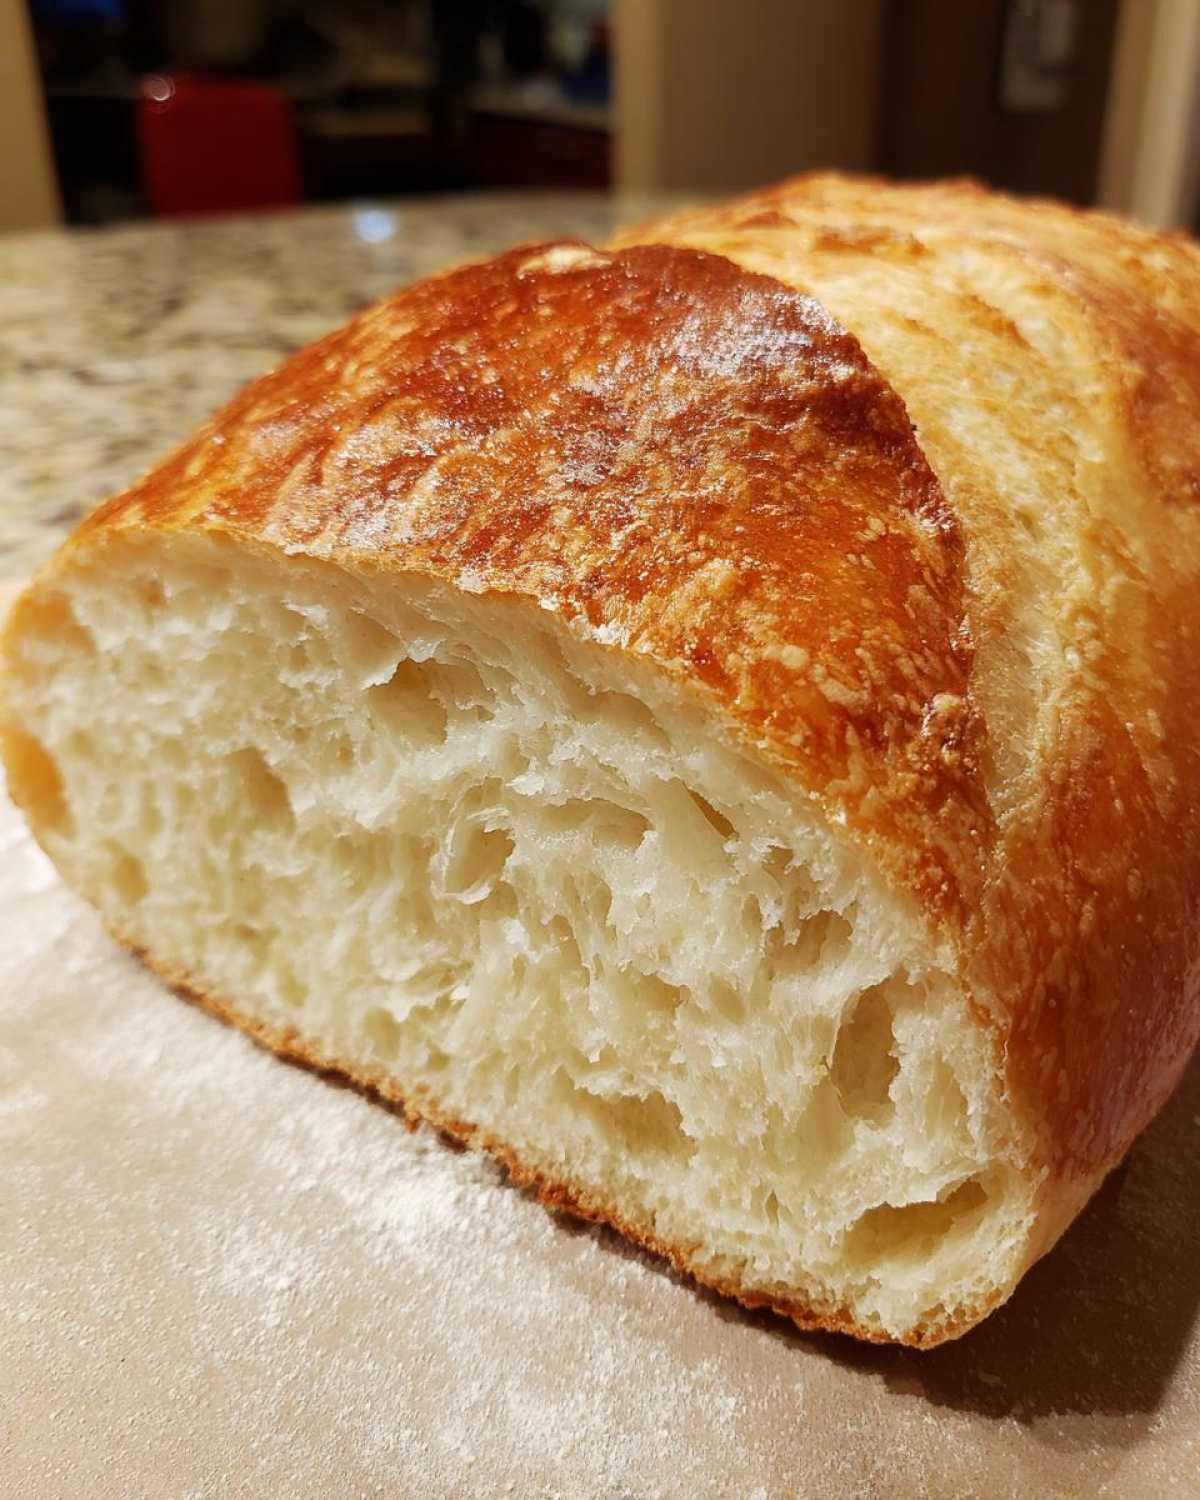
Gathering Your Ingredients for Delicious Italian Bread
Okay, before we start playing mad scientist with yeast and water, let’s make sure you have everything ready to go. The beauty of this Homemade Italian Bread Recipe is that it relies on the basics, so clean pantry staples make a massive difference! If your yeast smells funny, toss it—we need happy yeast for a good rise!
Here’s what you need for one beautiful, crusty loaf. Pay close attention to the water temperature; it’s non-negotiable if you want your yeast to wake up!
- 3 1/2 cups all-purpose flour
- 1 1/2 teaspoons salt
- 1 teaspoon granulated sugar
- 2 1/4 teaspoons active dry yeast (that’s usually one standard packet, don’t sweat if it’s slightly more or less!)
- 1 1/2 cups warm water (about 105-115°F—must be warm, not hot enough to burn your finger!)
- 2 tablespoons olive oil, plus more for the bowl
Honestly, the quality of that olive oil matters because there are so few ingredients here. Using a decent extra virgin olive oil—even if it’s not the super fancy bottle you save for guests—really boosts the subtle flavor of the finished italian bread. We don’t want any weird aftertastes competing with that wonderful fresh baked bread aroma!
Step-by-Step Guide to Making Your Italian Bread
Alright, deep breaths! While mixing dough sounds super artisan, this process is actually really straightforward. I promise this sequence of steps is what takes us from a pile of flour to an incredible loaf. It’s all about timing and feeling the dough come alive. We’re aiming for that classic artisan bread at home experience without all the fuss! You can look at my guide for a no-knead version later, but for this perfect loaf, we do need to work the dough a bit.
Activating the Yeast and Mixing the Italian Bread Dough
First things first: wake up that yeast! Grab your warm water, drop in the sugar (that’s the yeast’s breakfast!), and sprinkle the yeast on top. Don’t stir yet! Just let it sit for about five to ten minutes. If you see foaminess, a little bubbly layer forming on top? Fantastic! That means your yeast is good to go. If nothing happens, you might need to start over with warmer water or fresh yeast. Once it’s foamy, stir in the flour, salt, and the two tablespoons of olive oil. Stir it all up with a sturdy spoon until it stops looking like dry powder and turns into a messy, thick blob. That blob is what we call shaggy dough, and it’s perfect.
Kneading and the First Rise for Your Italian Bread
Time to get those hands dirty! Turn that shaggy dough out onto a lightly floured counter. This is where you work out the tension in your day while you work out the gluten in the flour. You need to knead this for a good eight to ten minutes. Keep pushing, folding, and turning. You’ll know you’re done when the dough feels smooth, holds its shape, and springs back just a little when you poke it with a finger—it’s nice and elastic now! Then, oil up a big bowl, plop the dough in, flip it so it’s coated, cover it tightly, and put it somewhere warm. Now we wait one to one-and-a-half hours, minimum, until it’s doubled. Don’t peek too much!
Shaping, Second Rise, and Preparing for the Golden Brown Crust Bread
Once it’s puffy and huge, gently punch the air out—seriously, be gentle! You just want to deflate it a bit. Now, shape it into whatever you want—a nice round ball or a classic oval loaf. Place your shaped loaf on a baking sheet lined with parchment paper. Cover it loosely again (don’t let it dry out!) and let it rest for another 30 to 45 minutes. This second rise gives the Golden Brown Crust Bread structure. While that’s happening, crank your oven up to 400°F (200°C)! I also like to put an empty, shallow metal pan on the bottom rack to get super hot; this is going to be our steam station.
Baking the Crusty Italian Bread Loaf with Steam
Okay, five minutes before the second rise ends, take a sharp knife and make a few shallow slits across the top of your loaf—this is called scoring, and it helps the bread bake evenly. Brush the top of your Crusty Italian Bread Loaf with water or an egg wash for extra shine. Carefully slide your loaf into the oven. *Immediate Step:* Remember that hot pan on the bottom? Quickly and carefully pour about a cup of hot water into it and shut the door fast! That burst of steam keeps the crust tender while the inside cooks. Bake it for 30 to 35 minutes. You’re looking for that deep golden brown color, and if you have a thermometer, the center should hit 200°F (93°C). Pull it out and immediately put it on a wire rack. The crackling sound it makes as it cools? That’s the best soundtrack!

Expert Tips for Perfect Homemade Italian Bread Every Time
Now that you’ve seen the main steps for this Homemade Italian Bread Recipe, let’s talk about the little things that turn a good loaf into a “Wow, did you buy this?!” loaf. Since Mia and I started as complete novices, we picked up some tricks along the way. These tips are perfect for any Beginner Bread Making adventure. We want you to have success right out of the gate!
I remember one rainy winter when our kitchen was freezing, and the dough just absolutely refused to rise during the first proof. I was ready to throw the whole thing out! Mia just told me to be patient and put the bowl in the oven with *only* the light on. Seriously, that tiny bit of external heat did the trick! That little hack saved my life that day, so always keep your oven light in mind for those cold days.
For the crunchiest crust, outside of using steam in the oven (which we covered, but if you want more ideas, check out what the folks at Crusty Italian Bread suggest!), make sure you pull the bread out the minute it hits that internal temperature. Over-baking is the fastest way to lose that satisfying crispness!
Ingredient Notes and Substitutions for your italian bread
Keep it simple here, honestly. While I love adding things to everything—and I’ve got a great caramelized onion guide if you want to sneak some flavor in later—for this classic loaf, the quality of your core ingredients really shows.
Flour-wise, all-purpose is perfect for this exact texture. Bread flour *would* work if you wanted an even chewier crumb, but AP flour keeps it light and reliably soft inside. If you don’t have sugar, you can technically skip it because the yeast will find food in the flour, but the sugar helps guarantee that foamy activation, so I really recommend keeping it in the mix!
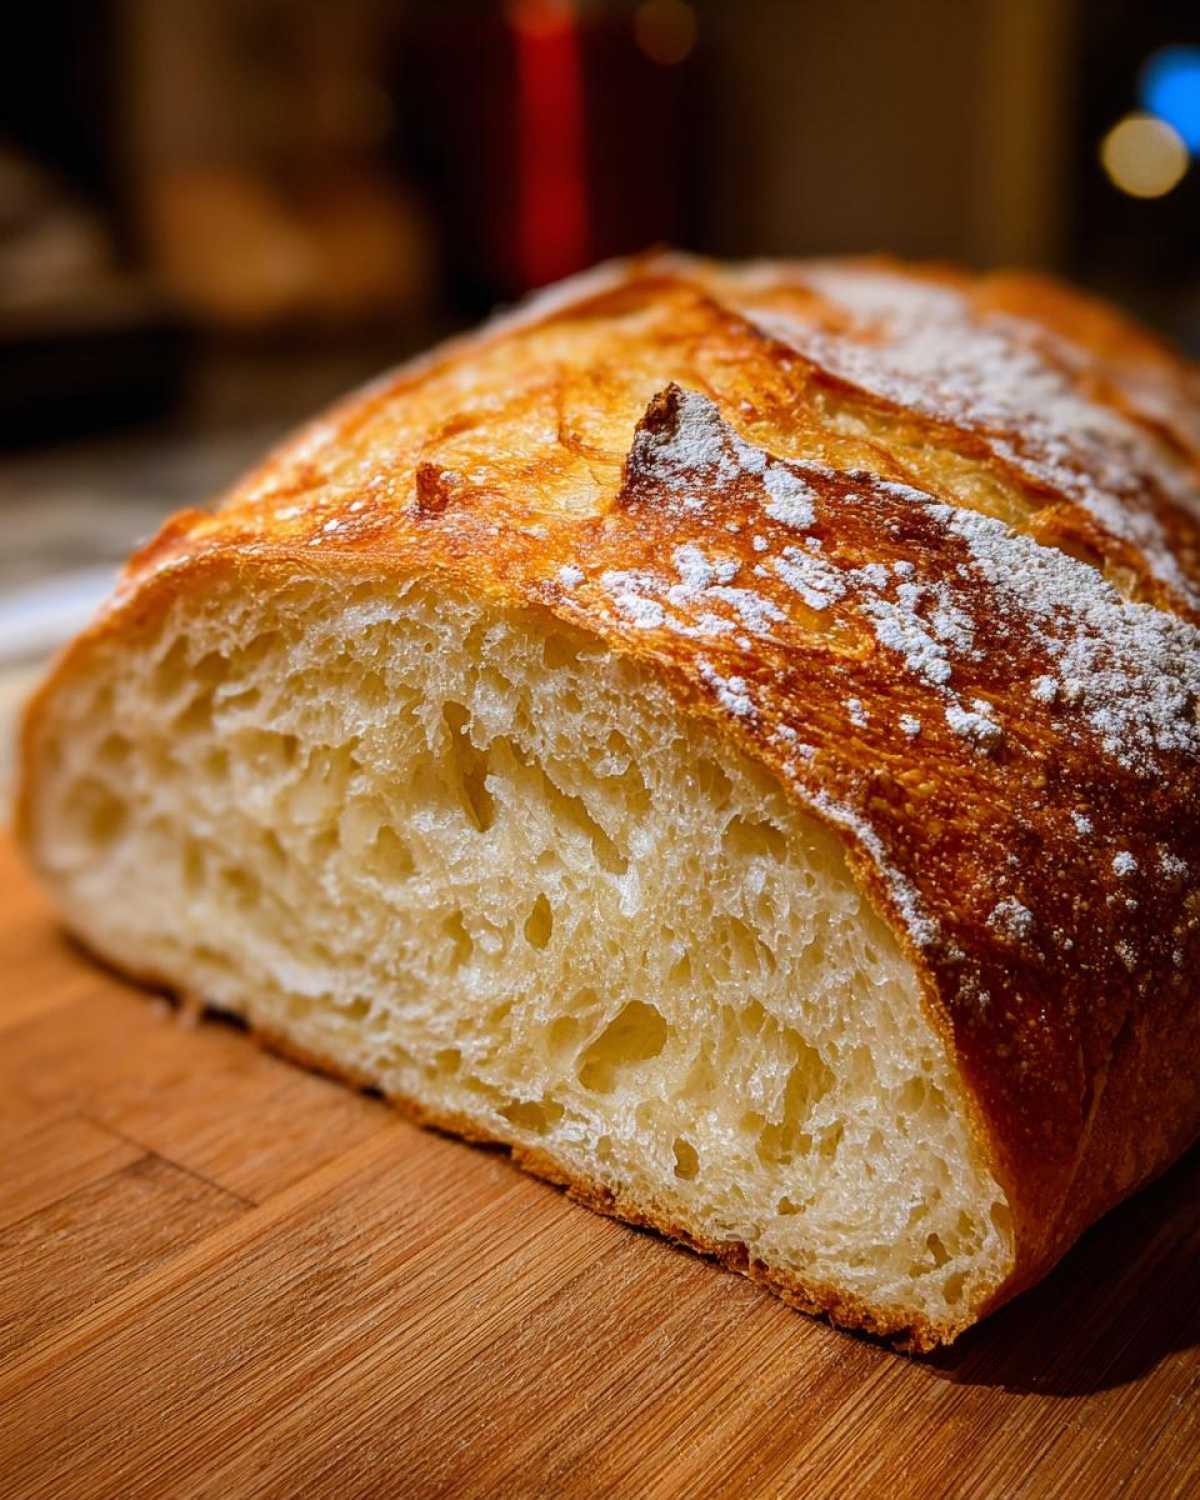
Serving Suggestions for Your Chewy Italian Loaf
Now that you have this magnificent, crusty loaf cooling on the rack—and resisting the urge to slice it while it’s still steaming hot—the real fun begins! This chewy Italian loaf smells so good it’s basically a meal on its own, but it truly shines when you pair it with your favorite dishes. It’s the ultimate dinner side bread recipe!
Mia and I always joke that the true test of good bread is how well it holds up to dipping. If a slice disintegrates the second you dunk it in liquid, it’s not worthy. Luckily, because we nailed that kneading process, this bread is sturdy enough for anything you can throw at it!
For incredible dipping bread recipes, you don’t have to get fancy. Just a really good quality extra virgin olive oil, maybe a tiny dish of flaky salt and cracked pepper, and you are done. If you’re feeling a little extra, try mixing a little dried oregano and garlic powder into the oil before dipping. It’s ridiculously addictive.
This loaf is also my go-to for elevating weeknight meals. Seriously, forget those sad, thin slices of white bread trying to sop up sauce. Use this homemade italian bread recipe creation to tackle generous servings of marinara, or even better, to swim in a bowl of creamy homemade sauce. You *have* to try it with my friend Mia’s homemade Alfredo sauce—just watch how perfectly it scoops up every last bit!
And for the ultimate sandwich? Slice it horizontally, toast the inside lightly, and pile on good quality mozzarella, basil, and fresh tomato for an authentic Caprese vibe. That strong, crusty exterior holds up beautifully against juicy fillings, unlike those softer loaves that get soggy immediately. For more inspiration on what to pair your bread with, check out some tips on Crusty Italian Bread pairings!
Storage and Reheating Instructions for Leftover Italian Bread
Okay, brace yourself: the hardest part of baking this italian bread is letting it cool completely before you slice into it. But once you’ve enjoyed the first warm loaf, you’re inevitably stuck wondering how to keep that amazing crust on day two! If you treat homemade bread the way the grocery store bags it, you’re asking for trouble.
My cardinal rule here is: avoid plastic bags at all costs! Plastic traps moisture, and moisture is the mortal enemy of that beautiful, crunchy crust we worked so hard to achieve during the bake. If you have leftovers that need to last maybe a day, just leave the loaf sitting on a wire rack on the counter. If you need it to last longer than 24 hours, wrap it loosely in a clean paper bag. This lets some moisture escape while keeping the bread from drying out completely.
How to Bring Back That Fresh Bakery Crispness
If your crust has gone a little soft or chewy, don’t panic! We can absolutely resurrect this loaf. It’s so easy, I feel like I should charge extra for this tip, but we’re a team here!
Preheat your oven again, this time just to about 350°F (175°C). You don’t need the high heat of the bake, just enough to warm it through and dry out that crust. You can spray the exterior of the loaf very lightly with water—don’t soak it, just a quick mist! Pop the whole loaf directly onto the oven rack. Heat it for about 5 to 8 minutes, depending on how thick your loaf is. When you pull it out, you should hear that glorious crackle again as the exterior tightens up. It’s like magic, honestly, and it fools everyone into thinking you just pulled it from the oven five minutes ago—perfect for a last-minute dinner side!
If you’ve sliced the bread, just reheat the slices directly on the rack for maybe 3 minutes until they are toasty. You can’t beat that texture for dipping!
Troubleshooting Common Italian Bread Baking Issues
Listen, even Mia and I have kitchen fails—it’s part of the ‘Cookery Kings’ journey! If your italian bread didn’t come out perfectly the first time, please don’t toss the dough or swear off baking forever. It happens to everyone! Most issues we run into are super easy to diagnose, especially when you’re learning the ropes of yeast. We usually boil it down to temperature or time. Let’s walk through the three big hiccups people run into when trying to achieve that perfect loaf.
Don’t forget, even if the crust isn’t exactly what you hoped for, this bread is still 100 times better than anything from the plastic bag at the store. Plus, seeing what went wrong is how we learn to bake better next time! For reference on what perfect should look like, check out the amazing guide on Perfect Italian Bread Recipe.
Problem 1: My Dough Won’t Rise at All!
This is almost always a temperature or yeast freshness issue, period. If your water was too hot when you mixed the yeast, you killed it. Oops! If the water was too cold, the yeast just took a nap and refuses to wake up. For the first rise, the dough needs a true ‘warm hug’—think around 75-85°F. If your kitchen is chilly, use my trick with the oven light—that tiny bit of sustained warmth helps everything kick into gear. If you let it sit for two hours and it hasn’t budged, the yeast probably didn’t make it, and we’ll have to start that part over.
Problem 2: My Loaf Is Dense, Not Chewy or Airy
If your dough rose nicely but the final baked loaf feels like a brick, we probably skipped a step in developing the structure. Did you knead it long enough? You might feel like you’re kneading forever, but that 8 to 10 minutes creates the gluten network that traps the gasses and makes the bread light and chewy. If you rushed that part, the bread has nowhere to go but down! Also, confirm you let it rise for the full time during the first proof. Under-proofed dough is heavy; it needs that initial hour plus more to build flavor and structure.
Problem 3: The Crust Came Out Soft, Not Golden and Crunchy
This is the saddest problem because the taste is usually great, but the texture just isn’t delivering the *crusty* experience we are aiming for! If your crust is soft, 99% of the time, it lacked steam during the initial baking phase. Steam is vital for the first 10-15 minutes because it keeps the surface flexible so the dough can fully expand before the crust sets hard. If you skipped putting that pan of water on the bottom rack, that’s likely your culprit. Next time, make sure that water pan is ready and you seal that door quickly after pouring the water in for that perfect Golden Brown Crust Bread!
Frequently Asked Questions About This Quick Italian Bread Tutorial
I totally get it—when you’re diving into a new Homemade Italian Bread Recipe, you’ve got a million little questions bubbling up. Don’t worry, I’m here to help clear up any confusion so you feel confident walking into the kitchen! We’ve gathered the questions we get asked most often about making this Classic Italian Baking at home.
Can I substitute regular all-purpose flour with bread flour?
That’s a great question about swapping flours! For this specific recipe, I really recommend sticking with all-purpose flour. We are aiming for that wonderfully soft yet chewy crumb, right? All-purpose flour has slightly less protein, which helps keep the crumb tender. If you use bread flour for this recipe, you might end up with a loaf that’s a little too dense or tough. If you *must* use bread flour, I’d consider decreasing the kneading time by about a minute or so. Keep checking our blog for future recipes where bread flour is the star!
How long does it take if I skip the second rise?
Oh, the temptation to rush things when you smell that amazing aroma! While this recipe is already fairly quick for Italian bread, skipping that second rise is really going to hurt your final texture. The second rise (called ‘proofing’) is what gives the loaf its light, airy structure and allows the gases created by the yeast to redistribute evenly. If you *absolutely* have no time, you can cut the second rise down to about 20 minutes, but I’m warning you: the loaf will be much denser and less enjoyable for dipping. For a true Bakery Style Italian Loaf, you really need both rises!
Can I freeze this Italian bread loaf?
Yes, you totally can, and it’s a lifesaver on busy weeks! The best time to freeze it is after it has completely cooled down from the oven. Slice the loaf first—this is crucial! Once sliced, wrap the entire loaf tightly in plastic wrap, and then slide that whole package into a heavy-duty freezer bag. Freezing it sliced means you only have to thaw what you need, which is brilliant for sandwiches. When you want a slice, just take it out and pop it straight into the toaster or under the broiler for a minute to warm it up and reactivate that crust. It saves you from needing a Quick Italian Bread Tutorial next time!
Why did my crust get soft overnight even though I used steam?
This is the eternal struggle of the home baker! You nailed the steam in the oven, and it was crunchy coming out, but by morning, it’s soft. That’s just bread physics, I’m afraid! The crust gets crunchy because the steam keeps it pliable while baking, allowing it to expand. Once it cools and hits room air, it absorbs moisture from the atmosphere, softening the crust. To keep that crunch, remember my tip from the troubleshooting section: avoid plastic bags! Store it on a wire rack covered loosely with a paper bag. Or better yet, just reheat slices quickly, as we discussed!
Nutritional Estimates for Your Homemade Italian Bread
Okay, let’s talk numbers for a second! I know that when we are baking massive, glorious loaves, we aren’t exactly thinking about macros, but tracking food in our kitchen has helped me realize that homemade bread, even this wonderful italian bread, is surprisingly clean!
I took the basic ingredient list and ran it through a calculator so you have a general idea of what you’re looking at per slice, assuming you get 16 slices out of the final loaf. Remember, Mia always has to remind me that these are just estimates because variables like exact baking time and flour brand can change things just a tiny bit. This isn’t exact science, it’s just happy baking!
Here’s a rough breakdown based on the recipe details:
- Serving Size: 1 slice
- Calories: About 150
- Fat: Around 1.5g (Mostly from that lovely olive oil!)
- Saturated Fat: Very low, around 0.2g
- Carbohydrates: Roughly 30g
- Fiber: About 1.5g
- Protein: About 5g
- Sodium: Around 250mg
- Sugar: Super low, about 0.5g
- Cholesterol: 0mg
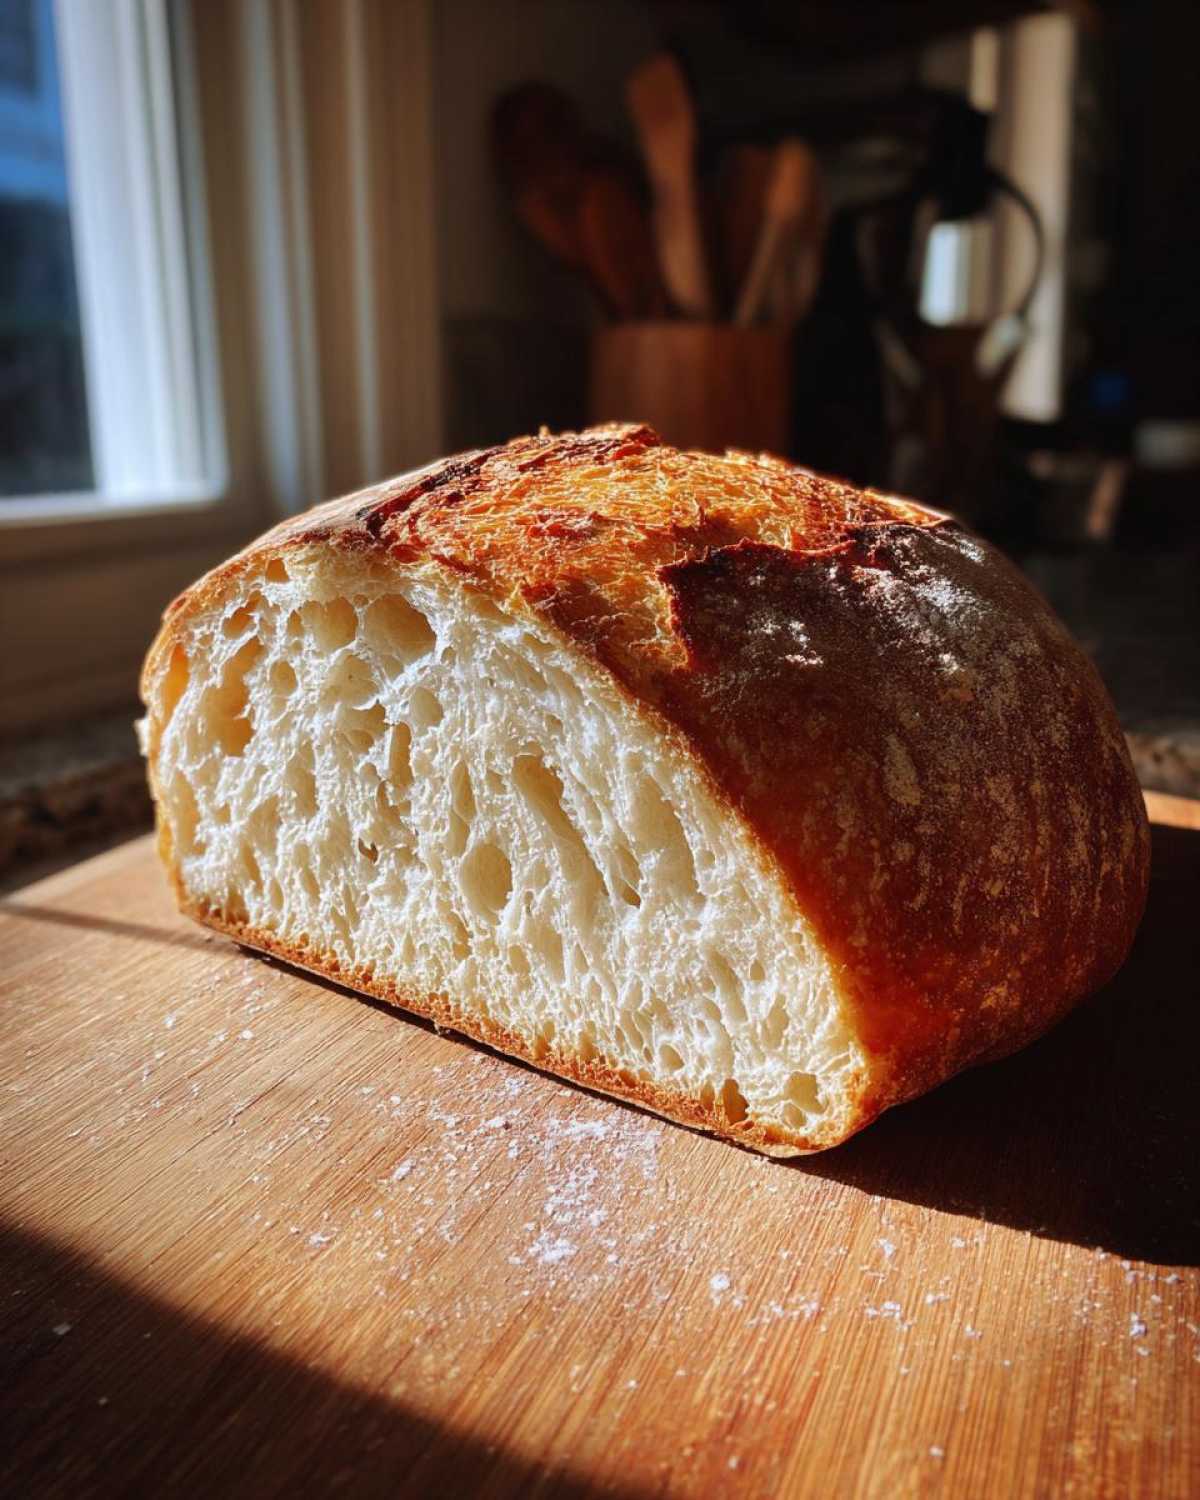
Seriously, look at that sugar count! We used only one teaspoon to feed the yeast, so this is miles away from the heavily preserved, sugar-loaded breads you find in the shops. That’s another huge win for making your own easy crusty bread baking at home! Enjoy that slice—you earned it!
PrintEasy Crusty Homemade Italian Bread: Bakery-Style Loaf in Your Kitchen

You can bake bakery-quality Italian bread at home! This beginner-friendly recipe delivers a loaf with a golden, crunchy crust and a soft, chewy interior using simple pantry ingredients. It is perfect for dipping in olive oil or serving with pasta.
- Prep Time: 20 min
- Cook Time: 35 min
- Total Time: 2 hours 45 min
- Yield: 1 large loaf
- Category: Baking
- Method: Baking
- Cuisine: Italian
- Diet: Vegetarian
Ingredients
- 3 1/2 cups all-purpose flour
- 1 1/2 teaspoons salt
- 1 teaspoon granulated sugar
- 2 1/4 teaspoons active dry yeast (1 packet)
- 1 1/2 cups warm water (about 105-115°F)
- 2 tablespoons olive oil, plus more for the bowl
Instructions
- In a large bowl, mix the warm water, sugar, and yeast. Let this stand for 5 to 10 minutes until it becomes foamy. This shows the yeast is active.
- Add the flour, salt, and 2 tablespoons of olive oil to the yeast mixture. Mix everything with a wooden spoon until a shaggy dough forms.
- Turn the dough out onto a lightly floured surface. Knead the dough for 8 to 10 minutes until it becomes smooth and elastic. You want it to spring back slightly when you poke it.
- Lightly oil a large bowl with extra olive oil. Place the dough in the bowl and turn it over to coat the surface with oil. Cover the bowl with plastic wrap or a clean kitchen towel.
- Let the dough rise in a warm place for 1 to 1.5 hours, or until it has doubled in size. This is your first rise.
- Gently punch down the risen dough to release the air. Shape the dough into a round or oval loaf shape.
- Place the shaped loaf on a baking sheet lined with parchment paper or in a loaf pan. Cover it loosely again and let it rise for another 30 to 45 minutes. This is your second rise.
- Preheat your oven to 400°F (200°C). If you want a very crusty exterior, place a shallow pan on the bottom rack while preheating to create steam later.
- Before baking, lightly brush the top of the loaf with water or an egg wash (one egg mixed with one tablespoon of water) for better browning. You can score the top of the loaf with a sharp knife if you wish.
- Bake for 30 to 35 minutes, or until the crust is deep golden brown and the internal temperature reaches 200°F (93°C). If you used the steam pan, carefully pour about 1 cup of hot water into the pan immediately after placing the bread in the oven, then quickly close the door.
- Remove the bread from the oven and transfer it to a wire rack to cool completely before slicing. Enjoy your fresh baked bread aromas!
Notes
- For an extra crispy crust, place a pizza stone or baking steel in the oven while preheating.
- If your kitchen is cold, place the dough in the oven with just the light on (do not turn the oven on) to create a warm proofing spot.
- This bread is excellent for making simple sandwiches or dipping into olive oil.
Nutrition
- Serving Size: 1 slice
- Calories: 150
- Sugar: 0.5
- Sodium: 250
- Fat: 1.5
- Saturated Fat: 0.2
- Unsaturated Fat: 1.3
- Trans Fat: 0
- Carbohydrates: 30
- Fiber: 1.5
- Protein: 5
- Cholesterol: 0