

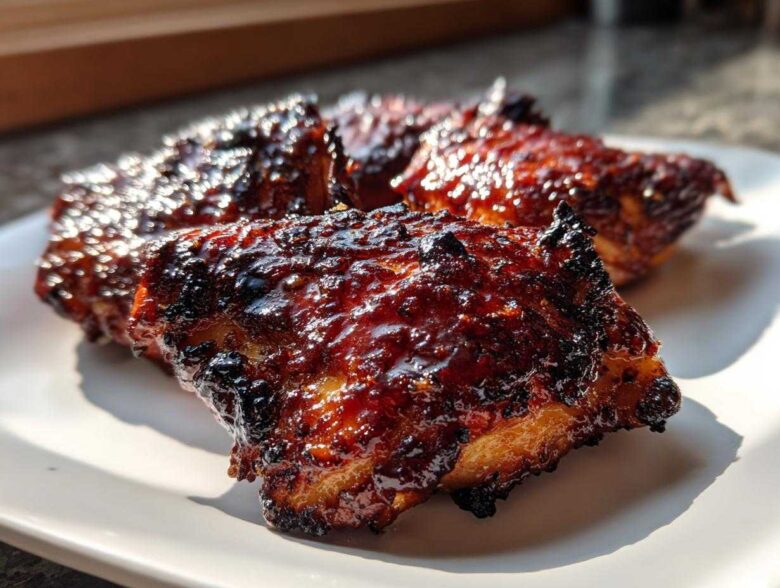
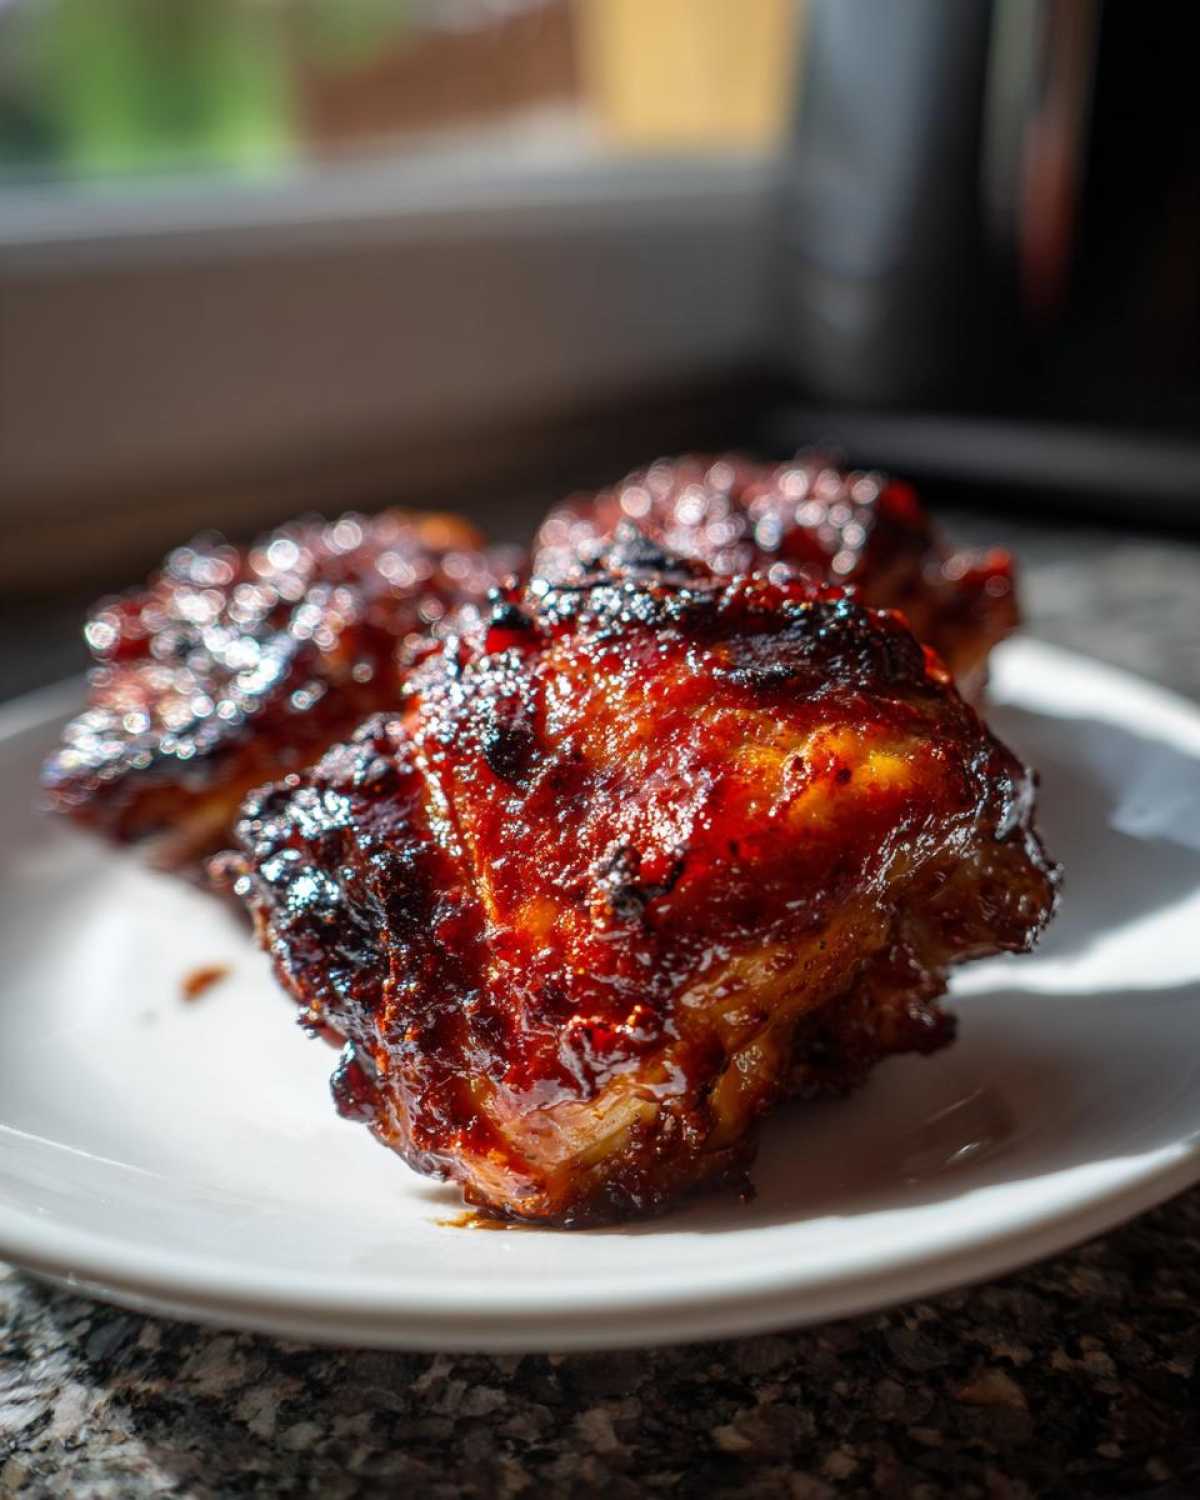
I swear, finding the perfect BBQ chicken is like chasing a flavor unicorn. You usually have to choose: either the sauce is thick and beautifully sticky, but the skin underneath is floppy and sad, or you get that amazing crispy texture, but the sauce just slides right off. Well, friends, I finally figured out the magic combination, and I’m so excited to share my recipe for Sticky BBQ Chicken Thighs with Crispy Edges!
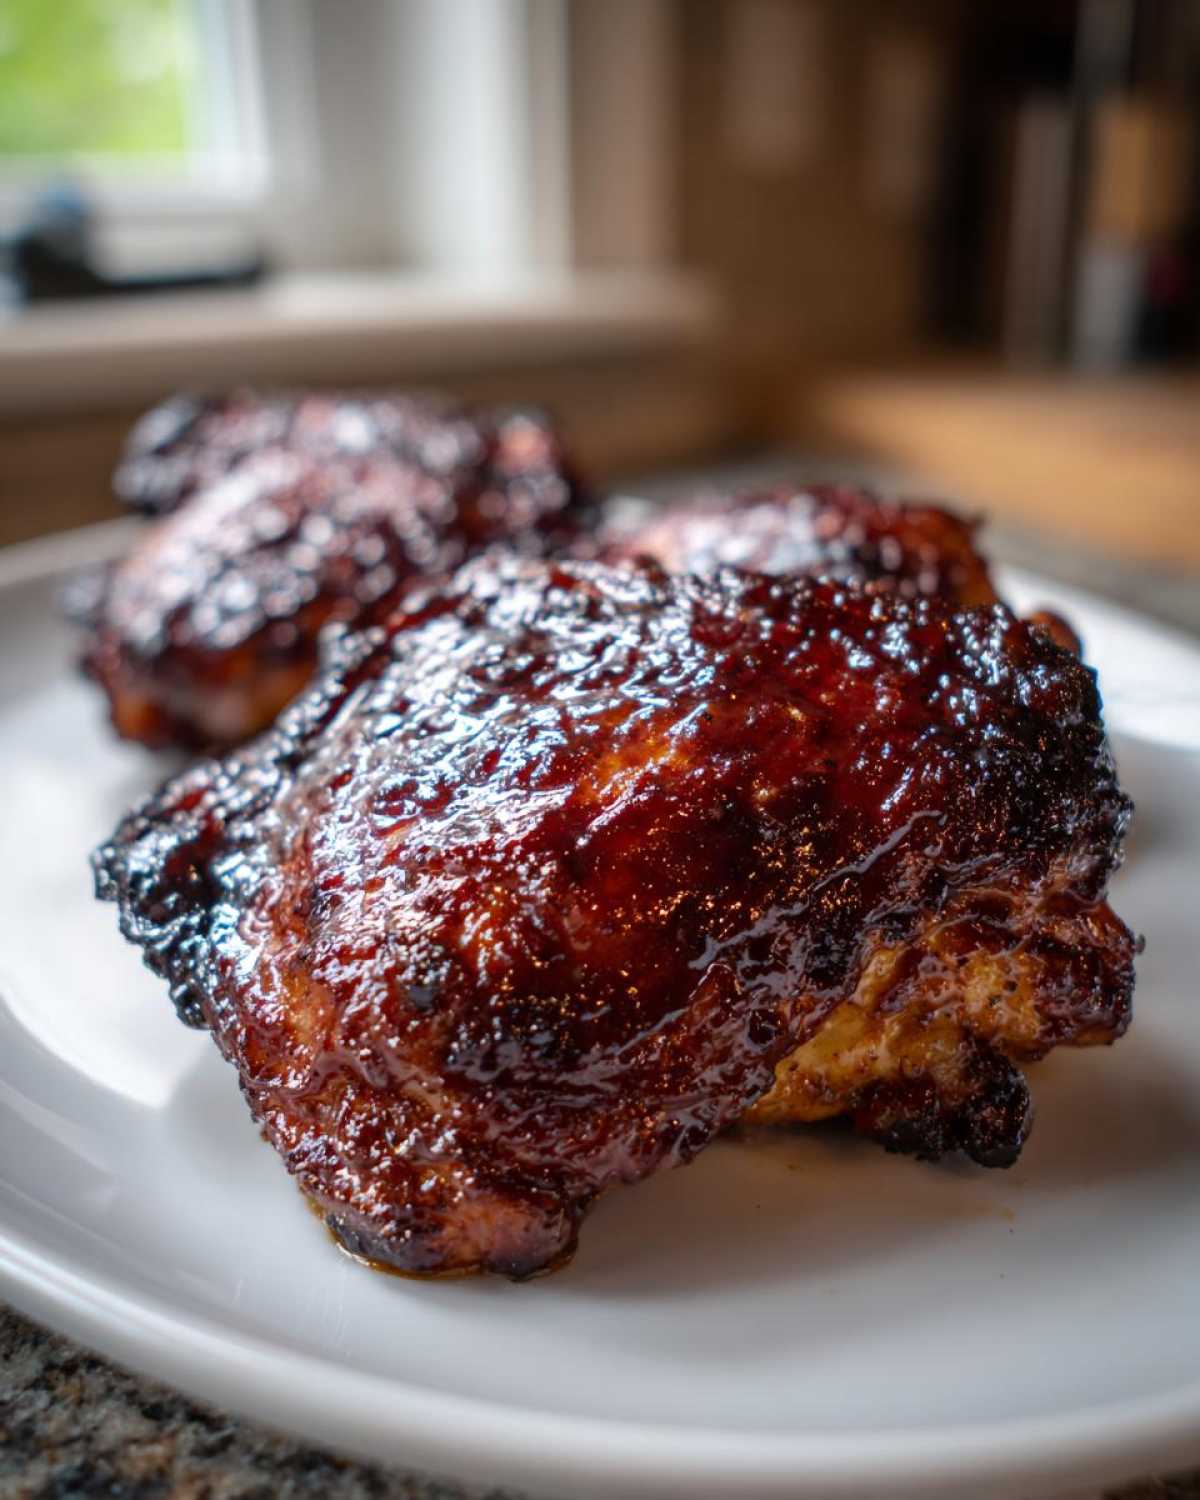
Trust me, I spent weeks just trying to get that caramelization without burning the sugar. I finally cracked the code by treating the chicken skin right first, using high heat at the end, and applying the thick glaze strategically. These thighs are juicy inside, coated in sweet, smoky sauce, and those edges? They snap! You absolutely need to try this for your next weeknight sticky chicken dinner.
Why You Will Love These Sticky BBQ Chicken Thighs with Crispy Edges
Seriously, this recipe is a game-changer for chicken night. If you’ve ever been disappointed by soft, undercooked skin hiding under a pool of sauce, this is your answer. Here’s what makes it the Best BBQ Chicken Thigh Recipe:
- You get that wonderful, thick, sticky glaze that clings perfectly to every piece.
- The edges of the skin turn unbelievably crispy and browned—it’s the main event!
- It’s incredibly straightforward; we’re using simple pantry staples and the oven does almost all the heavy lifting.
- The combination of sweet glaze and savory, perfectly cooked chicken is just incredible comfort food.
Ingredients for the Best Sticky Glazed Chicken Thighs
Okay, getting amazing results means starting with the right building blocks. Don’t skimp on the chicken quality here! For this recipe, we absolutely need bone-in, skin-on thighs. Those bones help insulate the meat, keeping it juicy, and that skin is what we’re working hard to get crispy.
For the primary seasoning, we’re keeping things simple so the homemade glaze can really shine. I find that using your favorite thick BBQ sauce is half the battle won—no need to make a whole sauce from scratch unless you want to!
- 6 bone-in, skin-on chicken thighs
- 1 tablespoon olive oil
- 1 teaspoon salt
- 1/2 teaspoon black pepper
- 1/2 teaspoon garlic powder
- 1 cup your favorite thick BBQ sauce (make sure it’s a good, thick one!)
- 2 tablespoons apple cider vinegar
- 1 tablespoon brown sugar
That little bit of apple cider vinegar in the glaze cuts through the sweetness beautifully. It’s almost as important as the seasoning blend. If you want to dive deeper into rich caramel flavors, maybe check out my guide on caramelized onions sometime!
The Secret Technique to Sticky BBQ Chicken Thighs with Crispy Edges
Listen, getting that heavenly mix of sticky glaze and actual crispy skin on chicken thighs takes a bit of strategy. It’s all about understanding moisture management! If the skin is wet when it hits the oven, you end up steaming it, guaranteeing sogginess. That’s why we treat the skin like it’s top-priority runway material—it needs to be bone-dry before anything else happens.
We’re using a two-stage high-heat bake here, which is how we lock in that perfect texture for our Sticky BBQ Chicken Thighs with Crispy Edges. We start medium-hot to cook the meat through, then finish scorching hot to caramelize that sugar!
Prepping the Chicken for Maximum Crispiness
This first step is non-negotiable, so don’t cheat! Grab your thighs—remember, skin-on is how we play this game—and use paper towels until they feel dry to the touch. I mean *super* dry. We want every bit of surface moisture gone! Once dry, just a little oil and seasoning helps create a barrier. This rub doesn’t add all the flavor; it just helps the skin brown nicely before we introduce the sauce.
Creating the Perfect Sticky Glaze for Chicken Thighs
The real stickiness comes from reducing the sauce slightly on the stovetop. Combining your favorite BBQ base with a little brown sugar and apple cider vinegar is key here. We gently heat it up until that brown sugar dissolves and the whole mix tightens up just a bit. It shouldn’t be rock hard, just noticeably thicker than when it came out of the jar. This concentrated sauce is what transforms into that beautiful, glossy coating later on. You don’t want a runny mess dripping off your perfectly cooked chicken thighs!
Step-by-Step Instructions for Sticky BBQ Chicken Thighs with Crispy Edges
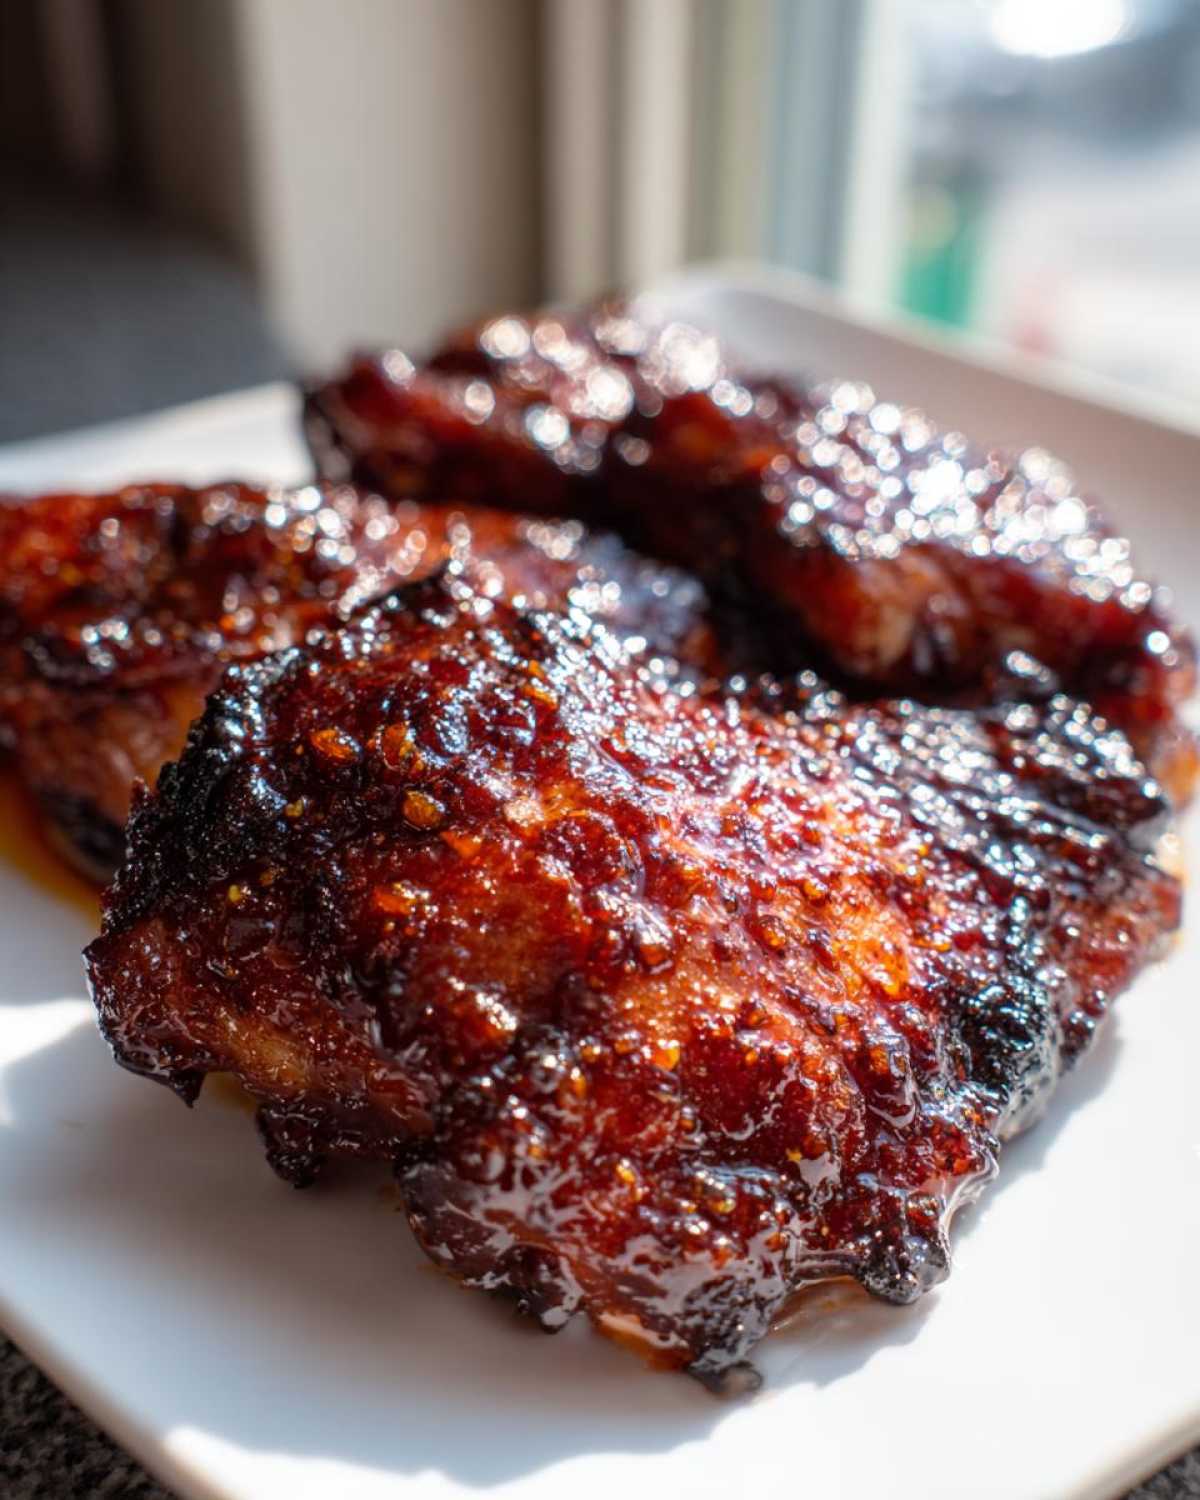
Now we put all that prep work into action! The timing here is everything, especially when we start layering on that glorious sauce. Remember, we aren’t dumping all the sauce on at once, or we’ll just end up with burnt caramel instead of deeply flavored, sticky chicken. Follow these steps exactly if you want those famed Sticky BBQ Chicken Thighs with Crispy Edges.
- First thing, get that oven cranking up to 400°F (200°C). Line a baking sheet—make sure you use foil underneath, trust me—and top that with a wire rack. That rack is your best friend for airflow, giving you crispy bottoms!
- Next, take your bone-in, skin-on thighs, which you already patted dry (I hope!), and rub them down with that oil and spice blend you mixed up. Place them skin-side up on the wire rack.
- Pop them into the preheated oven for 25 minutes. This is the initial cook time to render some fat and get things warmed up internally.
- While that’s happening, head to the stovetop. Gently warm up your BBQ sauce, vinegar, and brown sugar until everything is just dissolved and slightly thickened. Take it off the heat now—we don’t want it boiling away!
- When the 25 minutes are up, pull the pan out. Brush *half* of that sticky glaze generously all over the tops and sides of the chicken. Don’t be shy, but make sure it’s an even layer.
- Back into the oven they go for another 10 minutes. This sets that first layer of stickiness!
- Pull them out one last time. Brush on *all* the remaining glaze you have left. This is your final coat! Now, crank the heat up to 425°F (220°C) or switch right over to the broiler.
- Watch them like a hawk for the final 3 to 5 minutes! This is where the magic happens, but it burns fast. You want deep mahogany color and edges that look crackly. If you want more tips on high-heat cooking, look into my guide on air fryer chicken for a similar high-heat concept.
- Pull them out, let them rest for 5 minutes—this is crucial for juicy meat—and enjoy that perfect sticky, crispy bite!
Tips for Perfectly Cooked Chicken Thighs Every Time
Even with the best recipe, sometimes things go a little sideways in the oven, right? Don’t sweat it! I’ve learned a few non-negotiable rules over the years that save the batch, especially when we’re dealing with delicate sugars like in this glaze. The biggest thing when cooking these is temperature control, because you want that sauce caramelized, not carbonized!
If you’re nervous about the broiler, you can still get fantastic results just by bumping the oven up to 425°F for those last five minutes. The key takeaway here is that the final jump in heat is what crisps the skin underneath the glaze. If you’re looking for other ways to perfect chicken dishes, check out my tips on making homemade chicken nuggets!
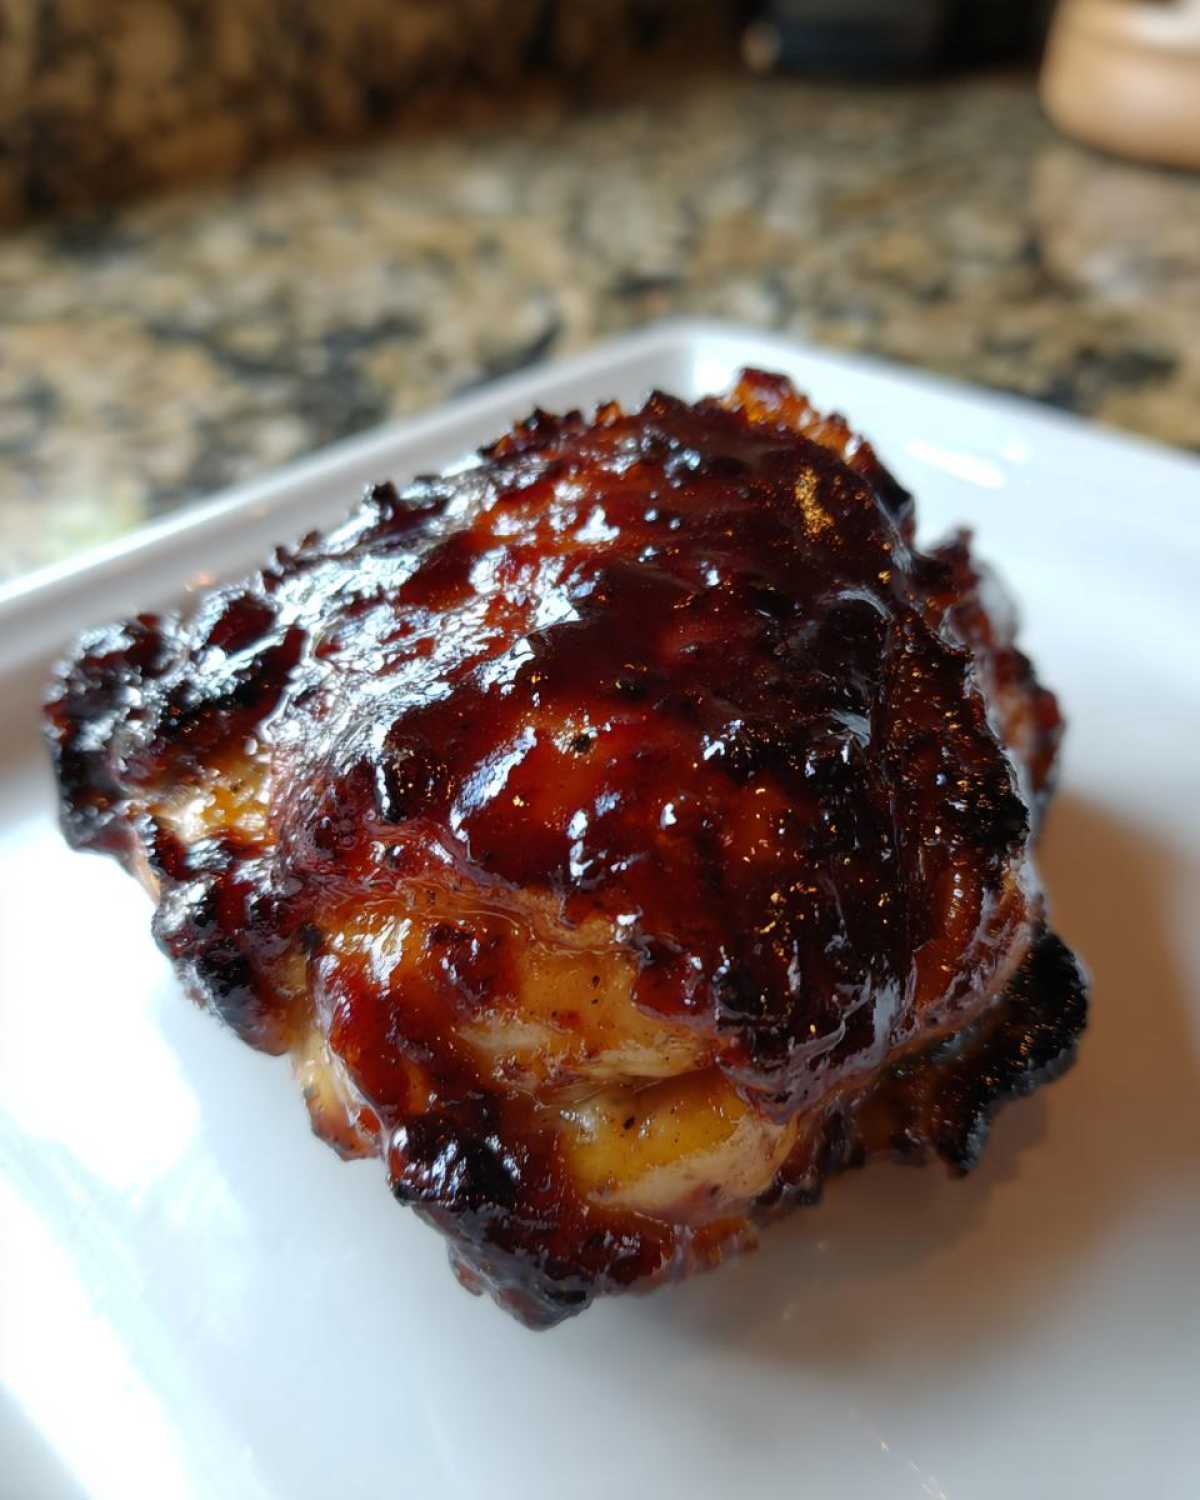
Here are my must-follow guidelines to ensure you get juicy meat and those delicious, bronzed edges:
- Use a Meat Thermometer. Always. This is the number one way to guarantee you don’t overcook the meat while you wait for the sauce to brown. Chicken thighs are perfectly safe and juicy when they hit 175°F internally, but stop cooking them around 170°F. They’ll keep rising another 5 degrees while they rest, which is exactly what we want!
- Don’t Skip the Rest! I know, I know, you want to tear into that sticky goodness immediately, but letting them sit for about five minutes after they come out of the oven is vital. That resting period lets the juices redistribute back into the meat instead of spilling out onto your plate when you cut into them.
- Glaze Last, Broil Quickest. The note about applying the last layer of sauce late in the game is serious business. Sugar burns long before chicken is overcooked. If you put a heavy coat of sauce on at the beginning, by the time the inside is done, the outside will be a black, bitter mess. We only apply the final layer just before that blast of high heat or broil.
Storage and Reheating Sticky BBQ Chicken Thighs
So, you made a gigantic batch because, let’s be honest, these disappear fast? That’s the sign of a truly successful dinner! Handling leftovers of BBQ chicken is a little tougher than plain grilled chicken because of that sugary glaze, but we can absolutely save those gorgeous bits.
The sticky sauce actually acts as a bit of a preservative, so these are pretty good in the fridge. I always try to store leftovers in an airtight container—don’t try to wrap them tight in foil alone; the sauce will make the container stick anyway! They should last happily for about three to four days in the refrigerator. If you try to keep them longer, you’re just asking for trouble!
The Best Way to Reheat Sticky Chicken Thighs
Okay, this is important. If you zap these in the microwave, all that beautiful crispy skin is going to turn into sad, rubbery sadness. We need to bring the heat back gently to re-crisp the edges while warming the sticky coating.
My favorite method, hands down, is the oven or, even better, the air fryer if you have one. Preheat your oven to about 350°F. Pop the thighs on a small rack over a baking sheet—we need that airflow again! Heat them for about 10 to 12 minutes. This allows the heat to penetrate slowly, warming the meat, and the dry heat helps set those crispy bits we worked so hard to achieve.
If you’re using the air fryer, crank it to 325°F and give them about 6 to 8 minutes. It’s faster, and the fan circulating the air does wonders for texture! Just check them halfway through to make sure the glaze isn’t scorching now that the sugar is already caramelized.
Serving Suggestions for Your Easy Sticky Thighs Dinner
You’ve got these incredibly sticky, flavor-packed chicken thighs—now what goes with them? I always lean into classic comfort sides that need minimal attention while the chicken is resting. You want things that cut through the richness of that BBQ glaze, you know?
A big, creamy, cold coleslaw is mandatory; the crunch and tang are the perfect counterpoint to the sweet sauce. If you’re looking for something warmer, don’t skip on roasted potatoes—especially my recipe for crispy oven-roasted Mexican potatoes! They give you that little bit of spice and texture you need to round out this Simple Chicken Thigh Dinner Idea.
Frequently Asked Questions about Sticky BBQ Chicken Thighs with Crispy Edges
I know you’ve got questions! When you’re dealing with moisture (the juicy chicken) and dryness (the crispy bits) in the same recipe, it can feel tricky. Don’t worry, baking is all about experimentation, but here are the things I get asked the most about getting this right!
How do I ensure I get crispy skin, not soggy chicken underneath?
This is the million-dollar question! The real secret to How to Make Crispy BBQ Chicken is twofold: first, the skin must be aggressively dried with paper towels before seasoning. Second, you have to elevate the chicken on a wire rack. Air has to circulate around the bottom. If the skin sits directly on the pan, it steams in its own fat, and you end up with soft mush. We don’t want that!
My glaze seems to be burning before the chicken is done. What am I doing wrong?
This usually means you applied too much glaze too early! Sugar burns incredibly fast, especially under high heat. I only apply the first layer partway through baking. The final, thick layer only goes on in the last 10 minutes, right before you crank the heat or flip on the broiler. That short exposure is enough to caramelize the sugars into a beautiful, thick coating without incinerating your Sticky BBQ Chicken Thighs with Crispy Edges.
Can I use boneless, skinless chicken thighs for this recipe?
You technically *can*, but I wouldn’t recommend it if your main goal is texture. The provided recipe is designed for bone-in, skin-on thighs because the bone helps regulate the temperature and the skin is what we render down to get those delicious crispy edges. If you use boneless/skinless, you lose the crispy element entirely, and you have to watch the internal temperature even more closely so they don’t dry out.
Is it better to bake or grill these sweet and sticky chicken thighs?
For this specific recipe, which relies on a two-stage oven temperature adjustment and a final short blast of high heat/broil, the oven works best. Grilling is fantastic for BBQ flavor, but managing the high sugar content of the glaze over direct heat is tough—it turns to charcoal almost instantly. If you use a grill, you need an indirect setup and you must wait until the very end to apply that final glaze.
Estimated Nutrition for Sticky BBQ Chicken Thighs
I always try to include a ballpark idea of what’s in these meals, but hey, this is real home cooking, not a lab! Since we are using bone-in, skin-on thighs and a sweet glaze, the numbers are what they are. These estimates are based on using the specific amounts listed and represent one thigh serving.
Keep in mind that exactly how much fat renders out, or how much sauce you slather on, changes things wildly. If you skip the skin, your numbers drop significantly, but you also lose all that glorious crispiness we worked so hard for!
- Calories: Approximately 450 per thigh
- Protein: Around 30 grams
- Fat: Roughly 25 grams (Remember, a lot of that is in the skin!)
- Carbohydrates: About 28 grams (mostly from that yummy BBQ sauce)
- Sugar: About 25 grams
This is definitely a richer meal, leaning into comfort food territory, especially with all that sticky glaze. If you serve these with a big salad instead of potatoes, you can easily balance things out!
PrintSticky BBQ Chicken Thighs with Crispy Edges

Follow this recipe to make flavorful, sticky BBQ chicken thighs that develop crispy edges during the final cooking stage.
- Prep Time: 10 min
- Cook Time: 40 min
- Total Time: 50 min
- Yield: 6 servings
- Category: Dinner
- Method: Baking/Broiling
- Cuisine: American
- Diet: Low Fat
Ingredients
- 6 bone-in, skin-on chicken thighs
- 1 tablespoon olive oil
- 1 teaspoon salt
- 1/2 teaspoon black pepper
- 1/2 teaspoon garlic powder
- 1 cup your favorite thick BBQ sauce
- 2 tablespoons apple cider vinegar
- 1 tablespoon brown sugar
Instructions
- Preheat your oven to 400 degrees Fahrenheit (200 degrees Celsius). Line a baking sheet with foil and place a wire rack on top of the foil.
- Pat the chicken thighs completely dry using paper towels. This step helps achieve crispy skin.
- In a small bowl, mix the olive oil, salt, pepper, and garlic powder. Rub this mixture evenly over the chicken thighs.
- Place the seasoned thighs skin-side up on the wire rack.
- Bake for 25 minutes.
- While the chicken bakes, prepare the sticky glaze: In a small saucepan, combine the BBQ sauce, apple cider vinegar, and brown sugar. Heat over medium-low heat, stirring until the sugar dissolves and the sauce thickens slightly, about 5 minutes. Remove from heat.
- After 25 minutes of baking, brush half of the sticky glaze generously over the tops and sides of the chicken thighs.
- Return the chicken to the oven and bake for another 10 minutes.
- Brush the remaining glaze over the chicken. Increase the oven temperature to 425 degrees Fahrenheit (220 degrees Celsius) or switch the oven setting to broil (watching closely).
- Cook for a final 3 to 5 minutes, or until the glaze is deeply caramelized and the edges of the skin are crispy. Watch carefully under the broiler to prevent burning.
- Remove from the oven and let the chicken rest for 5 minutes before serving.
Notes
- Drying the skin thoroughly before seasoning is the key to getting crispy edges.
- Using a wire rack allows air to circulate around the chicken, promoting even crisping on the bottom as well as the top.
- Apply the final layer of glaze late in the cooking process to prevent the sugars from burning too quickly.
Nutrition
- Serving Size: 1 thigh
- Calories: 450
- Sugar: 25
- Sodium: 750
- Fat: 25
- Saturated Fat: 8
- Unsaturated Fat: 17
- Trans Fat: 0
- Carbohydrates: 28
- Fiber: 1
- Protein: 30
- Cholesterol: 110