

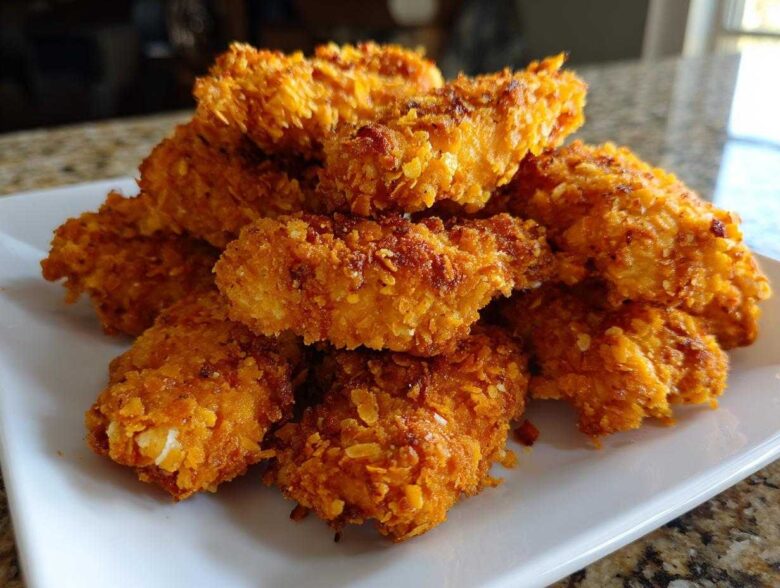
Oh, stop right there! If you’re tired of sinking money–and calories!–into deep-fryers just to get that satisfying *crunch*, I have amazing news for you. I spent years in my kitchen fighting the dreaded soggy bottom when baking chicken, but I finally cracked the code.
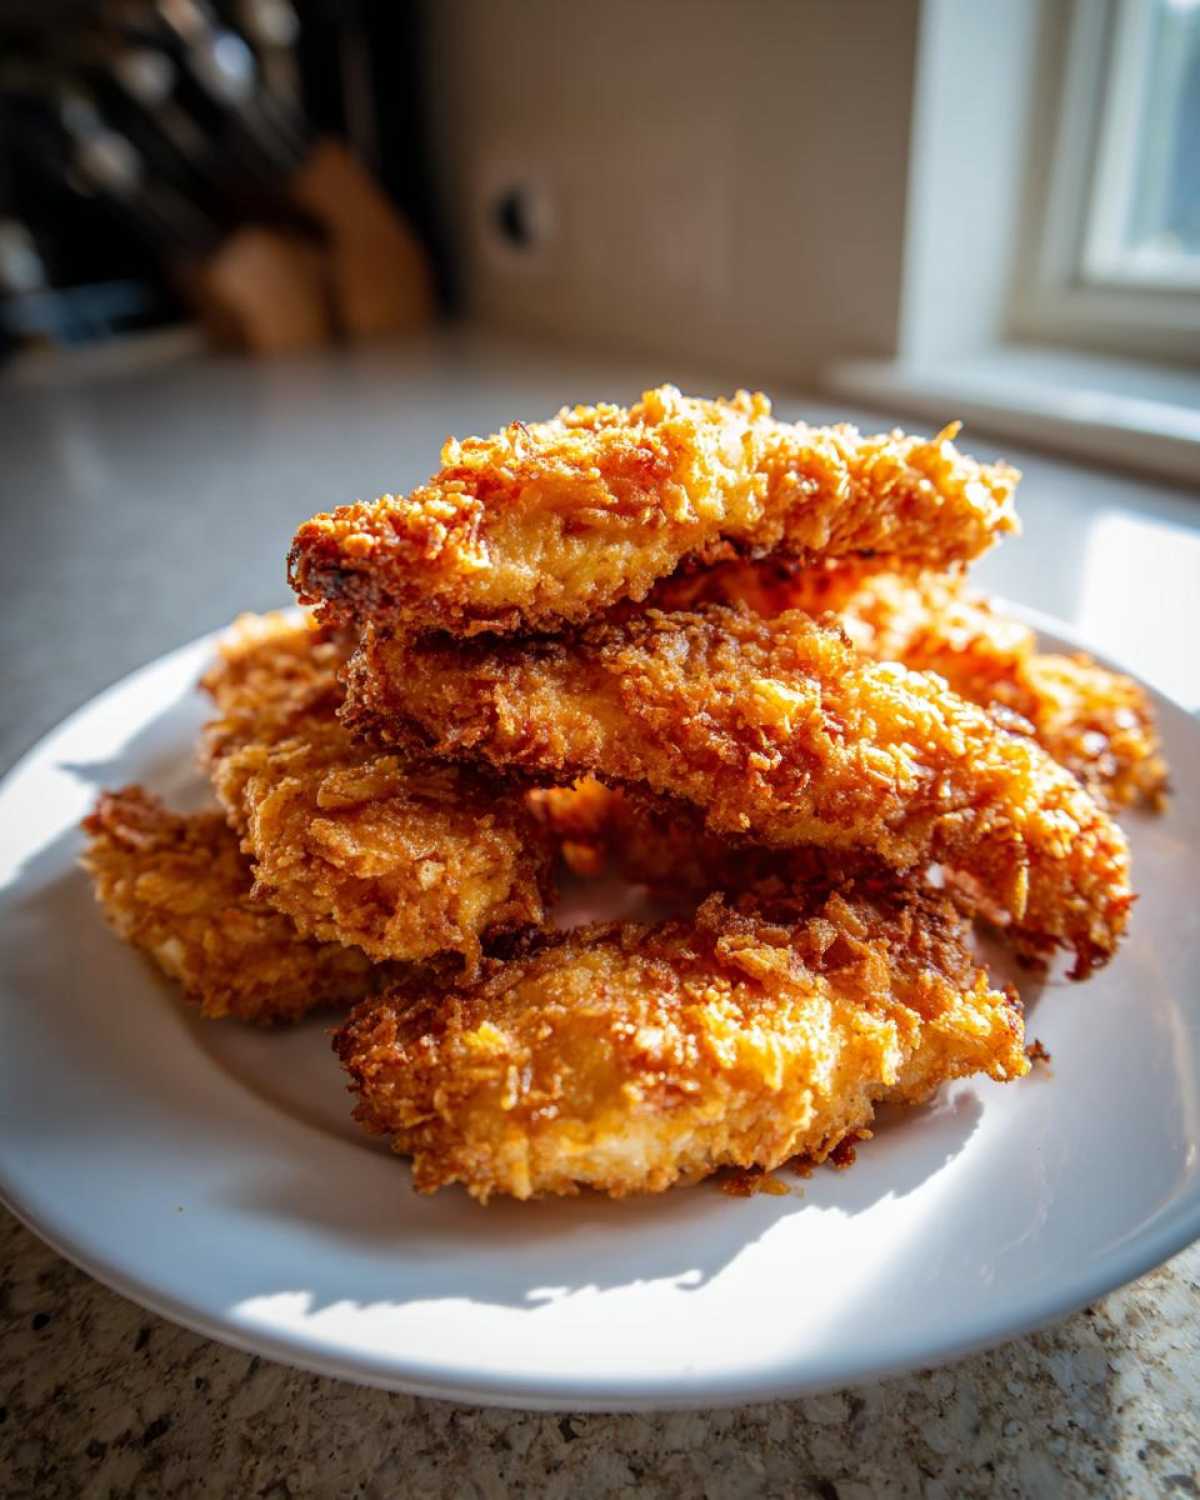
Trust me, when I tell you this is the definitive guide for making Crispy Baked Chicken Tenders with Cornflake Crust, I mean it. I tested 400 degrees versus 425, I experimented with oil sprays, and I even tried freezing the breaded tenders first (spoiler: it helps a little, but my main trick is better!). We are aiming for golden brown perfection that shatters when you bite into it, but keeps the meat inside juicy.
If you want that perfect crunch without the messy oil cleanup, stick with me. We’re going to get those tenders so crunchy, nobody will even ask if they came out of the oven. And since we’re already diving deep into chicken prep, you absolutely have to check out my secret for quick, juicy chicken before you even start breading: my 10-minute marinade trick!
Why This Is the Best Crispy Baked Chicken Tenders with Cornflake Crust Recipe
Honestly, frying is stressful! It splatters, it gets stinky, and let’s be real—it doesn’t always feel like a Healthy Baked Chicken Fingers option. This recipe gives you that incredible texture you crave, but using the oven is just a cleaner win all around. We are talking serious crunch for a Crispy Baked Chicken No Fry approach.
The secret is the cornflake itself, which holds up better to baking than breadcrumbs do. I’ve done the testing so you don’t have to worry about technique; you just get to enjoy the result. It’s the easiest way to get that shattering exterior while keeping every tender moist inside.
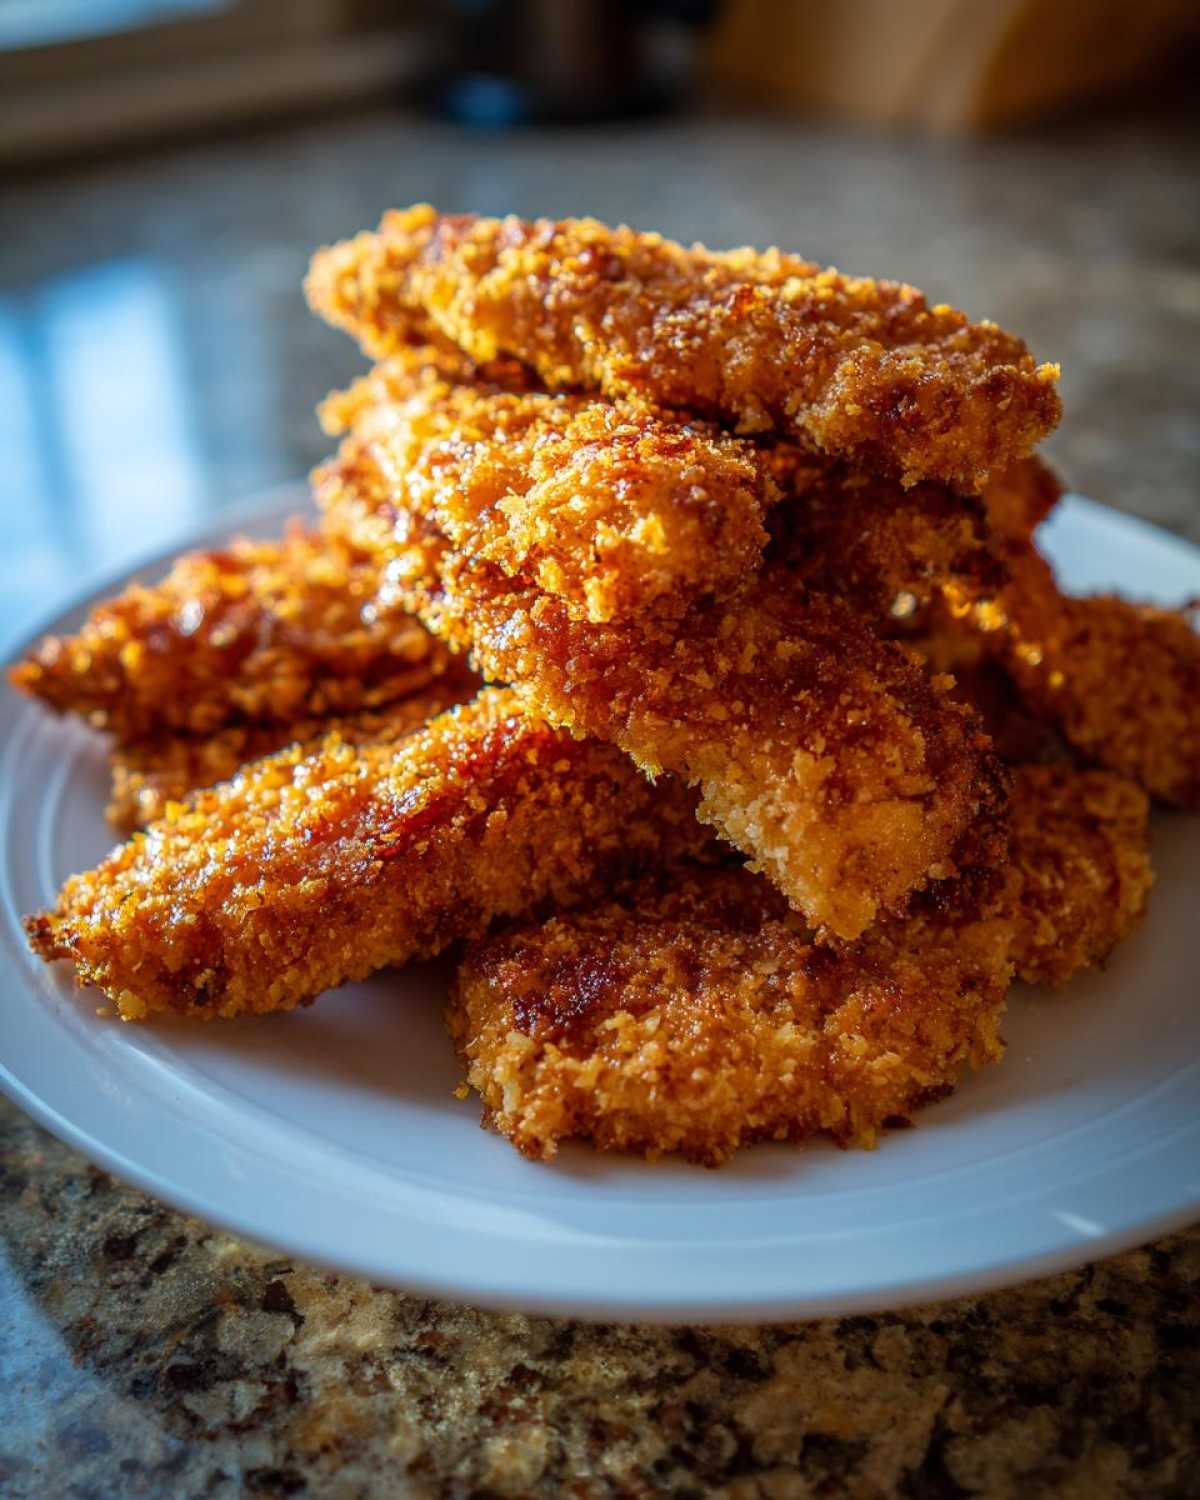
Quick Prep for Your Crispy Baked Chicken Tenders with Cornflake Crust
You can whip up the whole breading station in about 15 minutes flat while your oven is heating up. Then, these bake in just about 20 minutes. That means dinner is on the table in under 40 minutes total! Seriously underrated for a fast family meal, and miles better than anything pre-made. If you need something similar but shaped differently, you should peek at my homemade chicken nuggets alternative too!
Gathering Ingredients for Crispy Baked Chicken Tenders with Cornflake Crust
Okay, let’s talk supplies! You need about a pound and a half of chicken breasts, and I need you to cut these into strips that are right around one inch thick. This size cooks fast and evenly at 400 degrees. For the magic crunch, you’ll need one cup of plain cornflakes—and I mean *plain*. Don’t use the frosted kind; it burns way too easily in the oven, trust me on that one!
Next up—the binder station! We layer traditionally: half a cup of regular all-purpose flour goes in the first dish. Then you need two large eggs, beaten up well for our wet layer. And don’t forget the flavor! We are taking that little bit of spice and mixing it directly into the cornflakes: one teaspoon of salt, half a teaspoon of black pepper, half a teaspoon of garlic powder, and just a whisper, a quarter teaspoon, of paprika for color.
Ingredient Notes and Substitution Tips for the Best Cornflake Crusted Chicken
Listen, the ratio of binder (egg) to coating (cornflakes) is super important so that everything sticks beautifully! If you’re worried about gluten, you can swap the standard flour for a good 1:1 gluten-free blend, but make sure you really pat that flour off before you dip it in the egg wash. If you want to add a little zing? For the sake of flavor, I sometimes like to whisk half a teaspoon of onion powder into the flour. It just deepens the savory note!
Also, for the cornflakes, if you don’t have a food processor, zip-top bag and a heavy rolling pin gets the job done just as well. You want coarse crumbs, not dust. You want that texture when you bite into it! While we’re talking flavor boosters, if you ever need a great savory base for other things, you should check out my easy garlic butter recipe—it always adds a little something extra to chicken builds!
Mastering the Coating Process for Crispy Baked Chicken Tenders with Cornflake Crust
This is where the magic happens, friends! We’re setting up our assembly line—the three-stage breading station. If you skip this part, your crunchy coating will just slide right off the moment you try to serve them. We need serious adherence!
First dish: plain flour. Second dish: your beaten eggs. Third dish: those beautiful, seasoned cornflakes. You grab a raw chicken tender, you dip it in the flour first, making sure every side is covered, and you shake off the excess—hello, we don’t want clumps!
Then, dip it completely into the egg wash, again letting the extra drip back into the bowl. Finally, the main event! Press that piece firmly, firmly, firmly into the cornflakes. I mean it, give it a good squeeze so that crust really locks onto the meat. Don’t just roll it; press it!
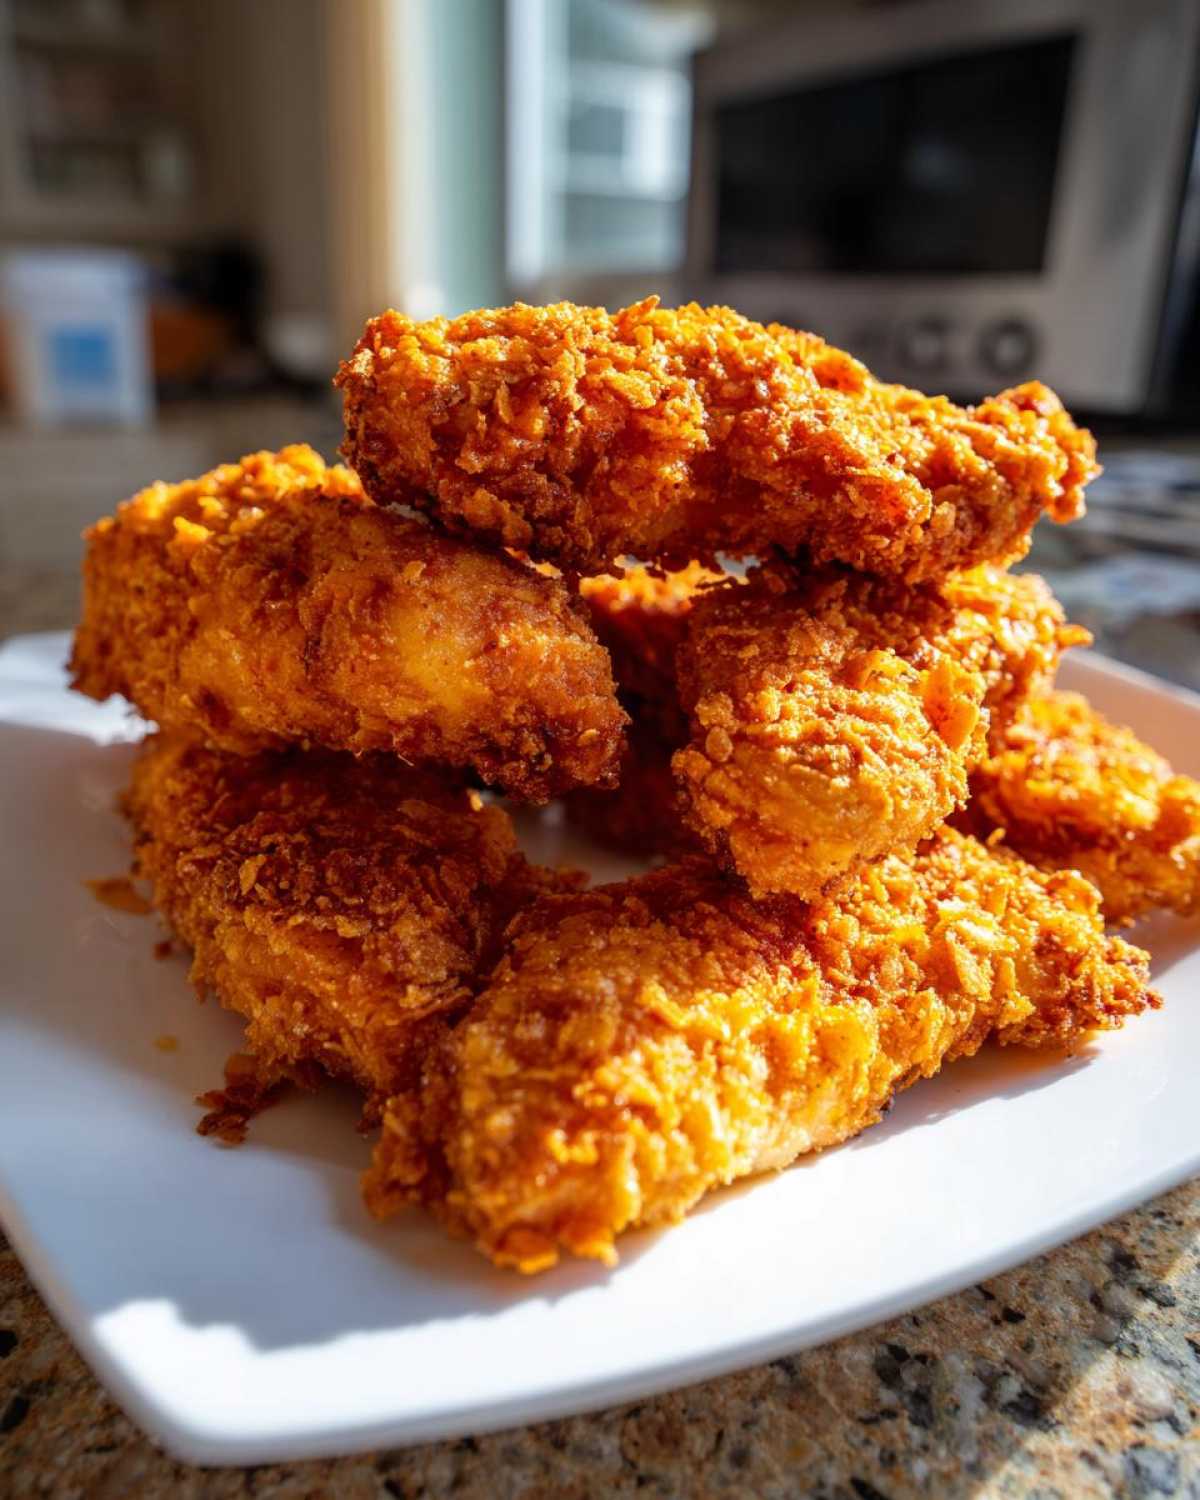
Expert Tip: Achieving Maximum Adhesion on Your Cereal Crusted Chicken
Why bother with that messy flour step if the cornflakes are the star? Great question! That thin layer of seasoned flour acts like glue. When you dip the floured strip into the wet egg, the flour hydrates just enough to create a tacky surface. That tackiness gives the cornflakes something substantial to grab onto.
If you skip the flour, you’re relying only on the egg, and that often results in a spotty, thin coat that flakes away unevenly during baking. We want full coverage for that Best Baked Chicken Coating look. Pressing hard is the final contract signing between the chicken and the crunch!
Once they are all coated, they go onto the prepared sheet. And before they even see the oven, give those tops a light but generous spray of cooking oil. That tiny bit of fat helps activate the browning process that leaves you with that gorgeous, shatteringly crisp exterior. If you need a little extra inspiration on coatings generally, you have to read my tips on the best baked chicken coating methods!
Step-by-Step Instructions for How to Make Crispy Chicken in Oven
Alright, once those beauties are breaded and look perfect, it’s time to get them hot and crispy! First thing’s first: make sure your oven is preheated to 400 degrees Fahrenheit. This high heat is crucial to setting that coating fast before the chicken inside starts to steam itself soggy. Get your baking sheet ready, maybe line it with parchment paper if you want cleanup to be zero effort.
Place your coated strips down on that sheet. Remember, we need space! Crowding the pan traps steam, and steam kills crispness. You want space between every single tender so the hot air can freely circulate around them. This whole process follows the steps in my essential Oven Baked Chicken Tenders Recipe.
Now, this is key for that gorgeous, even color: give the tops of everything a generous spray of cooking oil. I know we already pressed the coating on, but that little bit of spray ensures they turn that perfect golden brown we are looking for. They’ll bake for about 15 to 20 minutes total. But you cannot forget this crucial step!
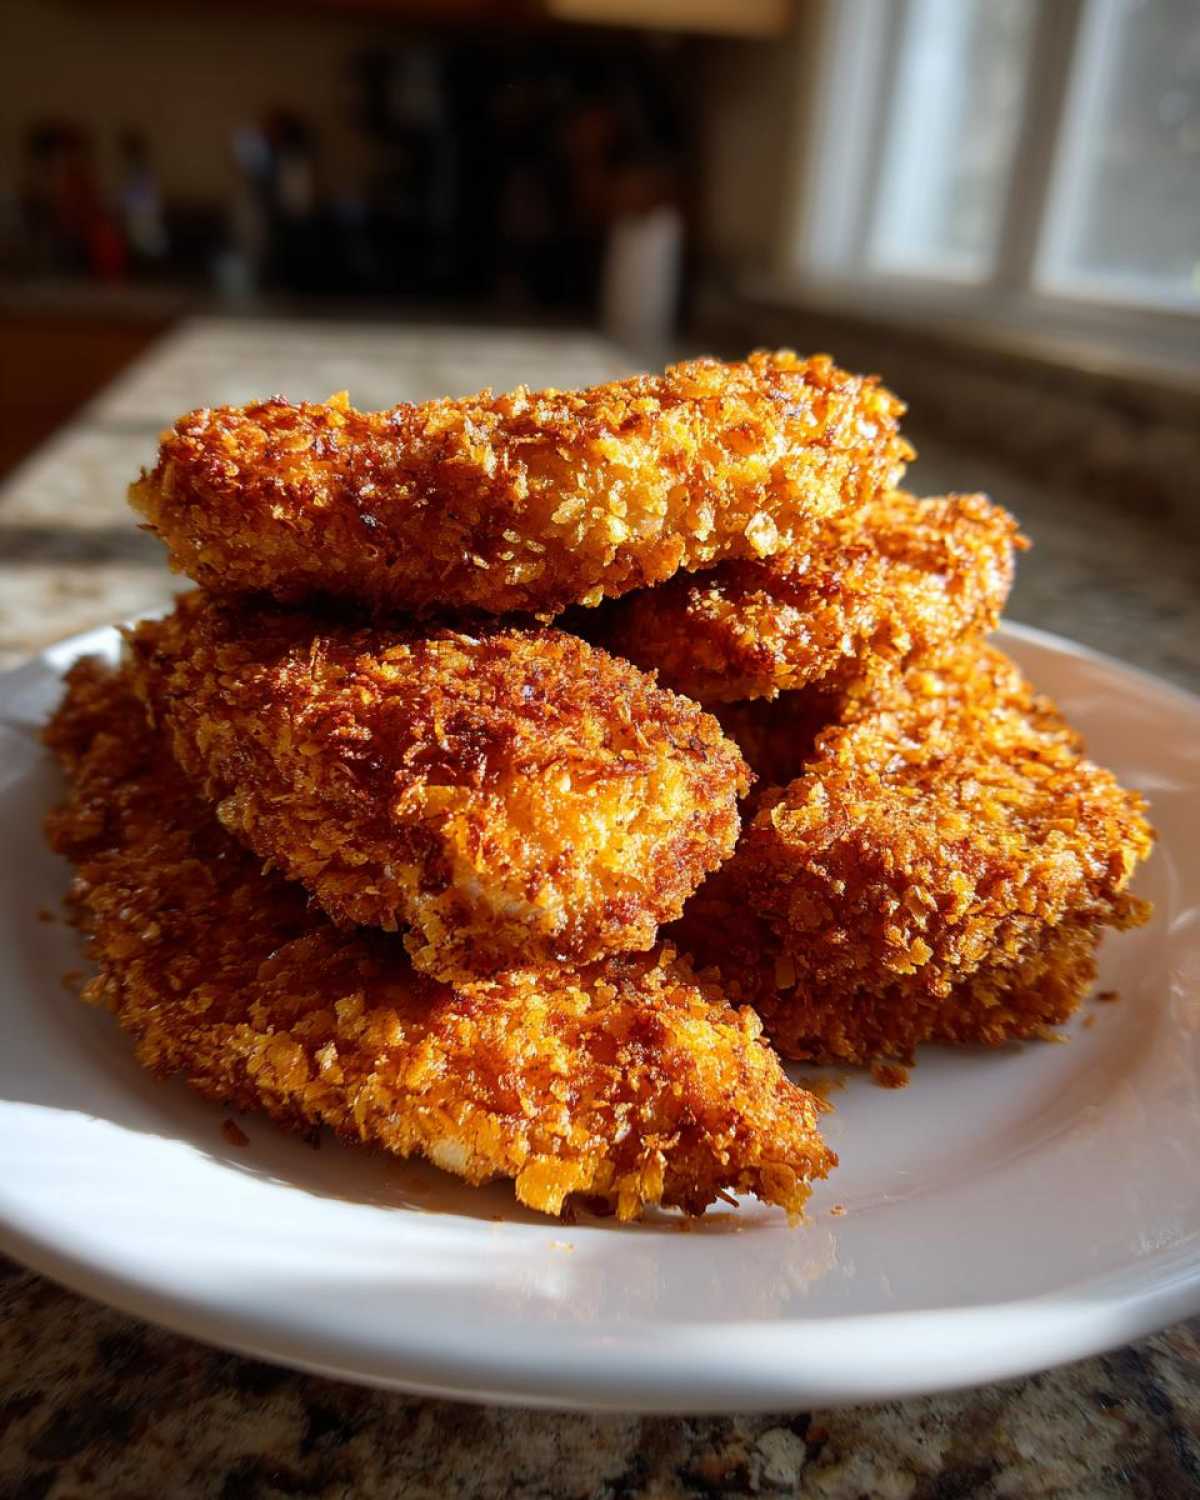
Baking Environment Secrets for Golden Brown Baked Chicken
I fought the soggy bottom syndrome for way too long, you guys! If you just put the tenders directly onto the metal pan, that lovely crust on the bottom turns soft and pale almost right away. It’s heartbreaking after all that hard work you put into the breading station.
My absolute game-changing advice for getting that crunch all the way around is to use a simple wire rack placed right on top of your baking sheet. This lifts the chicken up off the direct heat source, allowing air to rush underneath them. Seriously, it makes a massive difference! You’ll be amazed at how evenly they cook.
Since they are thinner, the cooking happens fast, but we still need to be safe and make sure they are done. About halfway through the bake time—say at the 8-minute mark—you have to flip every single tender over. This ensures the second side browns up nicely too. When they hit that safe internal temperature of 165 degrees, you pull them out, and you’ve got crispy perfection waiting! If you’re curious about doing something similar but faster in an appliance, check out my guide to a crispy, juicy air fryer chicken!
Making This an Easy Weeknight Chicken Dinner
Okay, now that we have perfectly Crispy Baked Chicken Tenders with Cornflake Crust staring back at us, you might be thinking, “What do I serve with this masterpiece?” That’s the beauty of these tenders! They genuinely fit into almost any mealtime rotation because they are so approachable.
This setup is absolutely perfect for a Quick Weeknight Chicken Dinner because the prep is minimal, and they cook right alongside simple sides. Seriously, I often pair these with just steamed green beans tossed with a little lemon, or maybe some quick-roasted broccoli.
If you’re aiming for maximum kid appeal—because who isn’t?—these are the ultimate Kid Friendly Chicken Dinner Ideas. My kids are happier with these than store-bought nuggets any day. We usually serve them with simple dipping sauces like honey mustard or ketchup, and a side of apple slices or even some sweet potato fries if I have a few extra minutes.
If you need a fantastic, one-pan-ish side dish that cooks up super fast and complements the savory chicken perfectly, you should grab my recipe for easy Spanish rice. It keeps the whole meal feeling satisfying without being heavy.
The best part? Since they are already portioned as tenders, there’s zero slicing needed once they come out of the oven. Just pile them high on a platter and let everyone dive in!
Storage and Reheating for Your Crispy Baked Chicken Tenders with Cornflake Crust
Look, I hope you don’t have leftovers because these things disappear fast, but accidents happen, right? If you do have some of these amazing Crispy Baked Chicken Tenders with Cornflake Crust left over, you need to treat them right so they stay crunchy the next day. First rule: let them cool down fully before you try to store them.
If you put them in a container while they are still warm, that steam gets trapped, and you’ll wake up to soft, sad chicken. Once they’re room temperature, put them in a completely airtight container. You can try lining the container with a paper towel first, but honestly, the best way is to keep chilling time under 48 hours. Any longer, and you start losing that beautiful texture we worked so hard for.
Now for reheating—this is critical! If you toss them in the microwave, you are asking for trouble. They will turn into rubbery, chewy little sadness sponges. Don’t do it!
The machine you want to reach for is your oven, or even better, your toaster oven. Preheat it to about 375 degrees Fahrenheit. Place the cold tenders directly on a baking sheet—no oil spray needed this time, just direct contact. Bake them for about 5 to 7 minutes. That dry, steady heat will draw the moisture out of the crust and crisp it right back up! It works like a charm.
If you’re looking for other great ways to use up leftover chicken—maybe turn it into a comforting dish later in the week—you should look at my chicken wild rice casserole recipe. It’s just lovely comfort food for a colder evening once the crunch phase is definitely over!
Frequently Asked Questions About Crispy Baked Chicken Tenders with Cornflake Crust
I know you’re excited to get these baking, but sometimes those little last-minute worries pop up, right? I’ve gathered the questions I hear most often about getting that perfect texture and flavor for these Oven Baked Chicken Tenders Recipe beauties. Don’t worry if you had a question about seasoning or timing—I’ve got you covered!
The whole point of this recipe is simplicity, but when you’re trying to achieve that next-level crunch, details matter. I want every batch you make to turn out golden and fantastic, just like mine does every time. If you are looking for more dinner inspiration after conquering these tenders, feel free to browse my whole collection of dinner recipes!
What temperature ensures the Best Baked Chicken Coating?
We are serious about heat here! The best temperature for achieving that golden, shatteringly crisp texture on your chicken strips is a solid 400 degrees Fahrenheit. Why so high? Because we are essentially trying to cook the chicken through *while* instantly crisping up that cornflake coating.
If you bake too low, say 350 degrees, the fat in the cornflakes renders out slowly. This means the coating ends up absorbing some of that released oil and steaming itself, leading to a pale, soft texture instead of a great crunch. High heat sets that crust instantly! As long as you watch them closely and flip them halfway through, the chicken cooks perfectly by the time the coating is golden brown and done, hitting that safe 165°F without drying out too much.
Can I use Panko instead of Cornflakes for Crunchy Chicken Strips Homemade?
You absolutely can swap Panko breadcrumbs in! Panko is designed to be super light and crisp, so it works really well. However, Panko doesn’t have the same flavor profile as cornflakes, so you might want to bump up the paprika or add a little dried oregano into the Panko mix to compensate for that missing corn sweetness.
The main difference you’ll notice comes during the baking time. Panko crumbs are lighter and thinner than crushed cornflakes, so they tend to brown faster. If you switch to Panko, I’d suggest checking them around the 12-minute mark. You might need to pull them out a minute or two sooner than the cornflake version to ensure the coating doesn’t burn before the chicken is done. They will still be incredibly crunchy!
Estimated Nutritional Data for Crispy Baked Chicken Tenders with Cornflake Crust
I always like to share what we’re working with nutritionally, even though these are comfort food, right? We are trying to keep this a lighter option, which is why we skip the frying oil! Keep in mind that this breakdown is just an estimate based on the amounts listed in the recipe using standard grocery store ingredients we usually stock.
Serving size is key here—this is based on about four tenders per person. We’re seeing a great amount of protein, keeping us full and satisfied, which is what you want in a great Healthy Baked Chicken Fingers option.
Here’s the general snapshot for one serving:
- Calories: Around 320 to fuel your evening!
- Protein: A whopping 38 grams! That’s serious staying power.
- Fat: We’re looking at about 7 grams total, mostly unsaturated, which keeps our total fat low.
- Carbohydrates: About 25 grams, most of that coming from the delicious cornflake coating we worked so hard to make crunchy.
- Sugar: Quite low, only about 3 grams because we used plain cornflakes.
- Sodium: This is slightly higher at around 450mg, so if you are watching salt, maybe pull back just a pinch on the seasoning you mix into the flakes!
If you use different cuts of chicken or significantly change the coating ratio, these numbers will shift, of course. For the absolute fine print regarding how these estimates are calculated, you should always refer to my full site nutritional disclaimer page. But overall, I think you’ll agree this is a fantastic, homemade alternative to fried food!
Share Your Perfect Crispy Baked Chicken Tenders with Cornflake Crust
Whew, we made it! By now your kitchen probably smells amazing because those Crispy Baked Chicken Tenders with Cornflake Crust are cooling down, and I truly hope they turned out as golden and crunchy as you dreamed they would.
Here’s the thing: baking is personal, and even though I’ve tested every trick for that ultimate crunch, I absolutely want to know how *your* unique oven handled it! Did you manage to keep the bottoms crisp? Did you add extra garlic powder to your cornflake mix? Don’t be shy!
Please take a moment once you’ve eaten these incredible Crunchy Chicken Strips Homemade to leave me a rating right down below. Five stars if you think this is the **Best Baked Chicken Coating** you’ve ever made in the oven!
Tell me your successes, or even if you had a little wobble—I can usually help troubleshoot! If you’ve made a fun substitution, like maybe using oat flour instead of regular flour, let the next reader know about it in the comments too.
And if you snapped a picture on your phone—and who doesn’t?—I’d be so thrilled if you shared it on social media and tagged me! Seeing my recipes come to life in other kitchens is seriously the best part of what I do. If you need to send me a direct message or have a specific question you don’t want to post publicly, you can always reach out via my contact form!
Enjoy every single crunchy bite, my friend. You earned it!
PrintCrispy Baked Chicken Tenders with Cornflake Crust

Make moist chicken tenders with a crunchy, golden cornflake crust using this simple oven-baked recipe.
- Prep Time: 15 min
- Cook Time: 20 min
- Total Time: 35 min
- Yield: 4 servings
- Category: Dinner
- Method: Baking
- Cuisine: American
- Diet: Low Fat
Ingredients
- 1.5 lbs boneless, skinless chicken breasts, cut into 1-inch strips
- 1 cup cornflakes, crushed finely
- 1/2 cup all-purpose flour
- 2 large eggs, beaten
- 1 teaspoon salt
- 1/2 teaspoon black pepper
- 1/2 teaspoon garlic powder
- 1/4 teaspoon paprika
- Cooking spray
Instructions
- Preheat your oven to 400 degrees Fahrenheit. Lightly grease a baking sheet or line it with parchment paper.
- Set up a three-stage breading station. Place the flour in the first shallow dish. Mix the beaten eggs in the second dish. In the third dish, combine the crushed cornflakes, salt, pepper, garlic powder, and paprika.
- Take one chicken tender strip and dredge it thoroughly in the flour, shaking off any excess.
- Dip the floured strip into the egg wash, allowing excess to drip off.
- Press the strip firmly into the cornflake mixture until it is completely coated. Press the coating on to help it adhere.
- Place the coated tender on the prepared baking sheet. Repeat with the remaining chicken strips, ensuring they do not touch.
- Spray the tops of the coated tenders generously with cooking spray for extra browning.
- Bake for 15 to 20 minutes, flipping the tenders halfway through the cooking time, until the internal temperature reaches 165 degrees Fahrenheit and the crust is golden brown and crisp.
- Serve immediately.
Notes
- For the best crunch, crush the cornflakes using a food processor or by placing them in a zip-top bag and crushing them with a rolling pin.
- If you prefer a slightly thinner coating, you can skip the flour dredge step, but the coating may adhere less well.
- Baking on a wire rack placed over the baking sheet helps air circulate underneath, promoting crispiness on the bottom side.
Nutrition
- Serving Size: 4 tenders
- Calories: 320
- Sugar: 3
- Sodium: 450
- Fat: 7
- Saturated Fat: 1.5
- Unsaturated Fat: 5.5
- Trans Fat: 0
- Carbohydrates: 25
- Fiber: 1
- Protein: 38
- Cholesterol: 110