

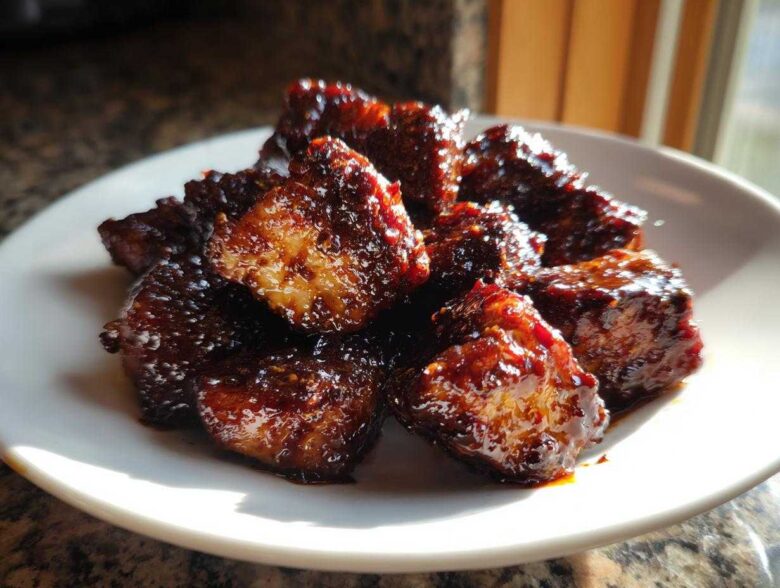
You know that feeling, right? When you’re craving something sweet, smoky, and messy—the kind of food where you just have to lick your fingers afterward? That’s what led me to obsess over the absolute best Sticky BBQ Chicken Bites with Caramelized Edges. For ages, my glazed chicken always ended up either steamed or burnt to a crisp when I tried that high-heat finish. Yuck!
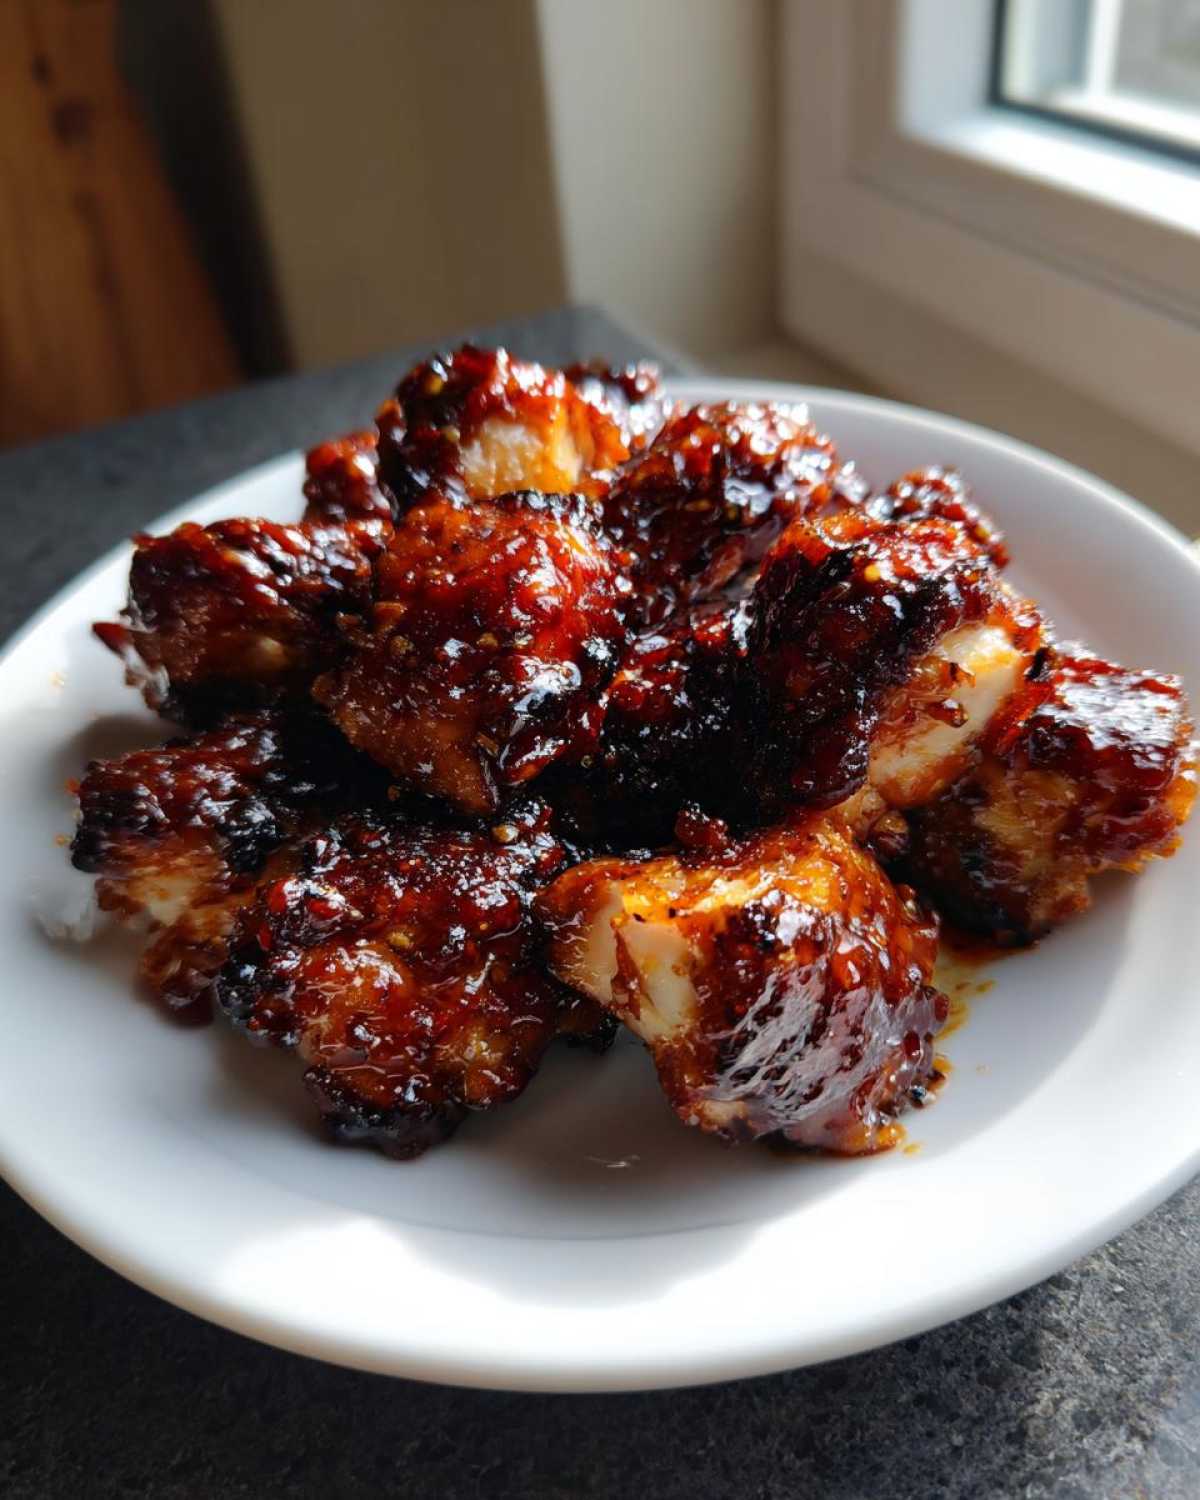
But trust me, I cracked the code! My secret involves baking them first, glazing twice, and then hitting them with a quick, careful broil. This method guarantees that deep, almost burnt-sugar char on the edges while keeping the center perfectly juicy. It transforms regular chicken pieces into true game-day gold. Forget dry chicken; these bites are incredibly saucy and textured!
I even tested that marinade recipe I shared last month with this glaze, but honestly, these bites are better with just a quick toss in oil and seasoning before they hit their first coat of sauce. Ready to get sticky?
Why You Will Make This Sticky BBQ Chicken Bites with Caramelized Edges Recipe Often
I know you have a million chicken recipes saved, but I promise, these bites deserve a special spot at the top of your menu rotation. Seriously, they hit every texture note perfectly. Here’s why these are going to be your new go-to snack or easy dinner help:
- They cook so fast! We’re talking less than half an hour for the whole process, which is perfect for those chaotic weeknights when dinner needs to appear out of thin air.
- The texture contrast is unbeatable. You get that ultra-sticky, thick glaze clinging to the outside while the chicken thigh stays ridiculously tender inside.
- We aren’t messing around with complicated grilling setups; this method relies on the oven and a quick broil, making it incredibly reliable for achieving those crunchy, Sticky BBQ Chicken Bites with Caramelized Edges every single time.
- Nobody likes fussy appetizers! These are perfectly bite-sized. Seriously, grab ’em with a toothpick and go—it’s the best Game Day BBQ Chicken Small Bites recipe you never knew you needed.
- The glaze is built on simple, pantry-staple ingredients, but the addition of vinegar and paprika elevates it far beyond standard store-bought sauce.
- They hold up well. Unlike wings that get soggy fast, these bites maintain their structure—and that amazing charred texture—even after sitting out for a little while.
Essential Ingredients for Sticky BBQ Chicken Bites with Caramelized Edges
Okay, let’s talk about what goes into this magic! You don’t need a massive shopping list for these bites, but the few things we use are really important for getting that perfect thick glaze and that deep, satisfying char. I always stick to boneless, skinless thighs for this project because they forgive high heat so much better than breasts do, leading to juicier results.
If you’re ever curious about whipping up the sauce from scratch instead of doctoring up a store-bought bottle, check out my guide on Homemade Sticky BBQ Sauce for Chicken, but for this quick recipe, we’re keeping it simple. Here is exactly what you’ll need lined up on your counter:
- 1.5 lbs boneless, skinless chicken thighs, cut into 1-inch pieces
- 1 tablespoon olive oil
- 1 teaspoon salt
- 1/2 teaspoon black pepper
- 1/2 teaspoon garlic powder
- 1 cup thick, sweet BBQ sauce (A thicker sauce is non-negotiable for that sticky texture!)
- 1/4 cup brown sugar, packed
- 2 tablespoons apple cider vinegar
- 1 tablespoon Worcestershire sauce
- 1 teaspoon smoked paprika
See? Not complicated at all! That little bit of brown sugar mixed into the store-bought sauce is what gives us that incredible caramelization when the broiler hits it.
Equipment Needed for Perfect Caramelized Chicken Bites
You don’t need fancy gadgets for this recipe, which is exactly how I like my weeknight cooking to go! We use pretty standard items that I bet you already have sitting in your drawers. Having the right tools makes the clean-up way easier, especially since we are dealing with sticky sauce!
First thing’s first, you need a sturdy baking sheet. I usually grab one with a slight lip, but if you’re worried about drips during the sauce application, you might want something a bit deeper.
The absolute non-negotiable item for success here is the lining! You must line that pan, or you’ll be scrubbing burnt sugar for an hour. Seriously, take my advice on this one.
- A standard large baking sheet.
- Parchment paper or aluminum foil for easy cleanup. Trust me, use parchment paper if you have it!
- A medium mixing bowl for tossing the chicken with the initial seasoning.
- A small saucepan to gently heat and thicken the glaze while the chicken starts baking.
- A silicone pastry brush for applying the glaze evenly. These delicate bites do better with a soft brush than a big spoon!
If you are ever looking for a different cooking method, my guide on Air Fryer Chicken Parmesan Breasts covers all the basics of using high heat efficiently, even though we are sticking to the oven for these BBQ bites today.
Step-by-Step Instructions for Sticky BBQ Chicken Bites with Caramelized Edges
This is where the magic happens! Honestly, the key to the best results isn’t just what you cook, but *how* you apply the heat and the sauce. We’re layering the flavor and texture so that when we hit that final broil, everything locks in place perfectly. Follow these steps exactly, especially paying attention to that final blast of heat, and you’ll get restaurant-quality results right in your kitchen. If you want another quick, saucy option later, remember my guide for Quick Garlic Butter Chicken Bites!
Preparing the Chicken and Oven Setup
First things first, let’s get the heat going! Preheat your oven to 400°F (200°C). You want it hot enough to cook the chicken through relatively quickly. Line a sturdy baking sheet with parchment paper or foil—don’t skip that lining! Now, toss your cubed chicken thighs in a bowl with your olive oil, salt, pepper, and garlic powder. Make sure every little piece is lightly coated. Keep sentences short and direct here for easy following!
Making the Thick BBQ Glaze
While the oven warms up, we need to build that sticky sauce base. Grab a little saucepan and whisk together your thick BBQ sauce, brown sugar, apple cider vinegar, Worcestershire sauce, and smoked paprika. Set the heat to medium and just let it simmer gently. You only need about three minutes until the sugar is completely dissolved and the sauce looks a little deeper and richer. This initial simmer is crucial for that ‘perfect stickiness’ later on!
Baking and First Glaze Application
Spread your seasoned chicken pieces out onto that lined baking sheet in a nice, single layer. If you crowd them, they’ll steam instead of bake! Pop them into the hot oven for 15 minutes until they look mostly cooked through, but not totally done yet. Pull that pan out, and quickly brush about half of your thickened BBQ glaze right over all the pieces. Then, back into the oven they go for just five more minutes to let that first layer set.
Achieving the Caramelized Edges on Sticky BBQ Chicken Bites
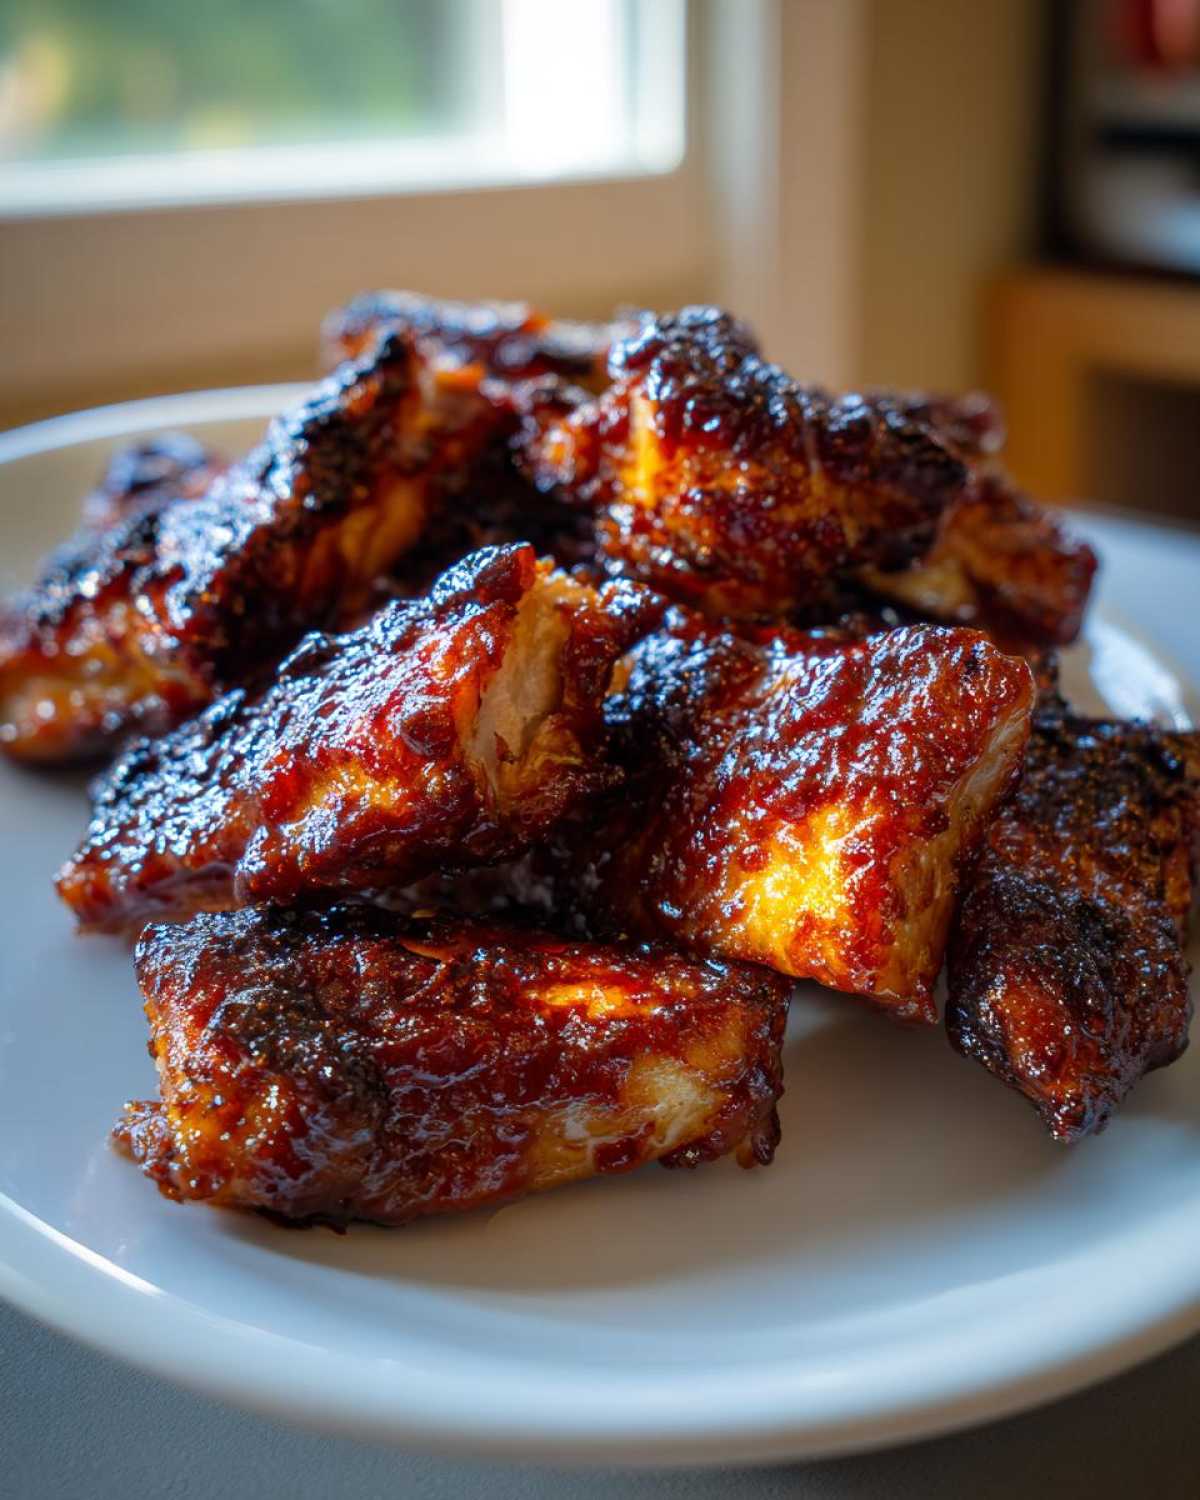
Okay, this is the moment of truth for your Sticky BBQ Chicken Bites with Caramelized Edges! Switch your oven from baking mode over to the high broil setting. Hurry up before the chicken cools too much! Brush on every last bit of that beautiful remaining glaze onto the chicken. Now, stand right there and watch! Seriously, do not answer the phone or walk away. Broiling takes about 1 to 3 minutes; you’re looking for deep mahogany color and those satisfyingly charred, caramelized edges. If you see any black smoke, pull them out immediately; sugar burns fast! I always use thighs for this part because they keep moisture for those edges.
Tips for Success with Caramelized Chicken Bites
Even though this recipe is pretty tough to mess up—because they taste amazing even if they aren’t picture-perfect—there are a couple of little tricks I learned through trial and error that will guarantee you get that incredible texture we talked about. Getting the maximum char without turning your sauce into actual charcoal is all about timing and ingredient quality.
My first big discovery that I mentioned in the notes is using chicken thighs. I know breasts are leaner, but when you’re cooking small pieces at high heat and trying to build up a glaze, thighs are your best friend. They have just enough fat that they stay moist and tender while the broil works its magic searing the sauce onto the outside. Breasts tend to dry out if you look at them wrong once they hit that broiler!
The sauce thickness is another deal-breaker. If you pull your BBQ sauce out of the bottle and it runs everywhere—slosh, slosh, slosh—you’re going to have trouble. That thin sauce will just evaporate or drip off before it gets a chance to really caramelize. Remember what I said: if it looks too runny before you even start, simmer it longer over medium heat until it coats the back of a spoon nicely. That thickness is what creates that satisfyingly crusty, sweet shell.
Also, when you’re broiling, think of it like watching popcorn: you have to watch the first few pieces explode before you know how fast the rest will follow! As soon as you see those edges bubbling and turning dark brown (not black!), it’s time to pull the pan. I’ve learned that rotating the pan halfway through is key because ovens always have hot spots that can ruin one side while the other is still pale.
And speaking of caramelization, while we aren’t making onions here, the principle of low and slow building flavor before high heat finishing applies everywhere. If you want to dive deeper into how sugars react under heat, you should check out my guide on Caramelized Onions Ultimate Guide; it really improved how I approach glazing things!
Serving Suggestions for Your Sticky BBQ Chicken Bites with Caramelized Edges
These little flavor bombs are so versatile, which is another reason I love them! As an appetizer, they are a total crowd-pleaser for game days or parties—they disappear faster than you can refill the platter. Just stick a cute toothpick in each one!
If you’re turning your Sticky BBQ Chicken Bites with Caramelized Edges into a main meal, they pair wonderfully with something cool and fresh to cut through that sticky sweetness. Seriously, a crunchy vinegar-based coleslaw is the perfect partner. Or, if you want something heartier, serve that amazing saucy chicken over a simple bed of rice. My go-to is often Easy Spanish Rice Recipe; the tanginess balances the BBQ sauce perfectly. Enjoy those incredible, chewy pieces!
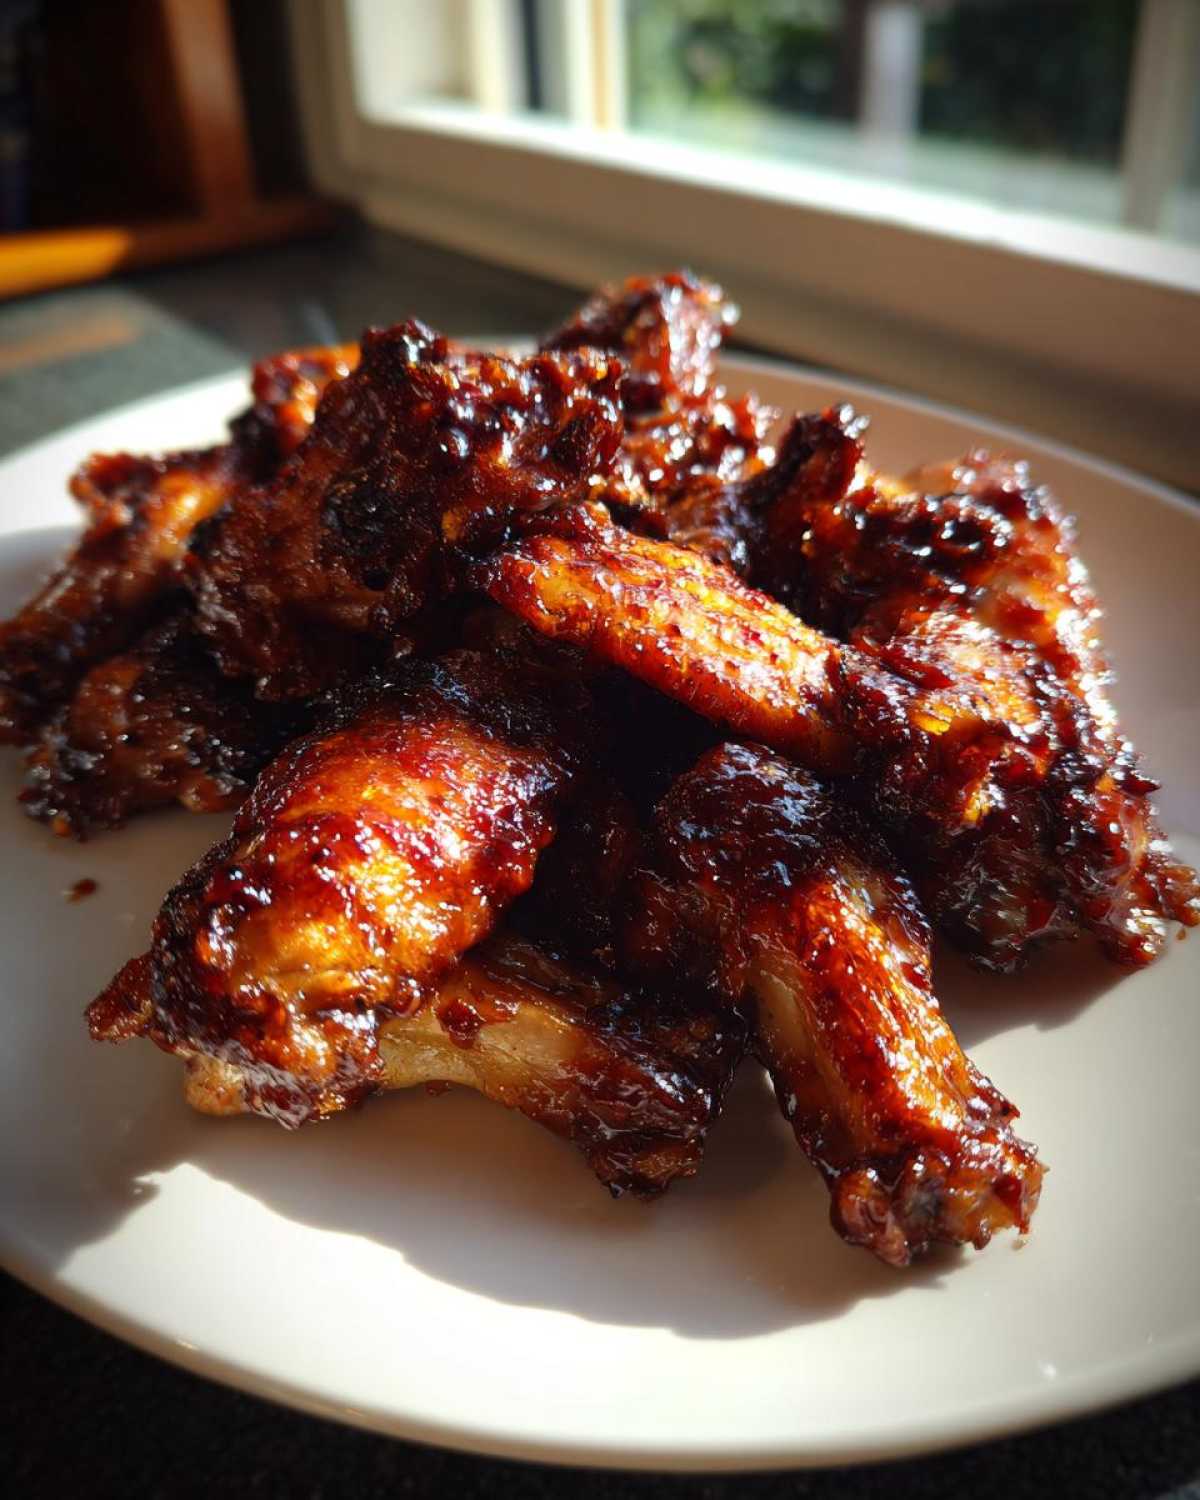
Storage and Reheating Instructions for Sticky Glazed Chicken Appetizer
Now, I have to be honest: these chicken bites are truly at their peak about five minutes after they come out of that broiler. That caramelized crust is just divine when it’s hot and sticky! But let’s be real, sometimes leftovers happen—or maybe you made a huge batch for a party and need to save some for later.
Good news! They keep wonderfully, but you have to reheat them the *right* way if you want to save that texture. Don’t even think about the microwave unless you enjoy soft, rubbery chicken. The microwave heats up the moisture in the sauce, and boom—bye-bye, crispy edges!
For refrigerator storage, just make sure they cool down completely first. Pop them into an airtight container. They should hold up well in the fridge for about three to four days. If you’re planning further ahead, wrap them tightly in plastic wrap before placing them in a freezer bag; they freeze quite nicely for up to two months.
When it comes time to bring them back to life, you have two great options, depending on how much effort you want to put in. You can certainly warm them up gently in a casserole dish, maybe something like the one I used in my Chicken Wild Rice Casserole recipe—but the best method, hands down, is getting that heat back up high when you want those edges to shine again.
Frequently Asked Questions About Sticky BBQ Chicken Bites
It’s funny how a simple recipe can bring up a ton of specific cooking questions! Since we are going for perfectly balanced flavor and texture here, let’s tackle the most common things readers ask when they’re ready to make this Sweet and Sticky Chicken Tutorial for themselves. I always want you to feel totally confident when you head to the kitchen! If you ever want to see how I handle a whole bird comparison, my guide on Air Fryer Whole Chicken Crispy Juicy Recipe might give you some interesting technical insights too.
Can I use chicken breasts instead of thighs for these bites?
Yes, you absolutely can, but you need to be cautious! Chicken breasts are much leaner, which means they dry out way faster than my favorite chicken thighs. If you switch to breasts, skip the initial 15-minute bake time and only bake them for about 10 minutes before you start glazing. Then, when you move to the glaze and broil stage, watch them like a hawk. They might only need a minute under the broiler instead of the full three minutes, otherwise, you’re going to end up with dry chicken pieces, even if the outside is saucy.
What is the best way to get deep caramelization without burning the sauce?
This is the secret weapon step, remember? The key is layering the sauce and using high, direct heat only at the end. You bake the chicken most of the way through first, and during that initial bake, the glaze firms up slightly, locking moisture in. Then, when you switch to the broiler, you’ve got a thick layer of sauce that can withstand that intense heat just long enough to bubble and char the edges beautifully, instead of immediately melting away or dripping off onto the pan.
How can I make this a Quick Weeknight BBQ Chicken Snack using a different method?
If you have an air fryer, you can totally make this happen even faster! For an Easy Backyard BBQ Chicken Recipe alternative, toss the seasoned chicken, cook for 8 minutes at 380°F, then toss with half the sauce and cook another 5 minutes. Then, brush with the remaining sauce and air fry at 400°F for 3-4 minutes more until you get those gorgeous charred edges. The grill works too—just make sure you’re using medium-high heat and basting only in the last 5 minutes of cooking so the sugar in the sauce doesn’t drip off directly onto the flames!
Estimated Nutritional Data for Sticky BBQ Chicken Bites with Caramelized Edges
When you’re making something this delicious, you probably don’t want to count every single calorie, but I know some of you like to keep track! This information is based on the recipe serving four people, dividing everything evenly across the total batch size. Remember, this is just an estimate—using leaner cuts or a different brand of BBQ sauce will change the numbers slightly.
But overall, these Sticky BBQ Chicken Bites with Caramelized Edges provide a fantastic amount of protein for a snack or quick meal!
- Serving Size: 1/4 of recipe
- Calories: 380
- Sugar: 28g
- Sodium: 750mg
- Fat: 14g
- Saturated Fat: 4g
- Unsaturated Fat: 10g
- Trans Fat: 0g
- Carbohydrates: 30g
- Fiber: 1g
- Protein: 32g
- Cholesterol: 105mg
Estimated Nutritional Data for Sticky BBQ Chicken Bites with Caramelized Edges
When you’re making something this delicious, you probably don’t want to count every single calorie, but I know some of you like to keep track! This information is based on the recipe serving four people, dividing everything evenly across the total batch size. Remember, this is just an estimate—using leaner cuts or a different brand of BBQ sauce will change the numbers slightly.
But overall, these Sticky BBQ Chicken Bites with Caramelized Edges provide a fantastic amount of protein for a snack or quick meal!
- Serving Size: 1/4 of recipe
- Calories: 380
- Sugar: 28g
- Sodium: 750mg
- Fat: 14g
- Saturated Fat: 4g
- Unsaturated Fat: 10g
- Trans Fat: 0g
- Carbohydrates: 30g
- Fiber: 1g
- Protein: 32g
- Cholesterol: 105mg
Sticky BBQ Chicken Bites with Caramelized Edges
Make bite-sized chicken pieces coated in a thick, sweet BBQ glaze that caramelizes beautifully on the edges when cooked at high heat.
- Prep Time: 10 min
- Cook Time: 25 min
- Total Time: 35 min
- Yield: 4 servings
- Category: Appetizer
- Method: Baking and Broiling
- Cuisine: American
- Diet: Low Lactose
Ingredients
- 1.5 lbs boneless, skinless chicken thighs, cut into 1-inch pieces
- 1 tablespoon olive oil
- 1 teaspoon salt
- 1/2 teaspoon black pepper
- 1/2 teaspoon garlic powder
- 1 cup thick, sweet BBQ sauce
- 1/4 cup brown sugar, packed
- 2 tablespoons apple cider vinegar
- 1 tablespoon Worcestershire sauce
- 1 teaspoon smoked paprika
Instructions
- Preheat your oven to 400°F (200°C). Line a baking sheet with parchment paper or foil.
- In a bowl, toss the chicken pieces with olive oil, salt, pepper, and garlic powder.
- Arrange the seasoned chicken in a single layer on the prepared baking sheet.
- Bake for 15 minutes until the chicken is mostly cooked through.
- While the chicken bakes, prepare the glaze: In a small saucepan, combine the BBQ sauce, brown sugar, apple cider vinegar, Worcestershire sauce, and smoked paprika. Heat over medium heat, stirring until the sugar dissolves and the sauce simmers lightly. Cook for 3 minutes until slightly thickened.
- Remove the chicken from the oven. Brush half of the prepared BBQ glaze over all sides of the chicken pieces.
- Return the chicken to the oven and bake for another 5 minutes.
- Switch your oven setting to broil (high). Brush the remaining glaze over the chicken. Watch carefully and broil for 1 to 3 minutes, rotating the pan if needed, until the edges of the chicken become dark and caramelized. Do not let the sauce burn completely.
- Remove from the oven and serve immediately as an appetizer or snack.
Notes
- For extra caramelization, ensure your BBQ sauce is thick before applying the final coat. If your sauce is too thin, simmer it longer before use.
- Use chicken thighs for the best moisture retention, which helps prevent the edges from drying out during the high-heat finish.
- If you prefer grilling, cook the chicken over medium-high heat, basting frequently with the glaze during the last 5 minutes of cooking.
Nutrition
- Serving Size: 1/4 of recipe
- Calories: 380
- Sugar: 28g
- Sodium: 750mg
- Fat: 14g
- Saturated Fat: 4g
- Unsaturated Fat: 10g
- Trans Fat: 0g
- Carbohydrates: 30g
- Fiber: 1g
- Protein: 32g
- Cholesterol: 105mg