

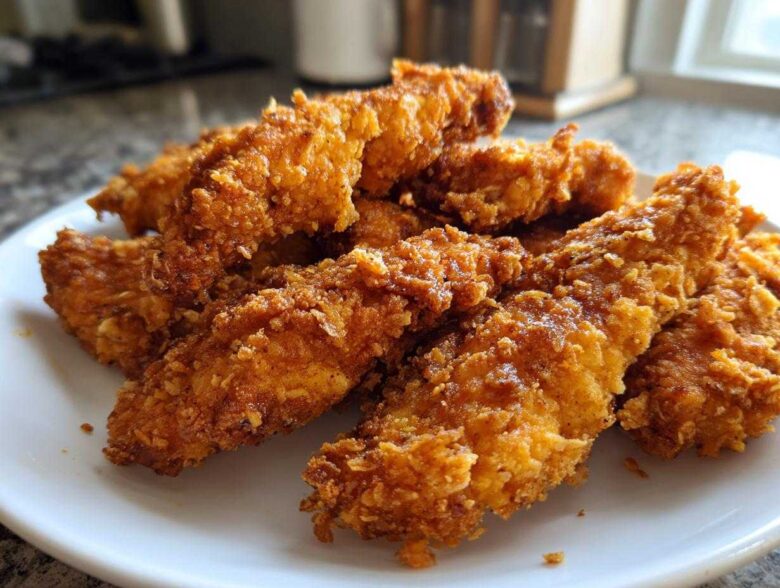
Oh, tell me if this has happened to you: You’re trying to be good, so you skip the fryer, pop those poor chicken tenders in the oven, and what do you get? Sad, pale, slightly wet tenders that just taste disappointed. Ugh! I’ve been there so many times. It felt impossible to get that satisfying crunch without drowning them in oil. But listen to me—I finally cracked the code for truly Crispy Oven Baked Chicken Tenders Extra Juicy! This recipe changes everything. We are talking about a crust so crunchy it snaps, while the chicken inside stays unbelievably tender. The trick? It’s all in the breading station, specifically mastering the Panko and making sure we sneak in just a tiny bit of kitchen magic with the baking powder.
Why This Recipe Guarantees Crispy Oven Baked Chicken Tenders Extra Juicy
You know, standard oven baking just steams the breading, turning it soft before it gets a chance to brown. That’s where the sadness comes from! But we aren’t making sad chicken tenders here. To unlock the Secret to Crispy Oven Chicken, we focus on two game-changing elements that lift the crust off the raw meat surface. If you want to know more about keeping any chicken unbelievably moist, check out my thoughts on a quick marinade over here: juicy chicken marinade secret in 10 minutes.
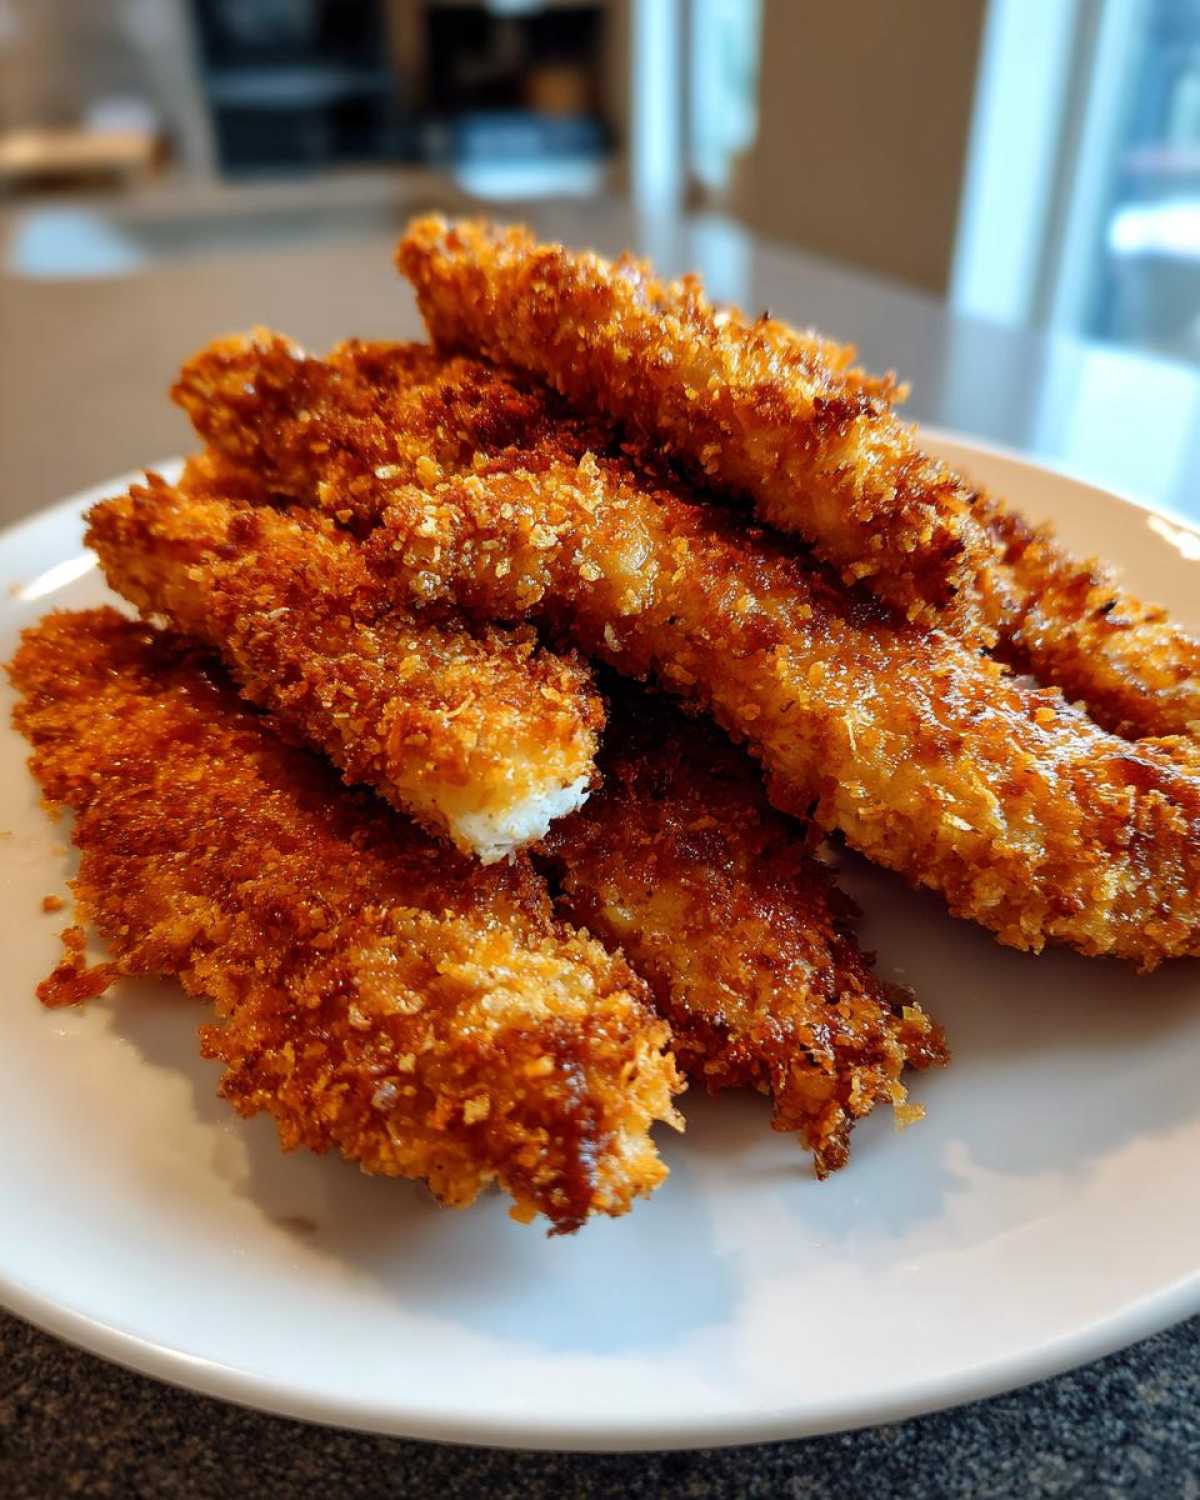
- We use a wire rack! This is a non-negotiable step. It lets the hot air circulate all around your tenders, including the bottoms. No soggy undersides here, trust me!
- We use lots of Panko. Panko breadcrumbs are flaky, not dense, so they crisp up beautifully in the oven’s dry heat.
This approach gets you closer to that satisfying crunch without ever having to deal with hot oil.
The Role of Baking Powder in Your Crispy Coating
This is the little secret weapon! When you add baking powder to your Panko mix, it reacts with the heat, creating microscopic bubbles right in the coating. These bubbles puff up the crust slightly, giving it a dryer, lighter texture that mimics deep frying better than anything else when baking.
Essential Ingredients for Crispy Oven Baked Chicken Tenders Extra Juicy
Okay, let’s talk specifics because ratios matter when you’re trying to achieve that perfect texture. You can’t just toss things together and hope for the best! We need precision for this Baked Chicken Tenders Recipe to shine. You’ll need about 1.5 pounds of boneless, skinless chicken breasts, cut down into nice, even 1-inch strips. Remember, uniformity helps them cook at the same rate!
Then we hit the dredging station components: one cup of flour, two eggs whisked with just a tablespoon of water, and the star—one and a half cups of Panko breadcrumbs. Don’t skimp on the spice blend mixed right into that Panko; that’s where the flavor lives. Seriously, the Panko is crucial here. It’s lighter and flakier than regular breadcrumbs, which is how we beat the deep fryer for crispiness.
Ingredient Clarifications and Preparation Notes
When you’re cutting up those chicken breasts, take a minute to really trim away any thick bits of fat or those pesky, squishy membranes. Getting your pieces uniform and clean ensures that the coating sticks evenly and the chicken cooks evenly, which directly leads to a juicier final bite. That’s a little pro tip I learned the hard way after getting scolded by my mom over a lumpy tender!
And yes, you must use Panko! If you absolutely can’t find Panko, use Italian-style breadcrumbs, but be warned—it won’t get quite as shatteringly crisp. Regular breadcrumbs absorb too much moisture during baking and just weigh the crust down.
Mastering the Breading Station for Crispy Oven Baked Chicken Tenders Extra Juicy
This breading station is where the magic happens, folks! If you skip proper dredging, you’ll end up with that soggy, disappointing texture we are trying to avoid. This setup is what guarantees that beautiful Homemade Chicken Tenders Crispy Coating. You need three shallow dishes lined up in order. First up is plain flour—this is just to help dry out the surface of the chicken slightly so the next layer sticks.
Dish number two is your egg wash: two eggs lightly beaten with just a splash of water. The egg acts like the glue holding everything together! Finally, dish number three has our superstar: the Panko, baking powder, and seasonings we mixed earlier. Make sure that Panko mixture is layered nicely and deep enough so you can really press the chicken into it.
Here’s the non-negotiable technique: Dip the tender in the flour, then gently shake off every single piece of excess flour—I mean it, shake it like you mean it! Next, into the egg wash, let it drip slightly, and then—this is the most important part—press that egg-washed chicken *firmly* into the Panko mixture. Don’t just roll it; press it on all sides so those flakes really embed themselves into the chicken. This heavy pressing is what locks in the moisture and creates that amazing, sturdy crust when baking.
Step-by-Step Instructions for Juicy Oven Baked Chicken
Alright, everything is breaded and looking gorgeous! Now we move onto the baking itself, which is surprisingly fast and finishes off this Quick Chicken Tender Recipe Oven. First things first: crank that oven up! We need serious heat—425°F (220°C) is the magic number here. Line a sheet pan with that wire rack we talked about—don’t skip it! That rack is your champion for circulation, keeping the bottoms from getting soggy while the tops crunch up nicely. If you want to see how I get a whole bird perfectly crispy, you should check out my air fryer whole chicken recipe, because the principle of air circulation is the same!
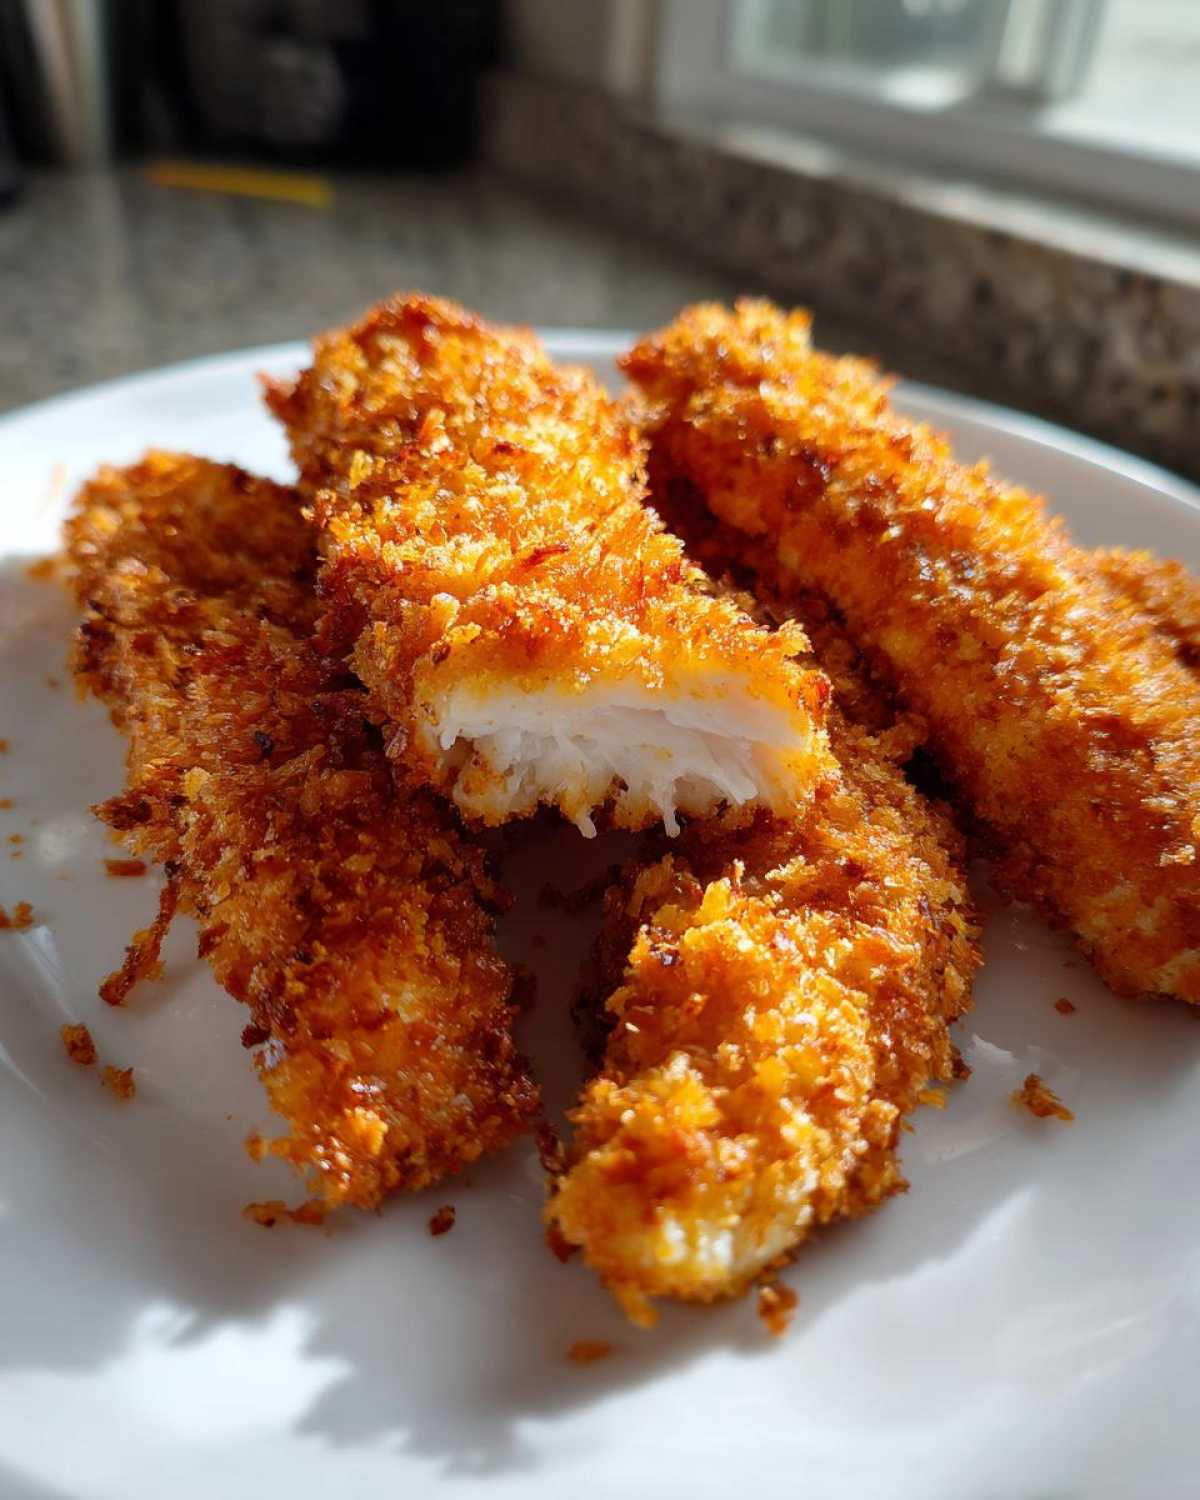
Once the tenders are nestled on the rack, give them a generous spray of cooking spray or a thin drizzle of olive oil. We need that fat on top to help them brown up! Pop them in for the first bake, usually about 10 minutes. Then, you have to flip them! Be gentle when you flip them—you don’t want to knock all those hard-earned Panko crumbs off. Spray that second side lightly, too, and pop them back in the oven. They only need another 8 to 12 minutes, depending on how thick your tenders are.
Achieving Perfect Internal Temperature for Moist Chicken Breast Tenders Baking
This is the final and most terrifying step for many home cooks: pulling them out before they dry out! You must aim for an internal temperature of 165°F (74°C). Seriously, get yourself a cheap meat thermometer if you don’t have one. Guessing here means you risk being too late. If you leave them in even two minutes past that 165°F mark, those beautiful, Juicy Oven Baked Chicken strips will start turning tough and chewy. Pull them out right when that thermometer clicks 165°F, let them rest for just two minutes, and enjoy that perfect texture contrast!
Tips for Success with Your Crispy Oven Baked Chicken Tenders Extra Juicy
So, you’ve followed the steps, but you want to move these beyond just ‘good’ and into ‘legendary’? I always have a couple of extra tricks up my sleeve when I’m making these Healthy Chicken Fingers Oven favorites, especially when I’m making them for a crowd. Don’t worry if you missed the buttermilk soak for extra juiciness; we can compensate!
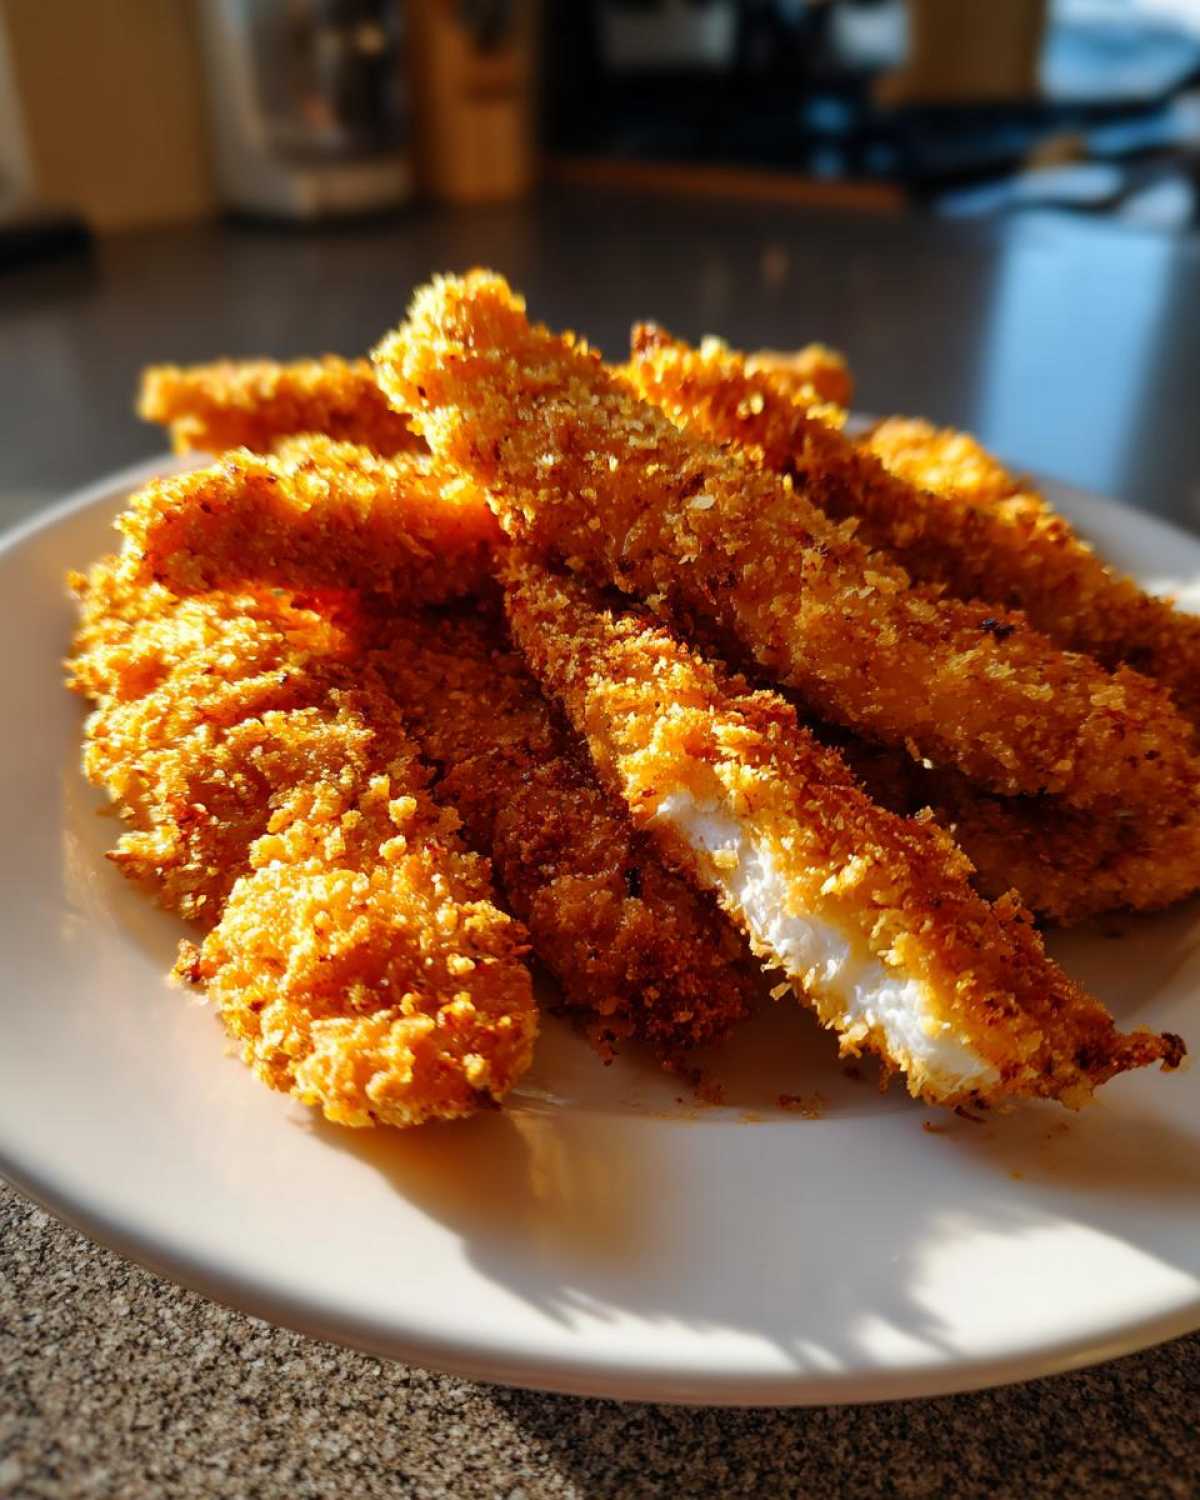
My absolute top tip for setting that crust is chilling the breaded tenders. Seriously! Once you’ve pressed on that Panko mix, place the whole tray (rack and all) into the fridge for about 15 minutes before they hit the oven. That cold rest helps the egg wash firm up and locks those crumbs in place. It means less fallout during flipping!
Also, remember that baking powder is your friend for that crackle, but if you’re experimenting with different seasonings, make sure you don’t skip it. If you’ve ever wondered how to make amazing crispy gnocchi when you’re feeling snacky, check out my recipe! Air Fryer Gnocchi shares a similar need for a dry surface to get that crispness.
The final pro-tip? Letting them rest for those two minutes after coming out of the oven is key to keeping the juices settled in the meat. Don’t slice into them immediately!
Serving Suggestions for Your Baked Chicken Tenders Recipe
These are so good, honestly, they stand totally fine on their own. But since we are aiming for the ultimate Easy Weeknight Chicken Tenders dinner—or maybe just an epic movie snack—you gotta have dipping sauces! My personal favorite combo is a little bit of spicy honey mustard. I just mix regular honey with a strong Dijon and a tiny dash of hot sauce. It’s amazing with the savory crust.
If you need something creamy, ditch the store-bought ranch and whip up a quick garlic dip! It takes five minutes! I use a little bit of mayo, sour cream, fresh lemon juice, minced garlic (or garlic powder if I’m totally wiped out), and herbs. Honestly, if you make this easy garlic butter recipe, you can actually thin it out with a touch of water or milk to make a killer sauce instead!
For sides that keep things simple and healthy around these tenders, skip the greasy fries. I usually steam some broccoli and toss it with a little lemon zest, or I quickly roast some sweet potato wedges alongside the tenders in the oven. Everything finishes around the same time, and you’ve got a balanced meal ready in under 40 minutes. They are just the perfect vehicle for any condiment you love, so go wild!
Storage and Reheating Instructions for Crispy Chicken Tenders No Fry
Listen up, because nobody wants a sad, floppy leftover tender! If you have any of these beauties remaining—which I doubt, but planning ahead is smart—storage is key. Pop them into an airtight container immediately once they are completely cooled down, and stick them right in the fridge. They should keep well for about three or four days.
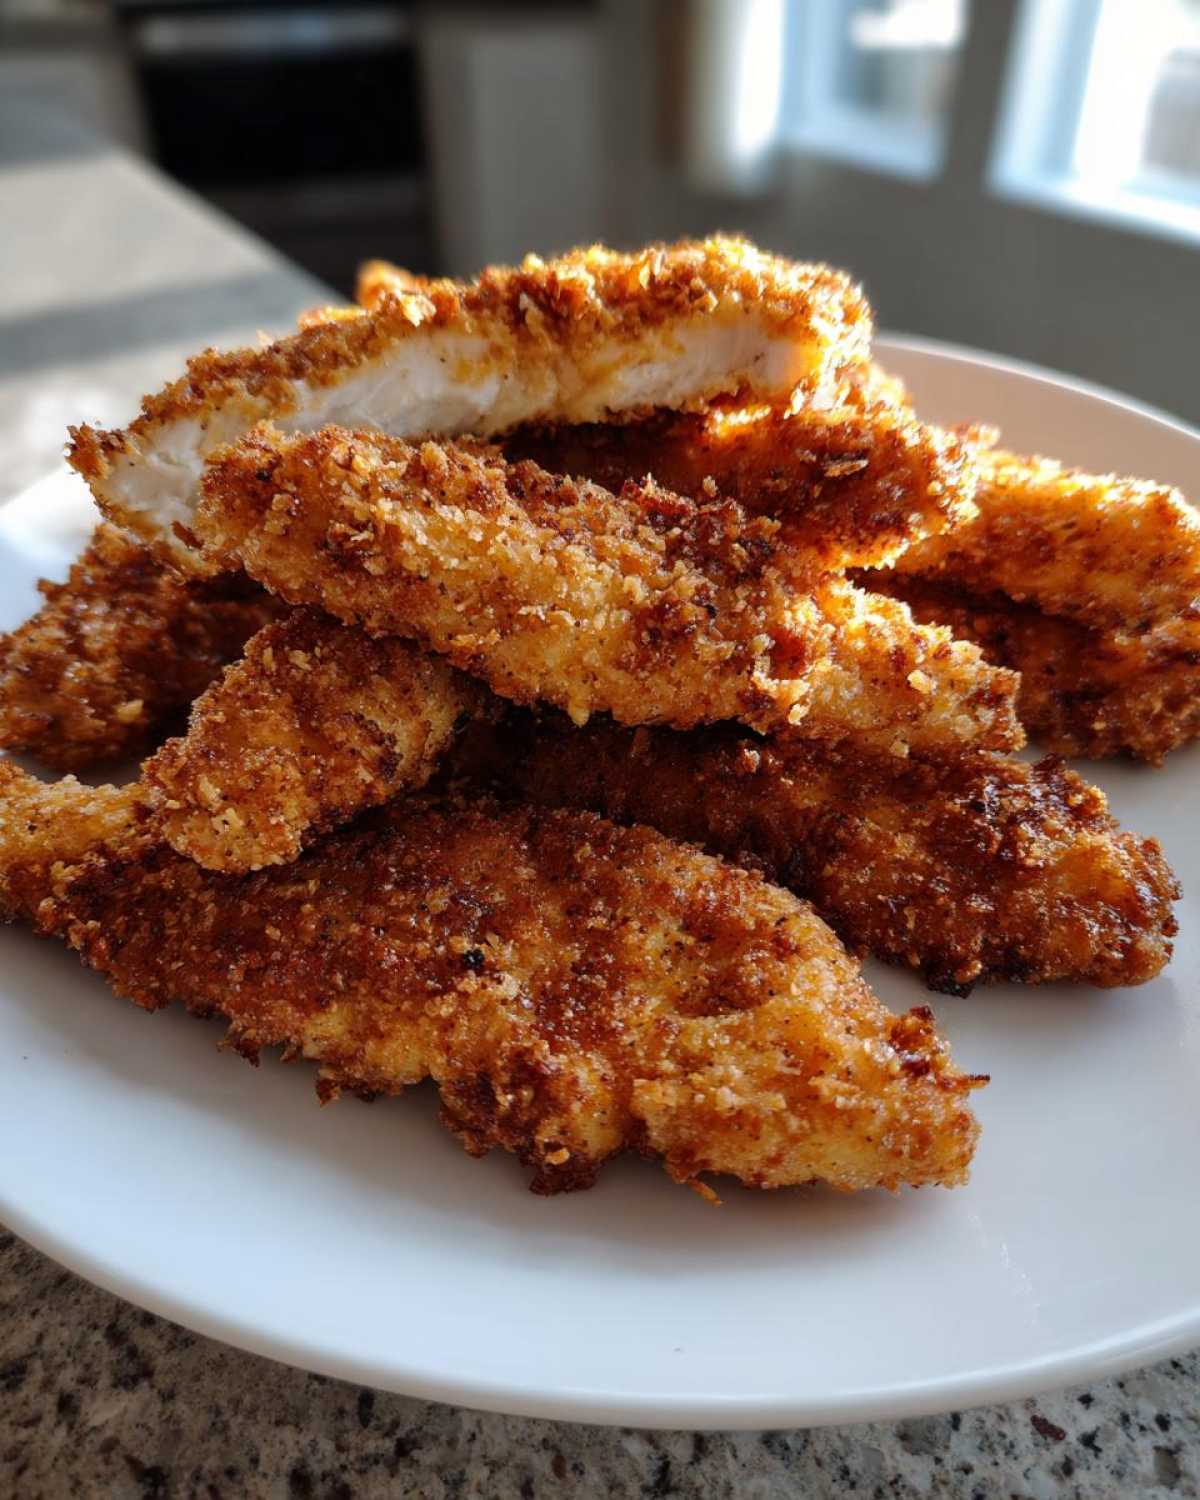
Now, for the crucial part: reheating. You absolutely cannot microwave these beauties if you want to keep the integrity of your Crispy Chicken Tenders No Fry coating. The microwave is the enemy of crispiness! The best way to bring them back to life is simply to pop them back onto that wire rack set over a baking sheet and bake them again in a 375°F oven for about 5 to 8 minutes, or until they are piping hot and crunchy again. It takes almost no extra time and brings that oven-baked crunch right back!
Frequently Asked Questions About Juicy Oven Baked Chicken
I know people have a million questions when they’re trying to switch from frying to baking, especially when they want that top-tier, restaurant-style crunch! These questions come up all the time when readers are trying to master the art for their own homemade snacks.
Can I use chicken thighs instead of breasts for these tenders?
You absolutely can, and they’ll be even juicier because thighs have more fat content! Since thighs are often a bit thicker and more irregularly shaped than breast strips, you’ll want to watch the time. Instead of the 18-22 minutes we use for the tenders, start checking them around the 22-minute mark. As long as you hit that 165°F internal temperature, you are golden. Thigh meat stays moist even if you accidentally overshoot by a minute or two!
What is the best alternative to Panko breadcrumbs?
If you absolutely cannot find Panko breadcrumbs, the next best thing is Italian-style breadcrumbs mixed with a little extra dry element, like finely ground cornflakes or crushed crushed crackers. Standard breadcrumbs alone tend to pack down too tightly when you press them on, which stops them from crisping up nicely in the oven. If you use the alternative, make sure you still use that baking powder in the mix—it’s essential for the lift!
What’s the secret to keeping the coating truly crispy when baking?
That secret comes down to two things we talked about already, but they are worth repeating! One: using the baking powder in the coating mix. Two: making sure air can circulate underneath the chicken. If you skip the wire rack, the steam from the chicken gets trapped underneath and softens that hard work you did on the breading station. The rack is the key to that “Crispy Chicken Tenders No Fry” experience!
Nutritional Estimates for This Healthy Chicken Fingers Oven Recipe
Now, I know that when we focus on getting something incredibly crispy without frying, people get nervous about the nutrition label. But since this is basically just lean protein, Panko, and a tiny bit of fat from the spray, these turn out to be a fantastic option for a lighter dinner. You can find all sorts of great midday meals over at my lunch category!
Here are the estimated nutritional facts based on the recipe above, calculated for one serving (about 4 tenders). Keep in mind these numbers change based on exactly how much oil you spray on top, so consider this a *guideline*!
- Serving Size: 4 tenders
- Calories: 320
- Protein: 38g
- Fat: 8g (1.5g Saturated)
- Carbohydrates: 25g (1g Fiber)
- Sodium: 450mg
We’re keeping the sugar super low at just 2 grams per serving, which is great! I always tell people when they look at numbers like this, they are just estimates. If you use low-sodium salt or trim off more visible fat than I did, your exact numbers will shift a little. But overall, this is a really solid way to get that satisfying crunch everyone craves in a much Healthier Chicken Fingers Oven preparation!
PrintCrispy Oven Baked Chicken Tenders Extra Juicy

Follow this recipe to make chicken tenders in the oven that are crispy on the outside and very moist inside, avoiding deep frying.
- Prep Time: 15 min
- Cook Time: 20 min
- Total Time: 35 min
- Yield: 4 servings
- Category: Main Course
- Method: Baking
- Cuisine: American
- Diet: Low Fat
Ingredients
- 1.5 lbs boneless, skinless chicken breasts, cut into 1-inch strips
- 1 cup all-purpose flour
- 2 large eggs, lightly beaten
- 1 tablespoon water
- 1.5 cups Panko breadcrumbs
- 1 teaspoon baking powder
- 1 teaspoon salt
- 0.5 teaspoon black pepper
- 0.5 teaspoon garlic powder
- 0.25 teaspoon paprika
- Cooking spray (or 2 tablespoons olive oil)
Instructions
- Preheat your oven to 425°F (220°C). Line a baking sheet with a wire rack and lightly spray the rack with cooking spray.
- Set up a standard breading station with three shallow dishes.
- In the first dish, place the flour.
- In the second dish, whisk the eggs and water together.
- In the third dish, combine the Panko breadcrumbs, baking powder, salt, pepper, garlic powder, and paprika. The baking powder helps create a crispier crust.
- Take each chicken tender strip and dredge it first in the flour, shaking off any excess.
- Dip the floured strip into the egg mixture, letting excess drip off.
- Press the strip firmly into the Panko mixture, ensuring it is completely coated. Press the crumbs onto the chicken to help them adhere.
- Place the coated tenders on the prepared wire rack, leaving space between each piece.
- Lightly spray the tops of the coated tenders generously with cooking spray or drizzle with olive oil. This aids browning and crisping.
- Bake for 10 minutes.
- Flip the tenders carefully. Spray the second side lightly with cooking spray.
- Bake for another 8 to 12 minutes, or until the internal temperature reaches 165°F (74°C) and the coating is golden brown and crisp.
- Remove from the oven and let rest for 2 minutes before serving.
Notes
- Using a wire rack allows air to circulate around the bottom of the tenders, which prevents them from becoming soggy.
- Do not skip the baking powder in the breading mix; it is key for oven crispiness.
- For extra juicy results, you can soak the chicken strips in buttermilk for 30 minutes before starting the breading process.
Nutrition
- Serving Size: 4 tenders
- Calories: 320
- Sugar: 2
- Sodium: 450
- Fat: 8
- Saturated Fat: 1.5
- Unsaturated Fat: 6.5
- Trans Fat: 0
- Carbohydrates: 25
- Fiber: 1
- Protein: 38
- Cholesterol: 110