

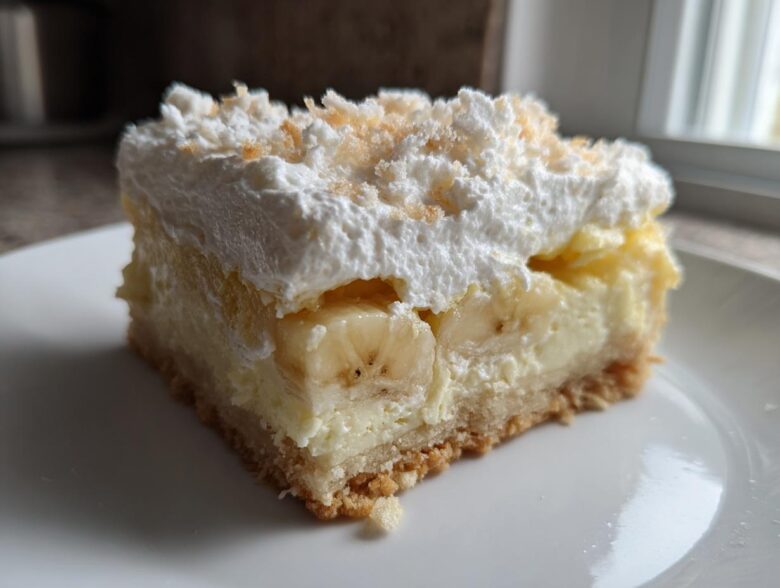
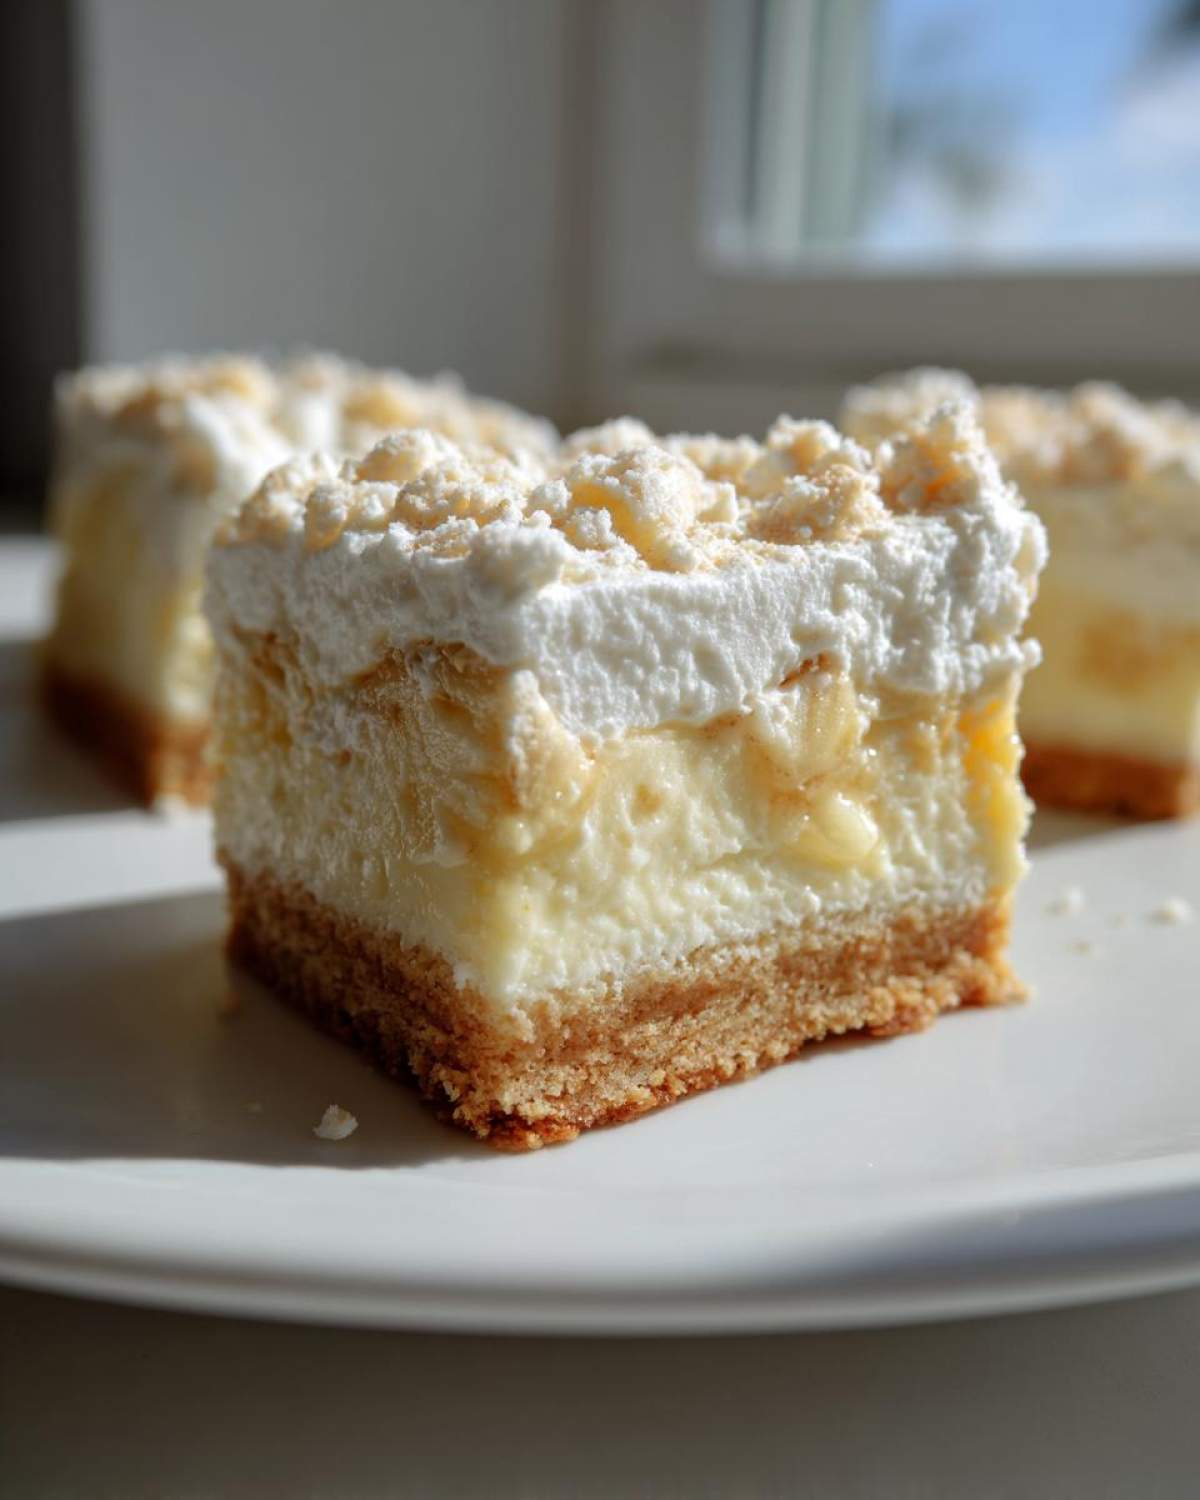
Oh, I just live for those desserts that manage to be two amazing things at once! You know, the ones that steal the absolute best parts of two separate recipes and mash them together? That’s exactly what happened here, and it’s been years in the making. I’m obsessed with traditional Southern Banana Pudding, but honestly, sometimes you just want something that cuts neatly and doesn’t slosh all over the plate at a potluck. So, after way too many wonky, soggy attempts, I finally nailed the Banana Pudding Cheesecake Bars. This recipe is it—it captures every single comforting, creamy note of the pudding but gives you that sublime, tangy structure of a perfect cheesecake bar. Trust me, this hybrid dessert is going to change your game overnight!
Why You Will Love These Banana Pudding Cheesecake Bars
Honestly, I think you’re going to go wild for these! They are everything I ever wanted in a Southern dessert hybrid.
- The texture contrast is just *everything*—that buttery, crisp vanilla wafer crust against the smooth, cold, tangy filling is heavenly.
- They taste exactly like nostalgia. You get that deep, comforting flavor of classic banana pudding but in a sturdy, sliceable bar format. No more soupy messes!
- These are truly the ultimate make-ahead dessert bars. Bake them today, chill them overnight, and they are perfectly set up for any party you have planned.
- Clean slicing is surprisingly easy if you follow my parchment paper and hot water knife tips—you get gorgeous, defined layers every time.
- They are firm enough to travel well, making them legendary potluck dessert bars that disappear first off the table.
- If you love showing off a little bit with complicated-looking but actually easy recipes, like our Churro Cheesecake Bars, these layered beauties will really impress everyone.
Essential Ingredients for Perfect Banana Pudding Cheesecake Bars
Okay, this recipe has several components, but don’t let that scare you! It’s just layering up the goodness. The key to getting that perfect Southern Banana Pudding flavor baked right into a chilled bar is making sure every component hits the mark. When it comes to the cream cheese, you absolutely must let it come to room temperature—I mean fully soft, squishy soft—otherwise, you get lumps, and nobody wants a lumpy cheesecake layer, right?
If you’re looking to add some flair after the fact, maybe check out my notes on sweet vanilla frosting, but for this recipe, we stick to that classic pudding topping.
For the Vanilla Wafer Crust
- 1 1/2 cups vanilla wafer crumbs: Make sure these are fine crumbs! If you crush them in a food processor, great, just don’t leave big chunks.
- 1/4 cup granulated sugar
- 6 tablespoons unsalted butter, melted: Melted, but not sizzling hot when you mix it in!
For the Rich Cream Cheese Layer
- 16 ounces cream cheese, softened: This is non-negotiable! Room temperature only!
- 1 cup granulated sugar
- 1 teaspoon vanilla extract
- 3 large eggs: Bring these out early, too! Room temperature eggs mix seamlessly into the batter, which prevents that overmixing we want to avoid.
- 2 ripe bananas, thinly sliced: We are talking about perfect, slightly spotty yellow bananas here—nothing too green or too mushy for this layer.
For the Pudding Whipped Topping
- 1 cup heavy whipping cream (or make sure your Cool Whip is fully thawed!)
- 1/4 cup powdered sugar
- 1 teaspoon vanilla extract
- 1/4 cup instant vanilla pudding mix
- 1/2 cup cold milk: Make sure this milk is cold when mixing the pudding!
- 1 cup whipped topping, thawed (or use homemade whipped cream)
- 1/4 cup vanilla wafer crumbs for garnish: Just a little sprinkle on top at the very end keeps things authentic.
Step-by-Step Method for Layered Banana Cream Desserts
Alright, let’s get baking because this is the fun part! Since these are Banana Pudding Cheesecake Bars, we have to build them thoughtfully, layer by layer. Make sure your oven is humming along nicely at 325 degrees Fahrenheit before you even grab your mixer. I always line my 9×13 pan with parchment paper and let a good overhang hang over the sides. That overhang is your best friend later when it’s time to lift these beauties out clean! If you’ve been eyeing other things like my Pumpkin Cheesecake Bars, you know how much prep matters for a clean release!
Preparing and Baking the Vanilla Wafer Crust
First up is making that buttery base. Mix your vanilla wafer crumbs, the quarter cup of sugar, and the melted butter right in a bowl until it all looks like wet sand. Press that mixture down very firmly and evenly into the bottom of your lined pan. You really need to pack it tight here! Pop that into the oven for just 10 minutes. After that quick bake, pull it out and just let it chill on the counter while we whip up the main event.
Creating the Cream Cheese Filling for Banana Pudding Cheesecake Bars
Now for the cheesecake magic! Grab your softened cream cheese—and I mean *softened*—and beat it alone until it’s silky smooth. Then, slowly add in that cup of sugar and the vanilla until it’s combined. This is super important: add the eggs one at a time here. Seriously, mix until *just* combined after each egg goes in. If you overmix once the eggs are in, you introduce too much air, and we don’t want cracks in our gorgeous Banana Pudding Cheesecake Bars.
Assembling and Baking the Banana Pudding Cheesecake Bars
Time to layer! Pour about half of that creamy filling right over your cooled crust. Grab those thinly sliced bananas and spread about half of them over that first filling pour. Try to get them spread out nicely so every slice gets some banana love. Then, gently pour the remaining filling on top, and cover that surface with the rest of your banana slices. Bake this whole thing for about 35 to 40 minutes. You’re looking for the edges to look totally set, but when you gently nudge the pan, the very center should still have a tiny, adorable jiggle. Don’t bake it until it’s rock solid!
Finishing with the Pudding Topping and Chilling
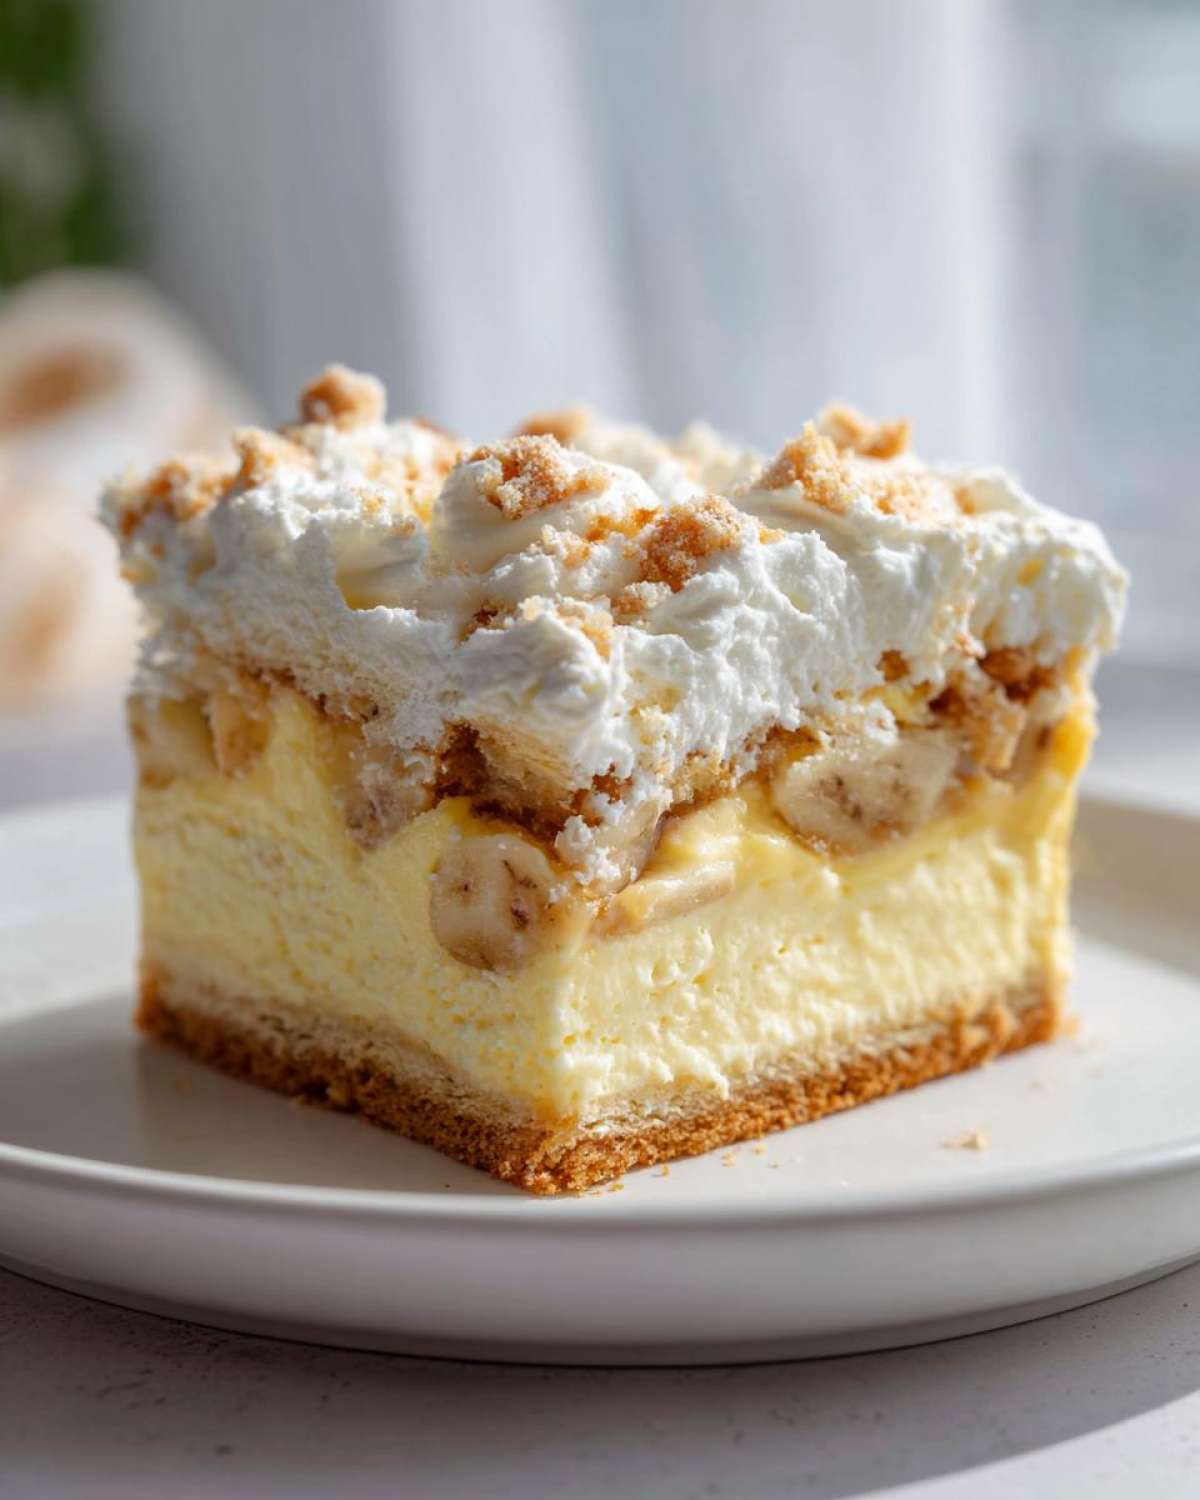
Once it comes out, let the cheesecake bars cool on a rack for a good 30 minutes—no longer, no shorter! While that’s happening, mix up your pudding layer using the instant mix, cold milk, and crumbs until it thickens up a bit. Then, fold in your thawed whipped topping and vanilla. Spread that gorgeous, light mixture over the slightly warm cheesecake. Now comes the hardest part: Chilling! You need to put this pan away for at least 4 hours, but if you can manage it overnight, you will thank me later. That chill time gives you the best sliceable results!
Tips for Perfect Banana Pudding Cheesecake Bars Slicing
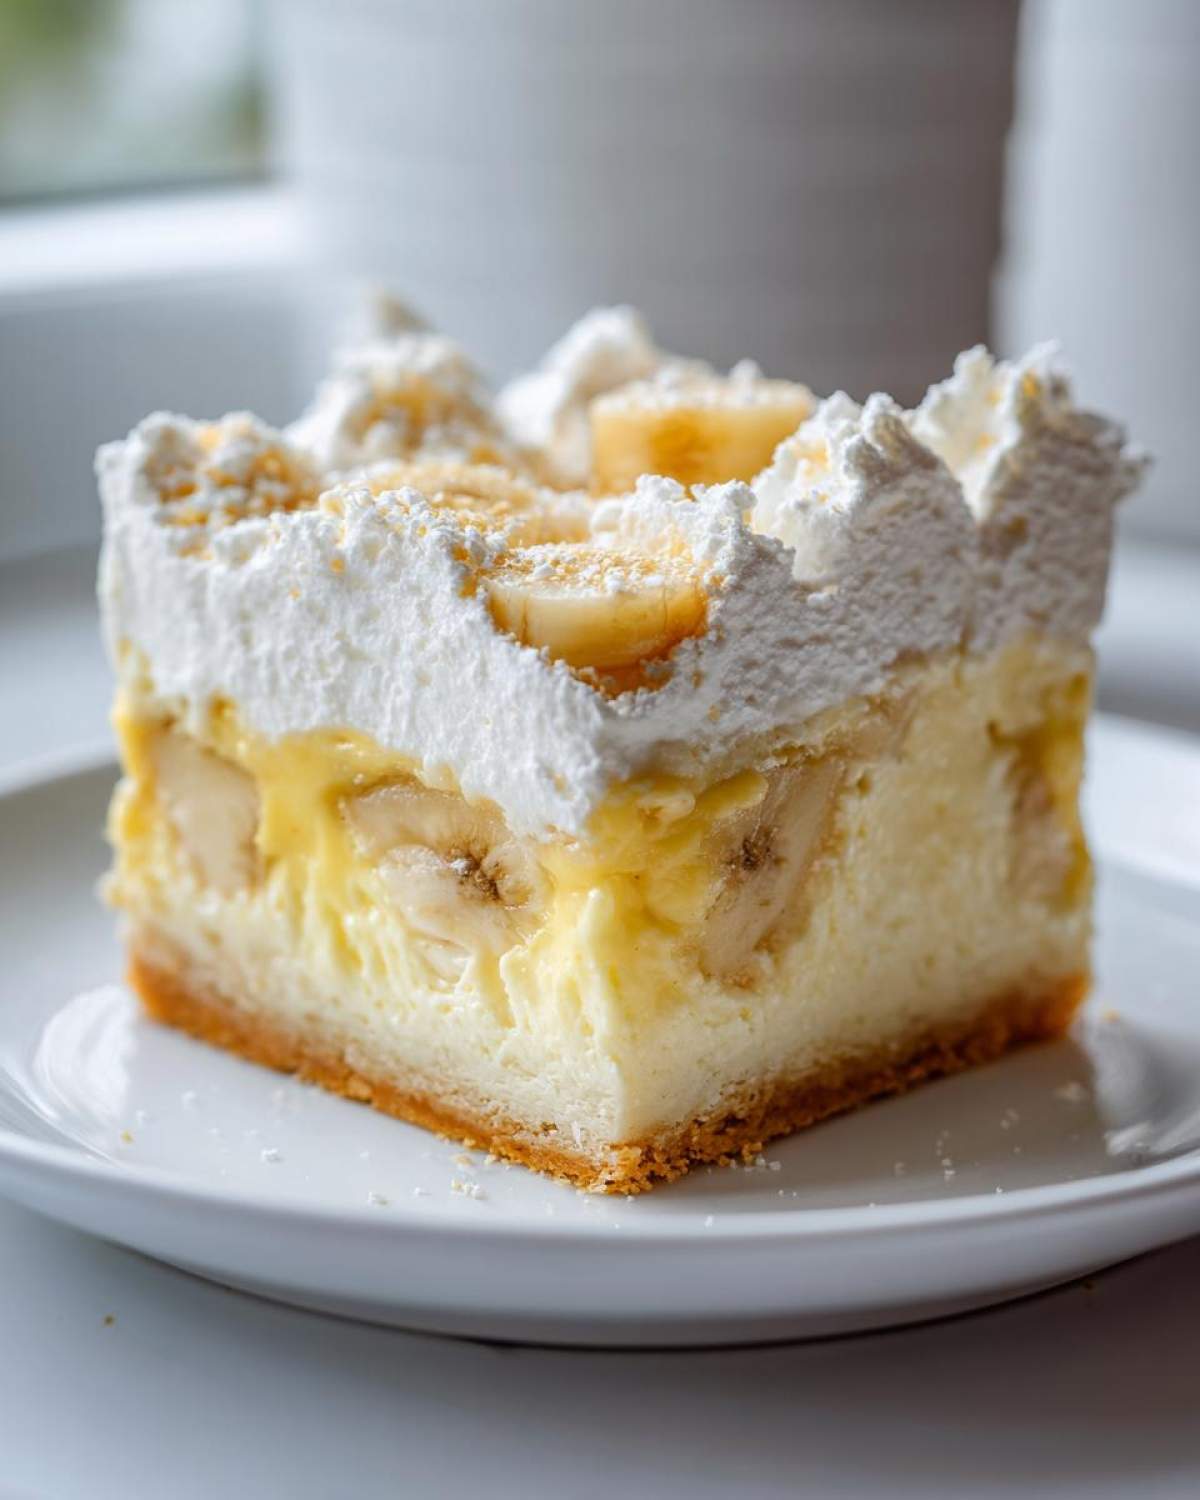
Cutting these stunning, chilled Banana Pudding Cheesecake Bars into perfect squares can feel like a high-stakes operation, I know! But I’ve mastered the technique so you don’t end up with sticky messes. The absolute secret weapon here is the hot water trick. Right before you slice, grab a long, large knife—like a big chef’s knife—and dip the blade into a tall glass of very hot water.
Wipe that knife blade completely dry with a clean towel, and then press straight down through the chilled bar. Repeat that dipping, wiping, and cutting process for every single slice. This melts any butterfat or cream cheese residue right before the blade goes through, giving you those incredibly clean edges you see in magazines. Seriously, it works like magic! If you’ve struggled with cleaner cuts on other baked items, like my no-crack cheesecake, this technique applies there too.
Ingredient Notes and Substitutions for Your Banana Pudding Cheesecake Bars
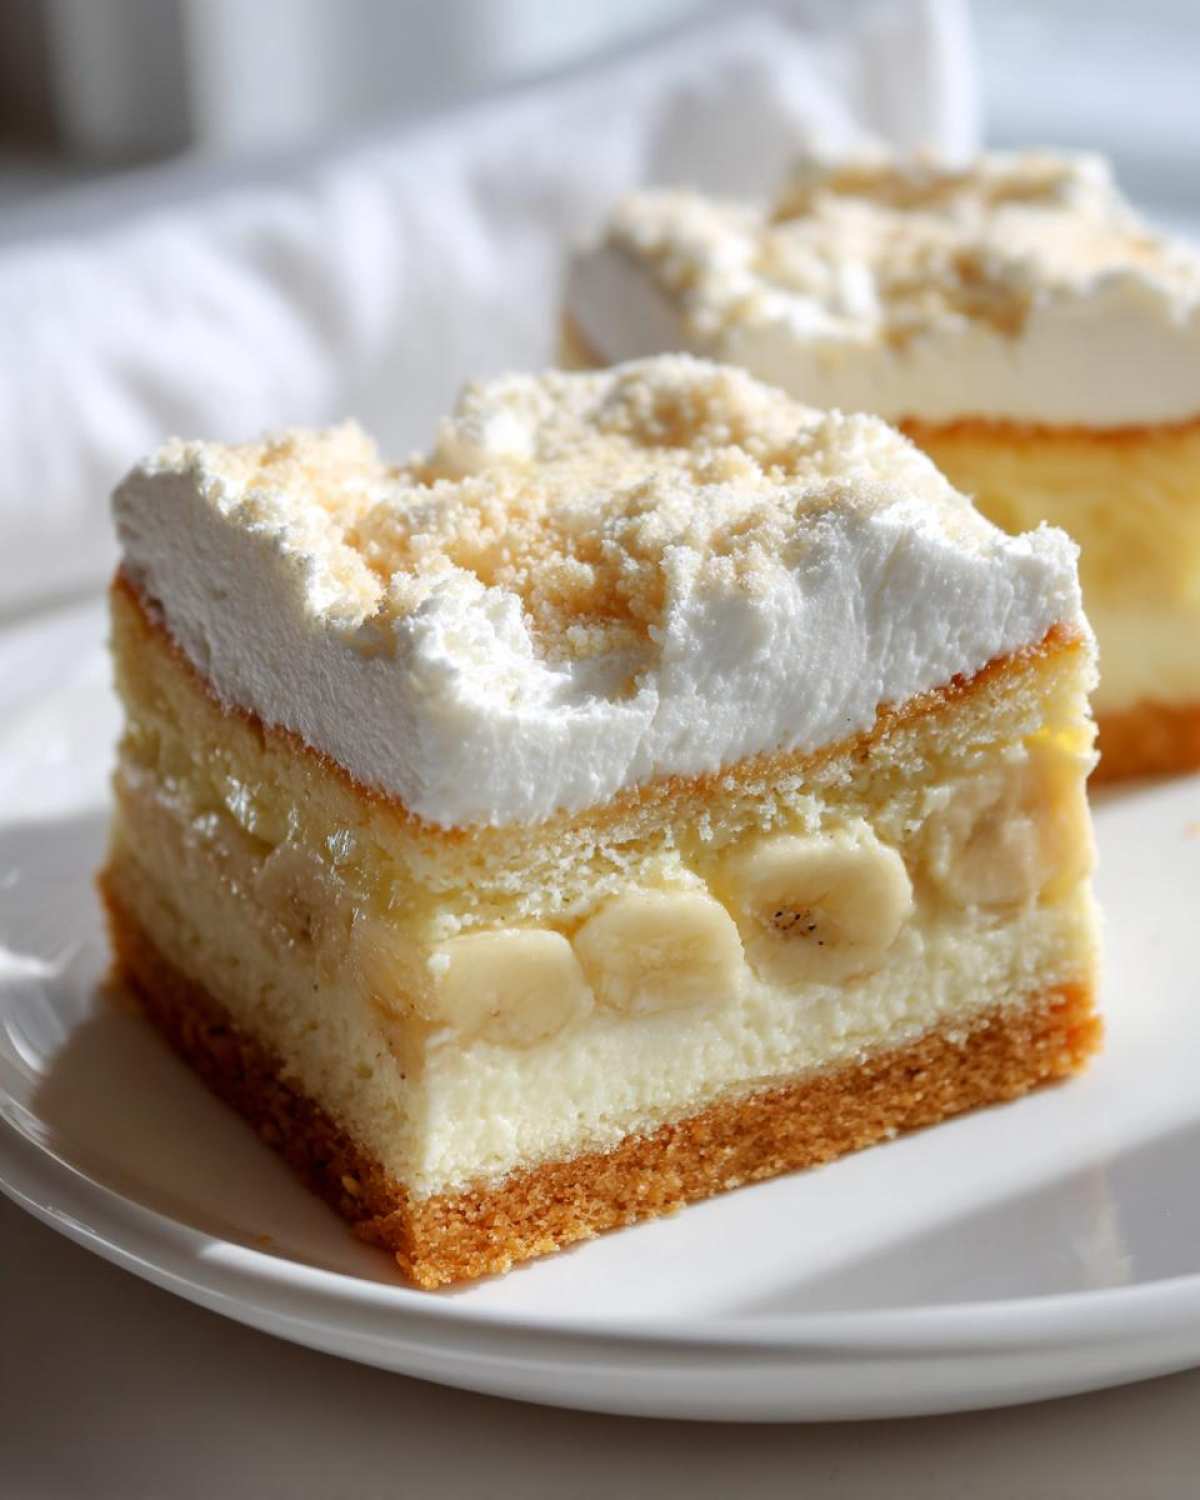
I know sometimes you open the pantry hoping to make something amazing only to realize you’re missing one tiny thing! Luckily, these Banana Pudding Cheesecake Bars are pretty forgiving, but you have to know where you can swap and where you must stay firm. If you don’t have vanilla wafers because—oops!—you ate the last box, feel free to swap in graham cracker crumbs!
That works great for the crust, just make sure you use the same amount. Now for the topping, the recipe calls for that instant pudding mixed with whipped topping because that combo gives you the structure we need for slicing. If you are married to a traditional meringue topping, you certainly can try using that instead, but remember, that changes the overall texture from a chilled cream bar to something a bit lighter. For low-sugar options, check out my thoughts on banana bread, but for this cheesecake, stick close to the sugar amounts listed!
Make Ahead Dessert Bars: Storage and Reheating
One of the best things about these layered bars is how perfectly they function as a make-ahead option. Because we have that lovely cheesecake component, chilling isn’t just recommended—it’s absolutely crucial for that firm, clean slice. Once completely chilled and cut, you can keep these refrigerated for about three to four days safely. You’ll want to keep them covered tightly, either in the original pan with the parchment overhang draped over the top, or transferred carefully to an airtight container.
Covering them is important because those bananas tend to oxidize, and a tight seal helps slow that down a bit. If you need to plan further ahead, yes, you can absolutely freeze these! I’d recommend slicing the whole batch first, then freezing the squares individually on a baking sheet lined with parchment. Once they are solid—maybe after an hour or two—you can transfer them into a zip-top freezer bag. They hold up really well for about a month this way. When you’re ready to serve them later, just pull out the amount you need and let them thaw in the refrigerator for a good half-day. This is another reason why I love these so much; they are one of those great make ahead dessert bars that saves the day when party planning gets crazy!
Reheating isn’t really a thing for these bars since they are best served cold, right out of the fridge, so that thawing process is key. You want that creamy cheesecake layer to be perfectly cool and sliceable!
FAQ About Making Banana Pudding Cheesecake Bars
This is where I answer all the questions swirling around in my head when I first tried to perfect these babies! I totally get having questions, especially when you’re combining two classic recipes into one of these amazing Banana Pudding Cheesecake Bars.
Can I use fresh whipped cream instead of the instant pudding mix in the topping?
That’s a really common question! You absolutely *can* use fresh whipped cream if you prefer it over the mixture with the instant pudding. But here’s the little secret: the instant pudding mix is what stabilizes that whole topping layer. If you use purely homemade whipped cream, it’s going to be much softer, and honestly, it might start to weep or deflate slightly after a day in the fridge. We need that structure since these are bars! If you do use fresh cream, whip it to stiff peaks and fold everything together very gently. It might mean you have to serve these a bit quicker, but the fresh flavor is unbeatable!
What is the best way to prevent the bananas from browning in these Banana Pudding Cheesecake Bars?
Oh, the dreaded browning! Bananas are going to do what bananas do, but we can slow them down for presentation purposes. You know my rule: if you can toss it in a little acid, your dessert will look better longer! Before you layer those banana slices into the cheesecake filling, toss them really lightly in about a tablespoon of fresh lemon juice—just coat them gently. The acid doesn’t change the flavor of these Banana Pudding Cheesecake Bars much because they are baked quickly and then chilled, but it really slows down that yucky brown film from forming on top. Save yourself the worry and try this trick!
Do you want to try a variation? Sometimes I look at my banana cream pie recipe and think about using that custard instead, but the structure of the instant pudding for these bars is just so much better for slicing. These are designed to be portable!
Nutritional Estimates for Banana Pudding Cheesecake Bars
So, let’s talk real talk for a minute. Because these are incredibly rich layered dessert bars—we’ve got cream cheese, butter, sugar, vanilla wafers—they are decidedly on the decadent side of the dessert spectrum! I pulled these estimates together based on breaking the recipe down into 24 equal servings, just like the recipe yields. As you know, nutrition labels are only estimates anyway, so take this as a fun guideline rather than gospel!
If you’re curious about general dish definitions or what makes nutrition claims tricky, you can always check out what I’ve written in my full kitchen disclaimer, but for my counts, here’s what we are looking at per bar:
- Serving Size: 1 bar
- Calories: about 280
- Sugar: 25 grams (Yep, that’s where the fun is!)
- Fat: 16 grams
- Saturated Fat: 9 grams
- Carbohydrates: 32 grams
- Protein: 4 grams
See? A little treat that reminds you of Grandma’s kitchen! It’s worth every single bite, believe me. I wouldn’t serve them if they weren’t heavenly!
Share Your Banana Pudding Cheesecake Bars Creations
Now that I’ve told you all my secrets for the best Banana Pudding Cheesecake Bars—from getting that crust just right to perfecting the slice—I really, truly want to see what you cook up!
Please, don’t keep your magnificent creations just for your family! Once you’ve let those beauties chill for that crucial four hours (or overnight, which I highly recommend!), snap a picture! Tag me on social media or just drop a comment right here on the blog. I love hearing about what went right, or if you had any fun little tweaks you decided to make to the recipe.
If you made these for a gathering, tell me how they were received! Did they disappear as fast as mine do? Did anyone even notice you were taking a short cut by making them bars instead of individual cups? Rate this recipe if you loved it!
Your feedback helps me keep refining recipes and deciding what to develop next. I’m always cooking, and you can see all my kitchen adventures over on the main blog page! Can’t wait to see your layers!
PrintBanana Pudding Cheesecake Bars
A recipe for layered dessert bars combining a vanilla wafer crust, a rich cream cheese filling, sliced bananas, and a whipped topping, mimicking classic banana pudding flavors.
- Prep Time: 25 min
- Cook Time: 40 min
- Total Time: 5 hours 5 min
- Yield: 24 bars
- Category: Dessert
- Method: Baking
- Cuisine: American
- Diet: Vegetarian
Ingredients
- 1 1/2 cups vanilla wafer crumbs
- 1/4 cup granulated sugar
- 6 tablespoons unsalted butter, melted
- 16 ounces cream cheese, softened
- 1 cup granulated sugar
- 1 teaspoon vanilla extract
- 3 large eggs
- 2 ripe bananas, thinly sliced
- 1 cup heavy whipping cream
- 1/4 cup powdered sugar
- 1 teaspoon vanilla extract
- 1/4 cup instant vanilla pudding mix
- 1/2 cup cold milk
- 1 cup whipped topping, thawed (or homemade whipped cream)
- 1/4 cup vanilla wafer crumbs for garnish
Instructions
- Preheat your oven to 325 degrees Fahrenheit. Line a 9×13 inch baking pan with parchment paper, leaving an overhang for easy removal.
- Prepare the crust: Mix the vanilla wafer crumbs, 1/4 cup granulated sugar, and melted butter in a bowl until combined. Press the mixture firmly and evenly into the bottom of the prepared pan. Bake for 10 minutes. Remove from the oven and let cool slightly.
- Prepare the cheesecake filling: In a large bowl, beat the softened cream cheese with 1 cup of granulated sugar and 1 teaspoon of vanilla extract until smooth. Beat in the eggs one at a time, mixing just until combined after each addition. Do not overmix.
- Pour half of the cream cheese mixture over the cooled crust. Arrange half of the sliced bananas evenly over the cream cheese layer. Pour the remaining cream cheese mixture over the bananas. Top with the remaining banana slices.
- Bake for 35 to 40 minutes, or until the edges are set and the center has a slight jiggle.
- While the cheesecake bakes, prepare the pudding layer: Whisk together the instant vanilla pudding mix, cold milk, and 1/4 cup vanilla wafer crumbs until slightly thickened. Fold in the whipped topping and 1 teaspoon of vanilla extract.
- Once the cheesecake is baked, let it cool on a wire rack for 30 minutes. Spread the pudding mixture evenly over the warm cheesecake.
- Chill the bars in the refrigerator for at least 4 hours, or preferably overnight, until completely firm.
- Use the parchment overhang to lift the chilled bars from the pan. Slice into squares and sprinkle the tops with extra vanilla wafer crumbs before serving.
Notes
- For cleaner slicing, run a large knife under hot water and wipe it dry between each cut.
- You can substitute graham cracker crumbs for vanilla wafers in the crust if desired.
- If you prefer a more traditional topping, you can use a stabilized meringue instead of the pudding/whipped topping mixture.
Nutrition
- Serving Size: 1 bar
- Calories: 280
- Sugar: 25
- Sodium: 150
- Fat: 16
- Saturated Fat: 9
- Unsaturated Fat: 7
- Trans Fat: 0
- Carbohydrates: 32
- Fiber: 1
- Protein: 4
- Cholesterol: 55