

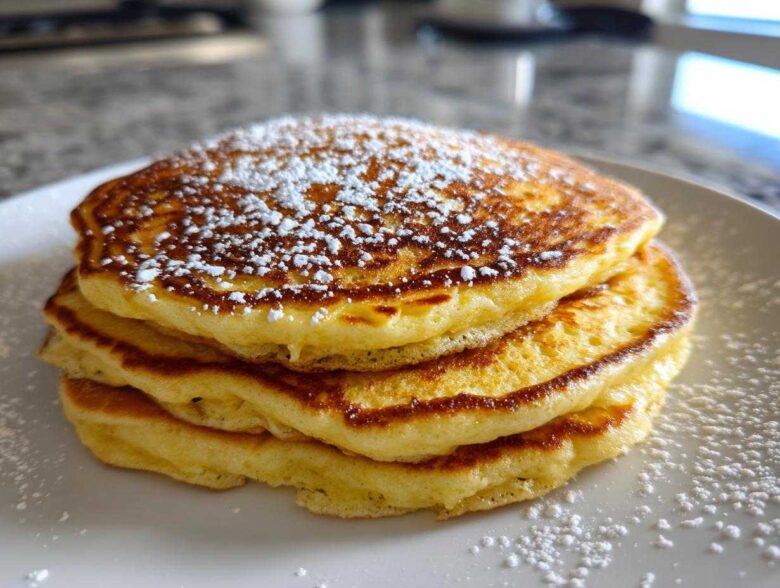
Oh, I know the feeling! You wake up craving that perfect weekend breakfast—you know the one—big, fluffy, dripping with syrup, with that signature, slightly tangy bite only buttermilk can give. For years, going gluten-free meant settling for sad, flat cardboard discs. I was so ready to give up on ever having proper pancakes again. But trust me, after so much trial and error in my kitchen, I finally cracked the code for the absolute best Gluten-Free Buttermilk Pancakes that taste exactly like the real deal. We are talking tender, light, and absolutely foolproof texture!
This isn’t just another recipe where the texture turns rubbery or gummy five minutes after pulling it off the griddle. I figured out the little tricks that keep the structure perfect, even without that lovely wheat gluten holding things together. You’re going to love how easy this is, and I can’t wait for you to try this amazing breakfast solution!
Why These Are the Best Gluten-Free Buttermilk Pancakes (The Secret to Fluffiness)
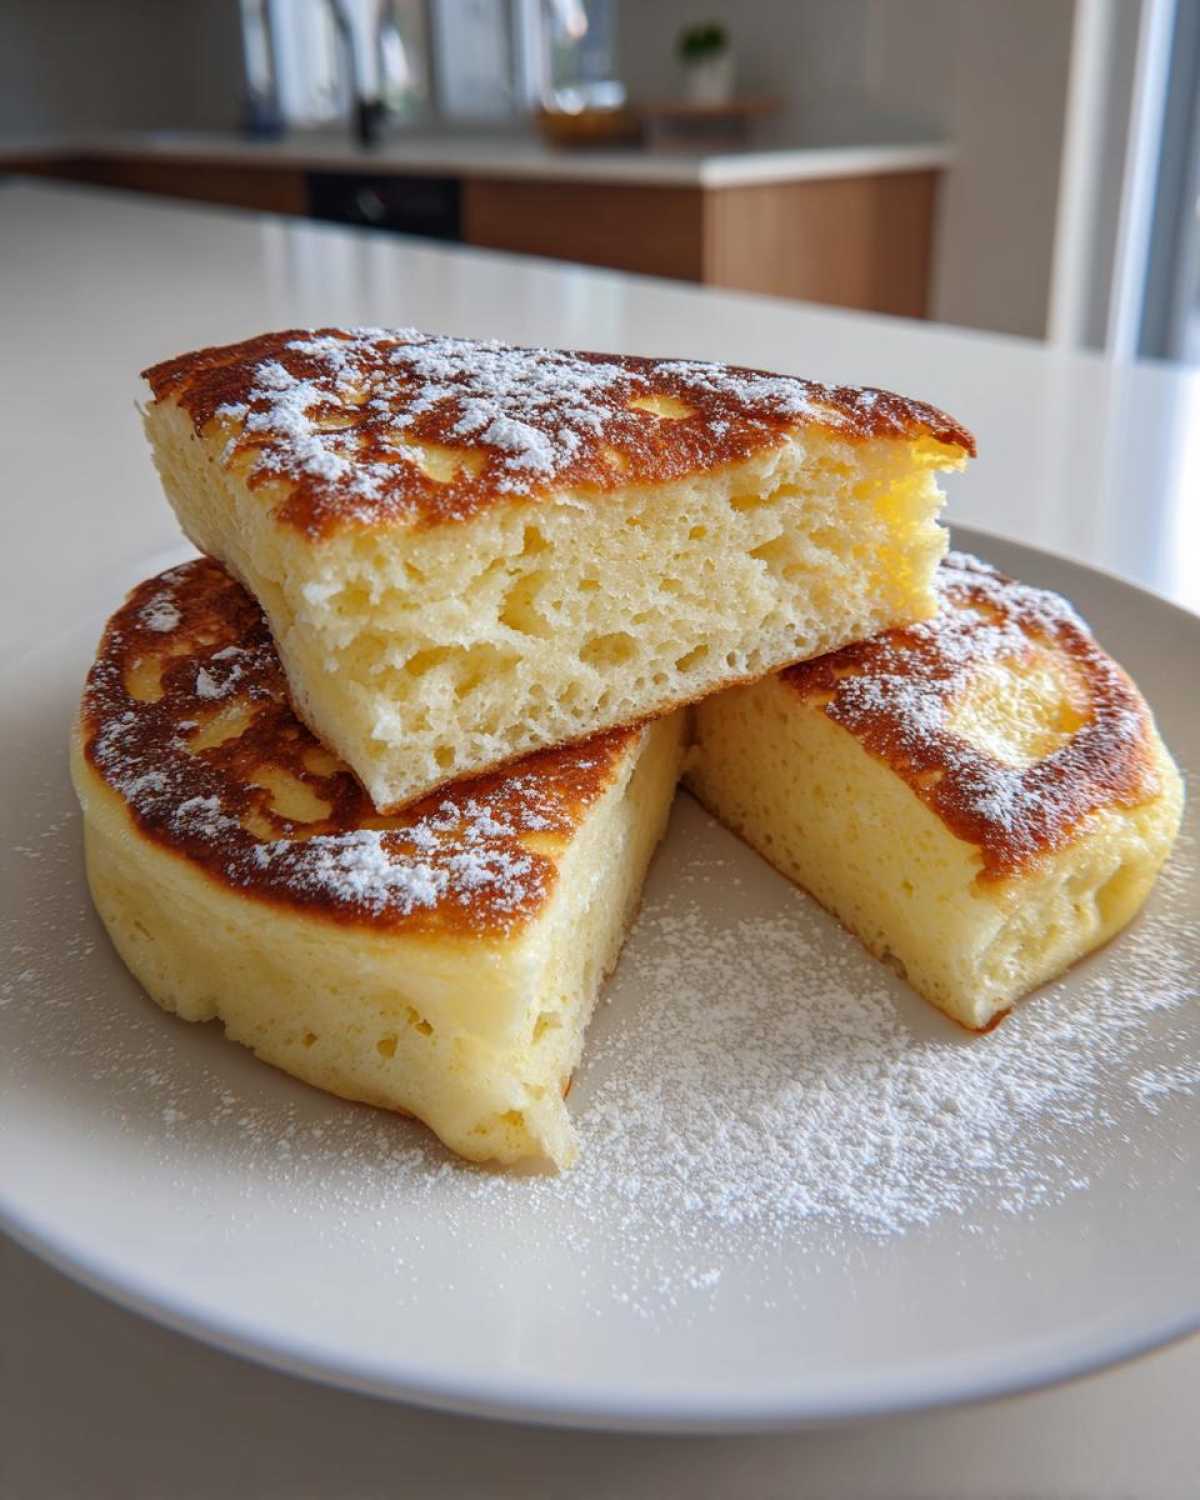
Listen, the number one complaint I hear about gluten-free baking is how quickly things go heavy or flat. But these are different! We nail that classic buttermilk tang by making our own super-simple substitute right in the bowl, which gives us the necessary acidity to activate the baking soda perfectly. That’s the first layer of flavor and fluffiness right there.
When you nail the balance between the liquids and that specialized GF flour, you end up with what I genuinely believe are the Best Gluten Free Buttermilk Pancakes you’ll ever make. No grit, no gumminess—just pure comfort food. Don’t even think about grabbing just any GF mix; the right one makes all the difference!
We tried a few ways, and I found that using a high-quality 1:1 blend is the easiest route for beginners.
Choosing the Right Gluten-Free Flour Blend for Your Gluten-Free Buttermilk Pancakes
This is my one non-negotiable tip: You absolutely must use a 1:1 gluten-free all-purpose blend that already lists xanthan gum in the ingredients. That xanthan gum acts like the structural gluten we’re missing. Without it, your Gluten-Free Buttermilk Pancakes will just crumble when you try to flip them. Trust me on this one—it gives our pancakes the strength they need to puff up beautifully!
Ingredients for Perfect Gluten-Free Buttermilk Pancakes
Okay, gathering your ingredients is half the battle, and it’s super simple! Since we are aiming for those Tender Gluten Free Pancakes that don’t taste like cardboard, we stick to simple, readily available items. The secret weapon, as mentioned earlier, is creating our own buttermilk right here in the mixing bowl. Don’t worry, it’s hilarious how easy it is, and it gives us that unforgettable tang that makes these the Copycat Buttermilk Pancakes Gluten Free dreams are made of.
You’ll need your favorite 1:1 GF blend, standard pantry sweeteners, and the magic touch of an acid hitting milk. Seriously, seeing that milk curdle slightly is proof that you’re on the right path to the Easiest Gluten Free Breakfast imaginable. Here is exactly what you need to pull this off:
- 1 3/4 cups gluten-free all-purpose flour blend (make sure it has xanthan gum in it!)
- 2 tablespoons granulated sugar
- 2 teaspoons baking powder
- 1 teaspoon baking soda
- 1/2 teaspoon salt
- 1 1/2 cups milk (dairy works best, but your favorite non-dairy alternative is fine)
- 1 tablespoon white vinegar or fresh lemon juice—this is super important!
- 2 large eggs
- 4 tablespoons unsalted butter, gently melted, plus a little extra for the griddle
- 1 teaspoon vanilla extract
How to Make Gluten-Free Buttermilk Pancakes Step-by-Step
Alright, now that we’ve got our magical ingredients lined up, let’s talk process. We need to move quickly but gently. Gluten-free batter, especially high-protein versions, can get gummy if you rush or overwork it. Follow these steps exactly, and I promise you’ll achieve the Perfect Texture Gluten Free Pancakes every single time. We start with that crucial buttermilk step, which is what gives these their beautiful flavor!
Hot tip: I always get my water boiling for coffee just as I start this recipe. Having the griddle heating up while the batter rests is timing perfection! To see some other quick breakfast ideas, check out my post on fluffy discard pancakes.
- First things first: Make the buttermilk substitute! Pour the vinegar or lemon juice right into your measured milk. Give it a gentle little swirl and then just set it aside for about five minutes. Seriously, watch it for a second; you’ll see it start to curdle—that’s the magic working!
- While that’s sitting pretty, grab your biggest mixing bowl. Whisk together all your dry stuff: the GF flour blend, sugar, baking powder, baking soda, and salt. Make sure they are totally incorporated before moving on.
- In a separate bowl, whisk up your eggs, your now-curdled buttermilk mixture, and the vanilla extract until they look happy and combined.
- Now for the careful part: Pour those wet ingredients into the big bowl of dry stuff. Using a whisk or a rubber spatula, mix it *just* until everything comes together. I mean it—do not beat it! A few little lumps clinging to the side are totally fine; overmixing ruins the texture.
- Gently fold in the 4 tablespoons of that melted butter. It usually looks a little sloppy now, but that’s okay. Now, this rest period is vital for Easy Gluten Free Breakfast success: let that batter sit on the counter for 5 to 10 minutes. The GF flours need that time to soak up the liquid!
- Heat up your griddle or skillet over medium heat and lightly brush it with some of that extra melted butter. You want it hot enough that a drop of water sizzles immediately.
- Pour about 1/4 cup of batter per pancake onto the hot surface. Cook time is about 2 to 3 minutes per side. You’ll know it’s time to flip when you see lots of bubbles popping on the surface and the edges look totally set and dry.
- Flip carefully and cook the second side until it’s golden brown, usually just a minute or two more. Serve them hot!
Creating the Buttermilk Substitute GF Baking
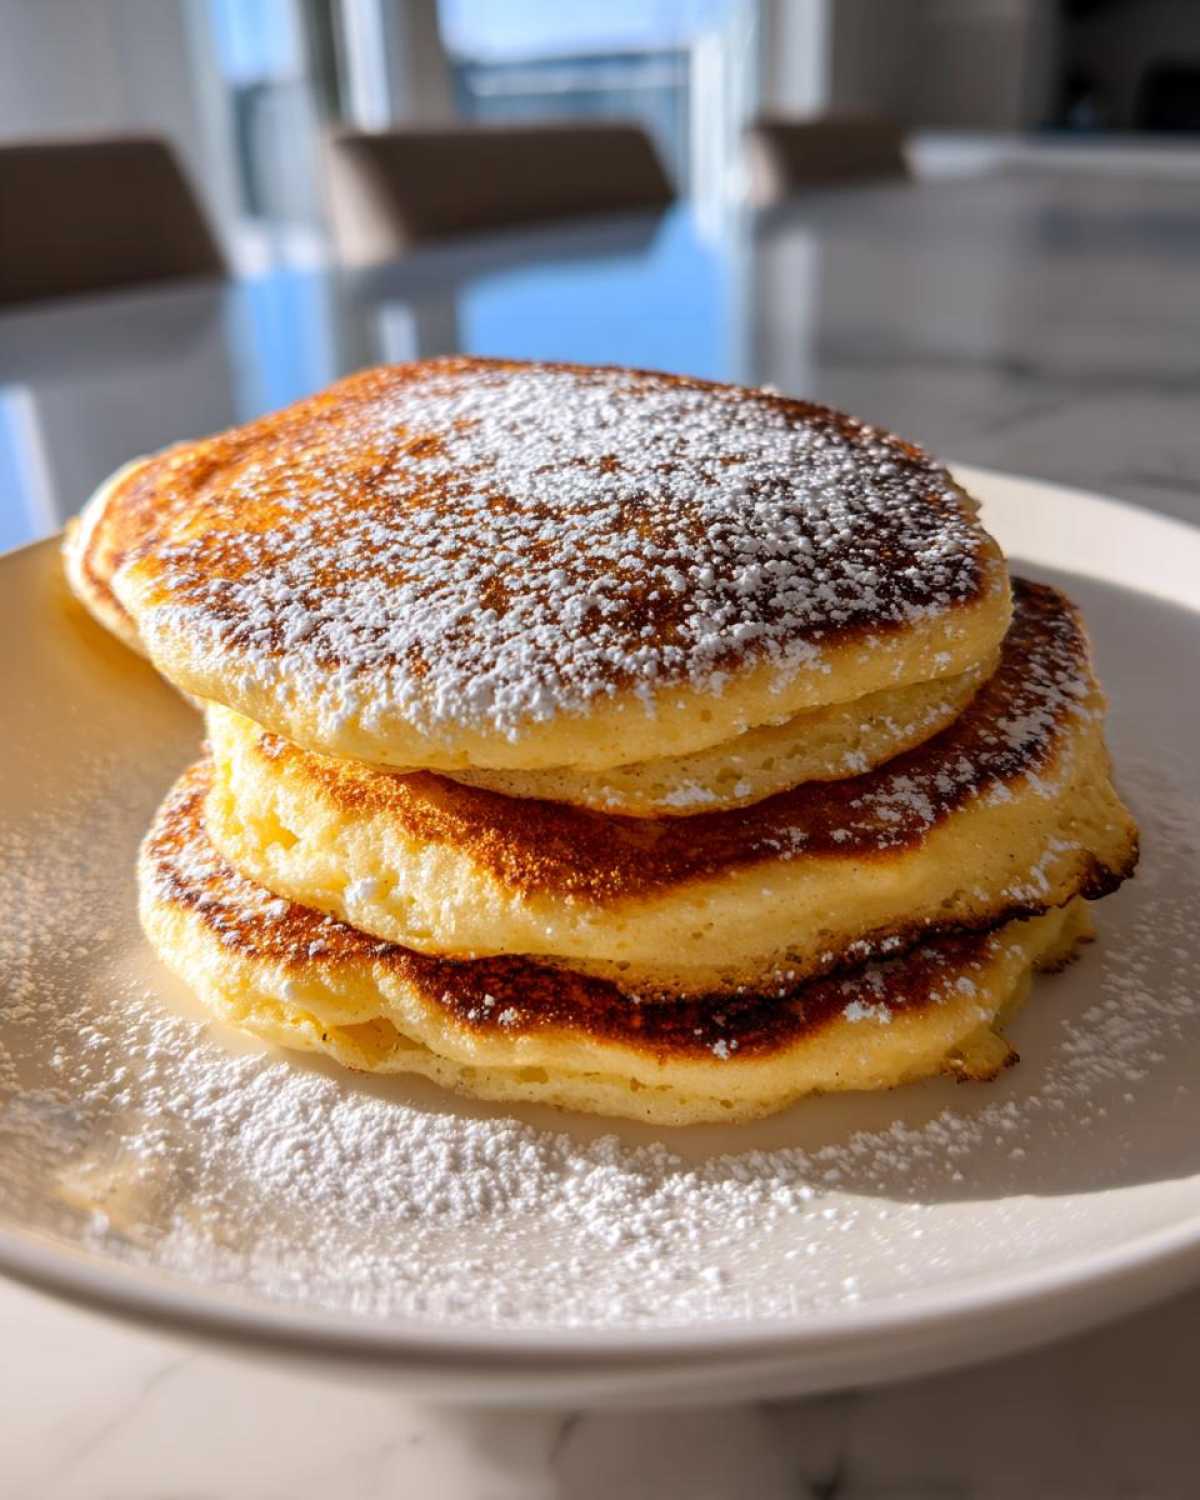
This is absolutely key for the tang! We mimic real buttermilk because that acid reacts instantly with the baking soda in the dry mix. When you add the flour, that reaction starts building air bubbles right away, which is how we get that lift in our Gluten-Free Buttermilk Pancakes. Don’t skip the five-minute set time here. You need to see that milk visibly curdle up a bit before adding it to the eggs. It’s simple science that makes these so much fluffier!
Mixing and Resting the Gluten-Free Buttermilk Pancakes Batter
Remember what I said about overmixing? When baking without gluten, over-whisking gelatinizes the starches we are using, leading to dense, heavy cakes. We want the opposite for these Tender Gluten Free Pancakes! Mix until the flour streaks *just* disappear, and then stop moving the bowl! The most important thing after that minimal mix is letting the batter rest for those 5 to 10 minutes. This lets the hydrocolloids (like that xanthan gum) start doing their work and hydrating the flour, which prevents grittiness later on. You’ll be amazed by the difference!
Tips for Light and Airy Gluten Free Pancakes Success
Look, I know my main recipe gets you 99% of the way there for amazing texture, but if you want to elevate these babies to true cloud status? I have a couple of little tricks I use when I’m trying to impress guests during a big Weekend Brunch Gluten Free Edition. These aren’t strictly necessary, but if you want those Light and Airy Gluten Free Pancakes that practically float off the plate, you need to pay attention here.
My absolute favorite trick, taken straight from my pastry mentor, involves the eggs. If you have five extra minutes, try separating your two eggs! Beat those whites until you get soft, fluffy peaks—not stiff meringue, just soft peaks. Then, when you fold the batter together, you gently fold those egg whites in right at the very end. It takes incredible patience, but those egg whites trap so much more air than relying just on the baking powder.
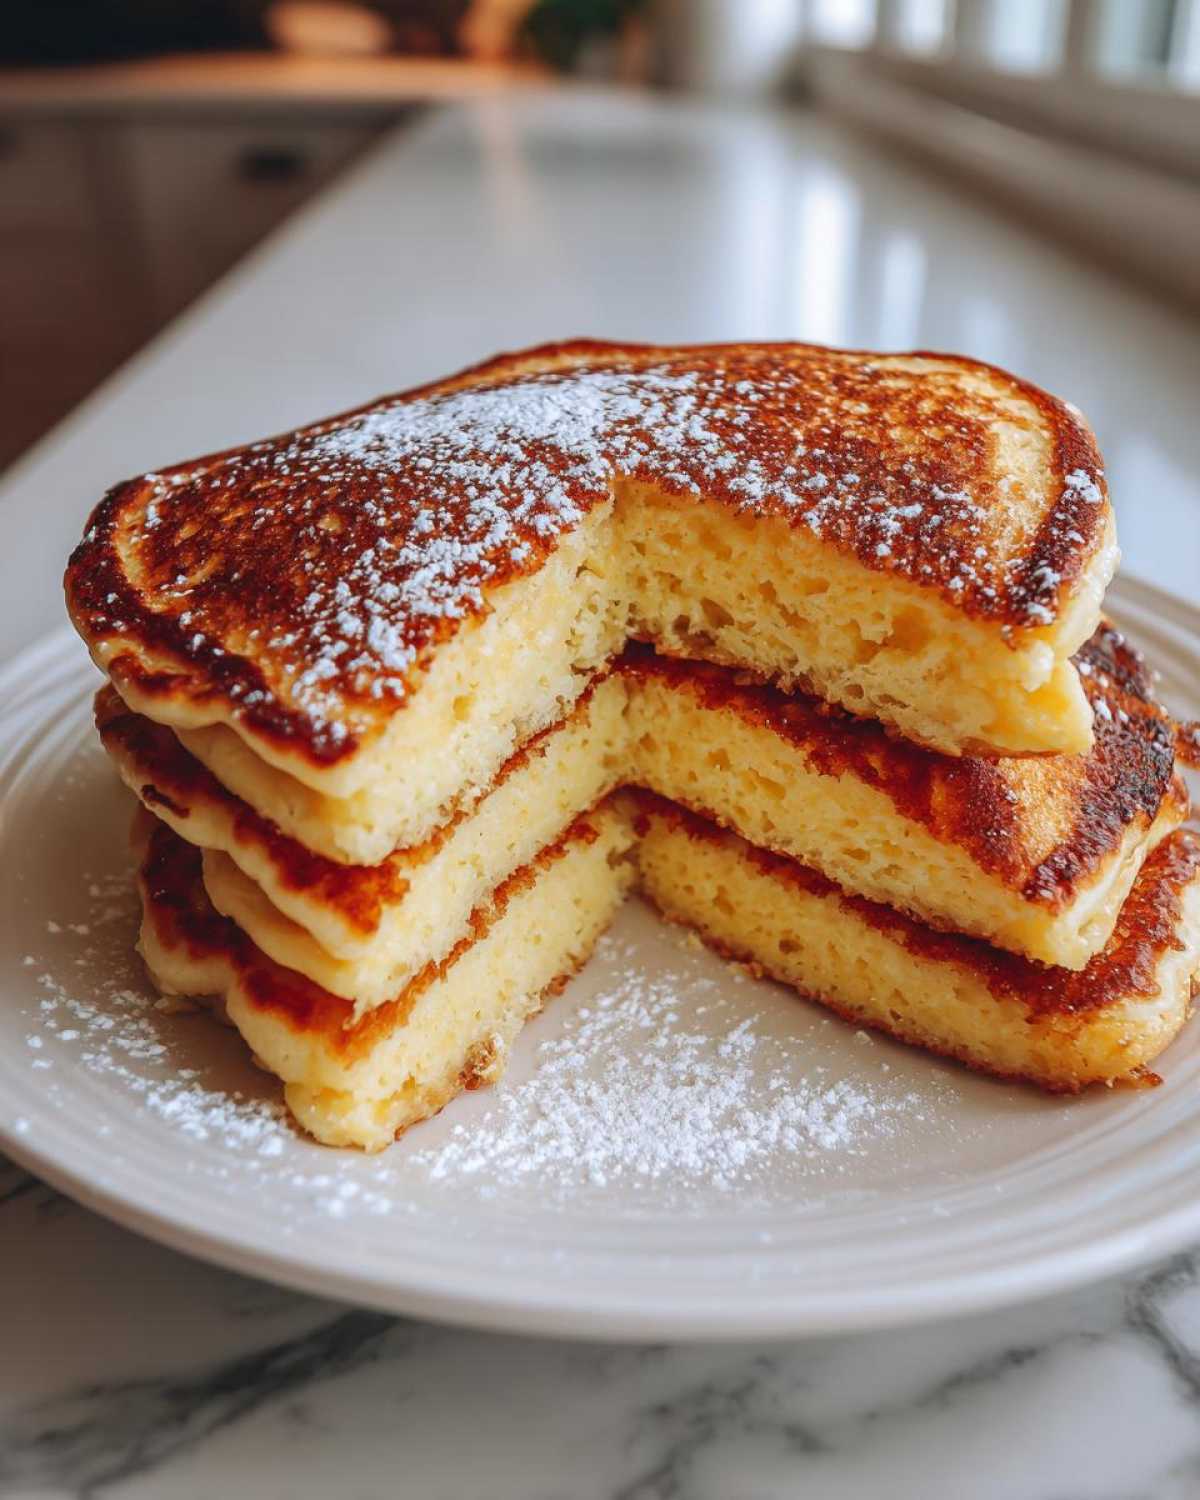
Also, always remember moisture control! If your batter seems too stiff after resting—I mean, really thick—don’t be afraid to thin it out with milk, one tablespoon at a time. A slightly looser batter spreads better and cooks up lighter. For more wonderful weekend ideas, check out how I make my perfect French toast!
Serving Suggestions for Your Gluten-Free Buttermilk Pancakes
Now that you have these gorgeous, fluffy pancakes hot off the griddle, the fun part starts: toppings! You want to keep things simple and totally safe for your gluten-free diet, right?
Maple syrup is always the classic go-to, but honestly, a quick topping of fresh berries wakes up the flavor so well. I love mashing together some raspberries with a tiny bit of powdered sugar just to make a quick, tart coulis—it cuts right through the richness!
If you’re looking for something crunchy, skip the standard granola unless you check the label first! I recently perfected my homemade granola bars, and crushing a few nuts over the top is a fantastic, safe substitute. A dollop of homemade whipped cream, and you’re done!
Storage and Reheating Instructions for Gluten-Free Buttermilk Pancakes
The best part about making a big batch of these Gluten-Free Buttermilk Pancakes? Breakfast for days! If you have leftovers, you need to store them properly, or they’ll get sad and dry fast. Pop a layer of parchment paper between each pancake before sliding the whole stack into an airtight container. You can keep them in the fridge for about three days.
For reheating, I swear by the toaster oven or a dry skillet over medium-low heat. Microwave them, and they just turn into little bouncy hockey pucks, which is a shame! A quick minute or two in the oven brings back that perfect warmth and texture without zapping the moisture out.
Frequently Asked Questions About How to Make Gluten Free Buttermilk Pancakes
I get it; making the switch to gluten-free baking always leaves people with questions, especially about textures! Having gone through so many batches myself, I’ve compiled the ones I hear the most. I want you to feel confident starting your Breakfast Recipes for Celiac Diet journey with this recipe. Whether you’re wondering about substitutions or battling consistency, we’ve got you covered!
Can I use regular milk instead of making the buttermilk substitute for these Gluten-Free Buttermilk Pancakes?
Oh, please don’t! While using regular milk seems easier, that acid—the vinegar or lemon juice—is non-negotiable for these Gluten-Free Buttermilk Pancakes. That acid reacts violently (in a good way!) with the baking soda and baking powder. This intense reaction creates way more bubbles and lift than you’d get with regular milk, which is how we achieve that desired lift and the tangy taste that defines a true buttermilk pancake. We need that chemical kick to overcome the heaviness of the rice and potato starches in the flour.
What if my Gluten-Free Buttermilk Pancakes batter is too thin or too thick?
This happens! Since different GF blends absorb liquid differently, you might need a tiny adjustment after that 10-minute rest. If your batter looks like soup and is spreading out too much on the hot griddle, just gently whisk in one *tablespoon* of your chosen GF flour blend at a time until it thickens up a bit. If it dried out and looks like thick cement after resting, add milk, again one tablespoon at a time, until it flows off your spoon slowly. This little bit of fine-tuning is what makes this a truly Fluffy GF Pancakes Recipe!
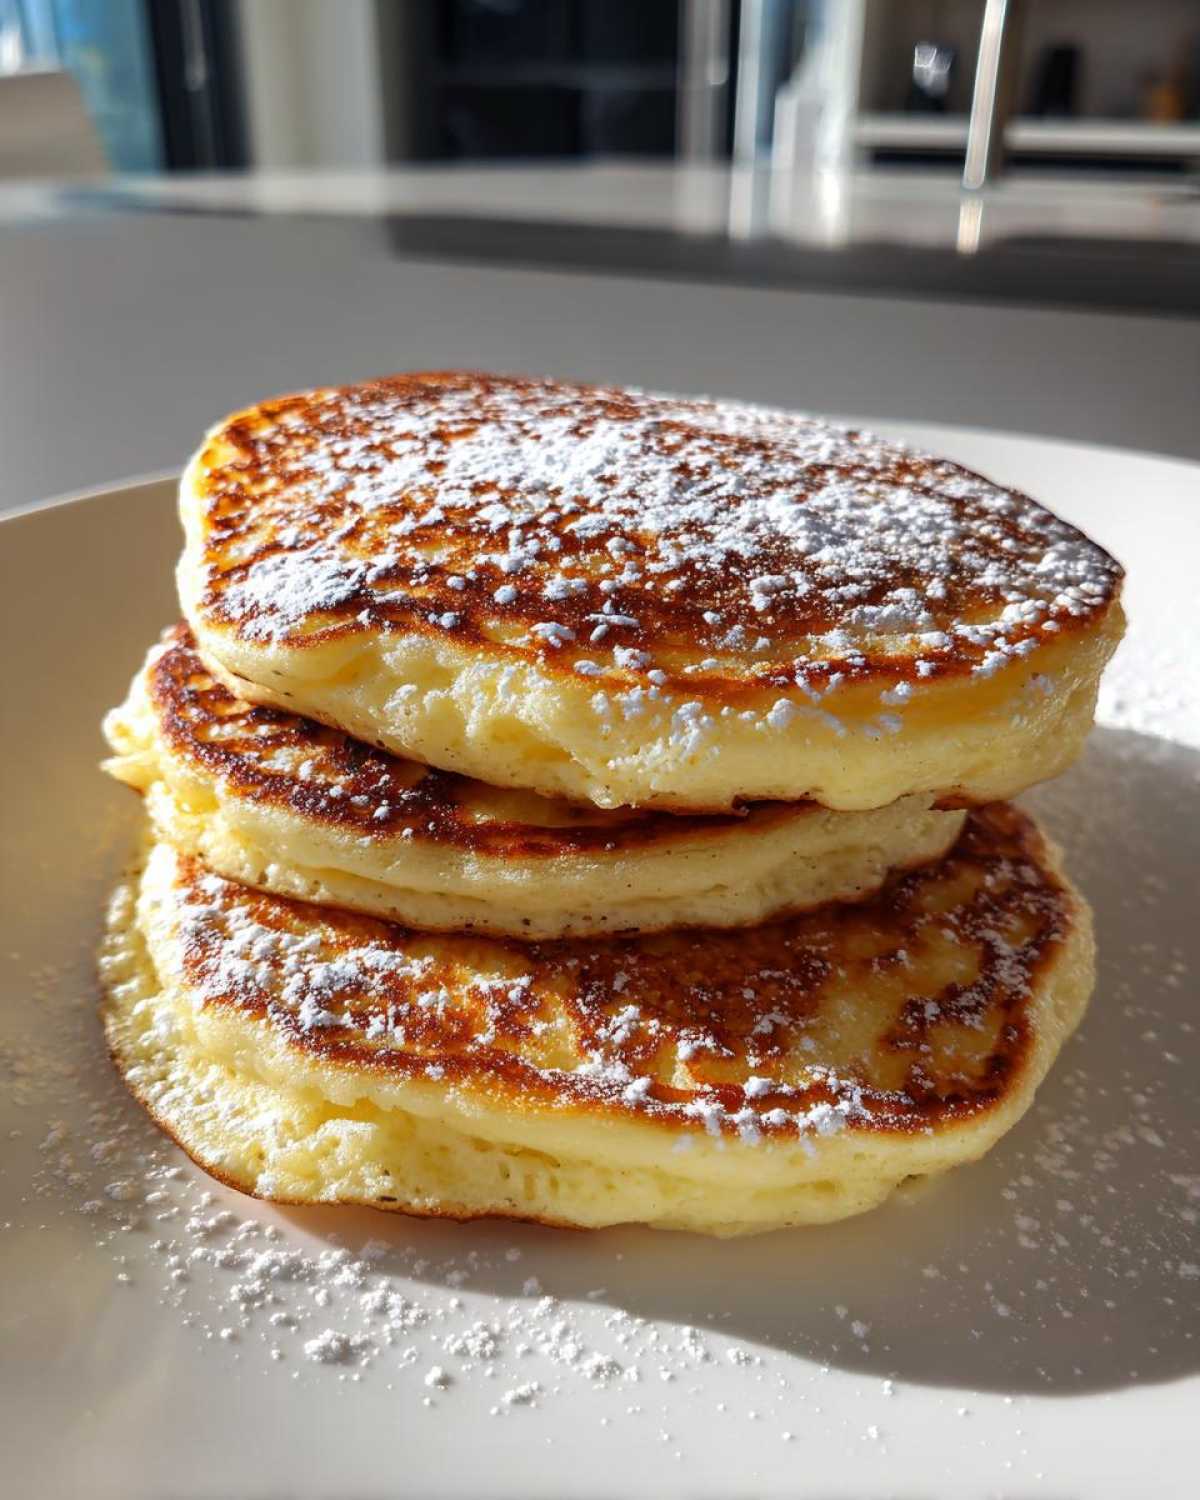
If you want to see who we are behind these tested recipes, feel free to check out our About Us page!
Estimated Nutritional Data for Homemade Buttermilk GF Griddle Cakes
Now, before everyone asks, I have to be upfront—I’m a cook, not a certified nutritionist! These numbers are just rough estimates based on the standard ingredients I use in my kitchen for these Homemade Buttermilk GF Griddle Cakes. These figures are worked out for one single pancake, assuming you make the full batch yield.
If you load them up with sugar-laden syrups or loads of butter, these numbers will definitely go up, ha! But for a baseline comparison for your Healthy Gluten Free Morning Meal, here’s the rundown:
- Calories: About 180
- Fat: Around 7g
- Carbohydrates: Roughly 25g
- Protein: About 5g
- Sugar: Approximately 5g
It’s a delicious, comforting way to start the day!
Share Your Weekend Brunch Gluten Free Edition Experience
I have shared all my secrets for getting that cloud-like texture in your Gluten-Free Buttermilk Pancakes, and now I’d love to see what you come up with! Seriously, tag me in your pictures if you make these for your next Weekend Brunch Gluten Free Edition. Did they turn out perfectly fluffy? Let me know in the comments below how they tasted and if you stuck to the buttermilk substitute!
If you have any lingering questions, you can always head over to my Contact page—but I bet you won’t need to, because these are just that good!
PrintFluffy Gluten-Free Buttermilk Pancakes
A reliable recipe for making light and tender pancakes using a gluten-free flour blend that mimics classic buttermilk pancakes.
- Prep Time: 10 min
- Cook Time: 15 min
- Total Time: 25 min
- Yield: 8 pancakes
- Category: Breakfast
- Method: Griddling
- Cuisine: American
- Diet: Gluten Free
Ingredients
- 1 3/4 cups gluten-free all-purpose flour blend (must contain xanthan gum)
- 2 tablespoons granulated sugar
- 2 teaspoons baking powder
- 1 teaspoon baking soda
- 1/2 teaspoon salt
- 1 1/2 cups milk (dairy or non-dairy)
- 1 tablespoon white vinegar or lemon juice
- 2 large eggs
- 4 tablespoons unsalted butter, melted, plus more for the griddle
- 1 teaspoon vanilla extract
Instructions
- Make the buttermilk substitute: Pour the vinegar or lemon juice into the milk. Stir gently and let it sit for 5 minutes until it curdles slightly.
- In a large bowl, whisk together the gluten-free flour blend, sugar, baking powder, baking soda, and salt.
- In a separate medium bowl, whisk the eggs, the prepared buttermilk mixture, and vanilla extract.
- Pour the wet ingredients into the dry ingredients. Whisk until just combined. Do not overmix; a few lumps are acceptable.
- Gently fold in the 4 tablespoons of melted butter. Let the batter rest at room temperature for 5 to 10 minutes. This allows the GF flour to hydrate, improving texture.
- Heat a lightly oiled griddle or large non-stick skillet over medium heat. Brush lightly with melted butter.
- Pour 1/4 cup of batter onto the hot griddle for each pancake. Cook for 2 to 3 minutes per side, until bubbles appear on the surface and the edges look set.
- Flip and cook the second side until golden brown, about 1 to 2 minutes more.
- Serve immediately with your preferred toppings.
Notes
- Use a 1:1 gluten-free flour blend that already includes xanthan gum for the best structure.
- For extra fluffiness, separate the eggs. Beat the whites until soft peaks form, and gently fold them into the batter just before cooking.
- If your batter seems too thick after resting, add one tablespoon of milk at a time until it reaches a pourable consistency.
Nutrition
- Serving Size: 1 pancake
- Calories: 180
- Sugar: 5
- Sodium: 250
- Fat: 7
- Saturated Fat: 4
- Unsaturated Fat: 3
- Trans Fat: 0
- Carbohydrates: 25
- Fiber: 1
- Protein: 5
- Cholesterol: 50