

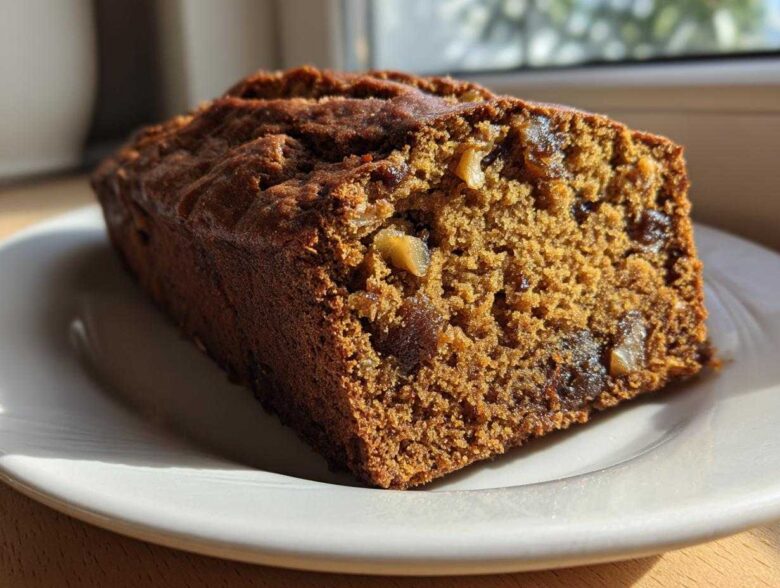
Oh, friends, are you hunting for that one recipe? You know, the one that smells like a cozy hug from the oven and tastes exactly like nostalgia? I swear, there’s nothing quite like a comforting slice of something rich and spiced, especially when the weather starts turning chilly. Mia and I found that our pursuit for the truly authentic, never-dry bake led us straight back to basics. That’s why I’m so excited to share this Old-Fashioned, Ultra-Moist Date Nut Bread Recipe; this isn’t just good, it’s the keeper. Baking this classic loaf reminds me so much of settling in after a long day—it’s proof that simple ingredients, treated right, make the best comfort food baking right here in our kitchens. If you want to know more about how we started our messy journey into conquering the oven, check out our story here!
Why This Old-Fashioned Date Nut Bread Recipe Works So Well (E-E-A-T Focused)
You might be thinking, what makes one loaf of date nut bread better than the next? Most quick breads turn dry if you look away for a second, but not this one, trust me. We’ve learned that the difference between a crumbly disappointment and the perfect loaf comes down to chemistry, and that’s where we get technical—but stay with me, it’s easy!
This recipe is focused on producing reliable results, which is why it’s one of our favorite moist quick bread recipes we turn to repeatedly.
The Secret to Moist Date Nut Bread Recipe Success
The absolute game-changer here is starting by soaking those sweet dates in boiling water with baking soda. This isn’t just for softening; it’s magic! The baking soda reacts with the natural acidity in the dates, creating tiny air bubbles that essentially tenderize the fruit before it even hits the oven. This process locks in moisture, guaranteeing you an unbelievably soft crumb for your Moist Date Nut Bread Recipe.
Simple Baking Recipes for Reliable Results
Honestly, even when I’m feeling chaotic and overwhelmed, this recipe just works. It skips complicated steps like proofing or kneading, keeping it squarely in the “quick bread” category. Because the date soak does most of the heavy lifting for texture, you only need to mix until things just come together. If you’ve ever been intimidated by baking, this is the kind of reliable result that makes you want to keep trying. It’s proof that Simple Baking Recipes deserve a spot in every rotation.
Gathering Ingredients for Your Homemade Date Bread
Alright, let’s get our setup ready! Because this recipe relies on a few key textures, just pay attention to how we prep everything before we start mixing. Having all your components ready is half the battle when you’re making any Homemade Date Bread. We are using butter and eggs that need to be at the right temperature, so pull those out ahead of time, please!
You’ll notice we call for Medjool dates specifically. They are the rock stars of the date world—plump and sticky, which is exactly what we need, but I’ll give you a wiggle room if you need it.
Specific Ingredient Notes and Substitutions
When you grab your dates, try your best to find Medjool dates—they are softer and mix in beautifully. If you can only find smaller, dryer dates, you might need to soak them for an extra five minutes, just to make sure they hydrate properly when we add the boiling water later. As for the nuts, we use walnuts in this date nut bread because I love that slightly earthy bitterness that cuts through the sweetness, but don’t panic if walnuts aren’t your favorite! Pecans are a fantastic substitute; you just gently chop them up alongside the dates.
Step-by-Step Instructions for Classic Date Nut Bread
Okay, putting all those lovely ingredients to work! We’re going to move fast here, but remember, this isn’t a marathon; it’s a quick bread race, so don’t dawdle once you start mixing the flour in. Getting your oven warm and your pan ready is step one before we even touch that date mixture, which is the secret weapon in our date nut bread.
I want to give you a little heads up right now: the finished batter for this loaf is thin—like, surprisingly thin. If you’re used to thick cookie doughs, this might feel wrong, but trust me when I say this liquid batter handles all the moisture beautifully. This is why it bakes up into such a wonderful, soft result when you are learning easy quick bread baking!
Preparing the Date Mixture (The Moisture Booster)
This is where we activate the moisture magic, so pay close attention! Grab those chopped dates and pop them in a bowl. Pour the level cup of boiling water right over them, and then stir in that teaspoon of baking soda. You need to let this sit for a solid 10 minutes. When you come back, you’ll see it’s foamy and bubbling a little bit—that’s the chemical reaction working its wonders! It softens everything up perfectly, ensuring zero dry spots in your final loaf for your Moist Date Nut Bread Recipe.
Mixing the Batter and Baking the Date Nut Bread
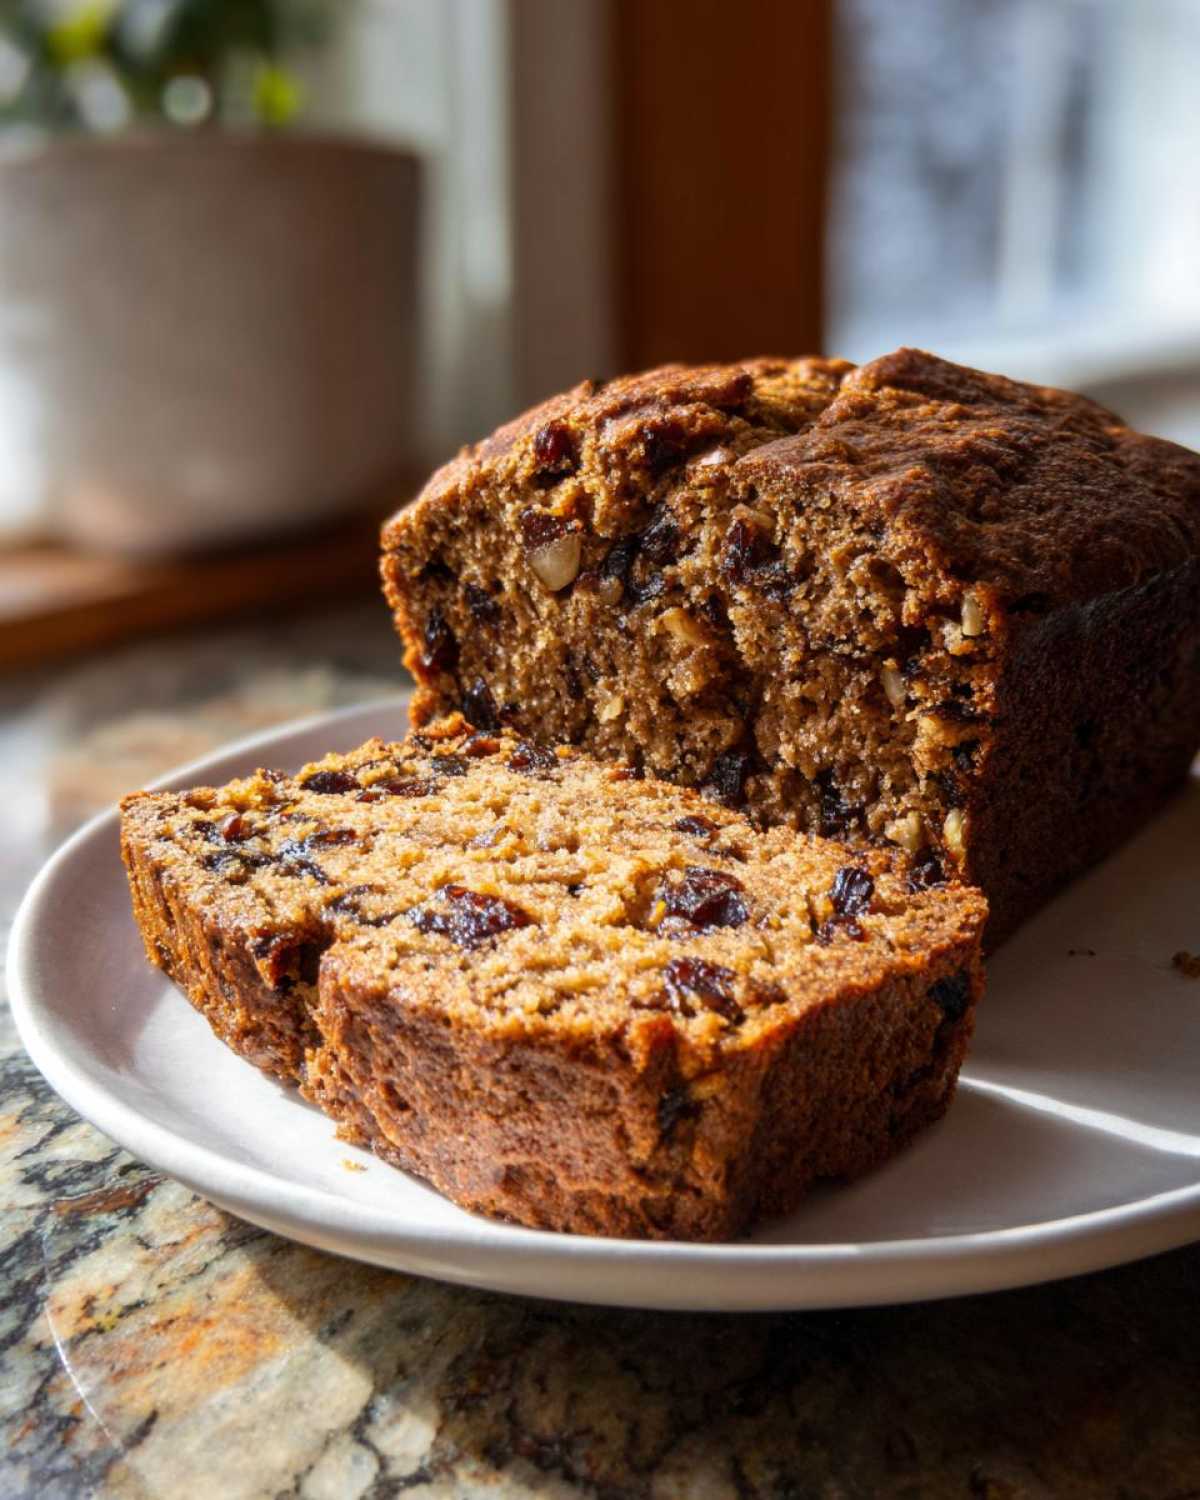
While the dates soak, cream your butter and sugar until it looks pale and fluffy, then beat in your eggs and vanilla. Next, alternate adding those dry ingredients and the wet ones, mixing only until they disappear. Seriously, stop mixing as soon as you see no more streaks of flour! Then, fold those lovely chopped walnuts right in. Finally, pour in that entire date mixture—liquid and all—and stir gently. Pour that thin batter into your prepared pan. Bake at 350°F (175°C) for about 55 to 65 minutes. You’re looking for a skewer to come out clean, meaning you’ve nailed that perfect Classic Loaf Cake texture for your date nut bread.
Tips for Perfect Old Fashioned Quick Bread Baking
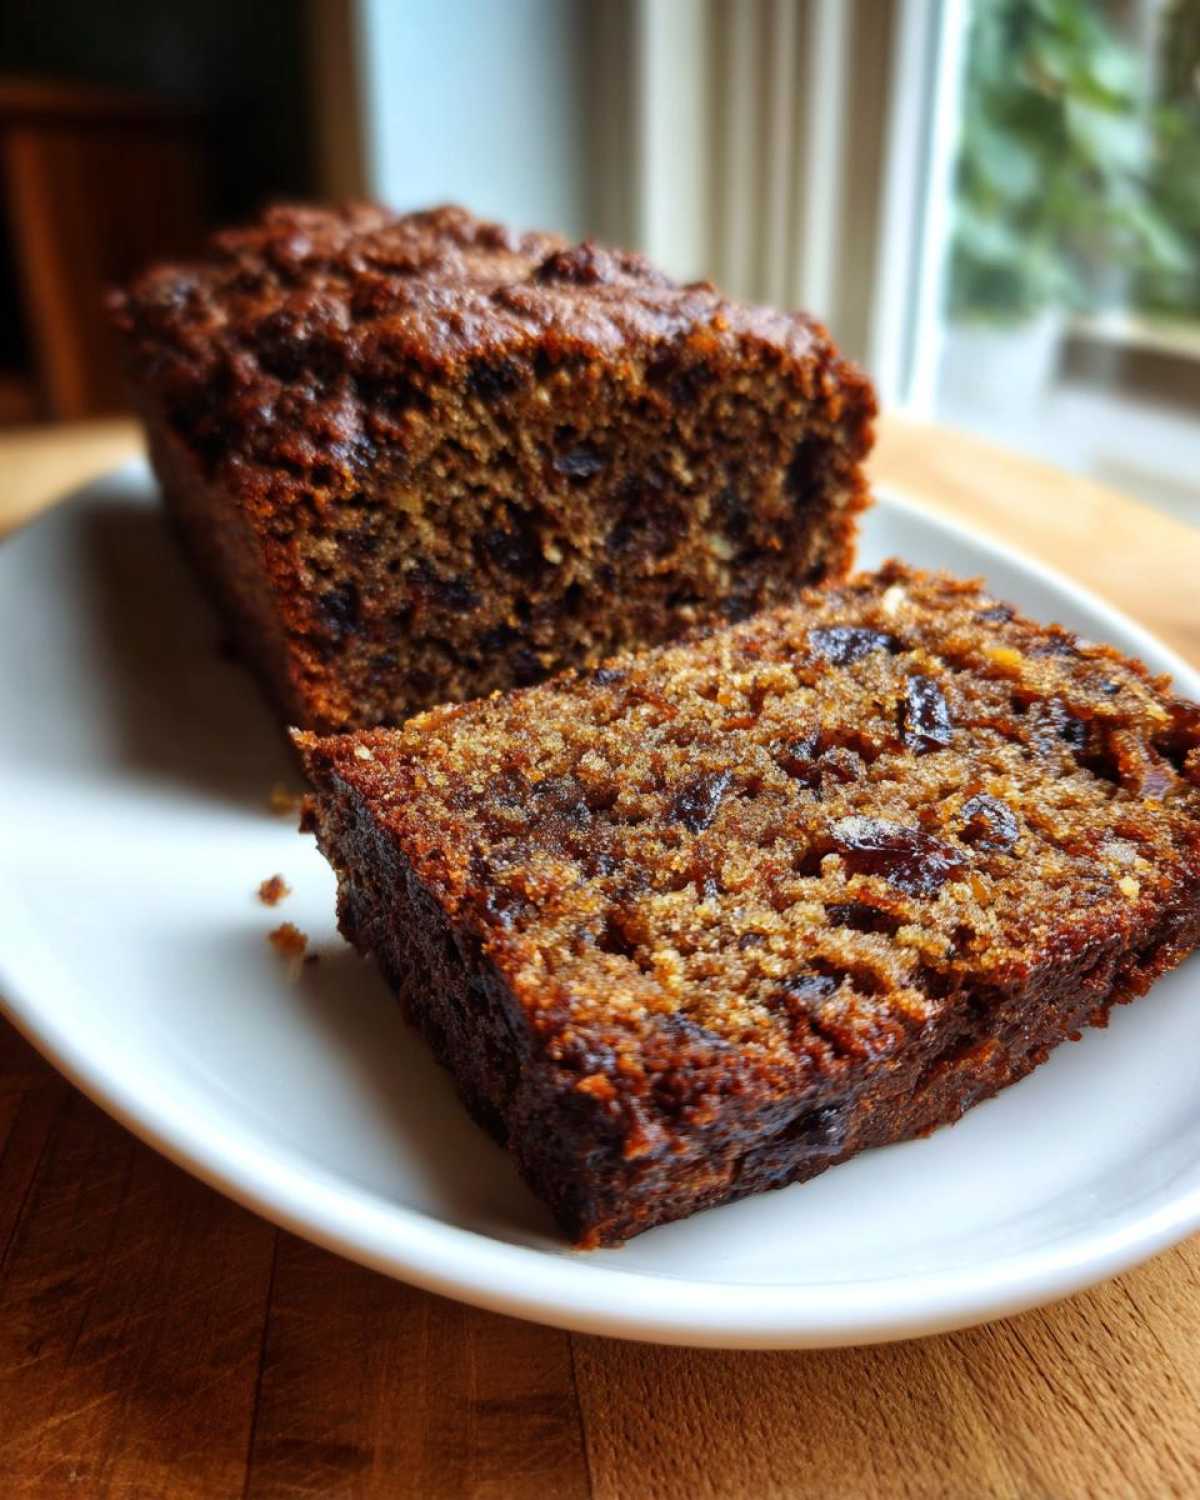
You’ve pulled this gorgeous date nut bread out of the oven, and now comes the hardest part: waiting! Knowing how to handle your loaf when it’s first baked is critical, especially with something as moist as this Old Fashioned Quick Bread. If you rush it, you risk having a beautiful loaf tear apart on you, and nobody wants that sadness after all that hard work.
We learned about cooling management the hard way after one loaf completely disintegrated trying to leave the pan too soon. Trust me on these steps; they save the structure of your rich, sweet loaf.
Pan Release Patience: Even though you greased and floured that pan well, give the bread 10 full minutes in the pan right on the cooling rack. This slightly firm structure lets it handle the transfer without sagging in the middle. After 10 minutes, run a thin offset spatula around the edges *just once* to make sure there are no sticky spots, and then gently turn it out onto the rack.
Cool Down Completely: This is crucial for slicing! Because this recipe is so wet due to those lovely dates, if you try to slice it while it’s even slightly warm, you’ll get gummy, mushy spots. We always let this bread cool completely—like, maybe even overnight—before we even think about slicing it into thick pieces. If you’re slicing it for gifts, wait until the next day! This allows the internal moisture to redistribute evenly, setting the crumb perfectly. If you’re interested in other reliable bread recipes that require less waiting around, check out our guide to no-knead artisan bread; those are fun, too!
Serving Suggestions for Your Sweet Loaf Recipes
Honestly, the hardest part of having this perfectly moist date nut bread around is trying not to eat the whole loaf standing over the counter! But if you want to make this comfort food baking feel extra special, here are my favorite ways to serve it up. This bread shines all on its own, but a little extra something never hurt anybody, right?
When we talk about Sweet Loaf Recipes, we usually think about brunch or afternoon tea, and this loaf fits both perfectly. Don’t rewarm the whole loaf if you just need one slice, though; that heats up too fast and can dry it out. Just slice what you need!
Warm with the Best Butter: This is my number one way to enjoy it—slice off a thick piece, pop it in the toaster, or warm it in a low oven for just a minute until it’s slightly steamy. Then, slather it with softened, salty butter. The warmth melts the butter right into those little pockets of date goodness. If you want to get really fancy with your butter game (Mia loves this—she’s our logistics queen!), you can try whipping up our simple garlic butter, wait, just kidding! Stick to soft, unsalted butter for this sweet loaf, save the garlic butter for dinner rolls!
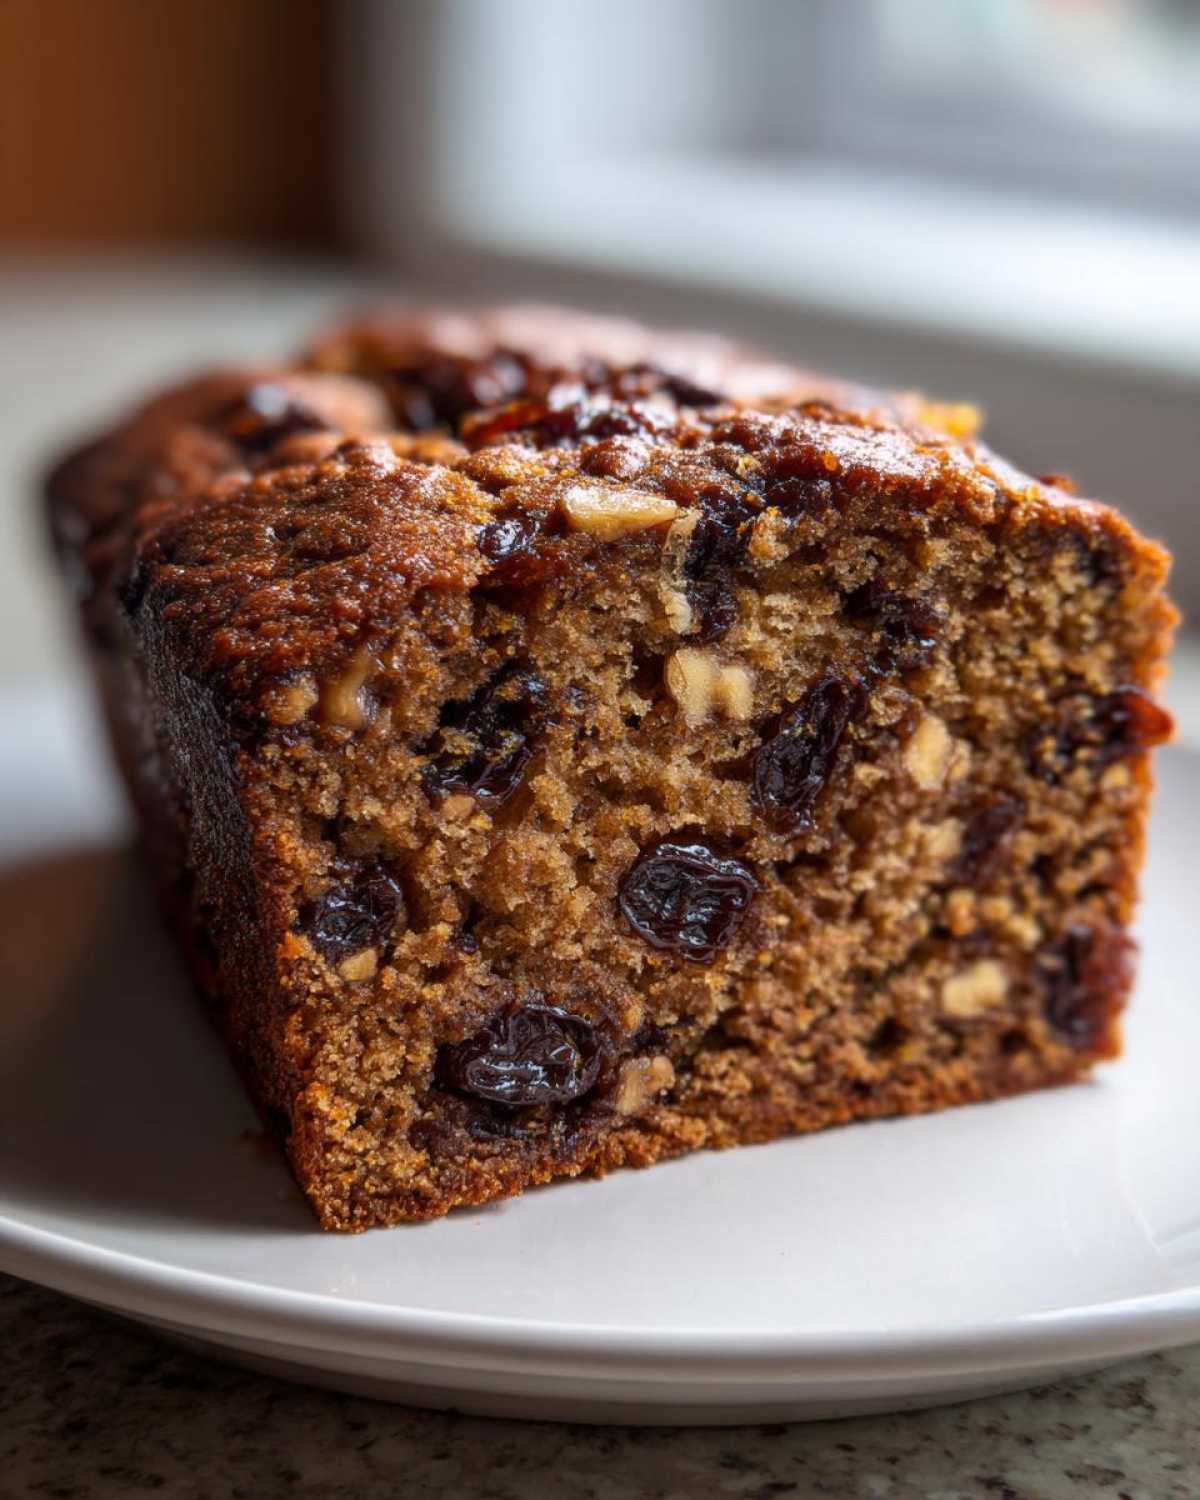
The Cozy Snack: If you’re having it mid-afternoon with coffee, it’s delicious simply sliced and enjoyed plain. Since this Homemade Date Bread is so rich in flavor from the spices and dates, it truly doesn’t need a glaze or anything heavy on top.
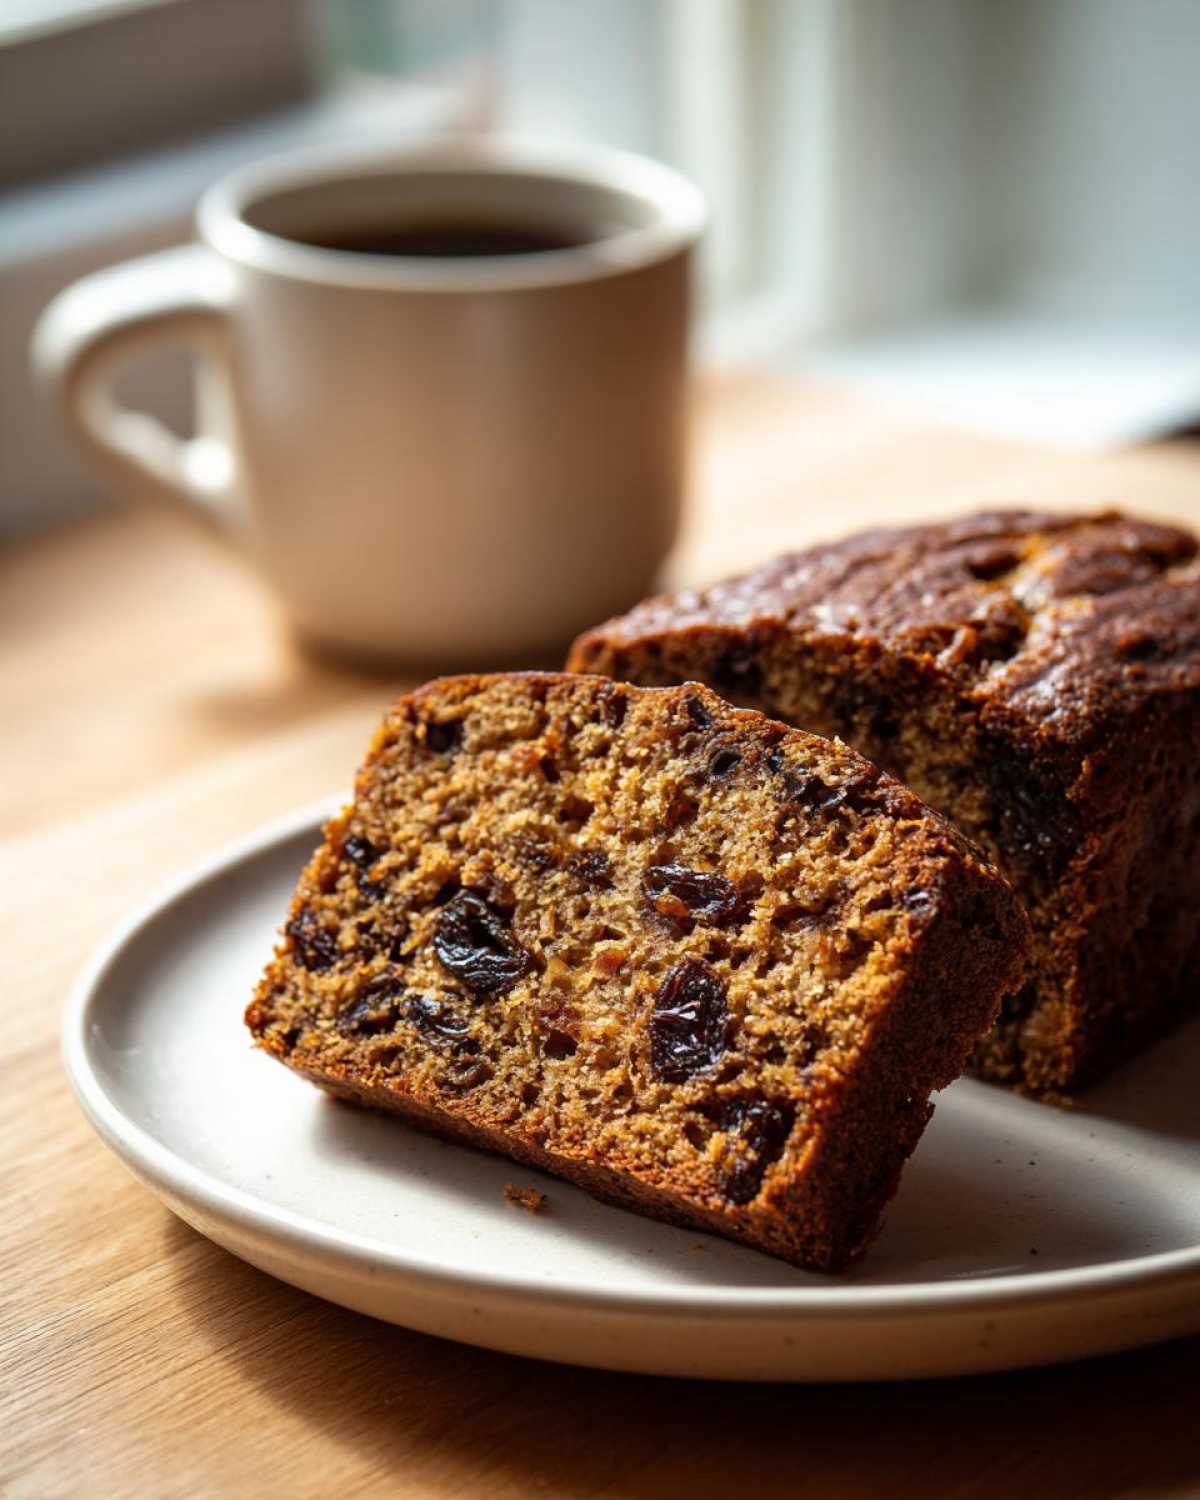
Holiday Presentation: For holidays or when gifting, a very light dusting of powdered sugar makes it look instantly elegant, or you can serve it alongside a sharp cheddar cheese plate if you want to get adventurous! It pairs surprisingly well with sharp, salty flavors.
Storage and Make Ahead Bread Options
The best part about making a glorious loaf of date nut bread is knowing you have slices ready to go for snacks all week long! Because this recipe is designed to be ultra-moist, it holds up really well over time, which is why it’s such a winner when you’re planning meals ahead of time. I love prepping one loaf on a Sunday so I don’t have to stress about breakfast during busy weekdays. It truly is the perfect Make Ahead Bread for those chaotic moments.
If you haven’t devoured the whole thing in 24 hours (which, no judgment here!), storing the leftovers is super easy. You just need to make sure you’re protecting that moisture we worked so hard to bake in!
Room Temperature Storage: You want to keep this loaf wrapped up tightly. Once it’s completely cooled (remember, slicing it warm makes it gummy!), wrap the entire loaf—or individual slices—tightly in plastic wrap first. Then, put that wrapped loaf into an airtight container or a large zip-top bag. At room temperature, it should stay beautifully soft for about three to four days. Don’t try to refrigerate it unless you absolutely have to, because the cold air tends to make quick breads a little firmer than we’d like.
Freezing for Later: This is my top tip for gifting or stocking up! You can freeze this date nut bread for up to three months. Follow the same wrapping protocol: wrap slices or the whole (cooled!) loaf very tightly in plastic wrap. You might even want a layer of aluminum foil over the top of the plastic for extra protection against freezer burn. When you’re ready to eat a piece, just take it out of the foil/plastic and let it thaw on the counter, or give it a quick 10-second zap in the microwave. It tastes almost freshly baked!
Exploring Date Nut Bread Variations
Now, listen, as much as I adore this straight-up, no-fuss version of the **date nut bread**, I know sometimes you want to shake things up a little bit! We’re all about experimentation here at Cookery Kings—I’m the one who usually pushes Mia to try making everything a little wilder. If you’ve mastered this core recipe, you absolutely *must* try branching out into some of the fun variations people look for. It’s easy to take this foundation and turn it into something totally new for brunch or a holiday treat!
The internet is full of great ideas, and one that pops up all the time is the switch to something extra fruity. If you’re interested in seeing a fantastic example of how others handle mixing bananas into the mix, you can check out a great recipe for the Banana Date Nut Bread Variation, which sounds amazing for using up those brown bananas hanging around.
We love incorporating fruit into our bakes too, especially for seasonal treats! If you want to see how we handle miniature versions of sweet loaves, take a peek at our recipe for mini banana bread loaves—great for gifting!
Spiced Date Bread Additions
If you’re baking this loaf for the holidays or just want that deep, warm flavor profile, you absolutely need to lean into the spices. This recipe works wonderfully as a Spiced Date Bread. I usually toss in about half a teaspoon of ground cinnamon right along with the flour, baking powder, and salt. Don’t stop there, though! A tiny pinch—and I mean tiny, like a quarter teaspoon—of ground nutmeg or even a whisper of ground cloves takes this bread straight into Holiday Fruit Bread territory. It makes the kitchen smell incredible, and the extra warmth complements the rich sweetness of the dates so perfectly.
Frequently Asked Questions About This Date Nut Loaf
Can I make this a Walnut Date Loaf using whole wheat flour?
You absolutely can! This recipe is forgiving, which is why it’s one of my favorites for turning into whatever we need that week. If you want to make a Walnut Date Loaf that feels a little healthier, you can swap out about half of the all-purpose flour for an equal amount of white whole wheat flour. If you swap 100% of it, the loaf might turn out a tiny bit heavier or denser, though the date soak helps a ton! Just make sure you don’t overmix when you add the flour, or you’ll lose all the tenderness we worked so hard for. For tons of other baking tips and recipes, head over to our main blog page!
What is the best way to serve this Quick Bread for Breakfast?
Oh, for breakfast, nothing beats this slightly warmed up. Since this is such a comforting Quick Bread for Breakfast option, I highly recommend slicing it thick, popping it into a toaster oven until it’s just heated through and fragrant, and then slathering it with softened butter. That touch of saltiness from the butter against the sweet dates is just heavenly in the morning. It’s a wholesome snack bread that feels completely decadent.
Why is my date nut bread dense instead of fluffy?
If your date nut bread comes out dense instead of moist and tender, nine times out of ten, it’s one of two things. First, did you overmix? Once that flour goes in, you mix just until it disappears. Overmixing develops gluten, and gluten makes quick breads tough instead of fluffy. Second, make sure the baking soda activated properly! If your dates weren’t hot enough when you added the water, or if you forgot the soda, the loaf won’t get that initial lift it needs from the dates. This Classic Loaf Cake relies on that little fizz!
Nutritional Information for This Classic Loaf Cake
I know some of you are like me and like to know what you’re eating, even when you’re indulging in the best comfort food baking! So, here is the nutritional breakdown for this loaf. Remember, I am Chloe, not a registered dietitian, so these numbers are just estimates based on the ingredients list we used when baking this super moist date nut bread. If you make substitutions, especially swapping out the sugar or using whole wheat flour, your totals will change!
We calculated this based on the recipe yielding 10 full slices of this wonderful Nut and Date Cake Recipe.
- Serving Size: 1 slice
- Calories: 310
- Sugar: 30g
- Protein: 5g
- Fat: 14g (Saturated Fat: 5g)
- Carbohydrates: 45g
- Fiber: 2g
- Cholesterol: 55mg
The sugar content is definitely there because we used granulated sugar, but remember, a lot of that sweetness is balanced out by the natural sugars in the dates! It’s a trade-off for getting such a fantastic, moist texture in this Classic Loaf Cake.
PrintOld-Fashioned, Ultra-Moist Date Nut Bread Recipe

Bake a classic, comforting date nut bread loaf that stays incredibly moist. This easy quick bread recipe is perfect for breakfast, snacking, or holiday gifting.
- Prep Time: 15 min
- Cook Time: 60 min
- Total Time: 75 min
- Yield: 1 loaf (about 10 servings)
- Category: Quick Bread
- Method: Baking
- Cuisine: American
- Diet: Vegetarian
Ingredients
- 1 cup boiling water
- 1 cup packed pitted Medjool dates, chopped
- 1 teaspoon baking soda
- 1/2 cup (1 stick) unsalted butter, softened
- 1 cup granulated sugar
- 2 large eggs, lightly beaten
- 1 teaspoon vanilla extract
- 1 3/4 cups all-purpose flour
- 1 teaspoon baking powder
- 1/2 teaspoon salt
- 1 cup chopped walnuts, plus extra for topping
Instructions
- Preheat your oven to 350°F (175°C). Grease and flour one 9×5 inch loaf pan.
- Place the chopped dates in a small bowl. Pour 1 cup of boiling water over the dates and stir in the baking soda. Let this mixture sit for 10 minutes. The dates will soften and the mixture will foam slightly.
- In a large bowl, cream together the softened butter and granulated sugar until light and fluffy.
- Beat in the eggs one at a time, mixing well after each addition. Stir in the vanilla extract.
- In a separate medium bowl, whisk together the flour, baking powder, and salt.
- Add the dry ingredients to the wet ingredients in three additions, mixing just until combined after each addition. Do not overmix.
- Gently fold in the chopped walnuts.
- Pour the date mixture (including any remaining liquid) into the batter and mix until just incorporated. The batter will be thin.
- Pour the batter into the prepared loaf pan. Sprinkle a few extra chopped walnuts over the top, if desired.
- Bake for 55 to 65 minutes, or until a wooden skewer inserted into the center comes out clean.
- Let the bread cool in the pan for 10 minutes before carefully turning it out onto a wire rack to cool completely.
Notes
- For an extra moist loaf, serve this homemade date nut bread warm with softened butter spread on top.
- You can substitute pecans for walnuts if you prefer a different nut flavor.
- This sweet loaf recipe freezes well once completely cooled; wrap tightly in plastic wrap and foil.
Nutrition
- Serving Size: 1 slice
- Calories: 310
- Sugar: 30
- Sodium: 180
- Fat: 14
- Saturated Fat: 5
- Unsaturated Fat: 9
- Trans Fat: 0
- Carbohydrates: 45
- Fiber: 2
- Protein: 5
- Cholesterol: 55