

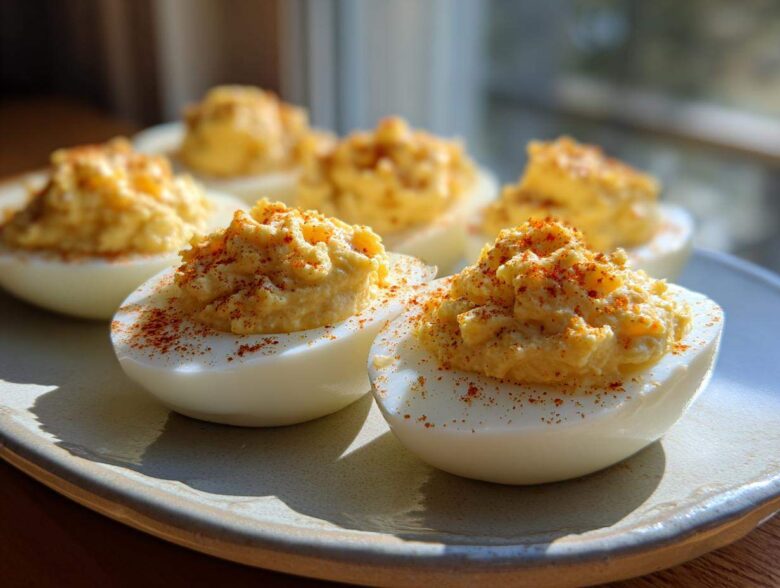
You know those holidays, right? The ones where the table is groaning under the weight of the best comfort food, but everyone flocks to the simplest platter first? That’s always my experience when I bring my deviled eggs.
If you’ve ever been disappointed by runny fillings or those weirdly lumpy yolks, stop right there. I’m handing over my absolute holy grail recipe for the Best Ever Creamy Classic Deviled Eggs. I’m not guessing here; this recipe has been my go-to for every major holiday for the last decade, whether it’s Easter lunch or Thanksgiving appetizers.
The real secret isn’t fancy ingredients—it’s all about getting that perfect, velvety yolk filling consistency. Once you nail the technique, you’ll never look back. Trust me, these disappear fast.
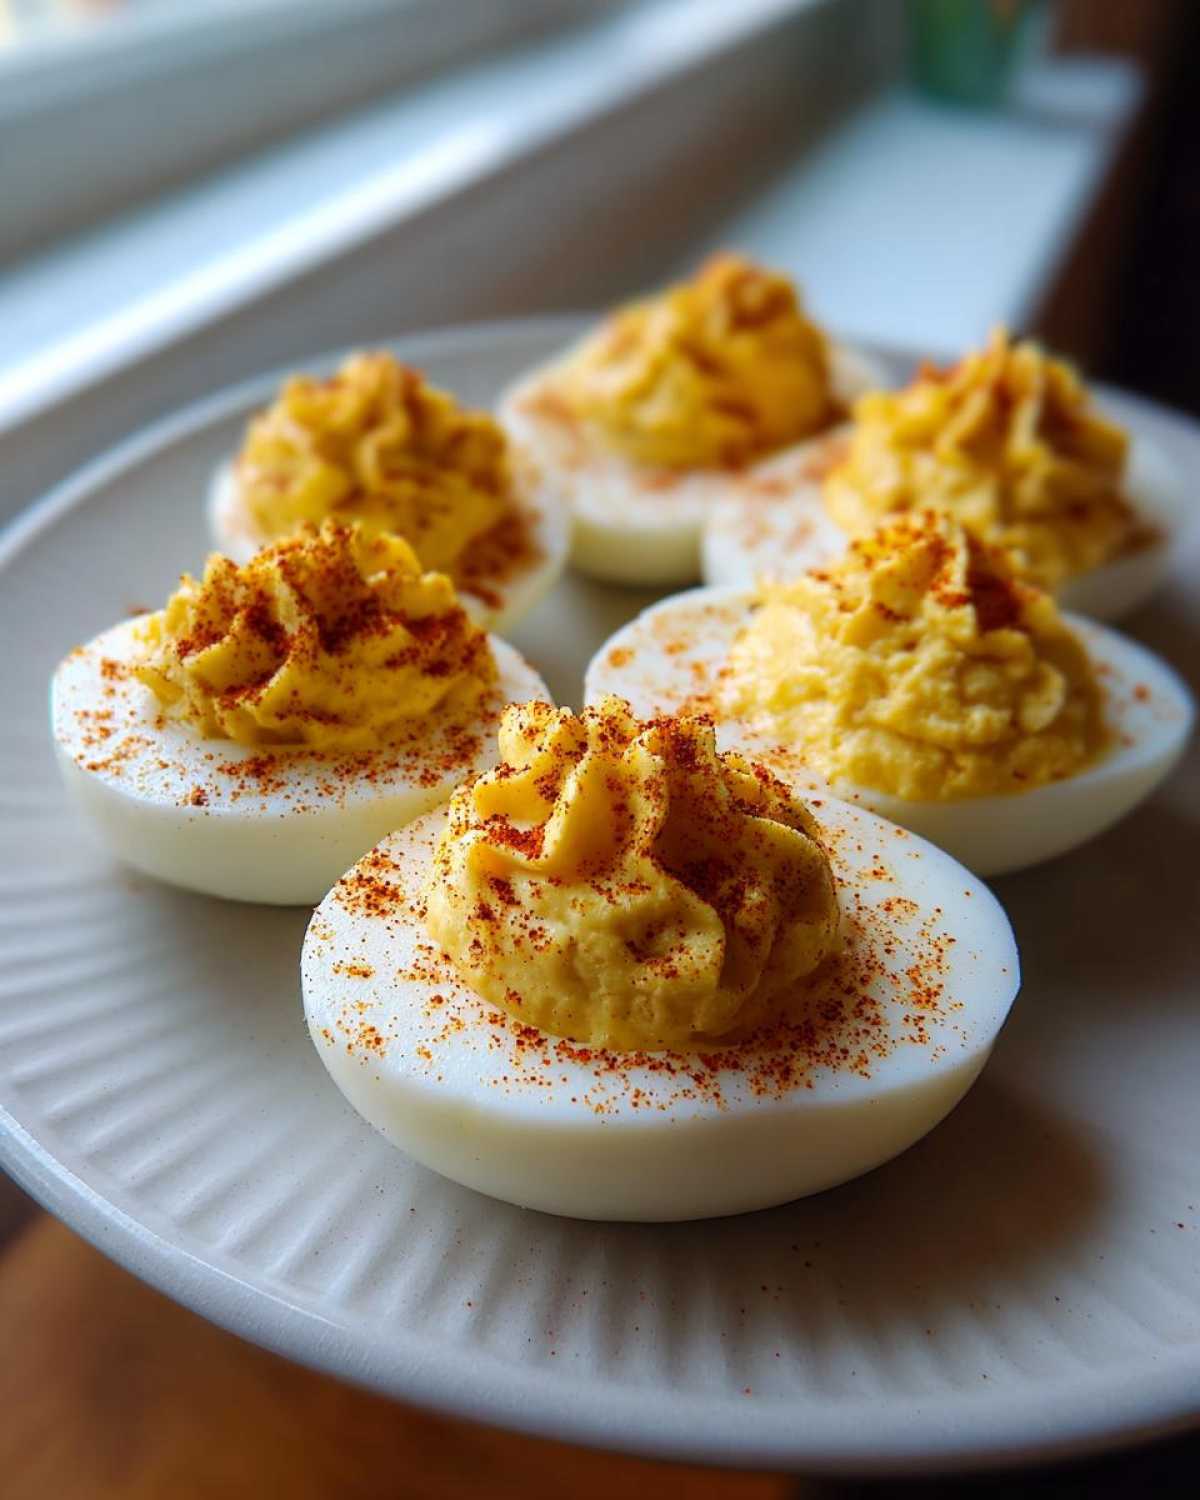
Why This is the Best Ever Creamy Classic Deviled Eggs Recipe
This isn’t just another recipe; it’s a proven system for making the best appetizer on the block, which is why it’s earned the title of the Best Deviled Eggs Recipe in my big family cookbook. The technique for cooking the eggs is what sets it apart!
- The 12-minute firm-set boil followed by an immediate ice bath means peeling is laughably easy. No more rough, mangled whites!
- The resting period under the ice ensures the yolks stay perfectly centered and firm, which is essential for that velvety yolk filling.
- The blend of mustard and vinegar cuts through the richness perfectly, giving it that classic, slightly tangy finish you look for in great Southern Deviled Eggs.
Key Elements for Perfect Deviled Eggs
We are aiming for elegance here, not just functional egg halves. The goal is zero sticking while peeling, absolutely no lumps when mashing, and that satisfyingly rich, creamy texture that makes people go back for seconds.
If you mash those yolks while they’re still warm—just warm, not steaming—they blend like butter with the mayo. Also, that little splash of vinegar is non-negotiable; it brightens up everything and keeps the filling from tasting too much like just egg and mayo.
Gathering Ingredients for Your Deviled Eggs
Okay, I won’t keep you waiting! Because this is the classic version of deviled eggs, we don’t need a ton of fancy stuff crowding the counter. Simplicity wins every time here, and you’ll get 24 perfect halves so there’s plenty for everyone.
Here’s what you need to have on hand:
- 12 large eggs
- 1/2 cup mayonnaise (Use the creamy kind you love best!)
- 2 tablespoons yellow mustard
- 1 tablespoon white vinegar
- 1 teaspoon salt
- 1/2 teaspoon black pepper
- 1/4 teaspoon paprika, plus extra for garnish
That’s it! See? Easy deviled eggs don’t require complicated shopping lists. Grab these, and we can get cooking.
Step-by-Step Guide to Making Creamy Deviled Eggs
Alright, time to get our hands dirty—well, maybe not too dirty, since the first step is designed to keep our fingers clean! Making incredible deviled eggs is all about controlling the temperature and texture at every stage. Forget eyeballing it; follow these steps exactly, and you’ll be proud to take credit for the fluffiest filling ever.
Perfecting the Hard-Boiled Eggs for Deviled Eggs
This whole process starts with perfectly cooked eggs. If you overcook them, you get that gross green-gray bit around the yolk, and we absolutely want to avoid that sulfur smell!
- First thing: Take your 12 large eggs and tuck them into a deep saucepan. Pour in cold water until they are covered by about one whole inch. Don’t add the eggs to hot water, ever!
- Turn the heat up to high and bring that water to a full, rolling boil—the kind where bubbles are crashing everywhere.
- The second it hits that rolling boil, take the pan completely off the heat, slap the lid on tight, and set a timer for exactly 12 minutes. No peeking! This resting period is what sets the whites just right without turning the yolks rubbery.
- When 12 minutes are up, you have to shock them! Scoop the eggs immediately into a giant bowl full of ice water. They need to cool until you can handle them easily, usually about 15 minutes. This rapid cooling is the secret weapon that ensures they peel like a dream.
Creating the Velvety Yolk Filling for Your Deviled Eggs
Now for the fun part where we make that signature smooth texture. This is where you achieve truly creamy deviled eggs, not the grainy stuff you sometimes get at potlucks.
- Peel those beautiful, cooled eggs. Slice them in half lengthwise, and gently scoop every bit of that vibrant yellow yolk into a medium bowl. Don’t lose any of that precious gold!
- Take a fork and just mash, mash, mash those yolks until they are as fine as sand. Seriously, keep going until there are absolutely no lumps left visible. If you have a sifter, even better—push them through for next-level smoothness!
- Now, add your binding agents: the mayonnaise, the yellow mustard, the white vinegar, salt, and pepper. Mix everything completely until it looks like one homogenous, pale yellow cloud of goodness. Speaking of richness, if you want to go totally over the top, swap one tablespoon of that mayo for softened cream cheese right now—it makes the filling even more decadent!
Assembling and Garnishing Classic Deviled Eggs
We’re nearly done, I promise! This is where presentation matters, especially when you need those gorgeous Classic Deviled Eggs to stand out on the food table.
- You can either use a small spoon to dollop the filling back into the white halves, or, if you want that fancy restaurant look, put the filling into a piping bag fitted with a star tip. Honestly, a spoon is faster for big batches, but piping looks fancier!
- Carefully refill every single egg white half. Don’t be shy, pile it nice and high; they look better that way.
- Finally, everything needs a dusting. Take your paprika reserve and lightly sprinkle it over the top of every single one. It adds color and a tiny bit of warmth to these Simple Stuffed Eggs. That’s it! Serve immediately or get ready to chill them down. For reference on mixing methods, remember you can read more about safely handling ingredients over here if you have questions.
Tips for Success with Your Deviled Eggs
Listen, making acceptable deviled eggs is easy, but making the best ones? That takes a couple of little tricks up the sleeve. My biggest piece of advice for texture control comes right after you mash those yolks. Don’t just mash them with a fork; if you want the absolute smoothest result possible—seriously, like silk—push those mashed yolks through a fine-mesh sieve right before you add the mayo.
I know it sounds like extra work, but trust me, it guarantees that velvety yolk filling that people rave about.
Also, ingredient temperature matters for the wet stuff. Make sure your mayonnaise isn’t rock hard right out of the fridge because it won’t blend properly. You want everything to emulsify nicely together for those perfectly seasoned eggs.
Making Deviled Eggs Ahead of Time (Make Ahead Appetizers)
If you’re planning for a big weekend of hosting, you absolutely need to know how to keep these fresh. These are fantastic Make Ahead Appetizers, but you have to be smart about storing them!
Don’t assemble the whole thing the night before; the filling sucks the moisture right out of the whites, making them look sad by morning. Instead, boil and peel your eggs and mix up that beautiful filling the day before. Store the yolks in one airtight container and the hollowed whites in another.
The key? Keep them separate until about an hour before your guests arrive. Both components store really well in the fridge in covered Tupperware. When it’s showtime, just spoon the filling in, sprinkle the paprika, and you’re ready to present your stunning Party Food Ideas!
Variations on Classic Deviled Eggs
While this recipe gives you the absolute gold standard of Classic Deviled Eggs, sometimes you just need to sprinkle a little extra magic on top, especially when you’re setting out a huge platter of Party Food Ideas.
Don’t worry, we aren’t totally changing the recipe, just boosting the flavor profile to make them even more show-stopping. They will still be wonderfully Perfectly Seasoned Eggs, just with a little extra zing!
For a fun twist that everyone begs me for, try making Bacon Deviled Eggs. Just cook up a few strips of bacon until super crispy, crumble it finely, and fold about half of the crumbles into the yolk mixture before piping. Then, sprinkle the rest on top with the paprika garnish. Wow.
If you want that rich, almost savory, ‘Million Dollar Deviled Eggs‘ vibe, skip the white vinegar and substitute it with sweet pickle relish—just a tablespoon or two works wonders. It adds a little texture and a wonderful depth of flavor that makes people wonder what your secret ingredient is!
Serving Suggestions for Your Deviled Eggs
These flavorful little bites are superstars, no matter where you put them! Because they travel well, they are ideal for those big family events. They are a non-negotiable Thanksgiving Appetizer at my house, filling the gap while the turkey finishes roasting.
But don’t just keep them trapped on a platter! I love arranging these Crowd Pleasing Egg Bites beautifully on a cutting board surrounded by cheese cubes and grapes—they make the perfect addition to any charcuterie setup. They are also the easiest grab-and-go item for summer cookouts or Picnic Food Ideas. Wherever you serve these Classic Deviled Eggs, they always disappear first!
Frequently Asked Questions About Deviled Eggs
I get so many questions every time I bring a platter of these out! People always want to know the secret sauce—literally! Here are a few things folks ask me most often about whipping up their own batch of deviled eggs.
How can I prevent the green ring around the yolk in my deviled eggs?
Oh, that ugly gray-green ring! That happens when the egg overcooks slightly and the sulfur in the white reacts with the iron in the yolk. It’s totally harmless, but it looks gross, right?
The trick is right in the instructions: the ice bath! As soon as those 12 minutes are up, they need to be submerged in ice water immediately. The sudden cold stops the cooking process instantly, preserving that beautiful, bright yellow yolk.
Can I use different types of mustard for these deviled eggs?
You sure can, but just know you’re straying a little bit from the Classic Deviled Eggs recipe if you do!
Yellow mustard is my recommendation because it provides that perfect, slightly mild tang without overpowering the other seasonings. If you swap it out for Dijon, you get a much spicier, deeper flavor, which is great if you like that heat. If you use whole grain, you lose that lovely smooth texture in the filling because of the seeds, so you’ll need to taste-test carefully!
If you’re ever having trouble reaching me with more specific questions, feel free to drop a note on my contact page. Happy cooking!
Nutritional Snapshot of These Deviled Eggs
I know some of you are watching those numbers, and I get it! While these aren’t exactly low-calorie treats because we aren’t skimping on the creamy mayo, knowing the breakdown helps when you’re trying to plan everything for your holiday appetizer spread.
These estimates are based on the 12 ingredients listed above, yielding 24 perfect halves. Remember, every swap—like using light mayo instead of full-fat—will shift these numbers a bit!
Here is the overview for a single serving (that’s one-half of one egg):
- Serving Size: 1 half
- Calories: 70
- Fat: 6g (and that includes 1.5g of saturated fat)
- Protein: 2g
- Carbohydrates: 0.5g
- Sugar: 0.5g
- Sodium: 110mg
Disclaimer
Just a quick note, because I want to be totally upfront with you all: these numbers are based on standard USDA averages for the ingredients listed. If you use a specialized brand of mayonnaise or add my optional cream cheese suggestion, the final calorie and fat counts will change slightly. For more information on how we track data on this site, you can check out our privacy policy.
Share Your Perfect Deviled Eggs Experience
Now you have my tried-and-true method for making the fluffiest, most flavorful deviled eggs imaginable! But honestly, the recipe doesn’t truly feel complete until I hear back from you all. I’m genuinely curious to know how they turned out on your tables.
If you made these, please promise me two things! First, pop down below and leave a star rating—five stars if they were as amazing as I claim! And second, tell me about it in the comments. Did you keep them classic, or did you try adding bacon or maybe some dill?
I love seeing your beautiful holiday spreads! Snap a picture of those gorgeous, creamy bites, and don’t forget to tag me on social media! Knowing my recipes help make your gatherings easier is why I share everything in my kitchen. If you want to know a little more about me and why I love sharing these family favorites, you can read all about it over on my About Us page!
PrintThe Best Ever Creamy Classic Deviled Eggs
Make the creamiest, most flavorful classic deviled eggs for your next gathering using this simple recipe.
- Prep Time: 20 min
- Cook Time: 12 min
- Total Time: 32 min
- Yield: 24 halves
- Category: Appetizer
- Method: Boiling and Mixing
- Cuisine: American
- Diet: Vegetarian
Ingredients
- 12 large eggs
- 1/2 cup mayonnaise
- 2 tablespoons yellow mustard
- 1 tablespoon white vinegar
- 1 teaspoon salt
- 1/2 teaspoon black pepper
- 1/4 teaspoon paprika, plus extra for garnish
Instructions
- Place eggs in a large saucepan and cover with cold water by one inch. Bring water to a rolling boil over high heat.
- Remove the pan from the heat, cover it, and let the eggs stand for exactly 12 minutes.
- Immediately transfer the eggs to an ice bath (a bowl of ice and water) and let them cool completely, about 15 minutes.
- Peel the cooled eggs and slice them in half lengthwise. Gently scoop the yolks into a medium bowl.
- Mash the yolks thoroughly with a fork until no lumps remain.
- Add the mayonnaise, mustard, vinegar, salt, and pepper to the mashed yolks. Mix until the filling is completely smooth and creamy.
- Spoon or pipe the yolk mixture back into the egg white halves.
- Sprinkle the tops of the filled eggs with paprika before serving.
Notes
- For extra richness, substitute 1 tablespoon of the mayonnaise with cream cheese, softened.
- To achieve a velvety texture, press the yolks through a fine-mesh sieve before mixing with the other ingredients.
- You can make the hard-boiled eggs and yolks up to one day ahead; store the filling and whites separately in the refrigerator.
Nutrition
- Serving Size: 1 half
- Calories: 70
- Sugar: 0.5
- Sodium: 110
- Fat: 6
- Saturated Fat: 1.5
- Unsaturated Fat: 4.5
- Trans Fat: 0
- Carbohydrates: 0.5
- Fiber: 0
- Protein: 2
- Cholesterol: 55