

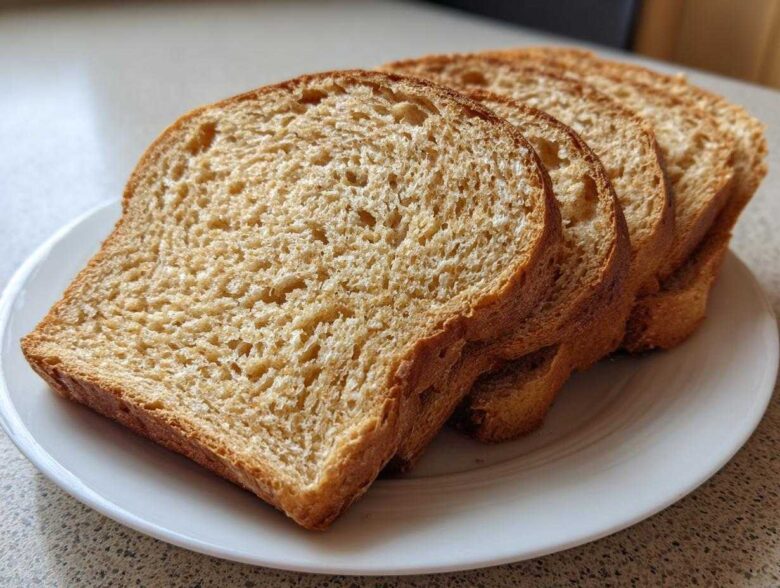
Oh my gosh, you guys, there is absolutely nothing—and I mean *nothing*—that beats the smell of whole wheat bread baking when you’re stuck inside on a rainy Saturday. Seriously, that warm, nutty aroma just instantly makes the house feel like home. If you’re tired of those flavorless, crumbly loaves you find at the grocery store, then you’ve come to the right place! Mia and I spent *way* too long trying to figure out how to make bread that wasn’t dense or dry, and now I can finally say it: this is the softest, easiest homemade whole wheat bread recipe you will ever find. Baking felt super scary back when Mia and I learned in our chaotic college kitchen, but we promised ourselves we’d conquer it. Trust me, we learned the hard way so you don’t have to! You can read more about our kitchen disasters here, but for now, let’s make some incredible bread.
Why This Soft Honey Whole Wheat Bread Recipe Works for Everyone
I know what you’re thinking: whole wheat bread means cardboard slices, right? Wrong! This recipe shatters that myth. We cracked the code for making a truly soft whole wheat bread that still packs all the wholesome goodness you want. It’s designed to be your new favorite, even if you’re just starting out with baking. If you want to see exactly how we landed on this amazing structure, check out my deep-dive here!
Here’s why I think this is the easiest whole wheat bread recipe you’ll meet:
- It uses just a little bit of all-purpose flour to keep things tender.
- The addition of honey gives it natural sweetness but also keeps it moist.
- We only knead it until it’s smooth—no hour-long wrestling sessions needed!
We promise, you’ll be so proud of this loaf!
Achieving the Perfect Fluffy Texture
The real secret to getting that gorgeous, fluffy rise is that slight blend of flours. Using only 100 percent whole wheat flour can sometimes lead to a dense brick, let’s be honest. By mixing in a little bit of all-purpose flour, we give the gluten structure enough flexibility to stretch and trap those lovely gas bubbles during the rise. Plus, properly kneading it until it’s truly smooth activates everything perfectly. Don’t skip that 6-8 minutes of work; it’s worth every second!
Gathering Your Ingredients for Whole Wheat Bread
Okay, friend, before we start mixing, let’s make sure your pantry is ready for this amazing whole wheat bread adventure. Having the right starting materials is half the battle won! Don’t sweat if you don’t have everything perfectly measured yet—just gather your ingredients and we’ll tackle the ratios together next.
- 1 cup warm water (make sure it’s between 105°F and 115°F!)
- 2 1/4 teaspoons active dry yeast
- 1/4 cup honey (the good stuff!)
- 2 tablespoons unsalted butter, melted
- 1 1/2 teaspoons salt
- 3 cups whole wheat flour
- 1/2 cup all-purpose flour (plus a little extra for dusting later)
Ingredient Notes and Substitutions
Now, if you’re looking for that *extra* bit of tenderness that makes this recipe famous, ditch the regular all-purpose flour and swap it in for bread flour if you have it—it just gives the structure a little boost. Also, remember those recipe notes I mentioned? If you want a richer, nuttier flavor profile, you can sneak in some white whole wheat flour; just substitute about a quarter cup of the regular whole wheat flour for it. It’s all about making the bread work perfectly in *your* kitchen!
Step-by-Step Instructions for Your Homemade Whole Wheat Bread
Now for the fun part! This is where the magic happens and you start realizing just how easy it is to make truly amazing homemade whole wheat bread. Don’t get intimidated by the steps; they are listed out so clearly because, well, Mia insists on the logistics! Just follow along, turn on some good music, and get those hands into the dough!
Activating Yeast and Mixing the Dough
First things first: we have to wake up that yeast. In your big bowl, pour in the warm water—and I stress *warm*, not hot!—and sprinkle in your yeast. We let it sit for about five minutes. If you see it get foamy on top, give yourself a high-five! That means your yeast is happy and ready to work. Next, stir in that beautiful honey, your melted butter, and the salt until everything is just combined. Then, stir in the three cups of whole wheat flour. Mix it with a sturdy spoon until it looks like, well, a shaggy mess. That’s perfect; we aren’t worried about looking smooth yet!
Kneading and the First Rise for Whole Wheat Bread
Time to get those muscles working! Turn that shaggy dough out onto a surface you’ve sprinkled lightly with flour. Now, you need to knead it for a solid 6 to 8 minutes. You are looking for a dough that feels smooth, soft, and elastic when you pat it. If it still feels way too sticky, that’s when you add that last half cup of all-purpose flour gradually. Once it feels great, lightly oil your clean bowl, tuck the dough ball inside, spin it around so it’s coated, and cover it up. You need to let this whole wheat bread dough rest in a cozy, warm spot for about an hour to an hour and a half. You are waiting for it to double in size!
Shaping and the Second Proofing
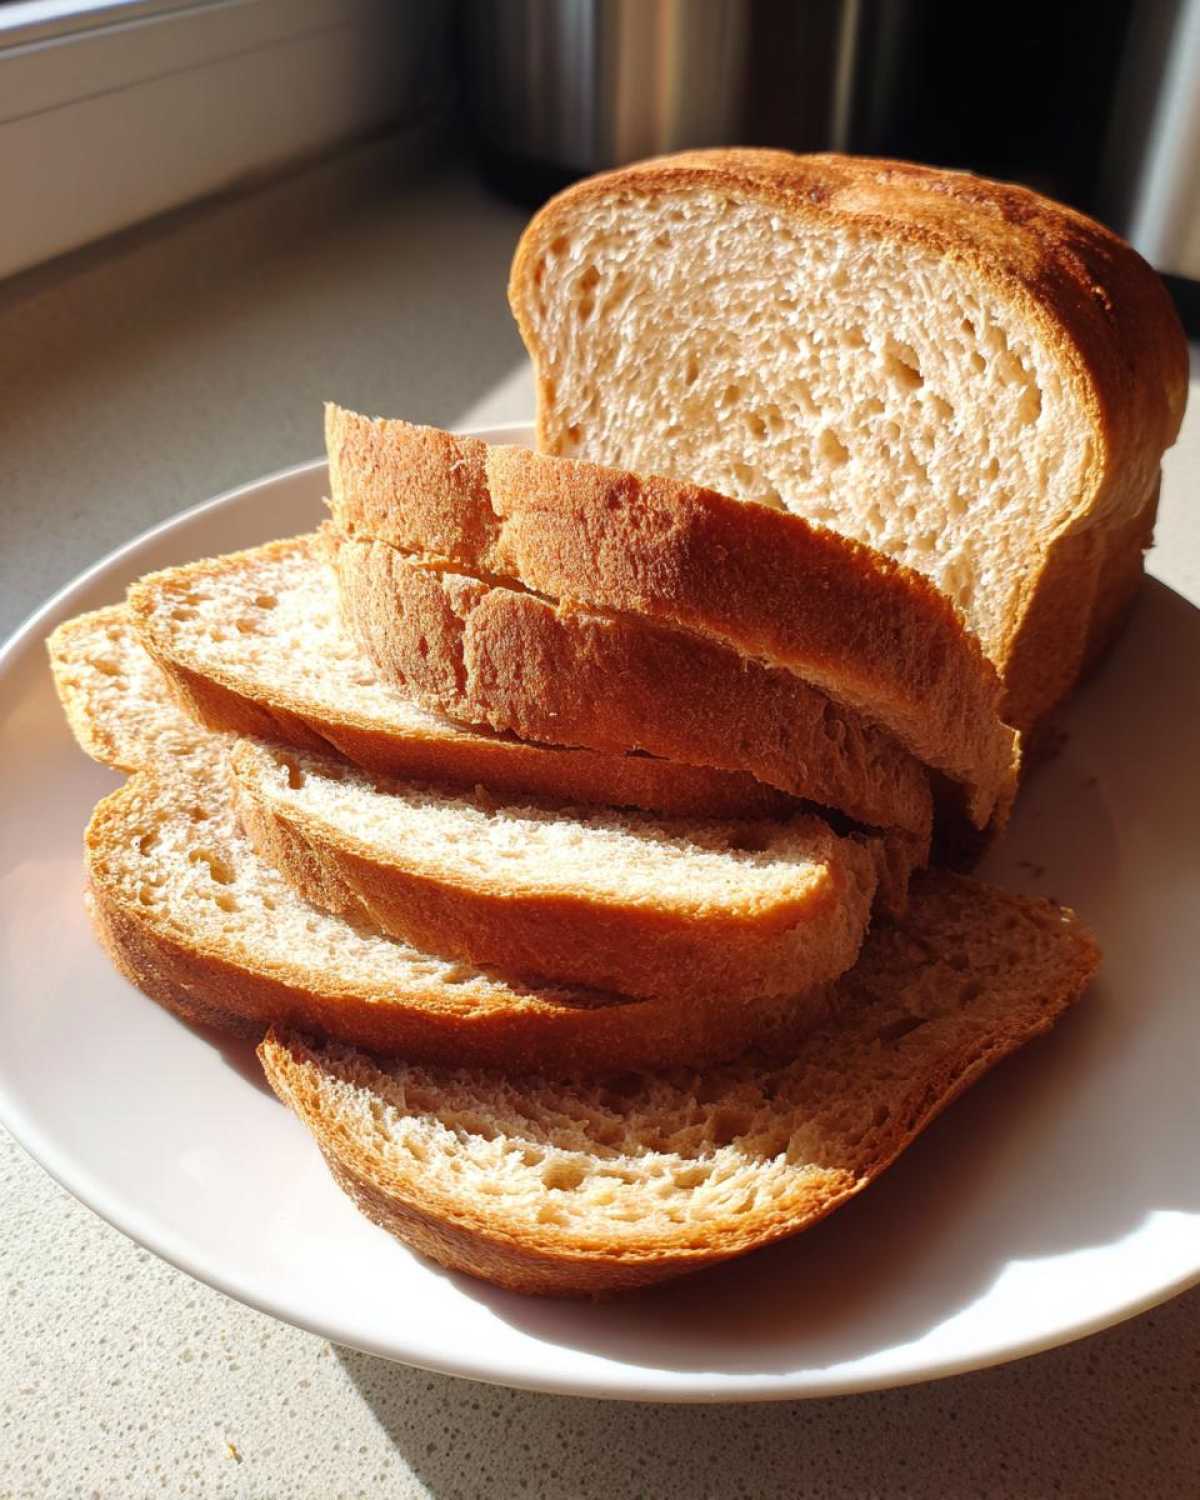
Once it looks like a puffy cloud, gently punch the air out—it’s quite satisfying, trust me! Lay it out and gently shape it into a log that fits nicely into your greased 9×5 inch loaf pan. It’s important to be firm but gentle here so you don’t knock out *all* the air. Cover the pan loosely and let it have its second rest. This rise is shorter, usually 30 to 45 minutes. You know it’s ready to bake when the dough crests just about an inch over the top of the pan rim. If you’re feeling curious about more hands-off methods, I actually wrote up a slightly different no-knead artisan bread recipe you might want to try next time!
Baking the Perfect Whole Wheat Sandwich Loaf
Alright, the waiting is the hardest part, but we’re almost there! While your dough is doing its second rise, go ahead and crank that oven up to 375°F (190°C). Preheat time is crucial, so make sure the oven is really ready before you slide that beautiful dough in there. We’re baking this glorious whole wheat sandwich loaf for about 30 to 35 minutes. You’ll know it’s done when the top is a gorgeous, deep golden brown. But here’s the secret Mia and I learned from reading tons of baker stuff online—you need to check the temp! Stick a kitchen thermometer right into the center; you want to see 190°F. That little temperature check is what separates a decent loaf from a truly perfect loaf, and it shows you followed all the steps right!
Cooling: The Secret to Non-Gummy Whole Wheat Bread
Listen to Aunt Chloe on this one: Do NOT rush the cooling! I know you want to slice into that warm, soft loaf immediately, but if you cut into it while it’s too hot, all that steam trapped inside will ruin your crumb structure. It turns the bread gummy and sticky, and that’s the saddest thing ever when you put this much love into making whole wheat bread. As soon as it comes out of the oven, pop that loaf out of the pan—don’t let it sit in there!—and place it directly onto a wire cooling rack. Let it cool completely, which might take an hour or so. That hour is an investment in the best texture possible. Once it’s cool, you can slice it thick for toast or perfect for your lunch sandwiches. If you are looking for something fun to *put* on your fresh bread, maybe check out my recipe for soft buttery garlic dinner rolls—just kidding! But seriously, the slicing moment is worth the wait.
Tips for Baking the Easiest Whole Wheat Bread Recipe
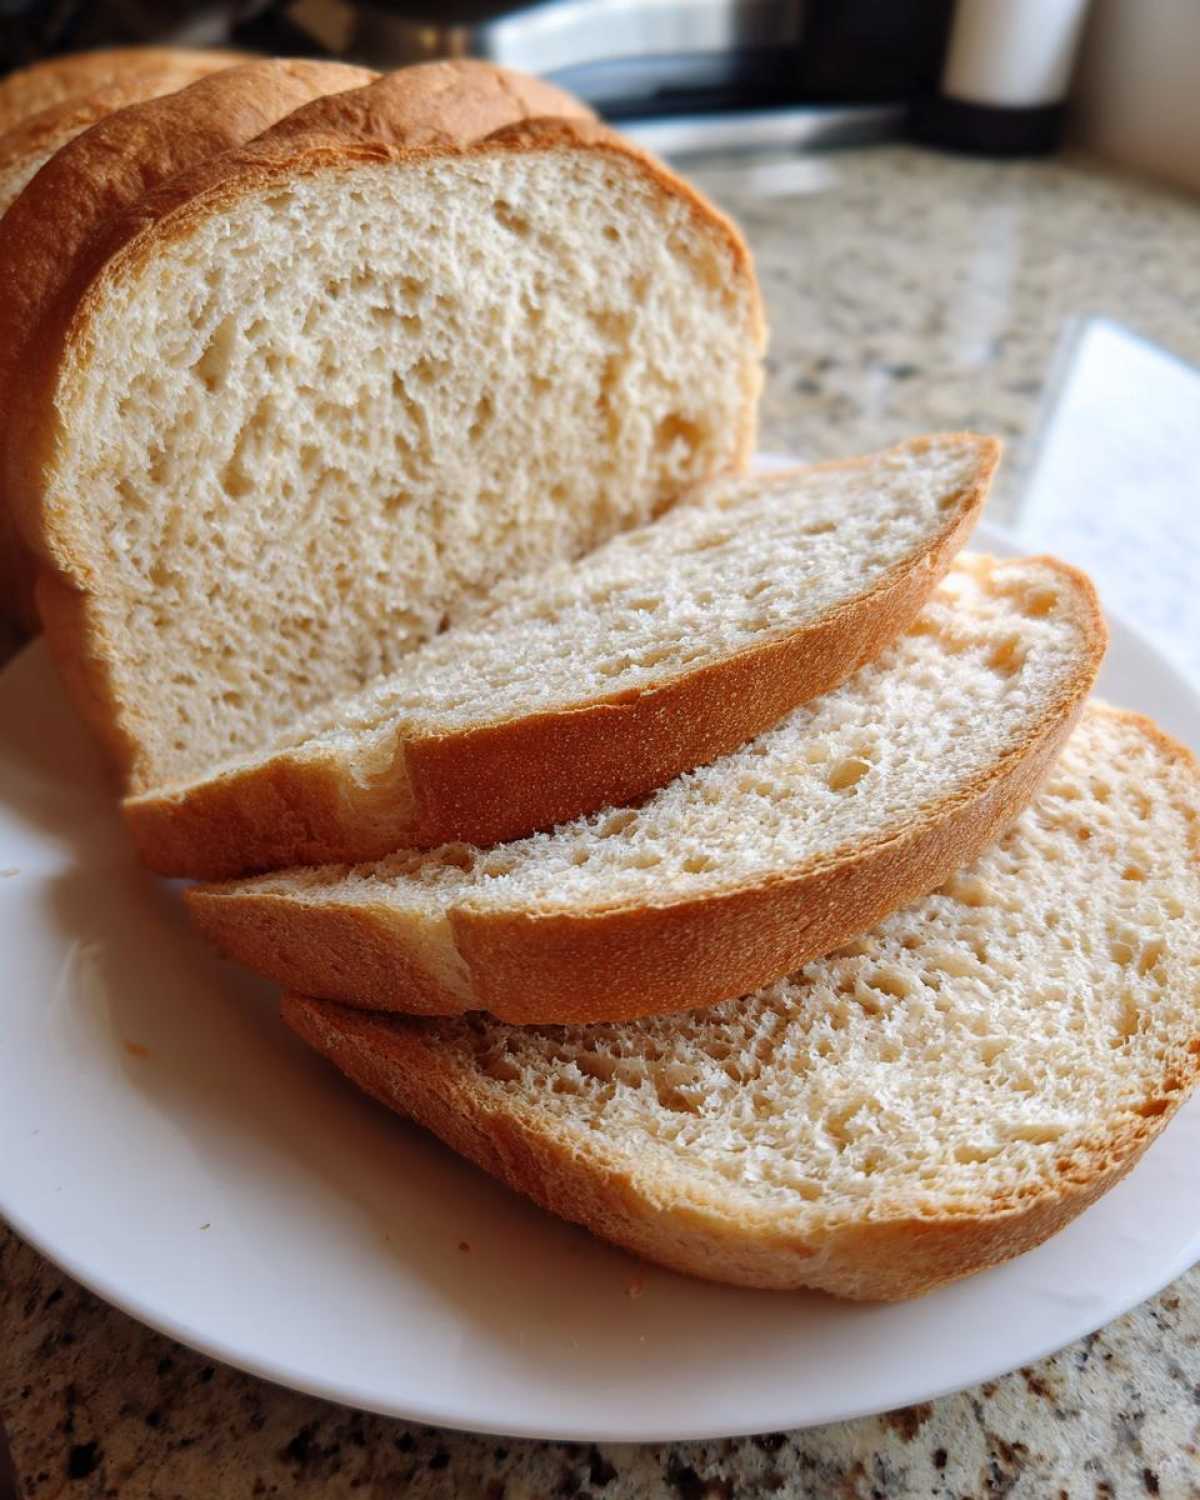
Even though this is meant to be one of the easiest whole wheat bread recipe options out there, small tweaks can make a huge difference in your final result. My absolute favorite way to eat this bread is actually the next day when it’s perfectly cooled and toasted! Speaking of toasting, make sure your slices are sturdy enough; this honey loaf toasts up beautifully, giving you that perfect crunch for your mornings.
If you want to make sure your loaf is as fluffy as possible next time, remember that secret regarding the flour swap I mentioned earlier—using bread flour instead of AP flour really makes the crumb springy. Also, don’t be afraid to adjust your kneading slightly based on the humidity that day. If you need inspiration for what to spread on those glorious slices, you should definitely check out my deep dive on the perfect French toast recipe technique and tips!
Storage and Reheating Instructions for Your Loaf
So, you have this gorgeous, soft loaf of bread sitting on your rack, smelling heavenly. Now, how do we keep that heavenly smell around for more than one afternoon? The biggest mistake people make with homemade bread is storing it wrong. Never, ever put this bread in the refrigerator! I know, I sound like my mom, but seriously, that cold air dries out the texture in the worst way possible, and we worked so hard to make it fluffy.
The best way to keep this loaf fresh for about three to four days is simple: keep it at room temperature in an airtight container or a bread box. If you sliced it, try keeping the cut side down on a clean cutting board, or just use a bread bag with a twist tie—whatever keeps the air out.
Now, if you’re not going to eat it all within four days (which, honestly, I rarely manage!), you can freeze this bread. Slice the entire loaf first—this is important!—then stack the slices with a small piece of parchment paper between each one before sealing them in a heavy-duty freezer bag. This way, you can just pull out two or three slices whenever you need them!
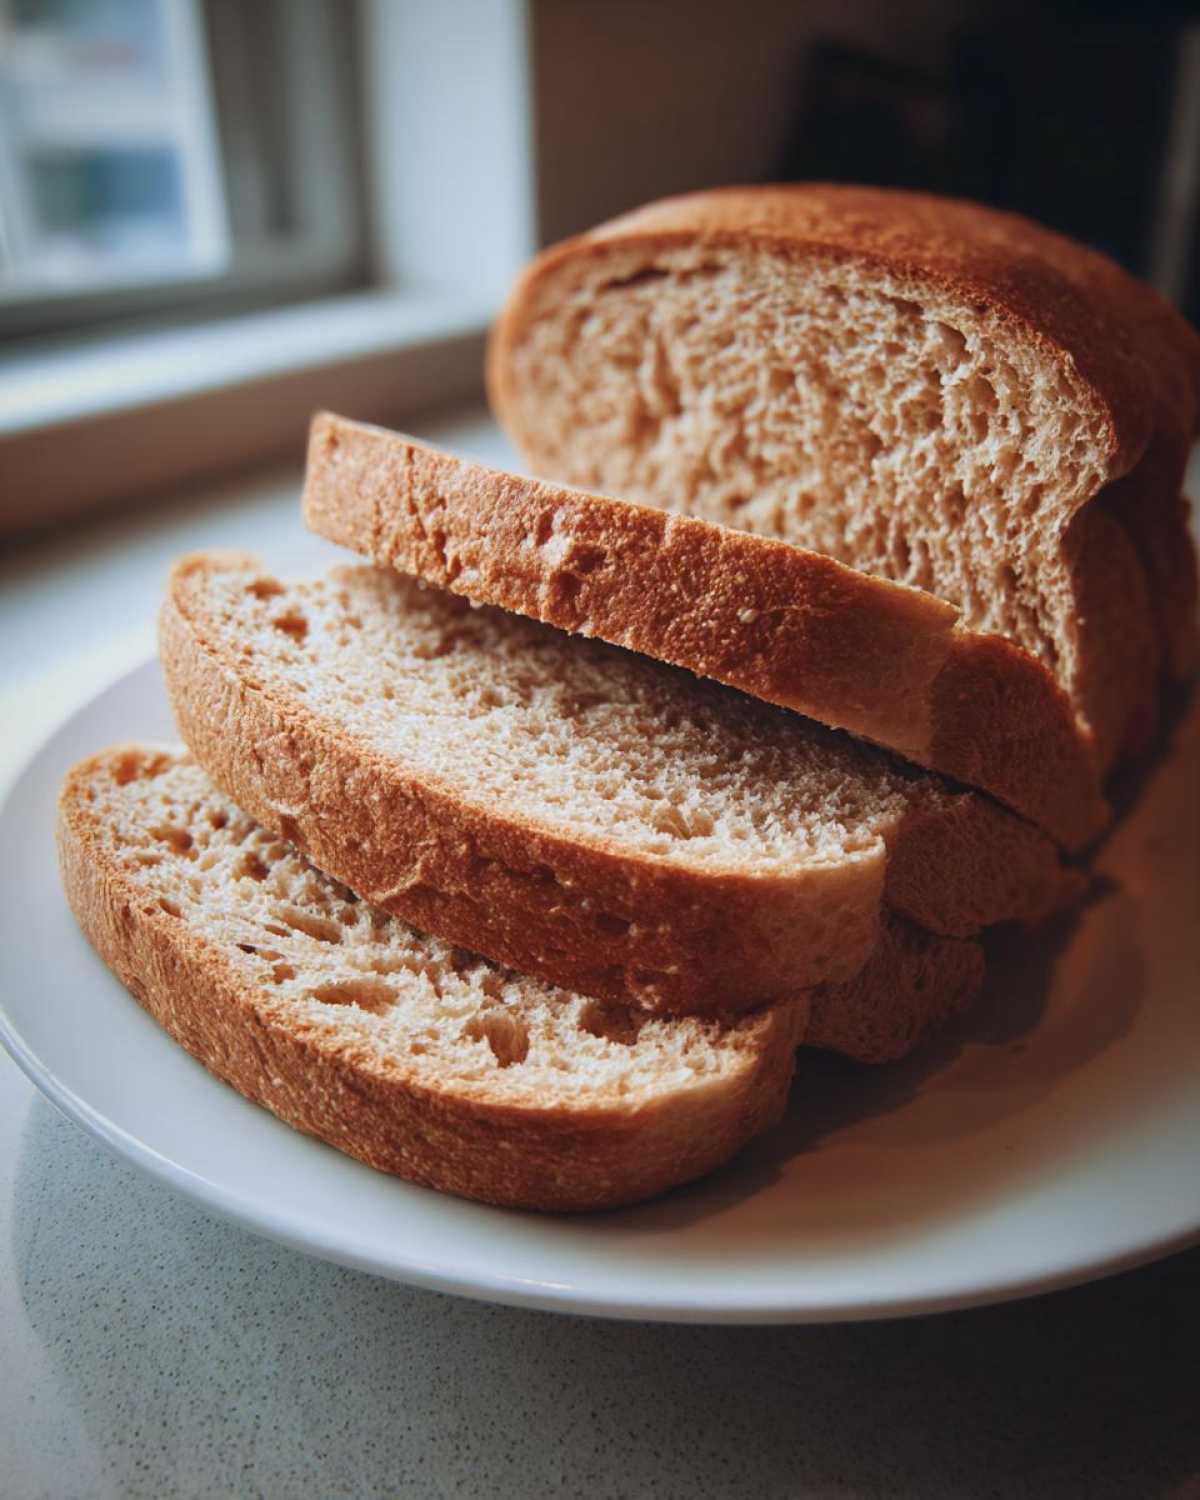
When you need that fresh-from-the-oven feel again, don’t try to toast a frozen slice right away. Just pop the slices right into the toaster, or warm them up for just 10 seconds in the microwave if you’re feeling impatient. It brings that soft texture right back without turning it rubbery!
Frequently Asked Questions About Whole Wheat Bread
I know baking can bring up a ton of questions, especially when you’re trying to nail down that perfect texture in a whole wheat bread recipe! Mia and I get DMs all the time asking about substitutions or if this recipe is beginner-friendly. Since you’ve made it this far, you deserve the best advice for success! If you ever need a quick, no-bake snack while you’re waiting for your next loaf to rise, check out our ideas for homemade granola bars.
Can I substitute all the flour for 100 percent whole wheat bread flour?
That is such a common question! If you’re aiming for that *super* healthy, 100% whole wheat experience, you totally can swap out that half cup of all-purpose flour for more whole wheat. But I have to give you a friendly heads-up: this specific recipe is balanced around that small amount of white flour because it helps keep the loaf soft and elastic. Pure whole wheat can sometimes result in a slightly denser crumb, which is great for a rustic loaf, but maybe not what you want for a fluffy whole wheat sandwich loaf.
If you decide to go 100% whole wheat, try swapping in white whole wheat flour first—it’s milled the same way but has a lighter color and milder flavor, which might give you a softer result closer to what we designed here. If you use regular dark whole wheat, honestly, adding about a teaspoon of vital wheat gluten to the dry ingredients before mixing can help give the dough the backup structure it needs to stay fluffy when you remove all that AP flour!
I don’t have honey. Can I skip it or use something else in this easy whole wheat bread recipe?
You can absolutely skip the honey, but you’ll miss out on some serious tenderness! Honey isn’t just for sweetness here; it’s a humectant, meaning it helps hold onto moisture, which keeps our bread fresh longer—that ties right into the need for a great healthy homemade bread that lasts. If you skip it, I highly suggest replacing the volume with light brown sugar or maple syrup. Plain white sugar works too, but it won’t add the same depth of flavor or moisture retention as honey does.
Can I freeze this homemade whole wheat bread?
Yes! This loaf freezes like a dream. Remember what I said about slicing it *before* freezing? That’s the ticket. Once it’s completely cooled, slice the whole thing up, lay the slices on a baking sheet until they are totally firm (maybe 30 minutes on the counter), and then stack them with little squares of parchment paper in between. Bag them up tight! That way, whenever you want a piece of bread for toast mid-week, you just toss a frozen slice right into the toaster slot. They come out nearly perfect!
How do I know if my yeast is dead?
This is true for any dough, but especially for a simpler homemade bread from scratch recipe! If your yeast doesn’t get foamy after five minutes in the warm water, toss it out and start over with fresh yeast. Dead yeast means no bubbles, no rise, and you end up with that sad, dense brick we are trying to avoid! It’s better to waste a tiny bit of yeast than to waste all that flour and honey!
Serving Suggestions for This Wholesome Bread Recipe
We’ve talked about sandwiches and toast a ton, but honestly, this wholesome bread recipe deserves to shine in other ways too! This loaf has a sturdy crumb and that subtle honey sweetness that pairs beautifully with both savory and slightly sweet toppings. If you’re making this for dinner, you absolutely *have* to try dipping it into a creamy bowl of soup. I highly recommend pairing it with our favorite roasted tomato soup recipe—it’s just heaven.
Of course, for an appetizer spread, thick slices of this bread are fantastic when topped with something rich. You should check out Mia’s recipe for smoked salmon dip; scooping that creamy goodness onto a sturdy piece of this warm homemade bread is one of my favorite non-sandwich uses!
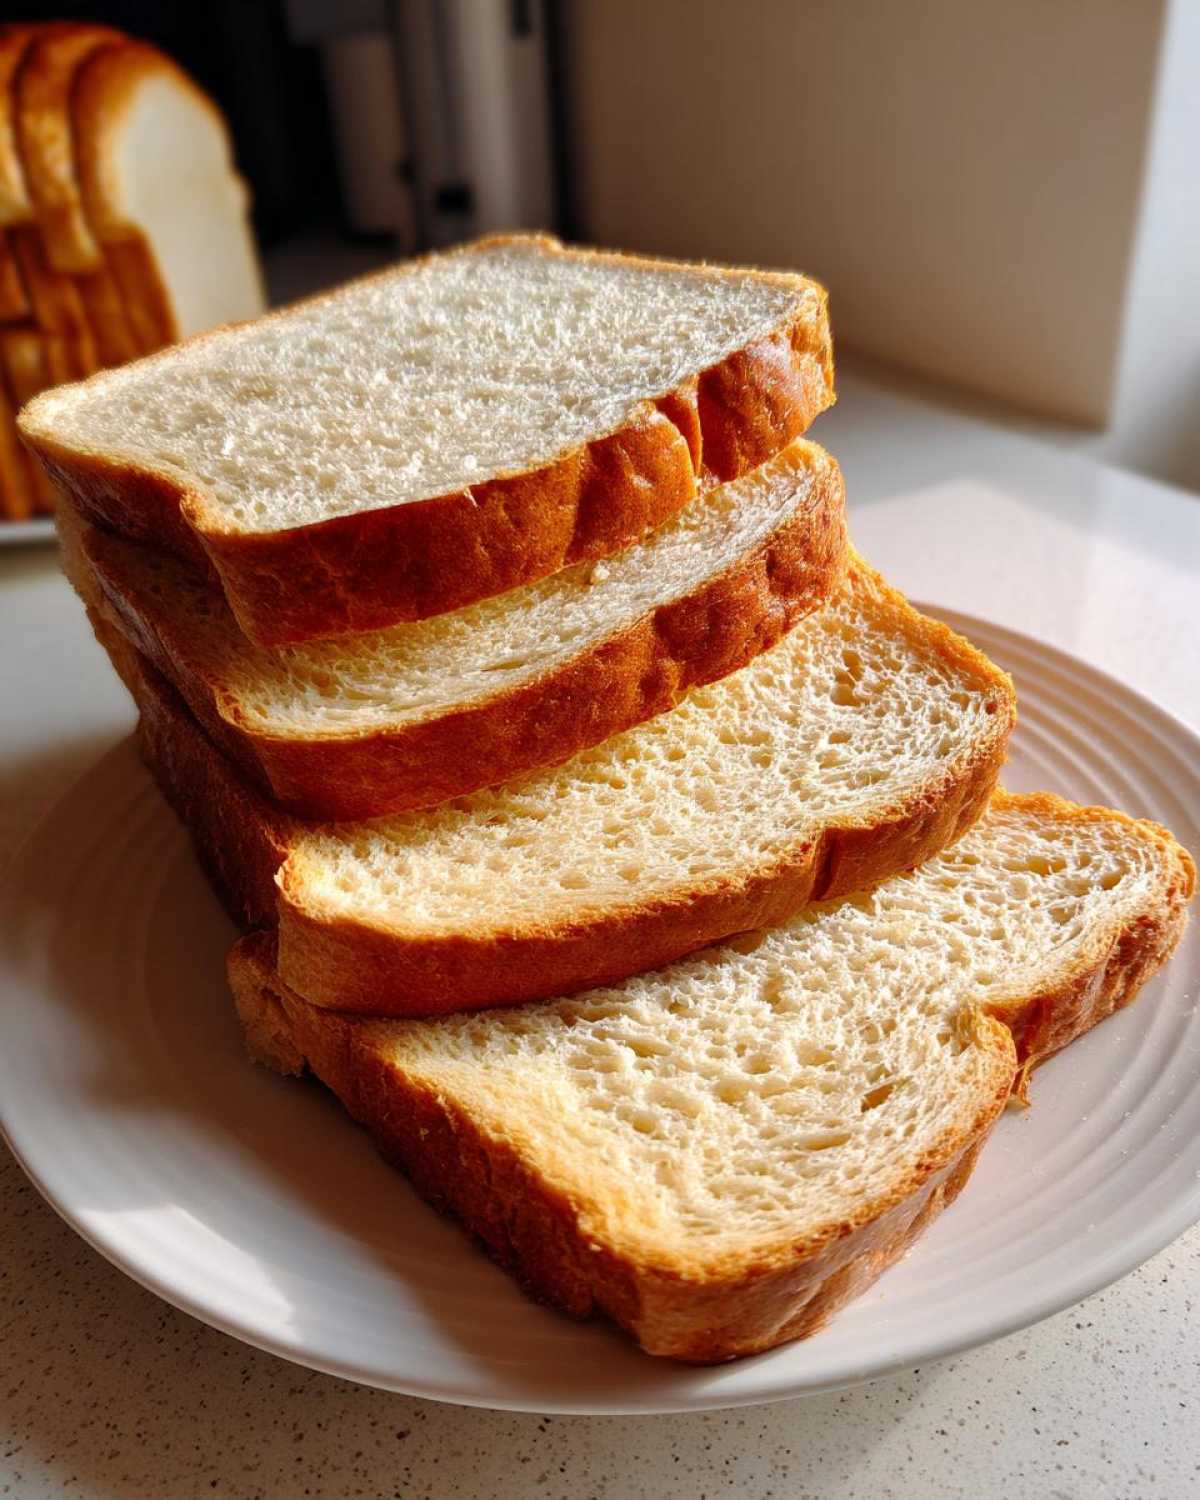
Estimated Nutritional Snapshot for Your Loaf
Now, I have to preface this by saying that Mia—our resident Master of Logistics—came up with these numbers, and she wants you all to remember that we are home bakers, not certified nutritionists! These figures are just estimates based on the ingredients we listed above, so please don’t use this for strict medical or dietary planning. It’s a rough guide to show you that you’re making a delicious, wholesome choice!
When you slice into this beautiful loaf, one serving (which we defined as one slice for this bread) lands around 130 calories. We’re keeping the fat content pretty low, with only about 3 grams total, and only 1.5 grams of that is saturated fat—that’s pretty good for something that tastes this indulgent!
We use honey, so there is a little natural sugar, coming in at about 4 grams per slice. But the best part comes from the fiber! Because we’re using whole wheat flour, you get about 3 grams of fiber per slice, which helps keep you full and feeling good about eating that second piece (trust me, you’ll want to!).
- Calories: 130
- Fat: 3g
- Carbohydrates: 24g
- Protein: 5g
- Fiber: 3g
- Sugar: 4g
It’s a fantastic way to get wholesome grains into your day without all the funky additives you find in the store-bought stuff. Enjoy knowing exactly what is going into your tummy!
Share Your Whole Wheat Bread Creations!
Okay, baker, you did it! You conquered the yeast, you timed the rises, and hopefully, you resisted the urge to slice into that loaf before it cooled down completely! Now that you have this incredible, soft, homemade whole wheat bread, I seriously want to see it. Don’t be shy, especially if this was your very first time attempting to make bread from scratch. I think I burned water when I started, so a slightly wonky first loaf is still a massive win in my book!
If you loved this recipe and you’re finally ready to ditch those sad, plastic-wrapped loaves forever, please take a second to leave a star rating right here on the page. It helps other folks nervous about baking see that this recipe really works. And if you have any little tips or tricks *you* discovered while making it—maybe you added sunflower seeds or used a different water temperature—drop a comment below!
We live to see your successes! Snap a picture of your perfectly golden loaf, maybe dripping with butter or stacked high for a sandwich, and tag us over on social media. We check our mentions constantly over on the main Cookery Kings blog feed, and nothing makes me happier than seeing your beautiful, wholesome creations. Happy slicing!
PrintSoft Honey Whole Wheat Sandwich Loaf: Your New Go-To Homemade Bread

Follow this easy recipe to bake an incredibly soft and fluffy whole wheat sandwich loaf sweetened with honey. This recipe is perfect for beginners and delivers wholesome, flavorful bread ideal for toast or lunch sandwiches.
- Prep Time: 20 min
- Cook Time: 35 min
- Total Time: 1 hour 55 min
- Yield: 1 loaf (about 12 slices)
- Category: Baking
- Method: Kneading and Baking
- Cuisine: American
- Diet: Vegetarian
Ingredients
- 1 cup warm water (105-115°F)
- 2 1/4 teaspoons active dry yeast
- 1/4 cup honey
- 2 tablespoons unsalted butter, melted
- 1 1/2 teaspoons salt
- 3 cups whole wheat flour
- 1/2 cup all-purpose flour (plus more for dusting)
Instructions
- In a large bowl, combine the warm water and yeast. Let it sit for 5 minutes until foamy. This shows your yeast is active.
- Stir the honey, melted butter, and salt into the yeast mixture.
- Add the whole wheat flour to the wet ingredients. Mix with a wooden spoon until a shaggy dough forms.
- Gradually add the all-purpose flour, mixing until the dough comes together. You may not need all the flour.
- Turn the dough out onto a lightly floured surface. Knead for 6 to 8 minutes until the dough is smooth and elastic. You want a soft, manageable dough.
- Lightly grease a large bowl with oil. Place the dough in the bowl, turning to coat. Cover the bowl with plastic wrap or a clean kitchen towel.
- Let the dough rise in a warm place for 1 to 1.5 hours, or until it has doubled in size. This is your first rise.
- Gently punch down the risen dough. Shape it into a loaf and place it in a greased 9×5 inch loaf pan.
- Cover the pan loosely and let the dough rise again for 30 to 45 minutes, or until it crests about 1 inch over the rim of the pan. This is your second rise.
- Preheat your oven to 375°F (190°C) during the last 15 minutes of the second rise.
- Bake for 30 to 35 minutes, or until the top is golden brown and the internal temperature reaches 190°F.
- Remove the loaf from the pan immediately and let it cool completely on a wire rack before slicing. Slicing too early makes the bread gummy.
Notes
- For an even softer crumb, use bread flour instead of all-purpose flour for the second addition.
- If you prefer a richer flavor, substitute 1/4 cup of the whole wheat flour with white whole wheat flour.
- This loaf is excellent toasted the next day; it makes the best bread for toast.
Nutrition
- Serving Size: 1 slice
- Calories: 130
- Sugar: 4
- Sodium: 210
- Fat: 3
- Saturated Fat: 1.5
- Unsaturated Fat: 1.5
- Trans Fat: 0
- Carbohydrates: 24
- Fiber: 3
- Protein: 5
- Cholesterol: 5