

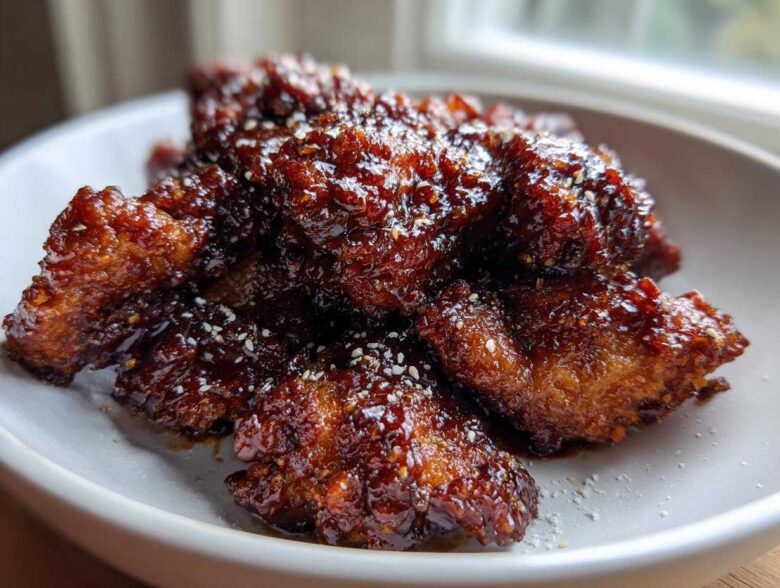
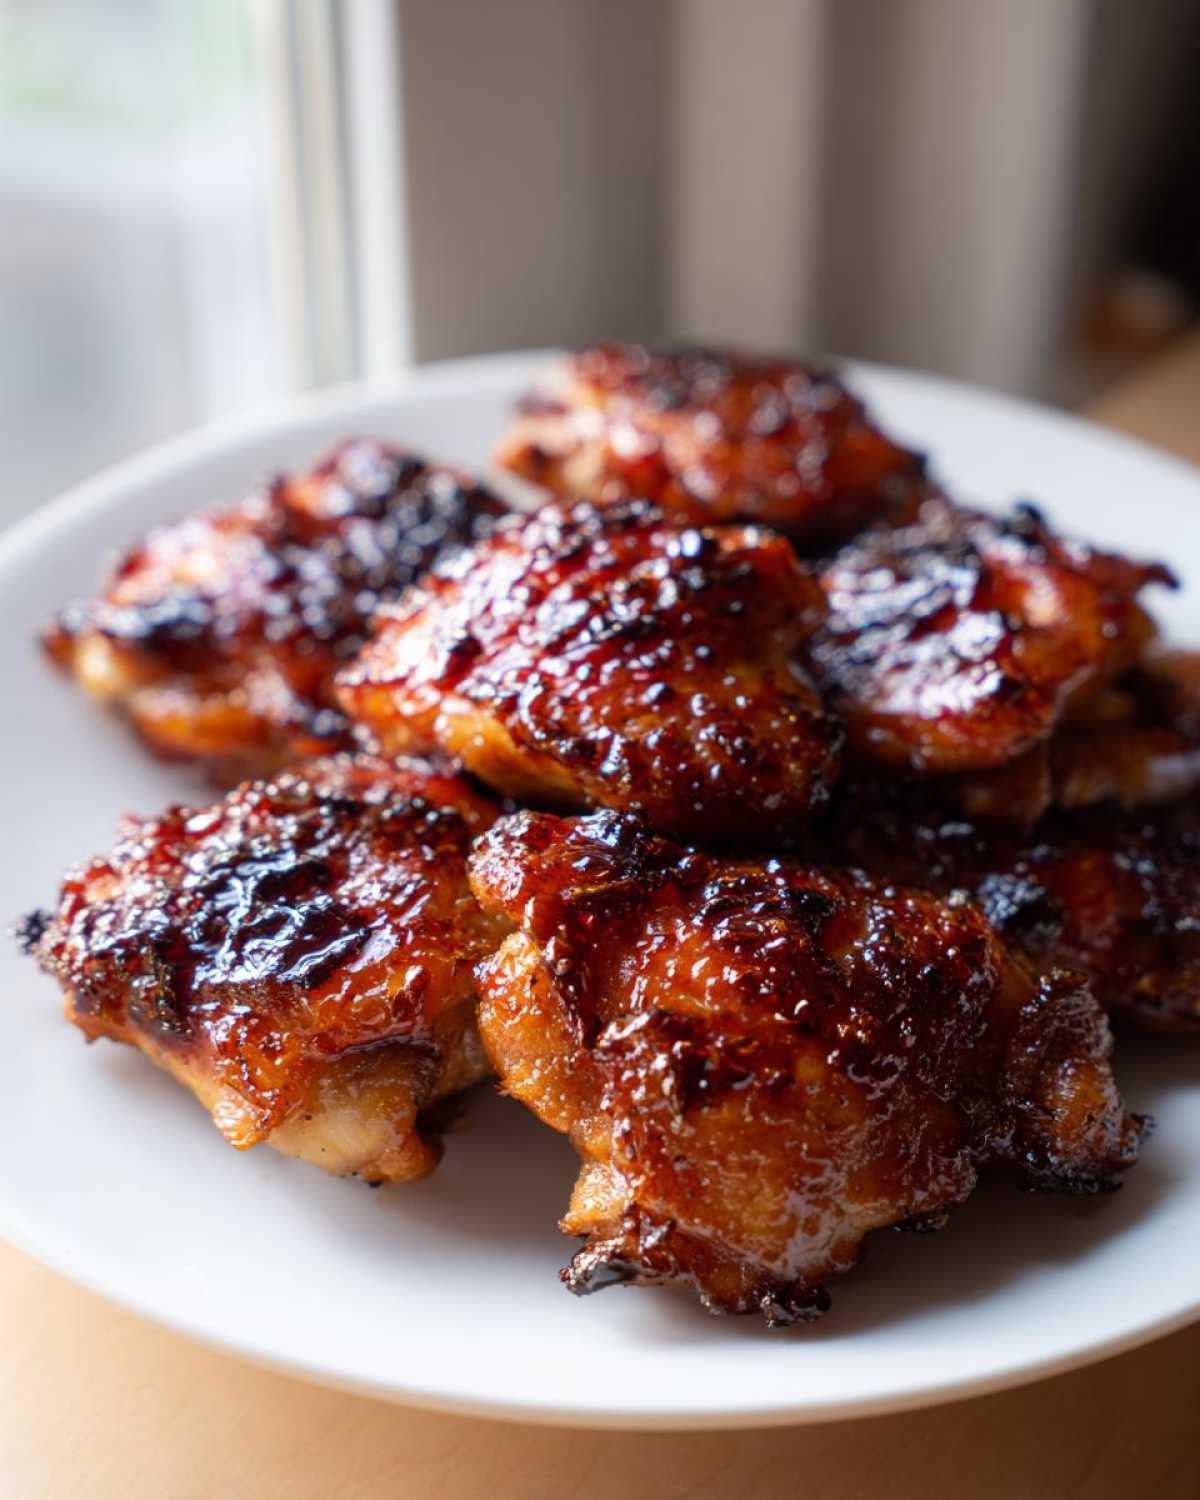
Oh, I know that feeling! You walk in the door after a long day, and the last thing you want is a sink full of dishes and complicated steps. Trust me, I’ve been there dozens of times trying to figure out a fast dinner that still tastes like takeout heaven. That is why I am obsessed with this **Sticky Teriyaki Chicken Easy Weeknight Meal**. We’re talking juicy chicken baked to perfection with a glaze so thick and shiny, you won’t believe it only took 35 minutes total. This reliable sheet pan format is my go-to when I need a win! If you want to learn more about making incredible sauces from scratch, check out my deep dive on homemade teriyaki sauce.
Why This Sheet Pan Recipe is Your New Sticky Teriyaki Chicken Easy Weeknight Meal Hero
Seriously, why do we complicate things after work? This recipe is designed for maximum flavor payoff with minimum countertop chaos. Since we bake everything on one sheet pan, cleanup is basically non-existent—just toss the parchment paper! That instant gratification is huge when you’re starving. If you want your chicken to absorb maximum flavor fast, you’ll want to check out my thoughts on quick 10-minute marinades.
This **Quick weeknight chicken dinner** delivers that perfect savory-sweet profile we all crave, and the glaze gets incredibly sticky almost magically. It’s the best weeknight chicken meal I have in my rotation because it lets me focus on getting dinner on the table fast, not scrubbing pans. It’s my secret weapon for feeling like a domestic goddess without the effort!
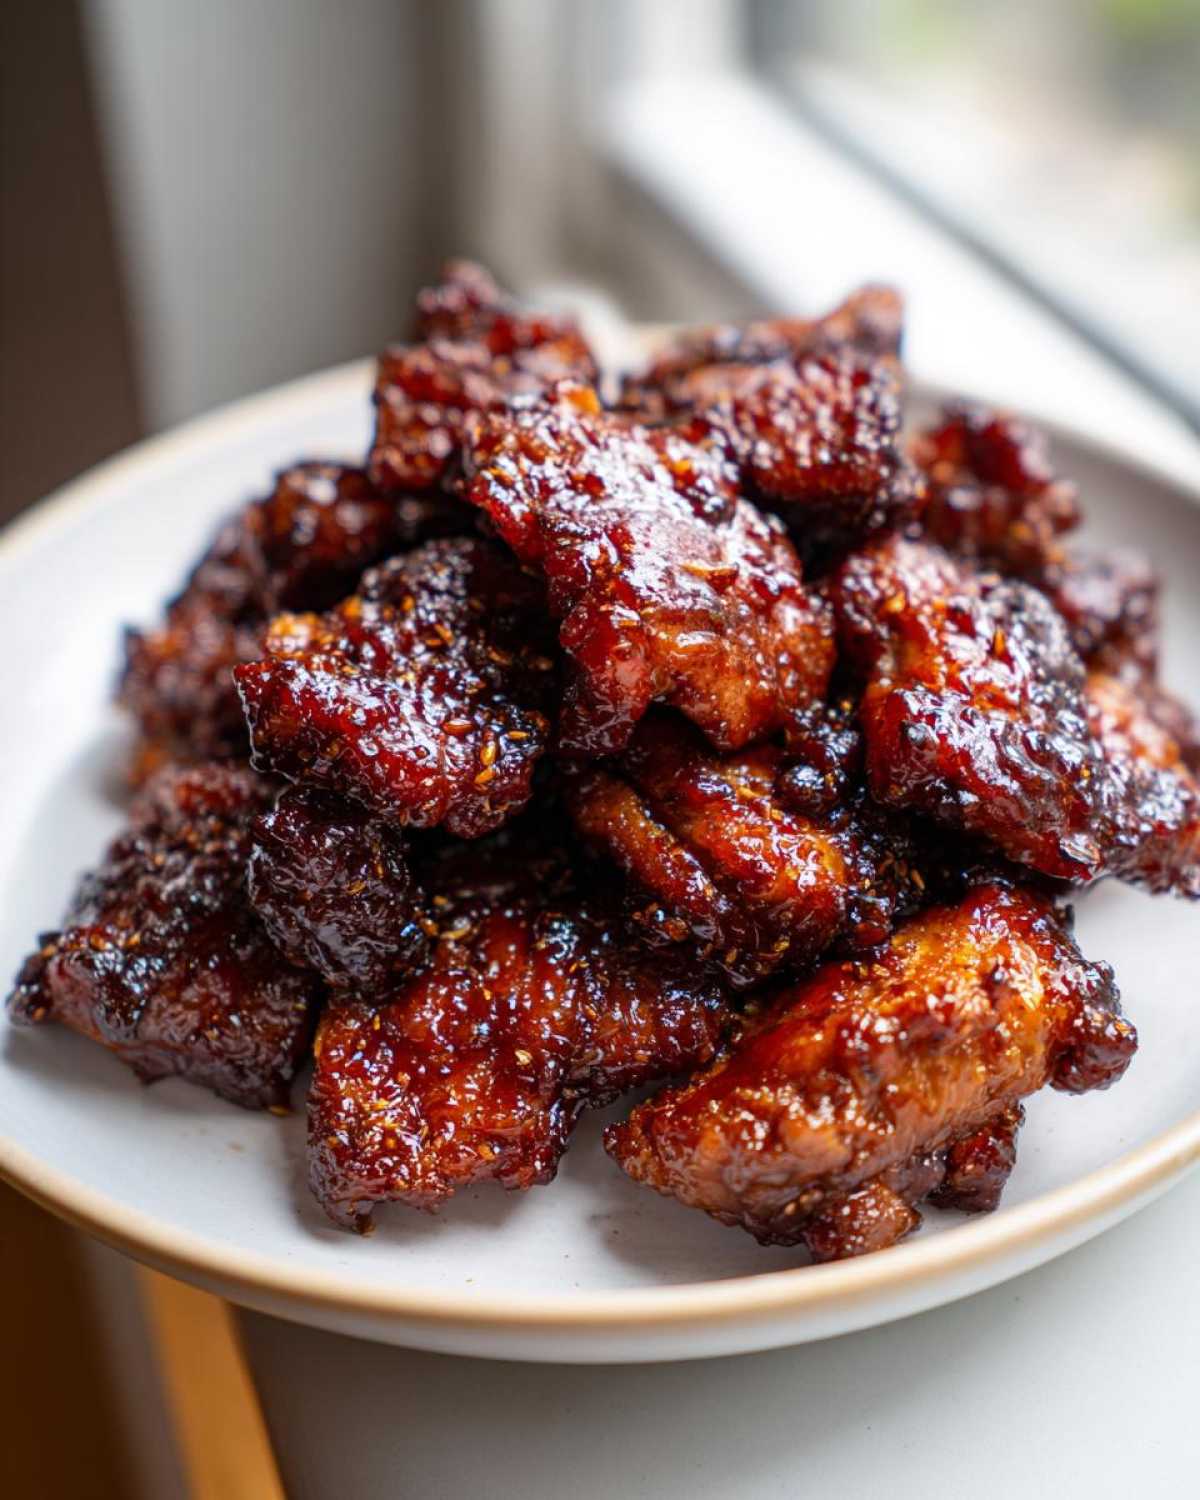
Quick Weeknight Chicken Dinner Details
- Prep Time: 10 min
- Cook Time: 25 min
- Total Time: 35 min
- Yield: 4 servings
Gathering Ingredients for Your Sticky Teriyaki Chicken Easy Weeknight Meal
You’ll be thrilled when you see this list because everything here is probably already in your pantry or fridge! This isn’t one of those ‘you have to drive to three different specialty stores’ recipes, nope. This is pure, simple, weeknight magic. We’re using standard soy sauce and brown sugar to build a fantastic flavor base without fuss. Using chicken thighs keeps the cost down, but breasts work just fine if that’s what you have on hand!
Here is exactly what you need to gather up before you get started!
- 1.5 lbs boneless, skinless chicken thighs or breasts, cut into 1-inch pieces
- 1 cup low-sodium soy sauce
- 1/2 cup water
- 1/4 cup packed brown sugar (make sure it’s packed well!)
- 1/4 cup mirin (this is just rice wine vinegar, totally standard!)
- 2 tablespoons grated fresh ginger (Please, please use fresh! It makes a world of difference.)
- 2 cloves garlic, minced
- 1 tablespoon cornstarch
- 2 tablespoons cold water (This is just for the thickening slurry, keep it separate for now.)
- 1 tablespoon sesame oil (for drizzling at the end—it adds that beautiful takeout scent!)
- 1 teaspoon sesame seeds (for garnish; a tiny bit of crunch is always nice.)
See? Totally straightforward. Once you have these items prepped—chicken cut, garlic minced—the whole thing comes together in a flash. It’s all about minimizing active time, which is why this recipe is the definition of a **Glazed chicken recipe no fancy ingredients** success story!
Simple Homemade Teriyaki Sauce and Sticky Glaze Instructions
Okay, this is the part that turns chicken into **Sticky Teriyaki Chicken Easy Weeknight Meal** status. We aren’t using some gloppy jarred stuff that tastes like pure corn syrup, no way! We build a fast, flavorful base first, and then we thicken it up into that heavenly, clinging glaze. Being in control of the sauce means you control exactly how sweet or savory your **Simple homemade teriyaki sauce** ends up being. If you want to level up your sauce game even more for special occasions (or just because you deserve it!), peep my tips for the absolute best homemade teriyaki sauce here.
First, grab a small bowl and whisk up your base sauce: the soy sauce, that half cup of water, brown sugar, mirin, minced garlic, and that fresh ginger paste. Get it all incorporated until the sugar mostly dissolves. Then, pour about half of that mixture right over your chicken pieces on the sheet pan—this is your first pre-bake marinade layer. Set the rest of the sauce aside, we need that later!
Now, here’s where we ensure that thick, gorgeous coating for your **Easy Teriyaki Chicken recipe**! While the chicken is doing its initial bake, you need to prepare what I call the ‘magic thickener’—the cornstarch slurry. In a tiny cup, whisk that tablespoon of cornstarch with the 2 tablespoons of cold water. Make sure it’s completely smooth; no lumps allowed, or your glaze will have crunchy pockets, and we don’t want that!
Making the Thick Sticky Glaze Chicken Instructions
Take that reserved half of the teriyaki base sauce and pour it into a small saucepan. Put it over medium heat and bring it up to a gentle simmer. As soon as you see those little bubbles popping around the edges, whisk in your cornstarch slurry really quickly. Trust me, you have to keep stirring constantly!
The transformation happens in about 60 to 120 seconds. Watch closely! It goes from thin soy water to a real, substantial glaze. We are aiming for the sauce to stick beautifully to the back of your spoon. If you drag your finger across the back of the spoon and the line stays clear for a second before the sauce slowly slides back together, bingo! That’s the perfect consistency for your **sticky glaze chicken instructions**. Turn off the heat immediately—if you boil it too long after thickening, it can break or get weirdly gluey.
Once the chicken has baked for its first 15 minutes, you take it out and brush most of that amazing, newly thickened glaze all over those beautiful pieces. Then, back into the oven it goes to set that glaze perfectly! This two-step glazing technique seals in the flavor and guarantees that satisfying sticky chewiness we are after!
Baking Steps for the Perfect Sticky Teriyaki Chicken Easy Weeknight Meal
Now that our sauce is perfectly thick and sticky—which is the real victory here—it’s time to put it all together on the pan. Remember how we poured half that thin sauce over the chicken before we started? That initial coating is crucial for moisture and flavor, almost like a tiny preview marinade before the main event. If you’re ever worried about whether your chicken might dry out during baking, I swear by a quick pre-seasoning, just like I mention in my post on quick garlic butter chicken bites; it sets you up for success!
Preheat that oven to 400 degrees Fahrenheit. A reliable, hot oven is key for roasting this quickly. Make sure you lined that sheet pan with parchment paper too—that’s non-negotiable for how fast cleanup will be later! Spread your chicken pieces out evenly. We need them in a single layer so they can roast, not steam. Don’t overcrowd the pan, or you’ll end up waiting longer than 30 minutes!
Bake the chicken alone for about 15 minutes. This gets it partially cooked, allowing it to absorb that initial layer of flavor while we get our thick glaze simmering on the stove. Once you pull those beauties out, go ahead and brush on about two-thirds of that thick, beautiful glaze you just made. Don’t be shy; get it everywhere!
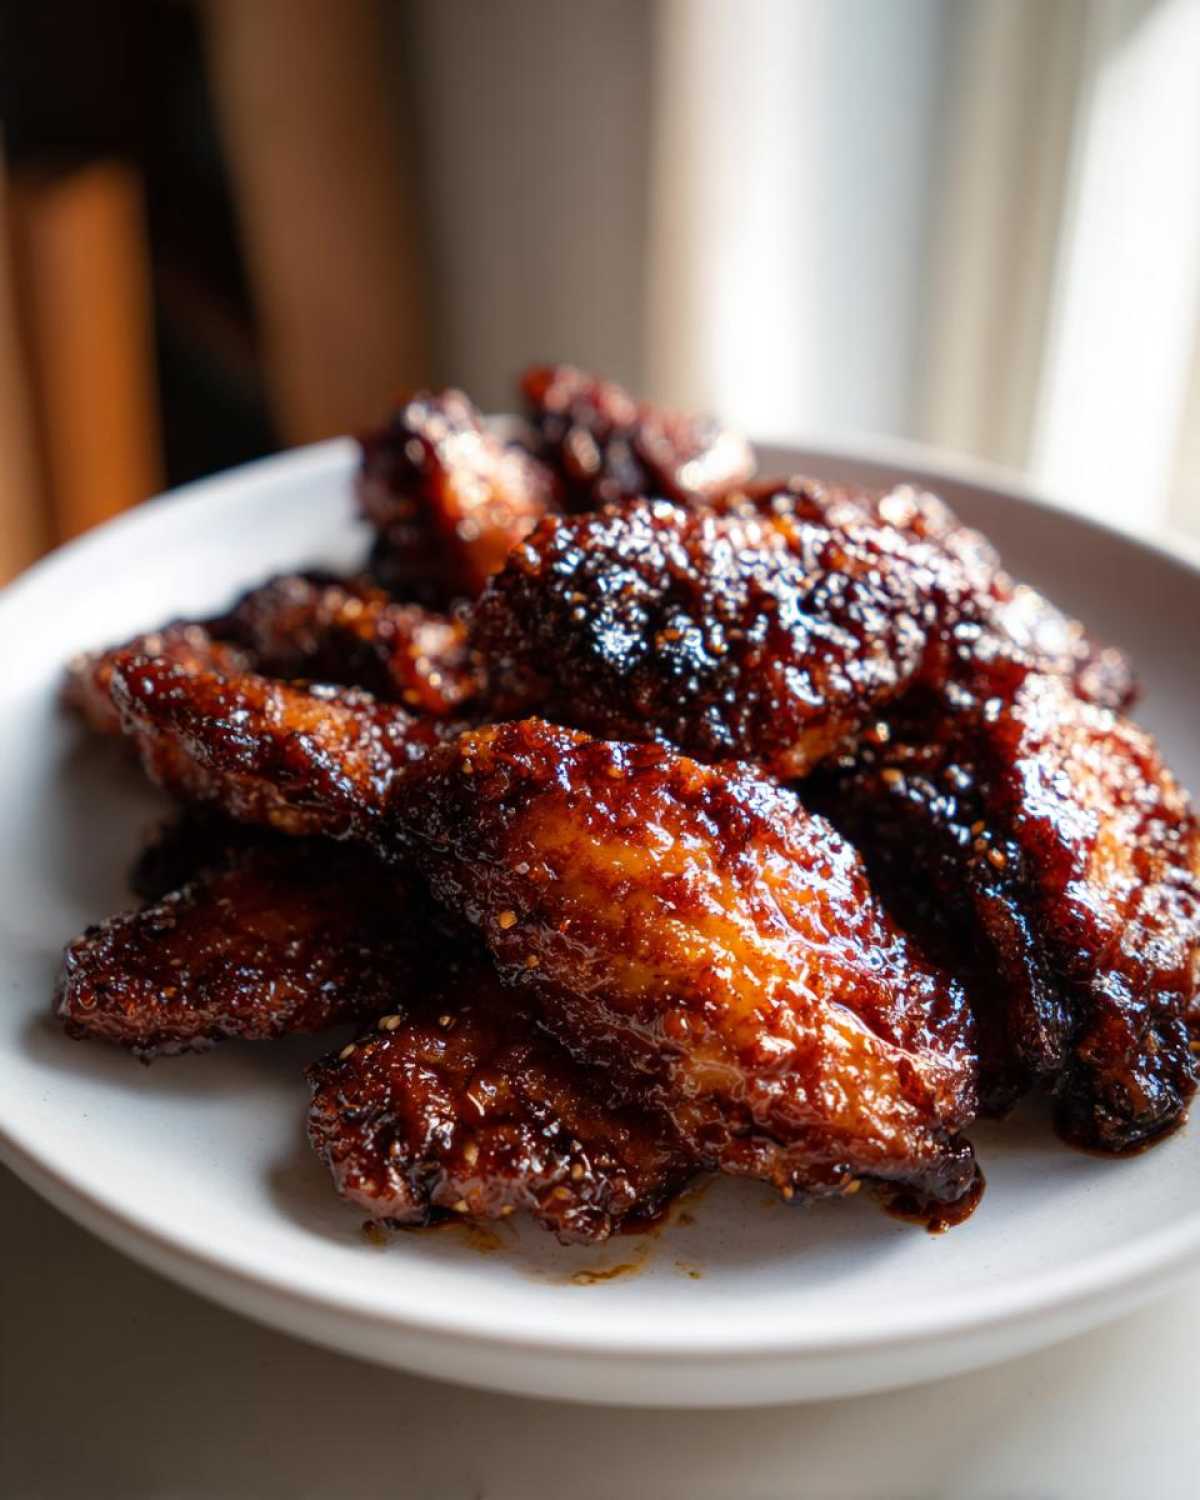
Back into the 400-degree heat they go for another 5 to 8 minutes. You’re looking for the internal temperature to hit 165°F, and you’ll see that glaze start to bubble and really adhere to the chicken pieces. This sealed coating is what makes this a true **Simple savory sweet chicken** experience!
Achieving the Best Weeknight Chicken Meals Finish
Once the chicken is fully cooked and looking glorious, take the pan out one final time. This is where we perfect the look! Drizzle the remaining sticky glaze right over the hot chicken—it melts down beautifully. Then, hit it with a quick stream of that sesame oil for aroma and sprinkle generously with sesame seeds for texture.
If you have an extra minute and want that *actual* takeout char, here is my secret move for **Best weeknight chicken meals**: switch your oven from ‘bake’ to ‘broil’ (keep the rack near the top, but not too close!). Broil for just 60 to 90 seconds, watching it like a hawk! The sugars in the glaze will caramelize in a snap. You want deep brown spots, not black smoke, so don’t walk away!
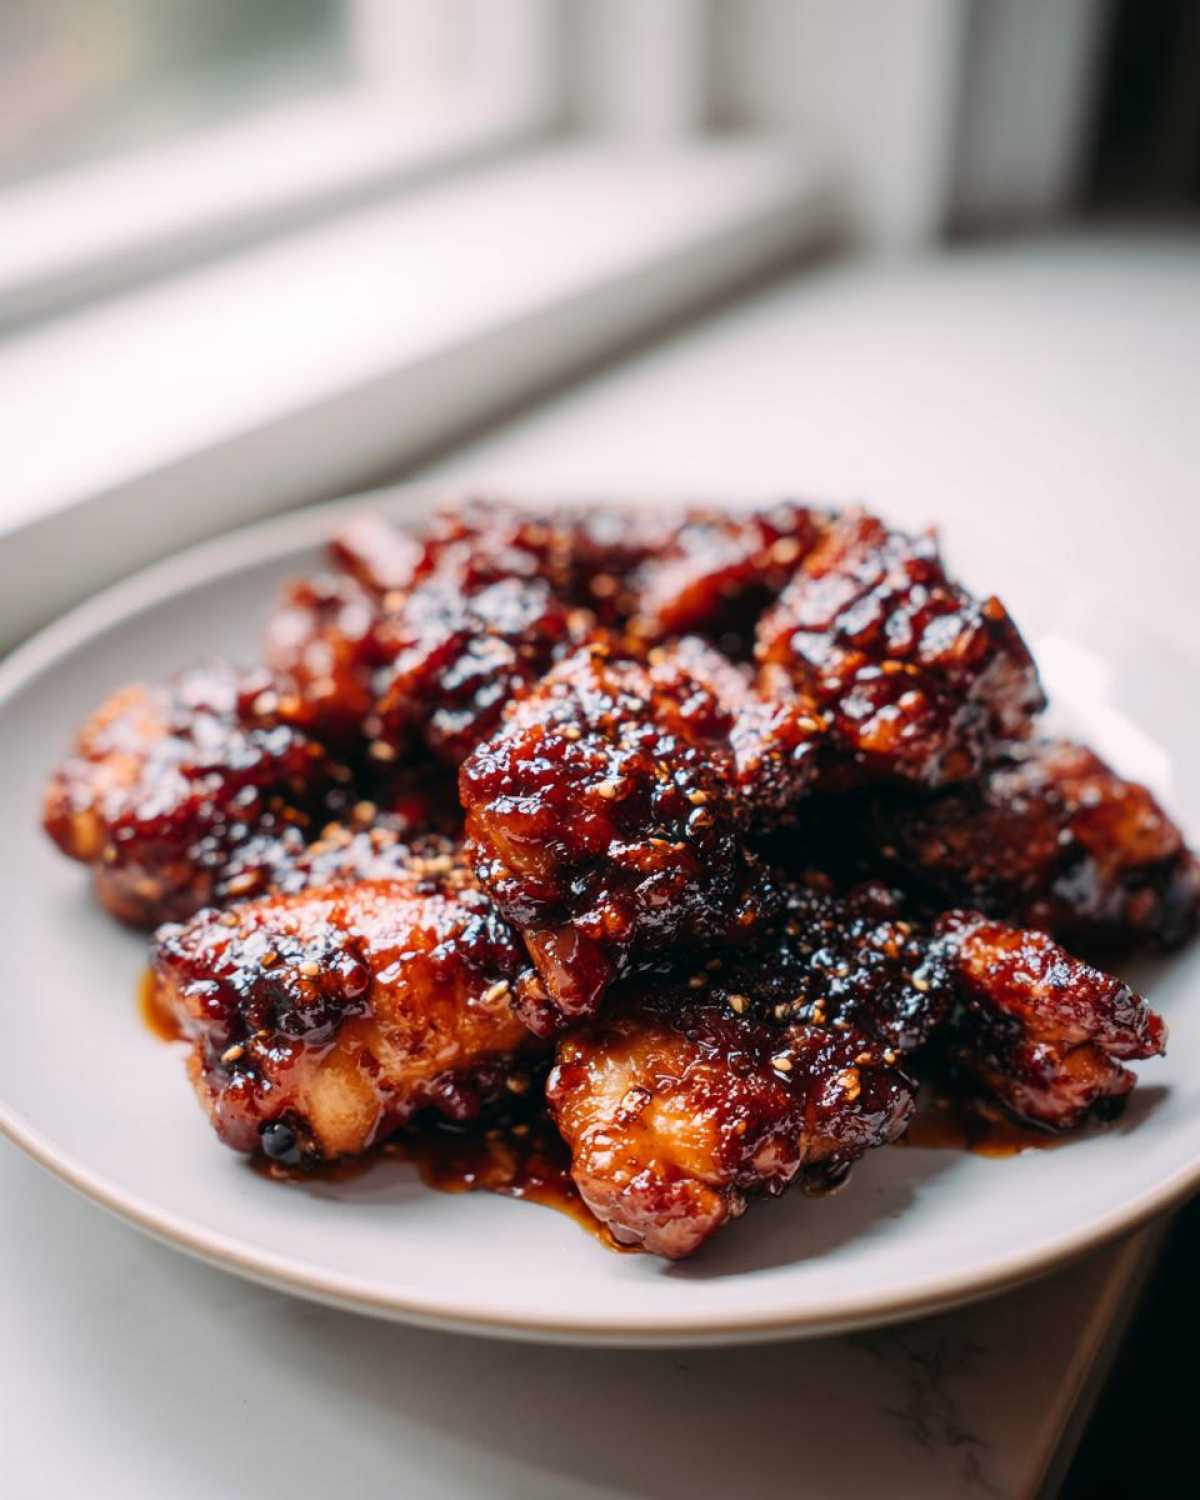
That’s it! Serve it up immediately. That combination of oven roasting and that final caramelized touch is why this is such a powerhouse **Weeknight dinner hero recipe**.
Tips for Success with Your Sticky Teriyaki Chicken Easy Weeknight Meal
Even with a recipe this straightforward, mastering the little details makes all the difference between good chicken and *wow* chicken. I’ve messed this up before—usually by rushing one of these simple phases—so I want to save you the trouble! You want that guaranteed flavor punch every time this **Sticky Teriyaki Chicken Easy Weeknight Meal** hits your table.
First up, let’s talk about the fresh stuff. Please don’t reach for the jarred garlic paste or dried ginger powder here. Fresh ginger and fresh garlic are non-negotiable for that vibrant, clean flavor that makes this different from standard takeout. When you grate the ginger, if you use the finest side of your grater, you get a pulp that blends right into the soy mix, making it wonderfully aromatic without any scratchy texture.
The biggest technical mistake people make with sheet pan dinners, though, is overcrowding. I know you want to fit a mountain of chicken on there, but those pieces need personal space! If they are touching or piled up, they steam instead of roast. Steamed chicken never gets that good surface texture we are looking for. Stick to a single layer, even if that means using two smaller pans instead of one giant one. It’s worth the extra bit of cleanup later because roasting equals flavor!
Also, when you’re thickening that sauce? Watch your heat! If the heat is too high, the cornstarch will clump instantly, or worse, it burns to the bottom of the saucepan before you even get a chance to whisk it in properly. Keep the simmer medium-low when you add the slurry. This gives you time to incorporate it evenly, resulting in the super glossy, perfect texture we are chasing. If you can master controlling the heat on a stovetop, you can master almost anything! For similar home-cooking victories involving heat control, you have to check out my guide on caramelized onions; that technique relies on patience!
Finally, remember the two-stage glaze! Applying half before the main bake helps infuse the flavor deep into the chicken, and the final coat right at the end gives you that gorgeous, glossy finish that looks so impressive on the plate when you pull it out.
Variations for This Family Friendly Teriyaki
Okay, while this chicken recipe is amazing as is, I know home cooks like options! This formula is so simple that it adapts beautifully to whatever you have in the fridge or whatever your kids decide they suddenly don’t like this week. We’re keeping this **Family friendly teriyaki** adaptable because life happens, right?
The easiest swap, which is my favorite for making this a true dump-and-go dinner, is adding vegetables right onto that same sheet pan. You definitely want to throw in some broccoli florets or maybe some thick slices of carrot. Just toss them lightly in a tiny bit of olive oil and salt before you add them to the pan for the first bake.
If you do add veggies, just keep an eye on them. Bigger chunks, like thick carrot pieces, can go on with the raw chicken for the full baking time. Softer veggies, like those beloved broccoli florets, should probably only go in for the second half of the baking time so they don’t turn into mush while the chicken cooks. It’s all about timing!
What if you’re out of chicken? Honestly, this glaze adheres perfectly to pork tenderloin cut into chunks or even firm tofu cubes! For tofu, drain it really well and maybe give it a quick press before you cut it up, just to get rid of excess water. The cooking time will be very similar, but you might want to toss the tofu with a little cornstarch before the first bake to help it crisp up a bit more.
For those who like a little extra kick, mixing a tiny dash of sriracha or a pinch of red pepper flakes right into your base sauce mixture before you simmer it creates a lovely sweet-heat profile. It’s still incredibly simple, just with a slightly different finish!
And since we’re talking about speedy weeknight flavors that pair well with sauces, if you ever want to transition this Asian-inspired flavor into an Asian noodle dish, you absolutely must check out my recipe for quick fried noodles—it uses a similar soy-based sauce foundation!
Serving Suggestions for Your One Pan Sticky Chicken Dinner
You’ve got this amazing, sticky, sweet-and-savory chicken, so what do you put under it? Since we kept the main event super simple and fast, the sides need to match that energy! We absolutely want something that can soak up all those lovely, extra drips of glaze left on the sheet pan—don’t let any of that goodness go to waste!
The obvious winner here is steamed white rice, isn’t it? Whether you use a basic saucepan, a rice cooker, or even microwave pouches, rice is the perfect neutral backdrop for this strong flavor. It catches the sauce perfectly and makes the whole thing feel like a satisfying, cohesive meal. If you’re looking for a little flavor upgrade on your rice without adding major complexity, you have to try my technique over at easy Spanish rice; it’s honestly only a few extra steps beyond plain white rice!
If you added broccoli or carrots to the pan during the baking process—awesome! That’s literally your entire dinner done in one go. But if you need something green and fresh on the side, just steam some snap peas or green beans. A quick blanch or steam takes five minutes, and they provide a fantastic, crisp counterpoint to the richness of the glaze.
Another really simple idea is scrambled eggs! Hear me out: I often make a double batch of this chicken when I’m cooking because it reheats so well. If I’m serving it for dinner, I keep it classic with rice. But if I’m having leftovers for lunch the next day, I chop up the cold chicken and toss it into some quick scrambled eggs with a splash of soy sauce. That makes an incredible, speedy lunch!
No matter what you pick, keep it simple. The star here is that fabulous, homemade teriyaki flavor, so whatever acts as the vehicle for that flavor is doing its job perfectly!
Storage and Reheating Instructions for Leftover Sticky Teriyaki Chicken Easy Weeknight Meal
I always cook a little extra of this **Sticky Teriyaki Chicken Easy Weeknight Meal**, not just because my family loves leftovers, but because this glaze actually tastes even better the next day when the flavors have really married together! Good flavor shouldn’t go to waste, so storing it properly is key to keeping that texture intact.
The most important thing for storage is avoiding air exposure. Get that chicken into an airtight container as soon as it has cooled down a bit—don’t try to put piping hot food directly into the fridge, as that can raise the temperature of other items. I find that glass containers work best because I can easily see how much I have left!
In an airtight container in the refrigerator, this chicken is perfectly good for up to four days. If you are planning further ahead, this keeps beautifully in the freezer for about two months. Just make sure when you freeze it, you leave some of that extra sticky sauce in the bottom of the container; that liquid helps protect the chicken from freezer burn.
Now, onto reheating, because this is where people often mess up a great meal! Microwaving leftover glazed chicken can sometimes turn the exterior a little rubbery or dry it out too fast if it’s just plain chicken.
My top recommendation is always the stovetop for the best results. Throw the chicken pieces into a non-stick skillet over medium-low heat. If you notice the sauce looks thick and sticky from the fridge, add just a splash—maybe a teaspoon—of water or chicken broth right into the pan when you start heating. This introduces a little bit of steam to rehydrate everything without making it soupy. Heat gently until warmed through, maybe 4 or 5 minutes.
If you are in a massive rush and must use the microwave, place the pieces on a microwave-safe plate and cover them loosely with a damp paper towel. Heat in 30-second bursts, flipping the chicken halfway through. That paper towel traps just enough steam to keep things from getting too tough.
If you are looking for other easy make-ahead meals that you can freeze and reheat like a pro, you should definitely check out my slow cooker tips for easy pulled chicken. But for this teriyaki, trust me, a gentle pan reheat brings back that glorious stickiness!
Frequently Asked Questions About This Easy Teriyaki Chicken Recipe
I get so many questions after people try this out because everyone wants that perfect sticky result! It’s wonderful to see so many people making this their go-to **Easy Teriyaki Chicken recipe**. Below are some of the most common things folks ask me when they’re prepping for their first try.
Can I substitute chicken thighs for breasts in this Sticky Teriyaki Chicken Easy Weeknight Meal?
Oh yes, absolutely! In fact, I usually prefer chicken thighs myself. They are much harder to overcook and stay ridiculously juicy, which is essential when you’re trying to pull off a quick bake. The general rule is that thighs might need an extra minute or two in the oven compared to breasts, especially when cut into the same size pieces. Just make sure to check that internal temperature. If you are making this your **Weeknight dinner hero recipe**, the thighs are a phenomenal choice!
Is this a 30 Minute Chicken Dinner if I add vegetables?
That’s a fantastic question because that 35-minute total time is what sells people on this recipe! When I say it’s a **30 minute chicken dinner**, I mean the actively hands-on time is minimal, and the total baking time for the chicken itself is under 25 minutes. If you add heartier vegetables like carrots or small potatoes, you might push that total bake time up by 5 to 10 minutes since they require a little longer to soften than bite-sized chicken pieces. So while it’s not *strictly* 30 minutes with the veggies, it’s still easily done in under 45 minutes from start to finish, which is amazing for a busy night!
How can I make this gluten-free?
This is a super easy adaptation! The only ingredient that contains gluten is standard soy sauce. All you need to do is swap the regular soy sauce for tamari or a certified gluten-free soy sauce alternative. Everything else—the mirin, the cornstarch, the garlic—is naturally gluten-free. You still get that incredible, thick glaze; you just have to make that one smart substitution. It keeps the integrity of the **Simple savory sweet chicken** flavor profile intact!
Can I prepare the sauce ahead of time?
You definitely can! I often whip up the entire base teriyaki sauce early in the day—even the thickened sticky glaze! If you make the thickened glaze first, you’ll need to store it in the fridge. Just know that when it chills, it becomes super firm, almost like fudge! When you go to use it, just put the required amount back into a tiny saucepan over very low heat (or even the microwave for 10-15 seconds) to loosen it up before you brush it onto the chicken. This prep-ahead step makes this an even faster **Fast teriyaki stir fry alternative**!
If you’ve made this **Easy Teriyaki Chicken recipe** and loved it, consider exploring more reliable weeknight solutions in my general Dinner category!
Nutritional Estimate for Your Dinner
I always like to run the numbers just so we know what we’re working with when we devour this amazing chicken! Remember, since we’re using specific brands of soy sauce, mirin, or even different cuts of chicken (thighs versus breasts), the figures below are just my best educated guess based on the ingredients provided. Think of these as a guideline, not a strict rulebook! If you’re counting specific macros, you might want to plug your exact product measurements into your favorite tracker.
But for the regular weeknight cook who just wants to know they’re eating something that’s packed with protein and flavor without being overloaded with junk, this **Sticky Teriyaki Chicken Easy Weeknight Meal** is totally solid. Here’s the rundown for roughly one serving, based on making four equally sized portions:
- Serving Size: 1 serving (approx. 6 oz chicken)
- Calories: 320
- Protein: 38g (That’s a powerhouse serving of protein!)
- Fat: 10g
- Saturated Fat: 3g
- Trans Fat: 0g
- Carbohydrates: 19g
- Sugar: 18g (This is where the brown sugar and mirin contribute, but it’s mostly balanced by the protein!)
- Fiber: 1g
- Sodium: 650mg (This is why I always recommend low-sodium soy sauce—it keeps this palatable!)
- Cholesterol: 110mg
See? Lots of protein to keep you full through the evening, and it’s relatively light on the bad fats! It’s exactly what I want after rushing around all day—satisfying, flavorful, and not heavy!
Share Your Weeknight Dinner Hero Recipe Experience
Alright, now that you’ve got that glossy, perfect teriyaki chicken coating your kitchen in the most amazing aroma, I absolutely want to hear about it! Seriously, seeing what you all come up with is the best part of this whole cooking adventure.
Did this **Sticky Teriyaki Chicken Easy Weeknight Meal** save your Tuesday night? Did your family request it again before you even finished cleaning up the minimal dishes? I want to know everything!
Hop down into the comments below and give this recipe a rating—five stars if it truly rescued your dinner hour, obviously! If you snapped a photo of that beautiful sticky glaze shining under your kitchen lights, please share it over on social media and tag me, or just come back here and tell me all about it!
I love reading your feedback on ingredient swaps or how you served it up. We’re building a library of reliable, fast dinners here at the blog, and your experiences help everyone else who is staring into their fridge at 5:30 PM wondering what to make. If you want to see what other quick fixes and kitchen triumphs I’ve been experimenting with lately, stop by the main Blog section!
Happy cooking, my friend. Let me know how this **Weeknight dinner hero recipe** performed at your house!
PrintEasy Sheet Pan Sticky Teriyaki Chicken

Make a flavorful, sticky teriyaki chicken dinner on one pan for simple cleanup on a busy weeknight.
- Prep Time: 10 min
- Cook Time: 25 min
- Total Time: 35 min
- Yield: 4 servings
- Category: Dinner
- Method: Baking
- Cuisine: Asian-Inspired
- Diet: Low Fat
Ingredients
- 1.5 lbs boneless, skinless chicken thighs or breasts, cut into 1-inch pieces
- 1 cup low-sodium soy sauce
- 1/2 cup water
- 1/4 cup packed brown sugar
- 1/4 cup mirin (rice wine vinegar)
- 2 tablespoons grated fresh ginger
- 2 cloves garlic, minced
- 1 tablespoon cornstarch
- 2 tablespoons cold water
- 1 tablespoon sesame oil (for drizzling)
- 1 teaspoon sesame seeds (for garnish)
Instructions
- Preheat your oven to 400 degrees Fahrenheit (200 Celsius). Line a large baking sheet with parchment paper for easy removal.
- In a small bowl, whisk together the soy sauce, 1/2 cup water, brown sugar, mirin, ginger, and garlic. This is your base sauce.
- Place the chicken pieces on the prepared baking sheet in a single layer.
- Pour half of the base sauce mixture over the chicken, tossing gently to coat. Reserve the remaining half of the sauce.
- Bake the chicken for 15 minutes.
- While the chicken bakes, prepare the thickening slurry: In a small cup, whisk the cornstarch and 2 tablespoons of cold water until smooth.
- Remove the chicken from the oven. Pour the reserved base sauce into a small saucepan. Bring the sauce to a simmer over medium heat.
- Whisk the cornstarch slurry into the simmering sauce. Continue to cook, stirring constantly, until the sauce thickens significantly, about 1 to 2 minutes. It should coat the back of a spoon. This is your sticky glaze.
- Brush or drizzle about two-thirds of the sticky glaze over the partially cooked chicken on the pan.
- Return the pan to the oven and bake for another 5 to 8 minutes, or until the chicken is cooked through (internal temperature reaches 165 degrees Fahrenheit).
- Remove from the oven. Drizzle the remaining sticky glaze over the hot chicken. Drizzle with sesame oil and sprinkle with sesame seeds before serving.
Notes
- You can add chopped broccoli or sliced carrots to the sheet pan alongside the chicken for a complete meal. Add them before the first bake.
- For extra sticky results, you can briefly broil the chicken for the last 1-2 minutes, watching closely to prevent burning.
Nutrition
- Serving Size: 1 serving (approx. 6 oz chicken)
- Calories: 320
- Sugar: 18
- Sodium: 650
- Fat: 10
- Saturated Fat: 3
- Unsaturated Fat: 7
- Trans Fat: 0
- Carbohydrates: 19
- Fiber: 1
- Protein: 38
- Cholesterol: 110