

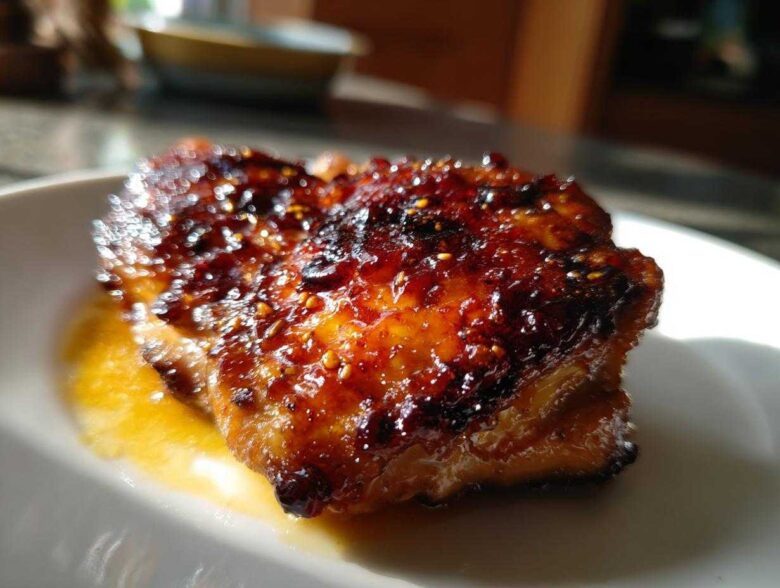
Oh, I know that feeling! It’s 5 PM, everyone’s staring at the oven like it’s judged them, and you’re tired of serving the same boring stuff. That’s exactly why I spent two whole weekends testing different oven temperatures trying to crack the code on the ultimate weeknight savior: Sticky Sweet Chili Chicken Thighs Oven Baked. Forget takeout—this recipe delivers that gorgeous, caramelized, sweet-and-spicy crust you dream about, all while keeping the chicken thick and impossibly moist inside.
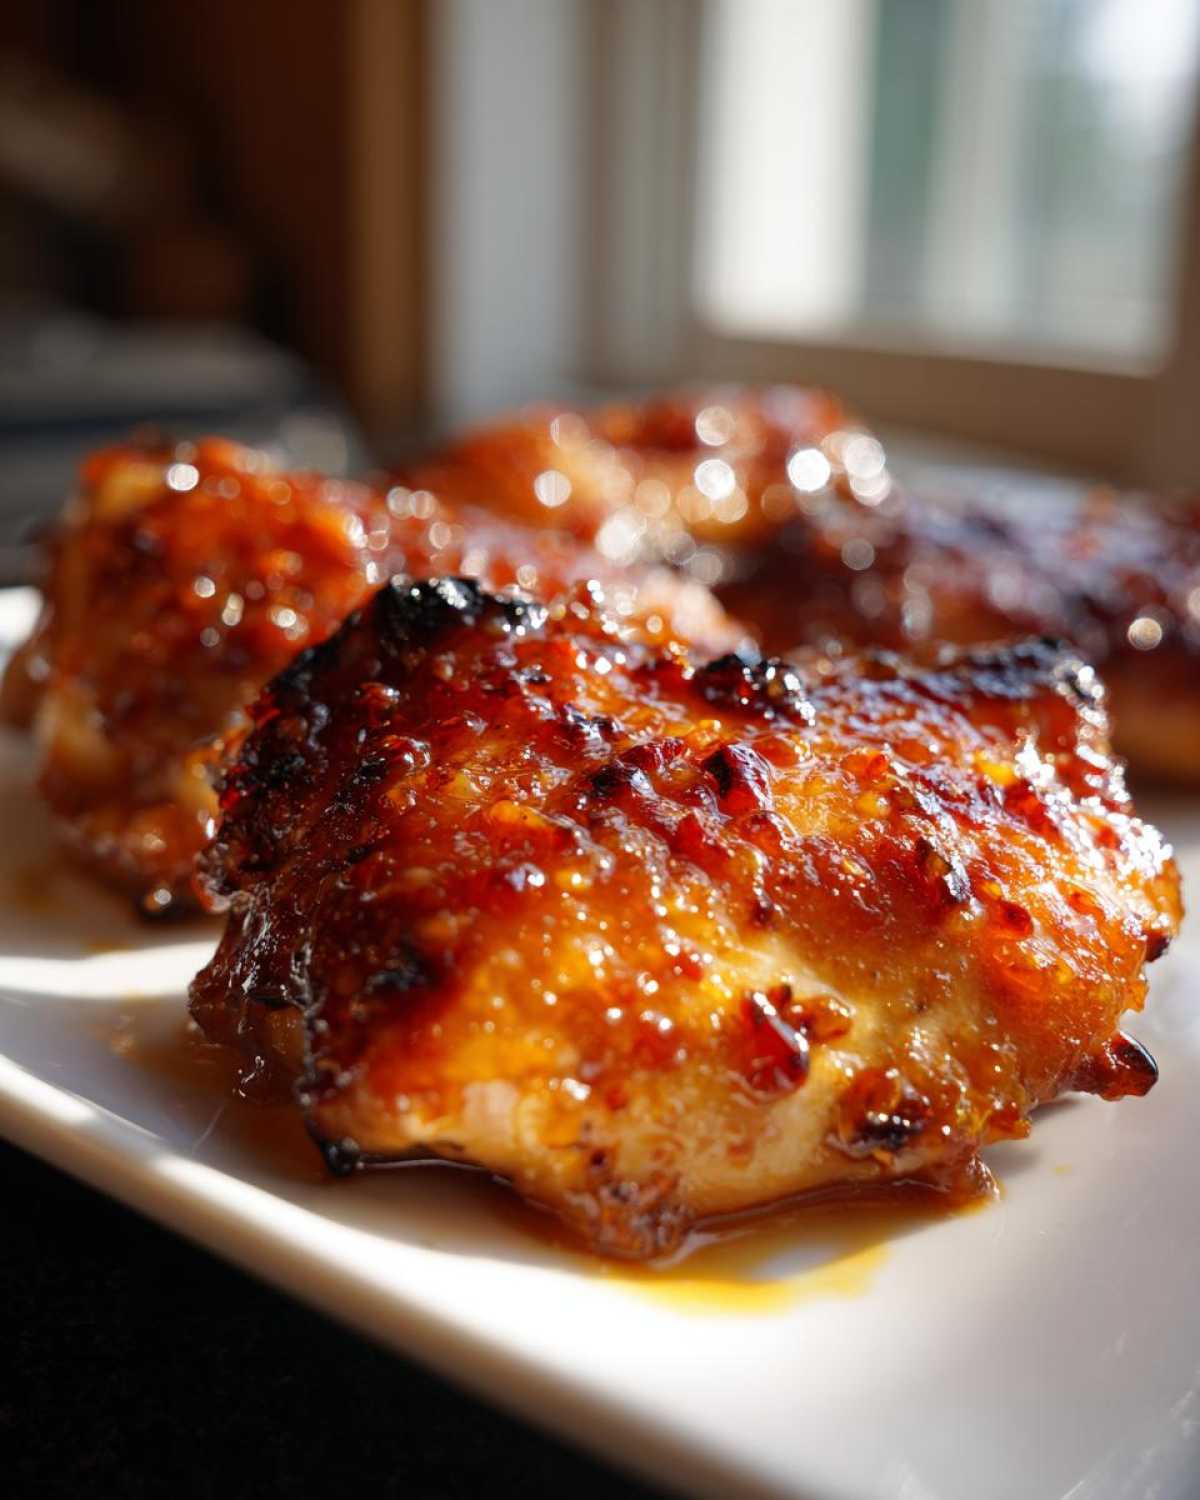
I’m telling you, mastering this dual-glaze technique back then was a game-changer for my rotation. It’s hands-off cooking, which means I can actually set the table or help with homework while dinner cooks itself. Honestly, the smell that fills the kitchen when that glaze starts bubbling is just pure magic. If you’re looking for seriously flavorful, moist chicken thighs baked to perfection without making a huge mess, you’ve absolutely found your new favorite meal.
I’ve tried every method out there—grilling, pan-searing—but nothing beats the reliability of using the oven for this specific result. We make sure to coat the skin properly before it goes in, and then we hit it with that second layer near the end. Trust me, that double coating is the secret sauce to making sure your glaze stays tacky and doesn’t just run off into the foil pan. Don’t worry, I’ll show you exactly how to nail that perfect sticky finish every single time. If you want to prep ahead, check out my tips on how to create the glaze early two days before you plan on cooking!
Why This Sticky Sweet Chili Chicken Thighs Oven Baked Recipe Works (Easy Oven Chicken)
So, why do I insist this is the best oven baked chicken thighs recipe you’ll ever try? It all comes down to texture and ease. Since we’re focusing on bone-in, skin-on thighs, you are guaranteed incredible moisture. That dark meat just doesn’t dry out like breasts do, even if you slightly overcook it!
This is the definition of easy oven chicken. You’re just mixing a sauce, brushing it on, and walking away. The high heat of the oven crisps up the amazing, fatty skin while the sugar in the glaze begins setting up beautifully. It’s the perfect hands-off method for achieving those rich, flavorful results we want in our Asian inspired chicken thighs without standing over a hot skillet.
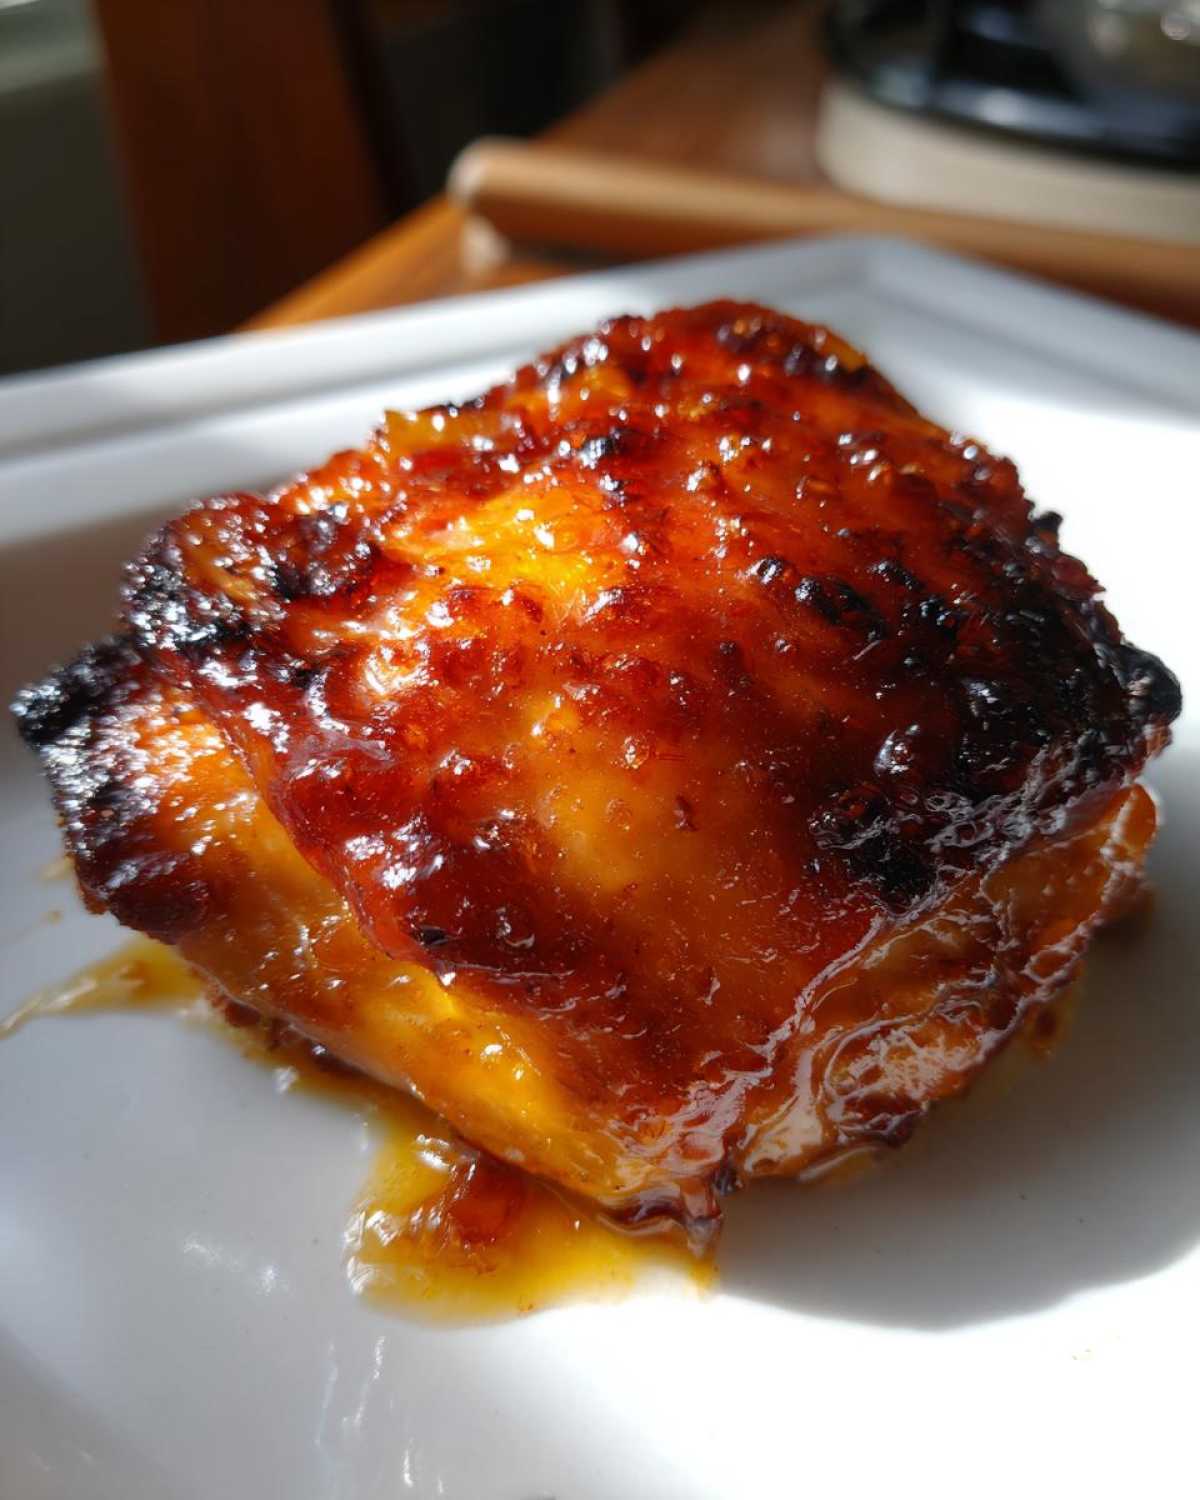
Getting those moist chicken thighs baked every time is actually simple when you choose the right cut and use the two-stage glaze process I mention later. It’s an incredibly satisfying way to get that fantastic takeout-style chicken at home when you’re totally wiped out by the end of the day. If you want another fail-proof way to keep thighs tender, take a peek at my recipe for braised chicken thighs; it’s great when you want something less sticky!
Gathering Ingredients for Sticky Sweet Chili Chicken Thighs Oven Baked
Alright, let’s talk about what you need, because the ingredient list for this sticky glaze chicken is impressively short. We’re keeping things simple so you can whip this up on a Tuesday night without a trip to the specialty store! You’ll need eight bone-in, skin-on chicken thighs. Listen to me: skip the boneless, skinless ones for this particular recipe. The bone insulates the meat, keeping it unbelievably juicy, and having that beautiful skin means we get that gorgeous crisp factor even under all that sticky sauce!
For the actual coating, grab your favorite standard sweet chili sauce—the kind you might already have kicking around. We balance that out with honey for sweetness, soy sauce for depth, and just a splash of rice vinegar for that crucial tang that cuts through the richness.
Don’t forget the aromatics! Fresh ginger and garlic are non-negotiable here. They really wake up the glaze, providing that wonderful punch you associate with great sweet chili chicken dinner. If you happen to have a jar of great garlic butter already made, you can skip rubbing the oil on the chicken separately, but seasoning with salt and pepper first is always key.
Ingredient Notes and Substitutions for Your Sticky Glaze Chicken
If you can’t find honey, maple syrup is a close second, but it might change the color just a touch. Rice vinegar is important; don’t substitute it with plain white vinegar, or it’ll be way too harsh. Always use low-sodium soy sauce if you can, just so we can control the salt when we add the teaspoon measurement!
When you buy that sweet chili sauce, look for one that seems slightly thick, not watery. That extra thickness helps it cling better when we do the second brush. Seriously, nailing the ingredients is half the battle for this amazing glazed chicken recipe oven!
Preparing the Perfect Sticky Glaze Chicken Recipe Oven
Okay, once your ingredients are gathered, this part is so fast you’ll barely believe it. We are building a balanced sauce here. It’s all about the interplay between sweet, spicy, and sour. I always grab a small bowl, whisk the sweet chili sauce, honey, soy sauce, vinegar, ginger, and garlic together until it’s completely smooth.
This is where your first taste test comes in! Give that glaze a tiny dip with a spoon and taste it. Does it need a tiny splash more vinegar if it tastes too sweet? Do you want to sneak in a dash of red pepper flakes for a bigger kick? This is your moment to customize that glorious sauce before it hits the chicken.
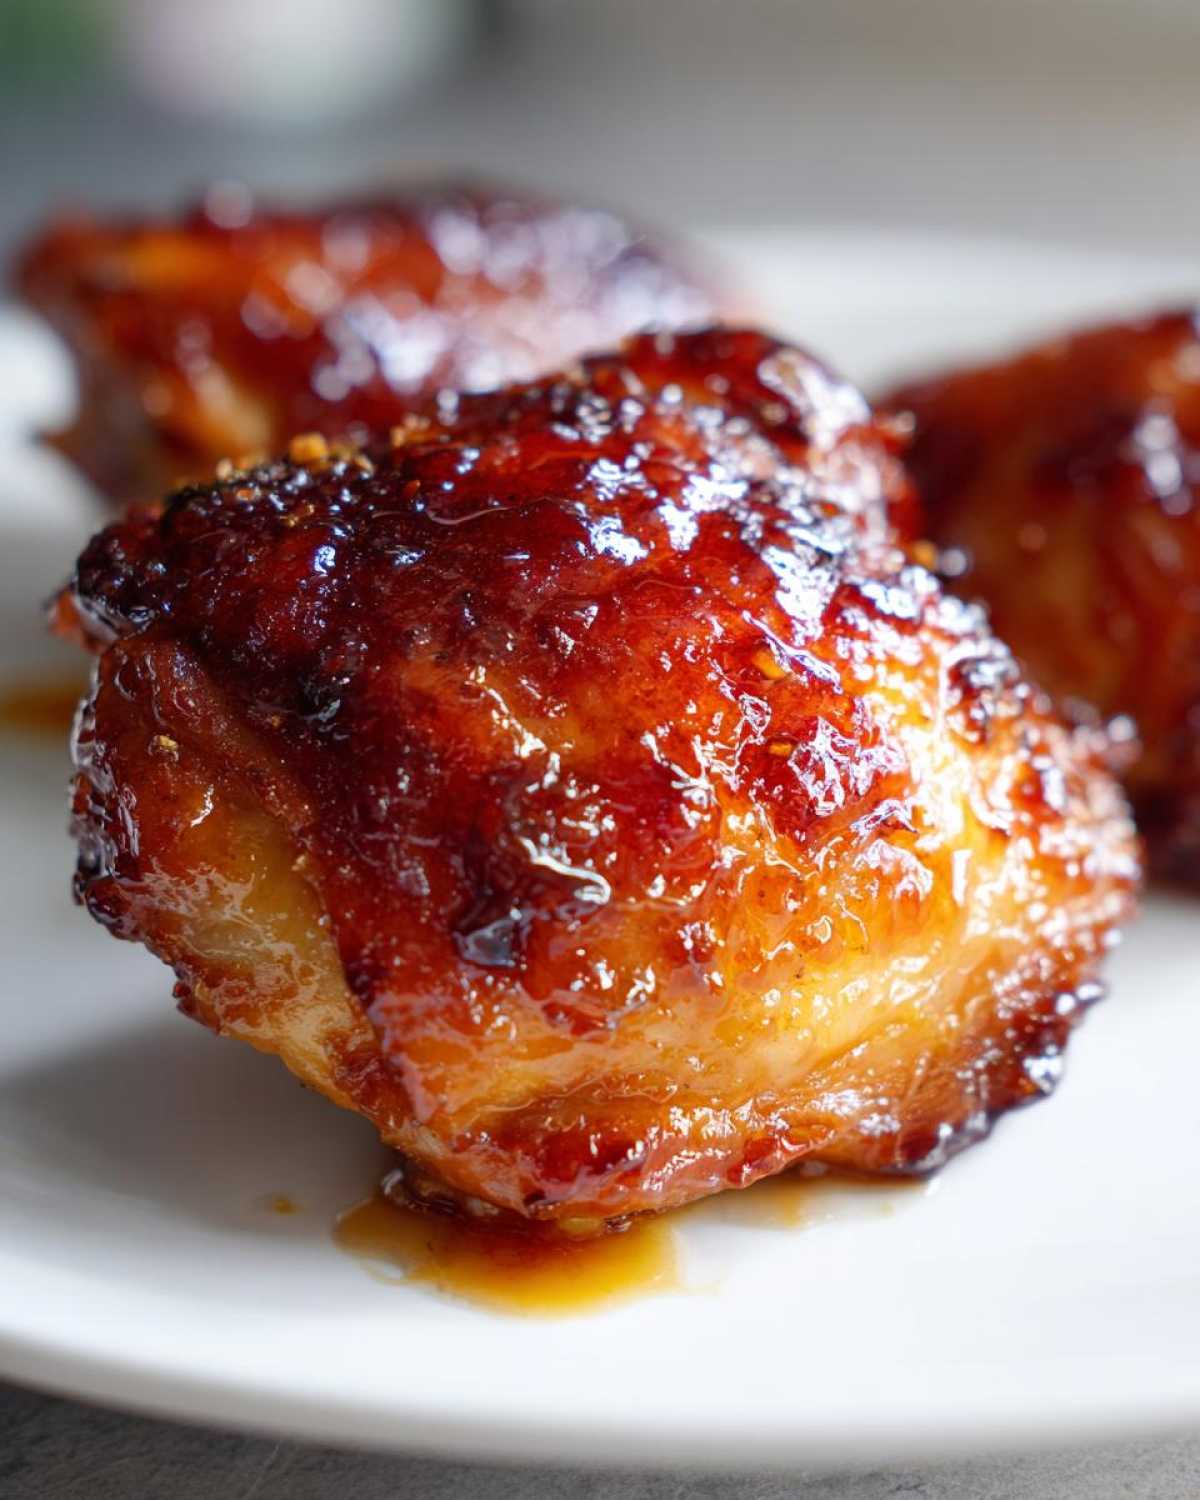
Once you are happy with your beautiful, thick sticky glaze chicken base, set half of it aside! This is crucial. We use the first half for the initial bake, and the second reserved half to brush on later for that fresh, sticky finish. You can check out how I build a similar sauce base in my homemade teriyaki recipe for a little extra inspiration, but honestly, this one is simpler and faster!
Step-by-Step Instructions for Sticky Sweet Chili Chicken Thighs Oven Baked
This is where the magic happens! Don’t rush these steps, especially when it comes to glazing. Following this sequence is how we avoid watery sauce and achieve that truly lacquered, sticky finish on your sweet chili chicken dinner.
Prepping the Chicken and Initial Bake
First things first: crank that oven up to 400°F (200°C) and line a sheet pan—heavy-duty foil is your friend for cleanup! Next, you’ve got to pat those thighs DRY. Seriously, use a few paper towels until the skin feels almost tacky. Oil them up lightly, then hit them with salt and pepper all over. Now, take half of that glorious glaze mixture we just made and brush it over the tops of the chicken. Pop them in the oven for 25 minutes while you tidy up the kitchen.
The Second Glaze and Achieving Caramelization for Your Sweet Chili Chicken Dinner
When the timer goes off, pull them out, but don’t let them cool! Brush that remaining, fresh half of the sauce over the tops. They need another 10 to 15 minutes until the thermometer reads 165°F right in the juicy part. Now, for the *real* stickiness: If you have good coloring but need that deep tackiness, flick the oven to broil for maybe 60 to 90 seconds. Watch them like a hawk! Glazes burn fast, and we want sticky, not charcoal. Once they are out, let them rest for five minutes before serving up those gorgeous pieces of garlic butter chicken bites inspiration!
Tips for Success with Your Oven Baked Chicken Thighs Recipe
Achieving the absolute best results with your best oven baked chicken thighs isn’t just about the sauce; it’s about managing the heat! My number one tip, truly, is this: use a wire rack set over your foil-lined baking sheet if you can. This allows air to circulate underneath the skin. If the bottom of the chicken is sitting in rendered fat and liquid, it steams instead of crisps.
Another thing I learned the hard way? Always measure your internal temperature. I know the recipe calls for 165°F, but sometimes with bone-in thighs, you might need to hit 170°F near the bone for total peace of mind. Don’t rely just on the look of the glaze!
If you feel like your glaze is getting *too* dark while you’re waiting for the internal temp, just loosely tent the pan with foil for the last five minutes. That stops the sugar from burning immediately. If you need inspiration for a side that cooks at the same temperature, you’ve got to try my way of making caramelized onions!
Serving Suggestions for Asian Inspired Chicken Thighs
These Asian inspired chicken thighs are so saucy and bold, they really need something simple underneath to catch all that glaze. My absolute favorite way to serve them is directly over a big mound of perfectly steamed white rice—it just soaks up the sauce like a sponge. Honestly, that’s what the recipe note is pushing for, and it works!
If you’re looking for vegetables, keep them light! I usually roast some broccoli florets with just a little sesame oil, or maybe some quick-blanched green beans. You want something fresh that won’t compete with the sticky sweet chili flavor. If you’re making a bigger spread, you might want to try whipping up my recipe for easy Spanish rice instead of plain white rice; it adds great texture!
Storage and Make Ahead Tips for Sticky Sweet Chili Chicken Thighs
One of the best parts about this Sticky Sweet Chili Chicken Thighs Oven Baked is that it actually tastes even better the next day! For leftovers, just pop them into an airtight container in the fridge. They should keep well for three, maybe four days. When you reheat them, the glaze will have set a bit, so I usually add a tiny splash of water or chicken broth to the pan when warming them up on the stovetop—just to loosen that sauce again without making it runny.
Now, here’s a huge time-saver for busy weeks: you can definitely make the make ahead sweet chili sauce! I mix up the entire glaze the weekend before, seal it tight, and keep it chilled. It’s ready to go when dinner time rolls around, cutting down on your prep time significantly. Just remember that if your sauce has been chilled, it might be firmer than when it was freshly mixed.
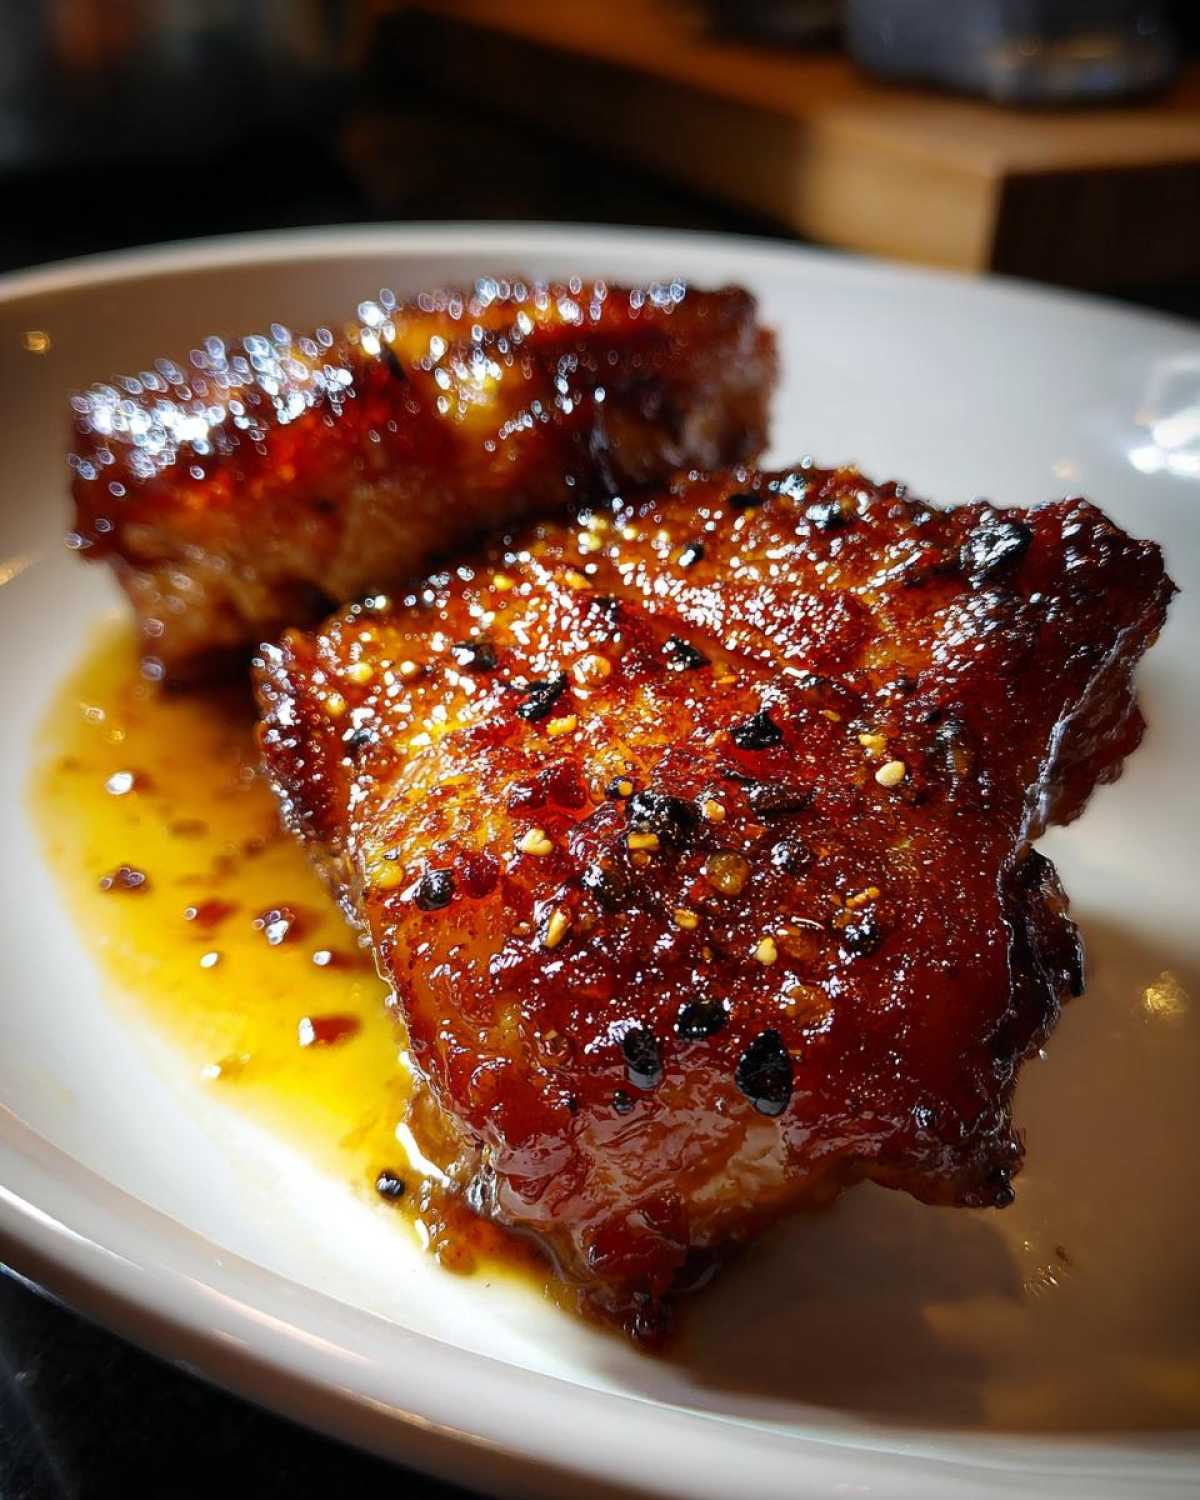
If you find yourself with a lot of leftovers, shredding the meat and using it in wraps or tossing it with some noodles is fantastic. To see another great make-ahead meat option, you have to check out my easy pulled chicken slow cooker recipe; it’s another weeknight lifesaver!
Frequently Asked Questions About This Glazed Chicken Recipe Oven
I get asked these questions all the time when people try this recipe for the first time! It’s smart to anticipate a few tweaks, especially since everyone’s oven and taste buds are a little different. Here are the things I hear most often about making the perfect batch of this glazed chicken recipe oven.
Can I use chicken breasts instead of thighs for this recipe?
Yes, you absolutely can, but you have to be much more careful! Remember I stressed that the thighs are forgiving? Breasts are not. Since we’re aiming for that incredible sticky glaze, breasts will dry out much faster. You’ll want to reduce that initial bake time significantly, maybe to 18 or 20 minutes, and definitely watch that final temperature like a hawk. Don’t let them push past 160°F before the final glaze application, because the residual heat will take them the rest of the way (I know, I’m always preaching about temperature control for that quick baked chicken dinner!).
How do I make the Sticky Sweet Chili Chicken Thighs less spicy?
This is easy to tweak! The spice level really depends on whatever brand of sweet chili sauce you buy. If yours seems fiery, you have a couple of great options. My favorite trick is to just slightly increase the honey in the sauce—maybe add an extra tablespoon—to neutralize some of that chili heat. Another trick is to substitute about half of your sweet chili sauce measurement with plain apricot jam or even apple jelly. That keeps the texture right but mellows out the spice profile considerably. That way, you still get a family friendly chicken recipe that everyone enjoys!
If you’re looking for more general dinner ideas or want to see other ways to cook chicken, browse through my whole collection of amazing dinner recipes!
Nutritional Estimates for This Quick Baked Chicken Dinner
Now, I know some of you are keeping track of what goes into your body, and that’s smart! I always run the numbers for my favorites. Just remember, these estimates are just that—estimates! They can change based on how much fat renders out during baking and the exact brand of honey or soy sauce you use. Also, this calculation is based on the fact that the recipe serves 4, so it’s covering one large thigh per person.
For just one serving of this quick baked chicken dinner (that’s roughly one big thigh), here’s what you’re looking at:
- Serving Size: 1 thigh
- Calories: Approximately 450
- Total Fat: 25g (with 8g Saturated Fat)
- Carbohydrates: 25g (which includes all that delicious sugar from the glaze!)
- Protein: A whopping 32g!
- Sugar: Around 22g
See? You get a ton of protein, and since we are baking and not frying, the fat content is mostly from the wonderful skin, which you can totally scrape off if you’re trying to cut back a little!
Eating food that tastes this good should feel like a win, not a guilt trip. If you want to learn more about how we calculate these estimates or what that means for your diet, definitely check out the full breakdown on the site’s disclaimer page right here. Enjoy that amazing flavor!
PrintSticky Sweet Chili Chicken Thighs Oven Baked

Bake chicken thighs in the oven coated with a simple, sticky sweet chili glaze for an easy weeknight dinner.
- Prep Time: 10 min
- Cook Time: 40 min
- Total Time: 50 min
- Yield: 4 servings
- Category: Dinner
- Method: Baking
- Cuisine: Asian Inspired
- Diet: Low Fat
Ingredients
- 8 bone-in, skin-on chicken thighs
- 1 tablespoon vegetable oil
- 1 teaspoon salt
- 1/2 teaspoon black pepper
- 1/2 cup sweet chili sauce
- 1/4 cup honey
- 2 tablespoons soy sauce
- 1 tablespoon rice vinegar
- 1 teaspoon grated fresh ginger
- 2 cloves garlic, minced
Instructions
- Preheat your oven to 400 degrees Fahrenheit (200 degrees Celsius). Line a baking sheet with foil for easier cleanup.
- Pat the chicken thighs dry with paper towels. Rub the thighs all over with vegetable oil, salt, and pepper. Place them skin-side up on the prepared baking sheet.
- In a small bowl, whisk together the sweet chili sauce, honey, soy sauce, rice vinegar, ginger, and minced garlic to create the glaze.
- Brush half of the glaze mixture evenly over the chicken thighs.
- Bake for 25 minutes.
- Remove the chicken from the oven and brush the remaining glaze over the thighs.
- Return the chicken to the oven and bake for another 10 to 15 minutes, or until the internal temperature reaches 165 degrees Fahrenheit (74 degrees Celsius) and the glaze is sticky and slightly caramelized.
- For extra stickiness, switch the oven to broil for the last 1 to 2 minutes, watching closely to prevent burning.
- Let the chicken rest for 5 minutes before serving.
Notes
- Serve these chicken thighs over steamed white rice or with roasted broccoli.
- You can make the sweet chili glaze up to three days ahead and store it in the refrigerator.
- If your chicken thighs are boneless and skinless, reduce the total cooking time by about 10 minutes.
Nutrition
- Serving Size: 1 thigh
- Calories: 450
- Sugar: 22
- Sodium: 650
- Fat: 25
- Saturated Fat: 8
- Unsaturated Fat: 17
- Trans Fat: 0
- Carbohydrates: 25
- Fiber: 1
- Protein: 32
- Cholesterol: 110