

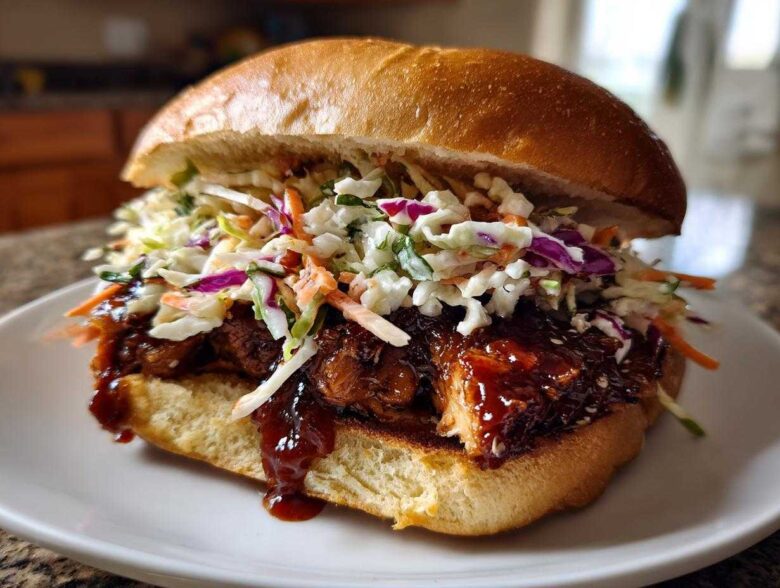
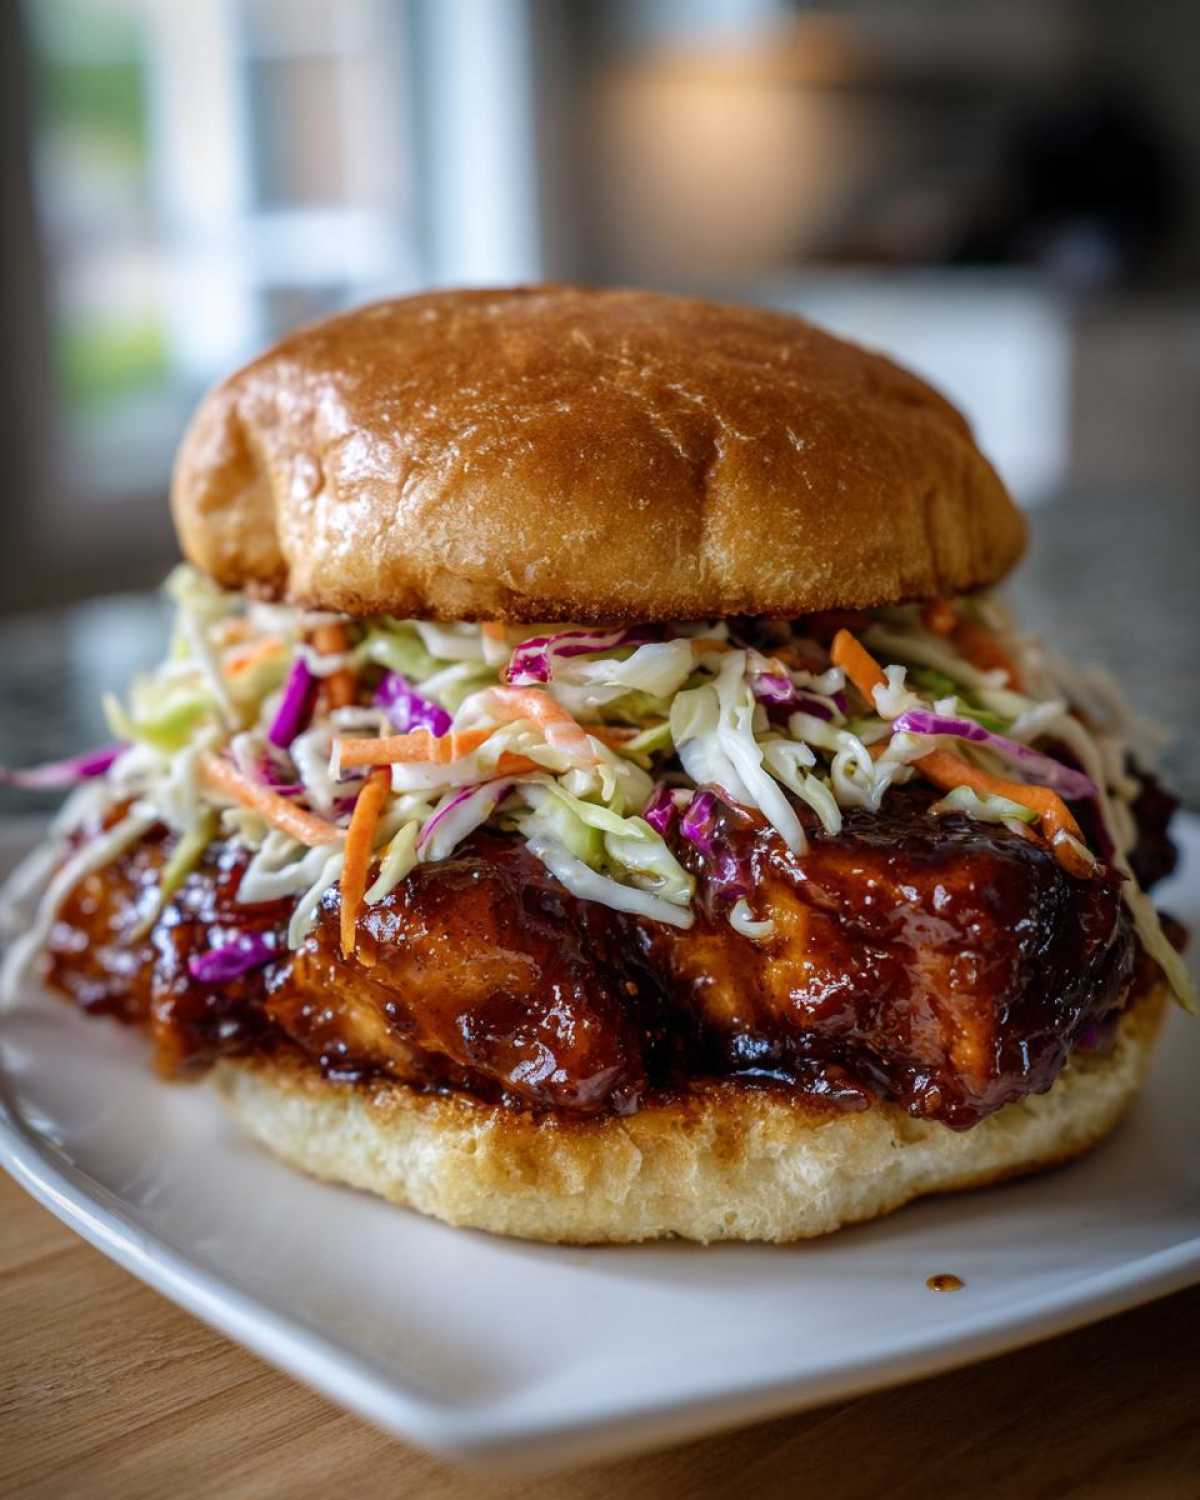
Oh my gosh, you are going to fall head over heels for this sandwich. Forget those flimsy, saucy chicken patties you get at the takeout place! We are talking about the ultimate payoff here: incredibly flavorful, sticky BBQ chicken that practically glows under the heat lamp, perfectly balanced by a bright, shatteringly crunchy slaw. Trust me when I say I spent three summers perfecting barbecue sauces so that the glaze sticks *just right*—not runny, never dry. This Sticky BBQ Chicken Sandwich with Crunchy Slaw is truly what I consider the Best BBQ Chicken Sandwich Recipe ever. It brings together sweet, spicy, and tangy in one perfect bite, guaranteed to make your next backyard cookout legendary.
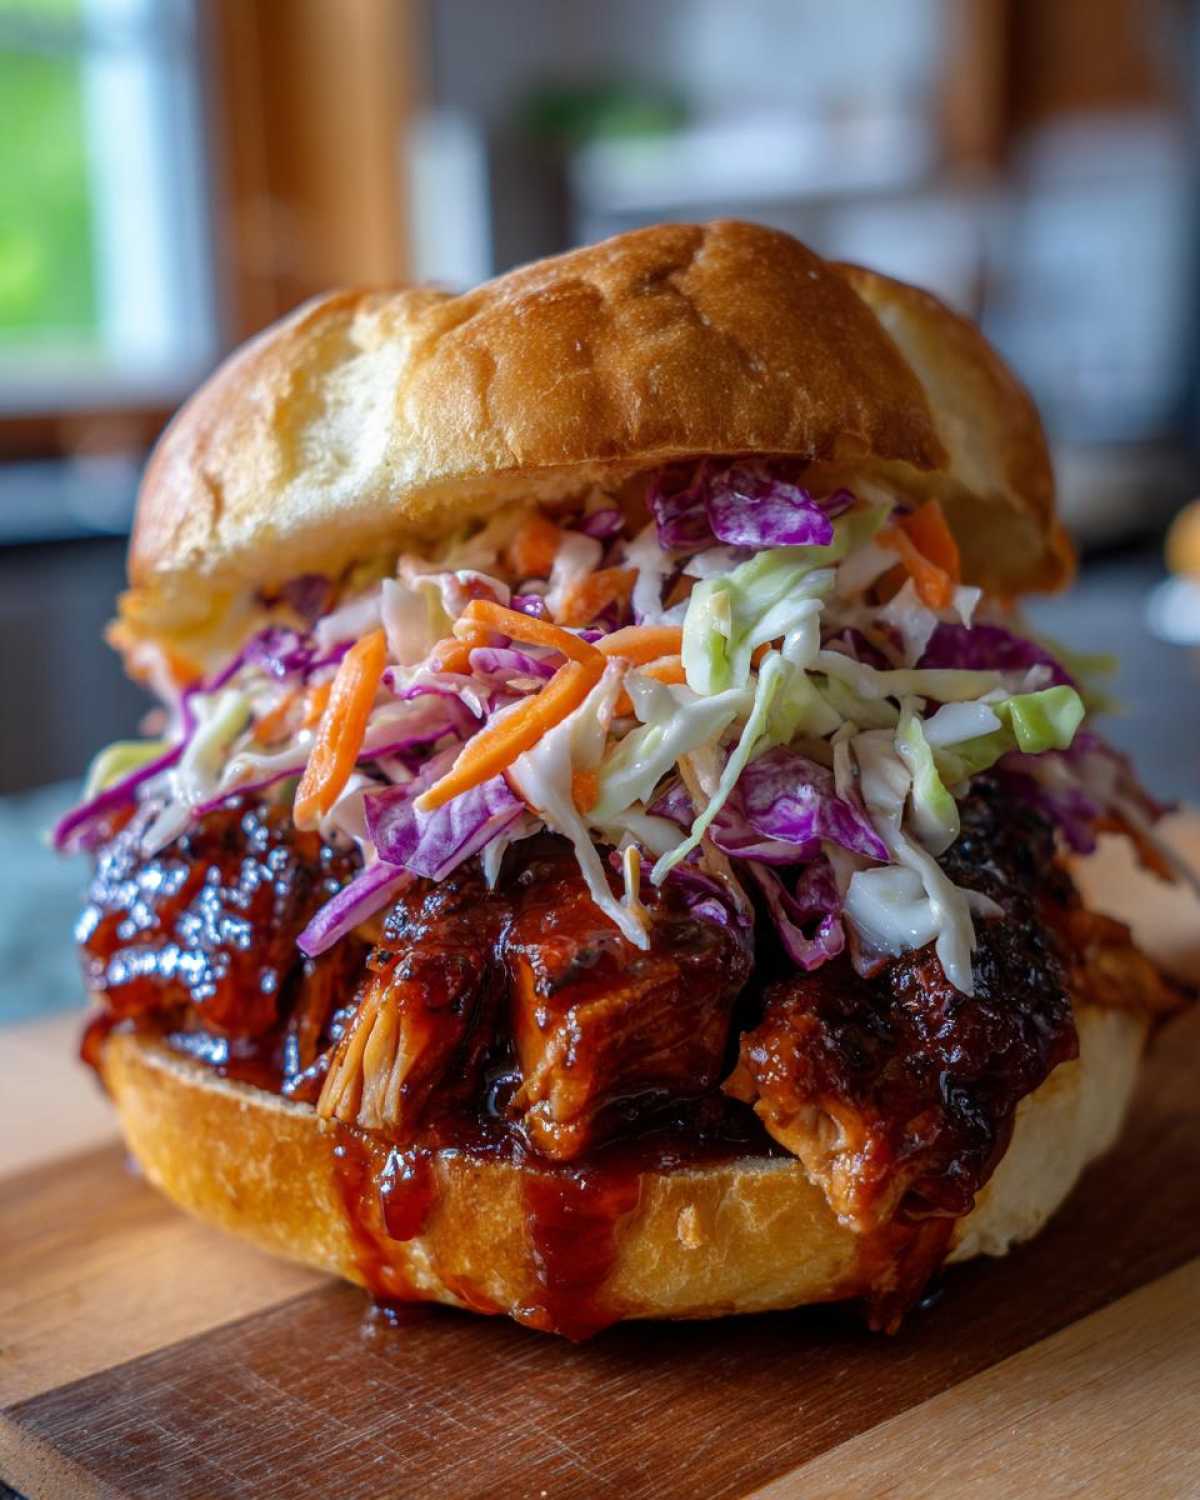
If you want to know my absolute secret for getting chicken ridiculously juicy before the glaze goes on, check out the tips in this short marinade guide. It makes a huge difference!
Why This Sticky BBQ Chicken Sandwich with Crunchy Slaw Works
You want a sandwich that hits every note, right? I’ve learned that the key to a truly spectacular sandwich isn’t just the chicken—it’s having all the elements cooperate perfectly. This recipe absolutely delivers on that promise of texture and flavor contrast that makes people talk about a meal long after it’s over. I’ve broken down exactly why this particular combination just sings.
The Perfect Texture Contrast
This is where the magic happens! You have that intensely rich, sweet, and spicy coating we call the sticky glaze giving you that amazing gooey pull. Then, BAM! You bite into that bright, crisp, crunchy slaw. That vinegar dressing cuts right through the richness of the BBQ sauce. It’s an absolute party in your mouth, ensuring you never have a moment of flavor fatigue.
Easy Weeknight BBQ Chicken
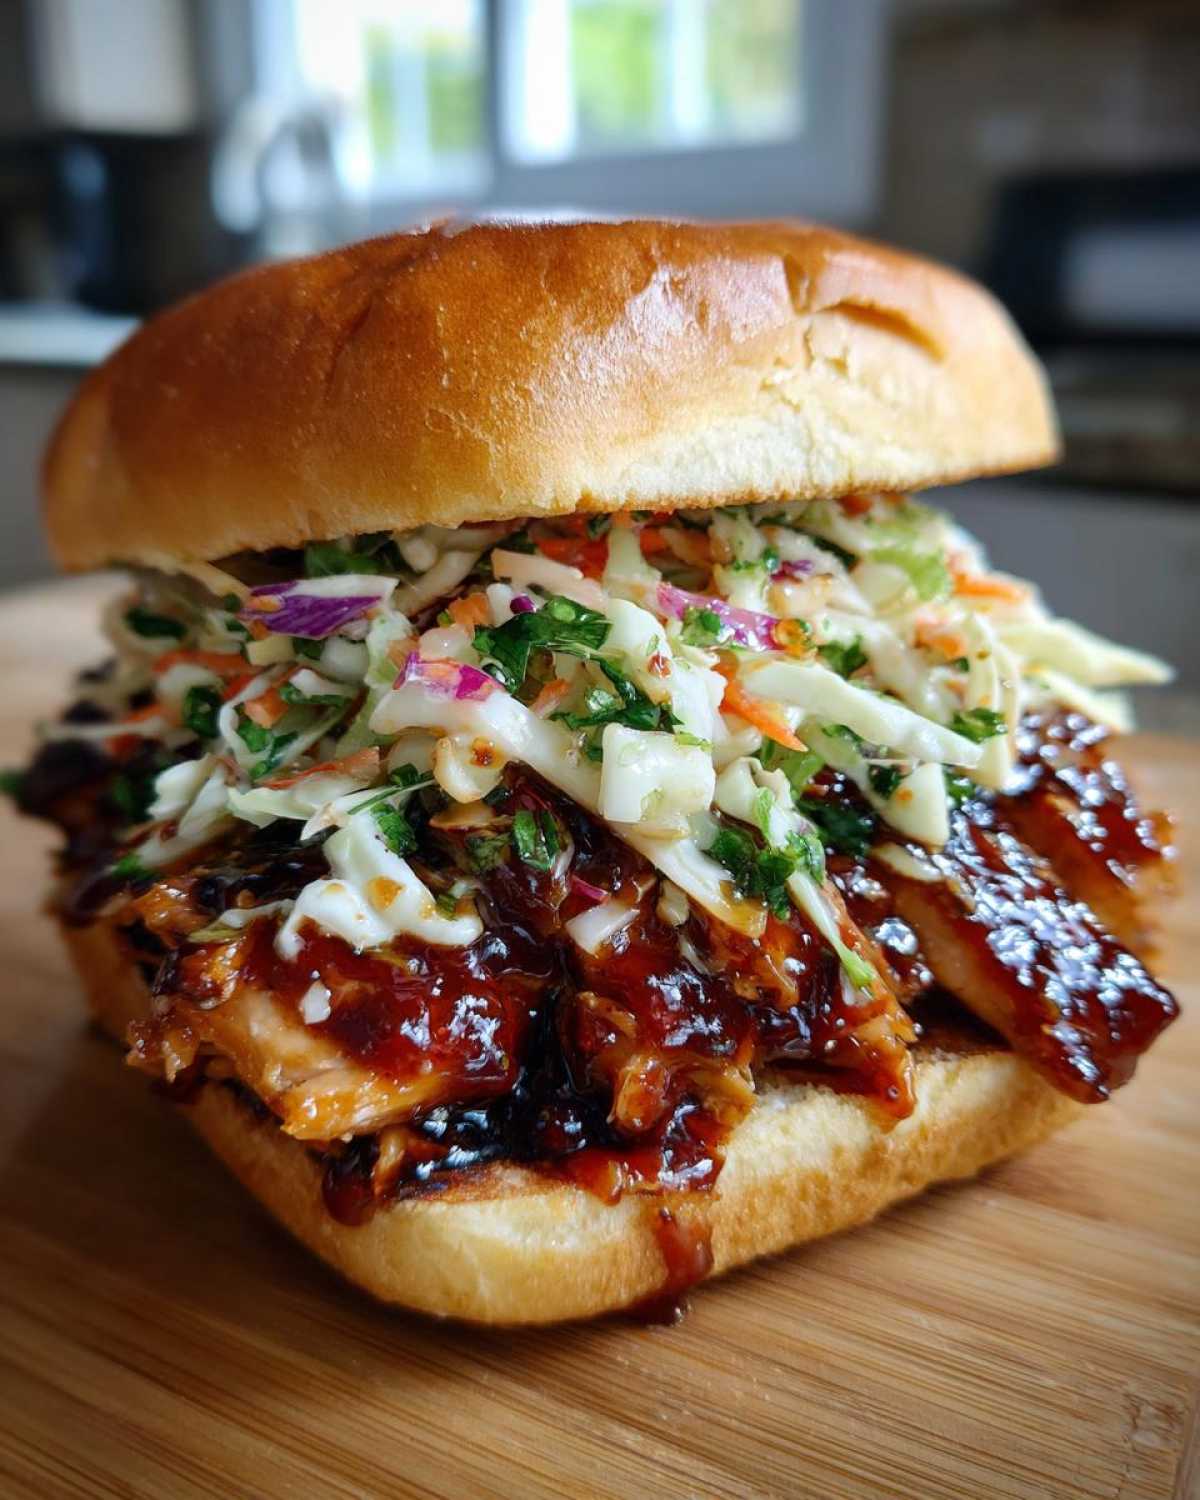
I know what you’re thinking: BBQ means hours over the grill, right? Nope! This whole masterpiece, from chicken cooking to slaw resting, comes together in about 35 minutes total. That’s why I call this my go-to for when I need something that tastes like a weekend cookout but is ready before homework gets done. It’s super fast, which means you can actually enjoy it!
Essential Ingredients for Your Sticky BBQ Chicken Sandwich with Crunchy Slaw
Okay, good ingredients are non-negotiable, especially when you are trying to hit that perfect sticky-crunchy balance. I’ve listed out absolutely everything you need below, broken down into two main teams: Team Glaze and Team Slaw. Don’t skip anything here, especially if you’re trying out the vinegar slaw for the first time—that tang is crucial to countering the richness!
If you want to know my secrets on getting onions perfectly melded with sauces (though we don’t use them here, the technique is related!), you should check out my caramelized onions guide.
For the Sticky Honey Sriracha Glaze
This is where we build the flavor foundation for that sticky coating. I use honey because it caramelizes better than plain sugar, and the Sriracha gives it just the right little kick of heat so it’s sweet and spicy, not just sweet.
- 1.5 lbs boneless, skinless chicken breasts or thighs
- 1/2 cup ketchup
- 1/4 cup honey
- 2 tablespoons soy sauce
- 2 tablespoons apple cider vinegar
- 1 tablespoon Sriracha sauce
- 1 teaspoon smoked paprika
- 1/2 teaspoon garlic powder
- Salt and black pepper to taste
- 4 sturdy sandwich buns
For the Crunchy Coleslaw Topping
This slaw is designed to stay crisp, even when sitting on top of warm chicken! We are skipping the heavy mayo here for a punchier vinegar dressing that keeps everything bright and gives you that satisfying crunch with every single bite.
- 3 cups shredded green cabbage
- 1 cup shredded red cabbage
- 1/2 cup shredded carrot
- 1/4 cup thinly sliced red onion
- 1/4 cup apple cider vinegar
- 2 tablespoons vegetable oil
- 1 tablespoon sugar
- 1 teaspoon celery seed
- 1/2 teaspoon salt
Mastering the Homemade Sticky Chicken Glaze
This glaze is the superstar of the whole show, honestly. Getting that perfect sheen that actually clings to the chicken—that’s the trickiest part of any great BBQ sandwich. We aren’t just using bottled sauce here; we’re taking simple ingredients and reducing them down to create our very own Homemade Sticky Chicken Glaze. The science part is simple: heat evaporates the water content in the ketchup and vinegar, leaving behind that thick, sugary syrup behind.
See? Honey and ketchup aren’t just for flavor; they are essential working ingredients for texture. When you simmer that sauce for about five minutes, you are concentrating that stickiness. My number one expert tip, and please listen to this, is to watch that glaze like a hawk in the final minutes. Because of the honey, it goes from perfect to burnt black in about thirty seconds flat.
When you’re brushing it onto the chicken near the end of cooking, turn your heat down a notch. You want it to bubble gently and caramelize, not smoke violently. If it starts smelling acrid, pull the pan off the heat immediately! A sticky glaze should feel substantial on the back of a spoon—that perfect texture is what makes this sandwich truly rock.
How to Prepare the Sticky BBQ Chicken Sandwich with Crunchy Slaw
Alright, let’s get down to business! This is where all those amazing ingredients come together. While I usually bake up my chicken for convenience, this recipe works beautifully with grilling too—just watch that glaze!
The whole process is broken down into four manageable chunks: making the sauce first so it’s ready to go, cooking the chicken, letting the slaw rest, and finally, putting it all together. Trust me, following the order makes things so much smoother. If you want to try an amazing air fryer method for cooking the chicken, you can see how I adapt it over in this air fryer guide!
Cooking the Chicken and Achieving the Sticky Finish
First thing’s first: prep your protein. If you are using chicken breasts, pound them down so they are an even ½ inch thick. This is super important so they cook fast and evenly. Season them lightly with salt and pepper—the sauce is where all the heavy flavor lives, so don’t worry about marinating them for hours.
Once your chicken is cooked through—whether that’s on the medium-high grill grates or in a hot skillet—you have to wait for the five-minute magic window. Don’t glaze until the very end! We are aiming for that safe 165°F internal temperature, of course, but when it’s nearly done, it’s time to brush on that glorious sticky glaze. Load it on thick, flip the chicken, and brush the other side. You should see it start to bubble and caramelize right onto the meat. That’s the goal! If you make a simple garlic butter while this cooks, you can brush the buns with it just before toasting, like I talk about here.
Assembling Your Perfect Sandwich Assembly Guide
This is the final boss level, and layering matters! If you slap that slaw on before you even cut the chicken, you’ll end up with a soggy mess, and we absolutely cannot have that. Start by lightly toasting your sturdy buns—brioche or potato rolls are my favorites because they stand up to the stickiness.
Now, here’s the method for the Perfect Sandwich Assembly Guide: Bottom bun, then the hot, freshly glazed chicken piece. Pile that chilled, crunchy slaw right on top of the chicken. The residual heat won’t make it instantly wilt, and the slaw acts like a protective layer against the top bun. Finally, cap it off. Eat it immediately while the chicken is warm and the slaw is cold and crisp!
Tips for the Ultimate Crunchy Coleslaw Sandwich Topping
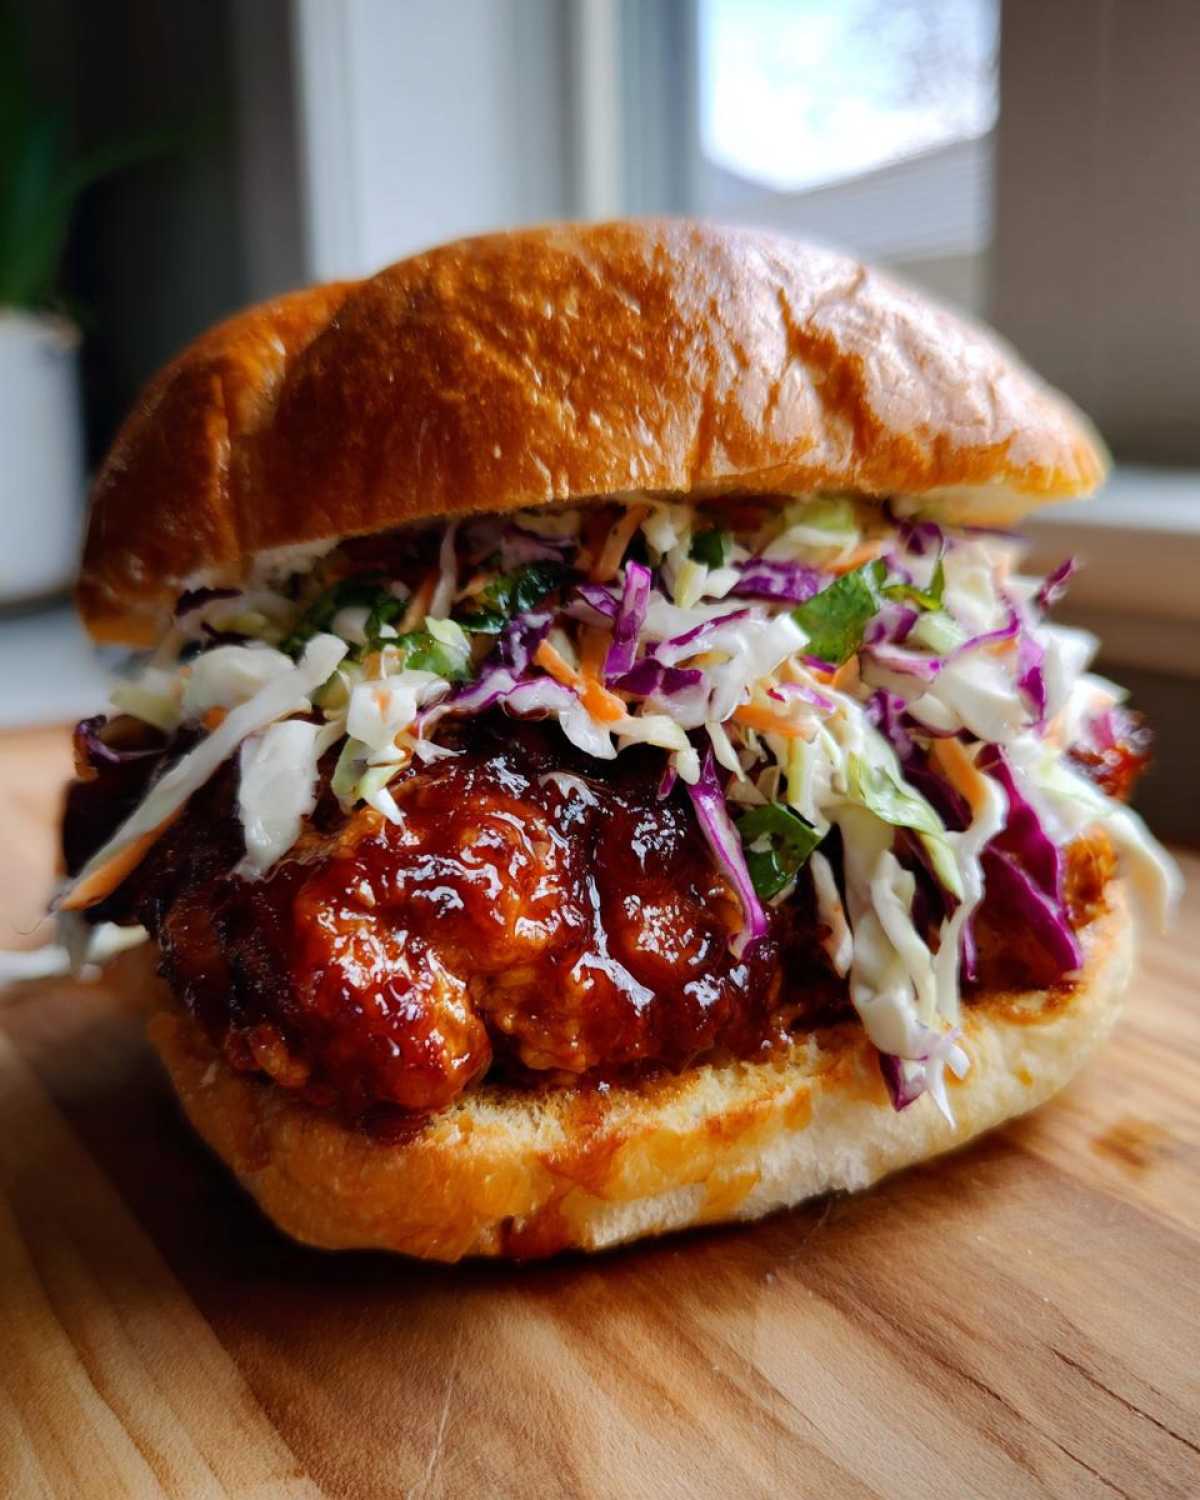
Listen, this slaw is *not* an afterthought. It’s the balancing act that lets you eat this rich, sticky chicken sandwich without feeling weighed down. If your slaw flops, the whole sandwich flops. So, we need it crunchy, bright, and tasting like it was just made five minutes ago, even if you mix it up a bit early.
The secret to great slaw that sticks around is how you treat the vegetables. You want that satisfying *snap* when you bite in, right? That comes down to a few key things: thin slicing and using the right dressing base.
First, slicing! If your cabbage or carrots are chunky, they just feel heavy. I try to get my shredding as fine as possible—almost like feathery ribbons. If you happen to have a mandoline, dust it off! Don’t worry about perfectly sized shreds; just get them thin. If you want a quick look at how to prep raw vegetables so they have the best texture, I showed my fast shredding technique for carrots over here.
Next up is that resting time we mentioned. That acid in the apple cider vinegar needs a little time to start working its magic on the tough cabbage fibers. Even 10 minutes does wonders! It softens them just enough so they aren’t totally raw tasting, but they definitely aren’t soggy. This is what defines the best slaw when you are figuring out how to make slaw for sandwiches—it needs time to marry the dressing, but not so much time that it turns watery.
Now, about substitutions! I listed the tangy vinegar dressing because I love how it cuts the sweetness of the BBQ sauce, but I know people have their preferences. If you absolutely need a creamy slaw for your sandwich, you can swap out that vinegar mixture for the creamy note mentioned in the recipe notes. Just use mayonnaise, a splash more vinegar for tang, sugar, and the celery seed. But honest advice? Keep it vinegar-based for this particular sticky chicken. The clean flavor keeps the sandwich exciting!
Making Variations for Your Sticky BBQ Chicken Sandwich
This recipe is incredibly solid, but I love how versatile it is too! Once you nail that glaze consistency, you can tweak things a bit to keep it exciting meal after meal. I get asked all the time about using different types of chicken, or dialing up or down that heat level. Don’t be afraid to play around once you’ve mastered the basics!
The biggest change people usually ask about is the protein, and let me tell you, chicken thighs are amazing here. Breasts are leaner, which some folks prefer, but thighs have more connective tissue and fat, meaning they stay juicier even when you’re glazing them hard under the heat.
Choosing Between Thighs and Breasts
If you go with boneless, skinless thighs instead of breasts, you might need to increase the cooking time by about 3 to 5 minutes per side, depending on how thick they are. Thighs are more forgiving, so you don’t need to pound them quite as aggressively. If you’re looking for a totally different method for cooking chicken thighs that results in incredibly tender meat, I detailed my favorite technique for braised thighs that actually get crispy skin in this one-pot recipe. You could even use that braised chicken pulled apart in the sandwich!
Tuning the Sweet and Spicy BBQ Chicken Balance
The Sriracha gives us a nice, consistent heat, but if you want a full-on Sweet and Spicy BBQ Chicken experience that really packs a punch, you have a few options. The easiest swap is to increase that Sriracha from one tablespoon to two. If you do that, you might want to add an extra teaspoon of honey just to balance the fire a bit.
Another cool trick is swapping out the Smoked Paprika for a pinch of Cayenne Pepper. Paprika adds smokiness, which is lovely, but cayenne offers pure, sharp heat that hits you right away. Just remember: a little cayenne goes a long, long way when you’re trying to hit that perfect sweet-and-spicy spot!
Bun Selection: It Matters More Than You Think
I briefly mentioned toasting the buns, but seriously, don’t just grab any white bread! You need a bun with integrity because that sticky glaze is seriously saturated. A soft, fluffy bun will dissolve right under the weight of the chicken and the slaw. Look for brioche rolls, sturdy potato buns, or even toasted Kaiser rolls. They have enough surface tension to hold up to the moisture from both the chicken and the crunchy slaw. A soggy bottom bun ruins the whole experience, so make sure you give those cut sides a quick toast in a pan with butter before you layer anything!
Storage & Reheating Instructions for Leftover Sticky Glazed Chicken
Oh man, if you’re lucky enough to have leftovers of this Sticky BBQ Chicken Sandwich filling, you should absolutely save it! But pay attention here, because the difference between amazing leftovers and a sticky mess is all in the storage method. You have two very different textures—the gooey chicken and the crisp slaw—and they absolutely cannot hang out together in the fridge overnight. They will become sad and soggy together, and we can’t have that flavor sabotage!
Make sure you store the glazed chicken and the crunchy slaw in completely separate, airtight containers. The slaw needs to stay chilled and crisp, and the chicken needs to be kept at a temperature where that beautiful glaze doesn’t run everywhere. Keep the buns far away, too!
If you are looking for fun ways to use that leftover chicken in totally different meals later in the week, I cover my favorite ideas for repurposing it in my leftover chicken guide.
Now, let’s talk about bringing that sticky glaze back to life. Reheating chicken that has sugar in the glaze is always risky because that sugar burns fast. If you blast it in a frying pan, the outside will char before the inside is even warm. My absolute favorite way to gently warm this up so the glaze gets sticky again without scorching is in a low oven.
I set my oven to just 300°F. Lay the leftover chicken pieces out on a small baking sheet lined with foil or parchment for easy cleanup. If it looks a little dry when you take it out of the fridge, you can put a couple of tiny drops of water or even a splash of apple cider vinegar right on the pan before you slide it in. That little bit of steam helps keep the meat tender while it warms through.
It usually takes about 10 to 15 minutes, depending on how thick the chicken is. You want it hot all the way through. If you’re in a huge hurry, the microwave works, but you must use low power—maybe 50% for 45 seconds at a time. Otherwise, you end up with tough chicken coated in burnt sauce. Patience, friend! A little care on the reheat ensures that chicken is just as delectable the next day for lunch.
Frequently Asked Questions About the Best BBQ Chicken Sandwich Recipe
I get so many great questions about this recipe once folks start making it, and honestly, that tells me you all know a good sandwich when you taste one! Asking questions is just part of the journey to becoming a better cook, so let’s clear up a few common snags about achieving that perfect sticky texture and assembling the best BBQ chicken sandwich possible.
Can I make the sauce ahead of time?
Absolutely, you certainly can! Making the sauce ahead is a huge time saver, especially if you’re already planning on making the slaw earlier in the day. Because this is our own *from scratch BBQ sauce chicken* creation, it stores even better than store-bought stuff. Just pour your cooled glaze into an airtight container. It will thicken up beautifully in the fridge.
When you’re ready to use it, let it sit on the counter for about 20 minutes to warm up slightly before you brush it on the chicken during those final cooking minutes. If you try to use it rock-cold, it just won’t spread evenly! It keeps perfectly well for about a week.
What is the best way to cook the chicken for this recipe?
That’s a fantastic question, especially since the cooking method affects the final texture! I gave instructions for grilling or pan-frying because those methods let you get that crucial contact heat needed to really caramelize the glaze.
Grilling gives you those lovely, slightly smoky char marks, which adds a deeper layer of flavor that works beautifully with the Sriracha. The edges of the glaze tend to get extra sticky and even a little crispier on the grill. However, you have to babysit it more, or the high heat will burn the honey right off.
Pan-frying (in a skillet) is much easier for weeknights, and you have more control over the heat, which minimizes burning risks. The glaze adheres a bit more uniformly on the flat surface, giving you a saucier overall coating. Either way, make sure you pound your chicken even so it cooks quickly!
If you want to try an amazing soft bread option that holds up well, I love using these homemade rolls for sandwiches—you can find the recipe for them here!
Share Your Sticky BBQ Chicken Sandwich with Crunchy Slaw Experience
Whew! Now that you’ve got the full rundown on how to build the ultimate sandwich, I just can’t wait to hear what you think. Seriously, this Sticky BBQ Chicken Sandwich with Crunchy Slaw is my pride and joy, and knowing if you nailed that texture contrast is everything to me!
Did that Honey Sriracha glaze get nice and sticky? Was your slaw crisp enough to really cut through that sweetness? Don’t leave me hanging!
Please take a minute to rate the recipe below and drop a comment letting me know how it went. And if you snapped a picture of that glorious stack, please share it on social media and tag me. I love seeing your creations! If you want to jump straight into trying another flavor adventure, you can always browse the newest chaos in my kitchen over on the main blog page. Happy cooking, friends!
PrintSticky Honey Sriracha BBQ Chicken Sandwich with Crunchy Slaw
Make a flavorful BBQ chicken sandwich featuring sticky, sweet, and spicy glazed chicken topped with a crisp, tangy vinegar slaw.
- Prep Time: 15 min
- Cook Time: 20 min
- Total Time: 35 min
- Yield: 4 servings
- Category: Main Course
- Method: Grilling or Pan-Frying
- Cuisine: American
- Diet: Low Fat
Ingredients
- 1.5 lbs boneless, skinless chicken breasts or thighs
- 1/2 cup ketchup
- 1/4 cup honey
- 2 tablespoons soy sauce
- 2 tablespoons apple cider vinegar
- 1 tablespoon Sriracha sauce
- 1 teaspoon smoked paprika
- 1/2 teaspoon garlic powder
- Salt and black pepper to taste
- 4 sturdy sandwich buns
- For the Slaw: 3 cups shredded green cabbage
- 1 cup shredded red cabbage
- 1/2 cup shredded carrot
- 1/4 cup thinly sliced red onion
- 1/4 cup apple cider vinegar
- 2 tablespoons vegetable oil
- 1 tablespoon sugar
- 1 teaspoon celery seed
- 1/2 teaspoon salt
Instructions
- Prepare the chicken: Pound chicken breasts to even thickness if needed. Season lightly with salt and pepper.
- Make the sticky BBQ sauce: In a small saucepan, combine ketchup, honey, soy sauce, apple cider vinegar, Sriracha, smoked paprika, and garlic powder. Bring to a simmer over medium heat, stirring until smooth. Reduce heat to low and cook for 5 minutes until slightly thickened. This is your glaze.
- Cook the chicken: Grill, bake, or pan-fry the chicken until cooked through (internal temperature reaches 165°F).
- Glaze the chicken: During the last 5 minutes of cooking, brush the chicken generously with the BBQ sauce glaze. Flip and brush the other side. Cook until the glaze is sticky and caramelized. Set aside.
- Make the crunchy slaw: In a large bowl, whisk together apple cider vinegar, vegetable oil, sugar, celery seed, and salt for the dressing.
- Add the vegetables: Toss the green cabbage, red cabbage, carrot, and red onion into the dressing until evenly coated. Let the slaw sit for at least 10 minutes for the flavors to meld and the cabbage to soften slightly while retaining crunch.
- Assemble the sandwiches: Lightly toast the buns if desired. Place a glazed chicken piece on the bottom bun. Top generously with the crunchy slaw. Place the top bun on the sandwich.
Notes
- For extra sticky chicken, reserve half of the BBQ sauce before glazing the cooked chicken. Brush this reserved sauce on the cooked chicken right before serving.
- Use chicken thighs for juicier results, or breasts for leaner meat.
- If you prefer a creamier slaw, substitute the vinegar dressing ingredients with 1/2 cup mayonnaise, 2 tablespoons vinegar, 1 tablespoon sugar, and the seasonings.
Nutrition
- Serving Size: 1 sandwich
- Calories: 450
- Sugar: 28g
- Sodium: 750mg
- Fat: 12g
- Saturated Fat: 2g
- Unsaturated Fat: 10g
- Trans Fat: 0g
- Carbohydrates: 45g
- Fiber: 3g
- Protein: 38g
- Cholesterol: 105mg