

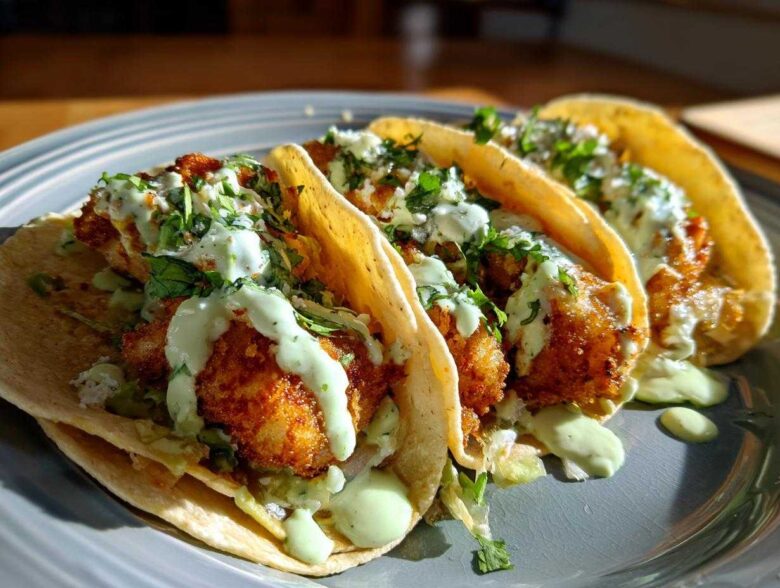
You know what ruins a taco night fast? A sad, floppy piece of chicken that tastes like mush. Nope! We are aiming for total textural chaos—the kind where you get that incredible, loud CRUNCH, followed by the cool, smooth relief of avocado cream. That contrast is everything, trust me. That’s why this recipe for Crispy Chicken Tacos with Avocado Cream is my absolute go-to. It’s about maximizing that crunch factor on the chicken without drying it out, which is a fine line to walk, but I’ve cracked the code after way too many test runs.
I swear, when you nail the crisp, you feel like a culinary superhero. Nobody expects that level of deliciousness from a Tuesday night taco run, but we’re giving it to them anyway! Plus, we’re balancing that fried magic with the freshest, zesty chicken marinade secret I ever learned, even though we aren’t technically marinating here, it gives that base flavor punch!
Why You’ll Love This Crispy Chicken Tacos with Avocado Cream Recipe
We’re keeping this short and sweet because those bullet points speak for themselves! When you commit to making these tacos, here’s what you’re getting:
- You get that unbelievably satisfying crunch every single time, thanks to our specific panko coating method.
- The spice blend in the flour ensures the chicken is flavorful right down to the center.
- That Homemade Avocado Cream Sauce is so cooling and zesty, it perfectly cuts through the richness of the fried chicken.
- It delivers the Perfect Taco Texture contrast—crispy, creamy, and fresh—all in one bite.
- Honestly, it comes together faster than you think. We’re talking real dinner satisfaction in under an hour!
See? It’s the ultimate Mexican Inspired Dinner Ideas because it hits every note perfectly.
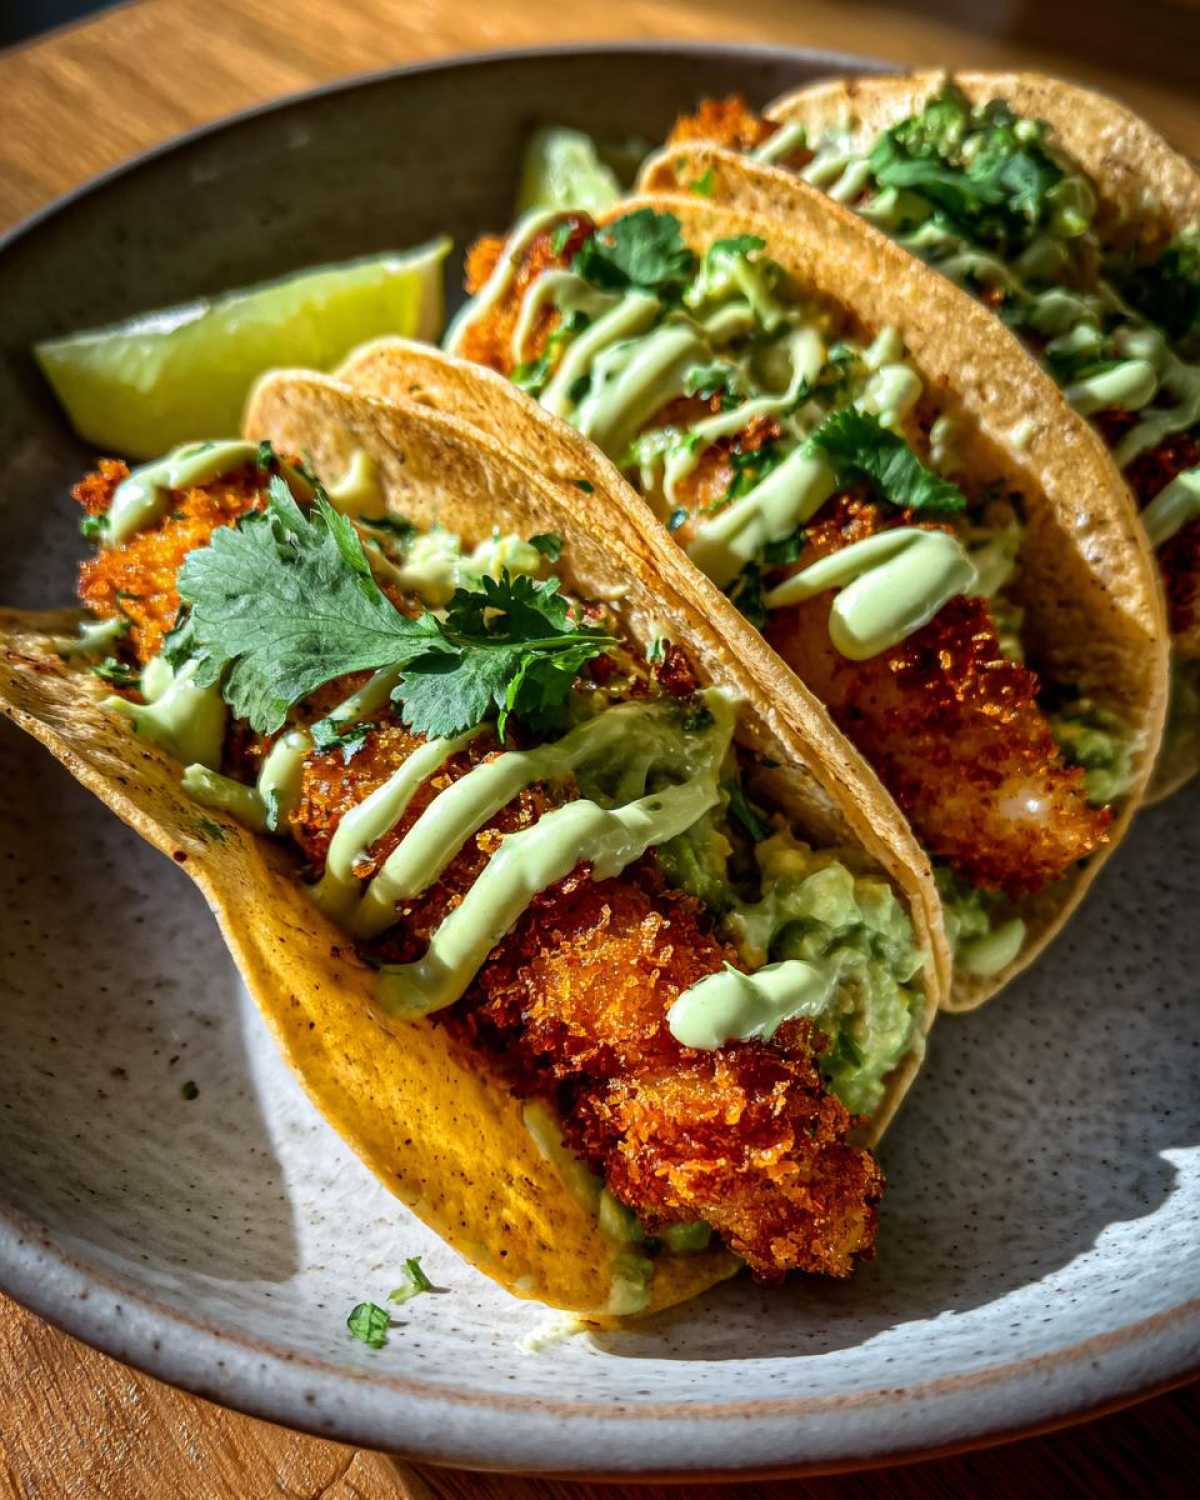
Essential Components for Crispy Chicken Tacos with Avocado Cream
Okay, friend, get your mise en place ready! For this adventure, we need three main stations set up before we even think about turning on the stove. A lot of people skip this prep work, and that’s when things get messy and frantic. Don’t let that happen! I’ve laid everything out exactly how I set it up on my counter. You’ll see that specific type of breadcrumb is non-negotiable for the crunch we want. For more flavor inspiration on the side, you can check out my guide on caramelized onions, though we’ll keep the toppings light here to let the chicken shine.
Here is what you absolutely must have on hand:
The Chicken Filling Ingredients
- 1.5 lb boneless, skinless chicken breasts, cut into neat 1-inch pieces—try to keep them uniform!
For the Crispy Coating Station
- 1 cup all-purpose flour
- 1 teaspoon salt
- 1/2 teaspoon black pepper
- 1 teaspoon paprika (sweet or smoked, your call!)
- 1/2 teaspoon garlic powder
- 2 large eggs, beaten well until frothy
- 1 cup panko breadcrumbs—this is the secret weapon for serious crunch!
- 1/2 cup vegetable oil for pan-frying (you need enough to shallow fry, around half an inch in the pan).
- 12 small corn or flour tortillas (I prefer corn for authenticity, but use what you love).
For the Homemade Avocado Cream Sauce
- 1 perfectly ripe avocado—if it’s hard, the cream will be lumpy, so test it gently!
- 1/2 cup sour cream or plain Greek yogurt (I like half and half for the tang).
- 2 tablespoons sharp lime juice—don’t skip this, it keeps everything bright!
- 1/4 cup water, plus more if you need to thin it out later.
- A tiny pinch of salt to bring the avocado flavor forward.
Fresh Toppings (Optional, but Recommended!)
- Shredded crisp lettuce (iceberg is actually perfect here for crunch!)
- Finely chopped cilantro for that necessary fresh pop.
Have all of this ready to go, and your path to Gourmet Crispy Tacos at Home will be smooth sailing. Seriously, having the three coating dishes lined up prevents the panic sweat!
Expert Tips for the Best Crispy Chicken Taco Recipe
Listen, making good chicken is easy. Making Best Crispy Chicken Taco Recipe worthy chicken that stays crunchy under sauce? That takes a little finesse! We’re focusing on heat management and coating texture here. If your oil is too cool, the panko just soaks it up, and you end up with oily chicken, not crispy chicken. Way too sad.
Also, don’t forget my little trick from the notes: If you’re trying to keep the use of oil down, these coat beautifully in the air fryer! For that method, I usually give them a light spray with cooking oil, pop them in around 380°F, and flip them halfway through, just like I do with my air fryer chicken parmesan breasts. It works like a charm for lighter weeknight meals, but today, we are frying for maximum gold color!
Achieving Perfect Taco Texture with Panko
Panko breadcrumbs are your absolute best friend here because they are flaky, not dusty like regular breadcrumbs. They create little air pockets that crisp up instead of collapsing into the moisture. Make sure every single piece of chicken goes through the full three-step dredge: flour (to dry the surface), egg (to act as glue), and panko (for that serious crunch). Press that panko on hard! You want good, thick coverage so those little pieces stand up to the sauce later.
Flavorful Crispy Taco Filling Preparation
The spice mix we used for the flour coating? That flavor permeates the chicken as it fries, so don’t be shy with those spices! When it comes to frying, never, ever overcrowd your skillet. Seriously, it drops the oil temperature immediately, and they stop crisping and start steaming. We need that shimmering oil, and we need to fry in batches. Every piece must hit an internal temperature of 165°F for safety, but honestly, you stop frying right after that hits because carryover cooking will take it the rest of the way while it rests.
How to Make Homemade Avocado Cream Sauce
I’m telling you, this Homemade Avocado Cream Sauce is what takes these tacos from great to unforgettable. The chicken is crunchy, yes, but you need that cool, bright counterbalance to keep everything feeling fresh. My biggest rule here is simple: use an avocado that is perfectly ripe. Not hard, not brown, but creamy green all the way through. If your avocado is sad, your sauce will be sad, and we can’t have that on taco night!
The process is ridiculously simple because we toss it all into a blender or food processor. You’re going to combine that gorgeous avocado, the sour cream (or yogurt—I sometimes cheat and use yogurt for a little less richness), the punchy lime juice, and just a splash of water. Blend it up! You’re looking for something that drizzles beautifully, not something that globs onto the chicken. If it’s too thick, just add more water, one tablespoon at a time, until it flows nicely. You definitely want that smooth, almost pourable look, kind of like a thin ranch dressing. It’s magic, and you can find out more about simple kitchen additions like my easy garlic butter recipe that also relies on simple fresh ingredients!
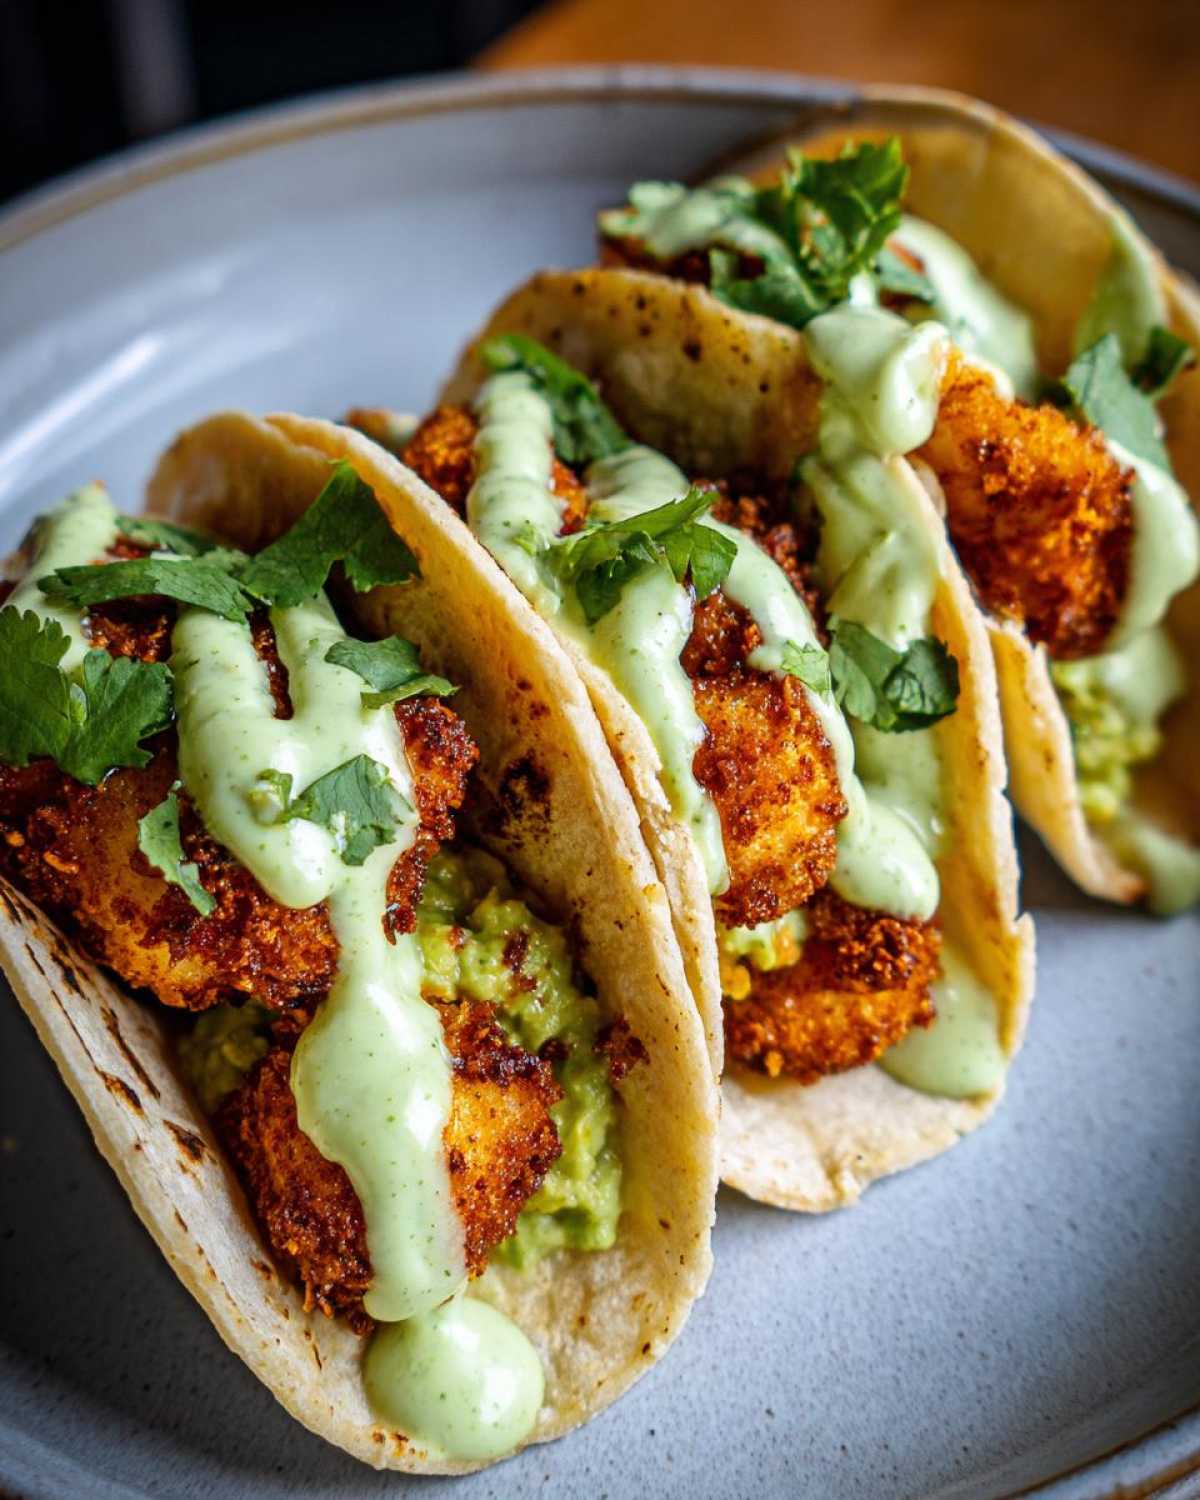
Tips for an Easy Avocado Crema for Tacos
When you’re mixing this up, think about your texture goals. If you use Greek yogurt instead of all sour cream, you boost the protein and the tanginess, which I love when I’m serving richer foods. It keeps the flavor profile light. Don’t be afraid to play with the lime! If your avocado isn’t super tangy on its own, add another half teaspoon of juice until it perks up a bit.
Remember: the water is the magic tool for consistency. Start with the 1/4 cup listed in the ingredients, blend, and then—while the machine is running—slowly drizzle in extra water until you reach that perfect consistency. You want it thin enough to hug the crispy chicken but thick enough not to just run right off the tortilla onto your plate. Quick tip: make this last, right before you assemble, so the lime juice keeps that beautiful green color vibrant!
Step-by-Step Instructions for Crispy Chicken Tacos with Avocado Cream
Okay, here we go! This is where all that prep work shines. If you’ve got your dishes ready—flour mix, eggs, panko—you are golden. I like to get the chicken coating done first, and while that’s sitting for five minutes, I get my oil heating up. Remember, timing is super important when you’re frying things! If you need some really amazing crispy vegetable sides to go alongside, you have to check out my crispy oven-roasted Mexican potatoes.
Follow these steps exactly, and you’ll have the best crunchy tacos on your table in no time. Don’t assemble them until everything is hot and ready, though—soggy assembly lines are the enemy of crispiness!
- Prepare the chicken coating: I always set up my breading station in order: first shallow dish gets the flour mix (flour, salt, pepper, paprika, garlic powder). Second dish is just the beaten eggs. Third dish holds all that beautiful panko breadcrumb crunch.
- Dredge that chicken! Take each one-inch piece of chicken and make sure it gets a good, thorough coating in the flour first—shake off the excess dust! Then, dip it completely into the egg wash, letting the excess drip back into the bowl. Finally, this is key for that Perfect Taco Texture: press that piece firmly into the panko. I mean really press it in there so every nook and cranny is covered. Lay the coated chicken on a clean plate while you finish the rest.
- Cook the chicken—watch that oil! Heat your vegetable oil in a nice, heavy skillet over medium-high heat. You know the oil is ready when it shimmers slightly, but remember, don’t let it smoke! That means it’s too hot and will burn the coating before the inside is cooked. Carefully, and I mean carefully, place the chicken pieces into the hot oil. Don’t pack them in! You need space around them to fry evenly. Cook for about 3 to 4 minutes on each side until they are deep golden brown and cooked through (165°F internally, always check!). Scoop them out with a slotted spoon and move them straight onto paper towels to drain off any extra oil.
- Make the avocado cream (while the oil cools down a bit): While the last batch of chicken is resting, toss your ripe avocado, sour cream/yogurt, lime juice, water, and that small pinch of salt into your food processor or blender. Blend it until it is lusciously smooth. If it looks too thick to pour, add a little more water, little by little, until you get that perfect, drizzly texture we talked about earlier.
- Warm those tortillas up! Never skip this step! Cold tortillas crack or rip when you fold them. You can warm them in a dry skillet over medium heat for about 30 seconds per side until soft, or wrap them in a damp paper towel and zap them in the microwave for just 30 seconds. They should be super pliable.
- Assemble your masterpiece! Now for the fun part! Put your warm, soft tortilla down. Pile on a generous amount of that hot, crispy chicken. Drizzle heavily with the cool avocado cream. Top with crisp lettuce and a sprinkle of cilantro. Serve immediately while the chicken is still warm and crunchy!
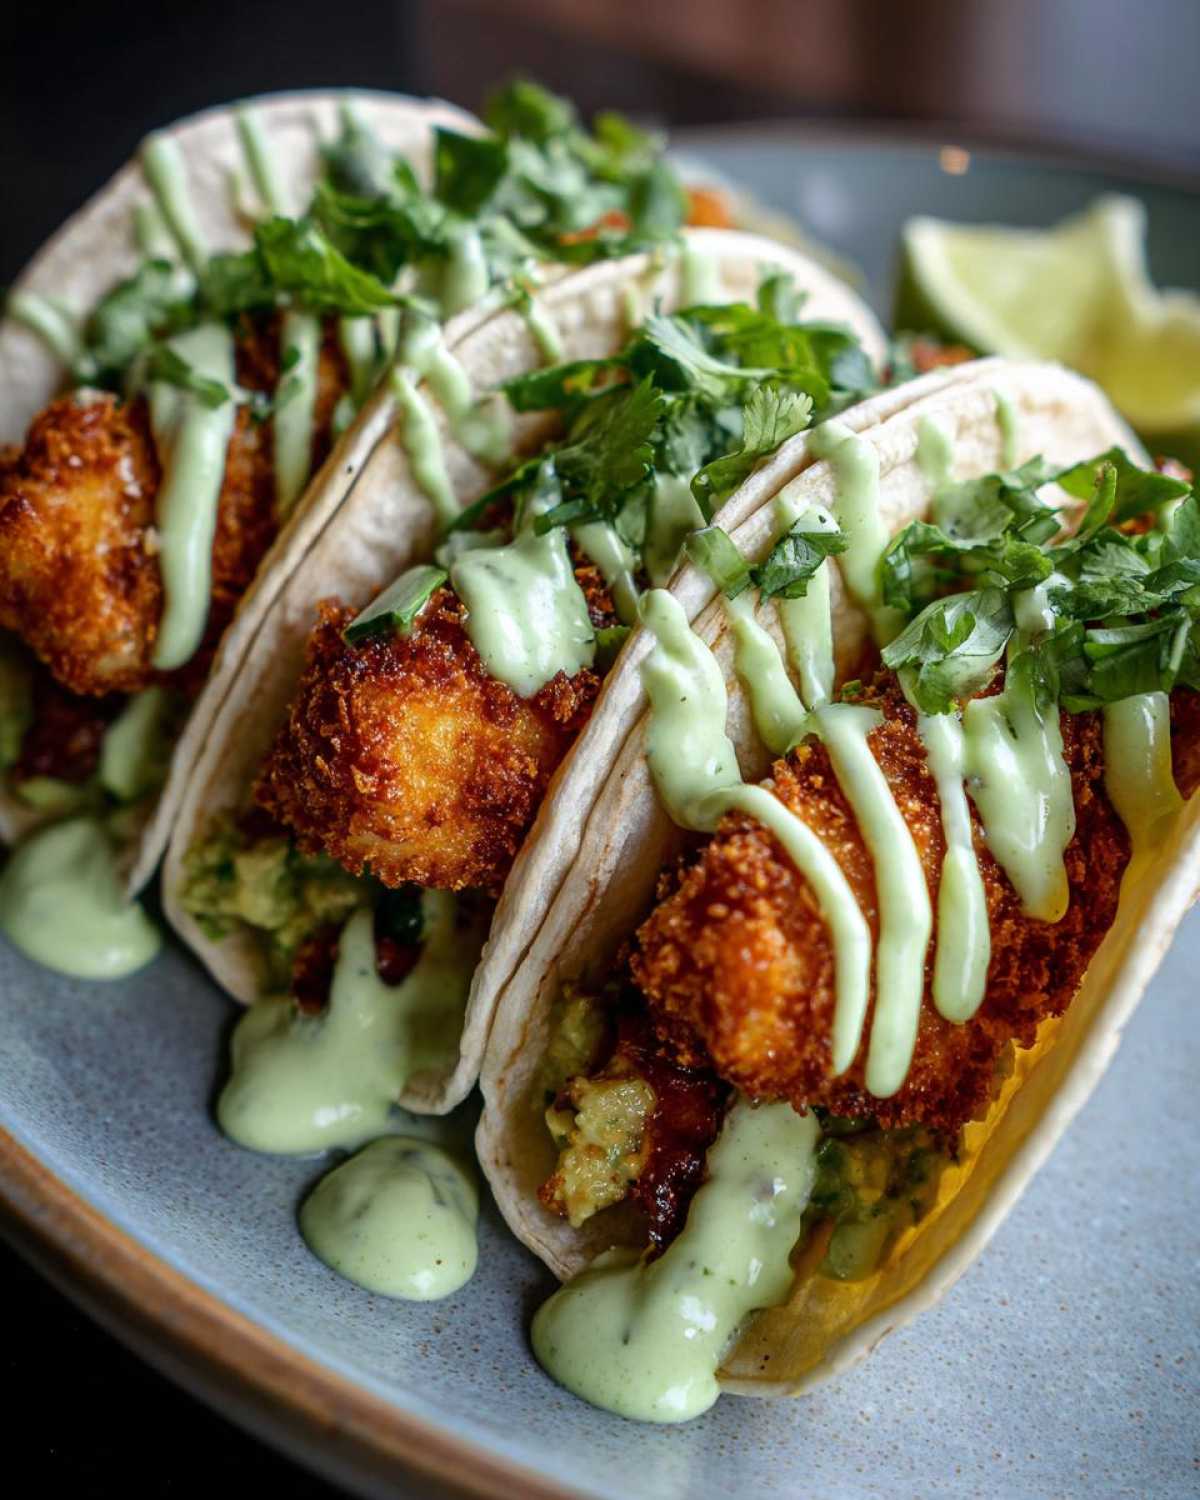
Serving Suggestions for Crunchy Chicken Tacos with Fresh Toppings
We’ve nailed the chicken and the cream, but let’s talk about making this a full-blown feast! These Crunchy Chicken Tacos with Fresh Toppings are amazing all on their own, but adding a couple of extra textures and flavors on top really elevates them to the next level. I love keeping the sides simple because tacos are the star, right?
If you want something salty and tangy to slice through the richness, you have to try my quick-pickled red onions. They take literally five minutes to assemble, and they keep in the fridge forever. Just thinly slice a red onion and put it in a jar with equal parts white vinegar and water, plus a teaspoon of sugar and a pinch of salt. Shake it, and let it sit while you cook; they’re already halfway done by the time the chicken is fried!
For a more substantial meal, they go perfectly alongside some classic sides. Have you checked out my recipe for easy Spanish rice? Adding a scoop of that on the side, or even crumbling some Cotija cheese over the top of the finished taco, adds that salty, milky dimension that makes everything taste more authentic. Seriously, don’t stop at just lettuce!
Storage and Reheating Instructions for Crispy Chicken Tacos with Avocado Cream
Okay, if you somehow have leftovers from this incredible spread—which, honestly, is a miracle—we need to handle them properly. The absolute cardinal rule of leftover crispy food is: NEVER store the components together! If you put the crispy chicken in the same container as the avocado cream, you’re going to wake up to soggy chicken swimming in green mush. We don’t do that here!
For the best results (and to save that glorious crunch), you need to treat the chicken and the cream separately. Think of them as best friends who need separate bedrooms.
- The Avocado Cream Sauce: This is the easiest part. Transfer your leftover avocado sauce recipe into an airtight container. Because we used lime juice, it actually holds its color pretty well! It lasts beautifully in the fridge for 2 to 3 days. Give it a quick whisk before serving next time, just in case it settles a little.
- The Crispy Chicken: This needs space to breathe! Spread the cooked chicken pieces out onto a plate or baking sheet lined with a paper towel. Cover that plate loosely with plastic wrap or foil, but make sure there’s a tiny gap so steam can escape. We want to lock in the flavor, not trap the moisture that makes things soggy. This will last okay in the fridge for about three days.
- The Tortillas: If you have extra, they are fine just sitting on the counter sealed in their plastic bag for a day or two. Cold tortillas are easy to fix, so don’t sweat this part too much!
Now, the reheating is where we bring back that Perfect Taco Texture. Absolutely do not put the chicken in the microwave! Microwaving is the enemy of crispiness, period. It heats the water molecules, making everything texturally tragic.
For reheating the chicken, you have two main paths, and both involve dry heat:
First, the oven works well. Spread the chicken on a baking sheet and pop it into an oven preheated to 375°F for about 8 to 10 minutes. You want it hot all the way through and the outside should start looking dry and crisp again.
Second, and this is my preferred method, use the air fryer! If you’ve got one, it’s unbeatable for reviving fried foods. You can follow the same general guidelines I use for my air fryer whole chicken—pop the chicken pieces in at 375°F—and they should be perfectly hot and crispy again in just 5 or 6 minutes. Trust me, this method revives that satisfying crunch we worked so hard for!
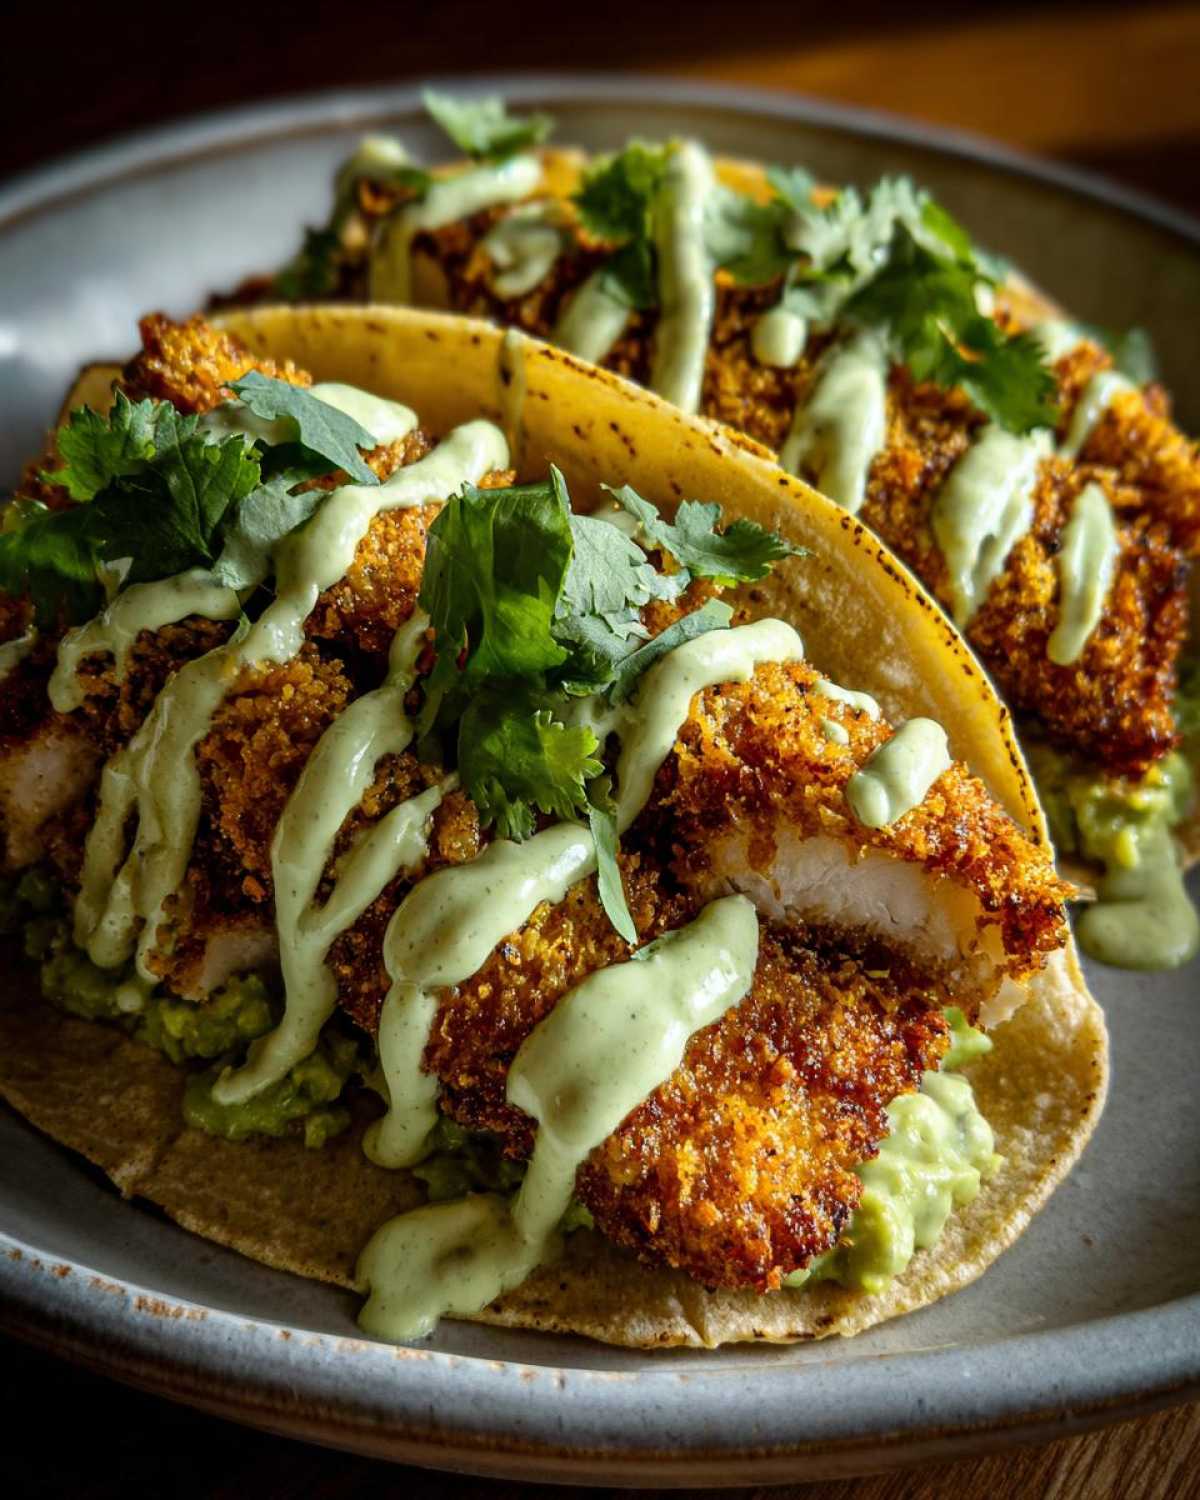
Once the chicken is piping hot, warm your tortillas quickly, and then assemble them again with a fresh dollop of that cool avocado cream. It’s like making them all over again!
Frequently Asked Questions About How to Make Crispy Chicken Tacos
I get so many questions once people try them out—it’s proof this is secretly the Ultimate Chicken Taco Night dish! Here are a few things folks often wonder about when they are making these How to Make Crispy Chicken Tacos for the first time. Don’t worry if you have to tweak things; that’s what cooking is all about! If you usually do shredded chicken, you’ll find this recipe much more hands-on, but worth every second, just like my guide on quick easy shredded chicken tacos.
Can I use chicken thighs instead of breasts for this recipe?
Oh, absolutely, yes! Chicken thighs are actually a bit more forgiving because they have more fat, which means they stay incredibly moist even if you cook them just a touch too long. If you use thighs, you might need to add an extra minute or two to the frying time since they are often thicker than cubed breasts. Just make sure you cut them into roughly equal bite-sized pieces so they cook evenly. You’ll still get great crunch—the panko loves any good protein!
What is the best oil temperature for frying the chicken?
This is seriously the most important question for getting that Perfect Taco Texture! You don’t want your oil too cool because then the coating gets greasy and heavy—it starts steaming instead of frying. You also don’t want it smoking hot, or the coating burns before the inside chicken is safe to eat. I always aim for medium-high heat on the stove. A good test, if you don’t have a thermometer, is to flick just a tiny bit of flour or panko into the oil. If it immediately sizzles vigorously and turns golden in about 30 seconds, you are perfect! If it sinks and stays still, crank the heat up a bit. If it smokes right away, pull the pan off the burner for a minute to cool down.
How far ahead can I prepare the avocado cream?
That Easy Avocado Crema for Tacos is so tempting to make ahead of time, I know! Because it has fresh avocado and lime juice, it’s best made the day you plan to eat. If you make it a day ahead, it will usually turn a dull, murky green color, even with the lime working to prevent browning. It still tastes great, but it looks a little sad. If you need to get a head start, I suggest prepping the avocado, lime juice, and sour cream, but only blend it up right before serving. That keeps it bright green and fresh perfect for those Crunchy Chicken Tacos with Fresh Toppings!
Nutritional Estimates for Crispy Chicken Tacos with Avocado Cream
Look, I’m not a nutritionist, right? I’m just someone who loves making delicious food, and sometimes that delicious food involves frying things delightfully! But I know a lot of you are tracking macros or paying attention to what goes into your body, so I pulled the best estimates I could find based on the amount of chicken, oil, and dairy we are using here. Think of this as a fun guide, not gospel truth. Since we are pan-frying, the fat content is a little higher than if we went strictly for the air fryer version, but oh, the crunch is worth it!
Keep in mind that these numbers are based on a standard serving of three tacos, using the ingredients as listed, and they don’t account for any extra toppings like that pickled onion magic we talked about or any extra oil you might soak up. Every batch is slightly different depending on the size of your avocado, you know how it goes!
Here’s the breakdown for what I estimate for a standard serving size:
- Serving Size: 3 tacos
- Calories: Around 450 per serving
- Total Fat: About 20 grams (This includes the frying oil absorption, naturally!)
- Saturated Fat: Roughly 5 grams
- Unsaturated Fat: This is the good stuff, around 15 grams.
- Trans Fat: We are proud to say, 0 grams!
- Carbohydrates: About 40 grams (mostly from the tortilla and the breading).
- Fiber: Around 5 grams, which is great for a taco!
- Protein: A fantastic 30 grams to keep you full.
- Sugar: Low, about 4 grams (thanks to that fresh avocado replacing sugary syrups).
- Sodium: Approximately 550 mg (we season the chicken ourselves, so you can control this part if you go light on the salt in the flour mix).
- Cholesterol: About 90 mg.
See? Not bad for the Best Crispy Chicken Taco Recipe you’ll ever make! If you’re watching sodium, just ease up a little on the salt you add to the flour mixture. Happy cooking!
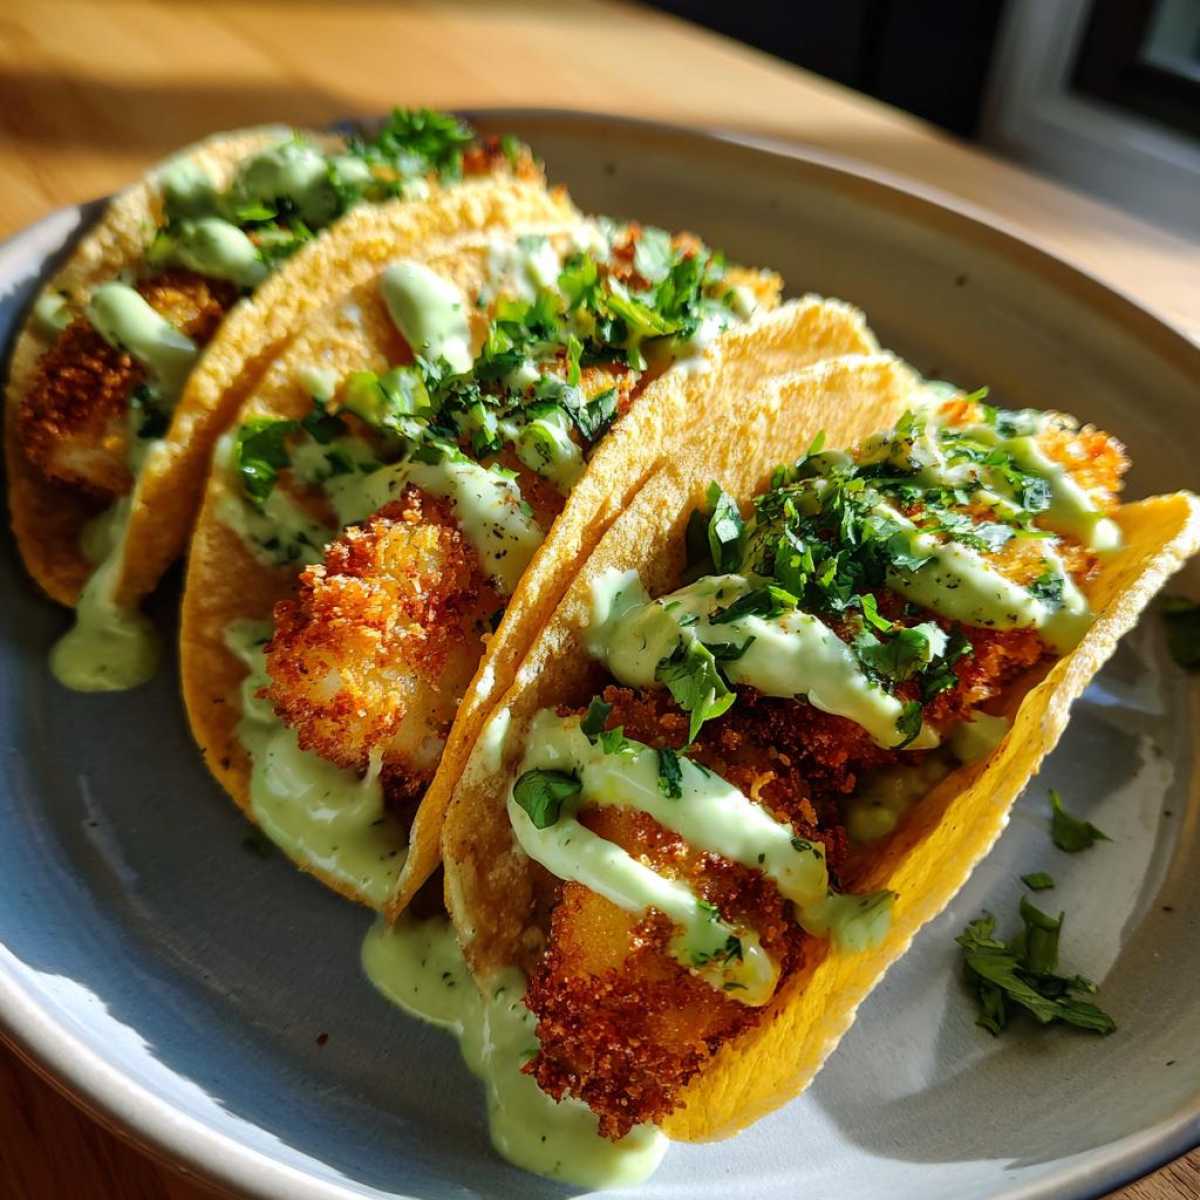
Crispy Chicken Tacos with Avocado Cream

Follow these steps to make flavorful, crispy chicken tacos topped with a simple, cooling avocado cream sauce.
- Prep Time: 20 min
- Cook Time: 15 min
- Total Time: 35 min
- Yield: 4 servings
- Category: Dinner
- Method: Pan-Frying
- Cuisine: Mexican Inspired
- Diet: Low Fat
Ingredients
- 1.5 lb boneless, skinless chicken breasts, cut into 1-inch pieces
- 1 cup all-purpose flour
- 1 teaspoon salt
- 1/2 teaspoon black pepper
- 1 teaspoon paprika
- 1/2 teaspoon garlic powder
- 2 large eggs, beaten
- 1 cup panko breadcrumbs
- 1/2 cup vegetable oil (for pan-frying)
- 12 small corn or flour tortillas
- For the Avocado Cream:
- 1 ripe avocado
- 1/2 cup sour cream or plain Greek yogurt
- 2 tablespoons lime juice
- 1/4 cup water (or more, for thinning)
- Pinch of salt
- Optional Toppings: Shredded lettuce, chopped cilantro
Instructions
- Prepare the chicken coating: In one shallow dish, mix the flour, salt, pepper, paprika, and garlic powder. In a second dish, place the beaten eggs. In a third dish, place the panko breadcrumbs.
- Dredge each chicken piece first in the flour mixture, shaking off excess. Dip it into the egg, letting excess drip off. Finally, press the chicken firmly into the panko breadcrumbs to coat completely. Place coated chicken on a plate.
- Cook the chicken: Heat the vegetable oil in a large skillet over medium-high heat. Once the oil shimmers, carefully add the chicken pieces in a single layer, ensuring not to overcrowd the pan. Fry for 3-4 minutes per side until golden brown and cooked through (internal temperature reaches 165°F). Remove chicken and place on a paper towel-lined plate to drain excess oil.
- Make the avocado cream: Combine the avocado, sour cream, lime juice, water, and a pinch of salt in a food processor or blender. Blend until completely smooth. Add more water, one tablespoon at a time, until you reach a thick, pourable consistency.
- Warm the tortillas: Heat the tortillas according to package directions. You can warm them briefly in a dry skillet over medium heat until soft and pliable, or wrap them in a damp paper towel and microwave for 30 seconds.
- Assemble the tacos: Place a portion of the crispy chicken pieces onto each warm tortilla. Drizzle generously with the avocado cream. Add any desired toppings like lettuce or cilantro. Serve immediately.
Notes
- To make this recipe air fryer friendly, spray the coated chicken lightly with cooking spray and air fry at 380°F for 10-12 minutes, flipping halfway through.
- For extra flavor in the coating, add 1 teaspoon of chili powder to the flour mixture.
- If you prefer a tangier cream, substitute half of the sour cream with plain Greek yogurt.
Nutrition
- Serving Size: 3 tacos
- Calories: 450
- Sugar: 4
- Sodium: 550
- Fat: 20
- Saturated Fat: 5
- Unsaturated Fat: 15
- Trans Fat: 0
- Carbohydrates: 40
- Fiber: 5
- Protein: 30
- Cholesterol: 90