

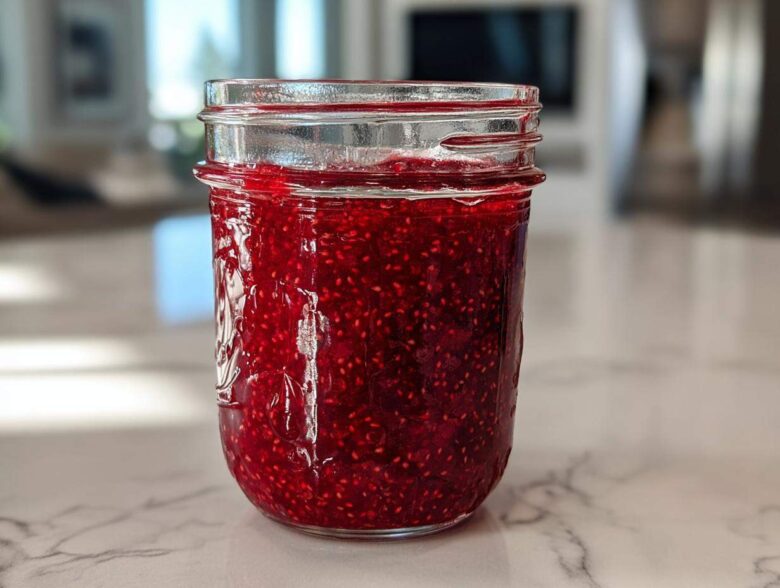
Oh my goodness, are you getting those gorgeous, plump raspberries right now? Because if you are, we need to get them into a jar immediately! I know jam-making sounds like one of those complicated, old-world tasks reserved only for kitchen experts, but trust me, it’s not true. I’m Chloe, and if Mia and I can conquer the smoke alarm phase of our cooking journey, you can certainly handle making this jam. This is, without a doubt, the absolute **easy jam recipe** you need. We are making beautiful, bright, and flavorful **raspberry jam** using just three ingredients—no wacky pectin required! It just proves that the very **best way to preserve raspberries** is often the simplest. You can see just how we started this whole adventure over on our About Us page, but right now, let’s capture that perfect taste of summer.
Why This Easy 3-Ingredient Raspberry Jam is Your New Favorite
I honestly think this is the easiest way to get that bright, fresh berry flavor into your pantry. Stop buying that overly sweet stuff from the store! This recipe is fast, forgiving, and perfect for when you just have one pint too many of those fresh berries. Don’t let the word ‘jam’ scare you; this is truly a **quick raspberry jam**.
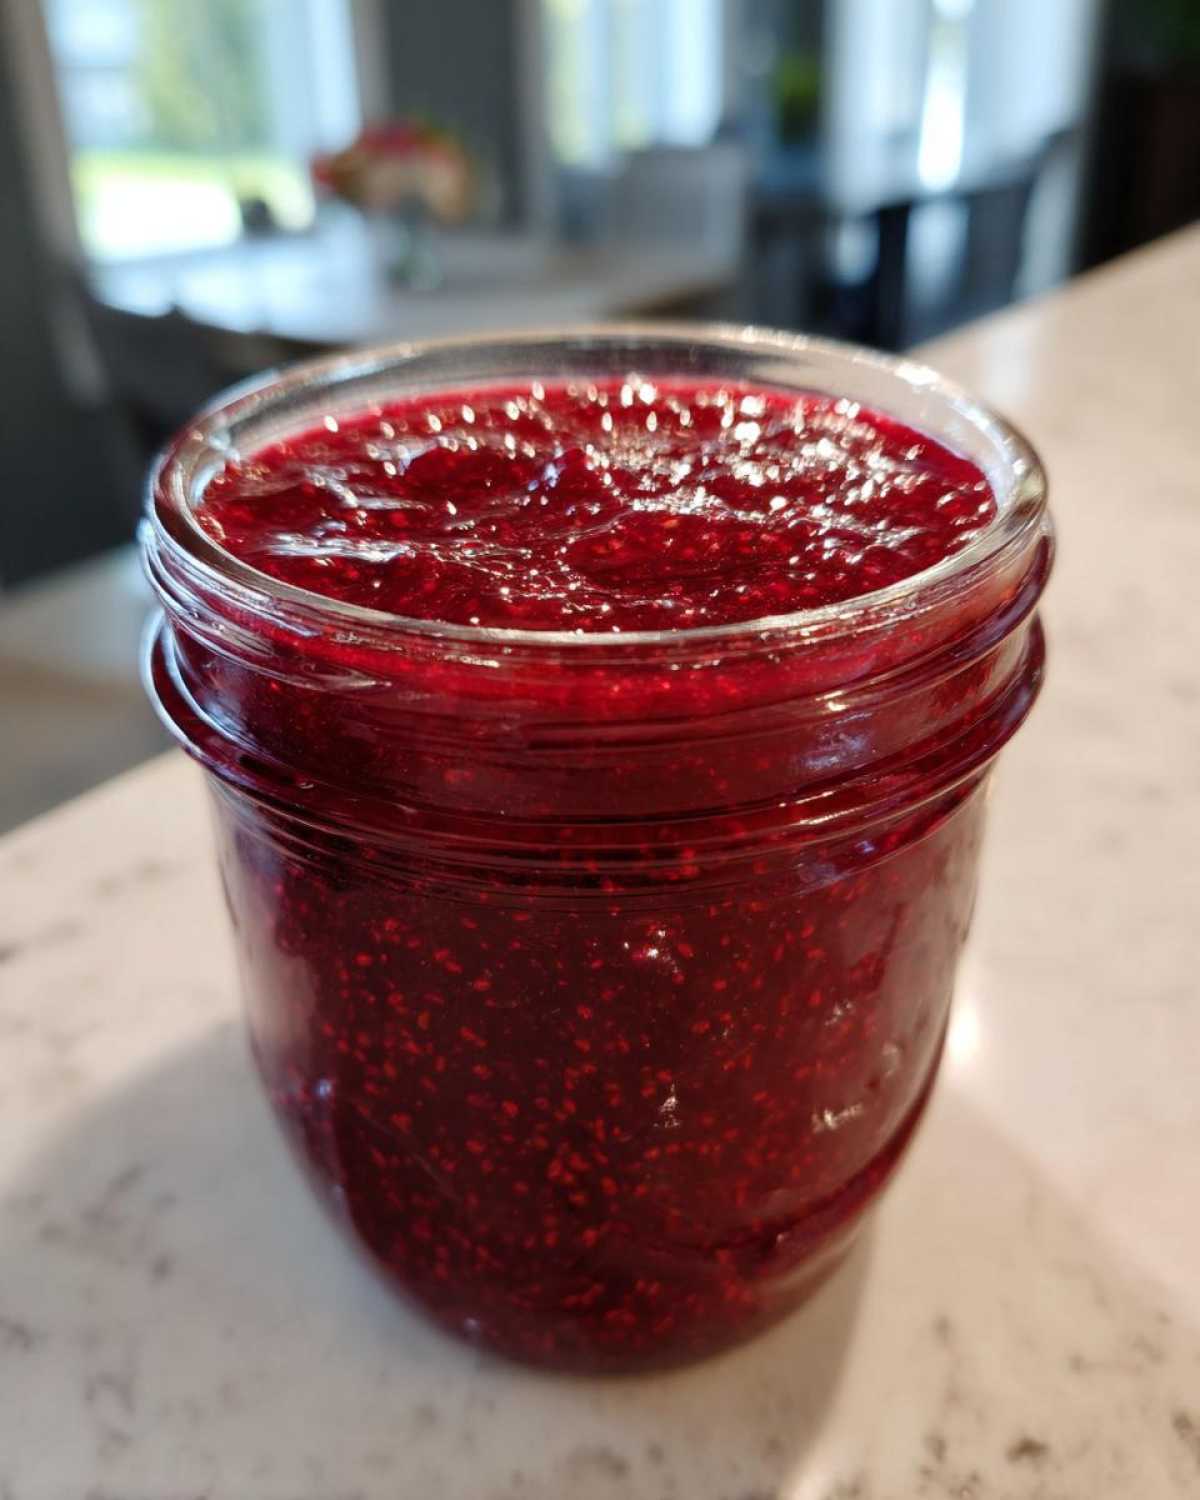
- It’s foolproof! Seriously, it works nearly every time.
- It’s flexible—you can make a tiny **small batch jam recipe** on a Tuesday or scale it up for gifting.
- No weird additives! We are keeping things pure and delicious.
Perfect for Beginners: Making Raspberry Jam Without Pectin
When people see ‘no pectin,’ they sometimes panic, thinking it won’t gel! Nope! Raspberries are naturally loaded with pectin, especially when combined just right with sugar and that dash of lemon juice we add for acid. That acid is essential—it helps activate the berry’s natural setting power. So, if you’ve ever been intimidated by canning or preserving, this is your gentle, delicious introduction. You’ve got this!
Gathering Ingredients for Your Homemade Raspberry Jam
Okay, let’s gather our short list! This is the beauty of making **homemade raspberry jam**—you only need three things, which makes shopping so easy. We aren’t messing around with complicated pectin packets here! You’ll need four cups of raspberries and three cups of sugar. Yes, that much sugar! Trust the process; it helps it thicken and keeps everything safe. Don’t forget the lemon juice; that little bit of acid is our secret tool.
Ingredient Notes and Seedless Raspberry Jam Options
First off, YES, you can absolutely use good quality frozen raspberries if fresh aren’t looking perfect! They work just as well, though you might need to cook them an extra minute or two since they start colder. Now, about those seeds because I know some of you hate them! If you want a dreamy, smooth **seedless raspberry jam**, here’s the cheat: cook everything down first, and then strain the whole hot mixture through a fine-mesh sieve *before* you ladle it into the jars. It’s messier, but wow, is it worth it for those cookies or fancy yogurt bowls!
Essential Equipment for Making Raspberry Jam
Before we even think about turning on the stove, you need the right tools to conquer this batch of **simple fruit preserves**. Don’t try to do this in your thinnest saucepan; you’ll burn the bottom instantly. You really need a large, heavy-bottomed pot. That thickness distributes the heat so gently!
Also, make sure you have a good candy thermometer handy. I know, I know, I usually rely on feel, but for setting jam, that thermometer is your friend. We also need standard canning jars (or whatever jars you are using for refrigerator jam), a ladle, and a slotted spoon or large regular spoon for skimming off that foamy top.
Step-by-Step Instructions for Quick Raspberry Jam
Alright, time to roll up those sleeves! This is where the magic happens, and honestly, it moves pretty fast once you get it going, so have everything ready to go. Remember that post we wrote about staying organized in the kitchen? You’ll want to check out our blog archives if you tend to forget a step! We start by getting our vessels ready—that’s step one, no matter what storage method you choose.
Preparing Jars for Canning Raspberry Jam or Freezer Storage
See, this is crucial because it determines the next steps! If you want this **raspberry jam** to sit nicely in your cellar for months, you MUST sterilize those jars and lids right now using the standard water bath canning approach. If you’re like me, and you just want one jar for toast this week and one for the freezer, just make sure your jars are sparkling clean and totally dry. No need for the hot water bath chaos if you are planning on making **freezer jam instructions** style preserves!
Achieving the Perfect Set in Your Simple Fruit Preserves
Put your berries, sugar, and lemon juice into that big, heavy pot—stir it once. Then crank that heat up to medium-high. You have to wait until the sugar is completely dissolved and you hit a churning, rapid boil. I remember the first time I made **raspberry jam without pectin**, I got nervous when it looked like lava sputtering everywhere and almost took it off the heat early. Bad idea! It didn’t set right. Keep it boiling, stirring often, until it hits that 220°F mark, or use the cold plate test—drop a tiny bit on a chilled saucer; if it wrinkles when you nudge it, GO time! That perfect wobble is the best feeling.
Canning Raspberry Jam: Water Bath Preservation Tips
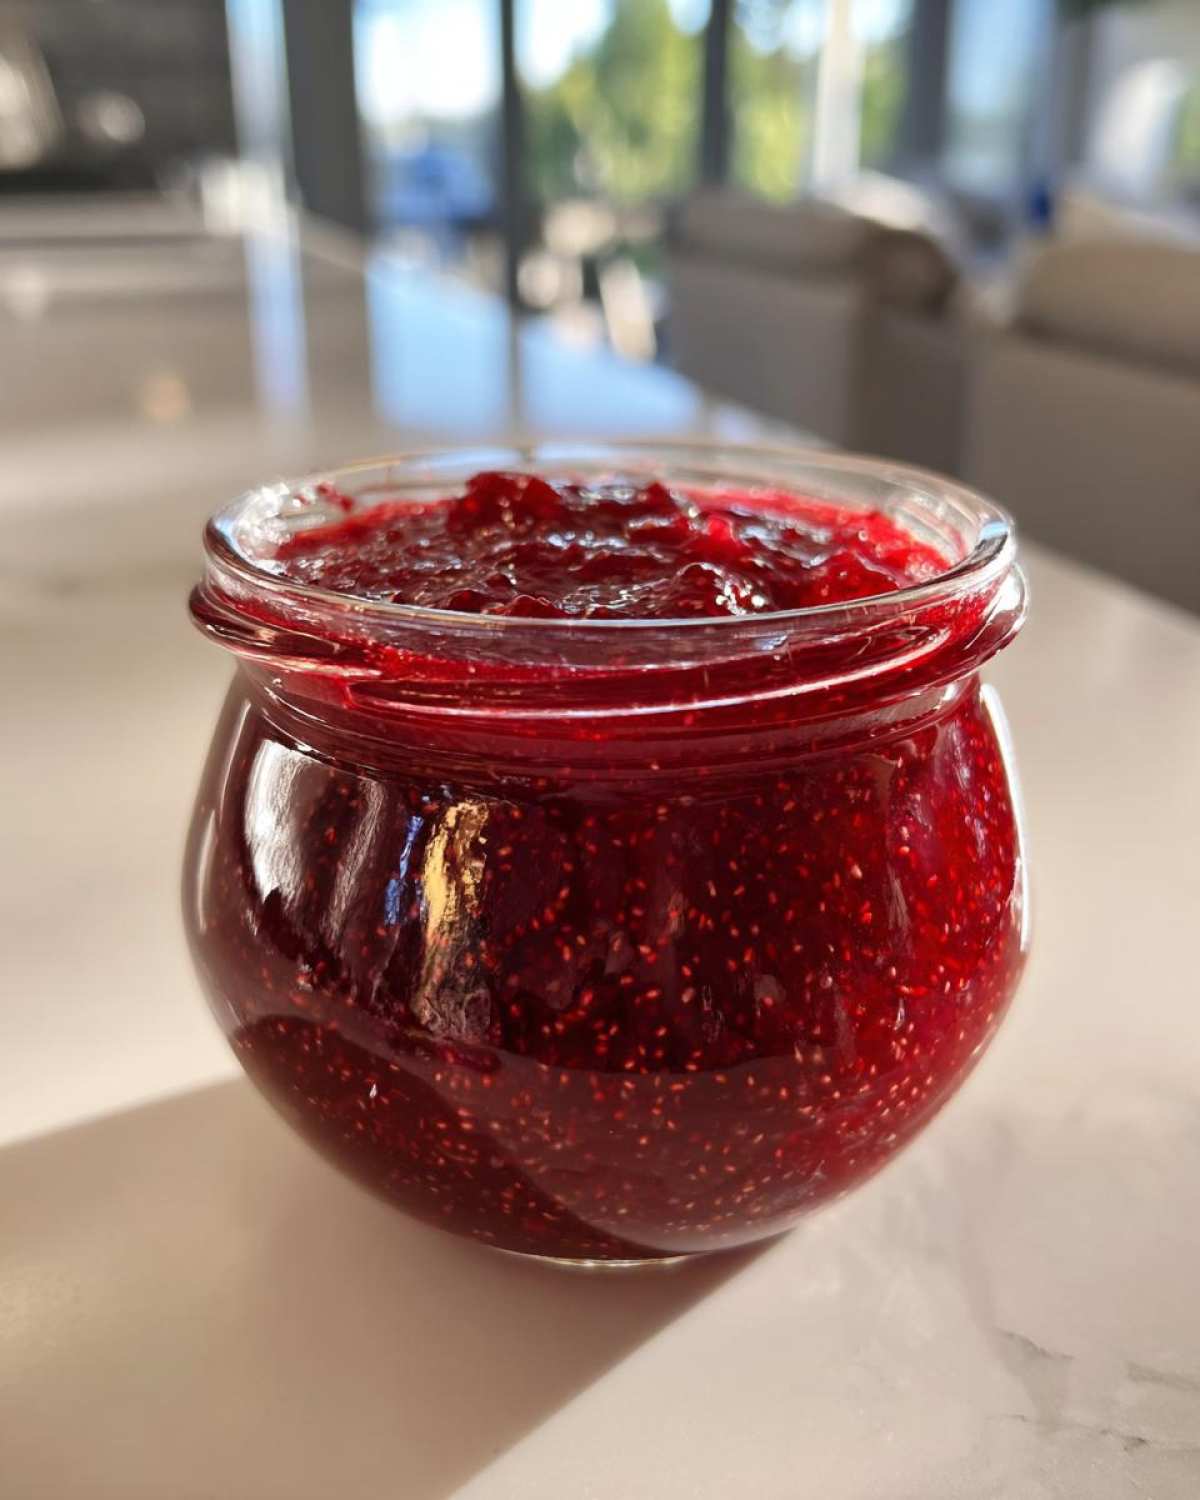
Now, if you took the time to sterilize those jars earlier for long-term storage, we need to make sure we seal this **raspberry jam** correctly so it’s safe on the shelf. This is where you follow the exact procedure for your water bath canner—don’t skip this step, please! Remember, because we aren’t using commercial pectin, we rely heavily on the sugar and acid balance for preservation, but the heat processing seals the deal for shelf stability.
Make sure the water level covers the lids by at least an inch or two. Once your canner is boiling happily, drop those filled jars in, set your timer according to tested guidelines (it might be around 10 minutes for half-pints, but always double-check your official source!), and wait it out. That satisfying ‘pop’ as the jars cool down is the sound of success. I always check the source from this great guide if I’m feeling rusty on my processing times.
Storage and Reheating Instructions for Refrigerator Jam
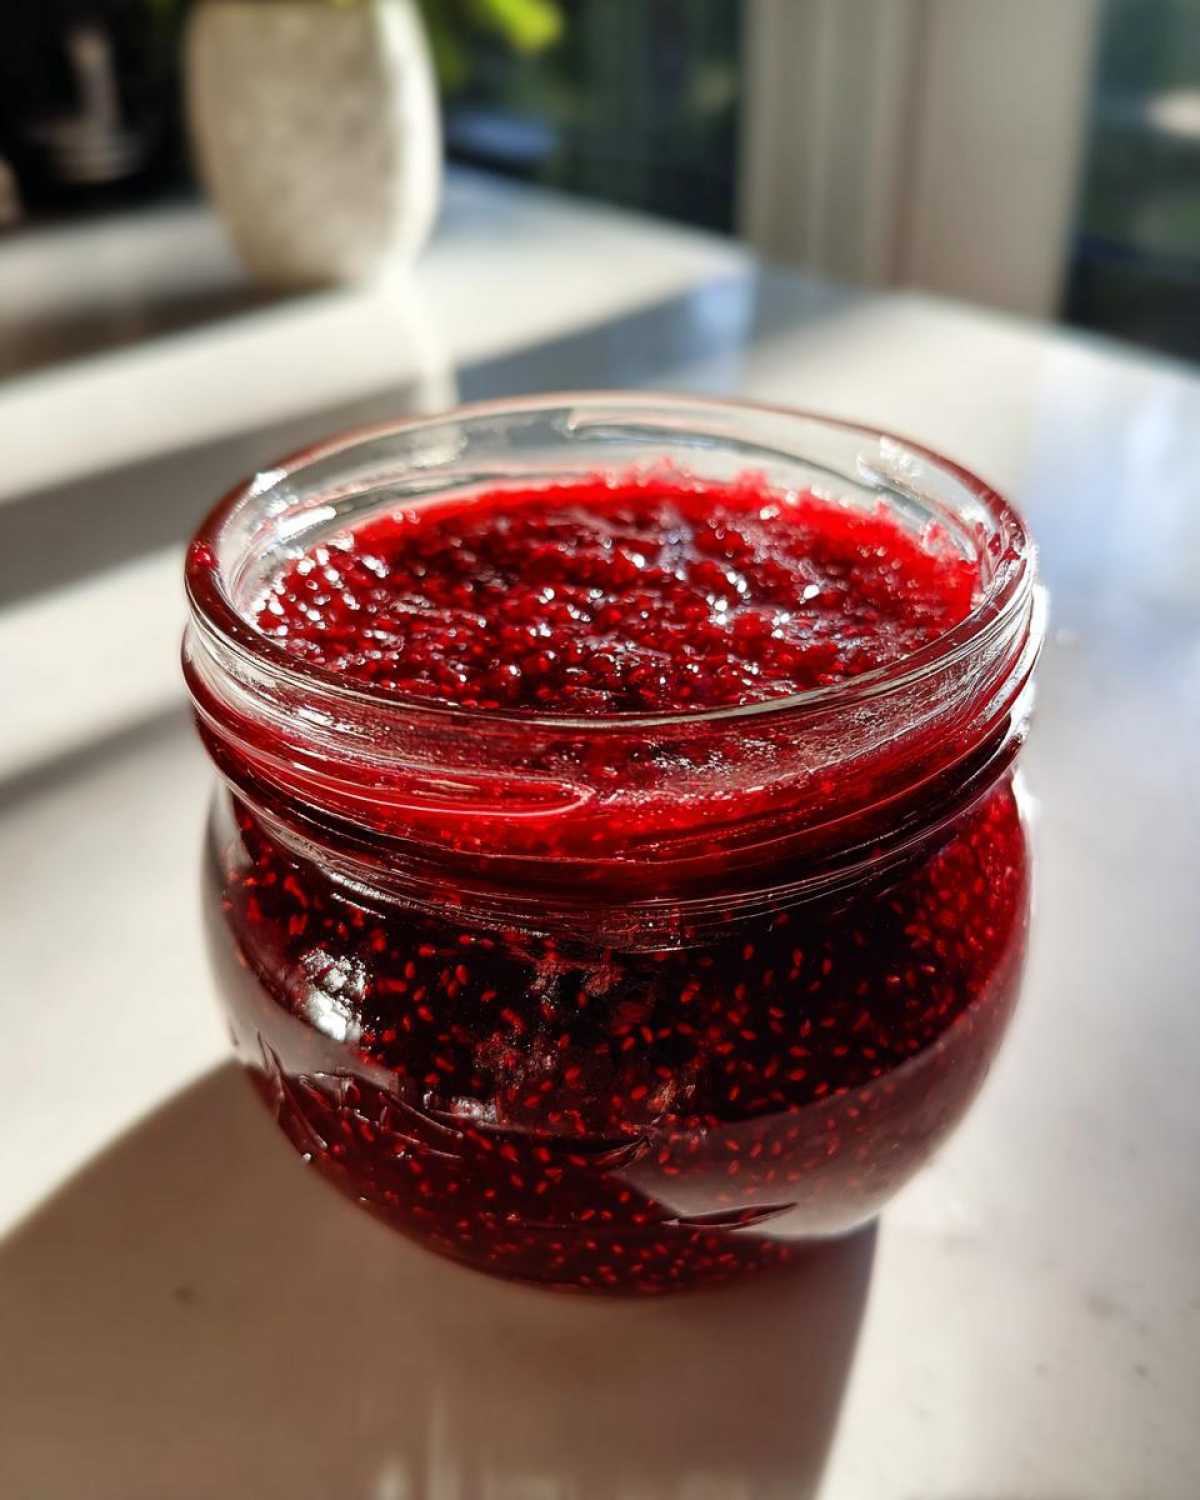
So, what if you went the simple route and just made a batch to pop right into the fridge? Smart move if you plan on eating it fast! Unprocessed **refrigerator jam** basically tastes the freshest, and it’s ready to go on those warm morning bagels. You’ll want to keep that jar tucked away nicely in the main section of your fridge, and trust me, it shouldn’t last longer than two or three weeks.
If you are using the **freezer jam instructions**, you’re in for a real treat later! Once those jars cool down just a bit after filling, seal them tight and slide them into the deep freeze. They easily last up to a year, which means you can bottle up summer and use it when the snow is flying! Speaking of making things last, if you need snack ideas for the week, you should check out our chewy granola bar recipe; it’s next level!
Serving Suggestions: Using Your Best Raspberry Jam
Once you’ve got your jars filled with this bright, tart **raspberry jam**, the fun really begins! Yeah, slathering it on toast is heavenly—I mean, it’s the classic for a reason—but don’t stop there! This is where those extra batches really shine. Think of this jam as your little secret weapon for boosting boring breakfasts.
We often use this as quick **raspberry topping ideas** over vanilla yogurt or even layered into parfaits. It’s amazing swirled into the batter of my gooey pecan pie cookies before baking! And for the grown-ups? A spoonful mixed with some gin or vodka makes such a beautiful base for summer cocktails. If you’re feeling fancy, check out this other recipe for inspiration on using it in vinaigrettes too!
Frequently Asked Questions About Raspberry Jam
Okay, I know you might have a few lingering thoughts swirling around after all that boiling! Making **raspberry jam at home** is easy, but sometimes the smallest things trip us up. Here are a few things Mia and I always get asked after we dump a fresh batch on the counter.
Can I use less sugar? Honestly, for this **no pectin** version, I strongly advise against cutting it too much. Sugar does more than just sweeten; it’s crucial for the texture and, most importantly, it acts as a safety agent alongside the acid, especially if you are water bath canning this for shelf stability. Keep it at three cups unless you are just making a tiny batch for the fridge!
What about slightly older berries? If they look okay, go for it! As long as they aren’t moldy or mushy beyond recognition, they are perfect for jam. Frozen berries are often much less expensive, and they break down beautifully. You’re capturing that summer flavor whether they were picked this morning or last month!
Can I use the freezer jam instead of canning? Absolutely! That’s what I usually do. If you aren’t planning to store this in the pantry for years, skipping the canning process altogether is totally fine. Just cool the jars on the counter for a bit, seal them, and tuck them into the freezer or fridge. It’s the easiest way to do **simple fruit preserves**!
Troubleshooting Common Issues When Making Jam
So, what if you pulled your jam off the heat, let it cool, and it’s still soupy? Don’t stress! This happens sometimes, usually because of how juicy your berries were that day. My fix is always to pour the runny jam from the jars back into the pot. Add maybe another quarter cup of sugar—just enough to help things along—and boil it hard again, stirring constantly, until it hits that 220°F mark. It usually only takes five more anxious minutes, and then you’re golden! You can find some great tips for making your **caramelized onions** the right way, which also involves a lot of patience, over here!
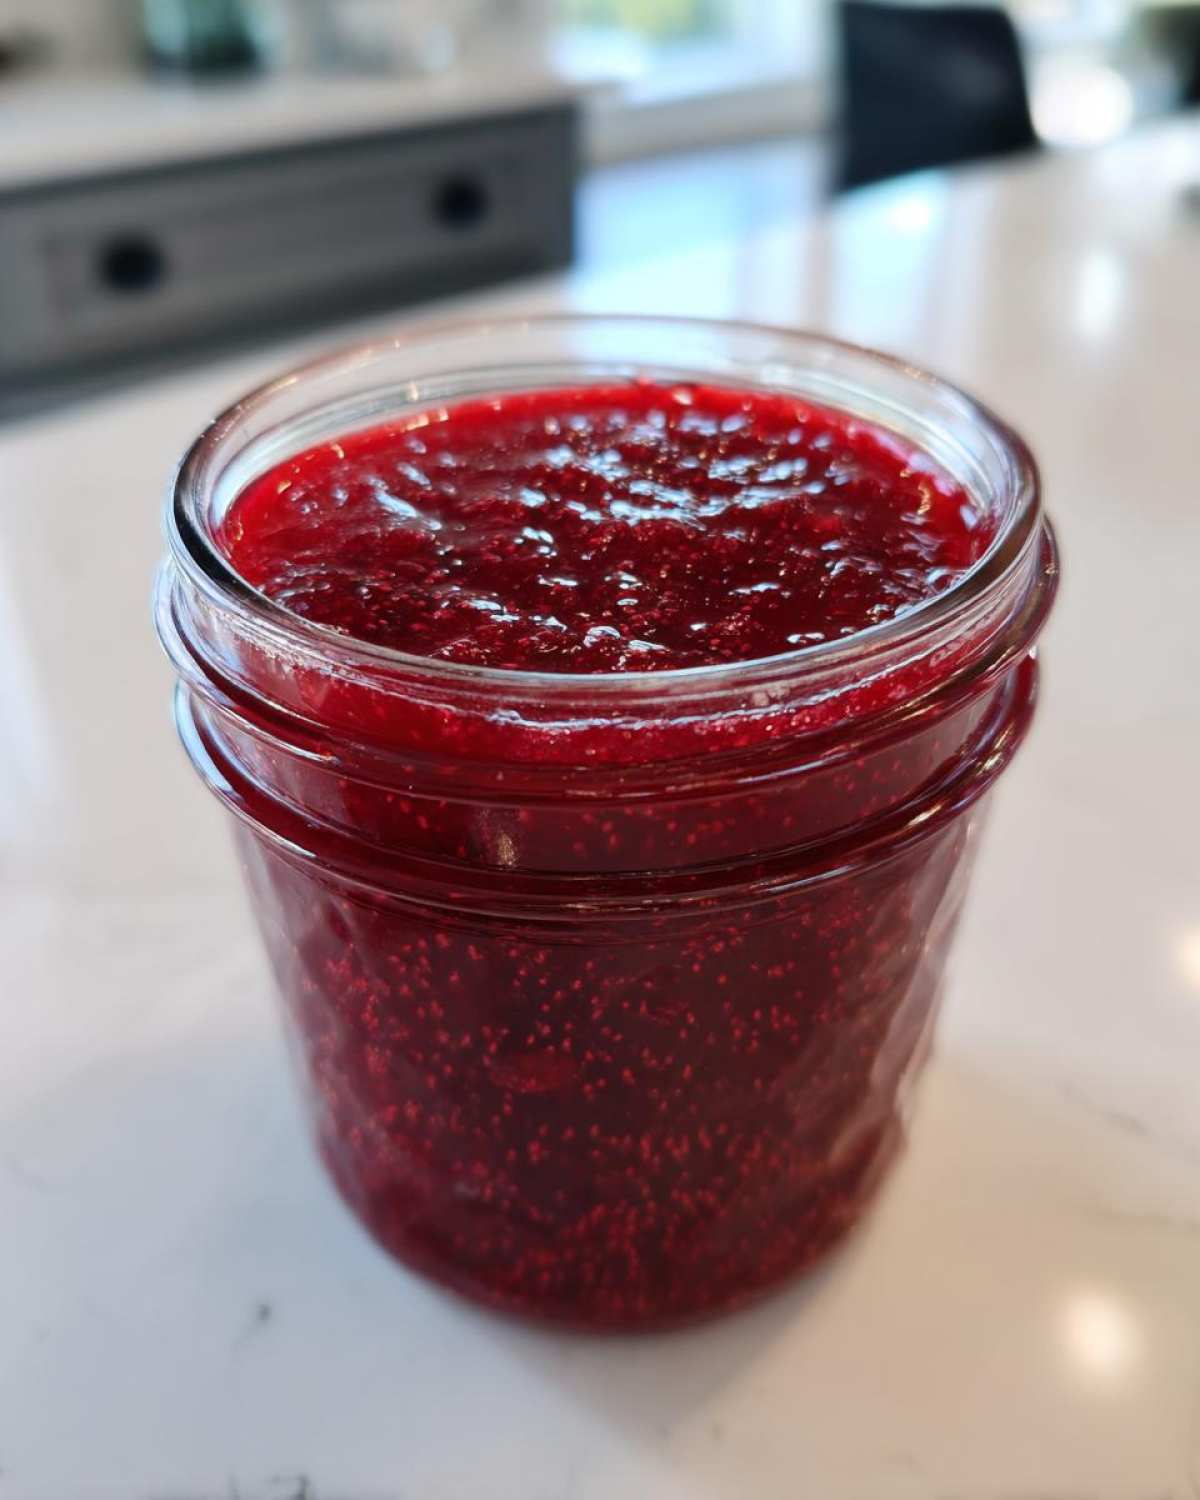
Share Your Homemade Raspberry Jam Success
That’s it! You just conquered **raspberry jam**! I’m so excited for you and whatever you decide to spread this amazing, bright preserve onto. Seriously, if you loved the ease of this recipe—whether you canned it or just needed a quick **refrigerator jam**—please come back and leave us a rating!
Tell us in the comments if you went for the seedless option or how you decided on storage. We are always listening! If you have questions, drop them in our contact form, and let’s chat. Happy cooking, Kings and Queens!
PrintEasy 3-Ingredient Raspberry Jam (No Pectin Needed)
You can make this bright, flavorful homemade raspberry jam with just three simple ingredients. This recipe is perfect for beginners, requires no added pectin, and yields a delicious spread for toast or yogurt.
- Prep Time: 5 min
- Cook Time: 20 min
- Total Time: 25 min
- Yield: About 3 half-pint jars
- Category: Preserves
- Method: Stovetop Cooking
- Cuisine: American
- Diet: Vegetarian
Ingredients
- 4 cups fresh or frozen raspberries
- 3 cups granulated sugar
- 1 tablespoon fresh lemon juice
Instructions
- Prepare your jars: If you plan to can this jam for shelf stability, sterilize your jars and lids now according to standard water bath canning procedures. If you are making refrigerator or freezer jam, simply wash and dry your jars thoroughly.
- Combine ingredients: Place the raspberries, sugar, and lemon juice into a large, heavy-bottomed saucepan. Stir gently to combine everything.
- Cook the mixture: Place the saucepan over medium-high heat. Stir constantly until the sugar completely dissolves and the mixture begins to boil rapidly.
- Boil and thicken: Once boiling, continue to cook, stirring frequently to prevent scorching on the bottom. The jam will start to bubble thickly. This process usually takes about 10 to 20 minutes, depending on the water content of your berries. You are looking for the mixture to reach 220 degrees Fahrenheit on a candy thermometer, or you can test for a set by placing a small spoonful on a chilled plate; if it wrinkles when pushed, it is ready.
- Skim foam: As the jam cooks, foam will rise to the surface. Use a large spoon to skim off this foam for a clearer final product.
- Fill jars: Remove the jam from the heat. Carefully ladle the hot jam into your prepared jars, leaving 1/4 inch of headspace at the top. Wipe the rims clean with a damp cloth.
- Seal or store: If water bath canning, secure the lids and process the jars according to your canner’s instructions for long-term storage. For refrigerator or freezer jam, let the jars cool slightly on the counter, then seal them with lids and place them in the refrigerator for immediate use or the freezer for longer storage.
Notes
- This recipe makes a small batch, perfect for keeping one jar in the fridge and one in the freezer.
- For seedless raspberry jam, gently mash the berries before cooking, then press the cooked jam through a fine-mesh sieve before filling the jars.
- This jam is fantastic as a topping for ice cream or mixed into yogurt.
Nutrition
- Serving Size: 2 Tablespoons
- Calories: 100
- Sugar: 25
- Sodium: 1
- Fat: 0
- Saturated Fat: 0
- Unsaturated Fat: 0
- Trans Fat: 0
- Carbohydrates: 26
- Fiber: 1
- Protein: 0
- Cholesterol: 0